Getting started, account setup and plans with Snapdat
 Updated 2 months ago
by
Chioma Okenwa
Updated 2 months ago
by
Chioma Okenwa
Snapdat a mobile application built for real-time networking, where conversations happen fast and details are easily lost. This guide walks you through the full in-app experience, from setting up your profile to capturing leads and managing follow-ups.
Installing the Snapdat app
The Snapdat app is available on the Apple App Store on iOS and iPadOS devices and Google play store. Tap Install, then tap Open once installed.
Account setup
When you launch the Snapdat app for the first time, you’ll complete a quick setup to activate your account and prepare your profile for lead capture. To do this, Tap Get Started.
When you tap Get Started, the Snapdat app guides you through a short on-boarding process to create your account and generate your digital business card.
You will be asked to provide the following details in order:
- Your full name
- Job title
- Company name
- Phone number
- Email address
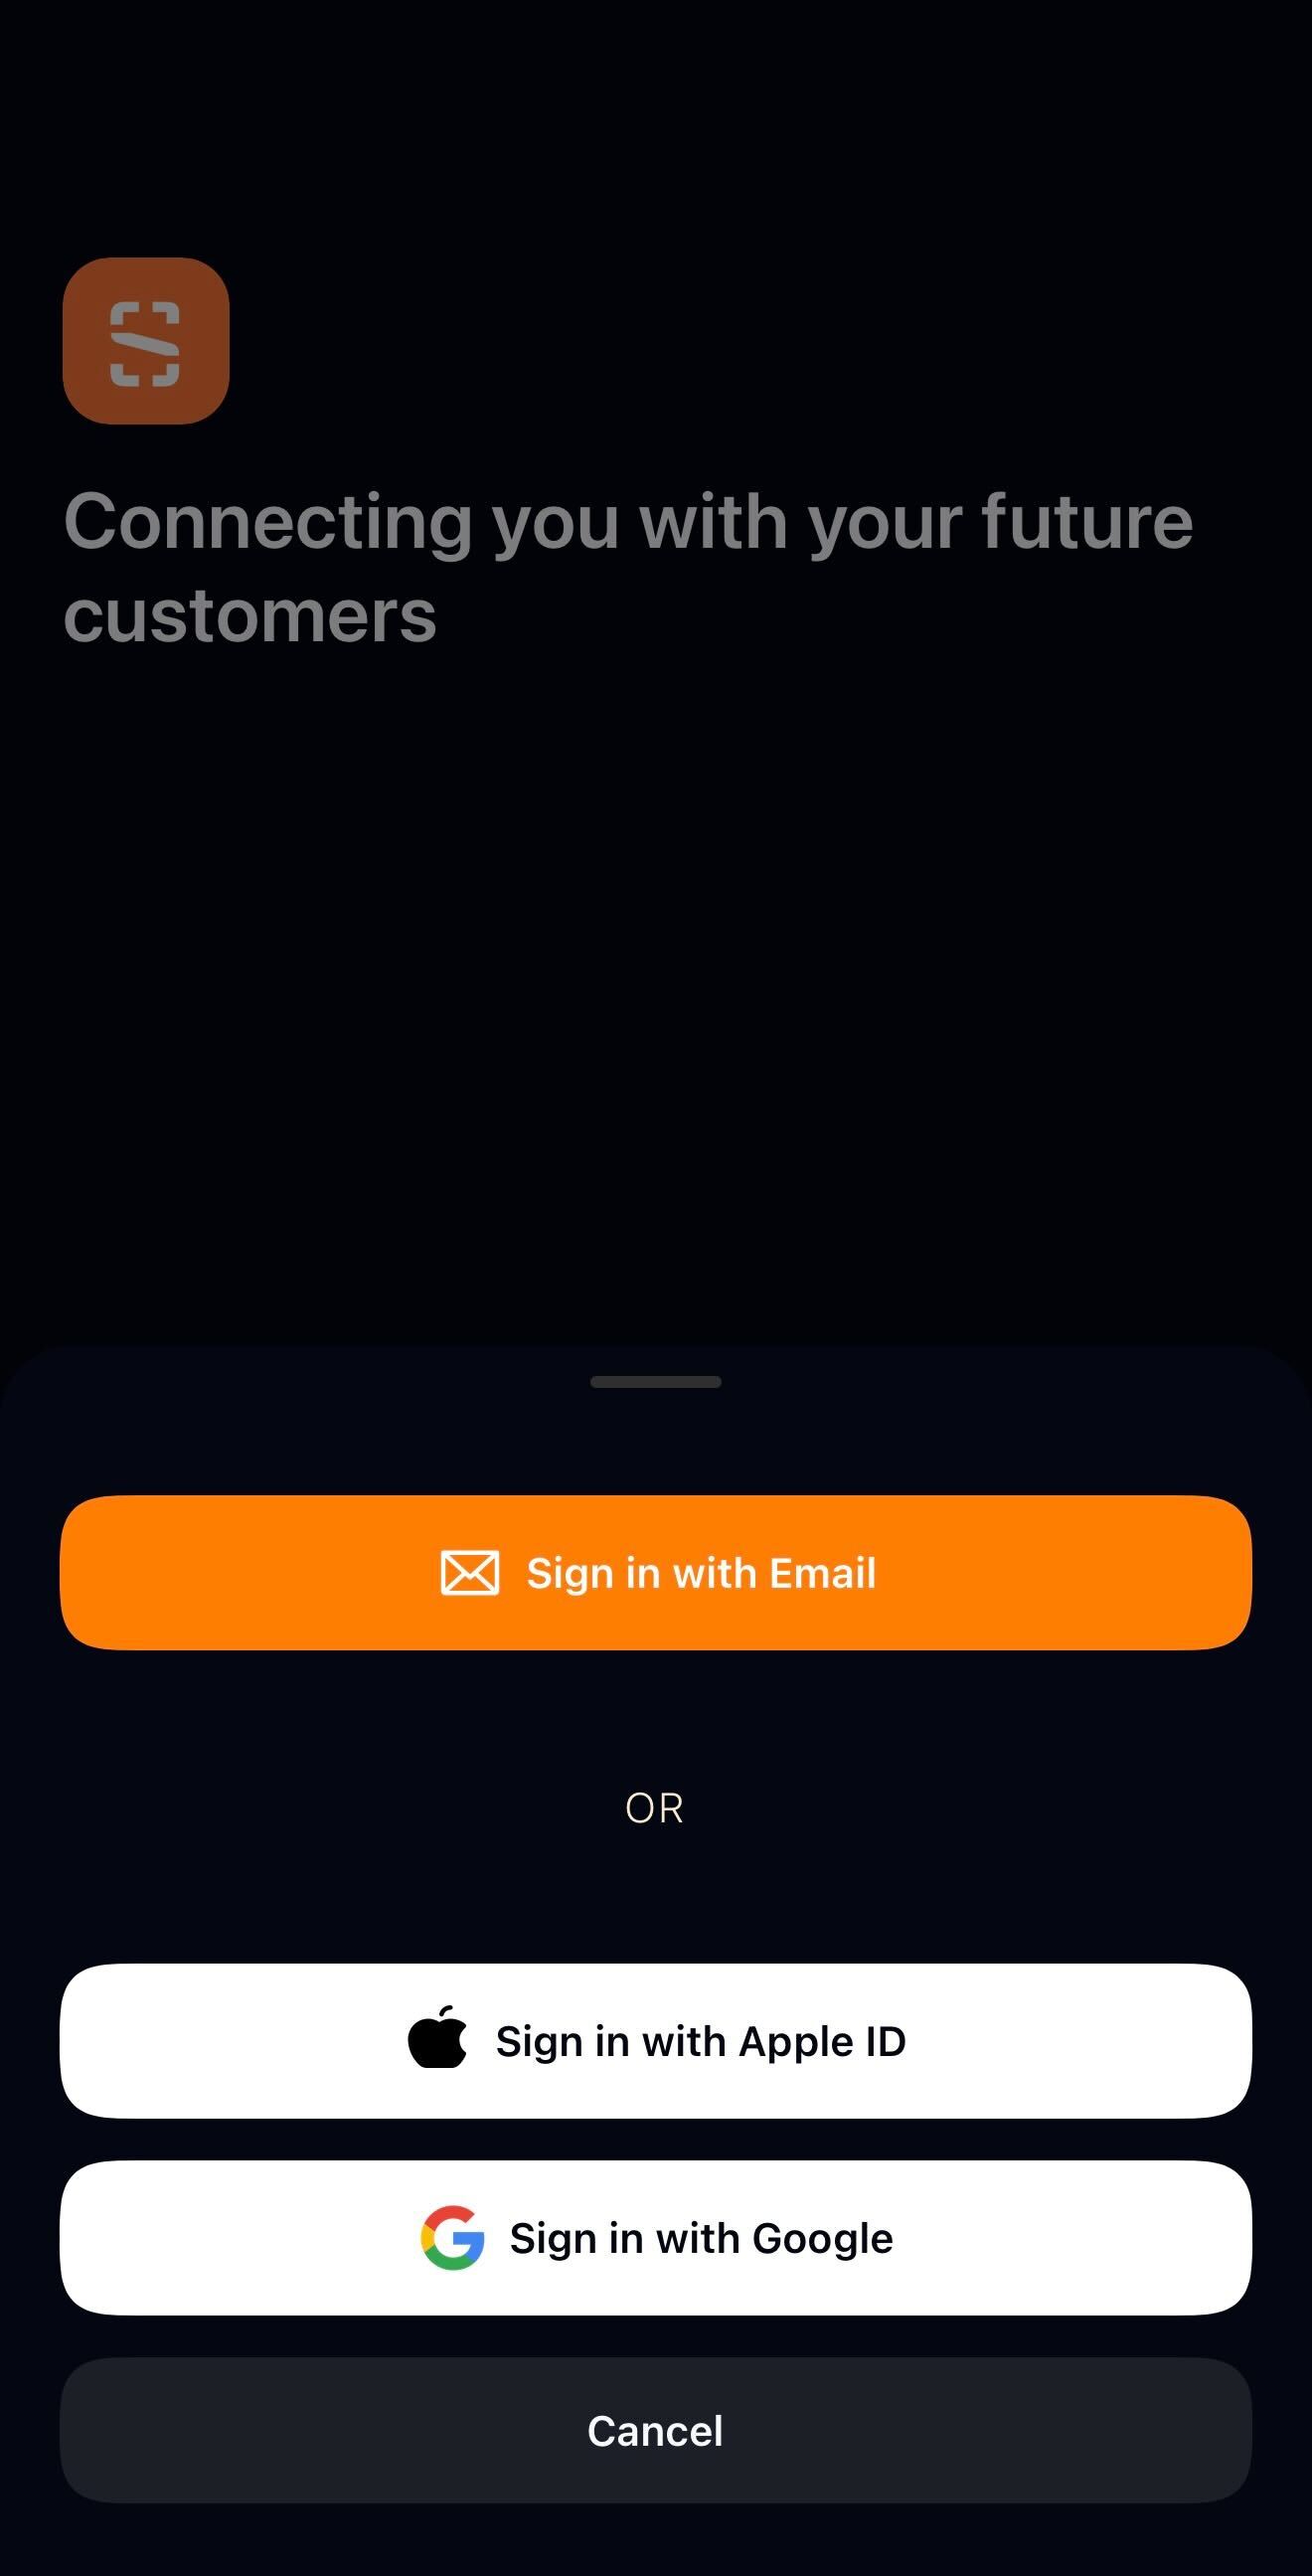
You can then choose how to continue via:
- Sign up using your Apple ID, or
- Continue with your Google (Gmail) account
- Add a profile photo
After completing registration, you’ll be signed in automatically and taken to the Cards page. Your digital business card will be created using the information you entered during setup.
If you already have an account, simply click on the Sign in button. You can sign in with your email, Apple ID or Google.
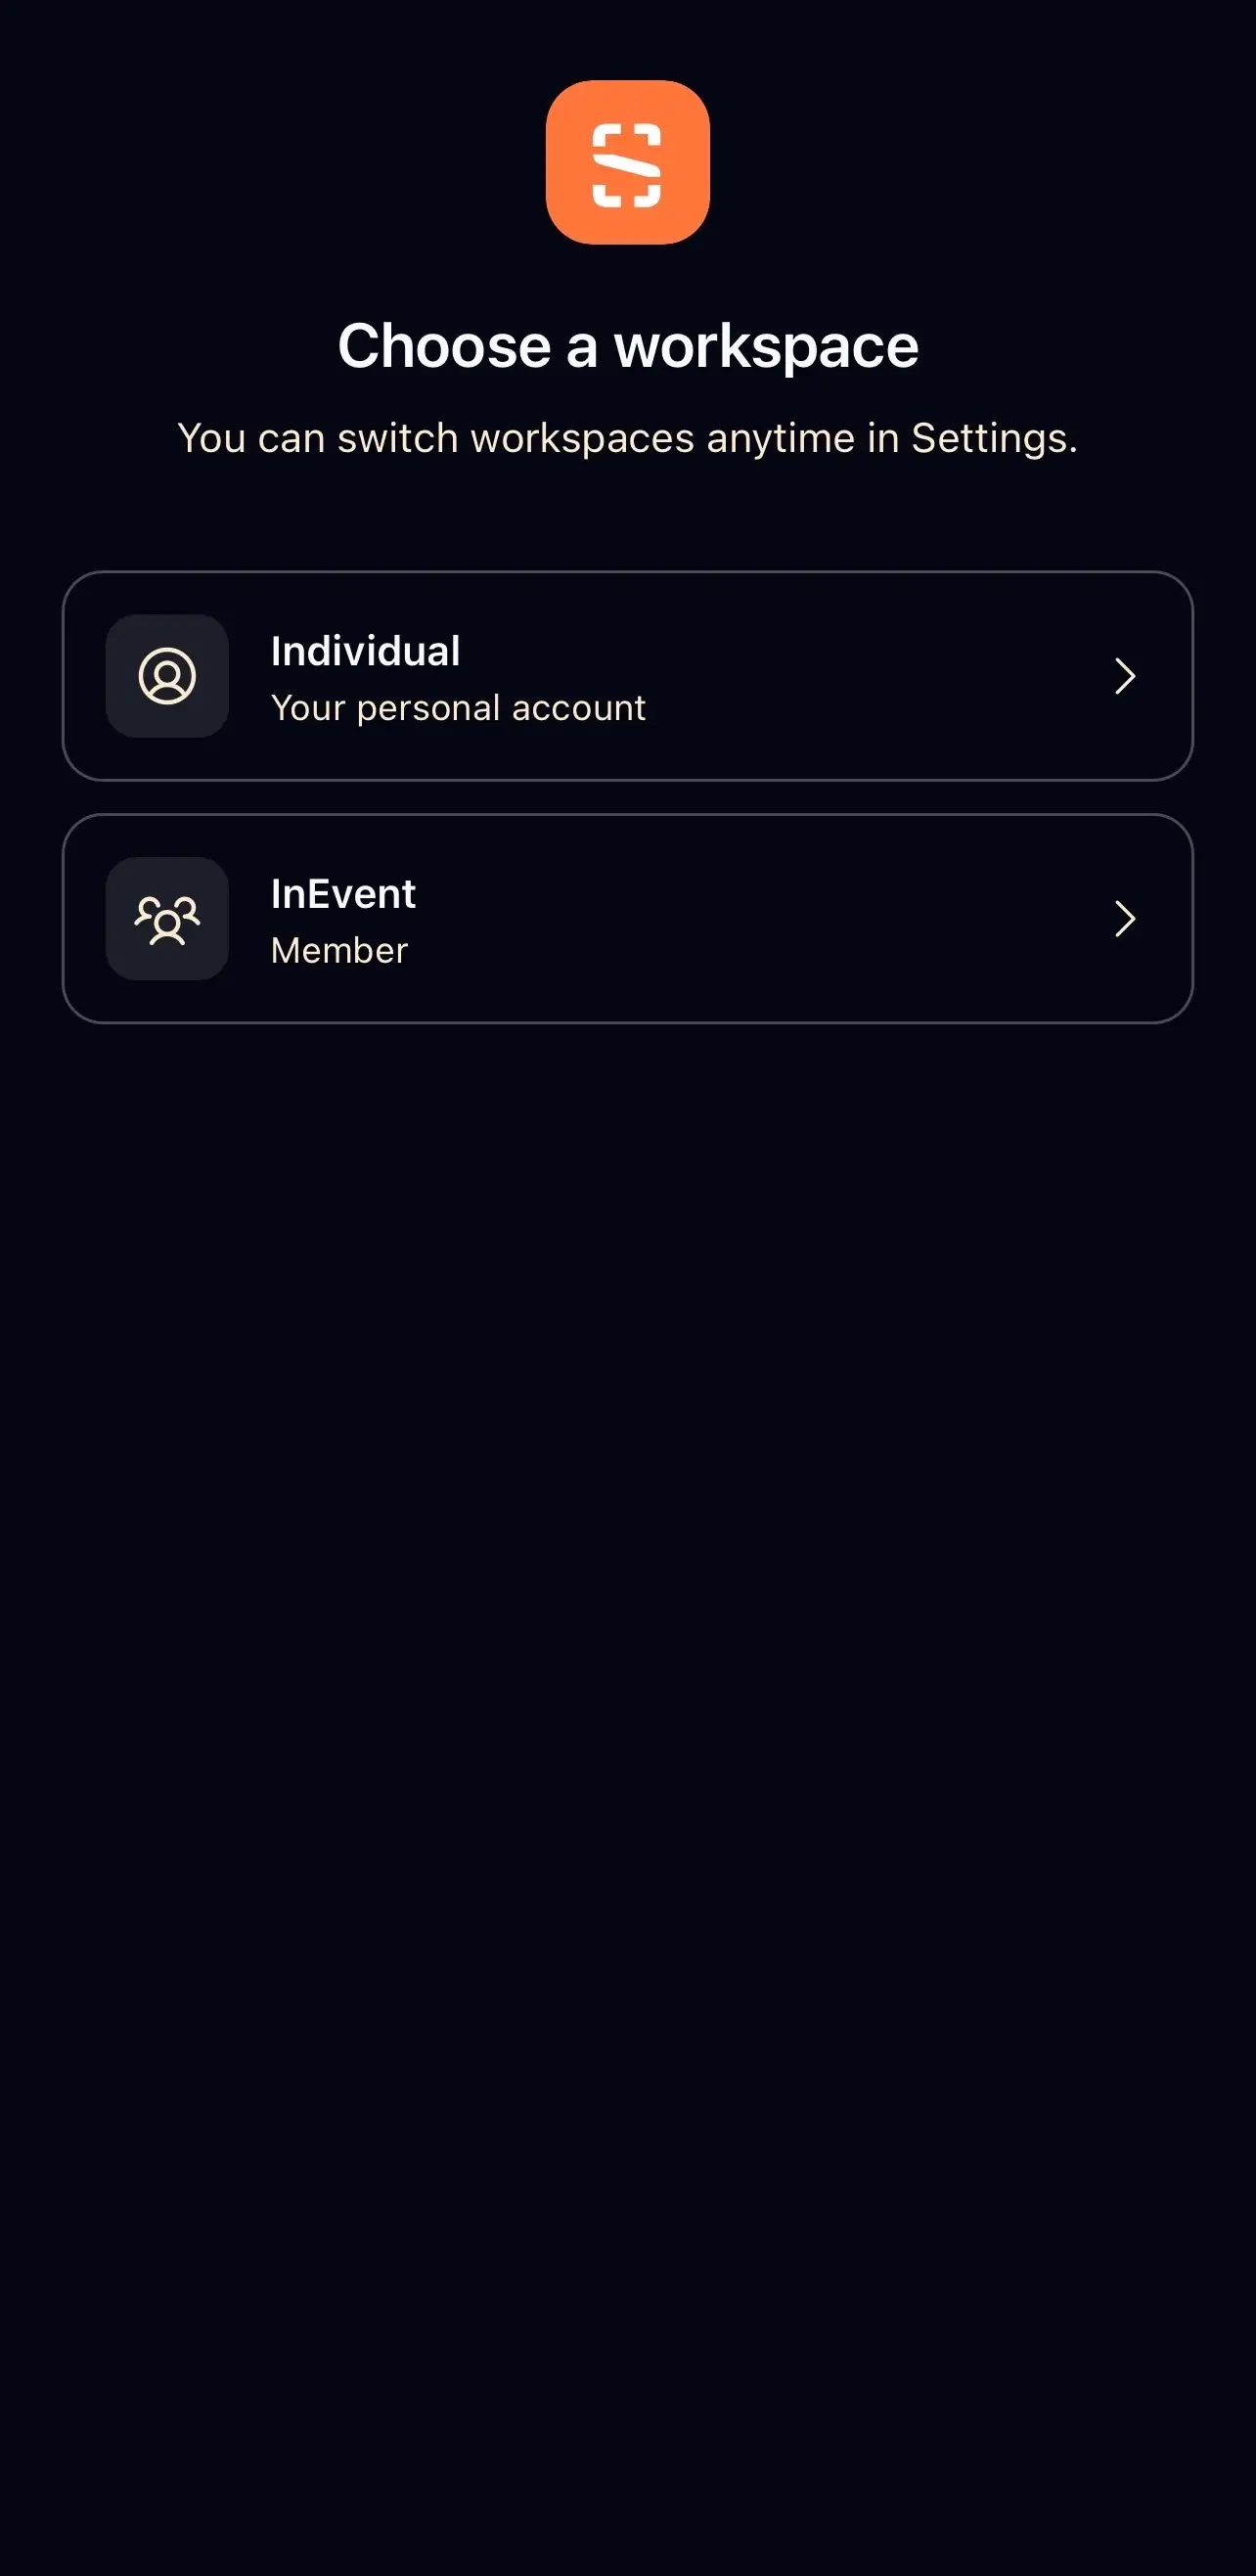
You will be prompted to choose how you would like to use SnapDat:
- Individual: for personal use and individual lead management.
- Teams (Workspaces): for users managing leads within an organization or shared workspace.
Account settings & profile information
To access your account details in Snapdat, tap the Settings icon in the top-left corner of the Cards page. This opens the Settings page, where you can view and manage your profile, subscription, and support options.
The Account settings and profile area is organized into five sections, each serving a different purpose:
- Account: This section displays your core profile information, including your account type, company name, and role or job title. It provides a quick overview of your identity and how your profile appears on your digital business cards.
- Uploads: Here, you can view and manage your card uploads. This includes images or assets used for your digital cards, allowing you to review or manage what has been uploaded to your profile.
- Subscription: This section shows your current plan and provides the option to upgrade your subscription. It helps you review your plan details, understand your feature access, and make changes if needed.
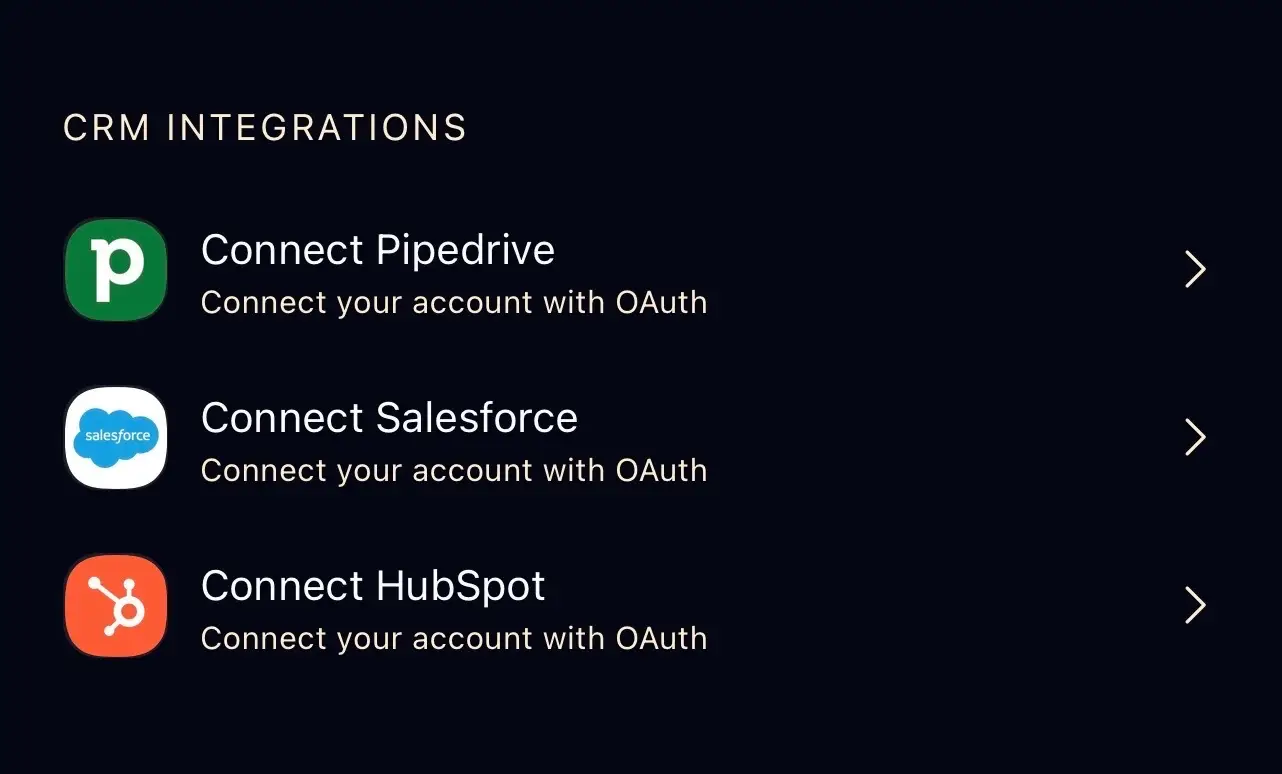
- CRM integrations: This section lets you connect your account to CRM platforms like Pipedrive, Salesforce, and HubSpot to sync and manage your leads
- Support: The Support section gives you access to assistance and important information, including the Help Centre, Contact Support, and the Privacy Policy. Use this area if you need guidance, want to reach the support team, or review how your data is handled.
- Log out: This option allows you to securely sign out of your account on the device you are using.
Plans and subscriptions
After completing account setup in Snapdat, you’ll be prompted to choose a subscription plan. Your selected plan determines not only how many digital business cards you can create, but also the features available to support your networking and lead management.
Depending on the plan, features may include unlimited card scanning with automation and sync, Snapdat AI, custom lead capture forms, one-tap contact saving, branded push notifications, lifetime analytics, unlimited device management, priority support, the ability to capture others’ contact information, paper and digital card scanning, and integrations with CRM systems. Higher-tier plans provide expanded access to these capabilities along with increased card limits. At the moment, there are two paid plans available:
- Premium Monthly and
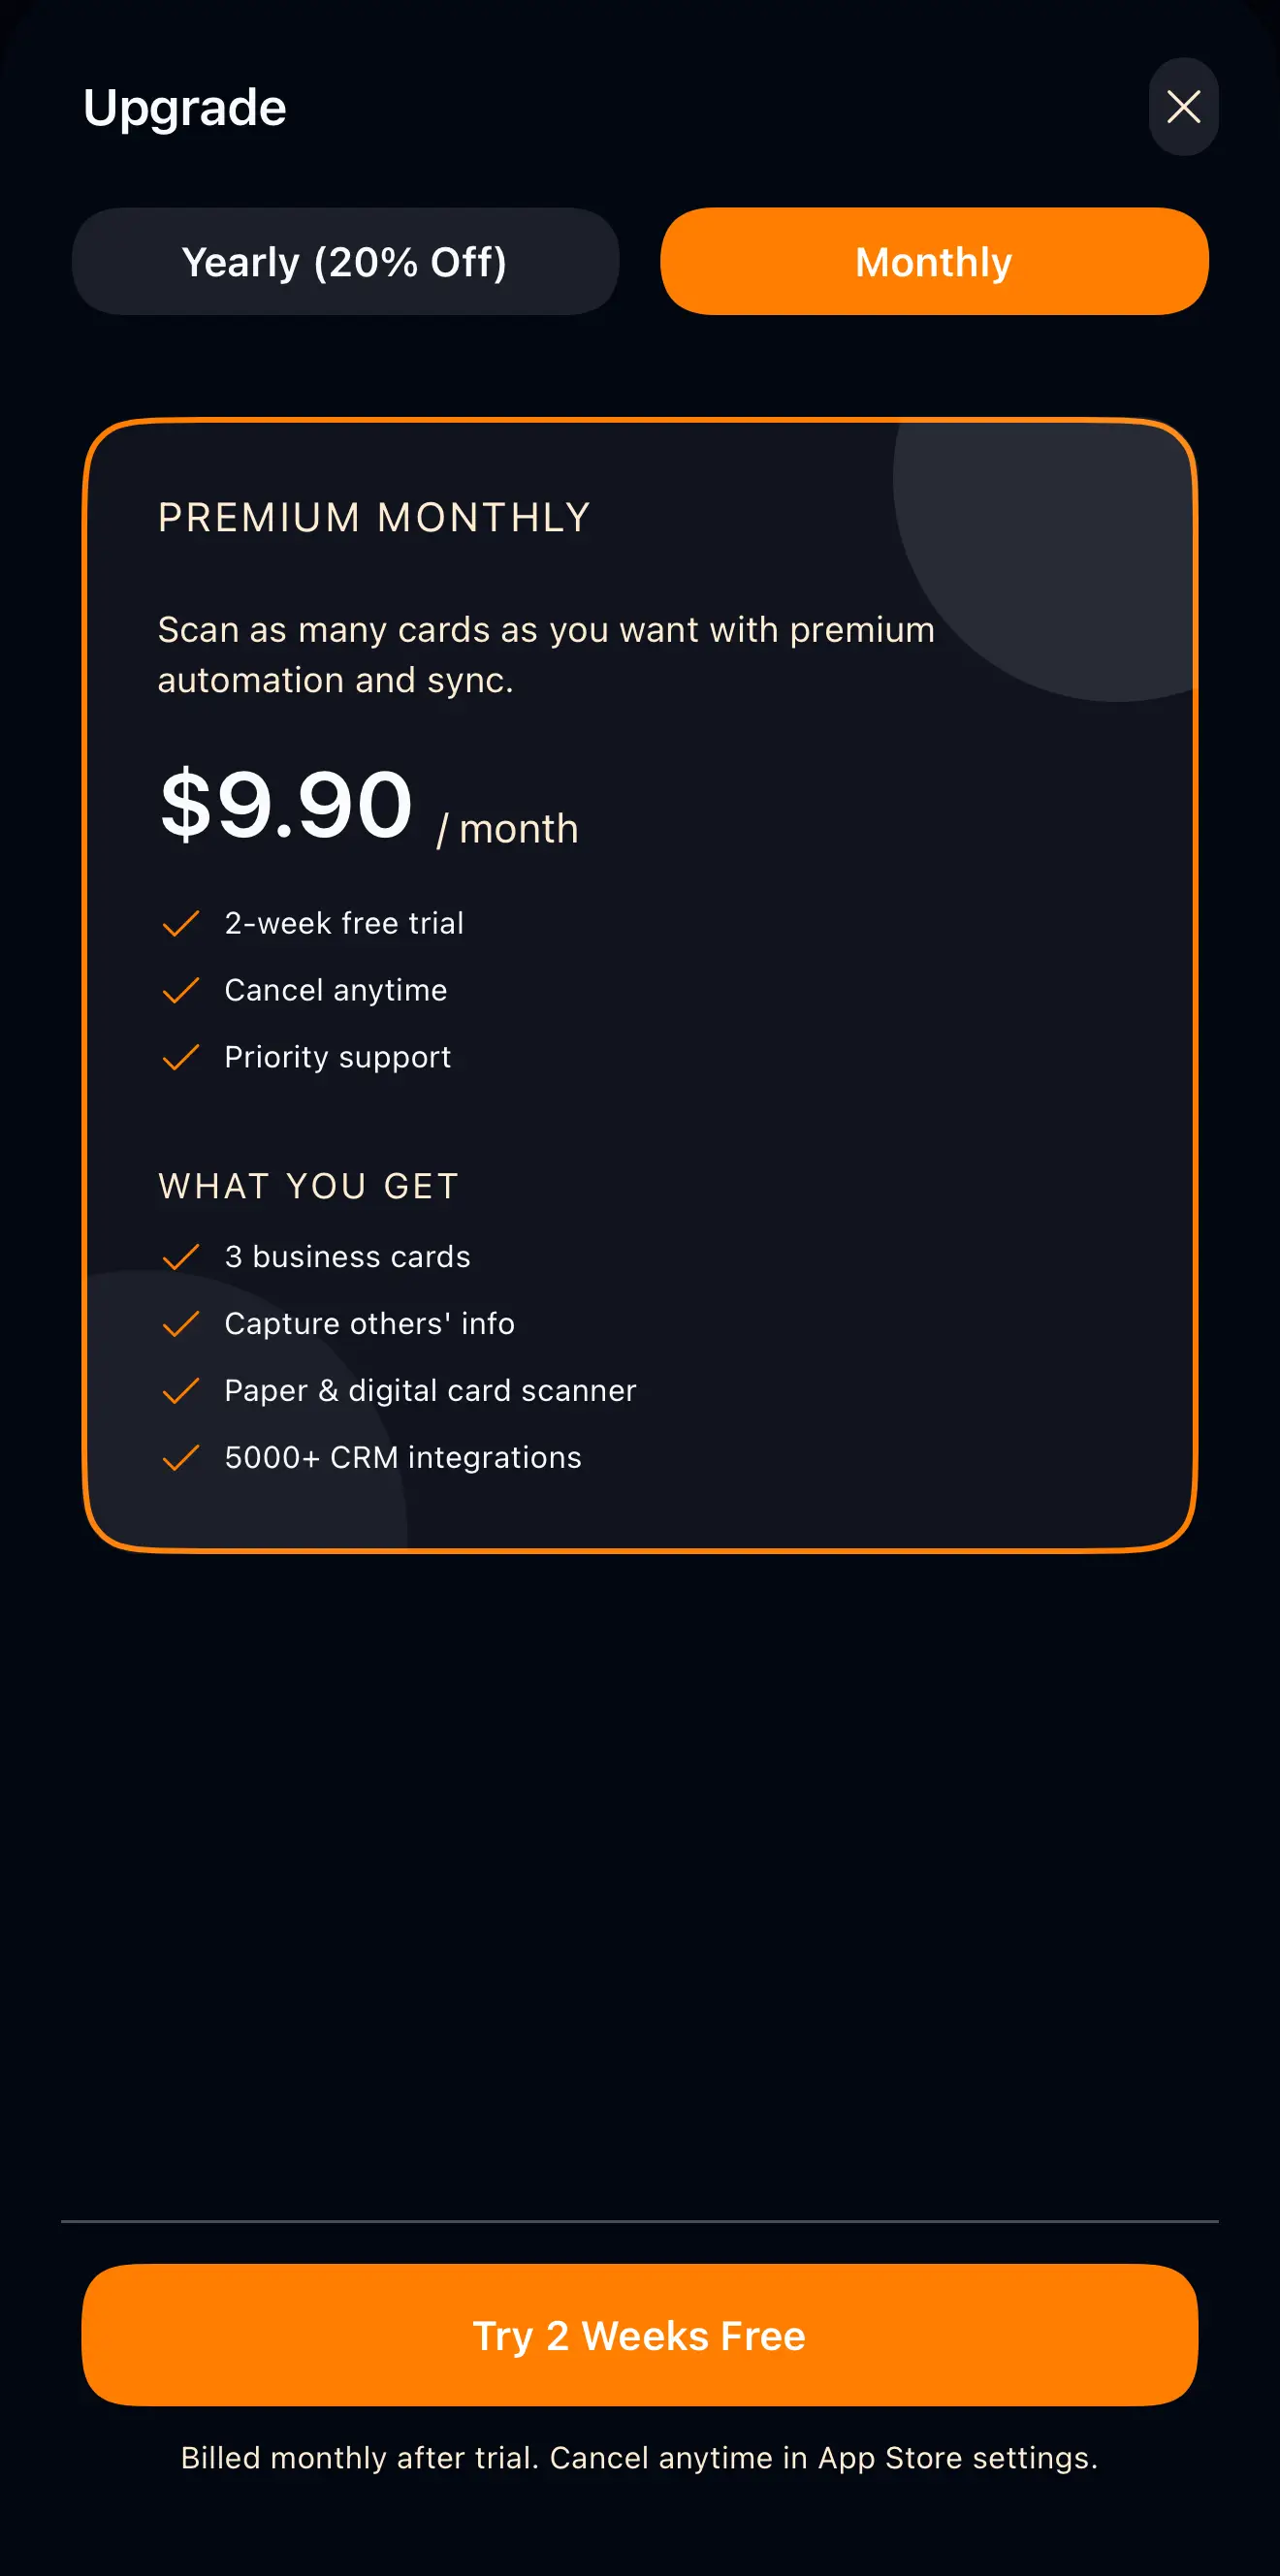
- Premium Yearly.
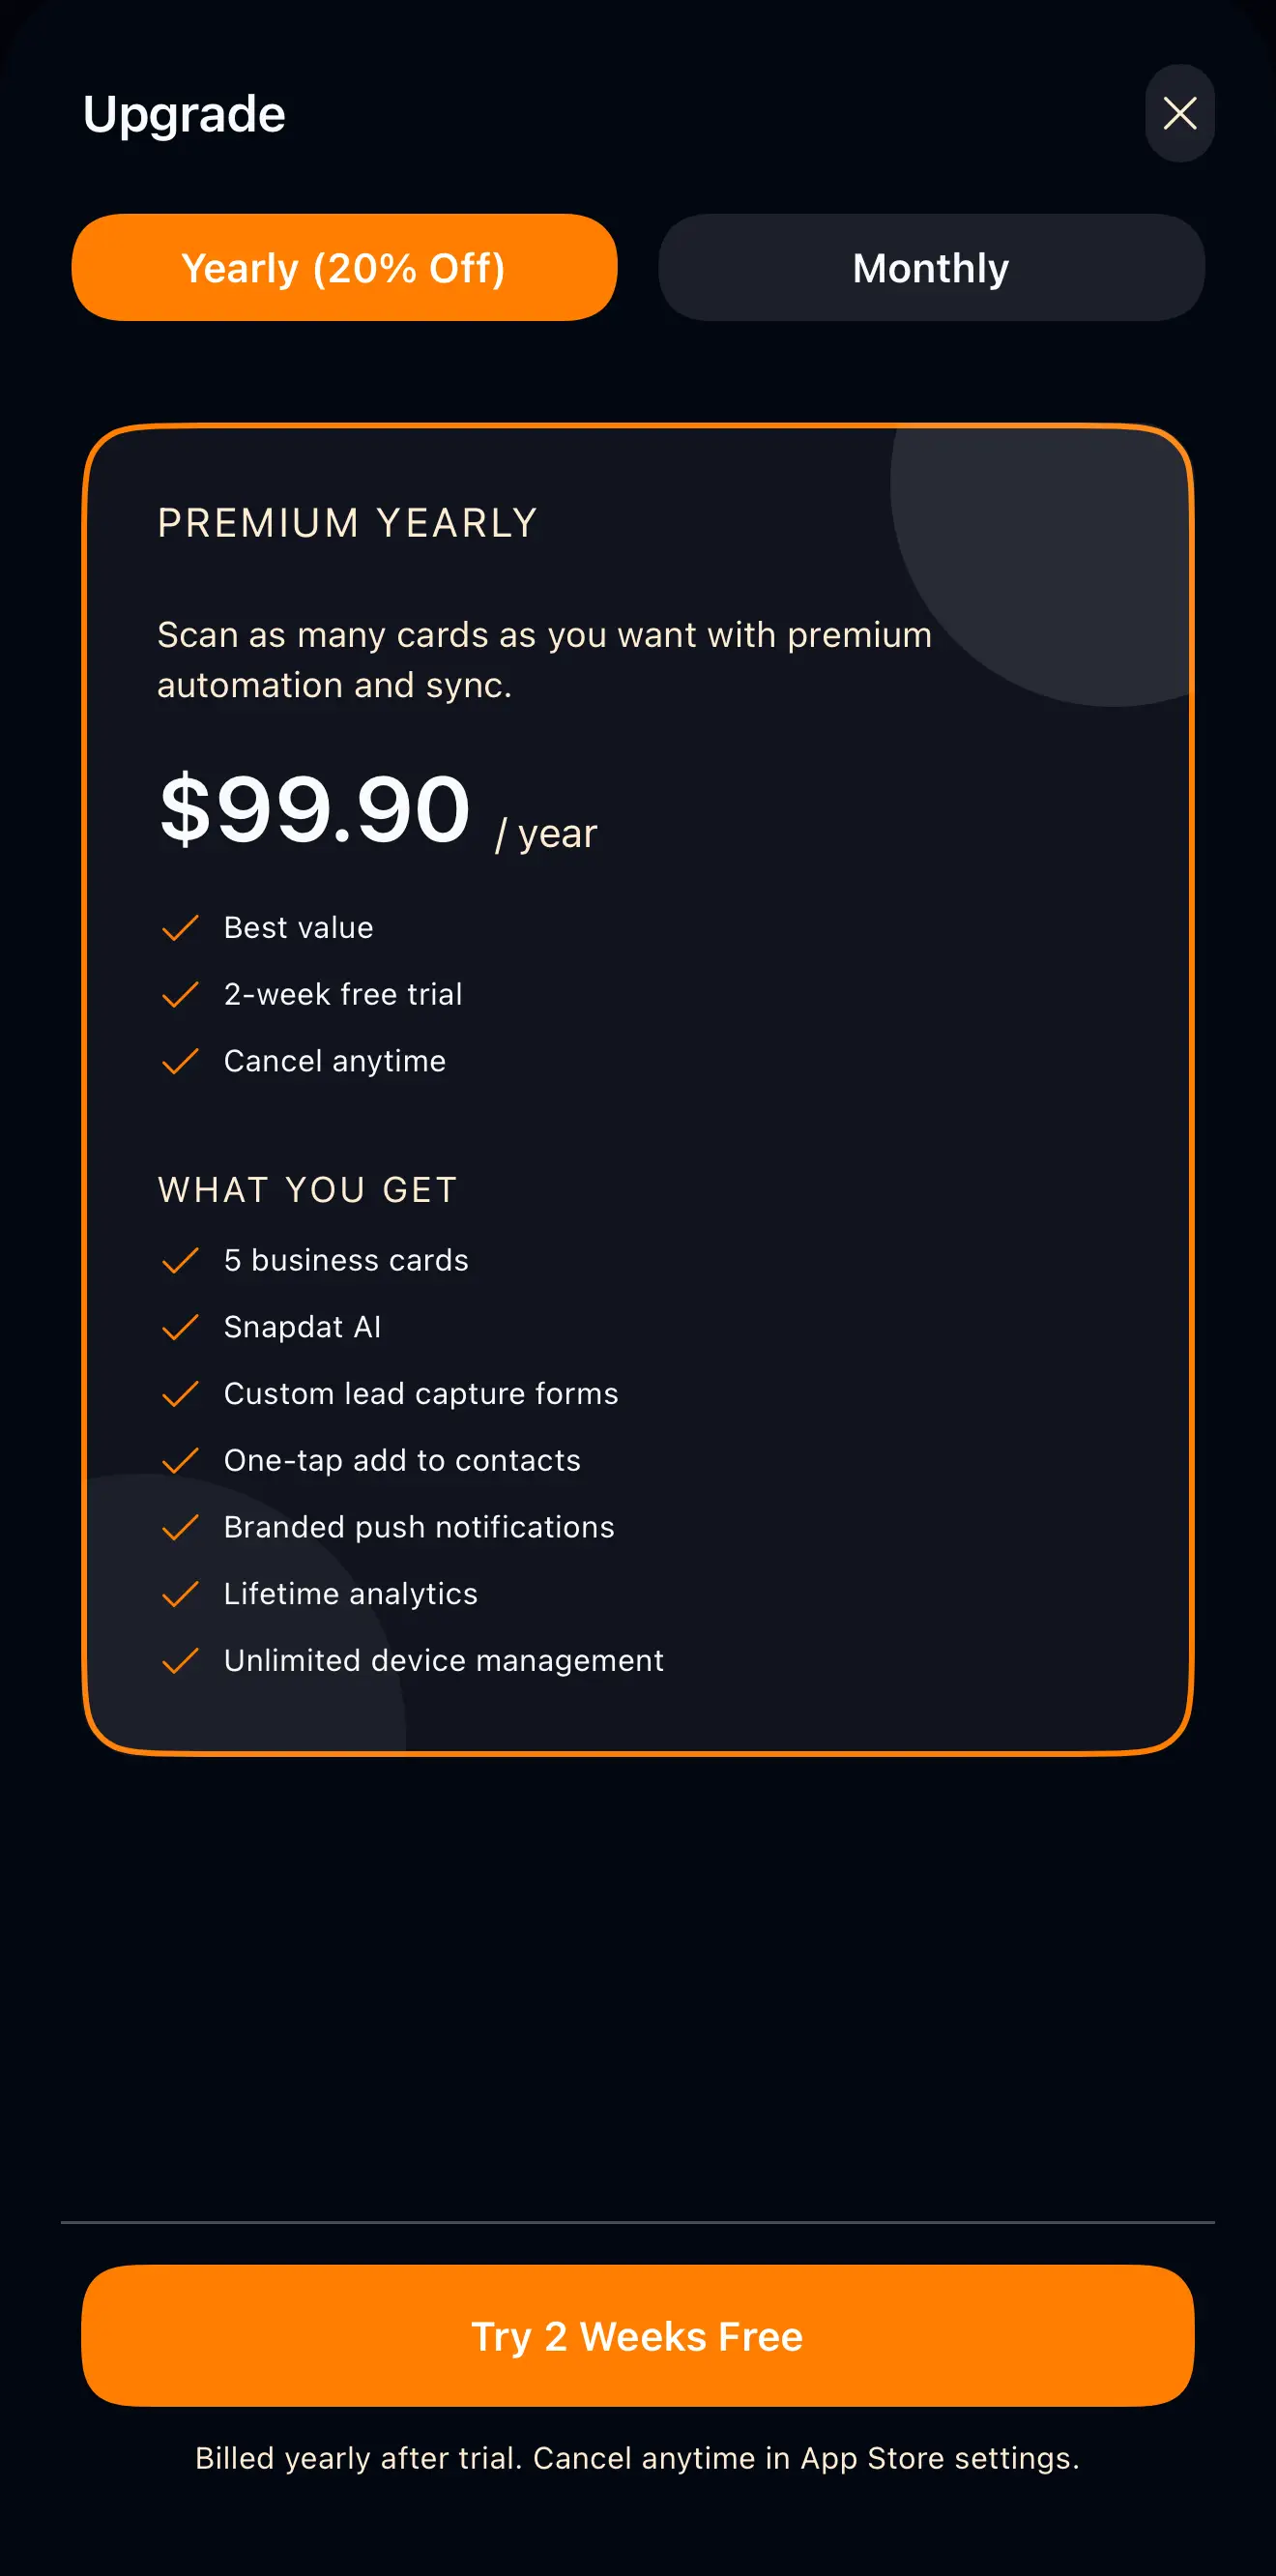
You can upgrade, downgrade, or manage your subscription at any time from your account settings and billing section, where your current plan and billing details are displayed.
Teams and workspaces
SnapDat supports Teams (workspaces), allowing users to organize and manage Leads, Tags, and Exports separately within each workspace.
When logging in to SnapDat, users will be prompted to select a team. The selected team can also be changed later from the Settings menu.
Each workspace contains its own isolated:
- Leads
- Tags
- Exports
This means that when switching between teams, the displayed lead list and related data will change according to the selected workspace.