3D environments in the Virtual Lobby
 Updated 1 month ago
by
yasmine haj sassi
Updated 1 month ago
by
yasmine haj sassi
Our futuristic technology allows you to add 3D environments to the InEvent platform using embedded links and also iframes from 3D platforms. You can add them inside sessions or on the main Virtual Lobby.
Implementation is quick and easy, and can be customized with your branding so users can walk around the venue with their computers or mobile devices. You can add one or multiple halls, with different navigation options. Click here to explore a live example.
Creating my 3D environment in the Virtual Lobby
- The first thing you will need to do is to create and set up your event. Click here to learn how to do so.
- Next, you'll need to hire a developer to build an HTML page from scratch. The page could be a 3D gif with hyperlinks to the virtual activities and booths.
Creating the embedded tab
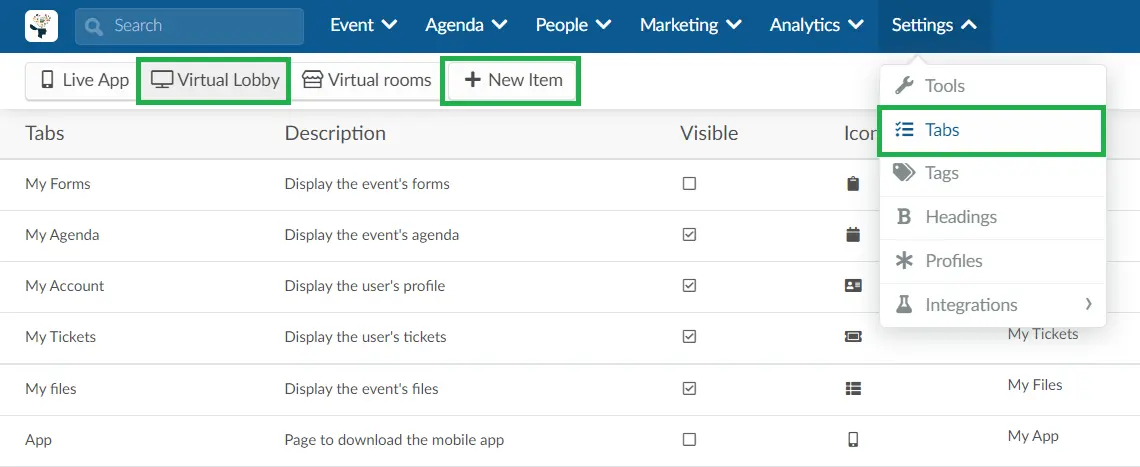
To create an embedded tab that can be opened from your Virtual Lobby, go to Settings > Tabs, click on Virtual Lobby and then click on New Item.
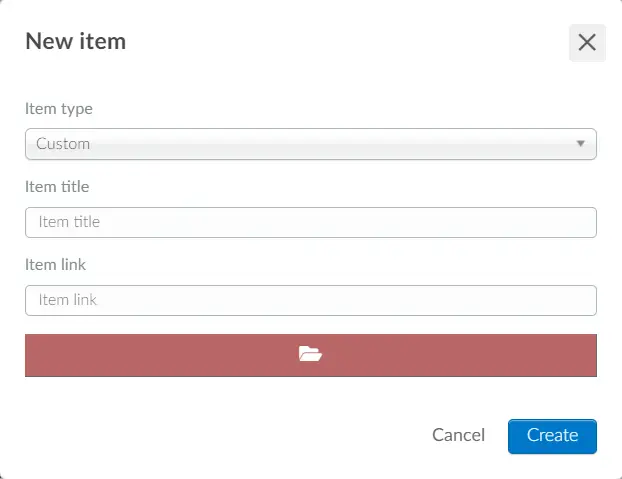
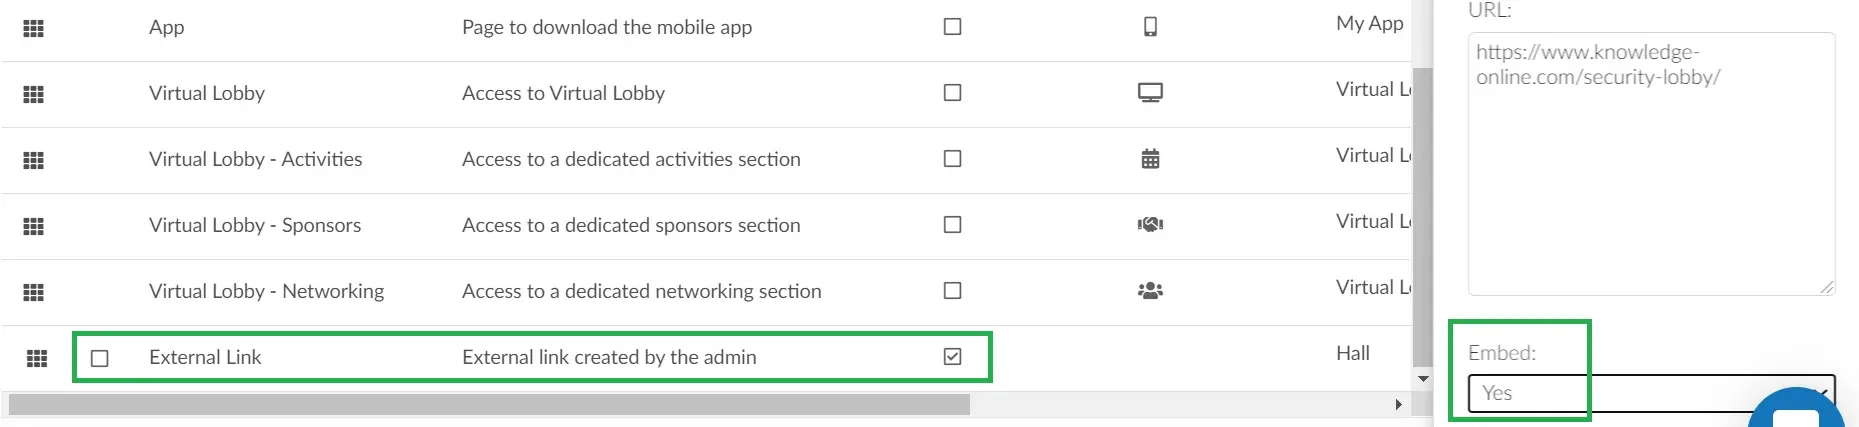
Once you have clicked on Item Link you will have two options to embed tabs
- Custom
Here you can share photos and documents in an easy way, just need to add the Item title, then add the item link and either click on the red bar to add the file directly from your computer or just copy the item link for (photos, Documents) directly from Google and paste it under item link.
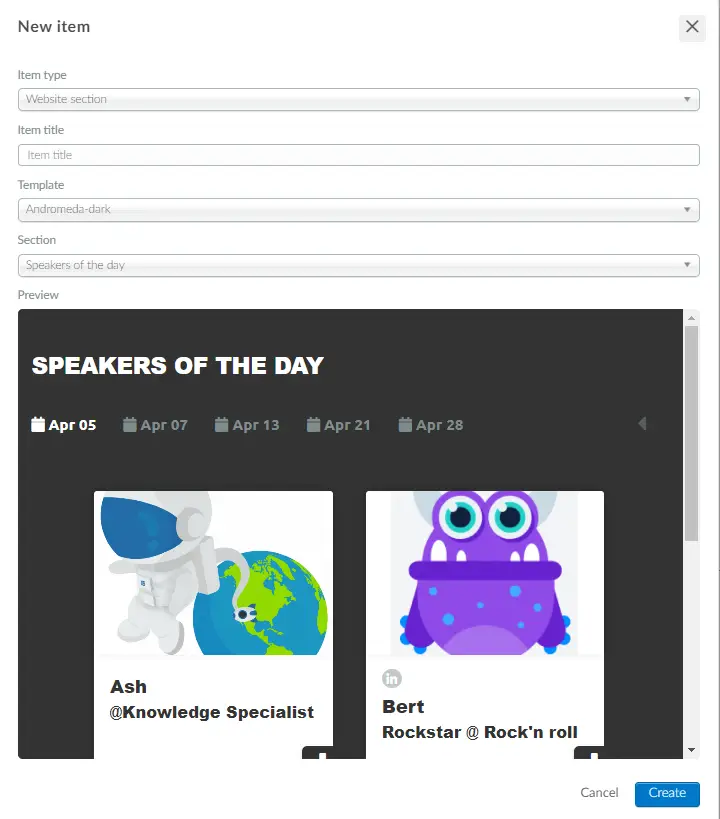
- Website Section
Here you can share a specific section of your event website. You can also select the template and the display colour for the section you are sharing.
Under Preview, you can see how your Website section will look like
Once you have selected the option for the embedded tab, and have added the required information, click on create, then click on the new tab, and a new window will pop up on the right. Press edit and make sure that the option embedded is set to Yes.
Getting the link for the embedded tab
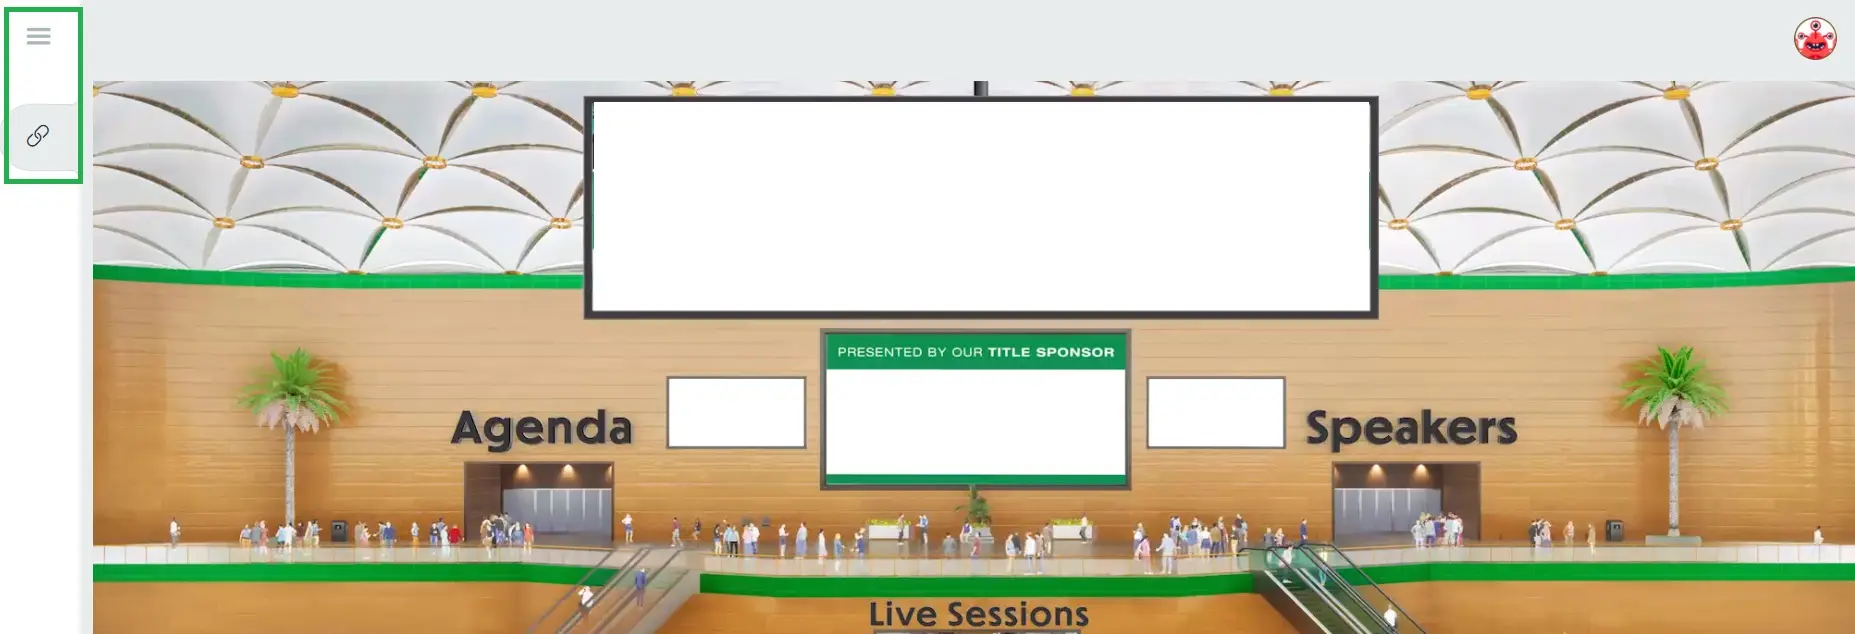
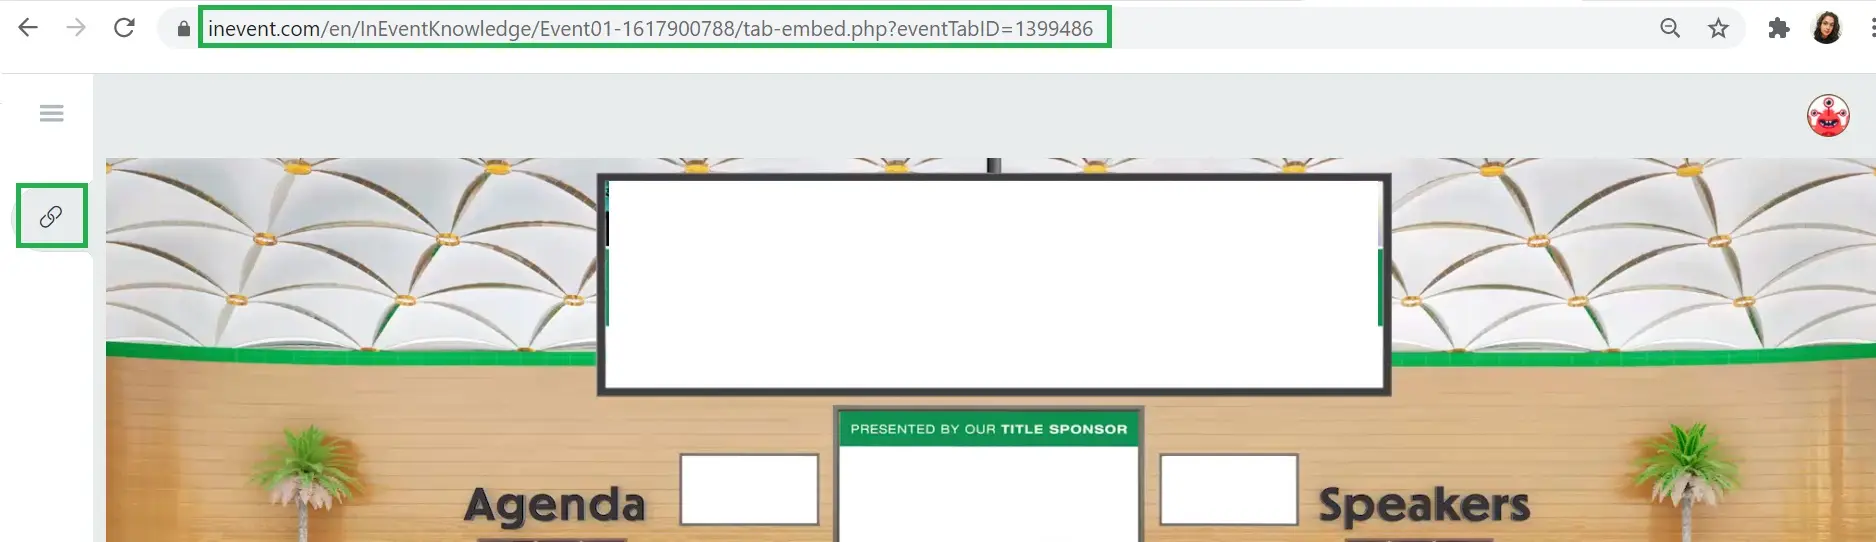
To get the link to the embedded 3D environment, access the Virtual Lobby (Event > Virtual Lobby > Preview) and click on the link icon on the left-hand side.
Save this link, it will be used on the following steps.
Getting the activities' links
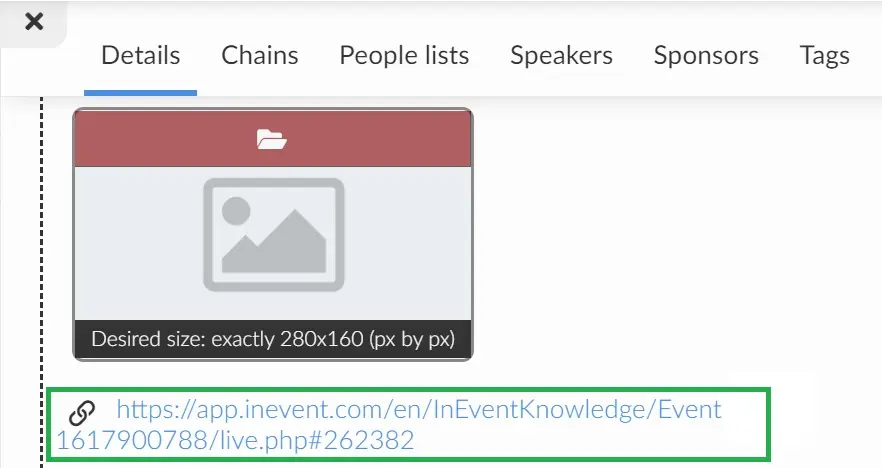
Go to Agenda > Activities > select one activity on the left and press Edit. Scroll down until you see the activity's link and copy it.
Then, you can add it to your HTML page, so when the attendees click on the 3D page rooms, they will be actually entering the activity rooms in the Virtual Lobby.
Getting the sponsor booths' links
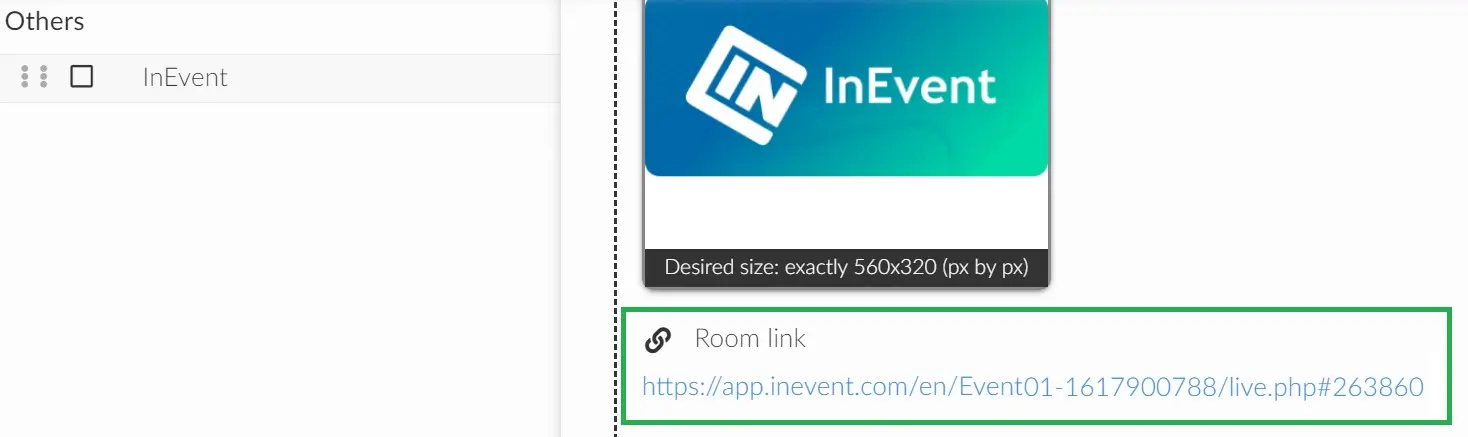
Go to Event > Sponsor > select one sponsor and scroll down until you see the room link. Once you get this link, the same conception for the activities room will reflect here: the idea of entering a 3D sponsor booth when they are in fact entering the sponsor booth in the Virtual Lobby.
Setting up the content page
You might want to consider changing the Content page, which is the page where the attendee will land once they access the event for the first time after submitting the registration form.
To set up the content page, go to Event > Details > press Edit and scroll down until you see Content page.
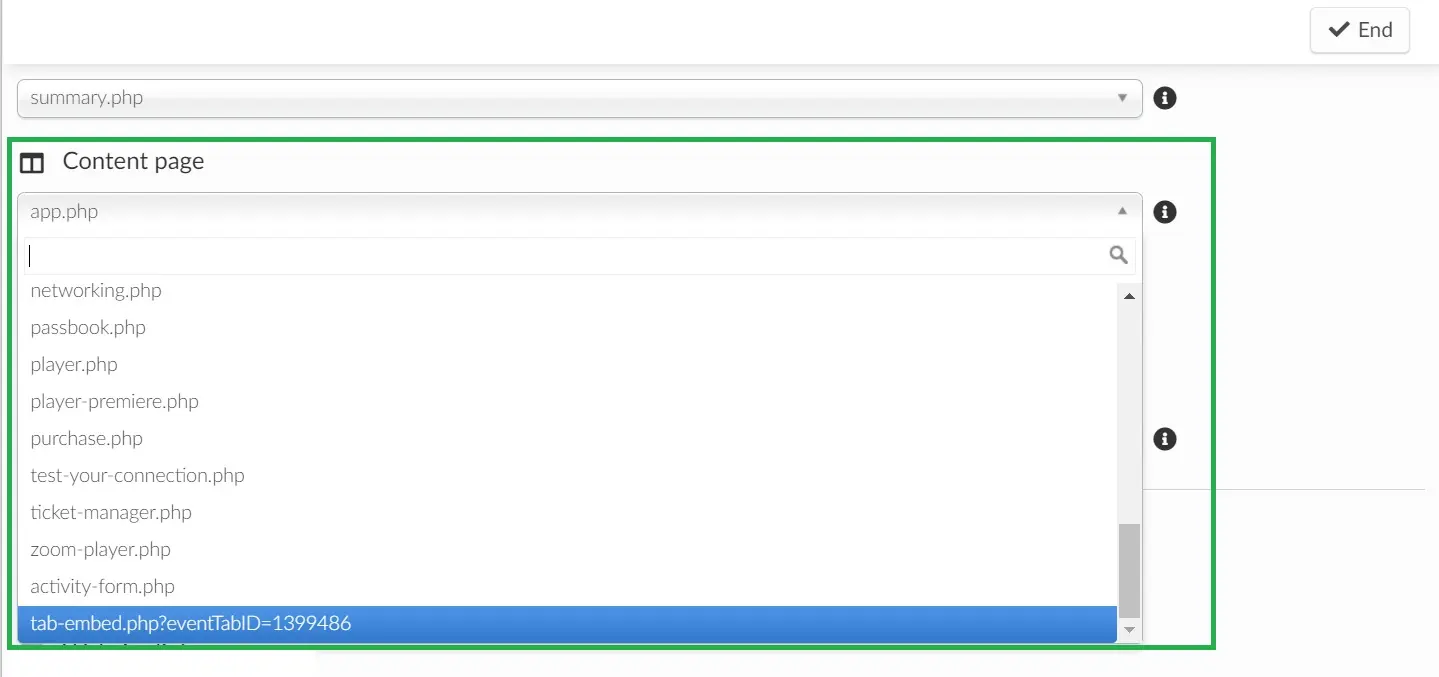
You should select the Tab Embed option as the Content page. Now, the participants will land on the external 3D page you have built once they submit the registration form.
Setting up the confirmation email
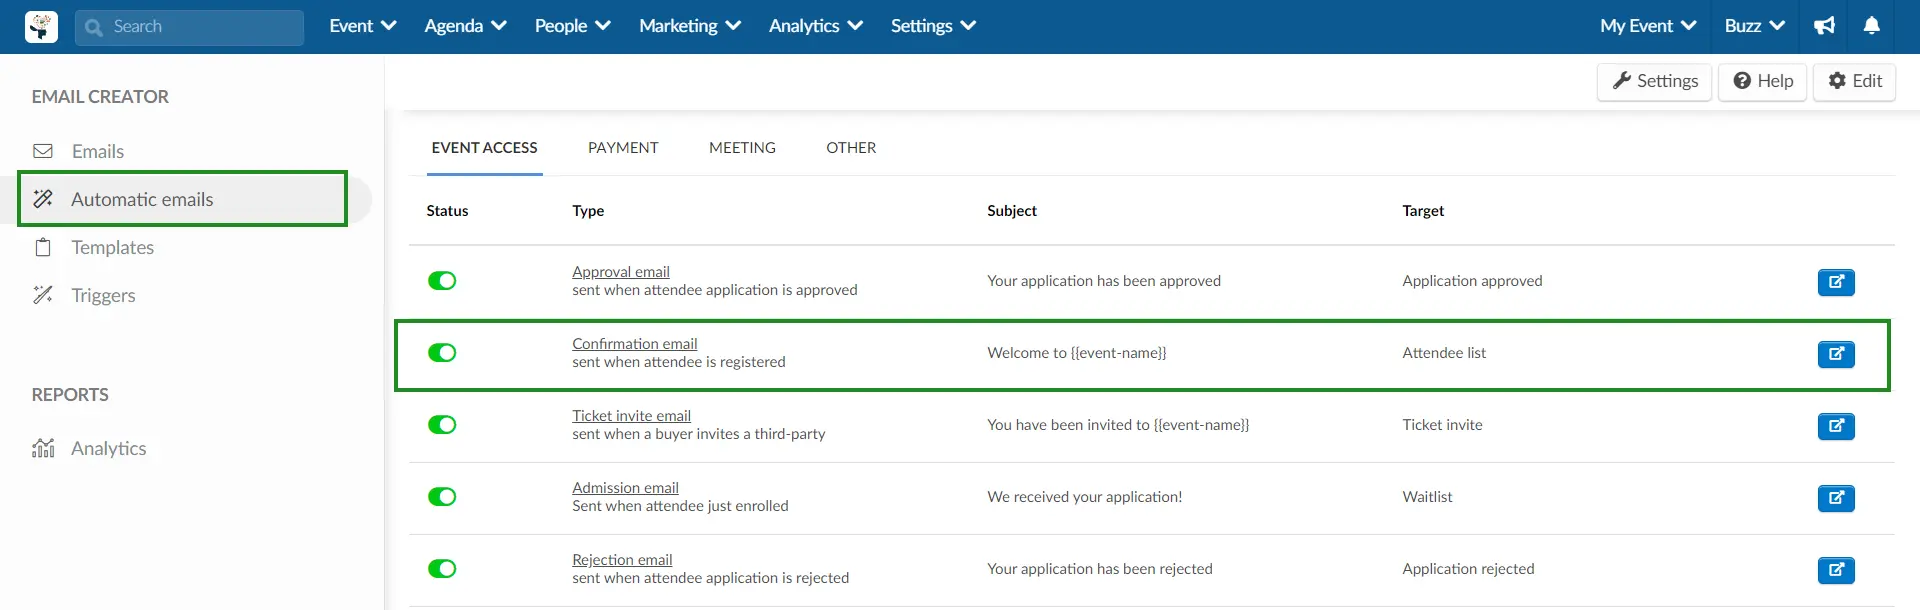
To set up the confirmation email and generate a magic link for your external page, go to Marketing > Communication > Email Creator and click on Automatic emails.
To customize the Confirmation email, click on the blue button on the right-hand side.
You will be directed to the design and customization page of the email.
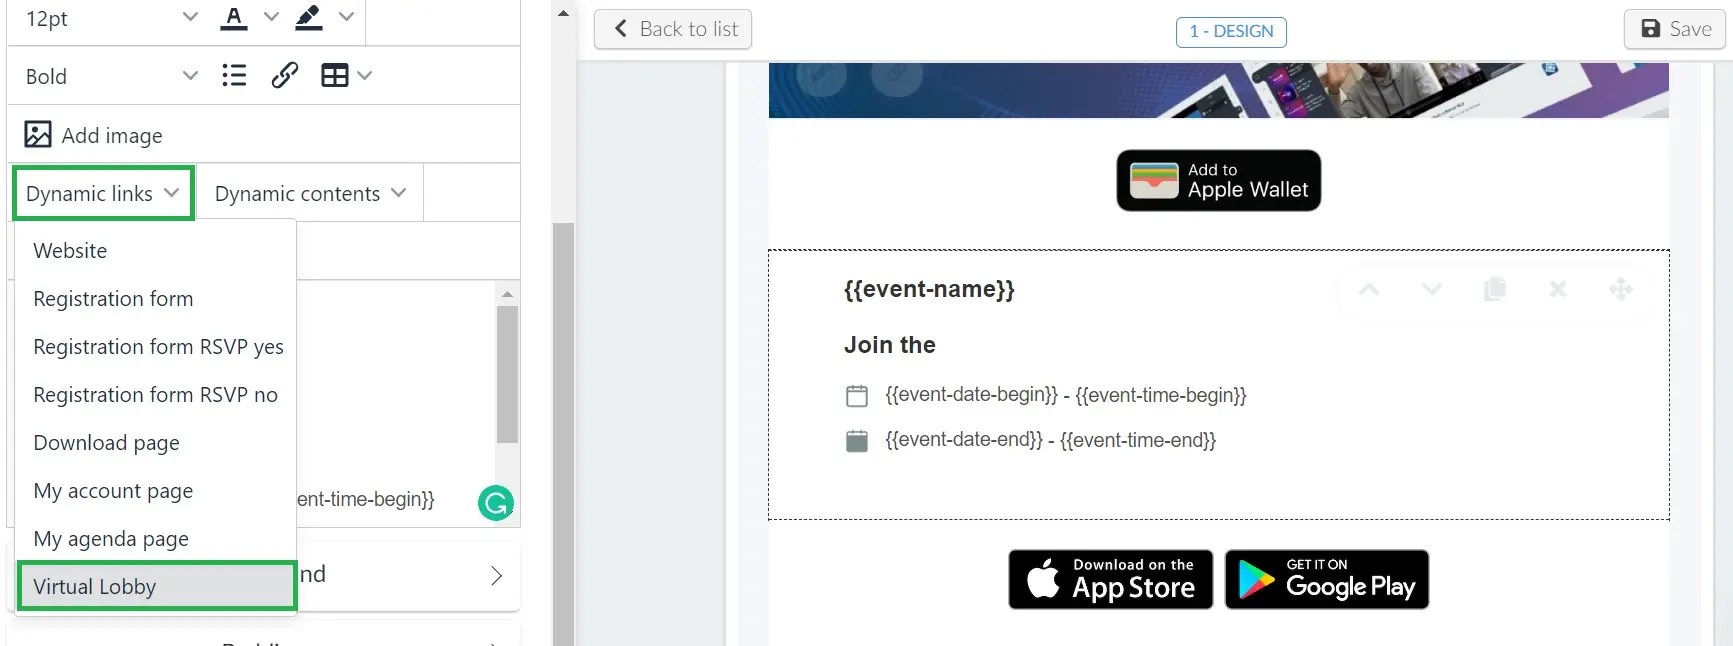
You should click on the body of the email and an editor box will appear on the left for you to edit its content.
Click on Dynamic links and select Virtual Lobby.
Next, click on top of Virtual Lobby in the editor box and then in the hyperlink icon, as shown below:
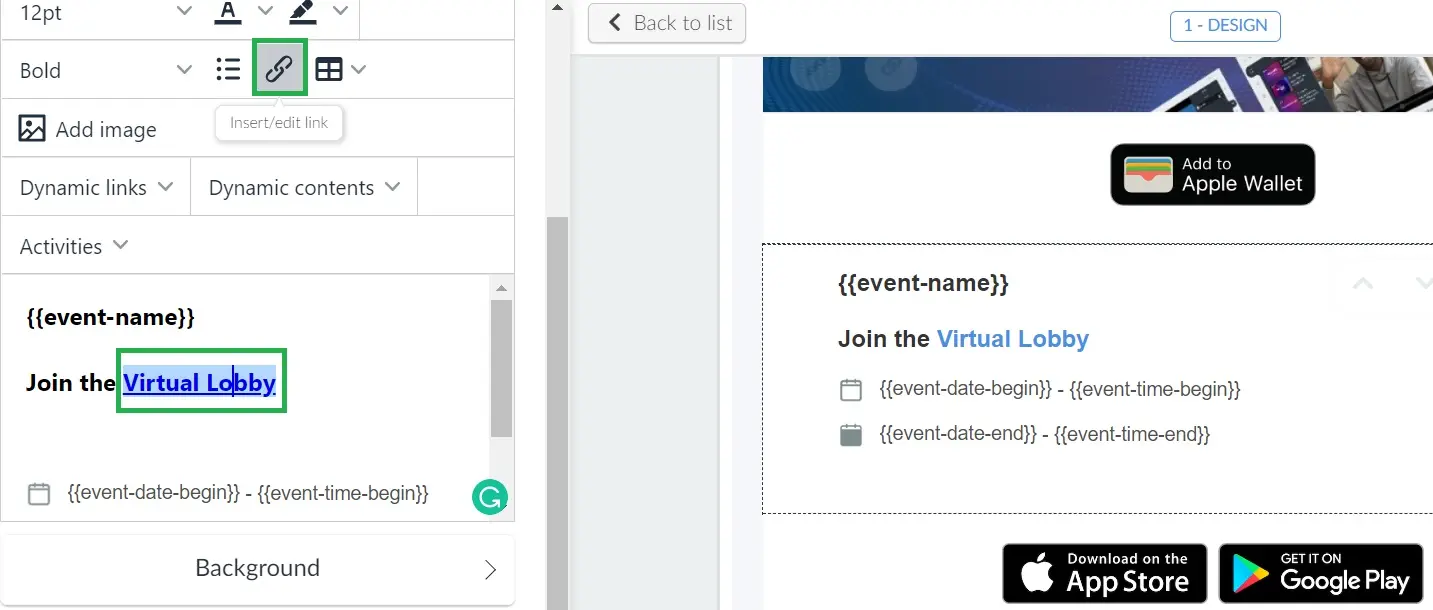
Now, you will need to edit the link the attendees are going to receive to access the Lobby.
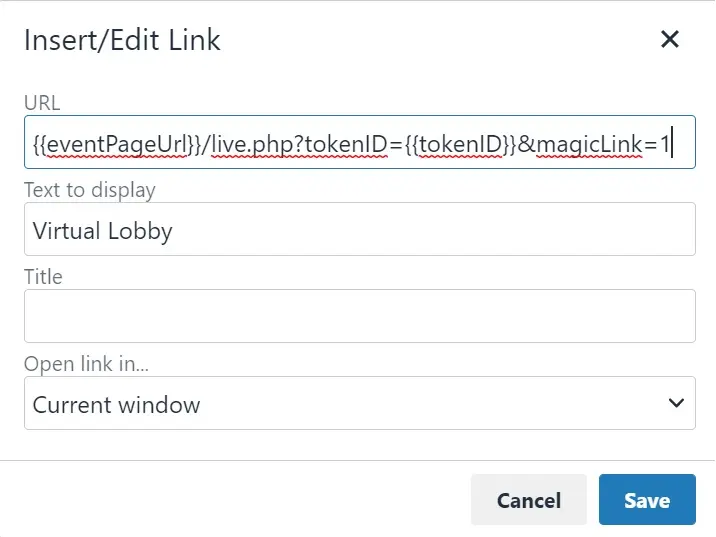
When editing the link, you should replace the live.php? for &. Next, replace {{eventPageUrl}} with the embedded tab in the Virtual Lobby.
The link that was like this:
{{eventPageUrl}}/live.php?tokenID={{tokenID}}&magicLink=1
Should look like this after being edited:
https://inevent.com/en/INSERTCOMPANYNAME/INSERTEVENTNAME/tab-embed.php?eventTabID=1399486&tokenID={{tokenID}}&magicLink=1
The Virtual Lobby main page and the 3D environment
After following all the steps listed above, your attendees will be able to click on all hyperlinks added to the 3D page.
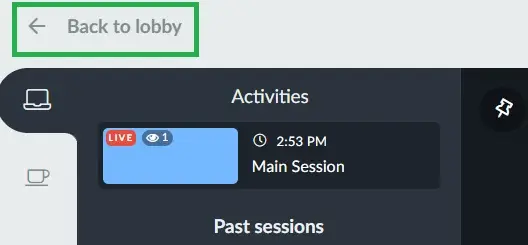
But you should keep in mind that even though the confirmation email and registration form will take the attendees to the 3D page, the Back to lobby button will not.
When the attendees are inside a room, they will see a Back to lobby button to go back to the Virtual Lobby default main page, so you will need to decide what you would like this page to look like.
Setting up the default main page of the Virtual Lobby
As mentioned in the previous section, if the attendees press Back to lobby, they will be taken to the default main page of the Virtual Lobby. So it's time for you to decide what you would like the attendees to see when that happens.
You have two options:
- You can either have all activities, sponsor booths, welcome card, and other functionalities being displayed on both the 3D page and the Virtual Lobby default main page.
- Or you can hide everything from the default main page of the Virtual Lobby and redirect your attendees to the 3D page.
If you prefer option number 1, you are good to go!
If you prefer option number 2, follow the steps below:
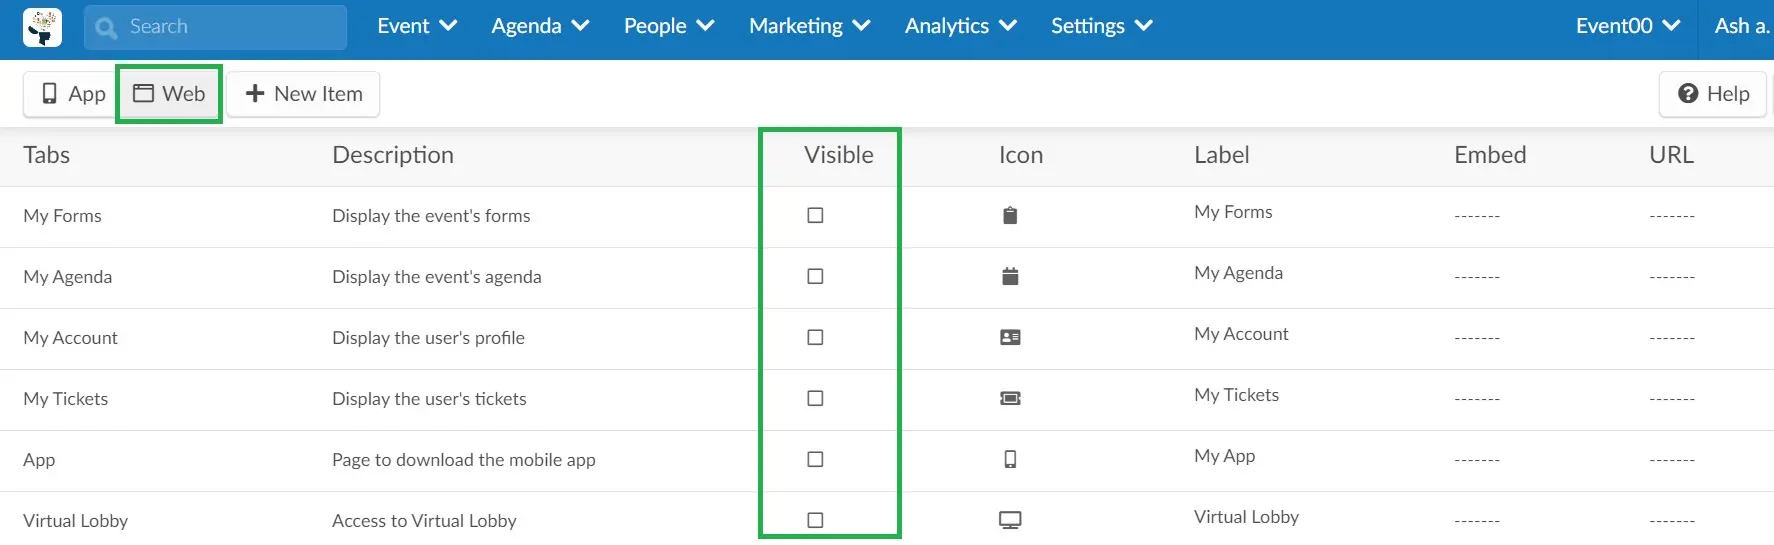
Hiding the tabs
First, go to Settings > Tabs > and make sure all tabs are set to Invisible.
Hiding the activities
Now go to Agenda > Activities, and make sure that all your activities are set to Invisible.
To do this, click on the activity on the left, then go to Settings, press Edit and make sure that the checkbox Activity visible to attendees is unchecked.

Creating the room that will redirect attendees to the 3D page
To take the user back to the 3D Lobby, we suggest you create an activity by going to Agenda > Activities > + Add activity.
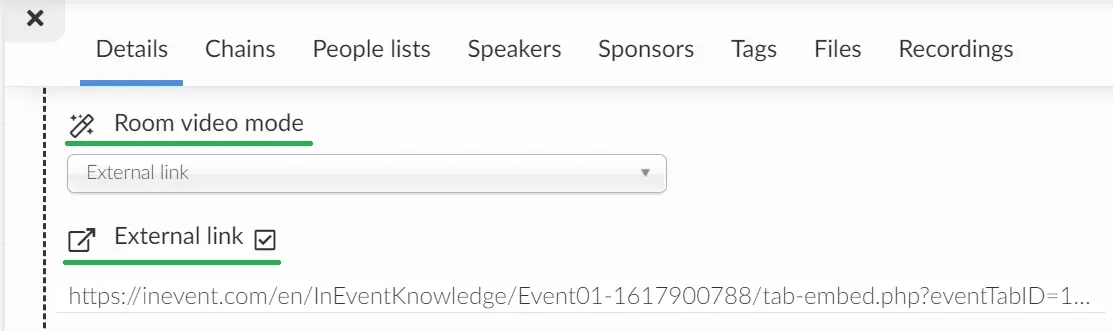
Once you have created the activity (that can be called Back to Lobby or however you prefer) click on Edit and scroll down until you see Room video mode and select External link.
Add the embedded tab link to the External link field.
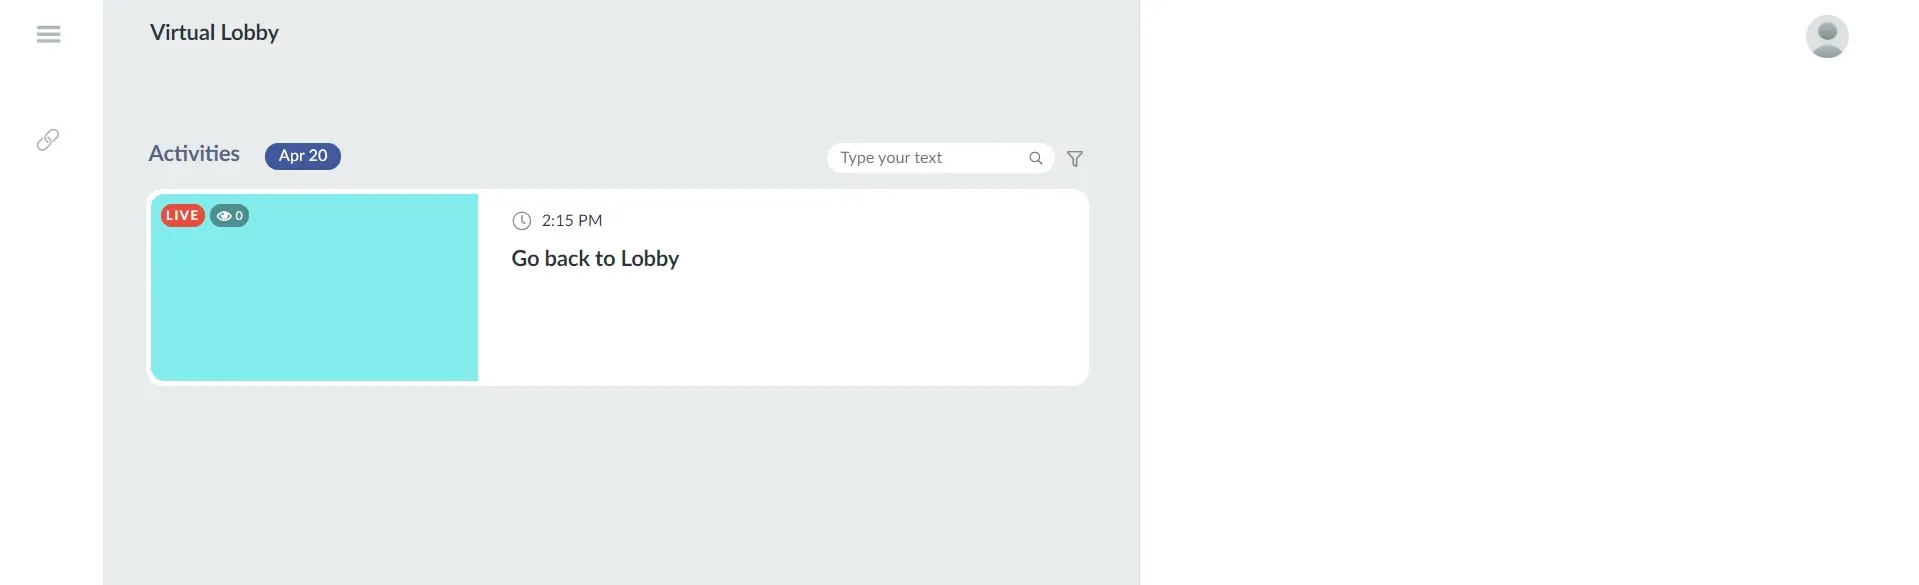
Now, whenever your attendees press Back to Lobby, they will go back to the Virtual Lobby main page and there will be only one room for them to click on.
When they click on the activity/room that says Back to lobby, they will be redirected to the 3D environment.
Hiding sponsor booths
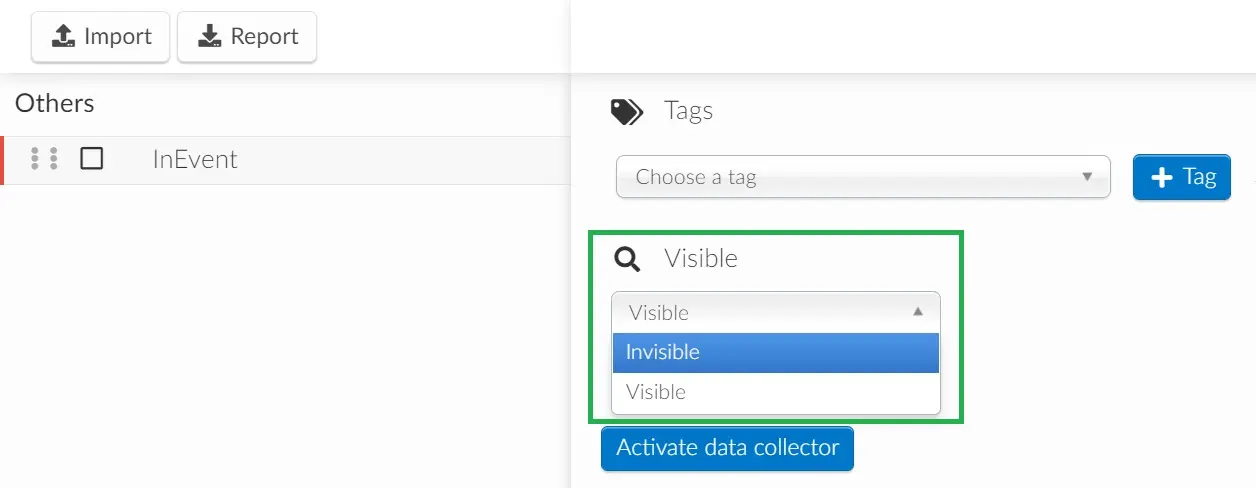
Now, you should go to Event > Sponsor > and make sure that all of your sponsor booths are set to Invisible.
To do so, click on the sponsor in the left, press Edit, and scroll down until you see Visible. Make sure it is set to Invisible.
Hiding the Welcome Card, Networking options, and News feed.
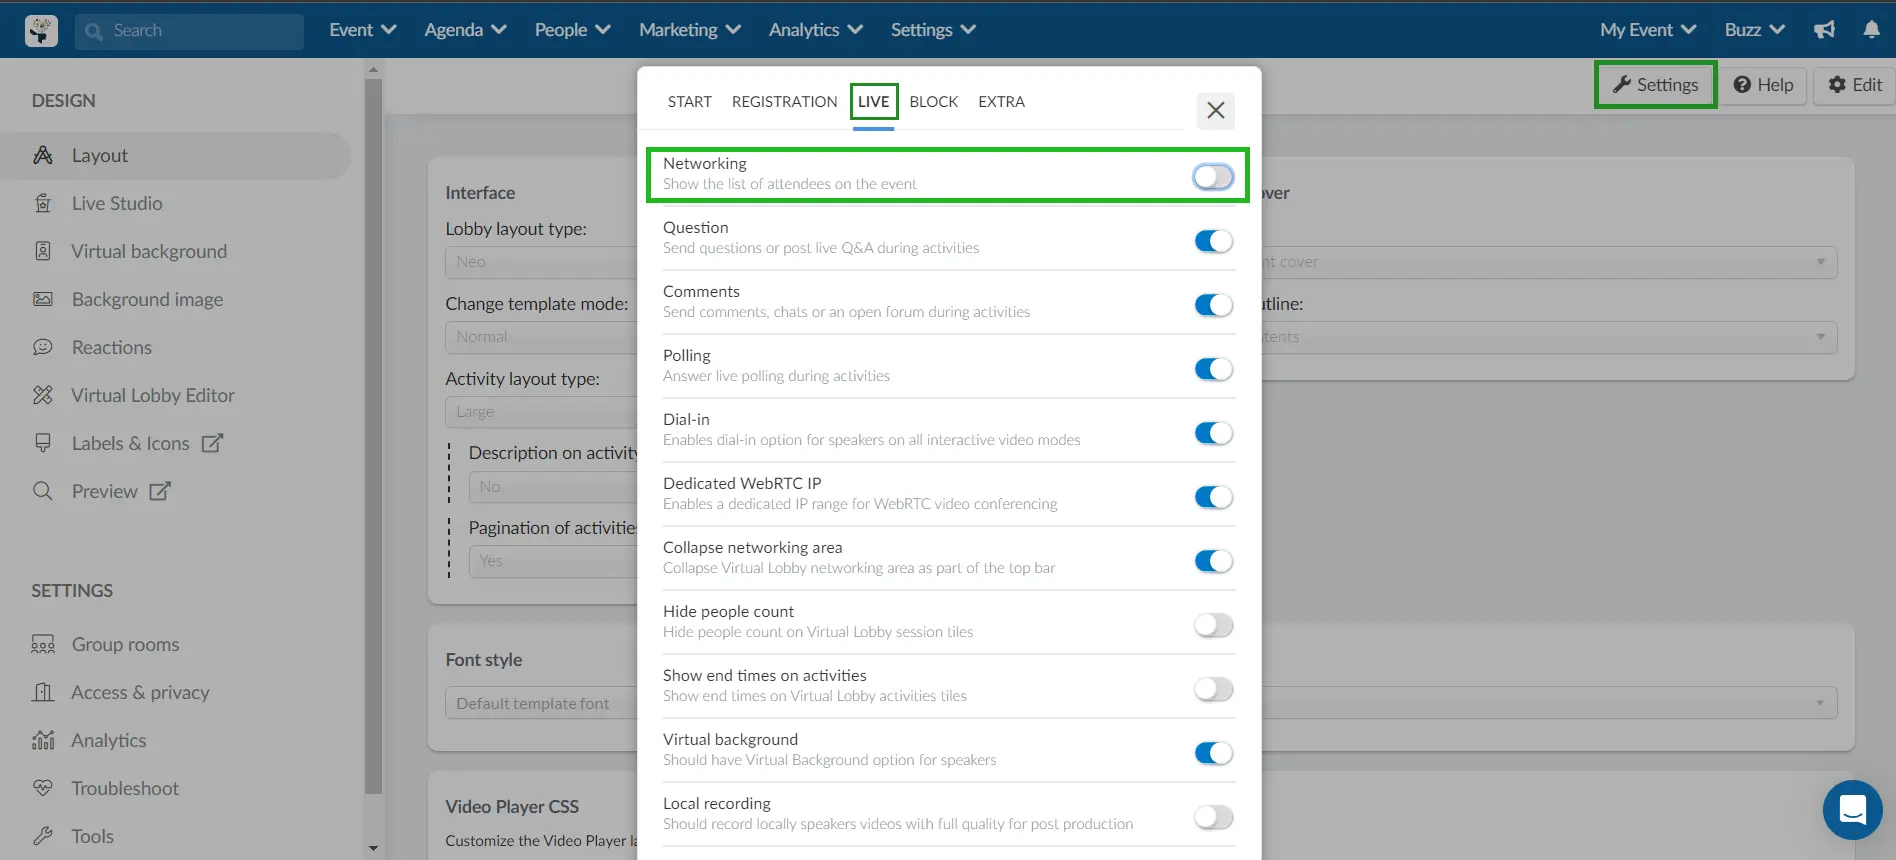
To disable the Networking options, go to Event > Virtual Lobby, and click on Settings. Select the Live category and toggle off the Networking button.
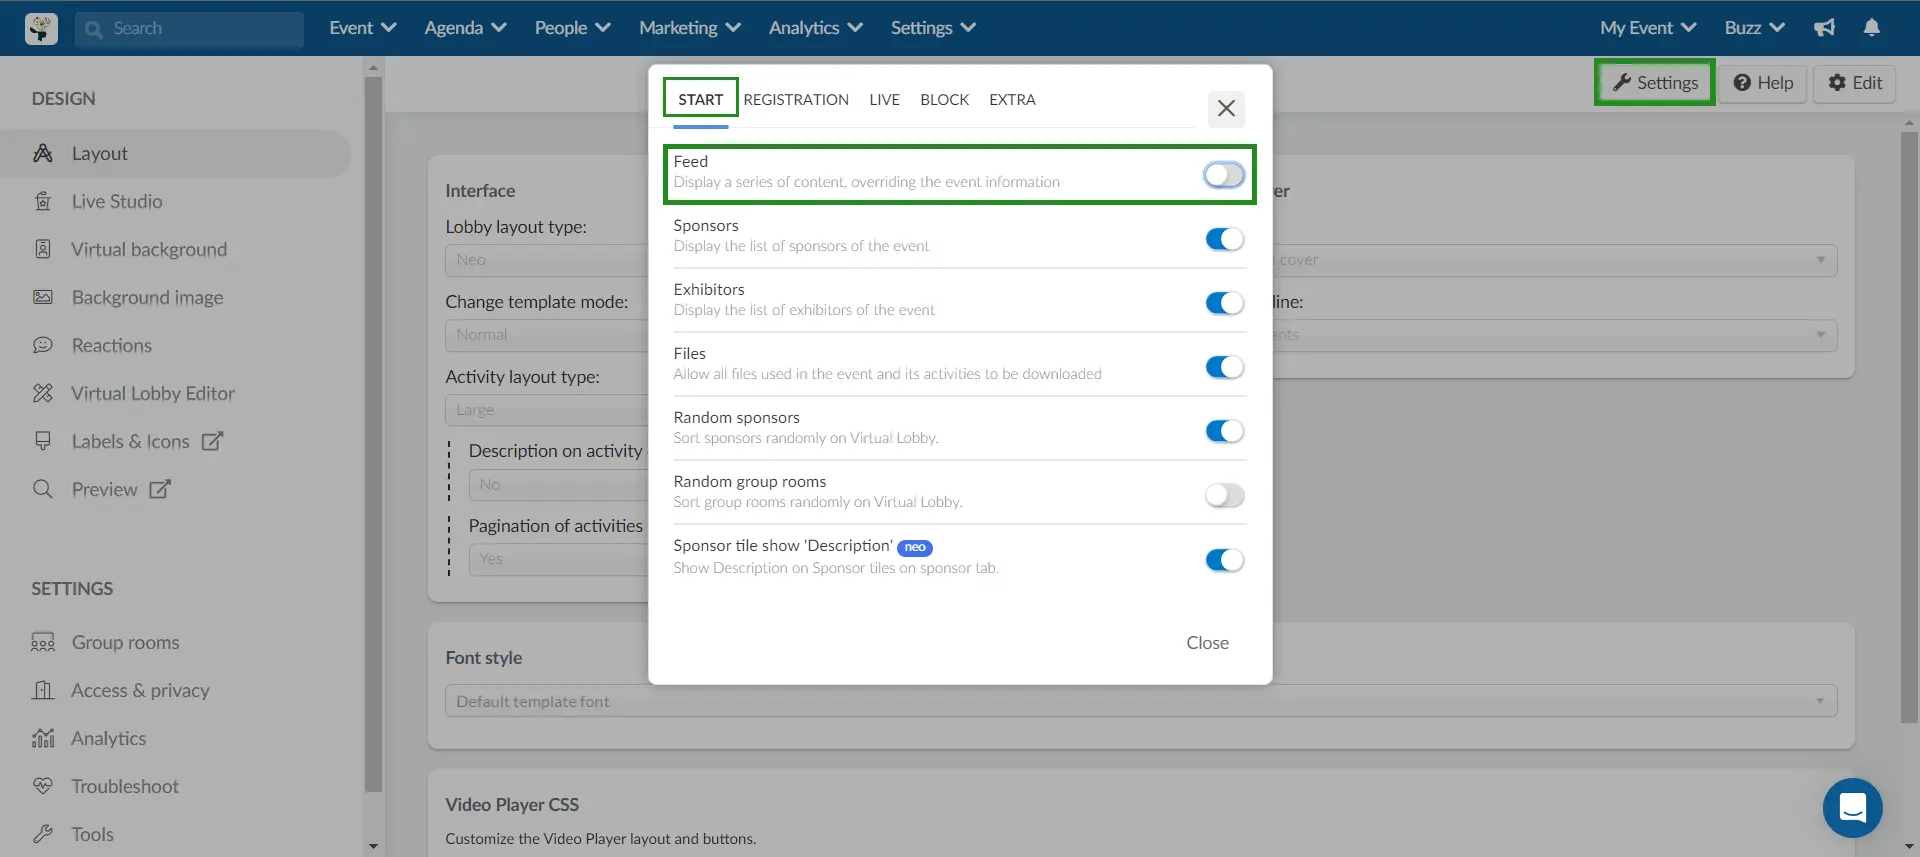
To disable the News Feed, go to Event > Virtual Lobby, and click on Settings. Select the Start category and toggle off the Feed button.
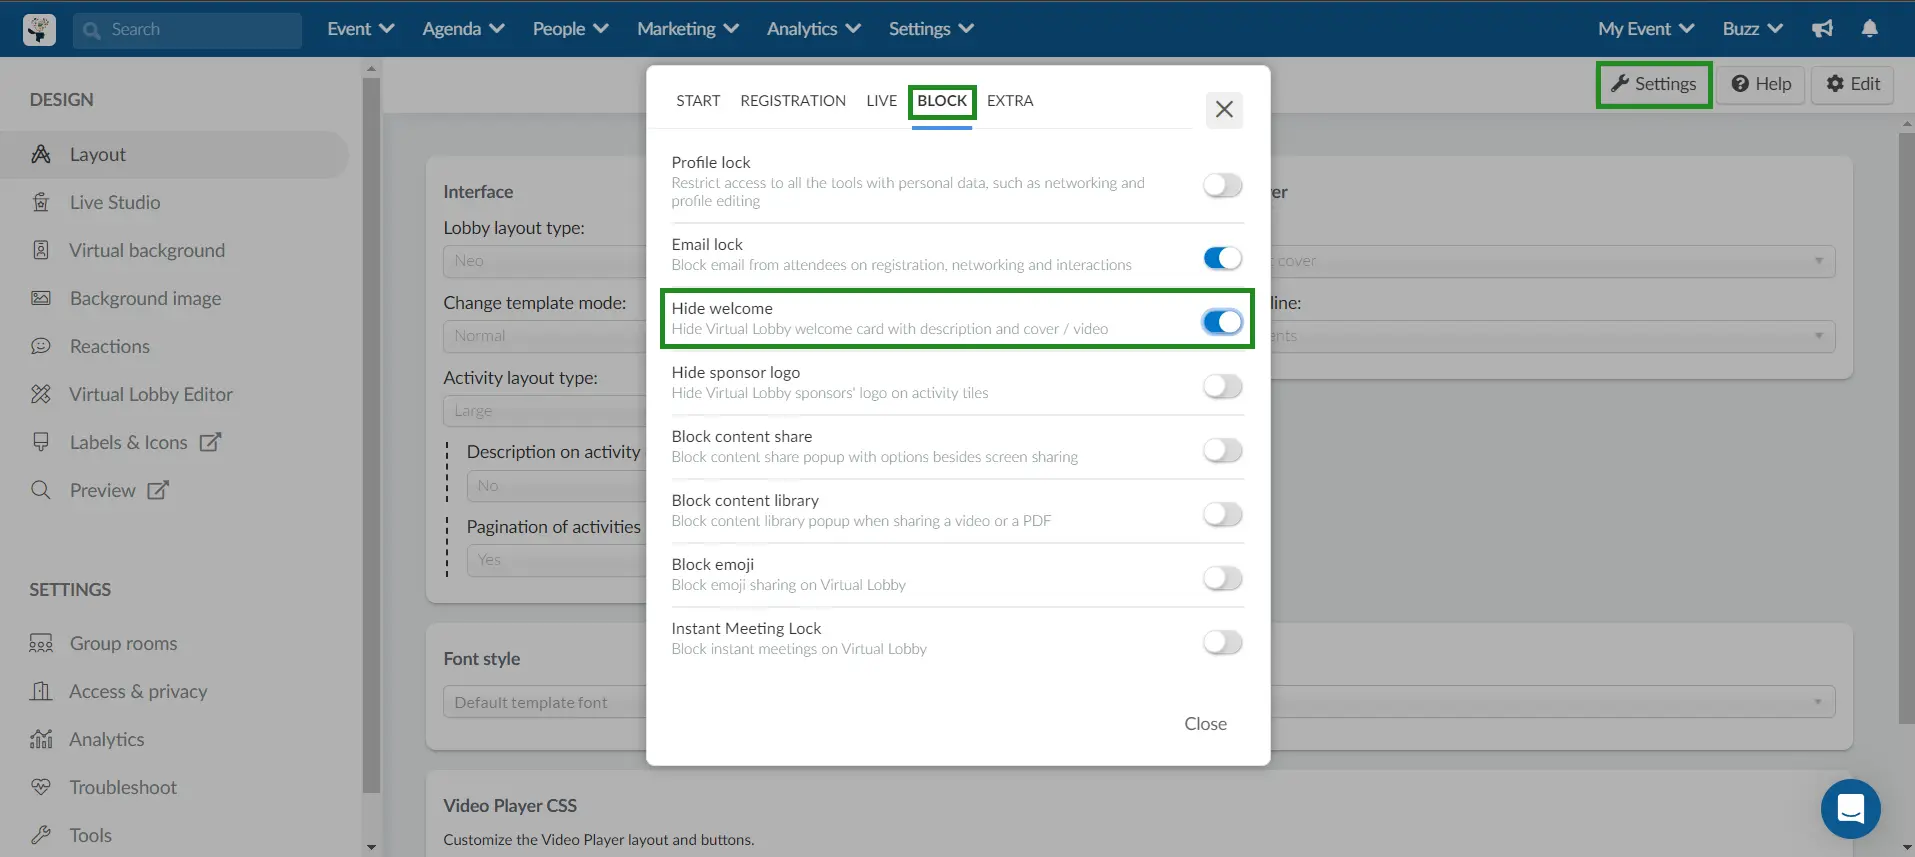
To disable the Welcome card, go to Event > Virtual Lobby, and click on Settings. Select the Block category and toggle on the Hide welcome button.
Click here for further information on the welcome card
Click here for further information on Networking.
Click here for further information on the News Feed.
After hiding all functions mentioned above, the result will be the main page that will only have two clickable buttons: the embedded tab in the left and one room. Both will take the participant to the same page: the 3D environment in the Virtual Lobby.
And the 3D environment will look like this after you have hidden all tabs: