How do I create certificates of attendance?
 Updated 3 months ago
by
yasmine haj sassi
Updated 3 months ago
by
yasmine haj sassi
Event attendees are often looking forward to receiving a certificate once the event is over so they are able to add it to their CV, and set themselves apart in a competitive industry.
This article intends to give you a step-by-step on how to generate automated and personalized certificates of attendance for your event.
How do I enable attendance tracking and attendance certificates?
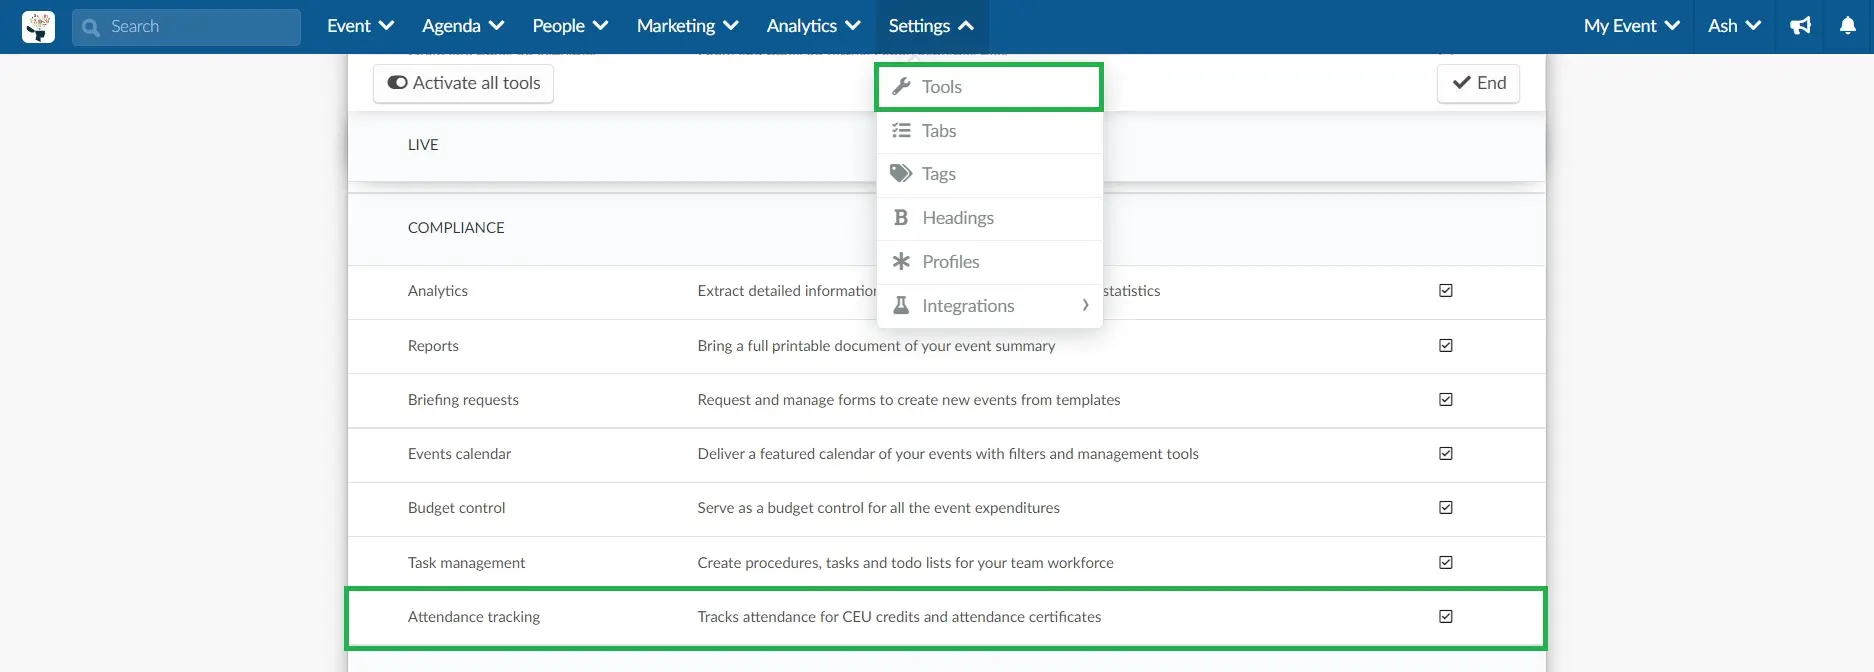
To enable this feature, go to Settings > Tools > scroll down until you see the Compliance section. Then, press Edit, and make sure the Attendance tracking checkbox is checked. Press End to save the changes.
If instead of seeing a checkbox, you see Click, you'll be redirected to the Company tools page. Click on Edit and enable the Attendance tracking checkbox.
How do I create attendance certificates?
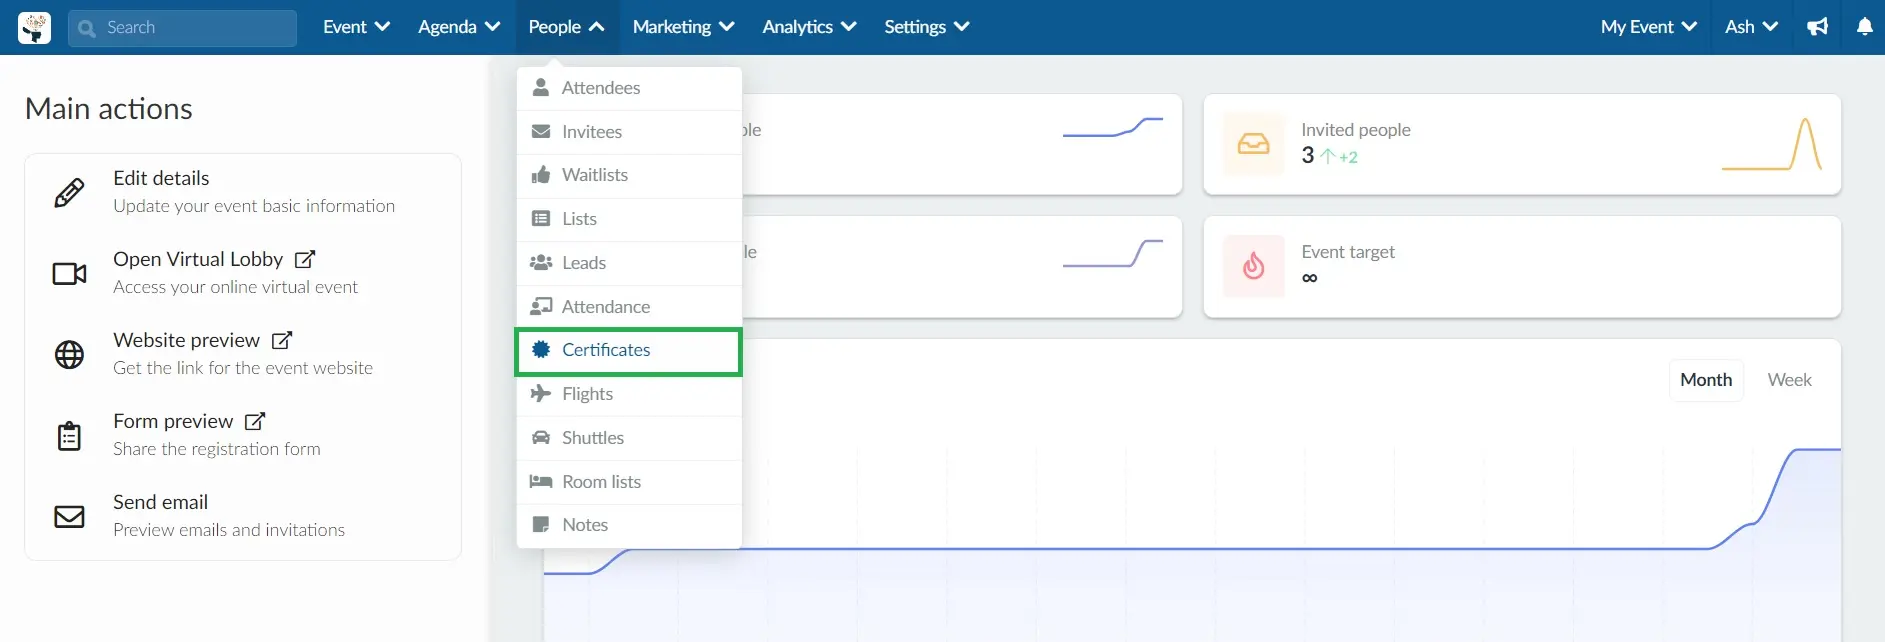
To create certificates and set up their layout, go to People > Programs > Certificates.
Next, press + Create new certificate in the upper left corner. A window will pop up for you to type the Certificate name. Once you are done, press Create.
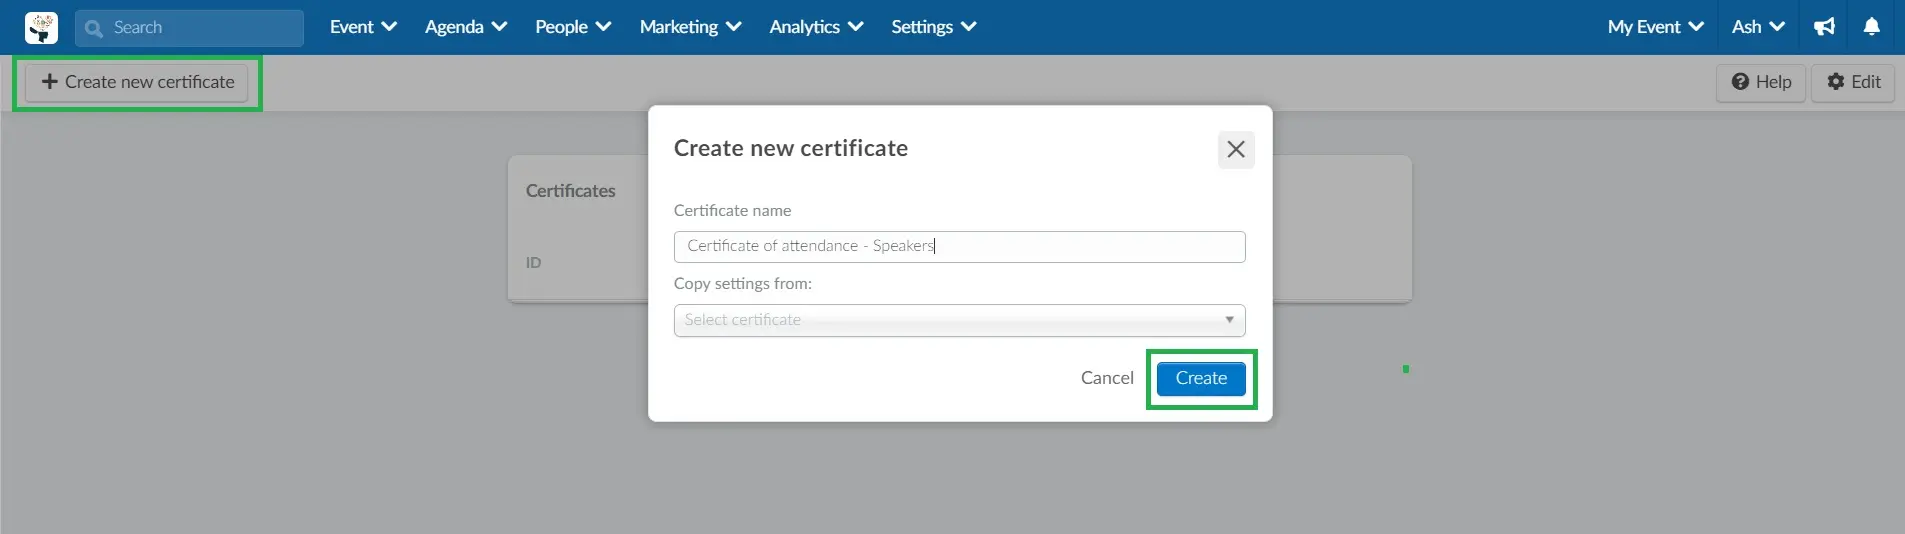
Your certificate has been created and now it's time for you to customize it!
How do I customize attendance certificates?
After creating a certificate, you will be taken to a page where you can customize all certificate details, as shown below:
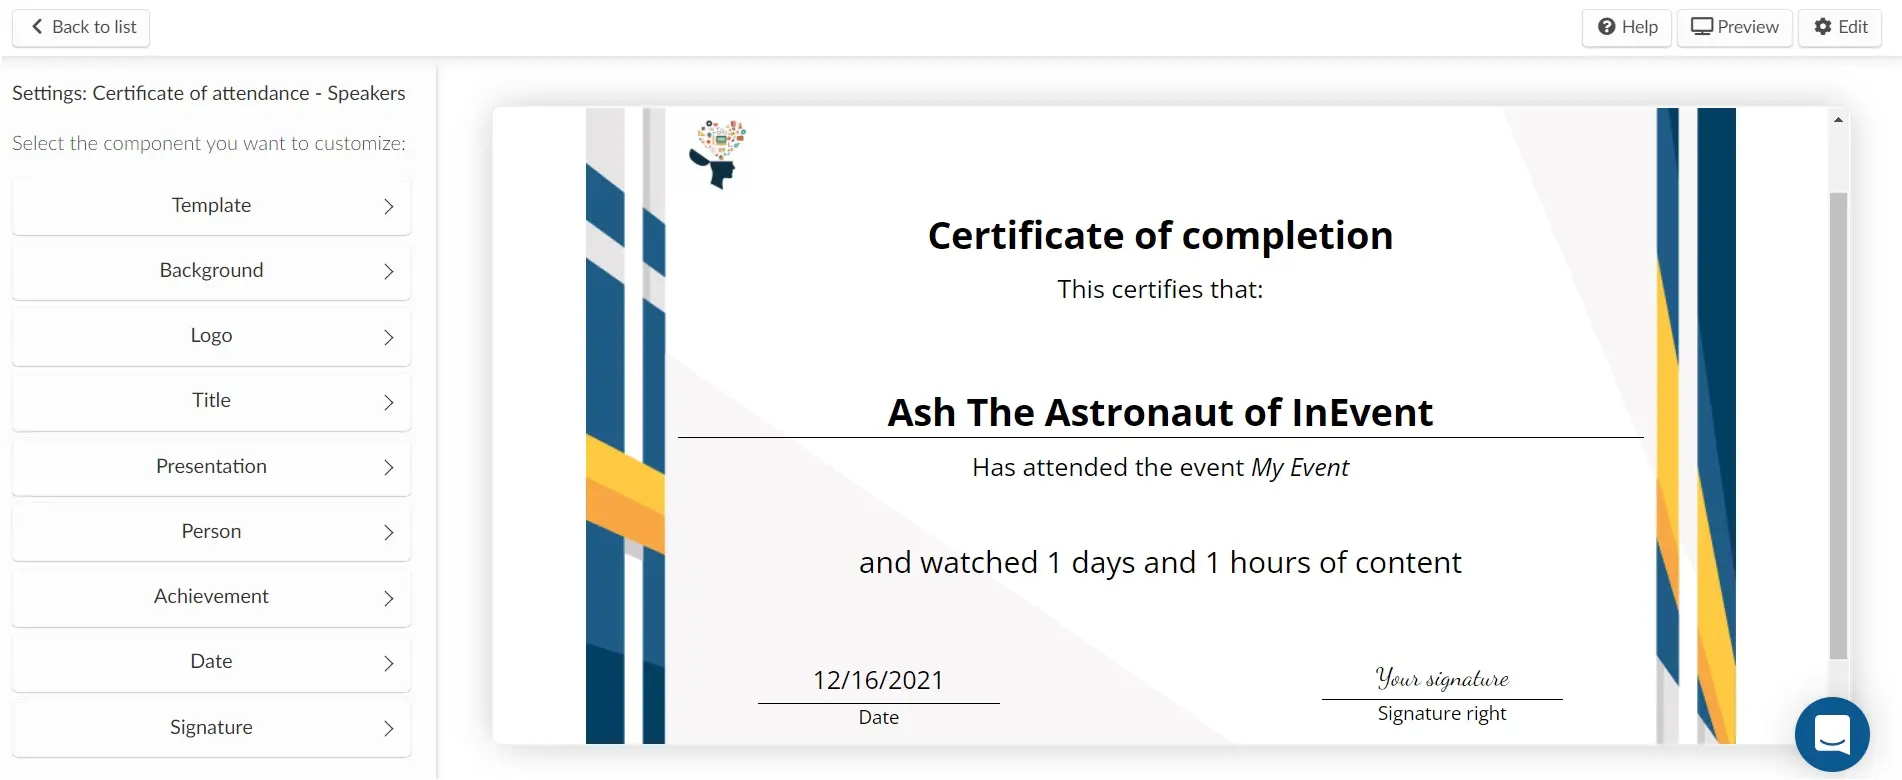
Use the menu on the left-hand side to select the component you want to customize.
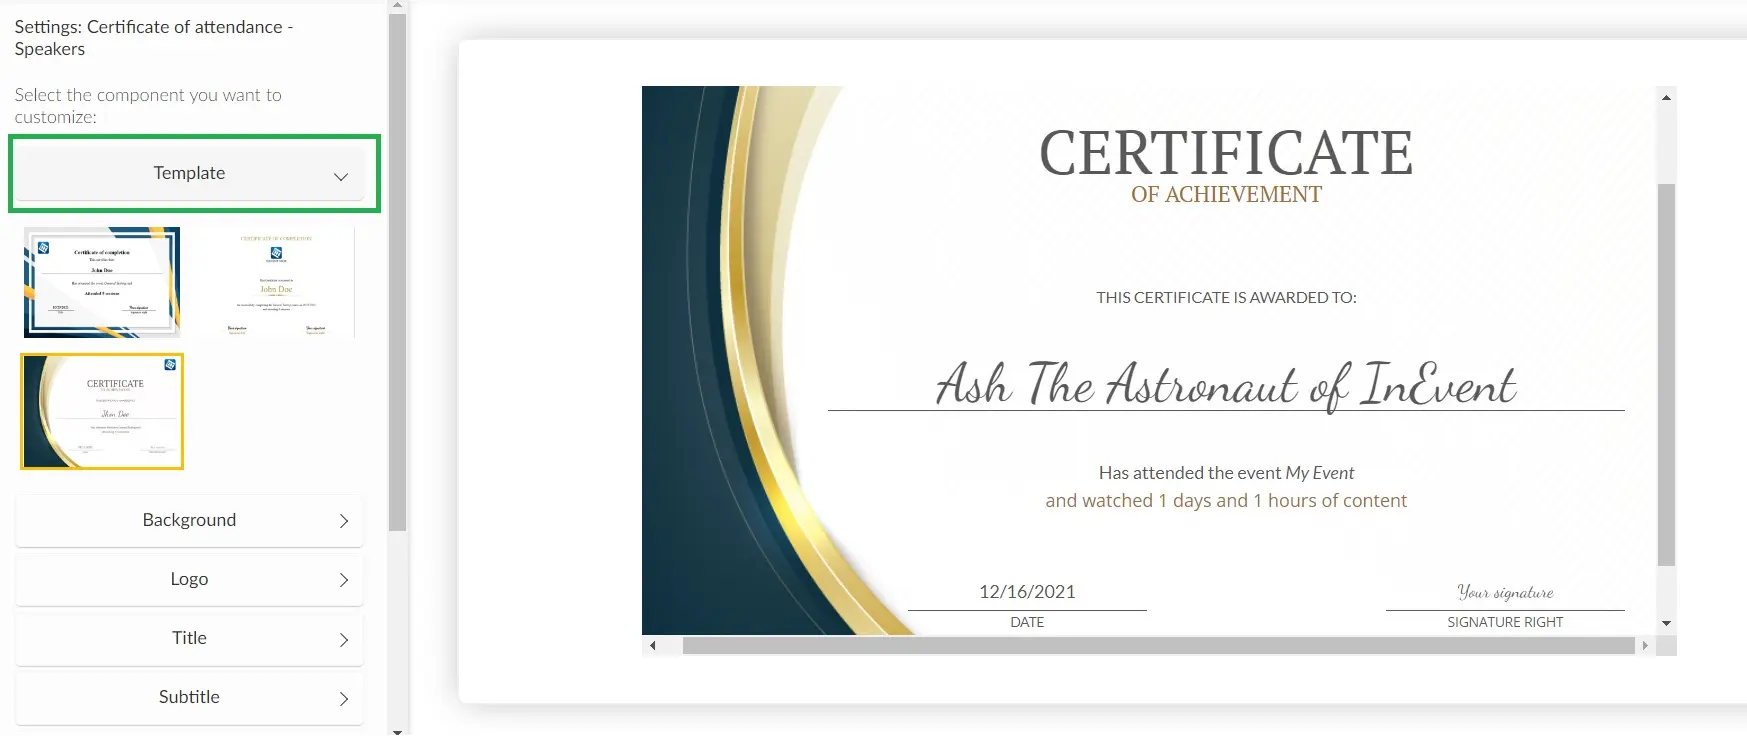
Template
Press Template to choose from one of the template options. A preview of the certificate will be displayed on the right-hand side.
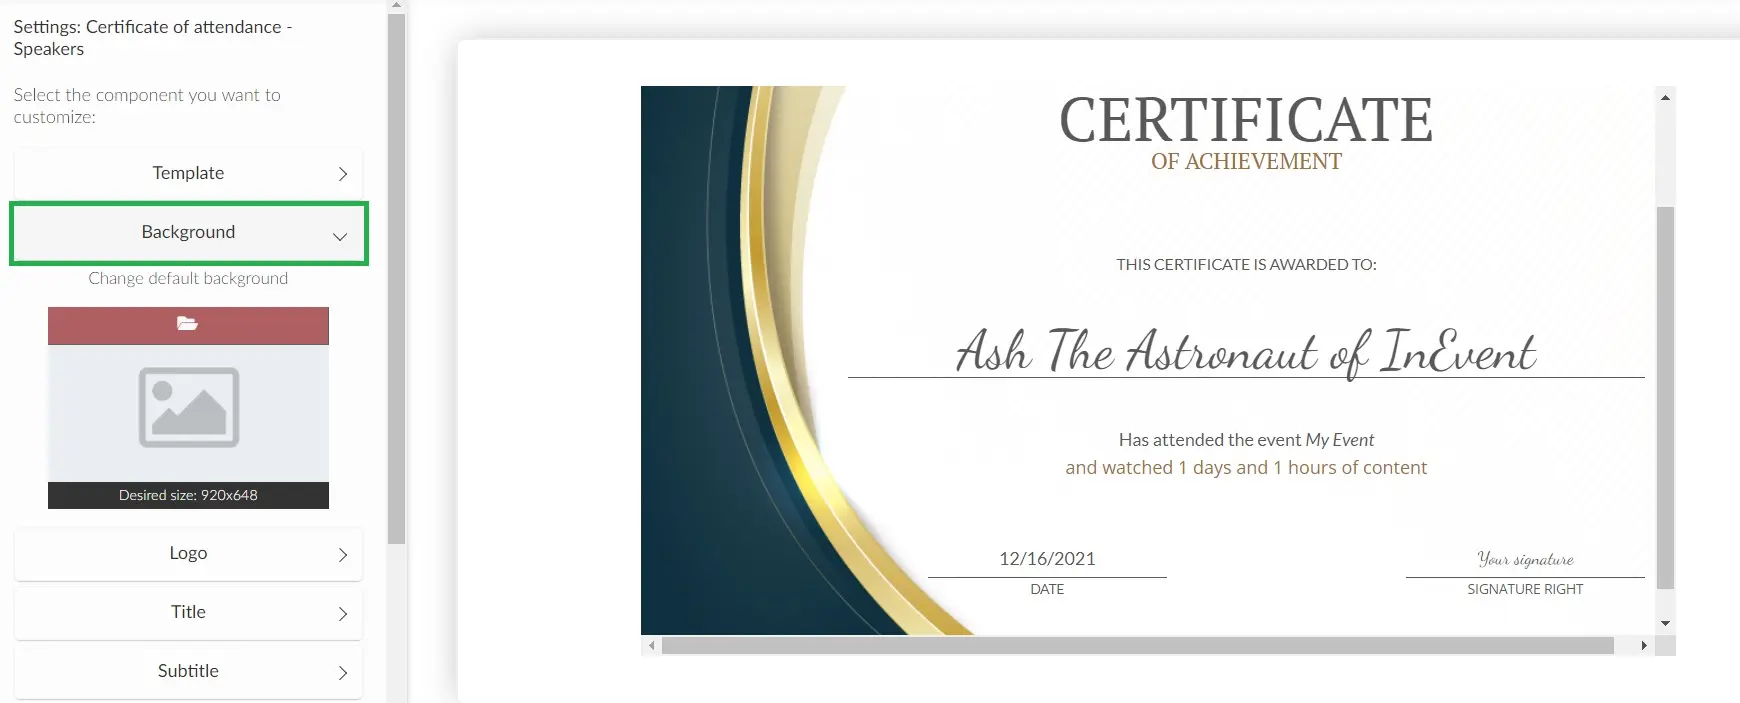
Background
Press Background to change the default background of the template. To do so, click on the red bar with a folder icon to upload an image. The desired size is 920x648 px.
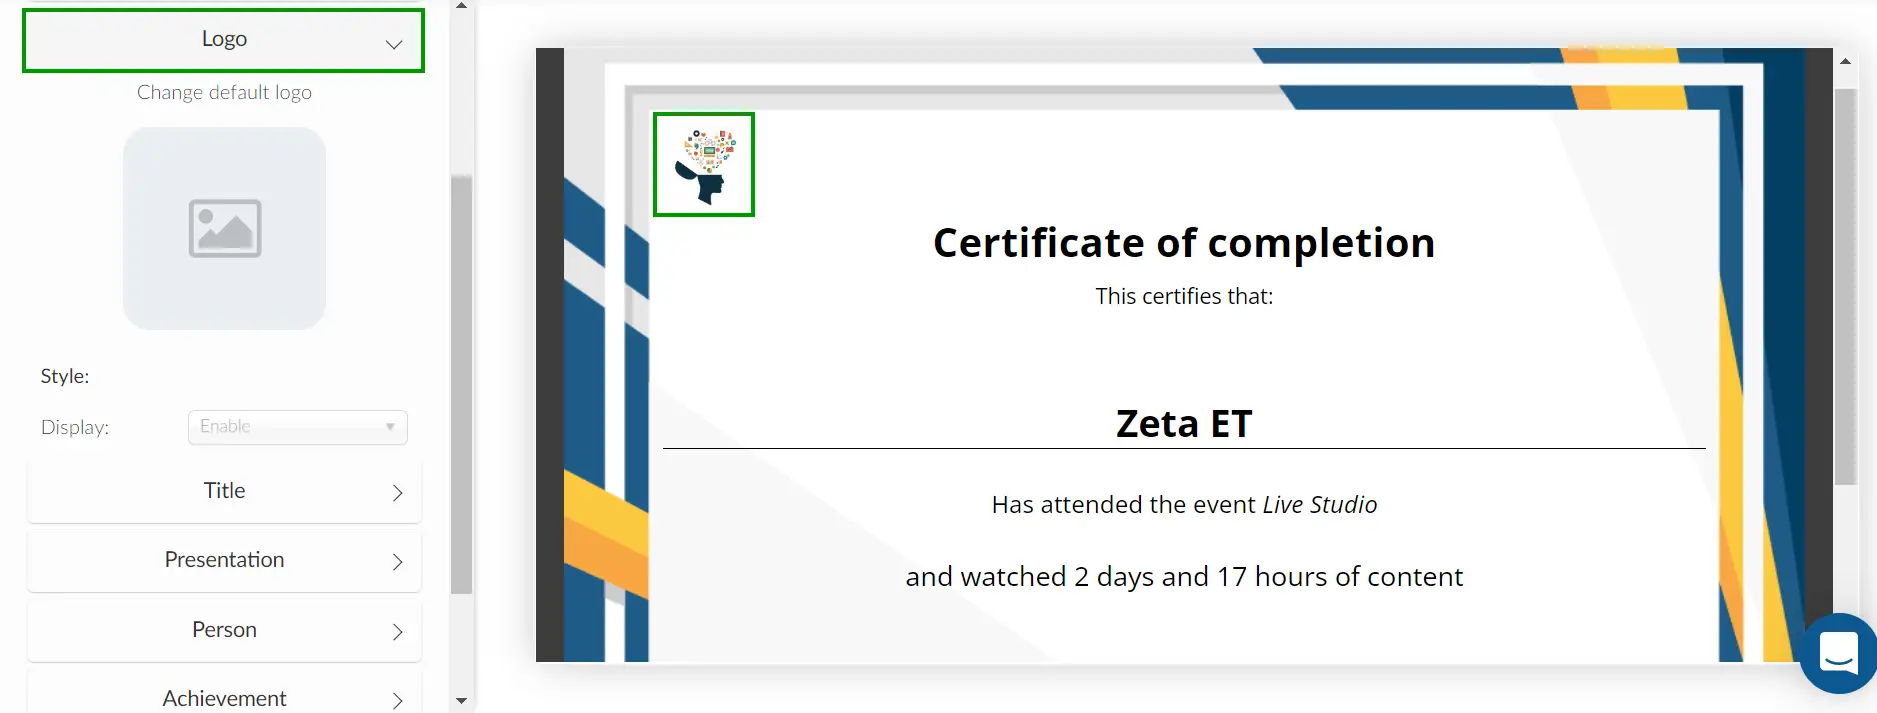
Logo
Press Logo to customize the company logo that is displayed in the upper left corner of the certificate.
- To change the default Logo click on Edit > then click on the red bar with a folder icon to upload a new image. The desired size is 1024x1024 px.
- To remove the Company Logo from the Certificate, click on Edit > on the Display dropdown menu > select Disable.
Text content
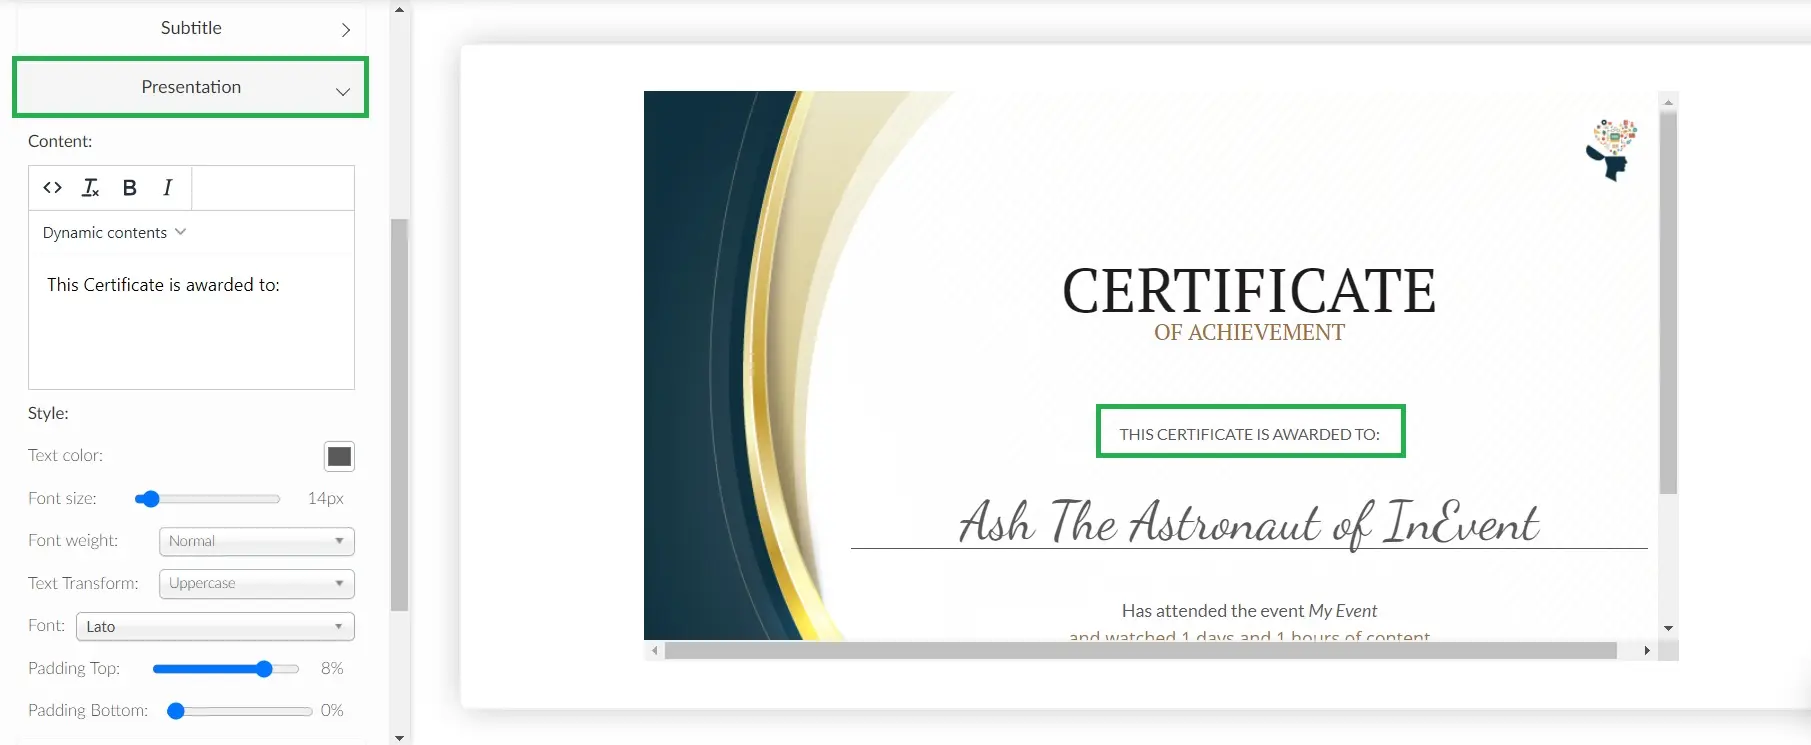
When customizing the text content, an editing box will open up for you to change the default text as well as the text color, the font, the font size and weight, and the padding of these fields.
Title, subtitle, and presentation
- Press Title to customize the title of the certificate.

- Press Subtitle to customize the title of the certificate.
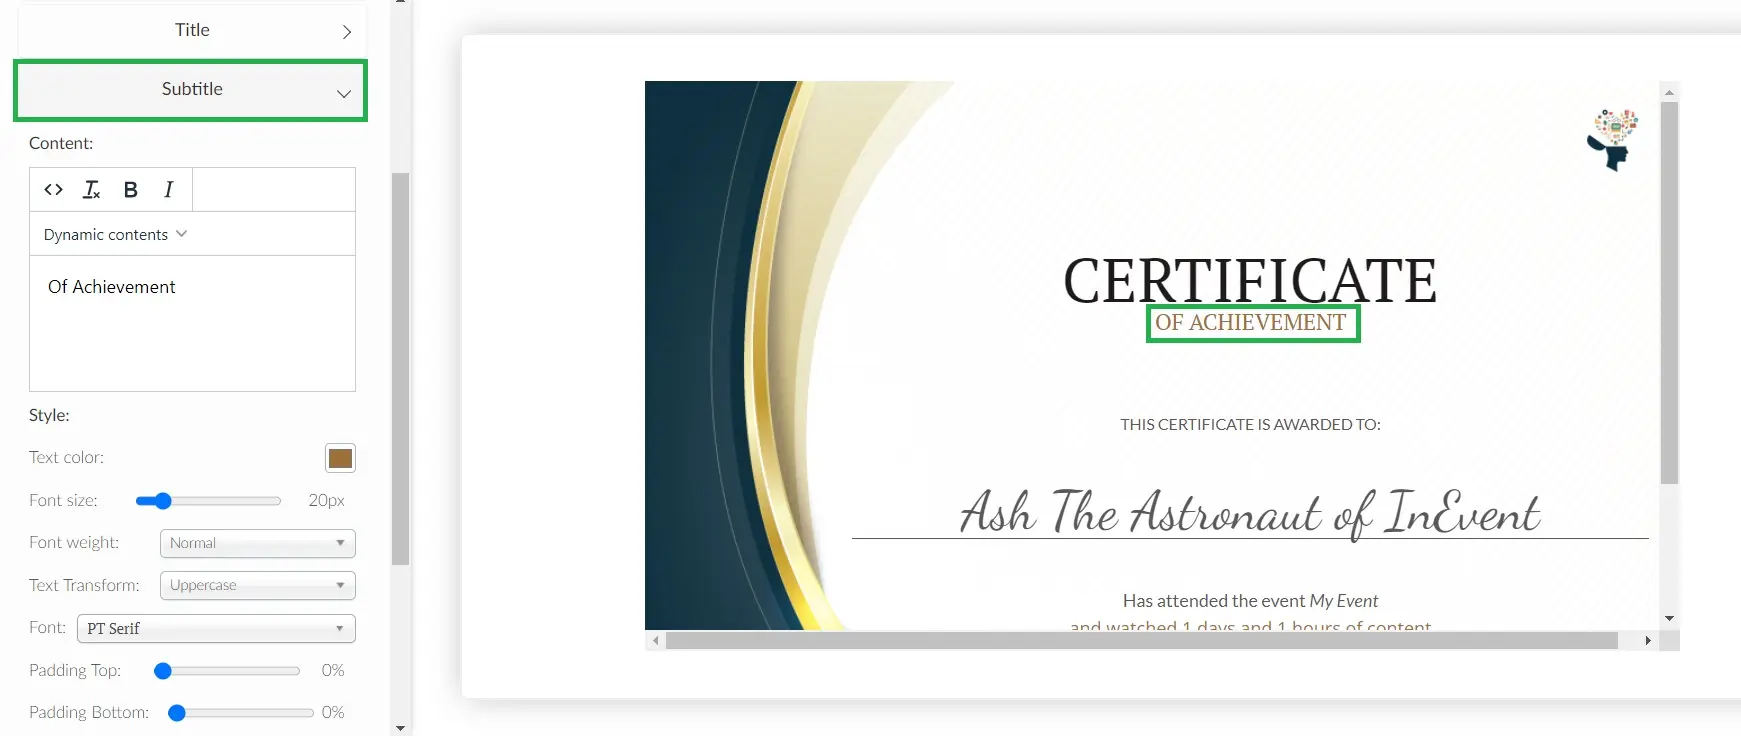
- Press Presentation to customize the presentation text of the certificate.
Person and achievement
- Press Person to customize the field with the attendee's name.

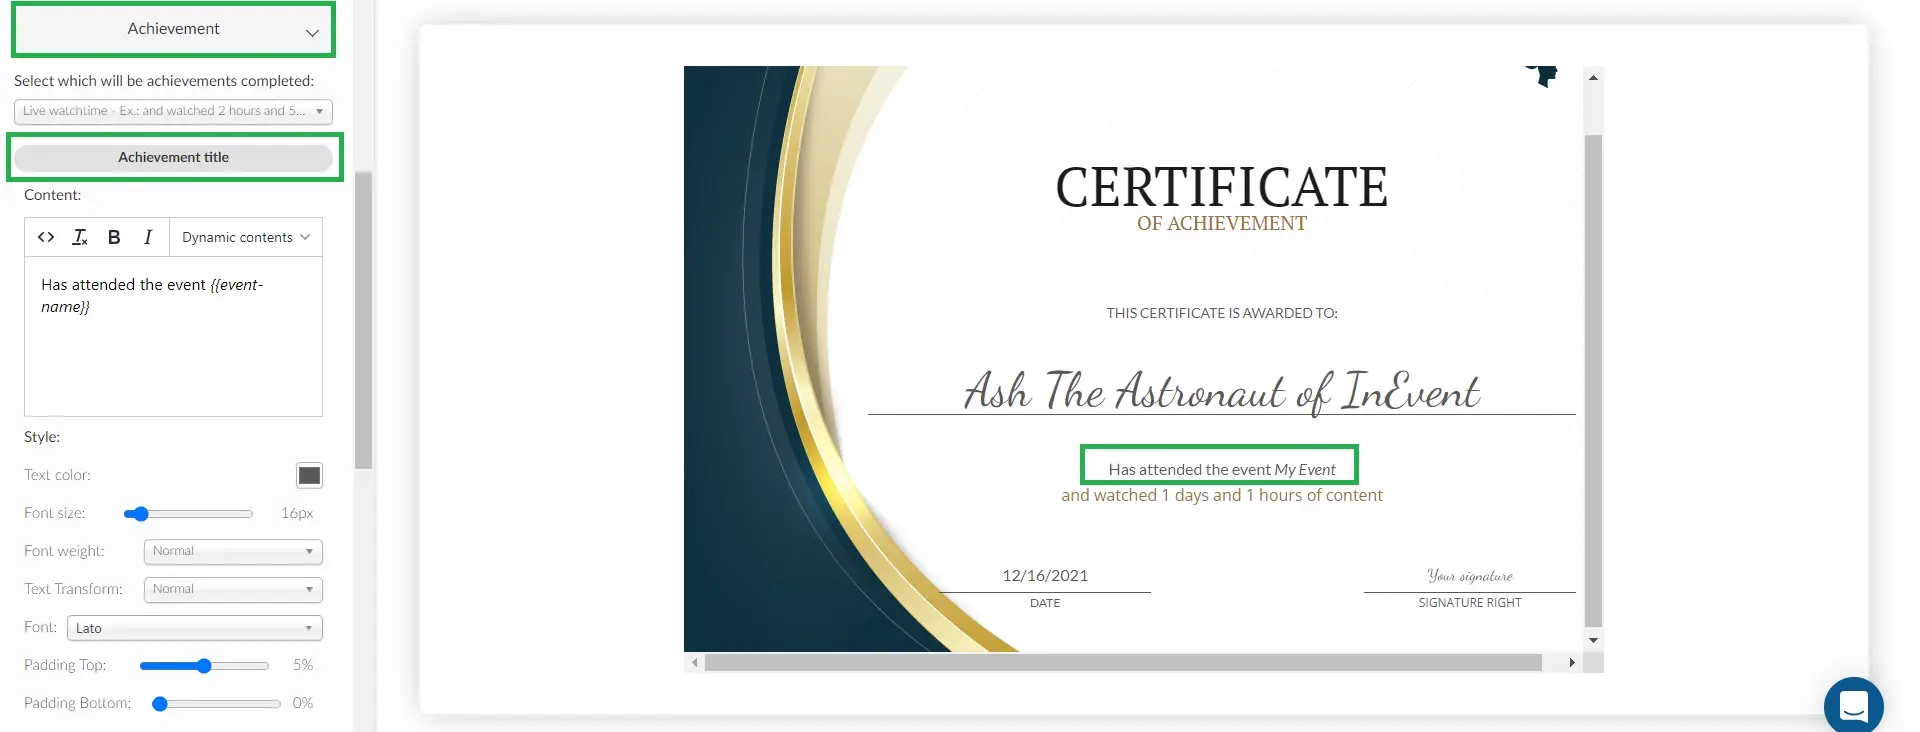
- Press Achievement to customize both the achievement title and achievement value.
- Achievement title: Using the dropdown menu that says Select which will be the achievements completed, you can define if the achievement displayed will be how many sessions the participant attended (activity attendance), or the live watch time in days, hours, and minutes.
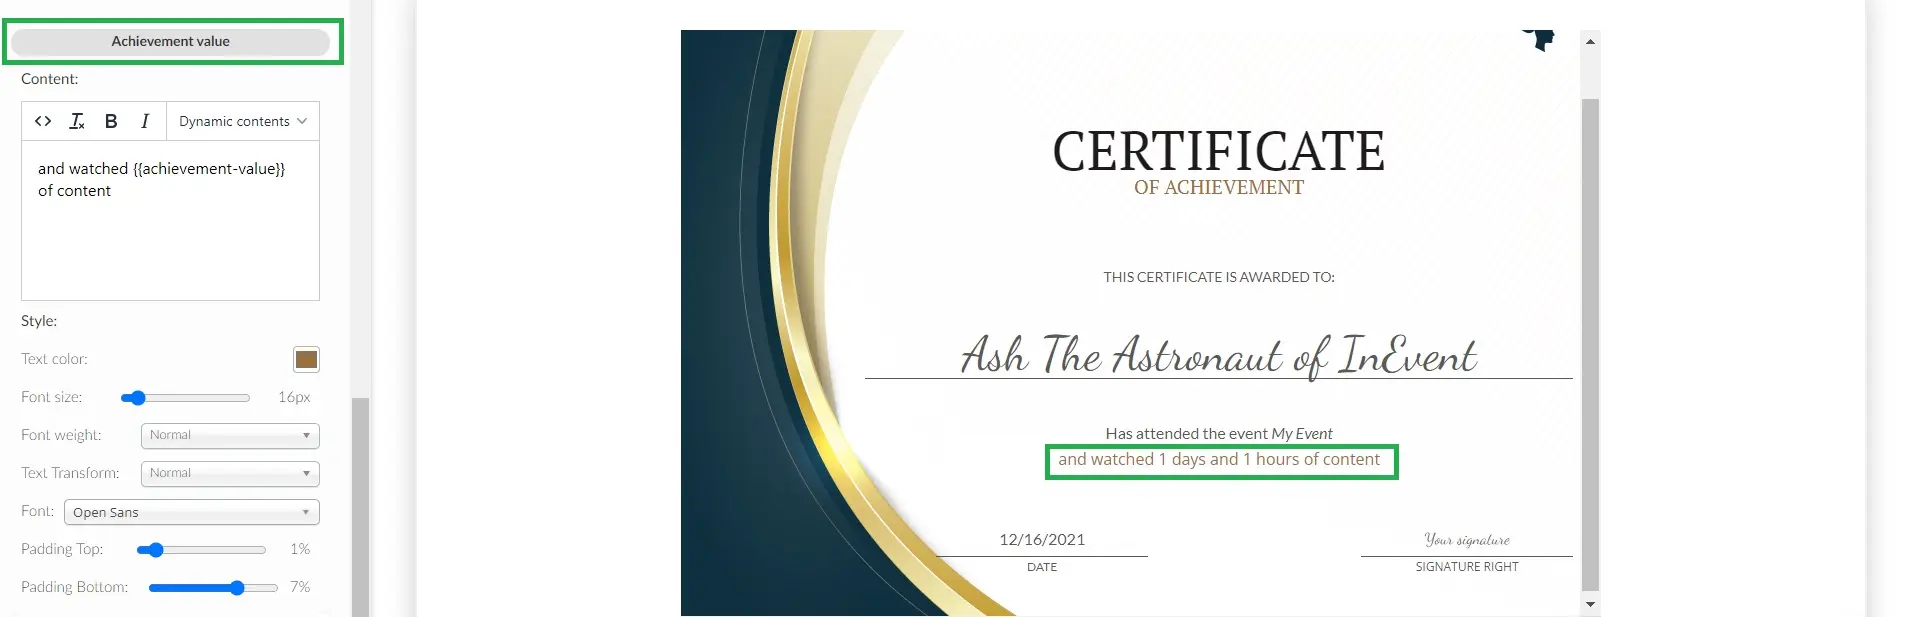
- Achievement value: You can customize the text displayed on the editing box and its style.
Date and signature
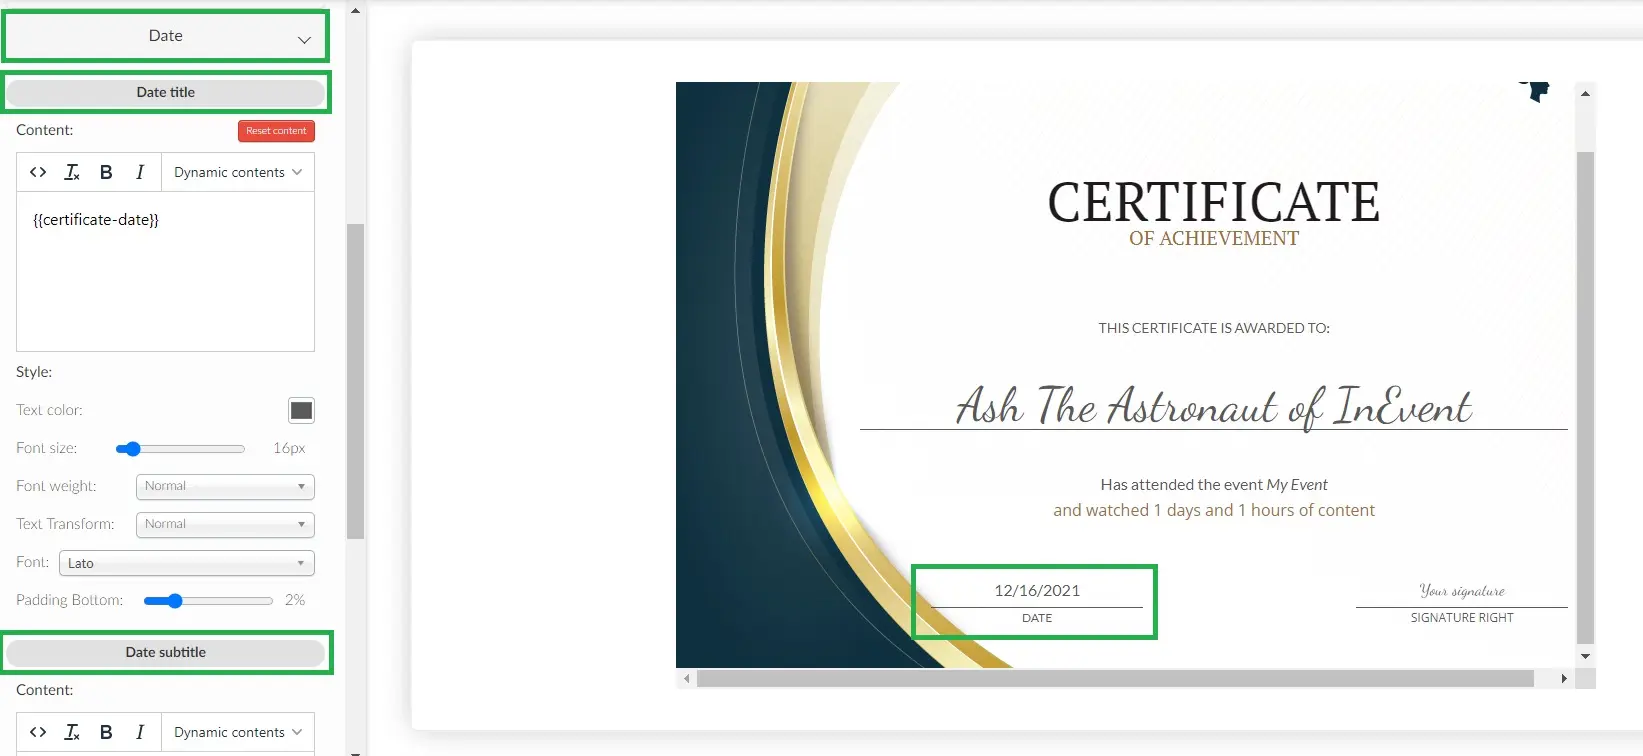
- Press Date to customize both the date title and subtitle.
- Date title: Using the editing box on the left-hand side to replace the date that will be displayed on the certificates. The placeholder {{certificate-date}} will pull the current date and add it to the certificates.
- Date subtitle: Use the editing box on the left-hand side to replace the default text Date.
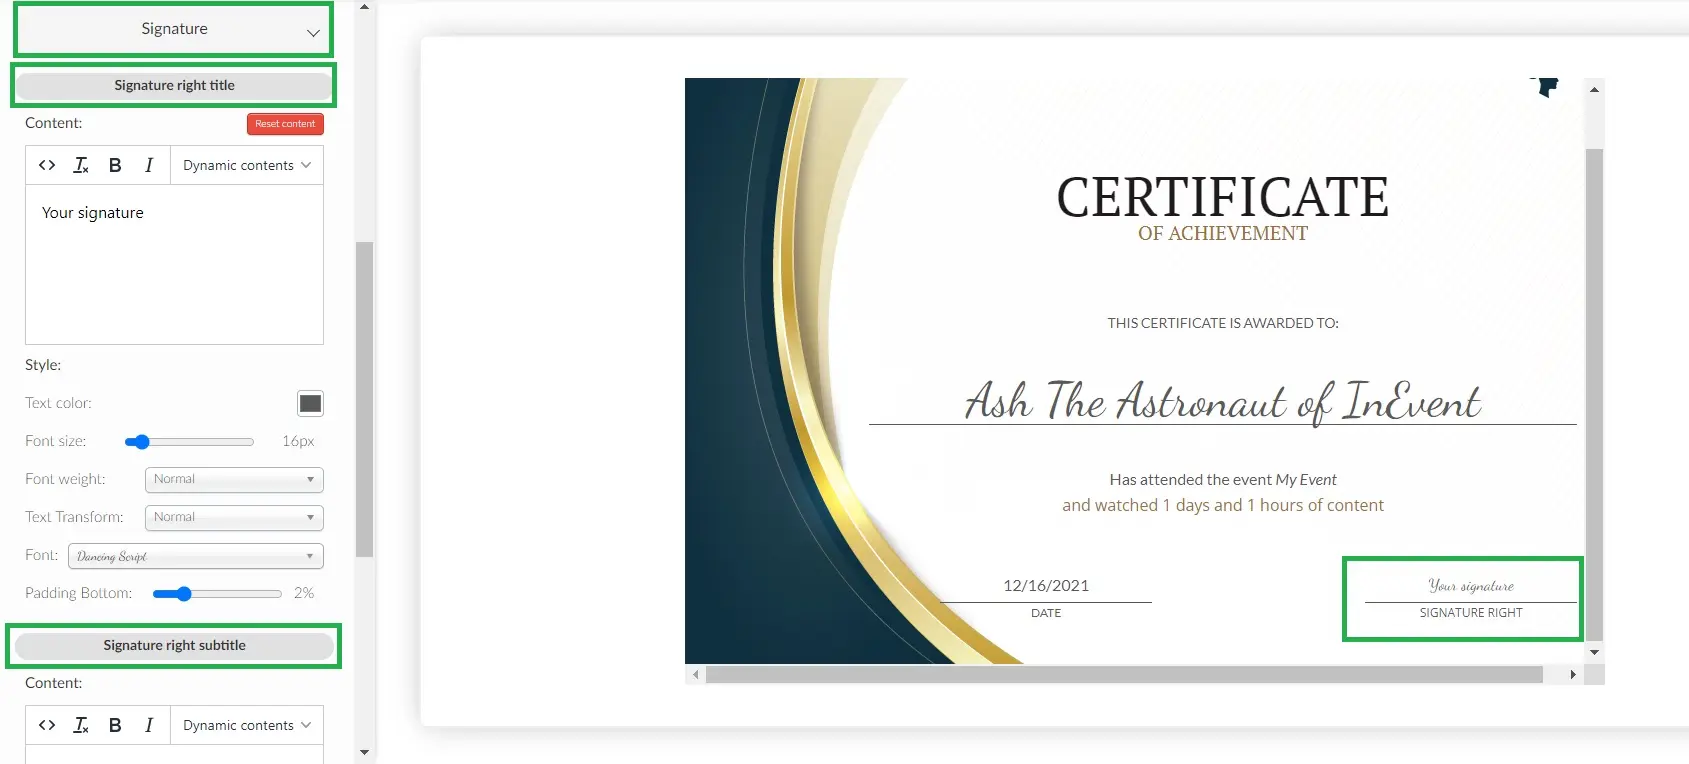
- Press Signature to customize the signature right title and subtitle.
- Signature right title: Use the editing box on the left-hand side to replace the default text Your signature with the name of either the institution or person who is responsible for the event.
- Signature right subtitle: Use the editing box on the left-hand side to replace the default text Signature right.
Now your certificates are ready to be shared with the participants.
How can I share the certificates of attendance with the participants?
You have two options to share the certificates:
- You will need to create an email and add the certificates links to it. Click here to check the step-by-step guide on how to do it.
- You can give participants access to download the certificates directly from My Account. Click here to check the step-by-step guide on how to do it.