RTMP Streaming with FFmpeg
 Updated 9 months ago
by
Amalia
Updated 9 months ago
by
Amalia
FFmpeg is a free and open-source multimedia processing tool. It can be used to convert and transcode multimedia files, as well as muxing/demuxing and filtering multimedia streams. It can also be used to stream multimedia files directly over the internet, with or without specific configurations.
This article will guide you on how to use FFmpeg for RTMP Streaming with InEvent.
Installing FFmpeg
Before using FFmpeg, it is necessary for you to download or install it. Official FFmpeg builds can be downloaded from the official page. The official site offers builds for Windows, macOS, and Linux, as well as the source code.
Windows
On Windows, FFmpeg can be installed by downloading and extracting the static build from the official site or using a package manager.
Downloading and extracting the static build on Windows
To download and extract the static build on Windows, follow the steps below:
- Download the FFmpeg build from the official page.
- Extract the compressed file to your desired directory.
- Open your preferred command-line interface, such as Command Prompt or Windows Terminal.
- Open the FFmpeg directory in the command-line interface.
- Execute the
ffmpeg -versioncommand to verify that FFmpeg runs as expected.
./ before the ffmpeg command, so the command looks like this instead: ./ffmpeg -version.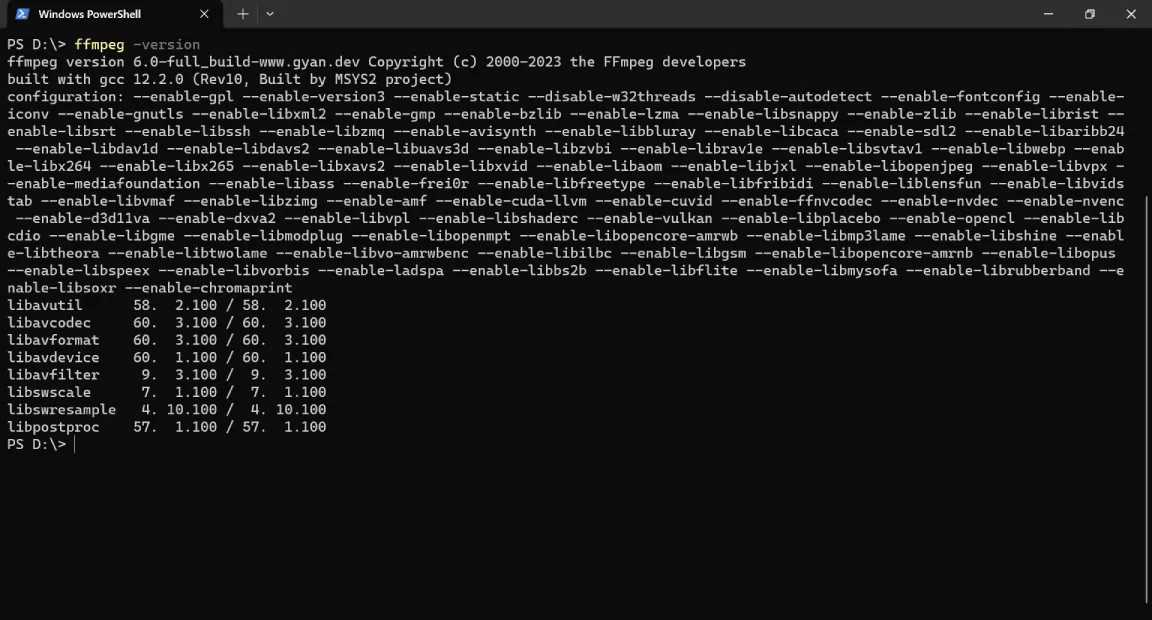
Using package managers
Alternatively, FFmpeg can be installed using package managers, such as Chocolatey, Scoop, and WinGet. To do so, run the following command on your command-line interface, depending on your package manager:
- Chocolatey:
choco install ffmpegorchoco install ffmpeg-full - Scoop:
scoop install ffmpeg - Winget:
winget install ffmpeg
Then, verify that the FFmpeg has been installed correctly by executing ffmpeg -version.
macOS
On macOS, FFmpeg can be installed by downloading and extracting the static build from the official site or using Homebrew.
Downloading and extracting the static build on macOS
To download and extract the static build on macOS, follow the steps below:
- Download the FFmpeg build from the official page.
- Extract the compressed file.
- Open your preferred command-line interface, such as Terminal.
- Open the FFmpeg directory in the command-line interface.
- Execute the
ffmpeg -versioncommand to verify that FFmpeg runs as expected.
./ before the ffmpeg command, so the command looks like this instead: ./ffmpeg -version.
Using Homebrew
Alternatively, FFmpeg can also be installed using Homebrew by executing brew install ffmpeg on the command-line interface. Then, verify that the FFmpeg has been installed correctly by executing ffmpeg -version.
Streaming to InEvent using FFmpeg
To start to start streaming over RTMP using FFmpeg, it is necessary for you to set up an activity with the RTMP Streaming video mode and acquire its Stream URL and Stream Key.
Below is the command to start streaming your video file:
ffmpeg -re -i "path/to/video/file" -c:v libx264 -c:a aac -f flv [Stream URL][Stream Key]
path/to/video/file with the path of your desired video file, and replace [Stream URL] as well as [Stream Key] with the values provided by InEvent for your activity. For more information refer to our RTMP Streaming article.H.264 video codec, AAC audio codec, and FLV output video format as an example. You may need to adjust further in accordance to your desired specifications. For more information on the many codecs and formats supported by FFmpeg, refer to the official FFmpeg documentation.By executing the command above, your video will start streaming over RTMP. FFmpeg will display various information about the selected media file, stream mapping, and stream progress.
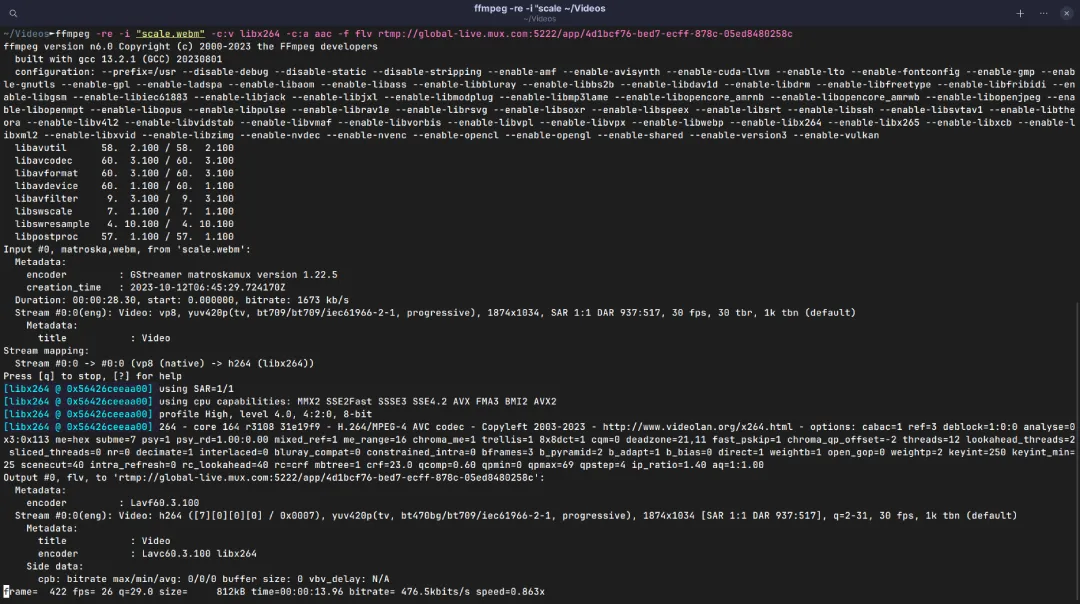
The stream will automatically stop once the video duration is over, or if you abort the command or close the command-line interface.
Enabling stream reconnect
By default, FFmpeg will stop streaming once the video duration is over. It will also stop in the case of connection errors or interruption. To mitigate this, you can append the following options to your FFmpeg command:
-reconnect_at_eof 1 -reconnect_streamed 1 -reconnect_on_network_error 1
The options above will cause FFmpeg to automatically reconnect after the end of file is reached, following a stream error, and following a network error.
In addition, you can also append the following option to stop reconnecting after a certain number of seconds if reconnection is not possible.
-reconnect_delay_max [Number of Seconds]
[Number of Seconds] with the desired time in numeric value, e.g. 3, 4, or 5.For more information on FFmpeg's stream protocol options, refer to the FFmpeg Protocols Documentation.