Power BI (OData) Integration
 Updated 3 minutes ago
by
Amalia
Updated 3 minutes ago
by
Amalia
InEvent provides an OData feed to facilitate event organizers' data visualization and report creation needs. The OData feed can be utilized with tools such as Microsoft Power BI, Microsoft Excel, and Tableau.
This article contains a guide on integrating InEvent's OData feed to Microsoft Power BI, using Power BI Desktop as an example.
Power BI & OData feed
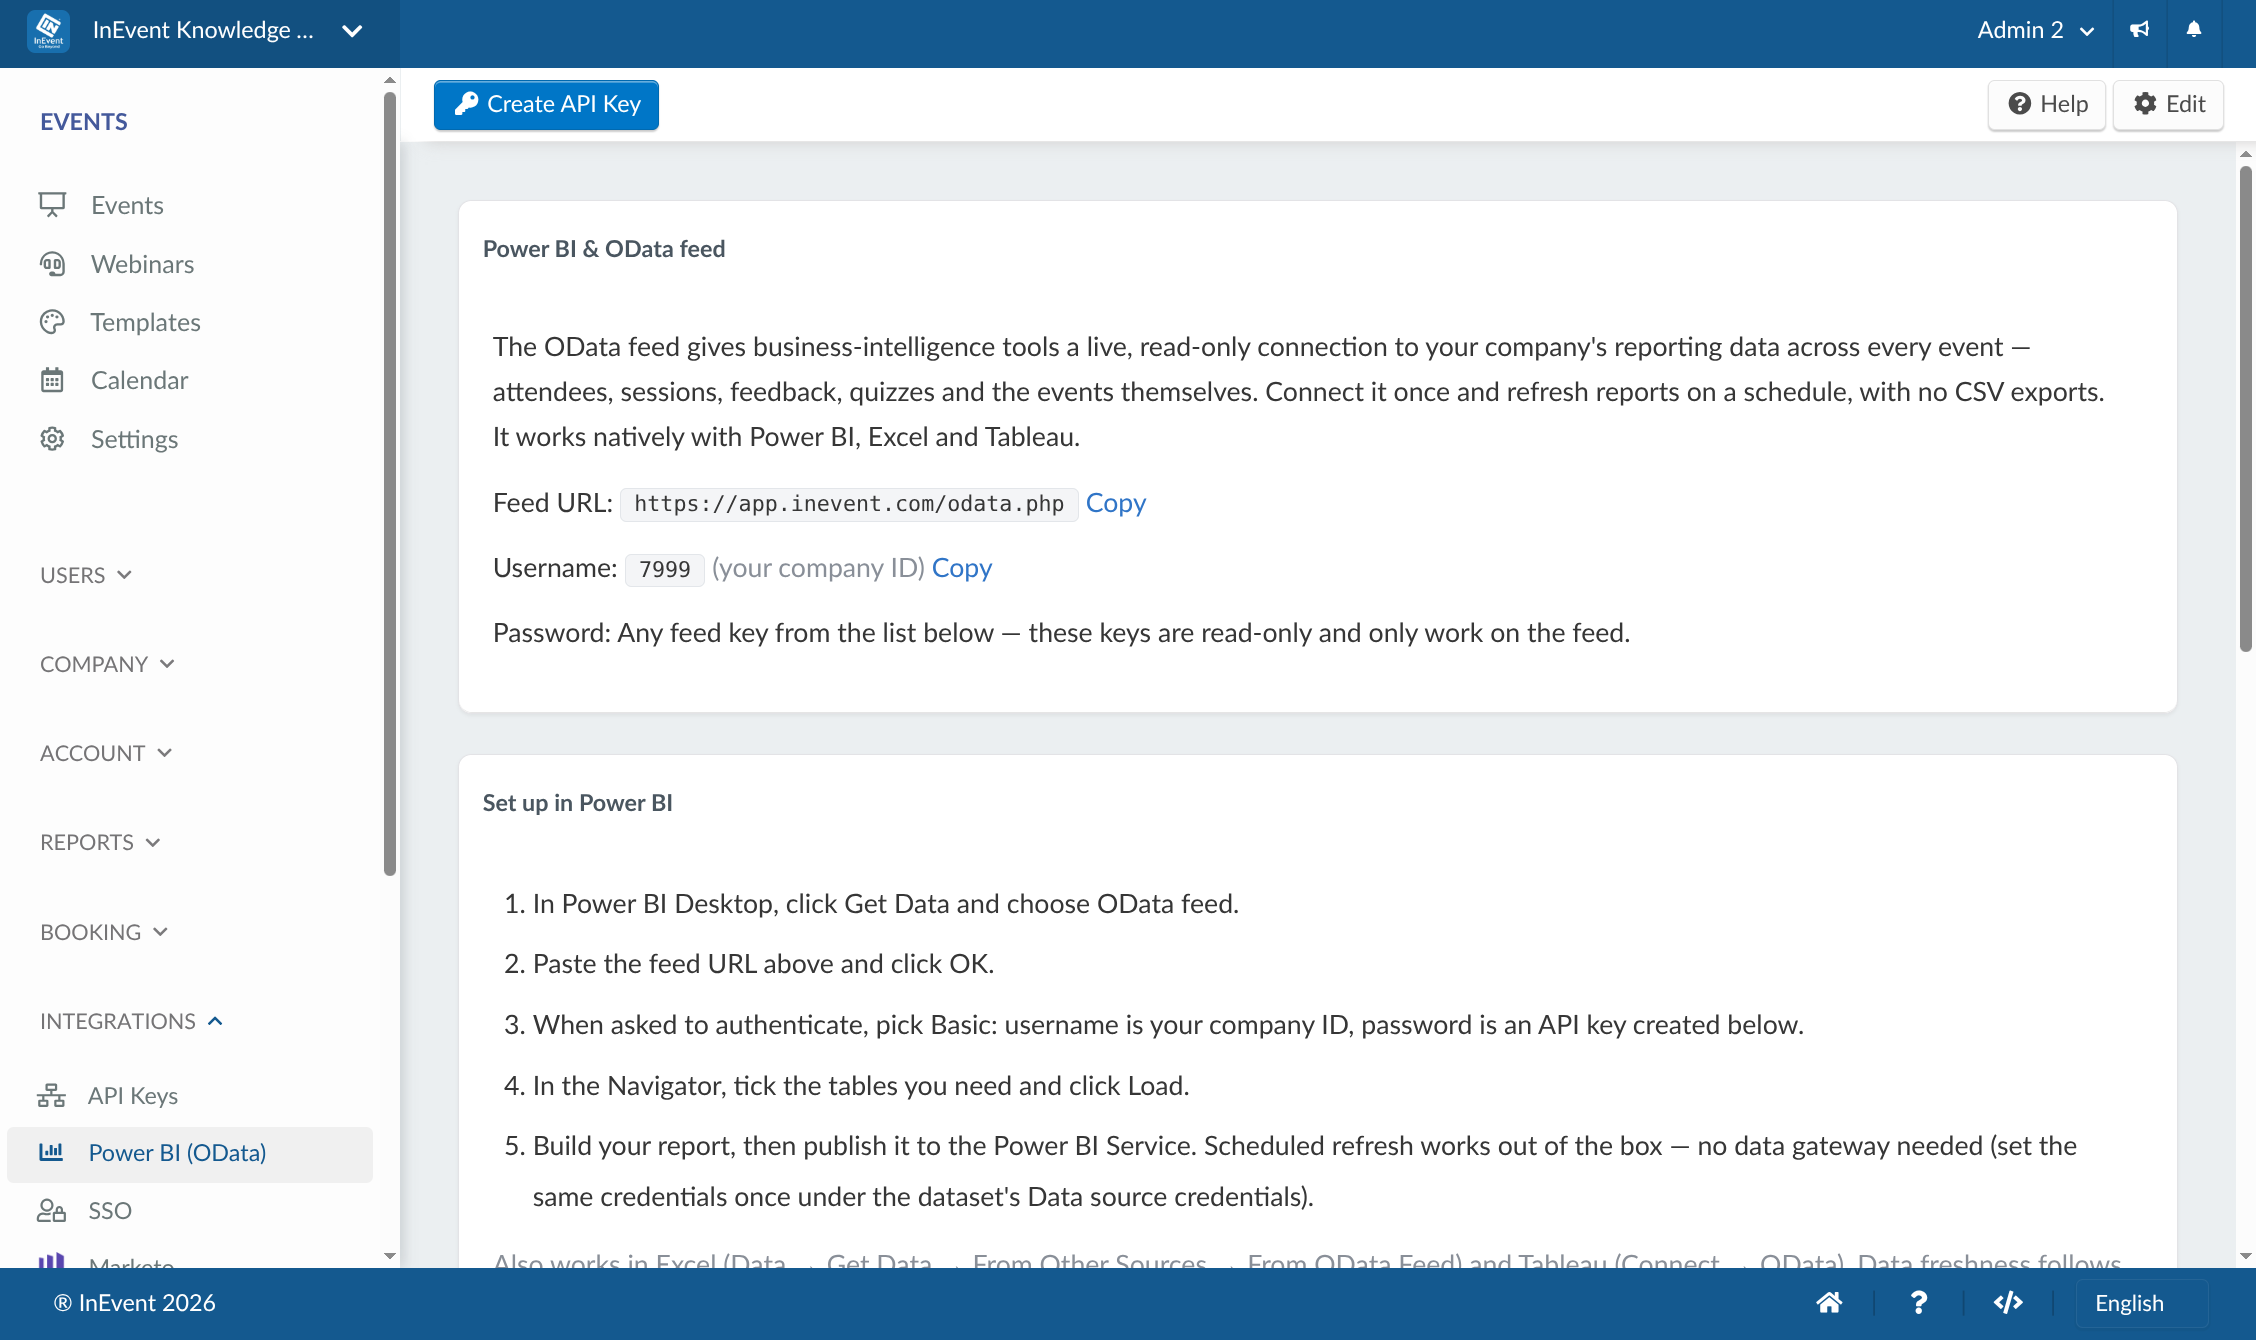
The integration page can be accessed by clicking Integration > Power BI (OData) at the Company level. The integration page contains four panels: Power BI & OData feed, Set up in Power BI, Available data, and API Keys.
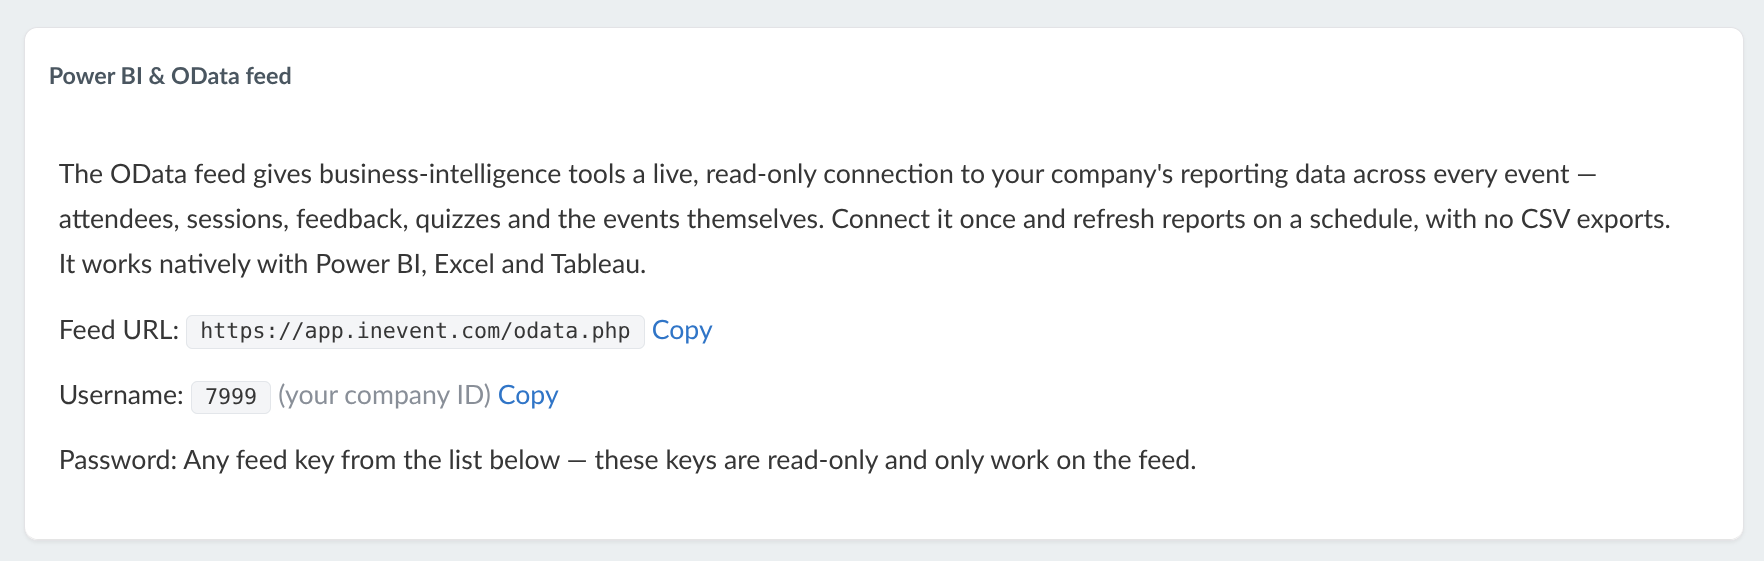
The Power BI & OData feed panel contains the authentication credentials needed to successfully integrate the data feed into your software of choice. You can conveniently copy the Feed URL and Username by clicking Copy next to the relevant information.
Set up in Power BI
The Set up in Power BI panel contains brief and straightforward instructions on integrating the OData feed to Power BI. Below is a complete list of instructions, using Microsoft Power BI Desktop as an example.
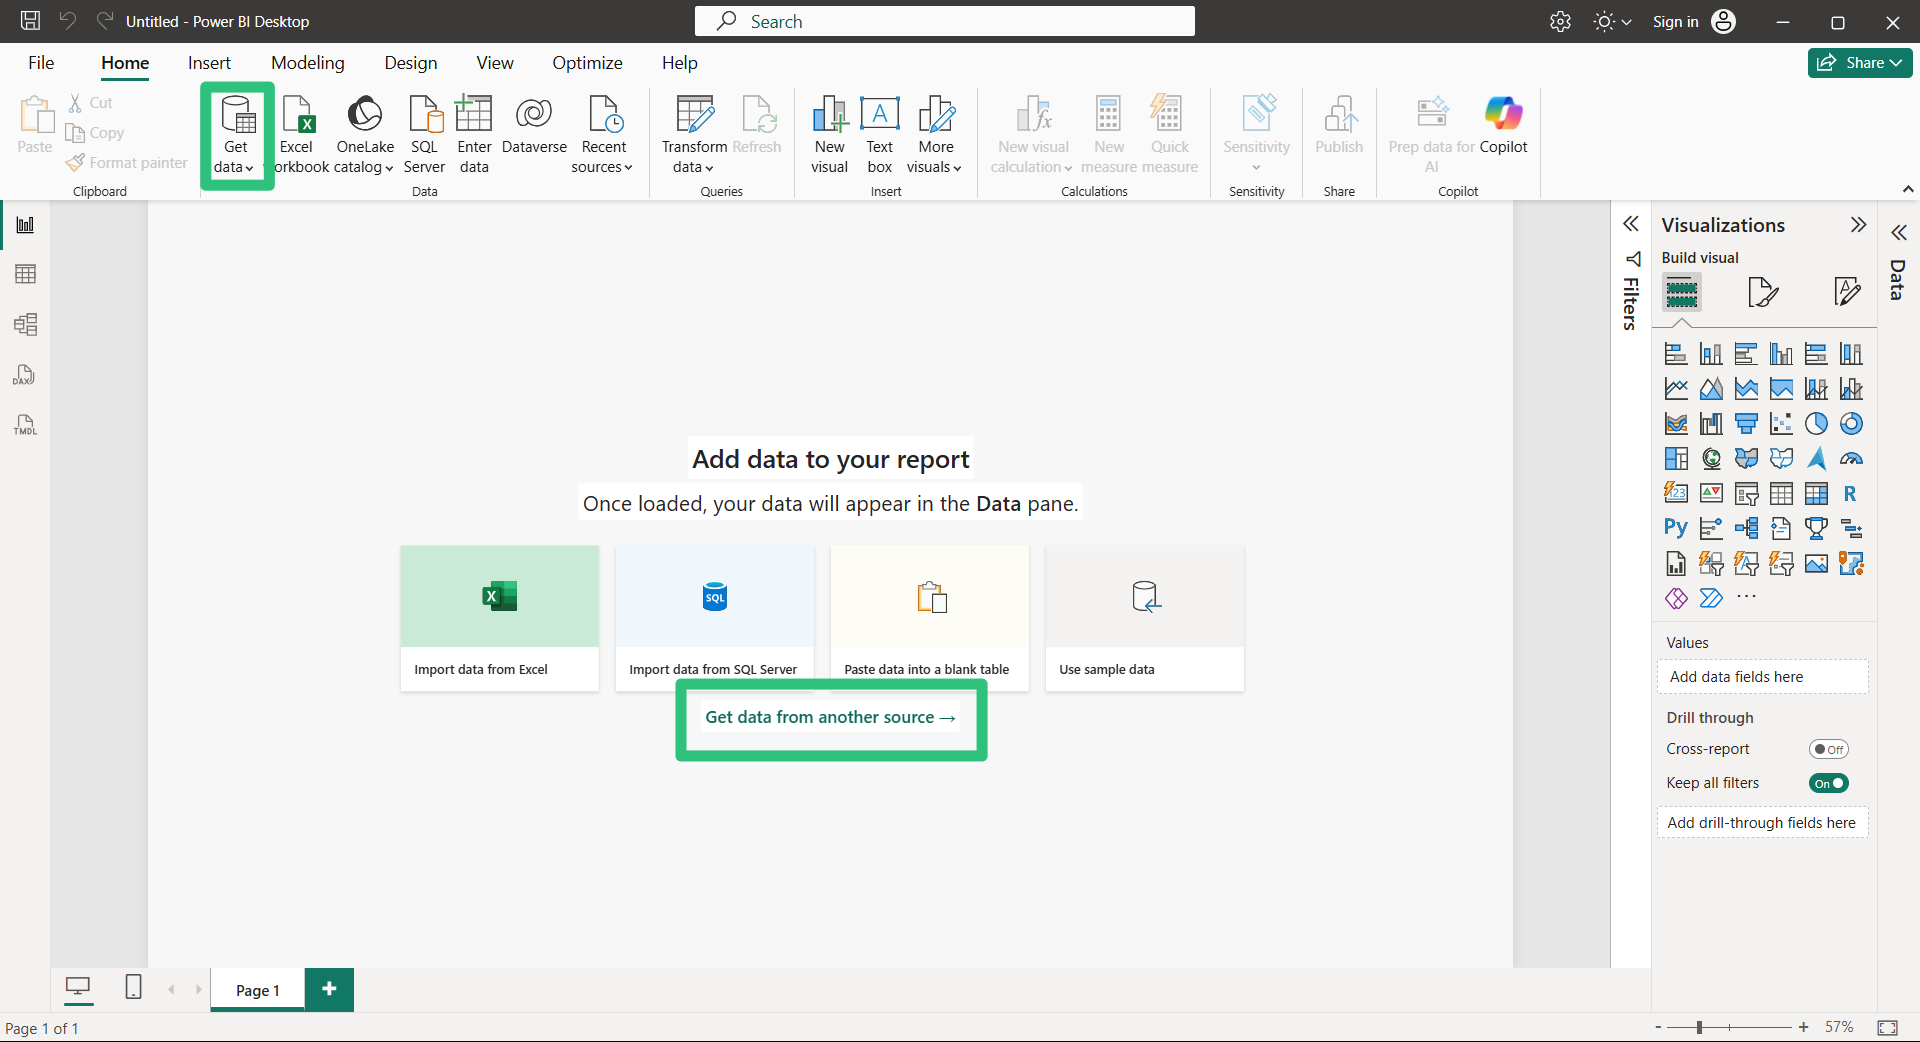
- Open Power BI Desktop on your computer and click Get data from other sources.
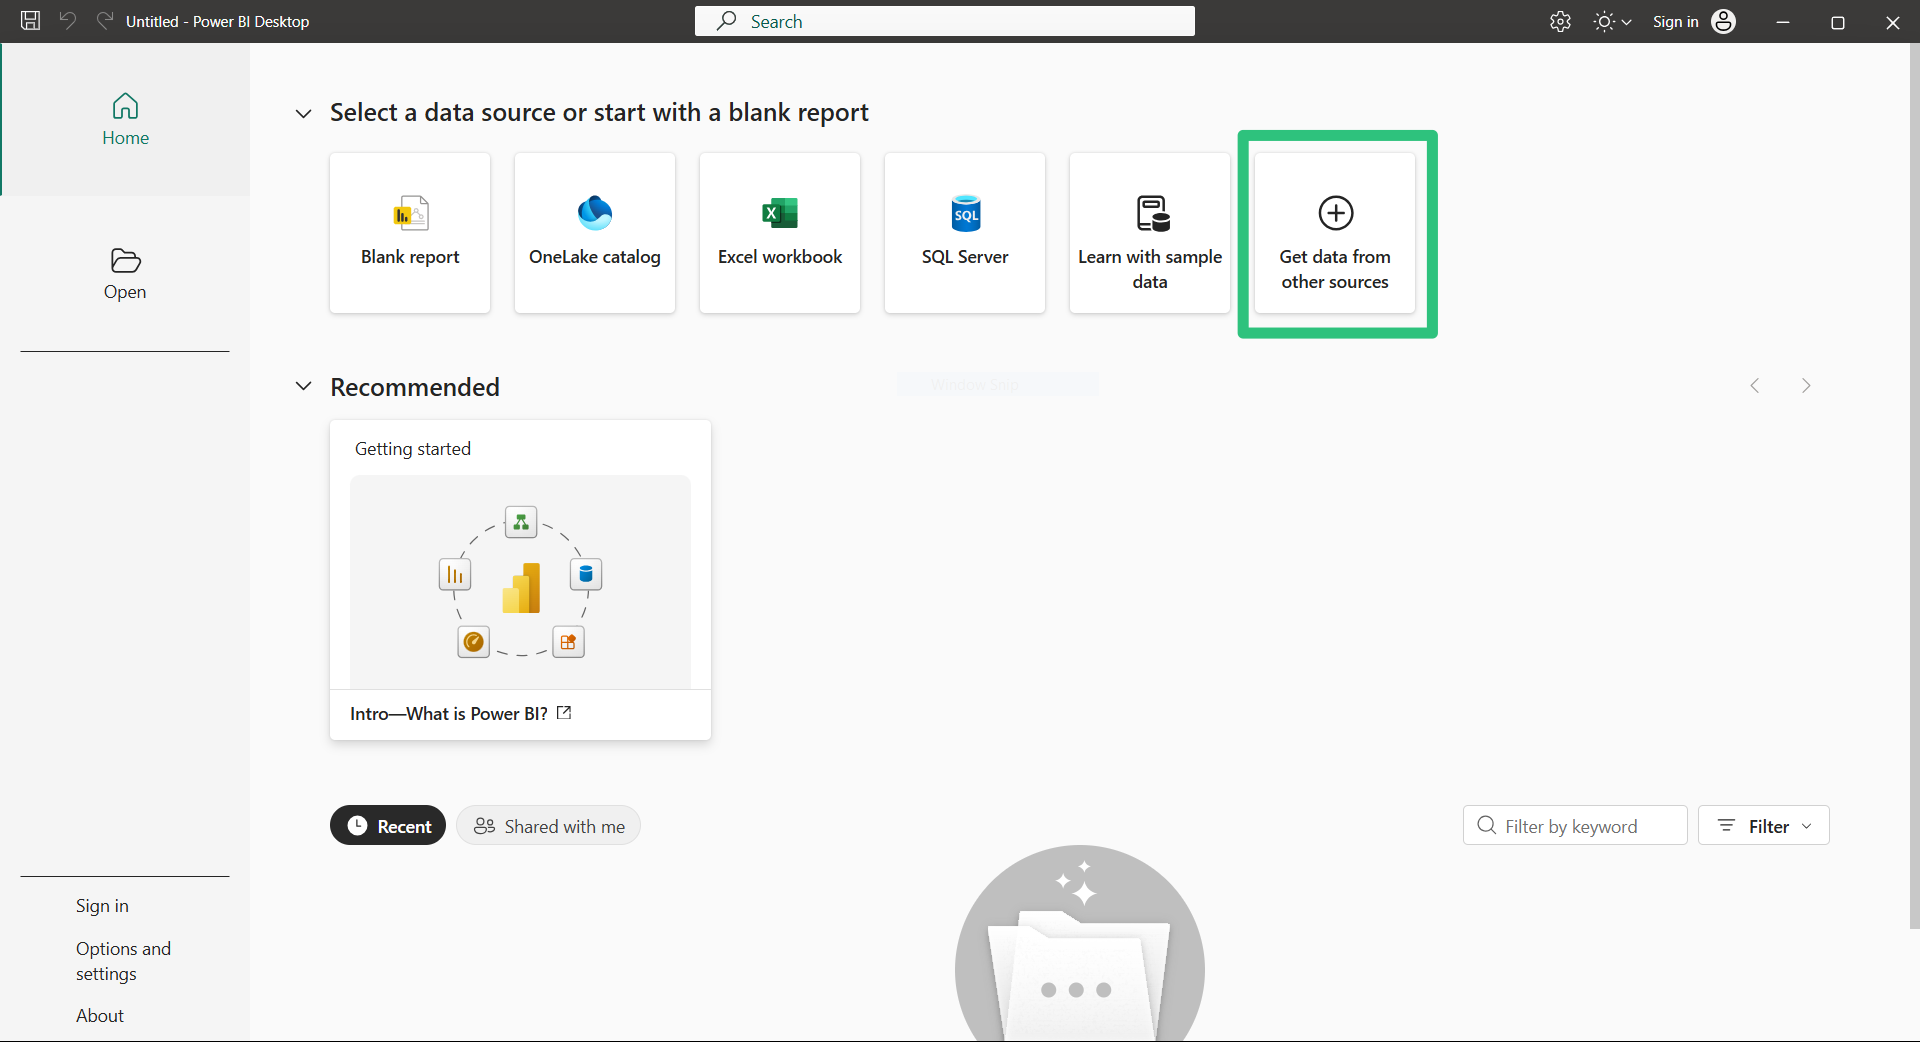
- Click Get data or Get data from other sources. The Get data selector will be displayed.
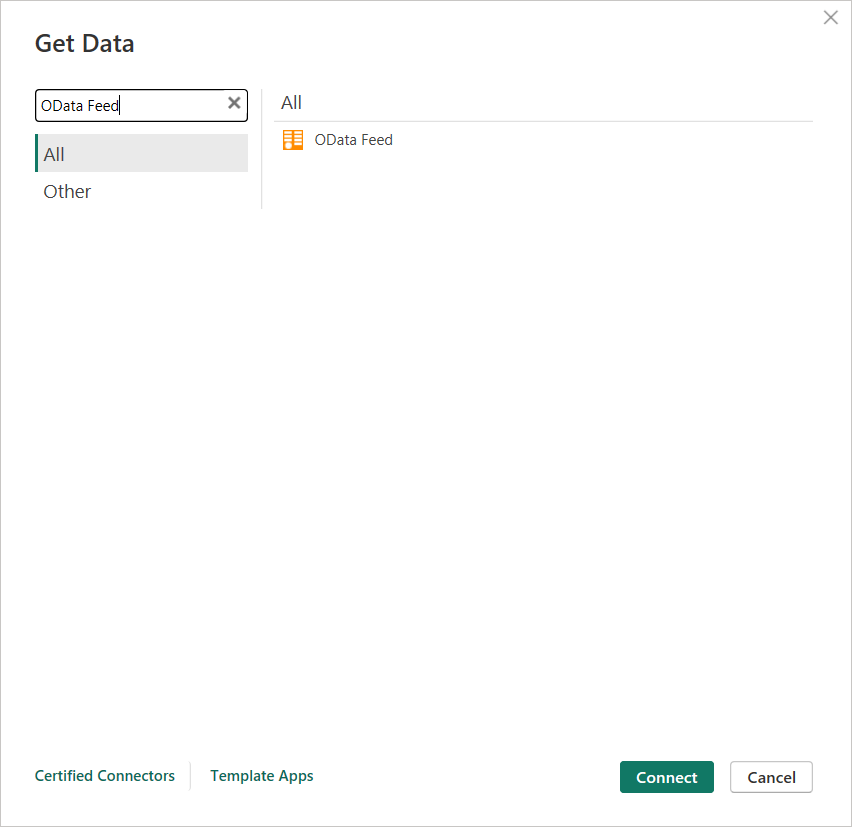
- Scroll or use the search field to locate and select OData feed.
- Click Connect. The OData feed pop-up will be displayed.
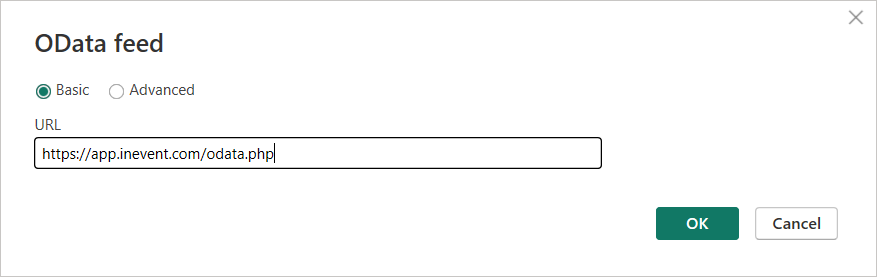
- Ensure Basic is selected and paste the InEvent-provided Feed URL.
- Click OK.
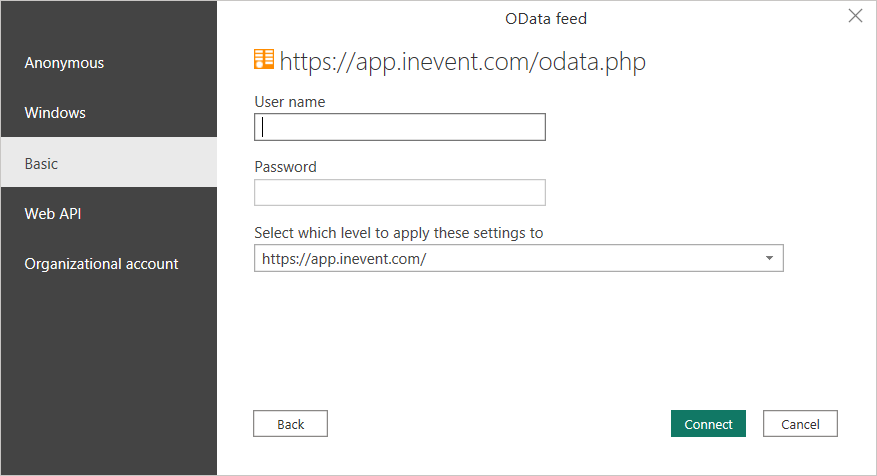
- Click Basic in the left panel.
- Paste the InEvent-provided User name and the admin-created Password.
- Click Connect. Once the connection process is complete, the Navigator will be displayed.
- Select the desired data using the available checkboxes.
- Click Load.
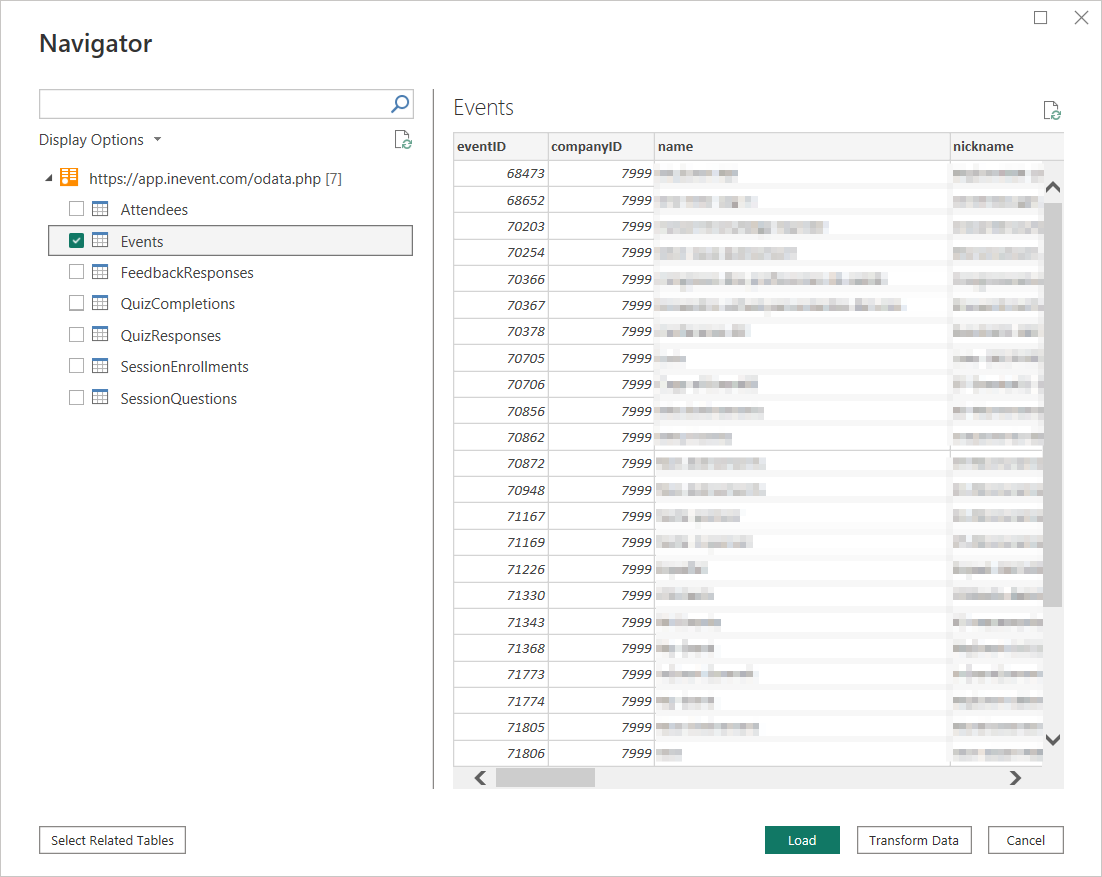
After completing the steps above, data from InEvent will be available directly within Power BI, and can be used for native data visualization and reporting needs. The report can also be published to the Power BI Service for enterprise report sharing.
Available data
The Available data panel displays a list of items available in InEvent's OData feed. The list are as follows.
Table | Contents |
Events | One row per event: name, dates, location, timezone, capacity and template, plus one column for each of your company's custom event fields. Join other tables on eventID to break any metric down per event. |
Attendees | One row per attendee per event, with profile fields, approval, presence and payment status. |
SessionEnrollments | One row per attendee per session, with attendance and rating. |
SessionQuestions | Questions asked during sessions and answers. |
FeedbackResponses | Survey and registration-form answers, one row per answer, with question text and chosen option. |
QuizResponses | Poll and quiz answers, one row per answer. |
QuizCompletions | Quiz completions, one row per attempt, with elapsed time. |
API Keys
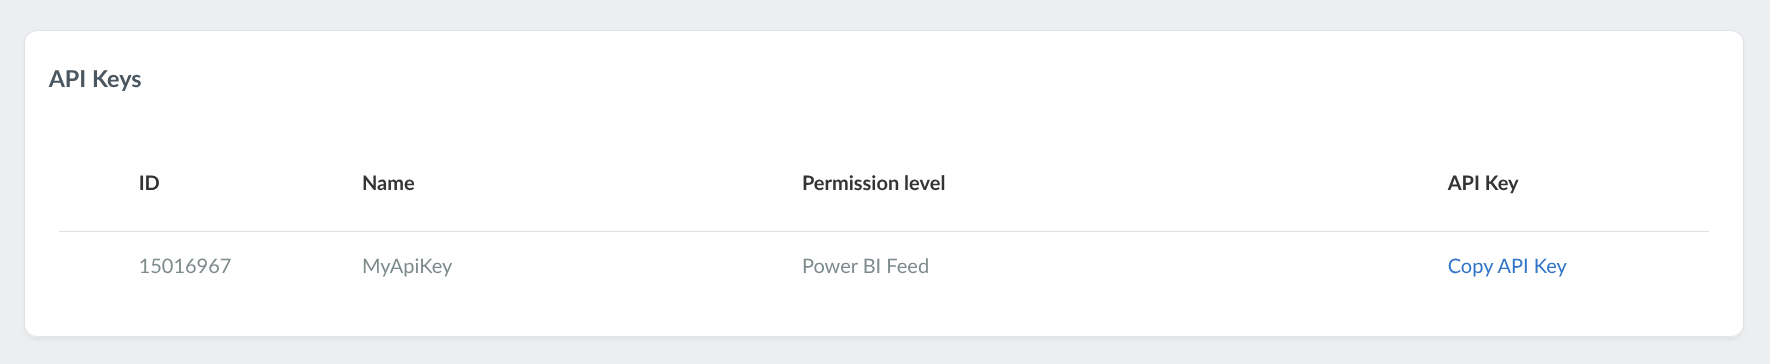
The API Keys panel displays a list of credential keys or passwords that have been created to authenticate OData feed connections. Create an API key by clicking the Create API Key button on the top left corner of the page, assigning an API Key name, and clicking Create.
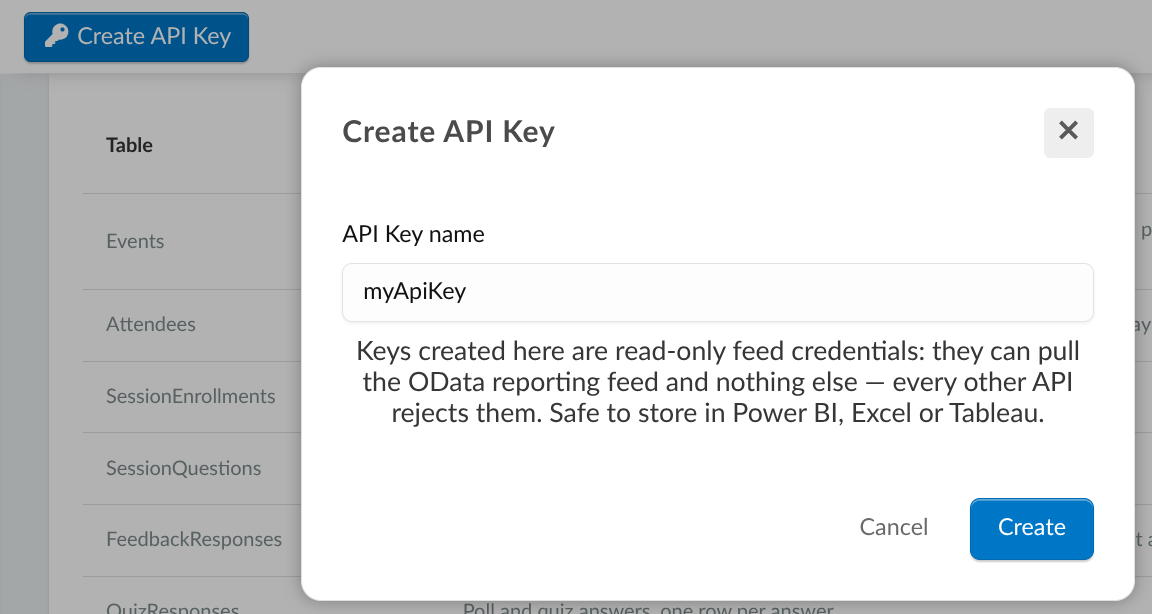
Once created, the entry will be displayed in the API Keys table. Click Copy API Key to instantly copy the key values to your clipboard.