Badge printing for iOS
 Updated 1 month ago
by
Chioma Okenwa
Updated 1 month ago
by
Chioma Okenwa
Using the official InEvent iOS app, you can easily create and design badges, define specific badges for groups of attendees, and control attendee check-ins as well as print attendee badges during in-person events.
This guide contains information on how to navigate through the Badge Printing page, set up your Printing badges and Kiosk settings for your Check-in process, and manage QR Codes.
Technology requirements
The technical requirements for badge printing may vary depending on the format it will have at your event. It can be either self-service or with the support of promoters at each credential printing station.
Check out the possibilities below:
Type of Accreditation | Self service | Accreditation with promoters |
Supported printers |
Refer to this section to see the printers' supported labels. |
|
Hardware | Devices running iOS 12.0 and above | Mac OS x 10.8 or later with the following browser specifications: Chrome V.40 (or later), Mozilla Firefox V.7 (or later), or Safari V.9 (or later) |
Internet speed | Basic Printing: Printing directly from a computer connected to the same network as the printer usually does not require a high-speed internet connection. The speed of your local network (Wi-Fi or Ethernet) is more relevant for basic printing tasks. Remote Printing: If you plan to use remote printing features, such as printing from a mobile device or sending print jobs over the internet while away from the printer, a stable and reasonably fast internet connection is necessary. The required speed may vary depending on the size and complexity of the print jobs. | Basic Printing: Printing directly from a computer connected to the same network as the printer usually does not require a high-speed internet connection. The speed of your local network (Wi-Fi or Ethernet) is more relevant for basic printing tasks. Remote Printing: If you plan to use remote printing features, such as printing from a mobile device or sending print jobs over the internet while away from the printer, a stable and reasonably fast internet connection is necessary. The required speed may vary depending on the size and complexity of the print jobs. |
Number of Promoters | 1 promoter for every 3 accreditation stations | 1 promoter per accreditation station |
The technical requirements for accreditation vary depending on the format it will have at your event. It can be either self-service or with the support of promoters at each credential printing station.
Check out the possibilities below
How can I enable the Badges feature?
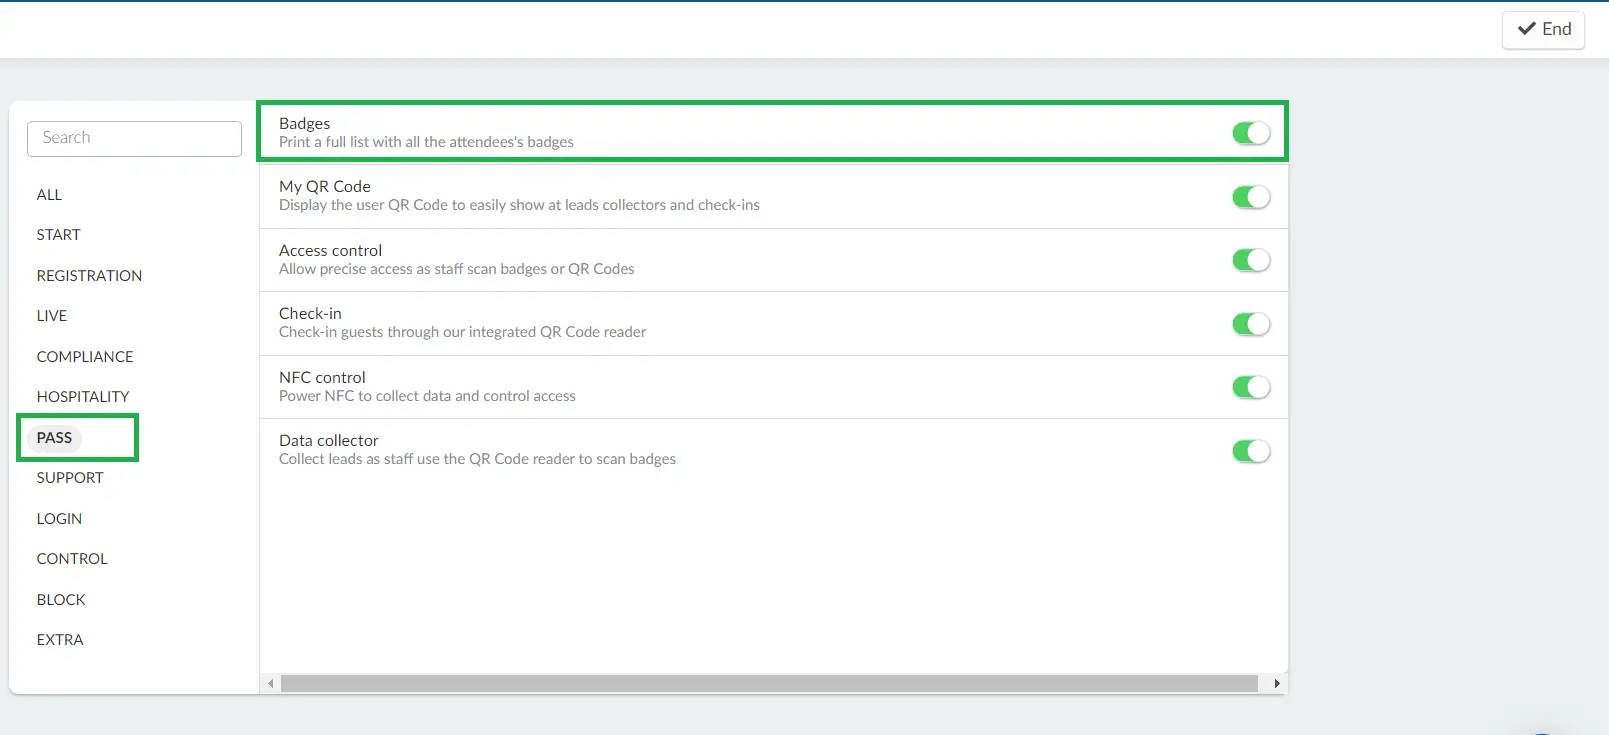
Click on Settings > Tools > Pass section. Click Edit and toggle on the button corresponding to the Badges tool.
Printing badges
The Badge Printing page can be accessed by navigating to Marketing > Registration > Badge Printing from the Event level.
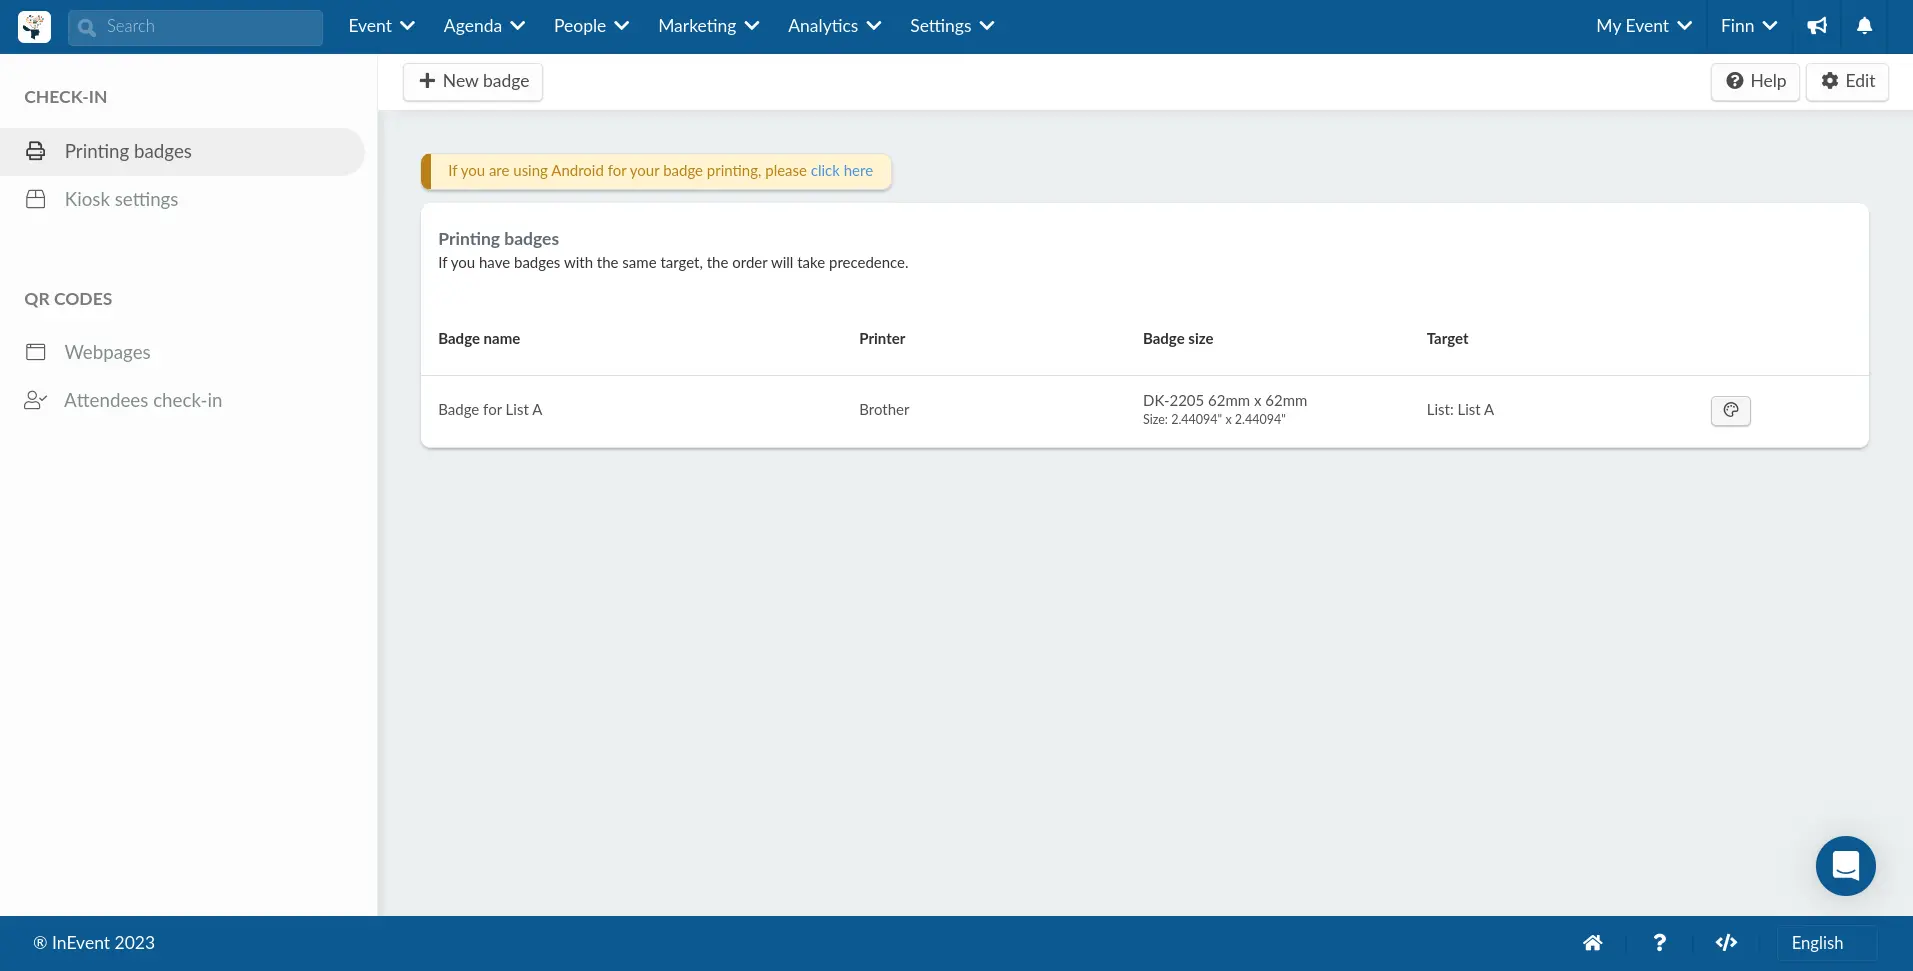
The Printing badges section is where you can create, configure, and review your created printing badges. The interface displays information on the badge's name, printer type, size, and target attendees.
Creating a new printing badge
You can create a new printing badge by following the steps below:
- Click on the New badge button on the top left corner of the Printing badge section. The Printing badge pop-up box will be displayed.
- Enter the desired Badge name.
- Select the list of attendees for which the badge will be created using the Target drop-down box. The available options are:
- All attendees
- Any of your Custom list
- Select the printer using which the badge will be printed using the Printer drop-down box. The available options are:
- Brother
- Zebra
- Select the printer model.
- For Zebra printer, its models are: ZD 200 Series, ZD 400 Series, ZD 600 Series.
- For Brother printer, its models are: QL 710W, QL 720NW, QL 810W, QL 820NWB.
- Select the label type on which the badge will be printed using the Label type drop-down box.
The available options for Brother printers are:
- 17mm x 54mm
- 17mm x 87mm
- 23mm x 23 mm
- 29mm x 42mm
- 29mm x 90mm
- 38mm x 90mm
- 39mm x 48mm
- 52mm x 29mm
- 62mm x 29mm
- 62mm x 100mm
- 12mm
- 29mm
- 38mm
- 50mm
- 54mm
- 62mm
- 60mm x 86mm
- Black/Red 62mm
- 54mm x 29mm
- 12mm round
- 24mm round
- 58mm round
The available options for Zebra printers are:
- 4" x 3" Badge
- 4" x 6" Badge
- 4" x 12" Badge
- Custom size
- Click on Create to finish creating the printing badge.
Once you have completed the steps above, you can start adding elements and customizing the appearance of your printing badge.
Customizing a printing badge using the Badge editor
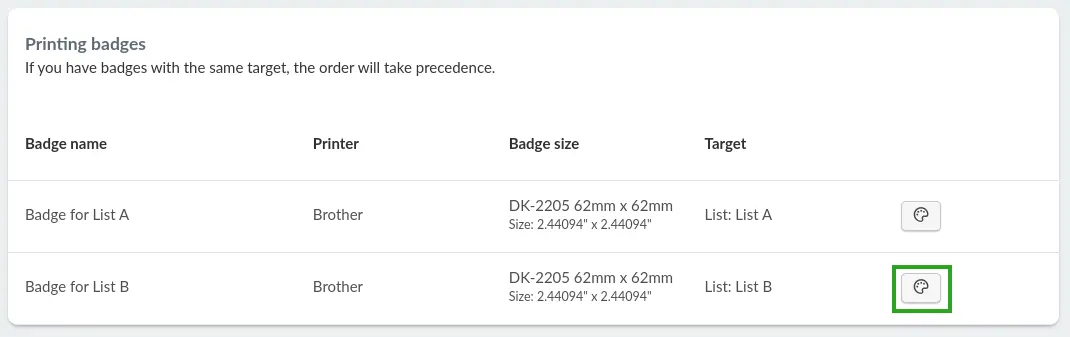
After creating a printing badge, you can add elements and customize the appearance of the badge. To do so, click on the Palette icon next to the printing badge. You will be directed to the Badge editor.
To start adding and editing the items in the Badge editor, click on the Edit button.
On the left side of the editor, you will find items that can be added to your badge by clicking on the + button. The items are as follows:
- Standard fields: Standard fields associated with your attendees. The available fields are Name, First name, Last name, Email address, Role, Company, and Ticket.
- Custom fields: Your event's Custom fields associated with your attendees.
- Text: Custom text.
- QR Code: QR Code associated with your attendee.
You will find the following buttons in the top left corner of the main editor area:
- Grid: Show grid lines in the badge area.
- Zoom controls: Zooms the view of the badge area in or out.
- Upload background: Uploads a background image for your badge.
On the top side of the editor, you will find the following items:
- Preview button: Click on the Preview button to see a clean preview of your badge. You will then be prompted to select an attendee so you can preview their badge in the Preview badge pop-up box.
- Badge name field: Edit the name of your badge in this field.
- Printer drop-down box: Change the printer using which the badge will be printed using the drop-down box.
- Label type drop-down box: Change the label type on which the badge will be printed using the drop-down box.
- Width and Height fields: Configure the width and height of your badge.
- Mirror: Configure whether or not the badge will be mirrored when printed.
Kiosk settings
The Kiosk settings section is where you can customize the appearance and behavior of your Kiosk. This section has four tabs: Start, Checking in, Final, and Settings.
Start
In the Start tab, you can configure the Kiosk Welcome appearance. You can configure the following items:
- Message content: Message which will be displayed as a Welcome message.
- Welcome screen orientation: Orientation of the Welcome screen. The available options are Landscape and Portrait.
- Landscape or portrait background: Background image which will be displayed for your welcome screen.
Checking in
In the Checking in tab, you can configure the behavior of the Kiosk. You can configure the following items using the respective drop-down box:
- Search: Configure whether or not attendee data can be searched from the Kiosk.
- Search by field: Configure the field from which attendee data will be searched. The available options are Email, Name or Email, and Username.
- Show partial results: Configure whether or not partial search results will be allowed. When No is selected, the search results will only show exact matches.
- Allow walk-ins: Configure if attendees can register during the check-in process.
Final
In the Final tab, you can configure the Thank you title and Thank you message that will be shown after an attendee has checked in.
Settings
In the Settings tab, you can configure the following items:
- Maximum print cap per attendee: Set the maximum amount of badge that can be printed per attendee.
- (Android) Should print badge after NFC sync?: Set whether or not badges should be printed after an attendee has completed NFC sync.
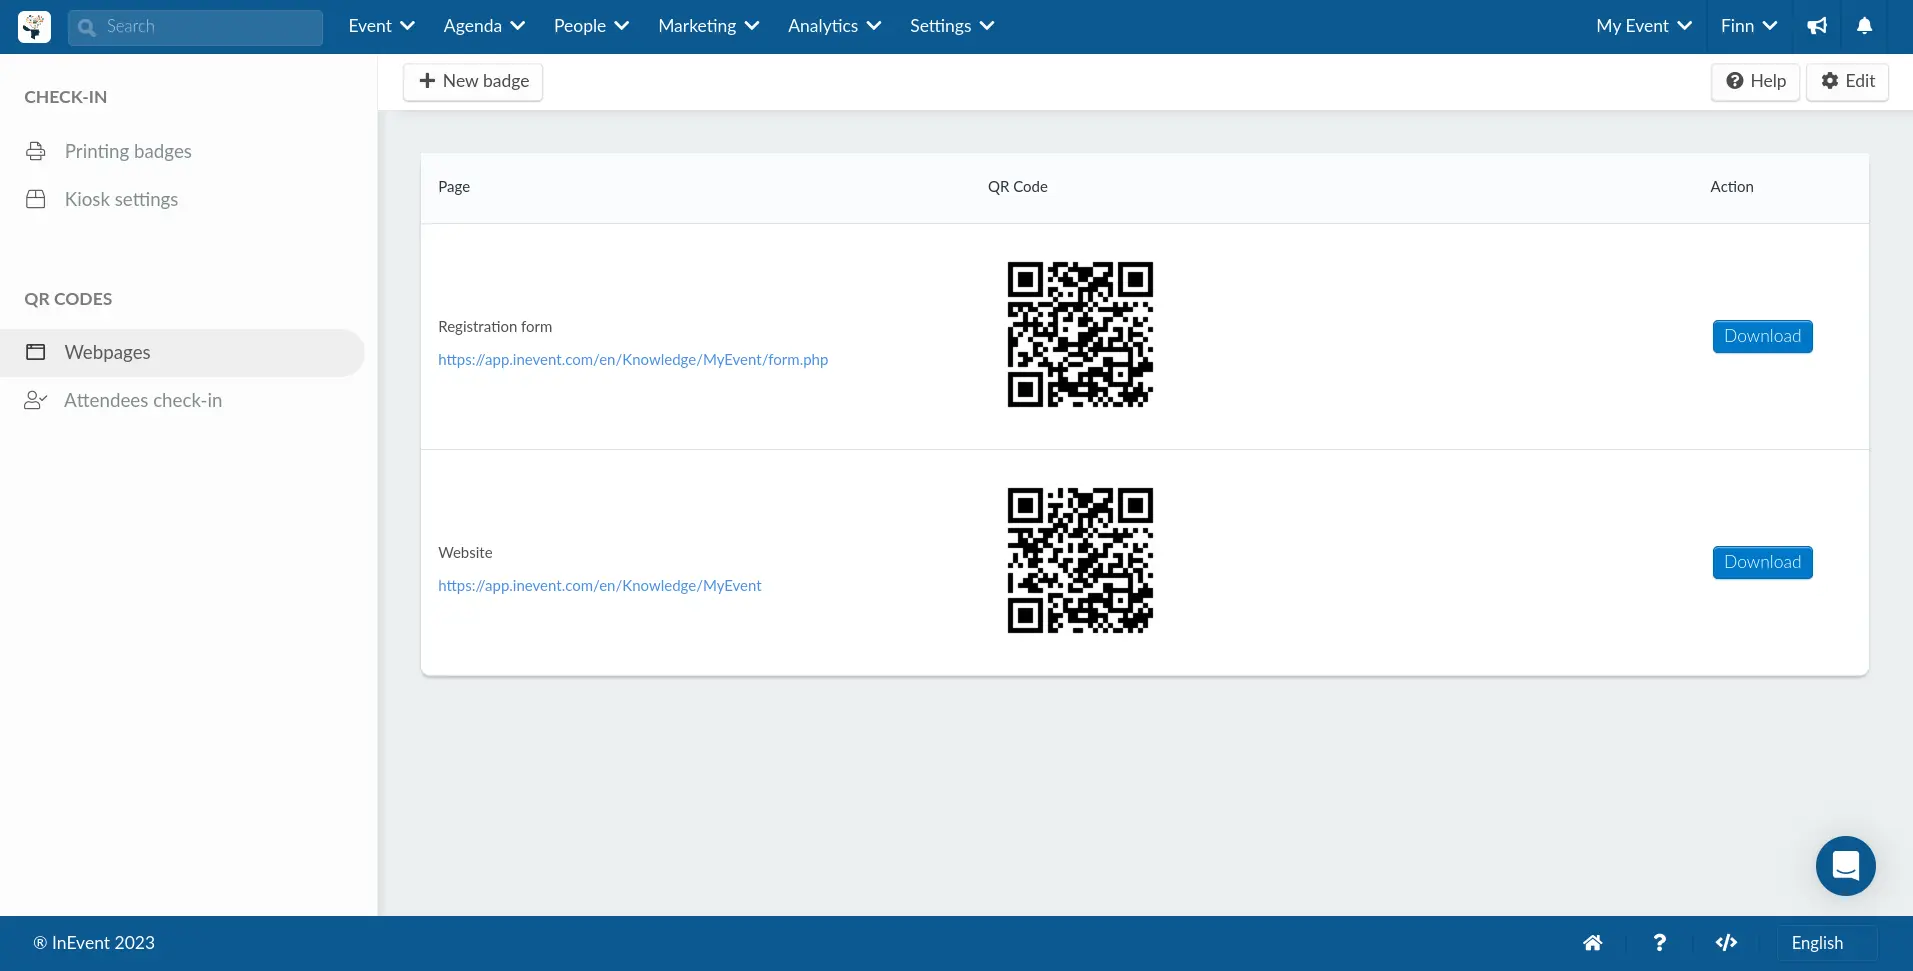
QR Codes
The QR Codes section is where you can manage the QR codes for the pages in your event.
Webpages
In the Webpages section, you can view the list of QR codes available for your event pages along with their links. You can also download the QR codes as images by pressing the Download button. The QR codes are available for the following pages:
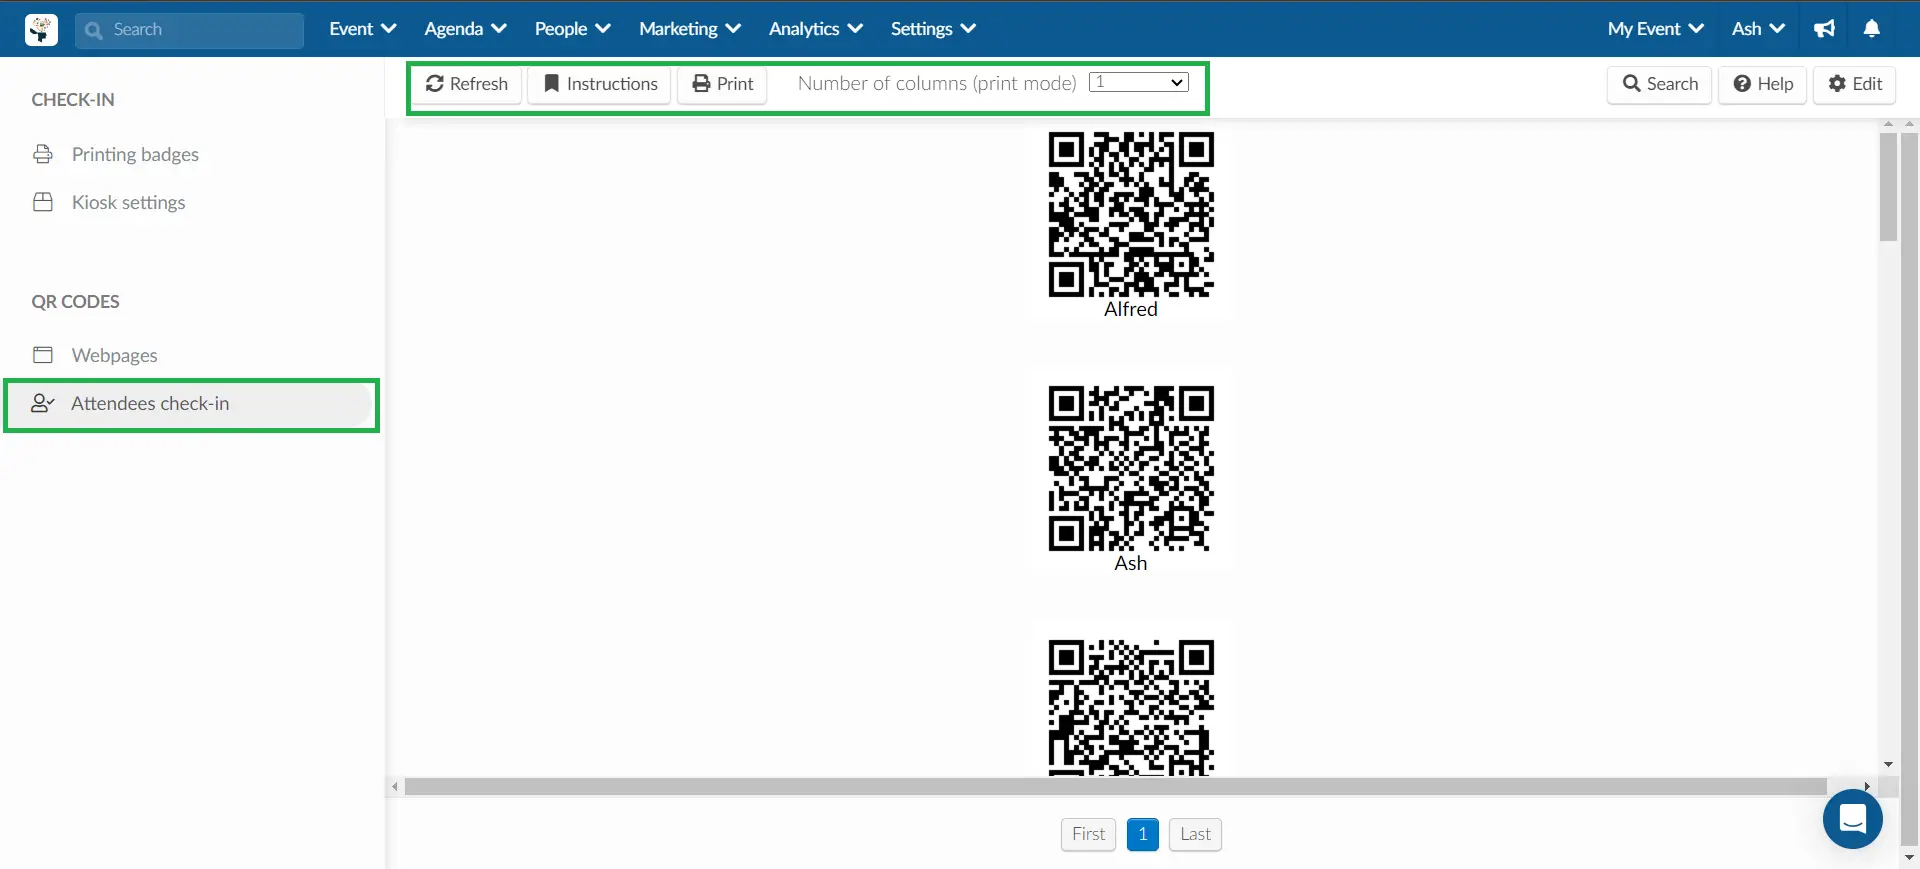
Attendees check-in
In the Attendees check-in section, you can configure and print QR codes for all of your attendees. You will see the following items on top of the page:
- Refresh button: Refreshes the QR codes.
- Instructions button: Opens the printing instructions.
- Print button: Opens your browser's Print pop-up dialogue to start printing.
- Number of columns (print mode) drop-down menu: Select the number of columns in which the QR codes will be printed.
Printing QR codes for all attendees
To print QR codes for all attendees, follow the steps below:
- Click on Refresh in the Attendees check-in section to ensure all QR codes are successfully loaded.
- Select the Number of columns (print mode) using the drop-down menu. You can select up to 4 columns.
- Click on the Print button. Your browser's Print pop-up dialogue will open.
- Click on Print.
After completing the steps above, the QR codes for all attendees will be printed.
Attendee check-in procedure
To start checking in your attendees to your event using the iOS app, follow the steps below:
- Launch the official InEvent app.
- Navigate to Menu > Accreditation > Kiosk mode for badge printing in the InEvent app.
- Select Kiosk.
- Tap the gear icon on the top right corner. The pass code pop-up box will appear.
- Enter the company code. After submitting the code, you will be prompted to select a printer.
- Select the printer with which the badges will be printed.
- Tap Start check-in.
- Select Scan QR code to start scanning attendees' QR codes. Alternatively, select Search attendee to manually search for the attendees.
- Review the attendees' details as shown on the Kiosk.
- Tap on Confirm and sign. The badge will start printing.
- Tap on Finish check in to finalize the attendee's check-in process.
Accreditation via Macbook
Click here to learn how to perform the accreditation via Macbook.