Event Budget Management
 Updated 6 months ago
by
Caleb Kotey
Updated 6 months ago
by
Caleb Kotey
The Event Budget tool allows you to centralize all income and expenses related to your event in one place. It helps you stay within your allocated budget, track costs as they are planned and confirmed, and forecast expected spending to maintain full visibility over your event’s financial performance from planning through execution.
Managing your event budget
To manage your event budget, you need to navigate to Event > Planning > Budget
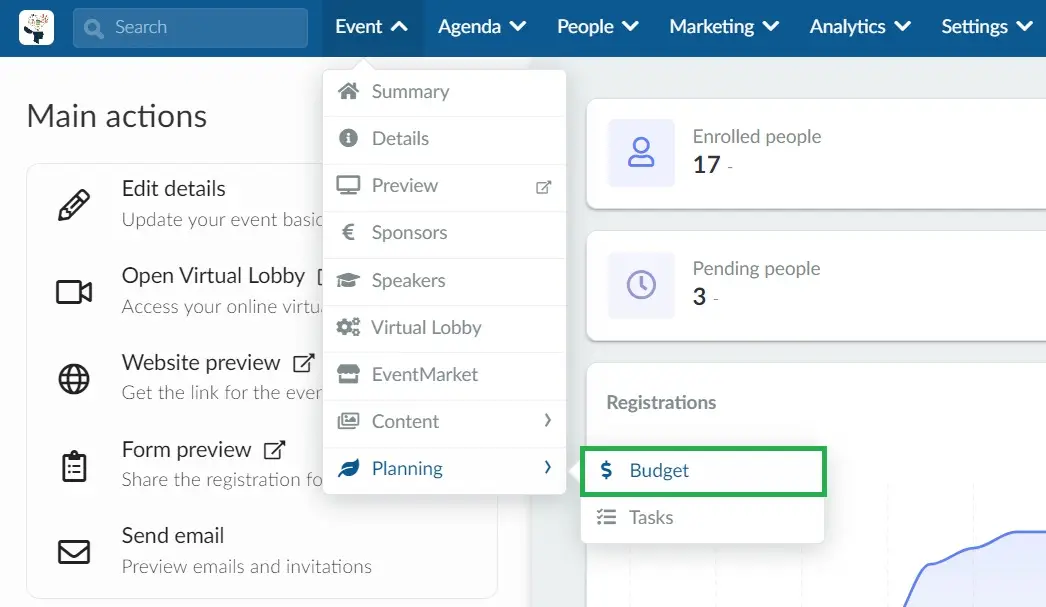
You will be directed to the screen below:
Click on +Add to create/add an expense or income.
Adding a new budget item
To add an income or expense item, follow the steps below:
- Go to Event > Planning > Budget.
- Click + Add at the top of the page.
- In the Add item form, choose whether this is an Income or Expense.
- Enter a Title.
- Add a Description if needed.
- Select a Category to organize your item.
- Choose a Supplier.
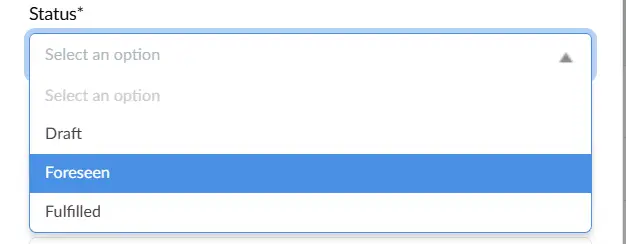
- Set a Status as Draft, Foreseen, or Fulfilled.
- Enter the Price.
- Click create to finalize your item creation.
Budget Item Statuses
Each budget item includes a Status field that indicates its current stage in the budgeting process and helps with tracking and forecasting.
Draft: Use this status for items that are still being planned or discussed. Draft items do not represent a confirmed cost or income and are typically used for early estimates.
Foreseen: Use this status for items that are expected to happen but have not yet been completed or paid. Foreseen items are included in budget forecasts to help estimate upcoming expenses or income.
Fulfilled: Use this status for items that have been finalized, paid, or received. Fulfilled items represent confirmed costs or income and are reflected as completed transactions in the budget.
Setting a total available budget
To set or change your event’s budget limit, on the Budget page:
- Click on Edit near the top.
- Look for Available Budget.
- Enter the total amount you have allocated for this event.
- Click End to save your changes.

This sets the baseline against which spending is compared
Keeping track of expenses
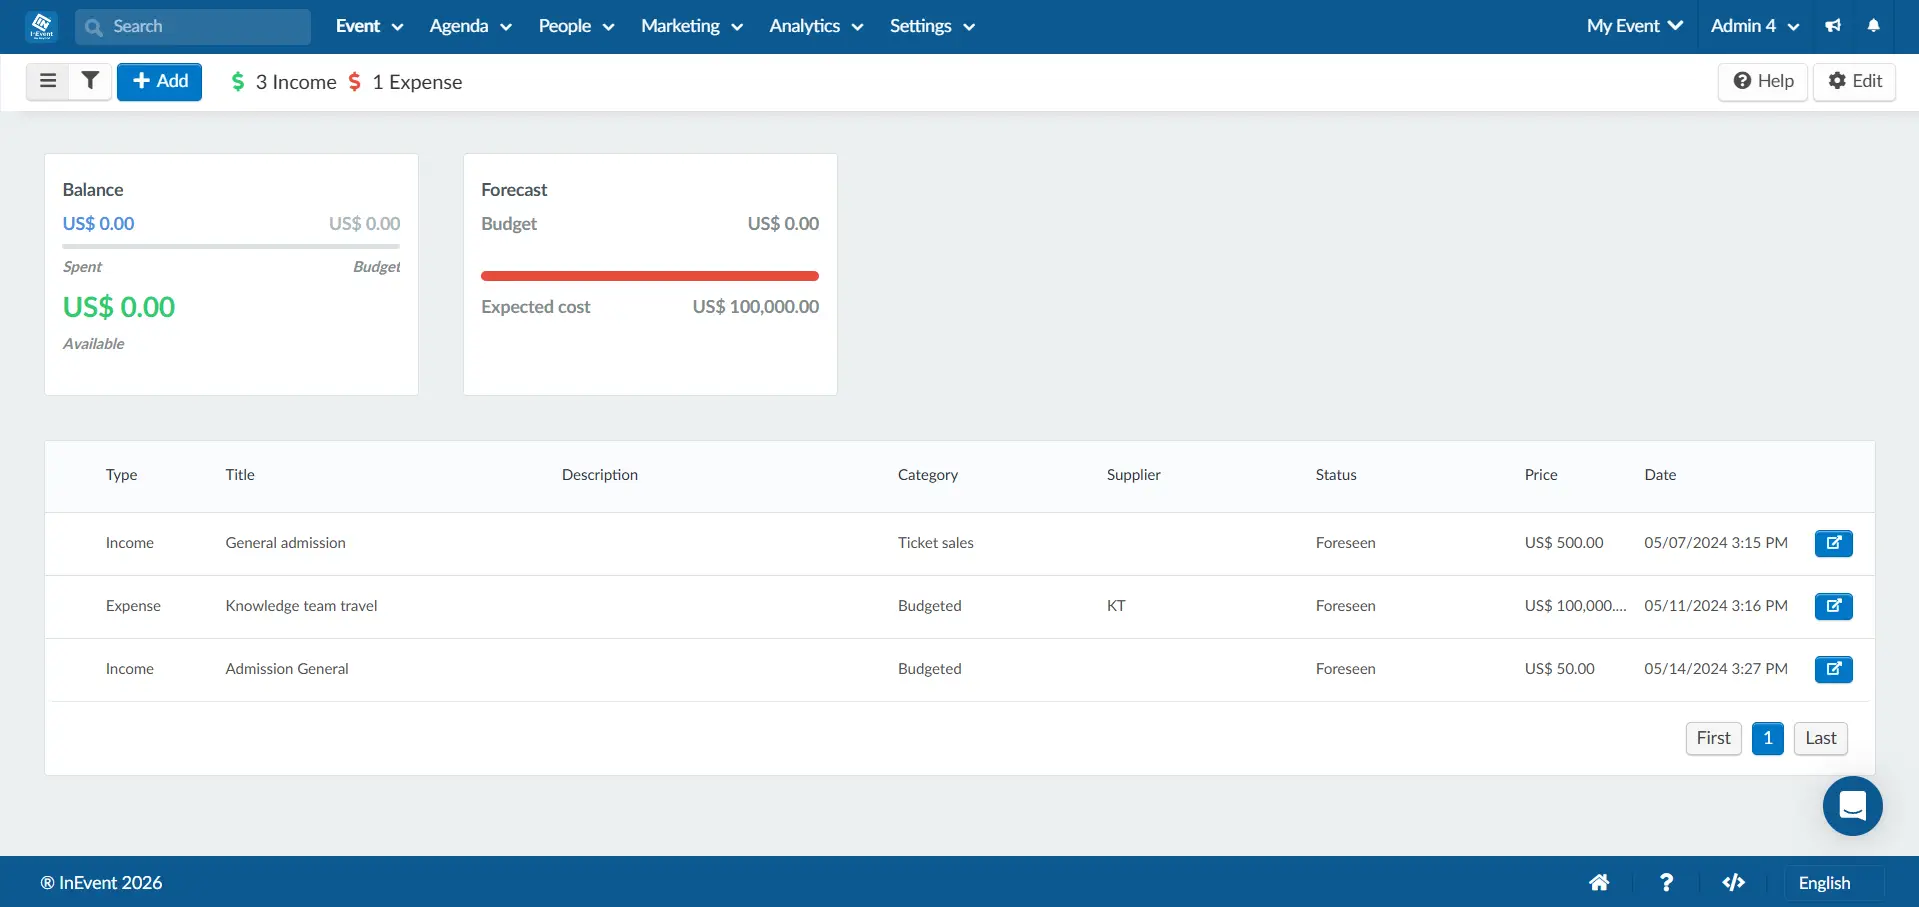
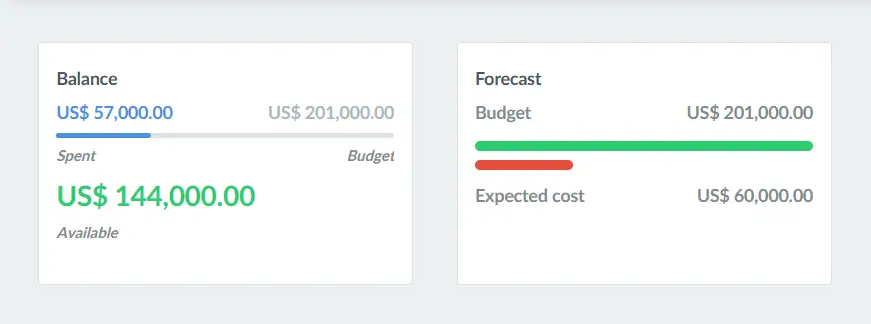
You can track all your expenses on the budget summary page. The summary shows what has been spent and how much you have left.
The budget summary shows three key values:
- Budget: your allocated total.
- Spent and Expected cost: what has been recorded or forecast.
- Available balance: what’s left to spend.
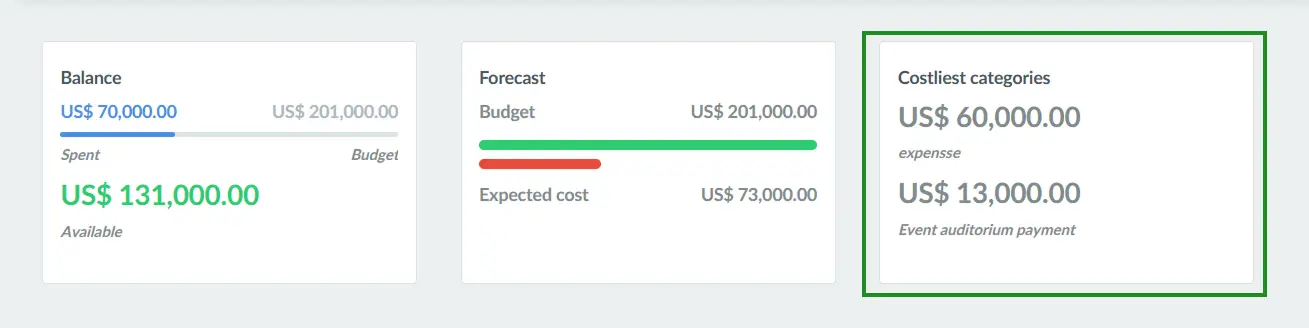
The progress bars give a visual comparison between what’s planned and what’s left.
Next to the budget summary, the Costliest categories section highlights the categories with the highest expenses.
Viewing expense as a pipeline
You can view your expenses as a pipeline by budget status using the filter option on the Budget page.
To do this, click the Filter button located in the top-left corner of the page. When enabled, budget items are grouped and displayed according to their status (Draft, Foreseen, or Fulfilled), allowing you to clearly see how expenses progress through each stage.
This pipeline view makes it easier to track planned costs, identify upcoming expenses, and distinguish between projected and finalized spending at a glance.
Deleting registered items
To delete budget items, follow the steps below:
- Click Edit.
- Select the checkbox next to the budget item you want to remove.
- Click Remove.
- Click End to finalize the deletion.

Entering multiple budget items at once
To add several budget items simultaneously, download the InEvent standard demo file and complete all required columns with the relevant budget item details.
Once you’ve finalized the information, save the spreadsheet and upload it to the platform by clicking Edit > Import. In the import window, click the green button to select your file, then click Add followed by End to complete the process.
Extracting a report
To export your budget information to an Excel file, click Edit. The Report button will appear in the upper-left corner of the page. After clicking Report, a notification will appear at the top of the screen confirming that the file is being generated and will be sent to your email once the process is complete.
