Seats
 Updated 5 months ago
by
Faisal Durrani
Updated 5 months ago
by
Faisal Durrani
The Seats feature allows you to efficiently oversee events with designated seating arrangements. By using this feature, you can contract seats for your most regular company and event admins or attendees so that they can create and register for events within the same company without using up registration credits.
Seats
To view the Seats page, navigate to the Company level and click on Company > Seats.
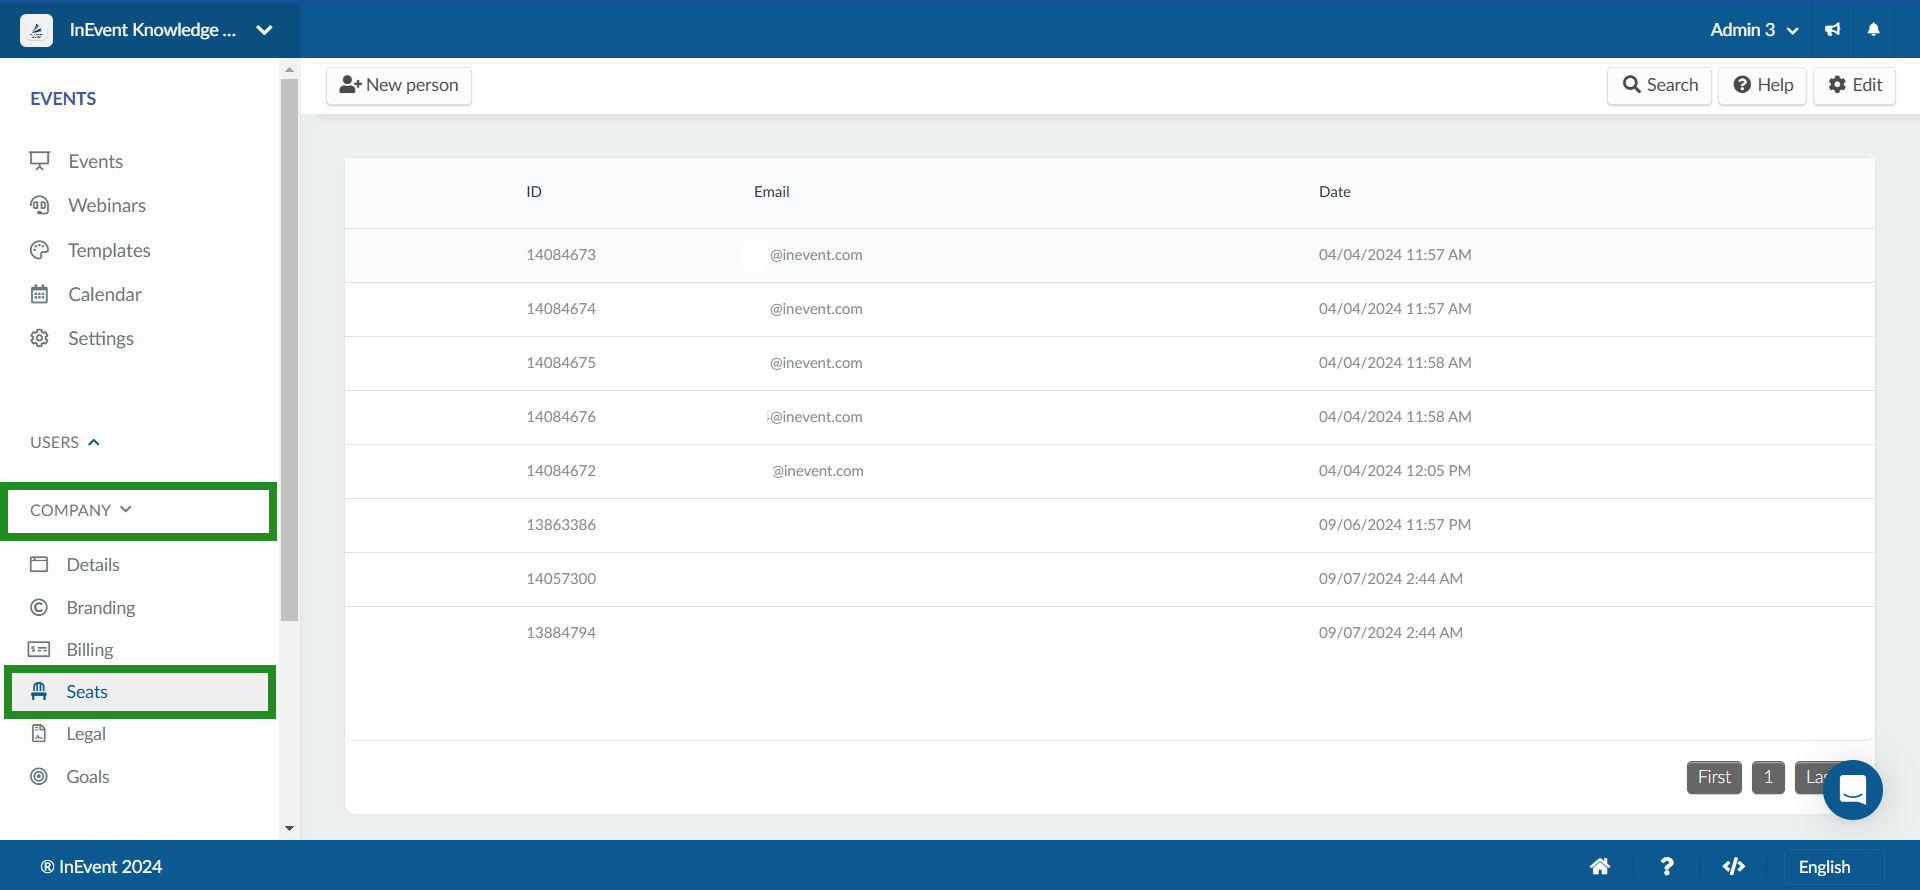
Adding a new person
To add a new person, click on the +New person button at the top left corner. Then, enter the person's email address and press Create.

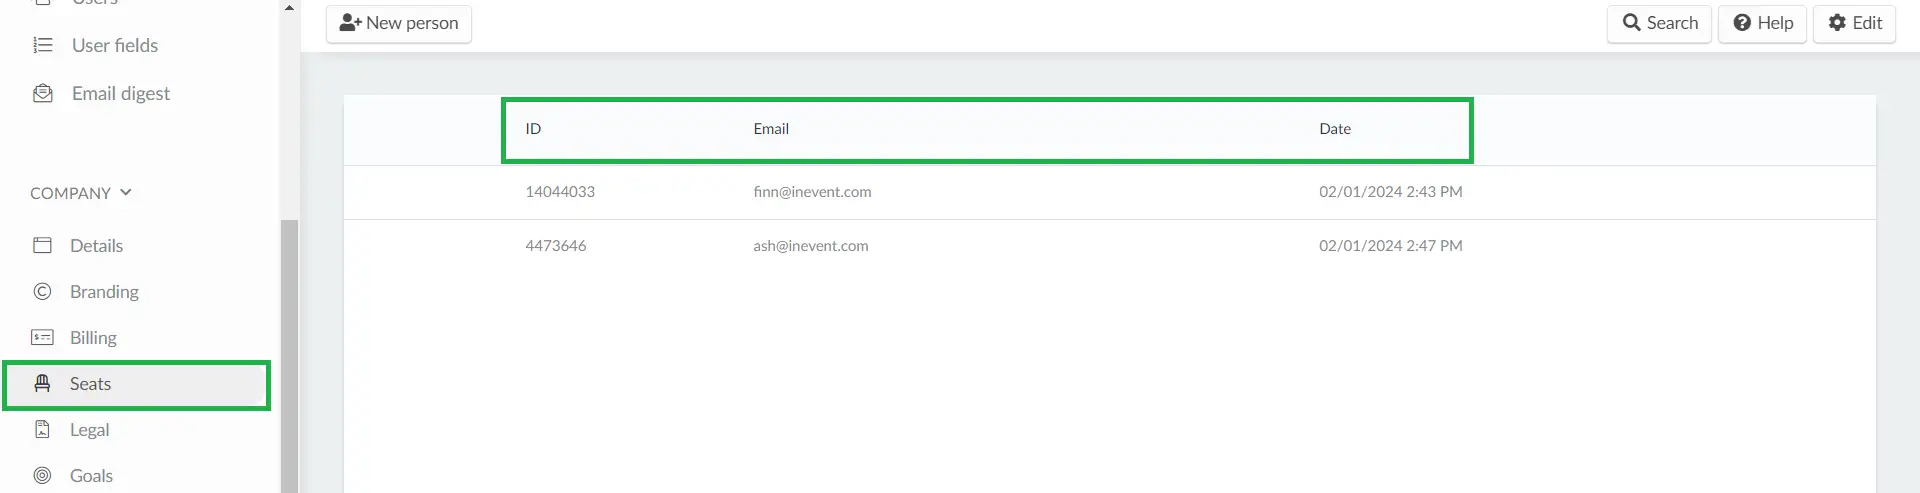
Once a user is added successfully, the Seats dashboard will display the user's ID, email address, as well as the date and time of their addition:
To avoid encountering the error message 'Error details: email … is badly formatted' when adding a user, please ensure that you provide a valid and properly formatted email address. See image below:

If you see the error message 'Error details: not enough seats available' (shown below) when trying to add a user, it indicates that you need to purchase seat credits. Please refer to our Billing article for more information on purchasing credits.

Removing people
To remove people, click on Edit and select the person or people you want to remove by ticking the box next to their name. Then, click on Remove people and then confirm the action by clicking on the red Remove button in the confirmation pop-up.
Downloading a report
To download a report of all the people with booked seats, click on Edit and then click on the Report button on the upper left corner. You will be directed to Reports > Report center where you then click on the blue download icon to download your report successfully.
The report contains: billingSeatID, CompanyID, PersonID, Username, Email and the Date the person was added on.
Downloading a demo file
An alternative to adding people manually is adding them in bulk by importing a spreadsheet. You can download a demo file, enter the email addresses to be added and upload the spreadsheet to the platform. To download a demo file, click on Edit, and click on the Import button on the upper left corner. In the pop-up box, click on Download demo file.

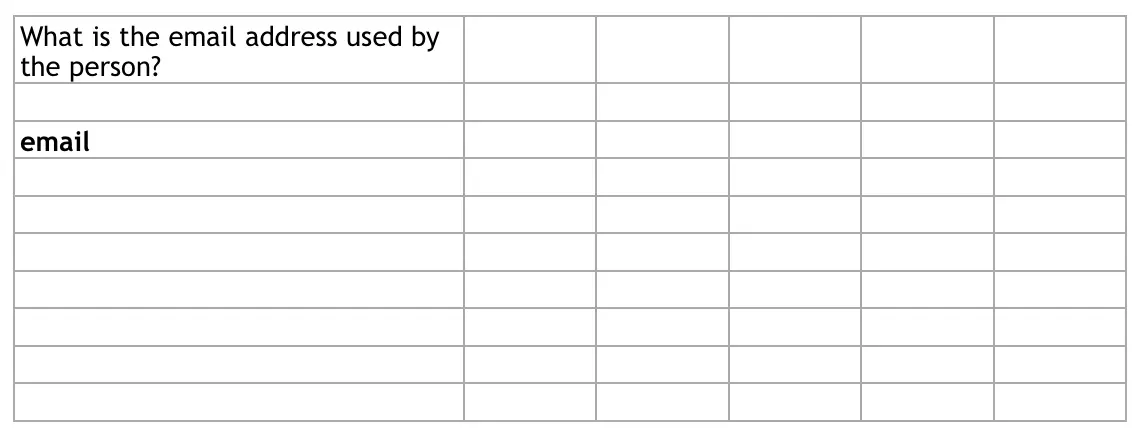
The spreadsheet contains one column: What is the email address used by the person?. Under email, enter the list of email addresses of the people you want to add and save the file.
To import the file, click on Import. On the pop-up box that appears, click on the green folder icon. After selecting your file, the green folder icon should transform to a checkmark, indicating the initial part of the upload was successful, click on the Import button to finalize the process. Once you have done so, the data on the spreadsheet will be added to the page.

Replacing seats
When managing seat assignments, it's essential to understand the appropriate scenarios for replacing seats to ensure smooth operations.
Acceptable Use Cases for Replacing Seats:
- Employee Termination and New Hire: If an employee is terminated and a new individual is hired to fill their role, you can replace the seat to reflect the new hire. This ensures that the new employee has access to the necessary resources and can participate effectively.
- Legal Name Change: If an employee changes their legal name, you can update their seat to reflect this change. This helps maintain accurate records and ensures that all documentation and communication are aligned with the employee's current legal name.
Unacceptable Use Cases for Replacing Seats:
- Temporary Removal and Re-addition: If an employee is removed temporarily (for example, due to a short-term leave) and will be re-added later, replacing their seat is not necessary. Instead, consider managing their absence through temporary adjustments without replacing the seat, as this avoids unnecessary changes and maintains continuity.
By adhering to these guidelines, you can manage seat assignments more effectively and ensure that the InEvent platform reflects accurate and up-to-date information.