Form Editor: Registration Form
 Updated 3 days ago
by
Lorenzo
Updated 3 days ago
by
Lorenzo
InEvent offers the option to customize your Registration form through the use of the Form Editor tool. This tool allows you to customize the look and feel of your Registration form without having to use CSS codes.
In this article, we will learn how to customize the Registration form using the Form Editor.
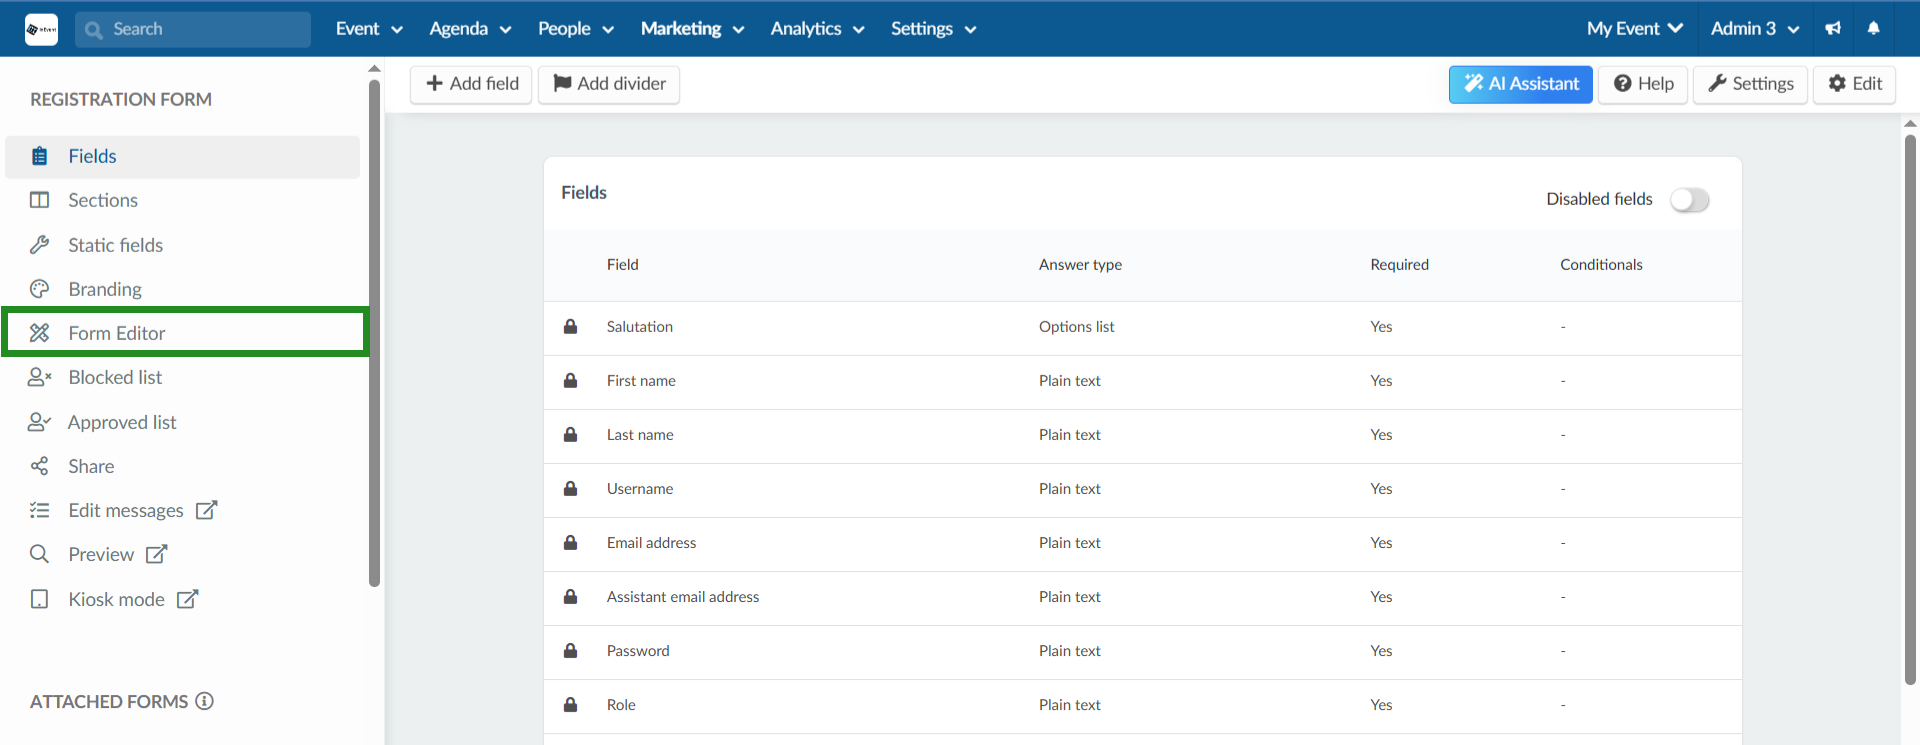
Navigating to the Form Editor
You can access the Form Editor at Marketing > Registration > Registration form > Form Editor. You will see the Form Editor on the left side menu of the page.
Customizing your Registration Form
To customize your Registration form, click on the Form Editor and a menu with all the sections will appear on the left side of the screen. On the right side, you will have a Live view of your Registration form.
To begin your customization, click on Edit at the top right corner of the page.
Sections
- Form Title
Under this section, you will find the different customization options for the Title of your registration form.
- Form Title Style: Customize the color, font and font size of the main heading of the form.
- Subtitle Style: Customize the color, font, and font size of the subtitle text that appears under the main title.
- Final Message Style: Customize the color, font and font size of the confirmation or closing message that appears after the form is submitted.
Below is how a customized Final Message will look like after form submission.

Form Questions
Under this section, you will find different customization options for the fields in your Registration form.
- Questions Style: Customize the color, font and font size of the main fields in your registration form.
- Subtitle Style: Customize the color, font, and font size of the subtitle text that appears under the fields on form.
- Upload image Title Style: Customize the color, font and font size of the Upload image title on the form.
- Upload Image Description Style: Customize the color, font and font size of the User picture field on the form.
- Questions Per Line: Customize how many fields should appear in one line on the form. You can have up to 3 fields per line. Custom fields will not be affected by this by default unless you change their Size option in the Custom fields' option. For more information, refer to the Configuring custom fields article.
- Sections
Under this section, you will find customization options for the sections created in the form.
- Title Style: Customize the color, font and font size of the main title of the section in the form.
- Section Description: Customize the color, font and font size of the text of the section description.

- Divider
Under this section, you will find customization options for the Dividers in the form.
- Divider Title Style: Customize the color, font and font size of the main title of the Divider on the form.
- Divider Subtitle Style: Customize the color, font and font size of the subtitle text that appears under the main Divider text.
- Form Background
Under this section, you will find customization options for the form's outer and inner area.
- Form Background Color: Customize the color applied to the outer area surrounding the form. This is the background visible outside the main form container.
- Questions Background Color: Customize the color applied to the inner area of the form, specifically the section behind the input fields and questions within the form container.

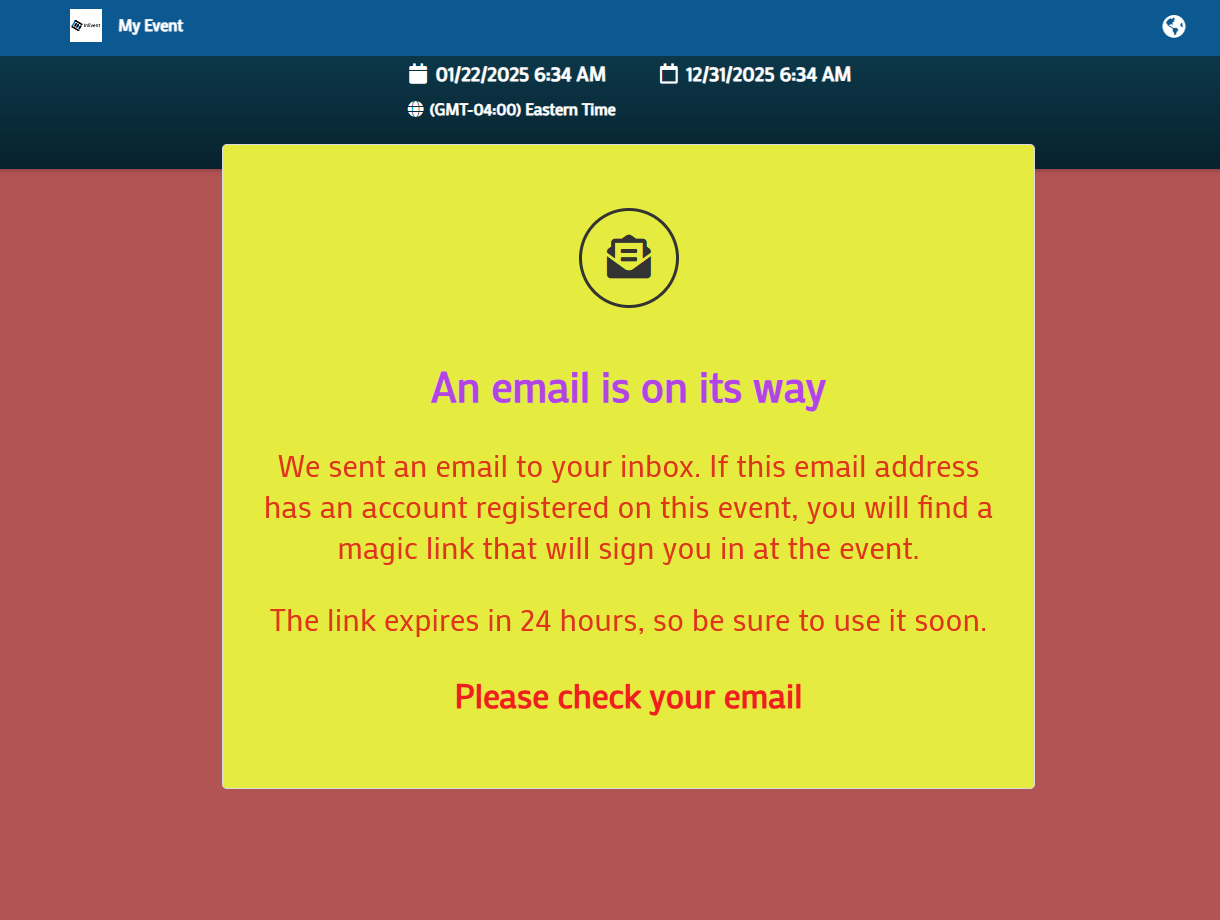
- Form Magic Link Page
In this section, you will find customization options for the form's magic link page. This is the confirmation screen displayed after a user who has already registered for the event submits their email address through the registration form. This page informs the user that a magic link has been sent to their email, allowing them to access the event without entering a password.
- Title Style: Customize the color, font and font size of the main title of the form magic link page.
- Text Style: Customize the color, font and font size of the instructional text shown beneath the title.
- Confirmation Message Style: Customize the color, font and font size of the final confirmation message (e.g., “Please check your email”).
Below is how a customized Form Magic Link Page looks like after submission.
Reset Form Customization
You can reset customizations made to the registration form individually. Click on the red reset button under each elements content/style section. A pop-up will appear for your confirmation, click reset to confirm.