Custom branding using CSS
 Updated 10 months ago
by
Amalia
Updated 10 months ago
by
Amalia
Custom branding is essential in conveying your brand image and message to your audience. With InEvent's Virtual Lobby Editor, you can customize your Virtual Lobby to represent your unique brand image.
InEvent's Virtual Lobby Editor provides a wide range of visual customization that you can configure to suit your custom branding needs.
In addition to the Virtual Lobby Editor, you can also perform more advanced customization to your event by using the CSS editor tool.
This article will guide you on how to use the CSS editor.
Enabling the CSS editor
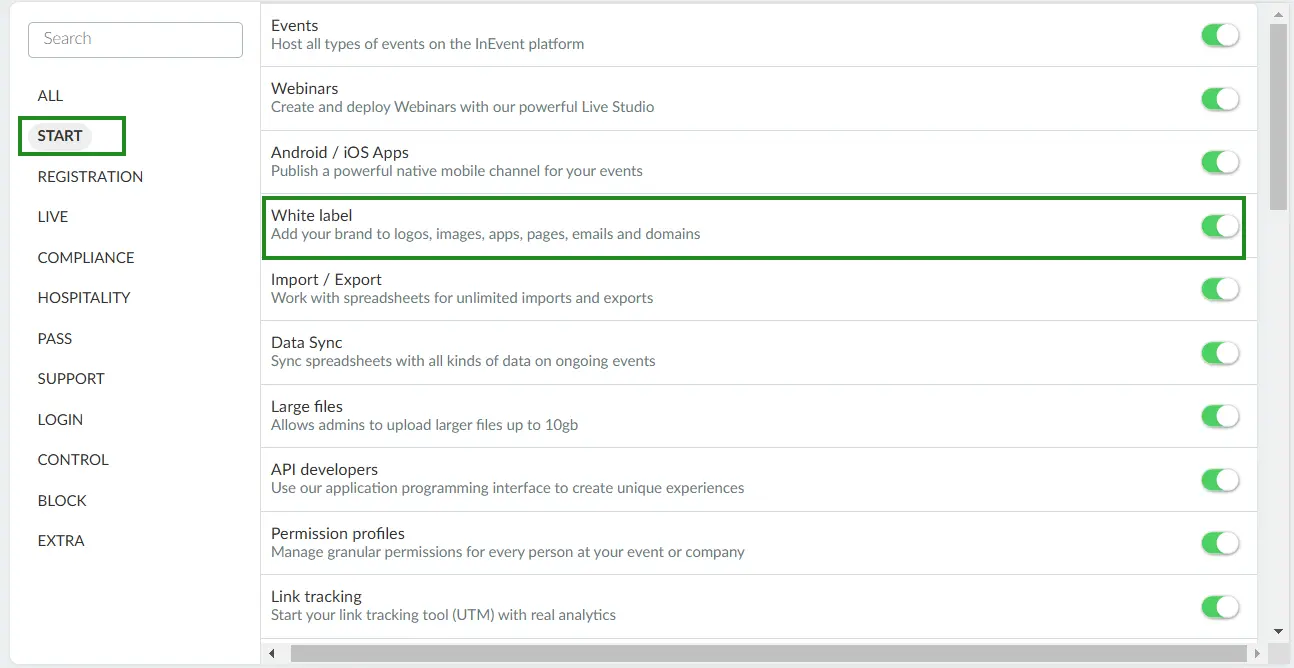
Before using the CSS tool, ensure that you have the White label feature enabled. To do so, follow the instructions below:
- Navigate to Settings > Tools from the Event level.
- Locate White label under the Start section.
- Click Edit on the top right corner of the page.
- Check the White label box.
- Press End to save your changes.
Once you have enabled White label, you will be able to customize several aspects of your event using the Source code button that appears in the following locations on the platform:
- Event > Details: Here, you can customize your event and its related pages (Virtual Lobby, Registration form, Website, etc.) at the Event level using custom CSS codes.
- Event > Virtual Lobby > Layout: Here, you can customize your Video Player layout at the Event level using custom CSS codes.
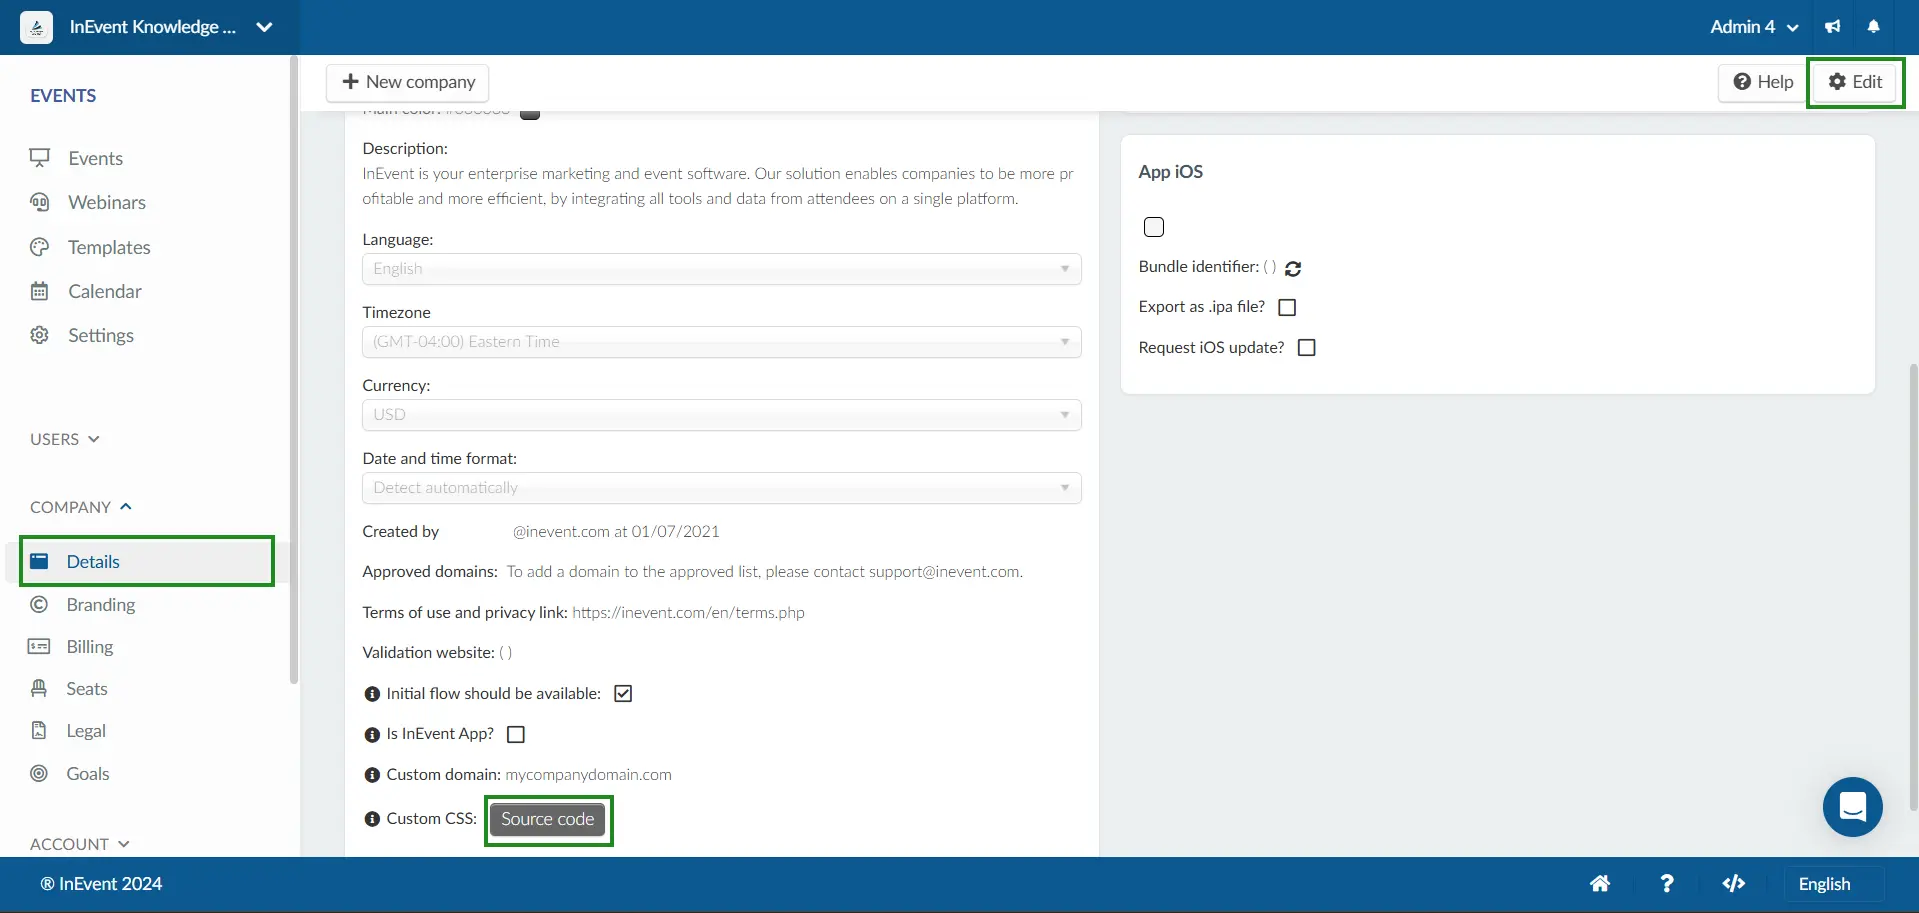
- Company > Details: Here, you can customize your events and related pages at the Company level using custom CSS codes. In addition to event pages, you will also be able to customize your Booking forms from this location.
Using the CSS editor at Event level
To use the CSS editor from the Event level, complete the following steps:
- Navigate to Event > Details> Branding.
- Locate the Source code button under Custom CSS.
- Click Edit on the top right corner of the page.
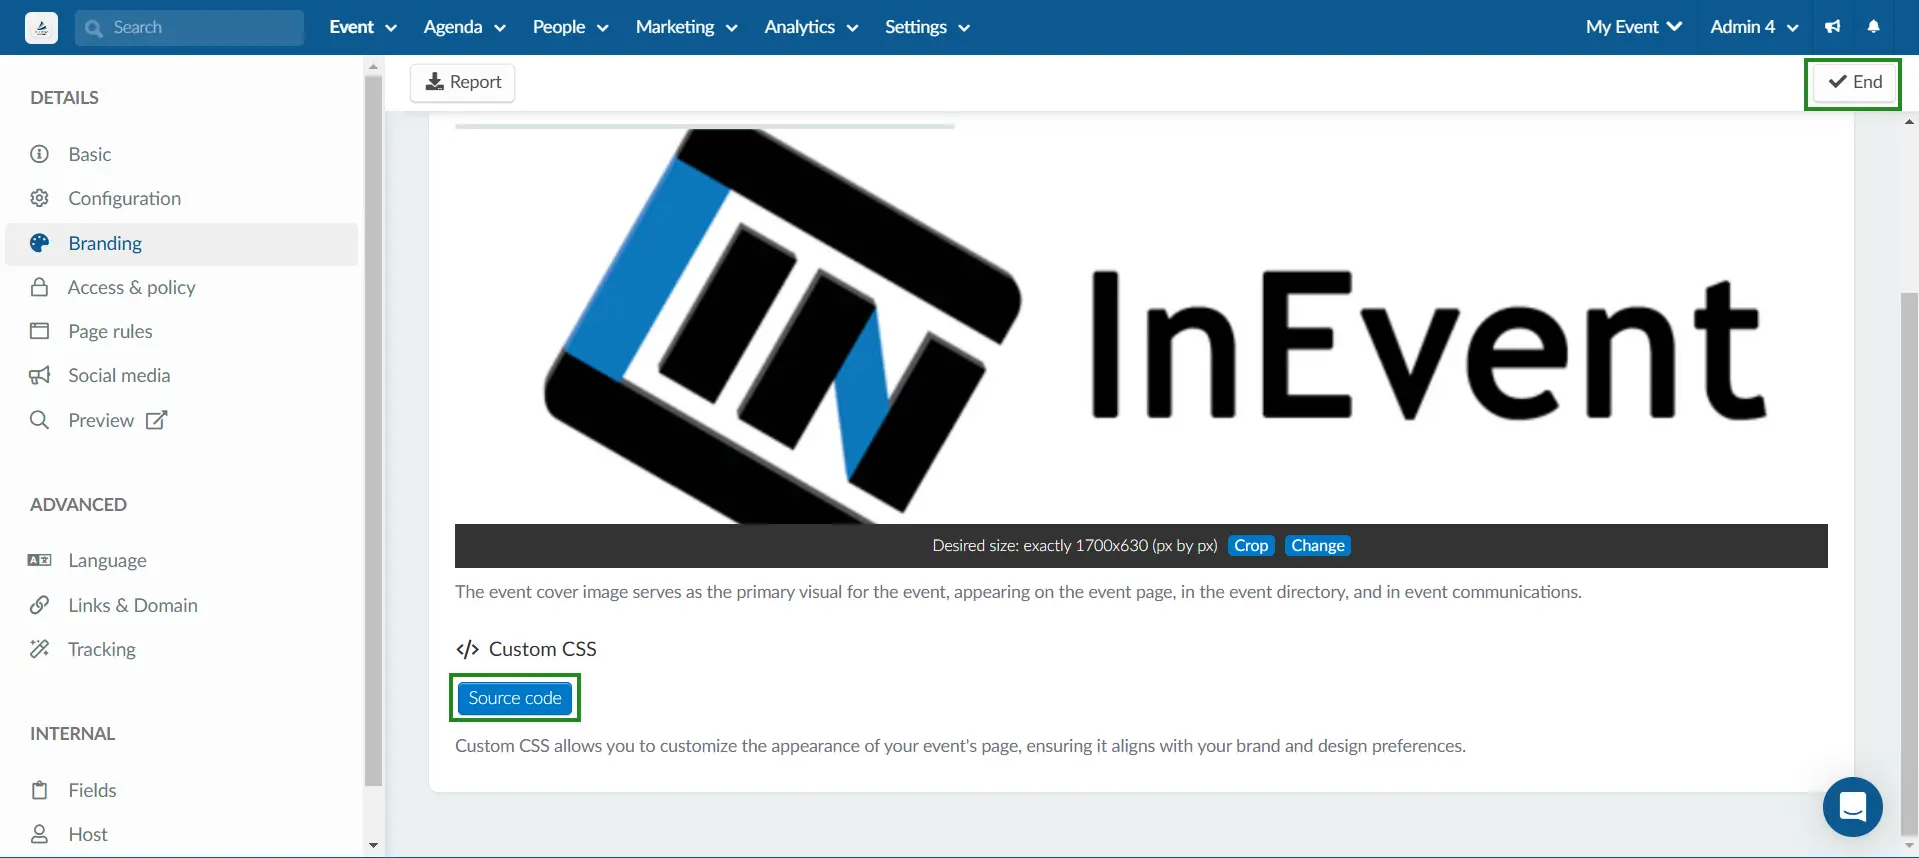
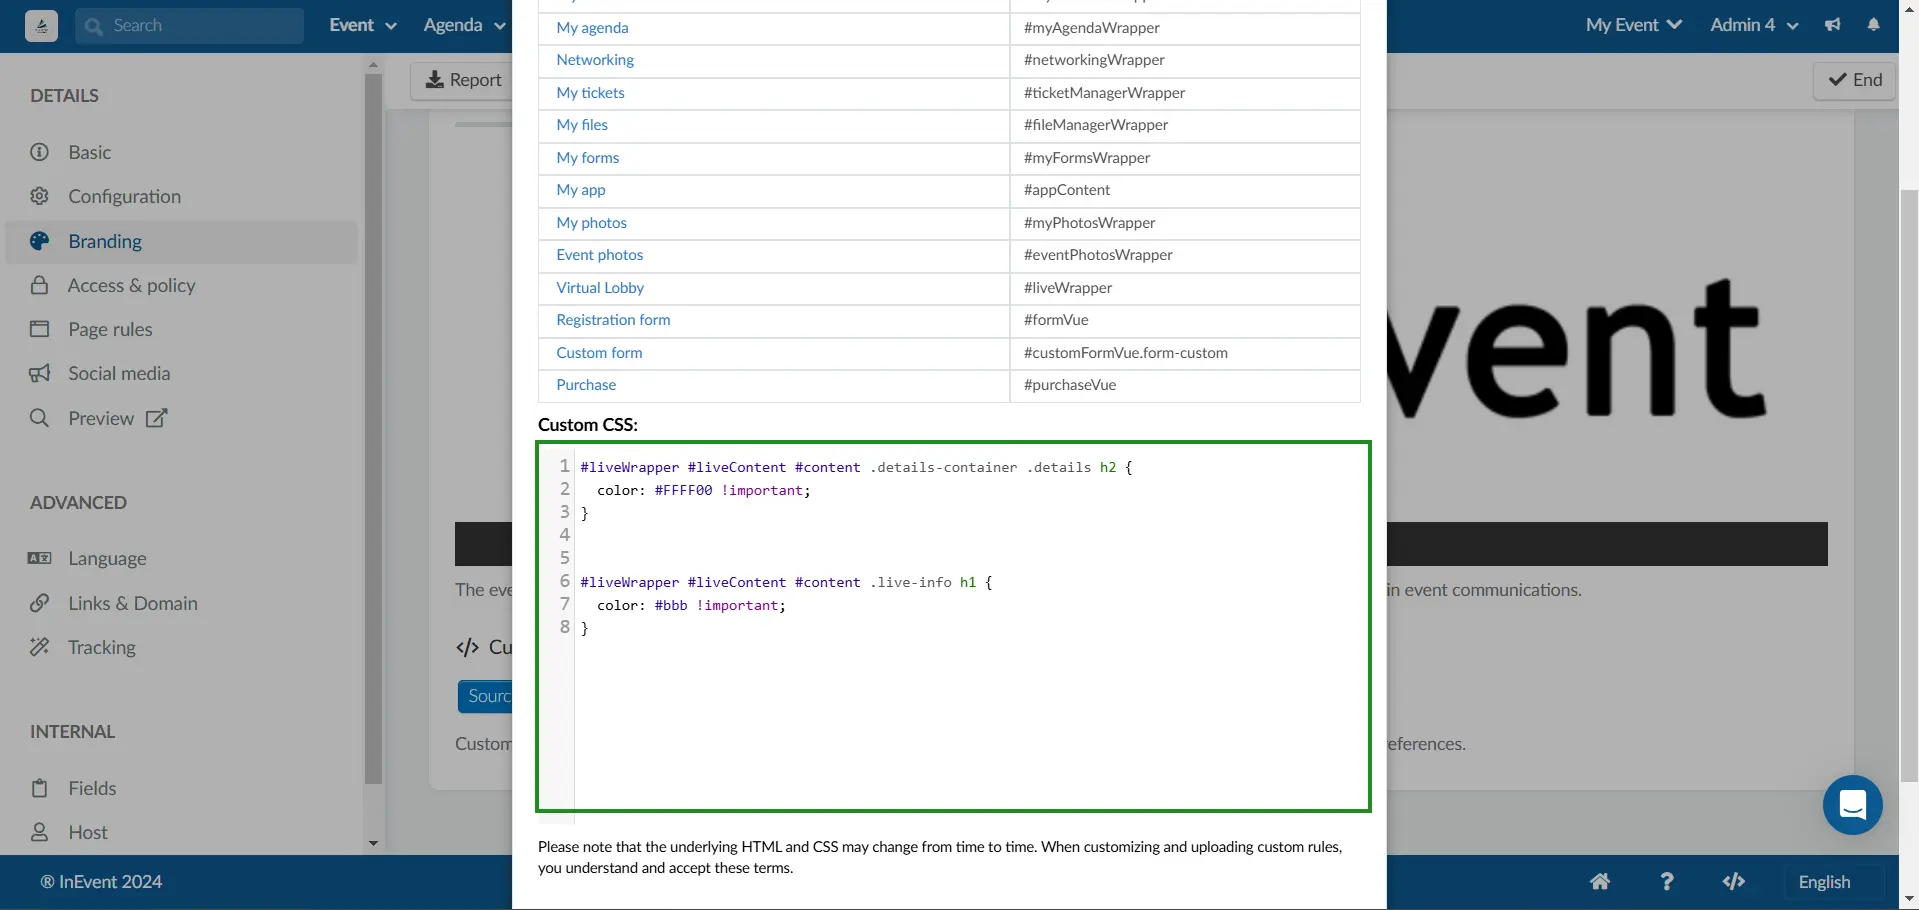
- Click the Source code button. A pop-up box will appear, which contains:
- Cheat sheet table containing a list of pages to which you can apply custom CSS codes and their respective root tags
- Custom CSS text box to enter your custom CSS codes
- Enter your custom CSS codes in the Custom CSS text box.
- Press Done to apply your changes.
Web pages you can edit using the CSS editor at the Event level
A list of pages that can be edited or modified using custom CSS codes as well as their respective root tags can be found in the following table:
Page | Root |
| |
| |
| |
| |
| |
| |
| |
| |
| |
| |
|
Using the CSS editor at the Company level
To use the CSS editor from the Company level, complete the following steps:
- Navigate to Company > Details.
- Locate the Source code button under Custom CSS.
- Click Edit on the top right corner of the page.
- Click the Source code button. A pop-up box will appear, which contains:
- Cheat sheet table containing a list of pages to which you can apply custom CSS codes and their respective root tags
- Custom CSS text box to enter your custom CSS codes
- Enter your custom CSS codes in the Custom CSS text box.
- Press Done to apply your changes.

Pages you can edit using the CSS editor at the Company level
In addition to all the pages you can customize at the Event level, you can also customize your Booking form attributes from the Company level CSS editor.
Using the Video Player CSS editor
Other than customizing the Virtual Lobby and other pages, you can also customize the appearance of your Video Player using custom CSS codes. Below are the instructions on how to use the Video Player CSS editor:
- Navigate to Event > Virtual Lobby from the Event level.
- Navigate to Layout under Design.
- Locate the Source code button under Video Player CSS.
- Click Edit.
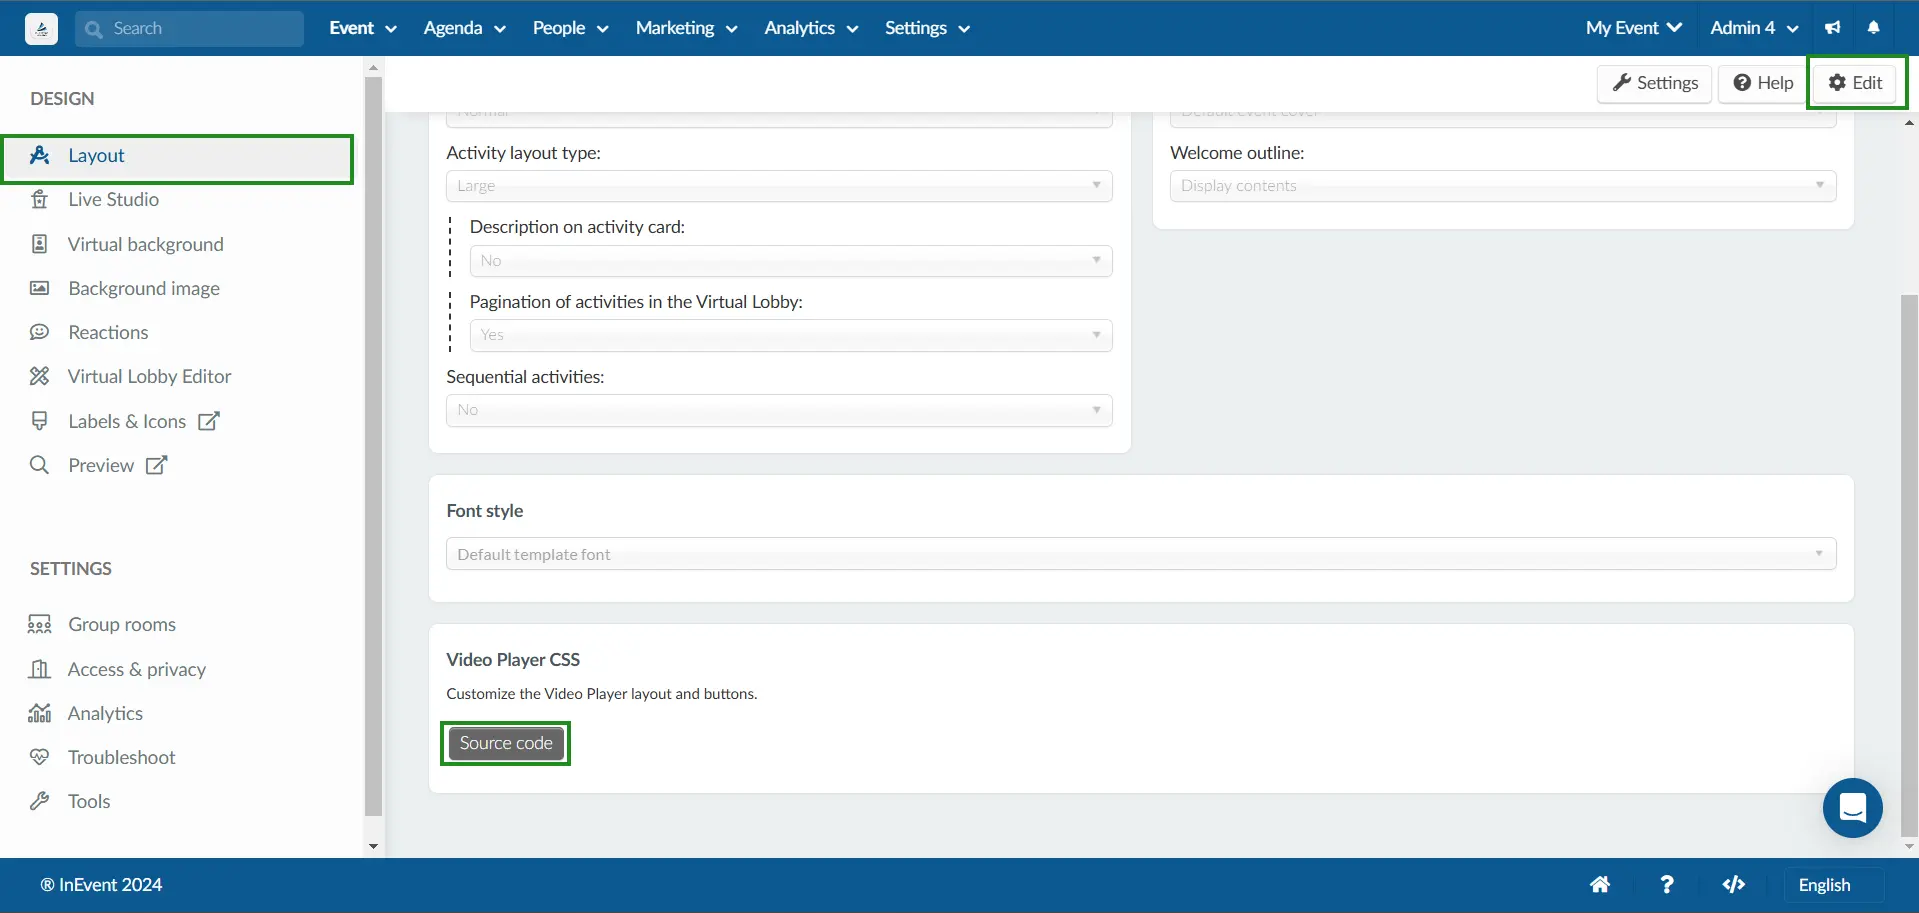
- Click the Source code button. A pop-up box will appear, which contains the Cheat sheet table and the Custom css text box.
- Enter your custom CSS codes in the Custom CSS text box.
- Press Done to apply your changes.
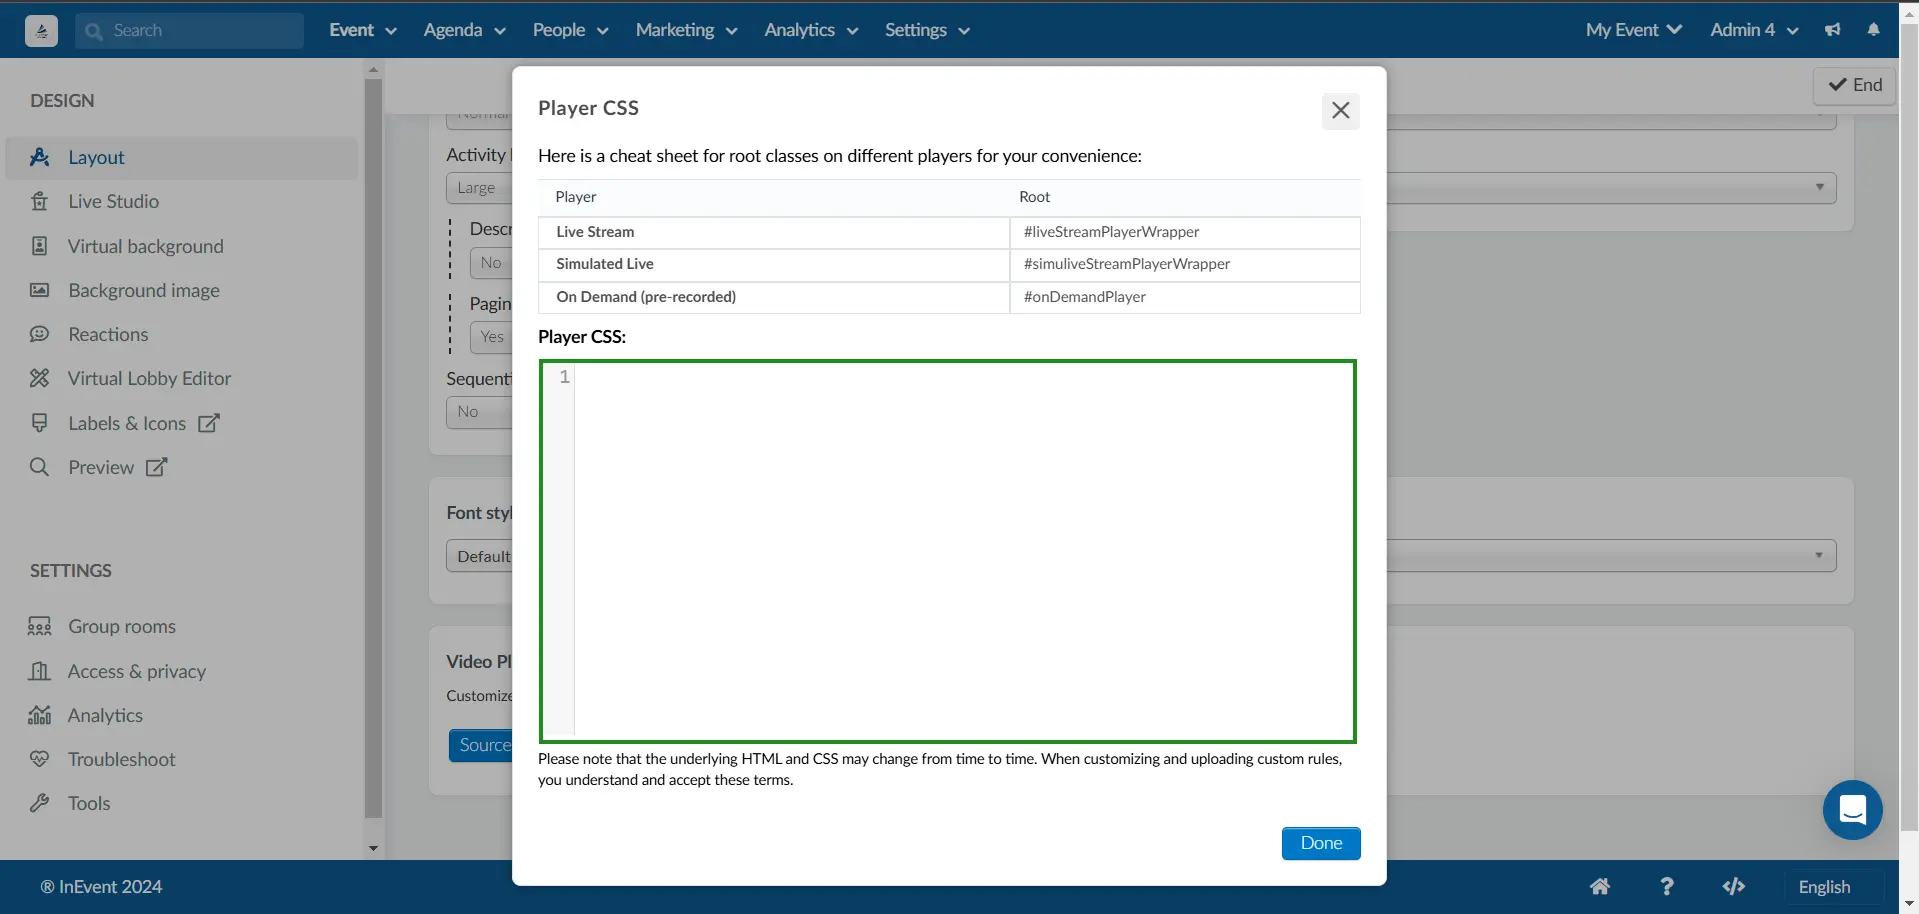
Table of elements you can edit using the Video Player CSS Editor
In this section, you will find a list of video player elements that can be edited or modified using custom CSS together with the root tags.
Player | Root |
| |
| |
|
Most frequently requested CSS codes
CSS codes that are frequently requested are documented in our Most frequently requested CSS codes article.
Customizing other page items or elements
To customize other page items or elements, refer to the following instructions:
- Navigate to the desired page.
- Locate the item or element you want to customize.
- Right click on the item you wish to customize. A context menu will appear.
- Click Inspect. Your browser's Developer Tools will appear.
- Locate the properties of the item you want to customize under Styles.
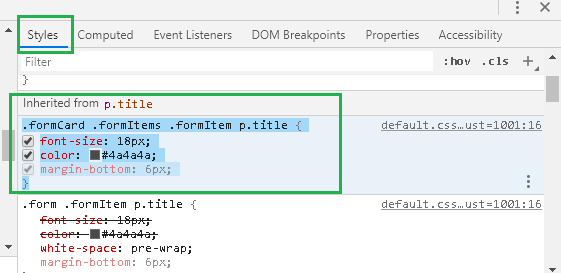
- Replace the item properties as desired.