Email Creator - Company Level
 Updated 11 months ago
by
Amalia
Updated 11 months ago
by
Amalia
The Email creator feature at the Company level is a tool that allows you to send automatic and manual emails to your attendees as soon as they submit Membership or Custom forms.
Accessing the Email creator at the Company Level
At the company level, click on Account > Email creator.
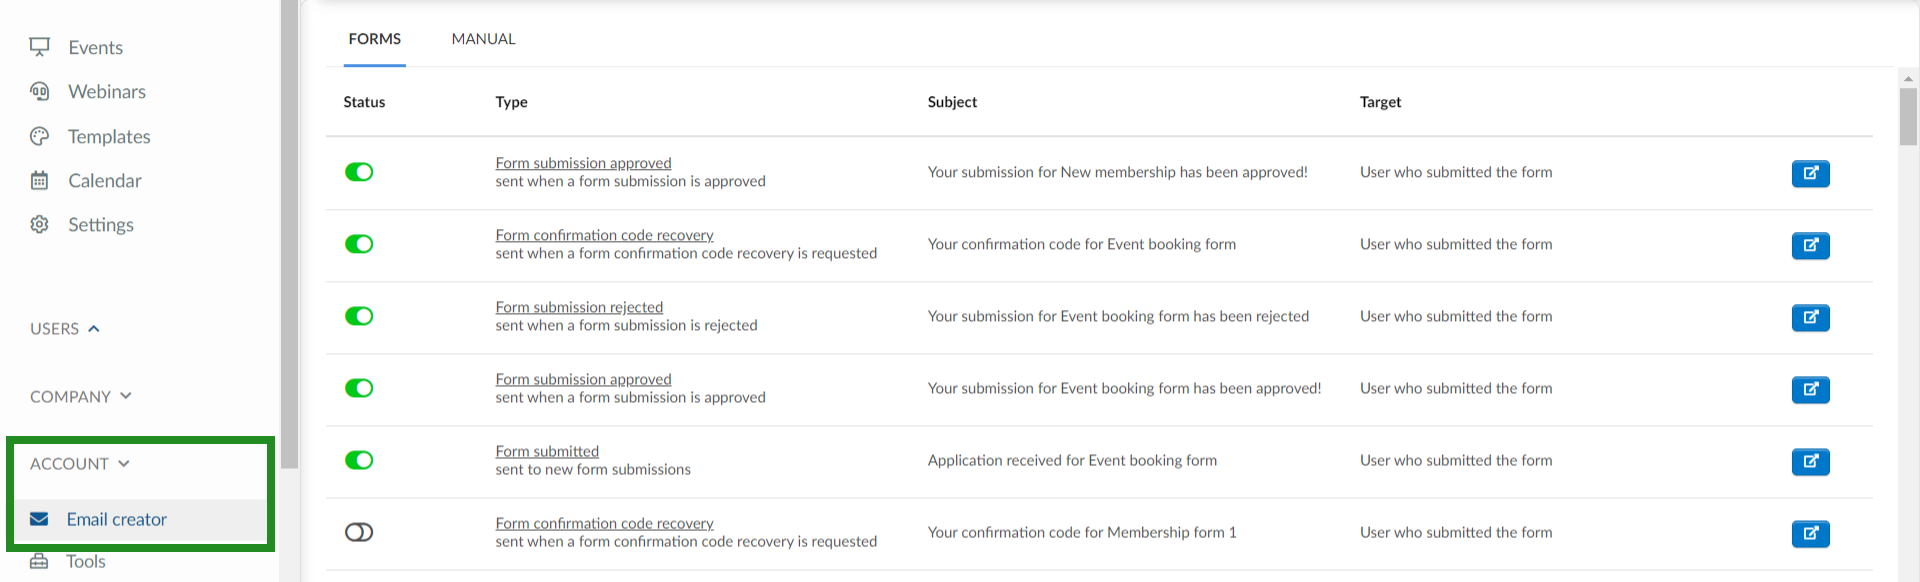
When you create a form and choose Membership form as the type, it automatically creates 4 types of emails in the Email creator > Forms page:
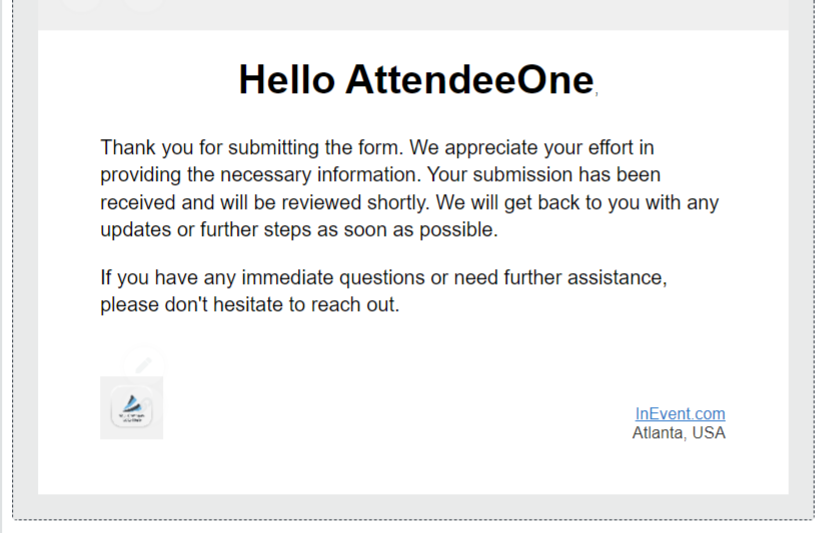
- Form submitted: When a user submits a membership form, they will receive an automatic email informing them that their application has been received successfully.
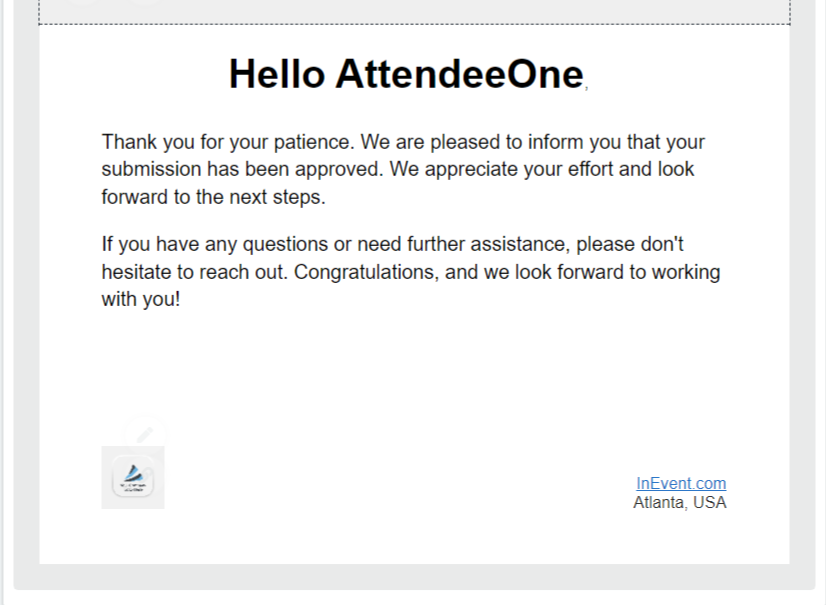
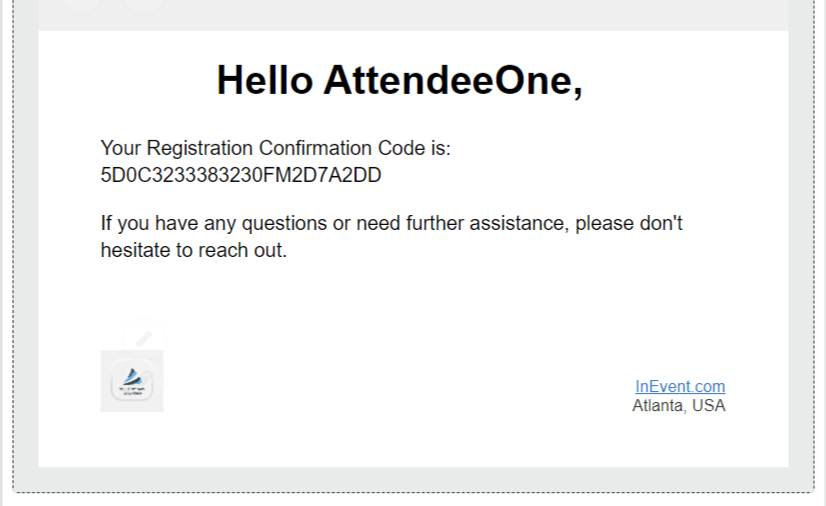
- Form submission approved: When the user's submission has been approved, they will receive this automatic email informing them that their application has been approved.
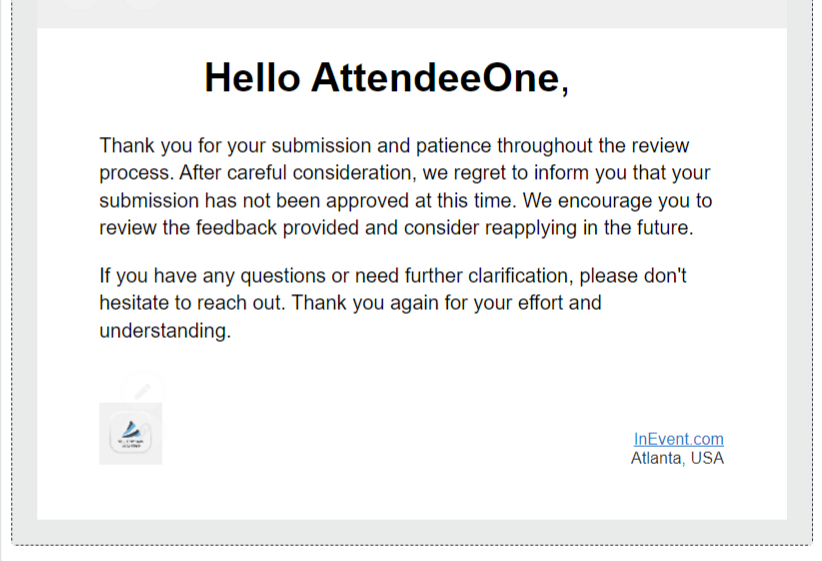
- Form submission rejected: If the form submission has been rejected, the user will receive this automatic email informing them that their application has been rejected.
- Form confirmation recovery: When enabled, a user will be able to request for the confirmation code recovery to edit a membership form.
When you create a form and choose Custom form as the type, it automatically creates an email in the Email creator page:
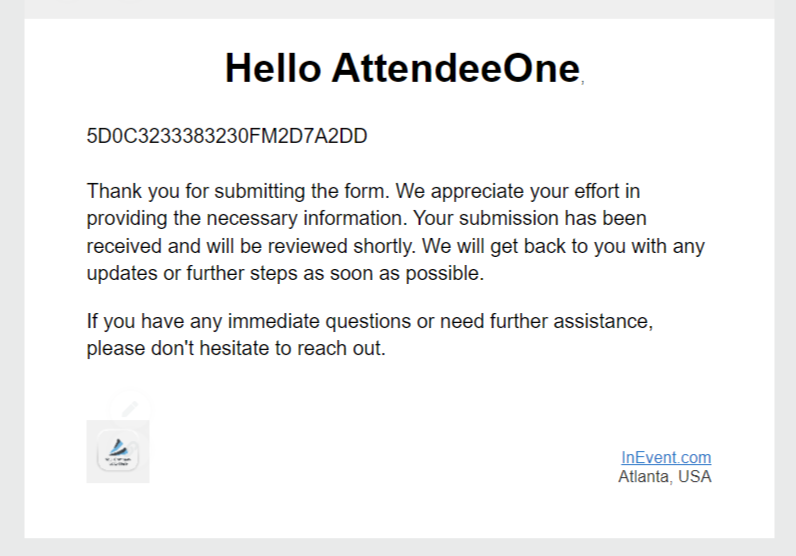
- Form Submitted: When a user submits a custom form, they will receive an automatic email informing them that their application has been received successfully.You can add a confirmation code for custom form emails as shown in the email below. To learn how to do so, check out our Email creator: dynamic content and links.
Sending Emails manually
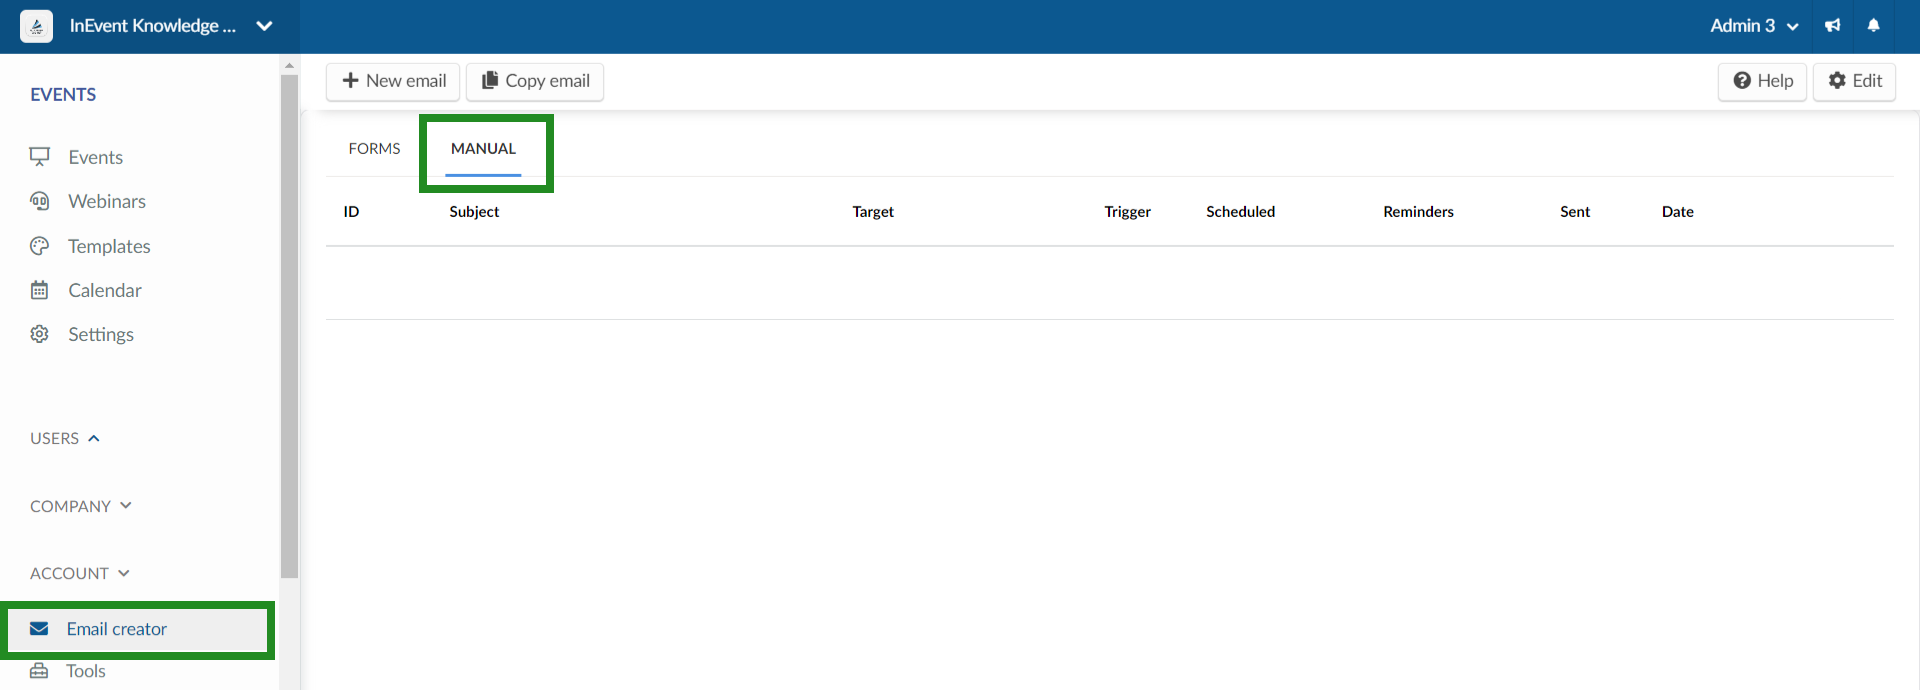
- At the company level, click on Account > Email creator > Manual section.
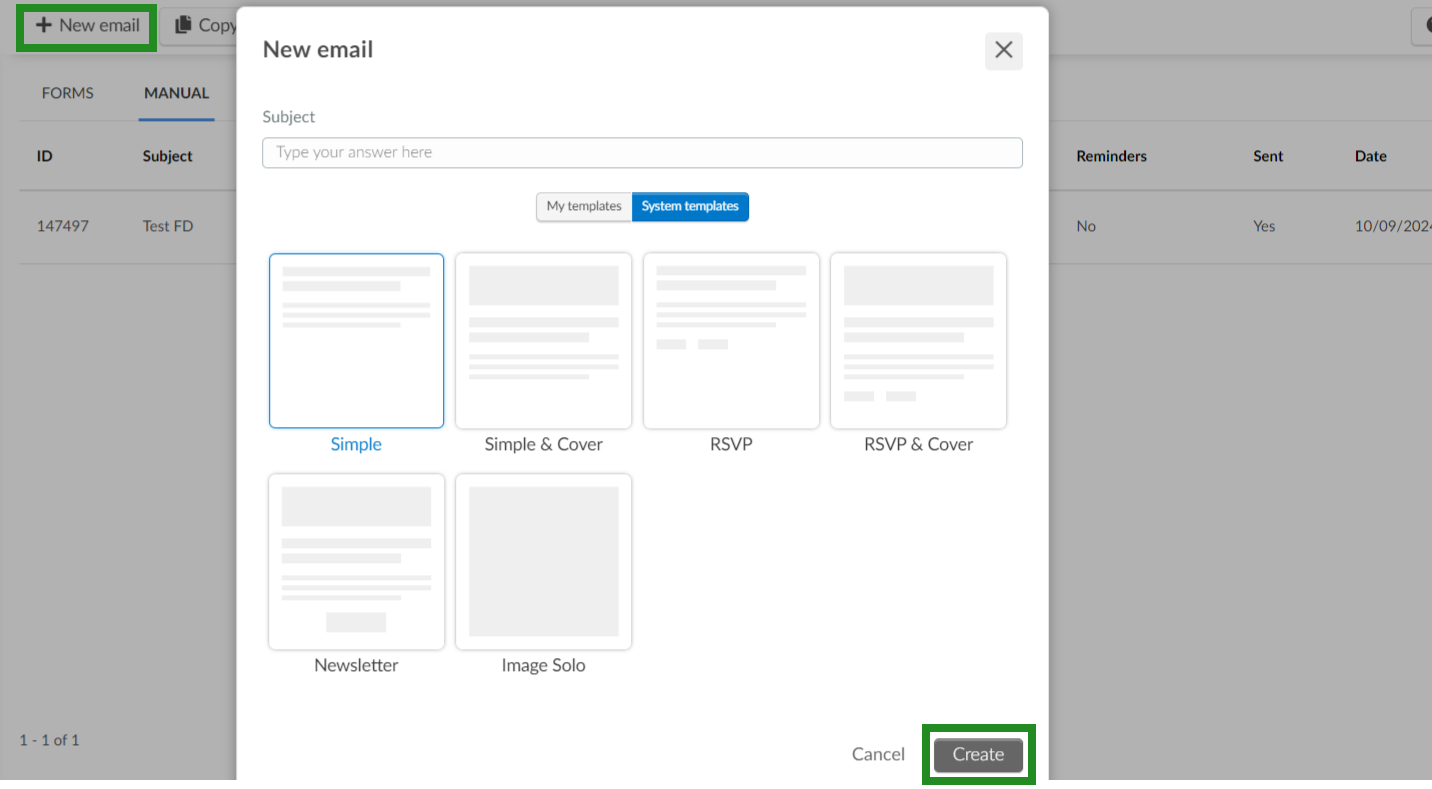
- Click on New email, type in the subject for the email, select email template and press create.
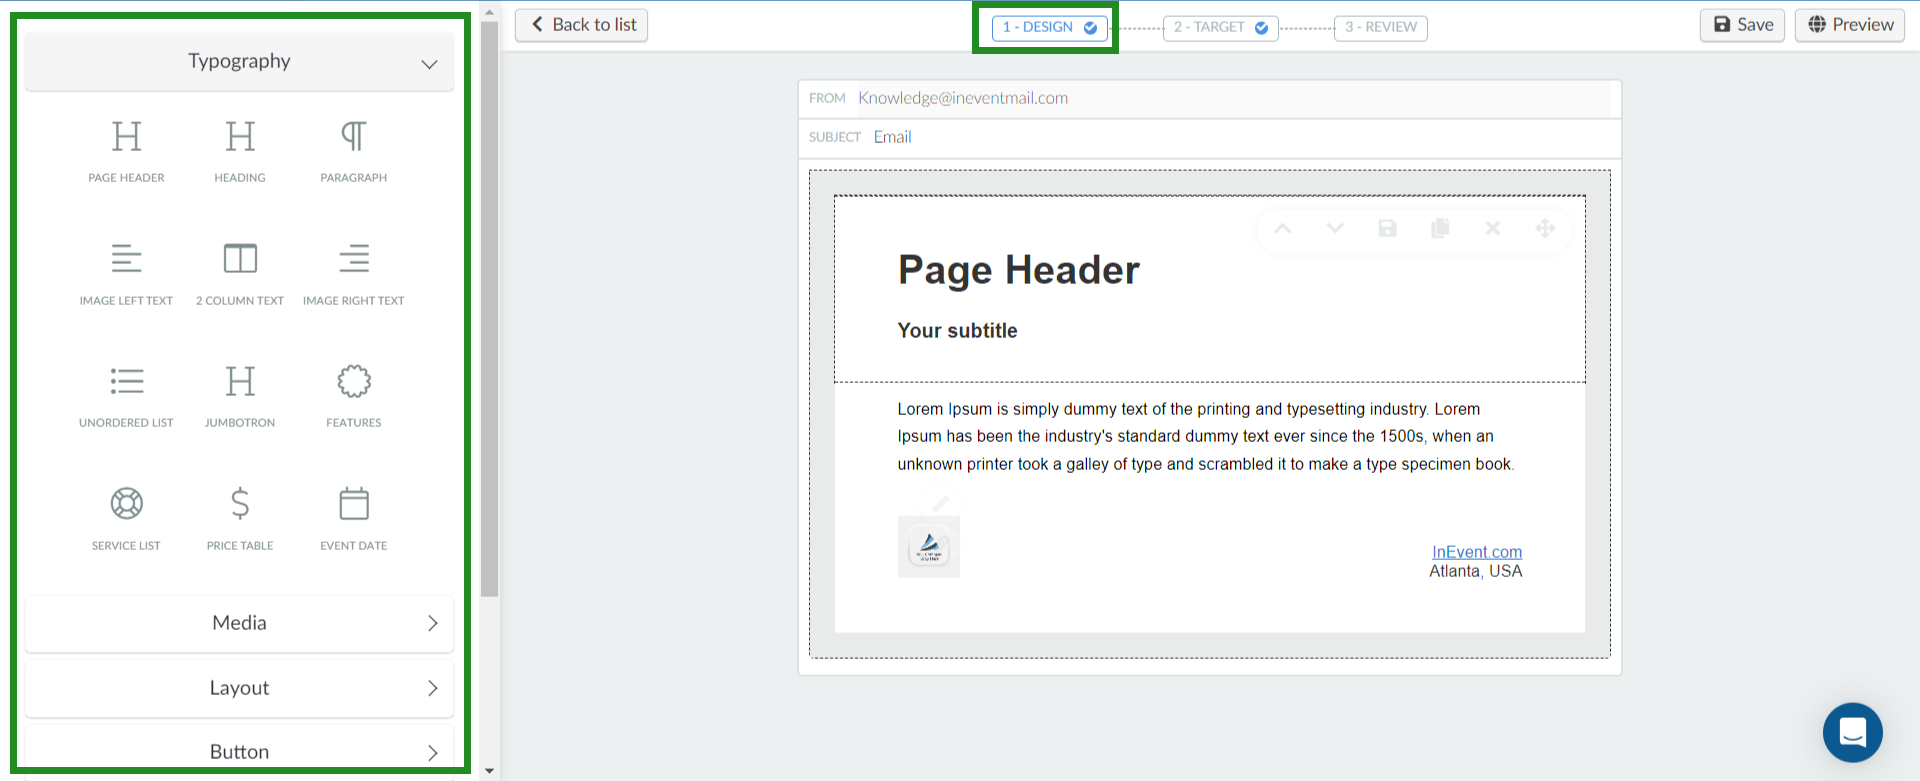
- Design and add customized sections to your email.
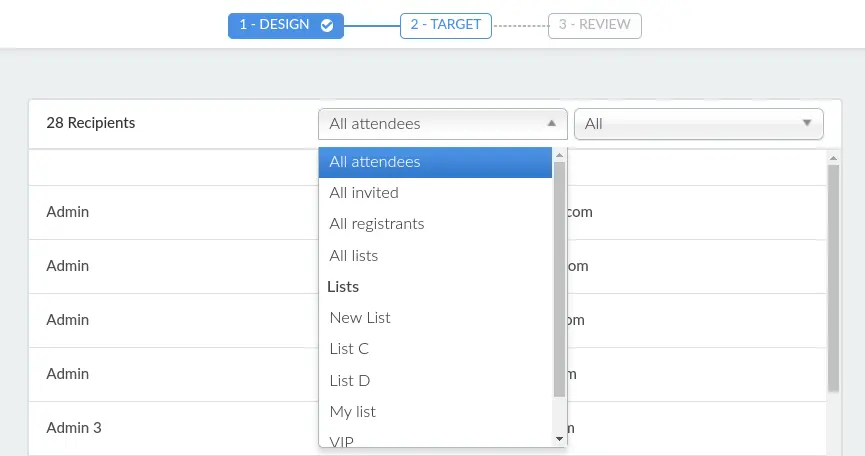
- Choose the Target that will receive your email. You can select targets (Custom lists and individual members) from the drop-down menus as recipients.
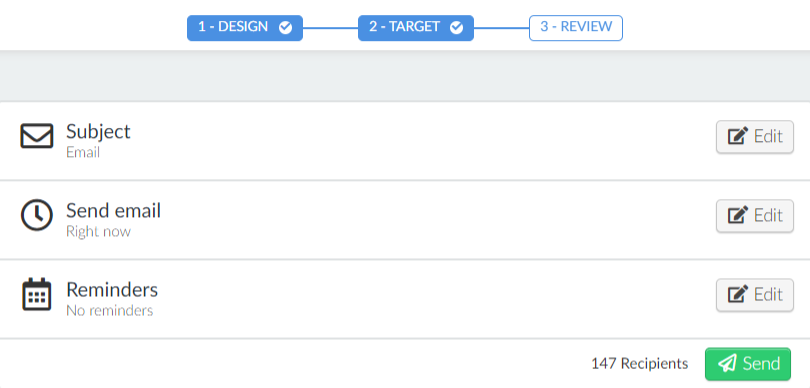
- Review your email's subject, configure reminders and finally click on Send.
Enabling Form emails at the company level
All of the Form emails listed in the Email creator page, except the Form confirmation recovery email, are disabled by default. In order for the form email to be sent to user who has made a form submission, you need to enable the form emails by pressing Edit and then using the Status toggle for the corresponding email. A new pop-up window will appear asking whether you would like to enable the form email. Click on Enable to finish.
If you want to disable a form email, simply toggle the status for the corresponding email. A new pop-up window will appear asking whether you would like to toggle the form email. Click on Disable to finish.
How do I edit my form email?
To edit the form email, click on the blue button for the corresponding email. This will redirect you to the email editor. Here you can customize your form email.
If you wish to customize the main text content of your form email, simply click on the main text of the email. This will display the Text content field on the left-menu of the platform. From here you can edit the text of your email as well as select the font size, add image, add dynamic links and dynamic contents, etc. You can also add sections to your email with different elements such as Cover image, QR code, Social section with social links, footer with address and logo.
To remove a section, simply hover the mouse cursor on the section and you see options such as move, copy, delete. Click on the cross icon and a new pop-up window will appear asking for confirmation whether you want to permanently delete the section. Click on the red delete button to finish.
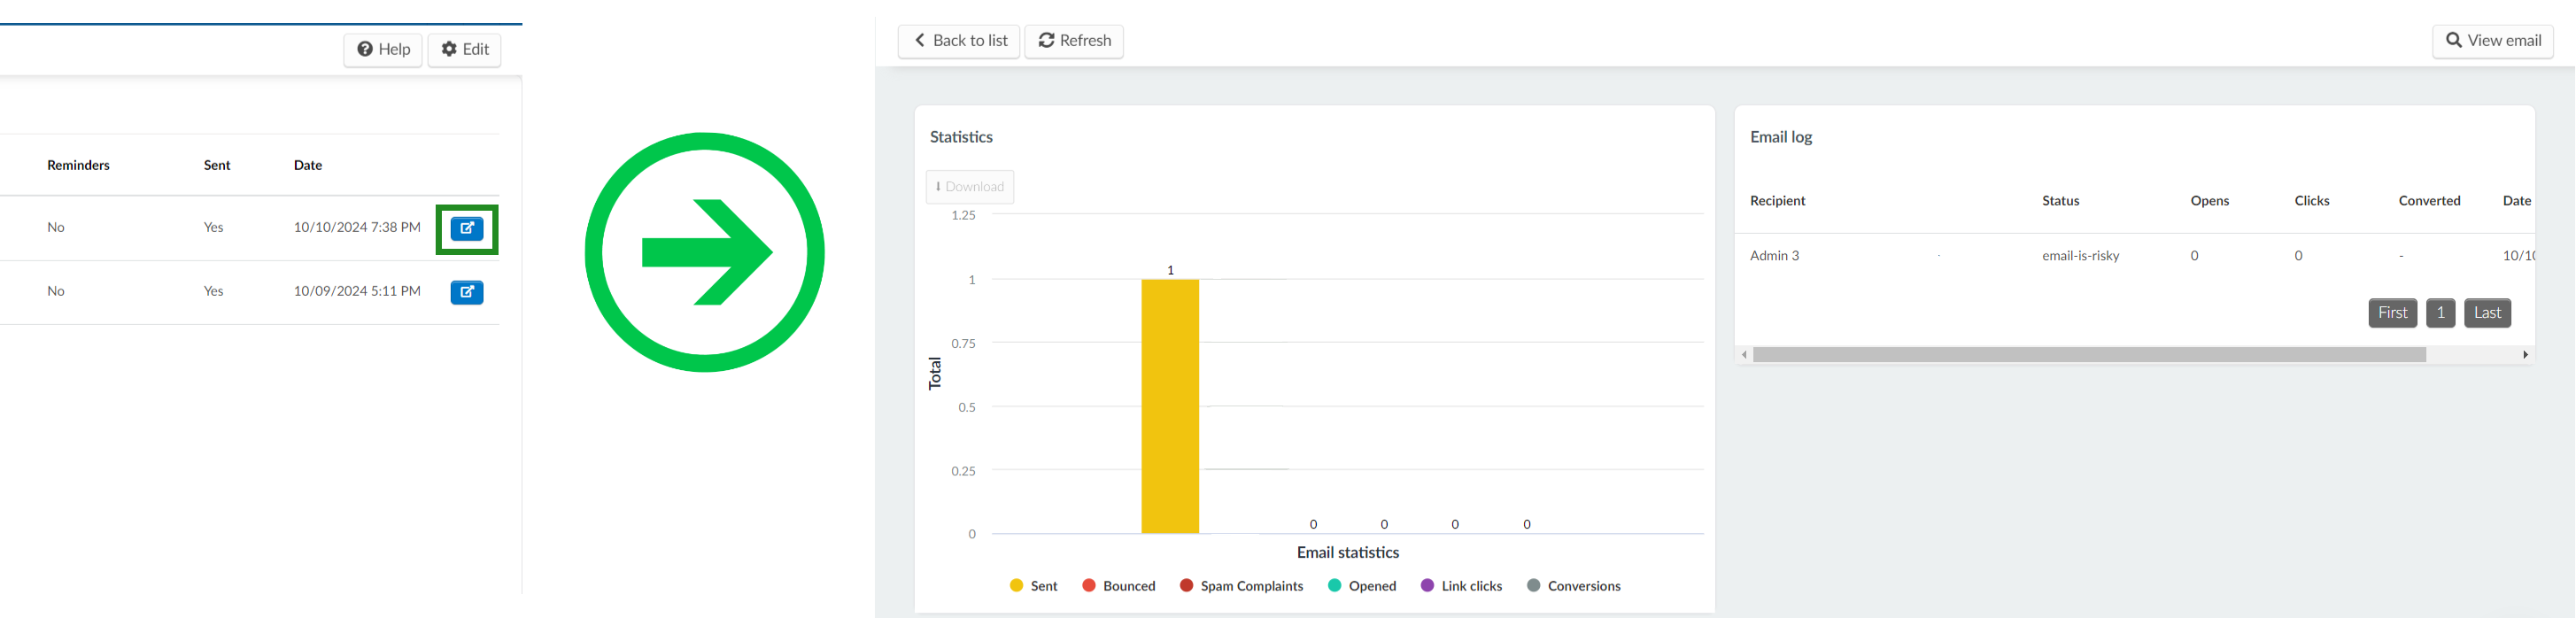
After you are done customizing your email content, you can also preview it as well. To do this, click on the Preview button on the top right corner of the platform. You can view your preview for computer and smartphone.