Files - InEvent Webinar
 Updated 4 months ago
by
Caleb Kotey
Updated 4 months ago
by
Caleb Kotey
With InEvent's Files feature, it is easy to share files with your webinar attendees, such as articles, catalogs, and presentations.
This article will guide you on how to upload, access, and delete files within your webinar.
Supported formats
The InEvent Files feature supports uploading of files in the formats listed below:
- Documents:
.CSV,.DOC,.DOCX,.PDF,.PPT,.PPTX,.XLSX - Video:
.3GP,.MOV,.MP4 - Images:
.GIF,.JPEG,.JPG,.PNG - Audio transcription files
Adding files
Webinar files: Uploading files to the Files tab
To upload a file to the Files tab of a webinar, complete the following steps:
- Navigate to Webinar > Files.
- Click Add file on the top left corner of the page to upload your file. A pop-up box will appear.
- Press the green button to open the file selector.
- Select your file. The file upload will automatically begin. Once the upload process is finished, you will be prompted to enter a file name.
- Enter your file name in the Create file pop-up box (optional).
- Press Create to finish the process.
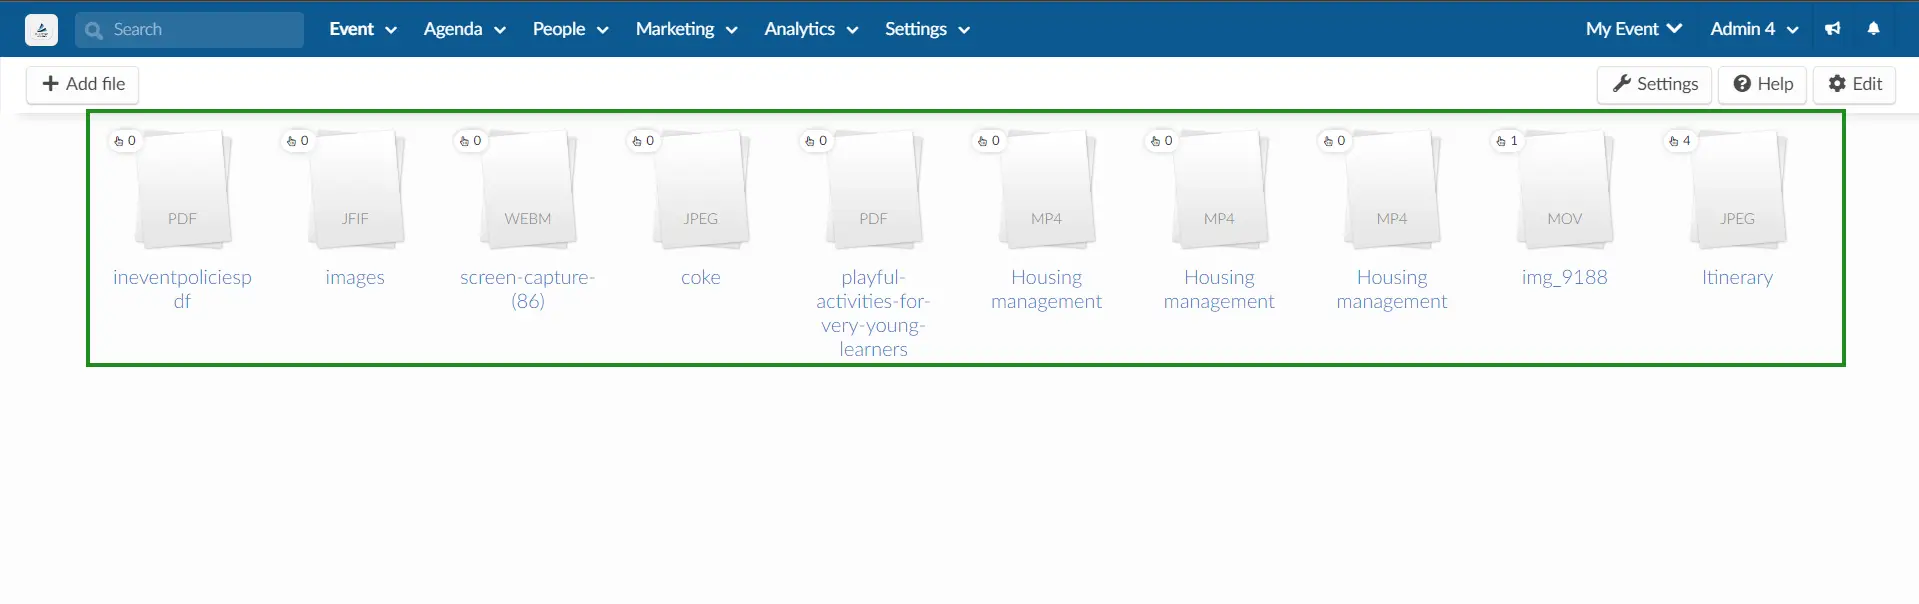
Once your file is uploaded and created, a new icon will be added to the Files interface with the file name, format, and click count, as shown below:
Attendees can preview and download the file from My Files page, as shown below:
Uploading files to the Live Stream
Webinar organizers can easily upload a file to a specific Live Stream. To do so, complete the following steps:
- Navigate to Webinar > Live Stream.
- Click Files.
- Click Edit.
- Press the red button to open the file selector.
- Select your file. The file upload will automatically begin. Once the upload process is finished, you will be prompted to enter a file name.
- Enter your file name in the Create file pop-up box.
- Press Create to finish uploading and creating your file.
The newly uploaded file will be visible to the attendees to preview and download from the Live Stream's Files tab.
Uploading files inside the Live Stream
If you are an Admin, Staff, or Presenter, you will be able to upload files directly inside the Live Stream.
To upload a file directly from a Live Stream, follow the instructions below:
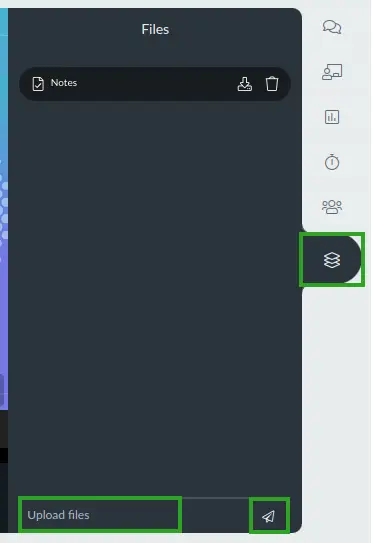
- Navigate to the Files tab from a Live Stream.
- Click the Upload files.
- Select your file.
- Press the paper plane button to Send and upload your file. A pop-up box will appear.
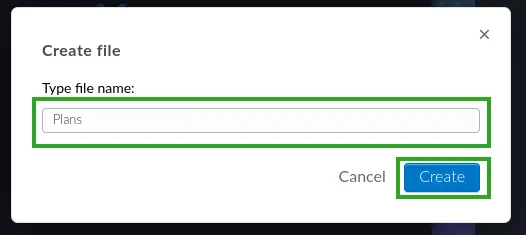
- Enter your file name in the Type file name field.
- Press Create to finish uploading and creating your file.
Once your file is uploaded and created, it will be visible from the Files tab in the Live Session, as shown below:

Uploading files from My Files page
If you are an Admin, Staff, or Presenter, you will be able to upload files directly from the My Files page. To upload files, follow the instruction below:
- Navigate to My Files from the Attendee Center.
- Click the Upload Files button. A pop-up box will appear.
- Press Click to upload to open the file selector or drag & drop your files from a file explorer into the Upload a file box.
- Click Next to start uploading your file. Once your file is uploaded, you will be prompted to link your files to a session.
- Use the Select a session type drop-down menu to choose the file's destination: Event/Webinar, Exhibitors, Sponsors or Activities.
- Use the Session name drop-down to choose the Webinar Live stream, Sponsor or Exhibitor room, based on the session type chosen.
- Press Upload files to finish uploading and creating your file.

The newly uploaded file will immediately be visible from My Files page and the Live Session.
Deleting a shared file
Deleting InEvent Webinar files
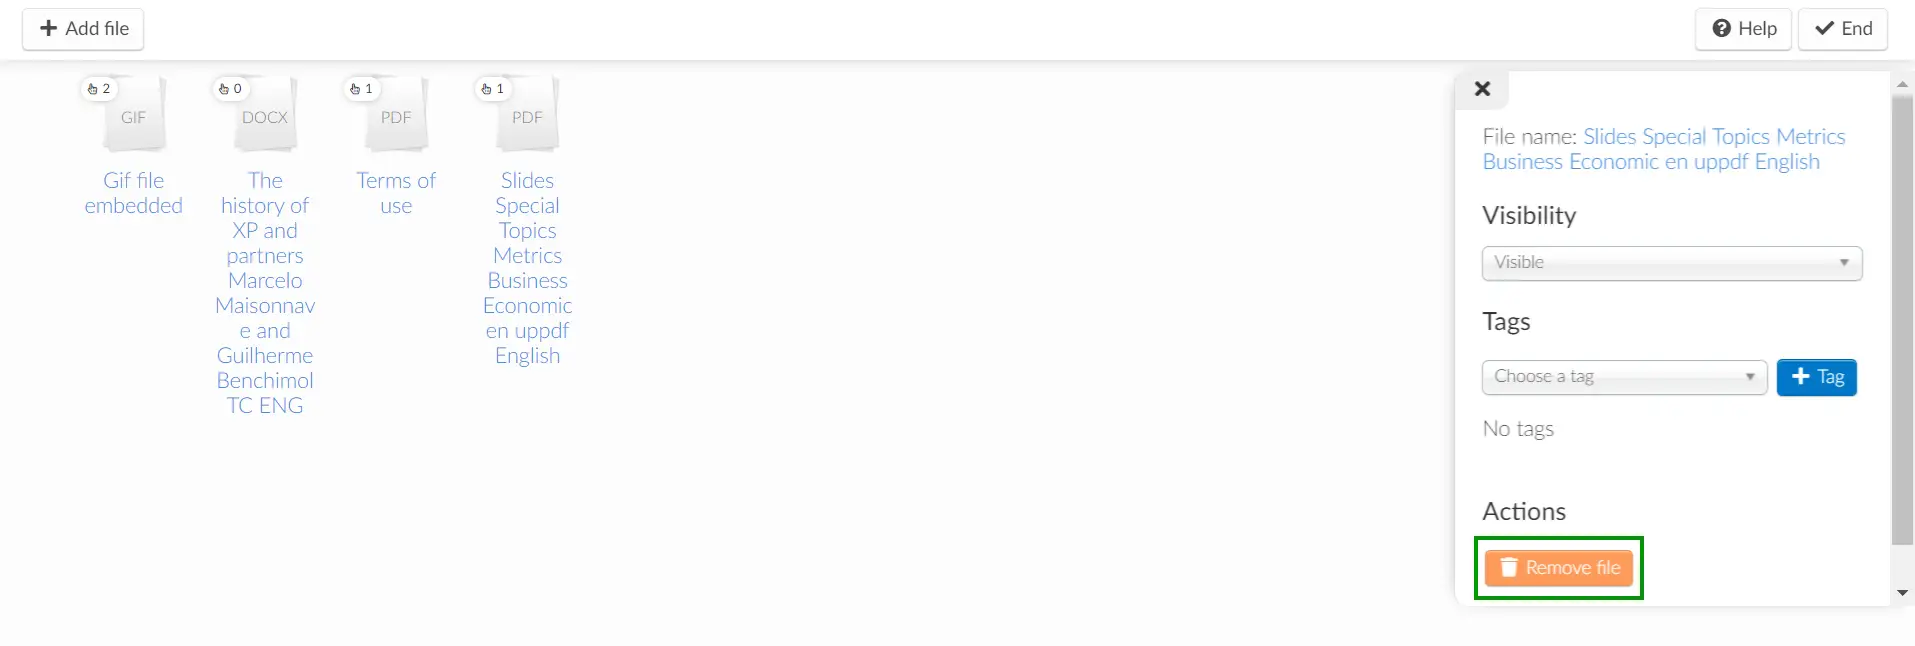
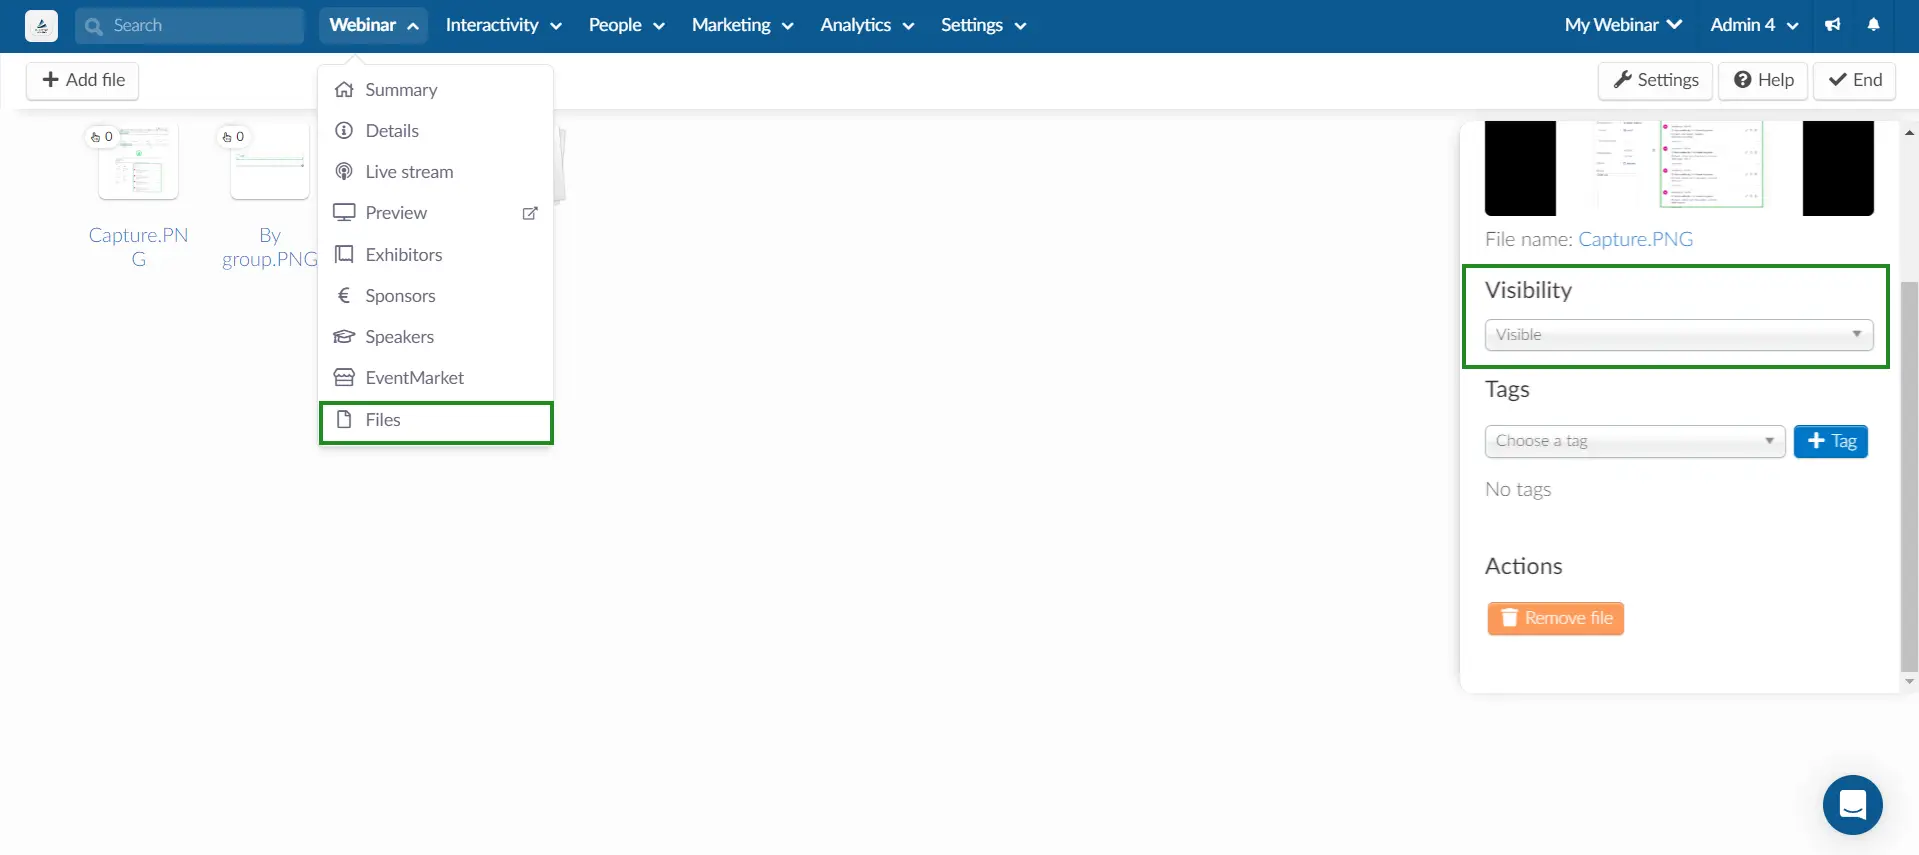
To delete a shared file you must go to Webinar > Files, press the Edit button and choose the file you wish to delete. An editing tab will appear on the right-hand side, containing an orange Remove button. Press End to finish editing and save changes.
Deleting files from the Live Stream page on the platform
To delete a file from the Live Stream, go to Webinar > Live Stream > Files and then in the right side corner press Edit.
You should see an orange button with a trash icon close to each file you have updated. Click on it to delete the file from the Live Stream.

Deleting files during the Live Stream
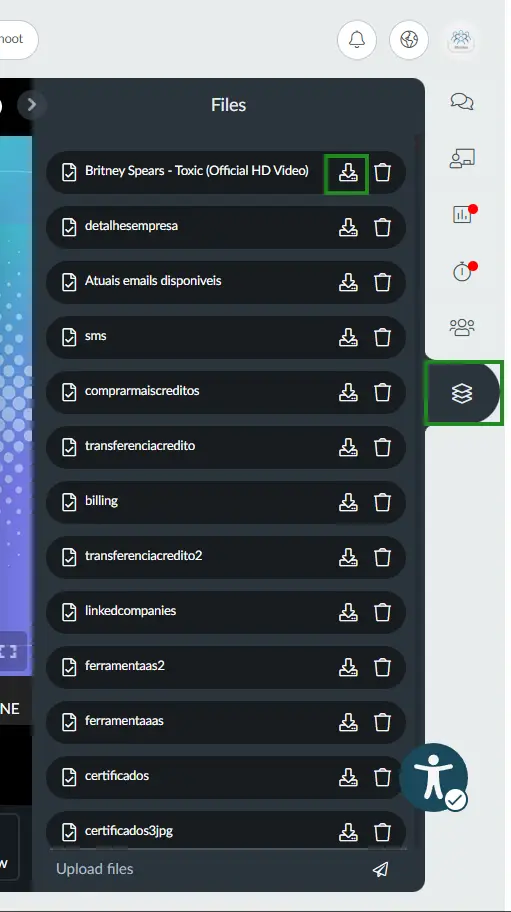
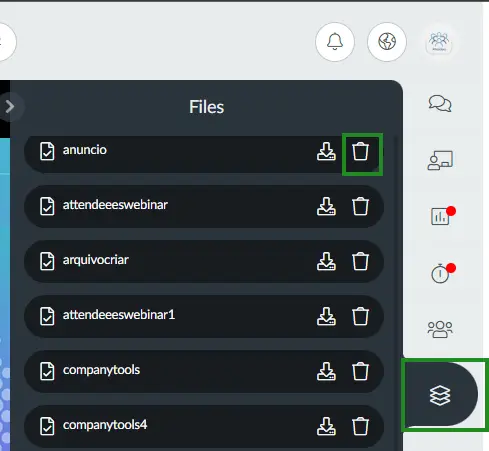
If you are an Admin, Staff, Presenter or Linked Speaker (to the specific activity), you can delete files inside an activity. To do this, simply click on the File tab on the right-hand side and press the trash icon beside the file you want to remove.
Viewing files
When you upload files for the entire InEvent Webinar, you will have the possibility to choose the their visibility. You just need to click on top of the selected file > press Edit > and pick the visibility accordingly. Press End to save the changes.
Viewing files in the Live Stream
Inside the Live Stream
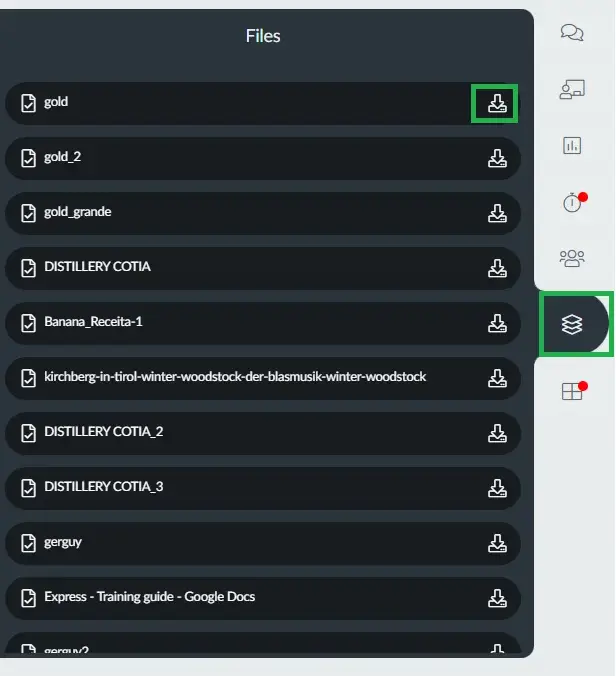
When inside the Live Stream, you should click on the Files tab to visualize all available files. You can click on a file to preview it or download it by pressing the download icon.
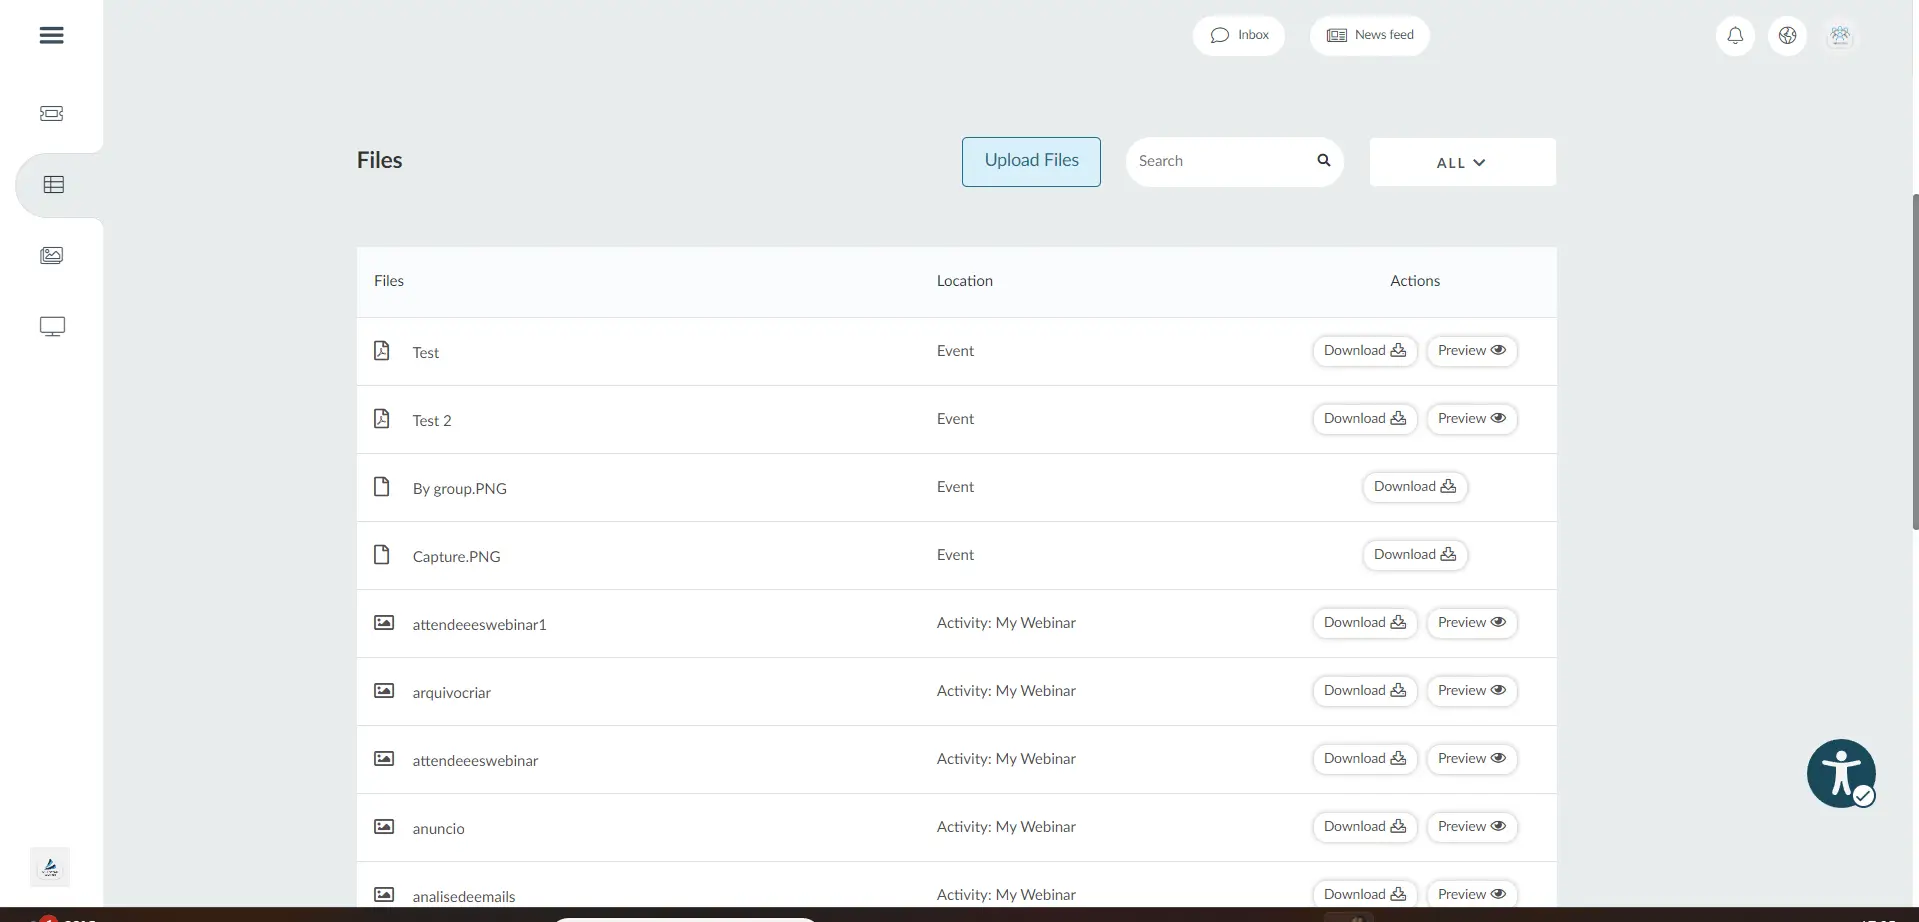
My Files
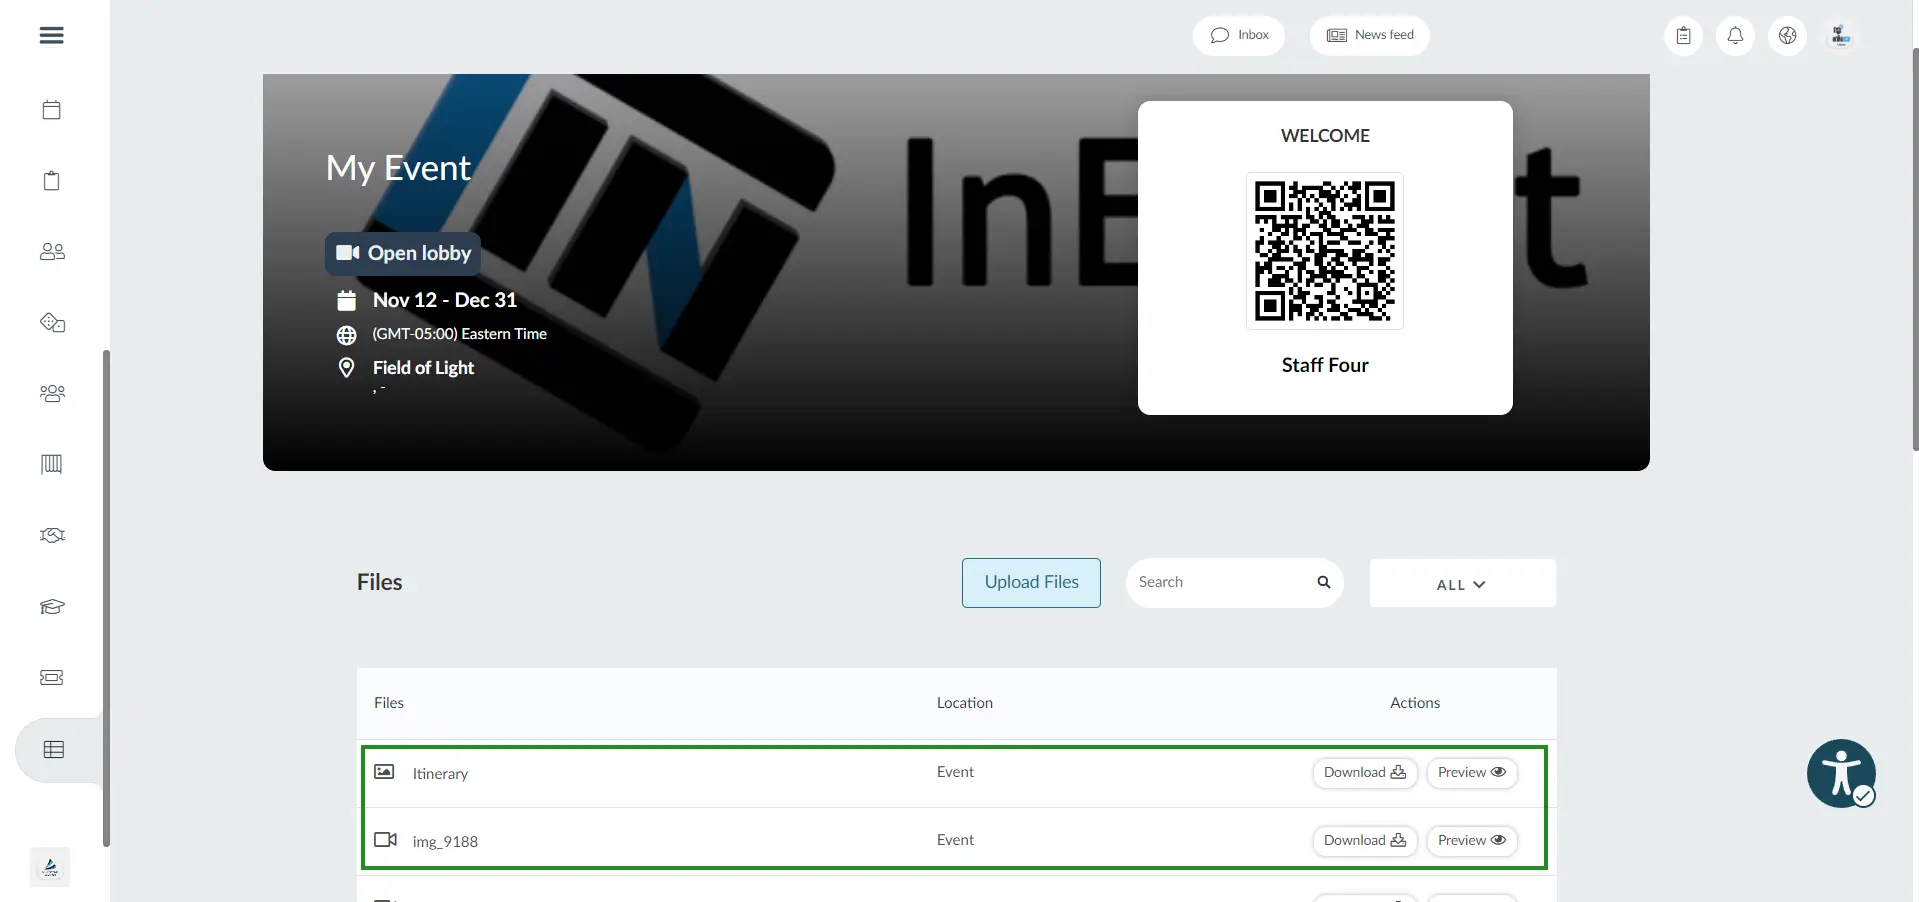
In the Live Stream, you can access the My Files page by clicking on your picture in the upper right corner and then on My Files, as shown below:
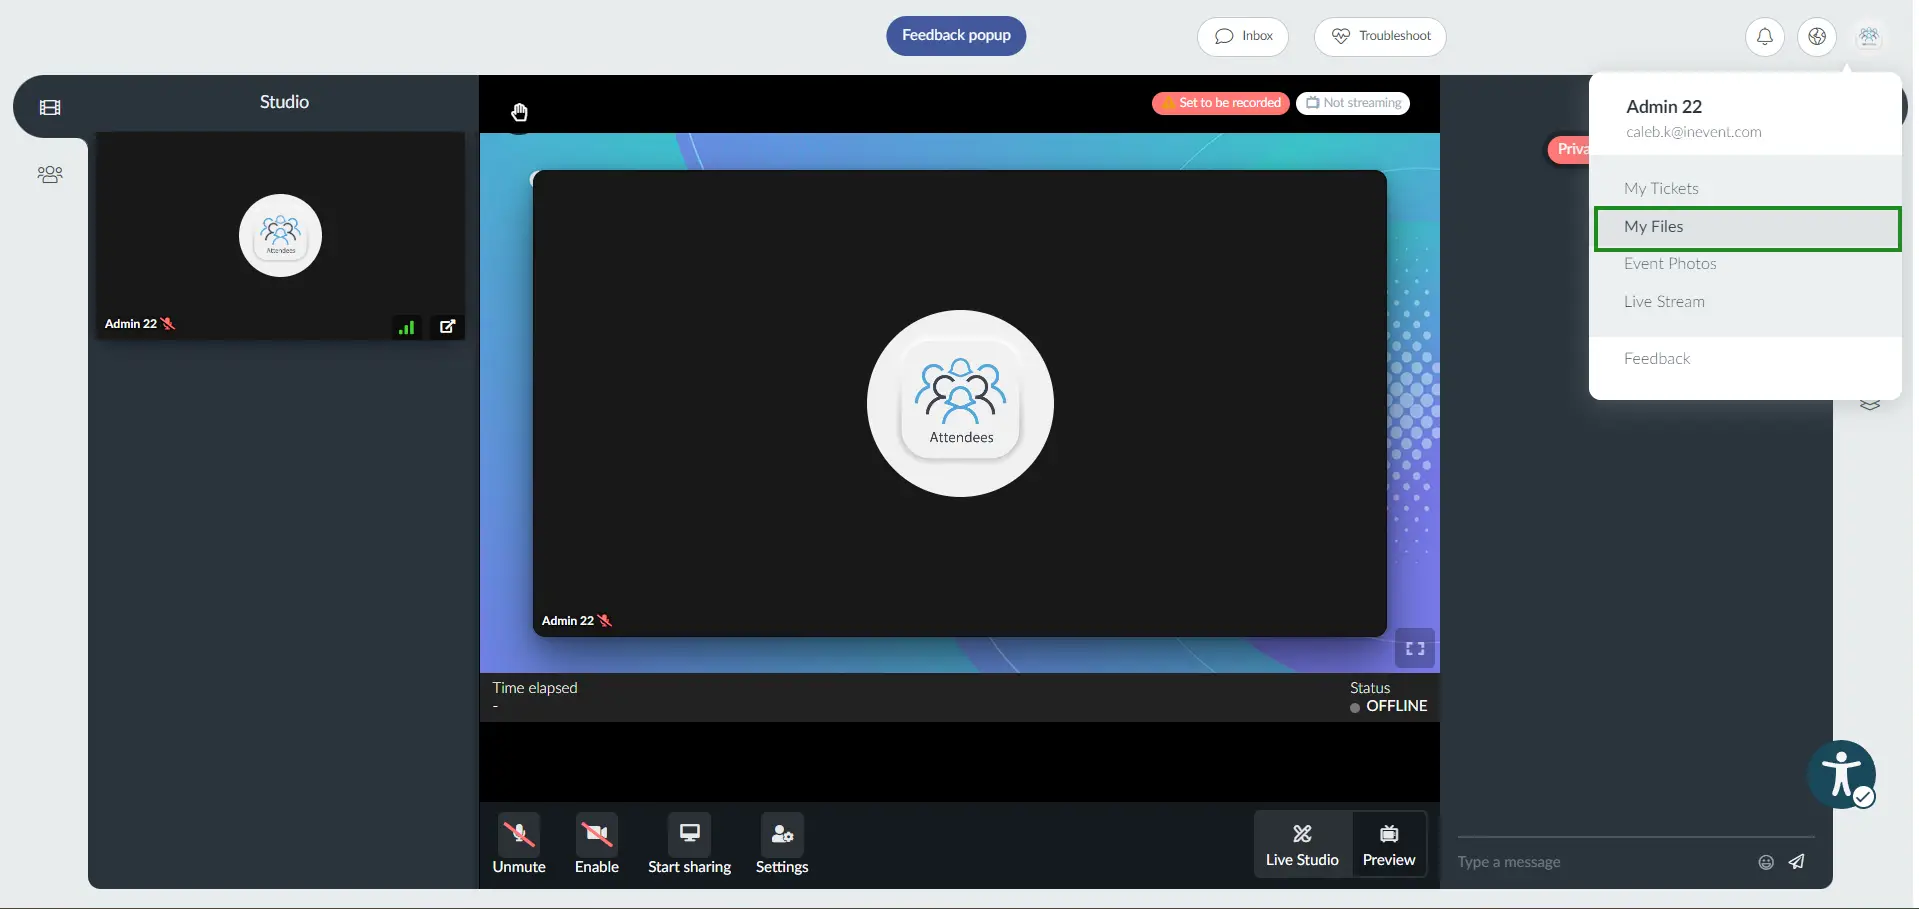
On this page, all InEvent Webinar files will be listed, including their location (to which room this file has been added) and the option to either preview it or download it.
Generating reports of Live Stream files
If you wish to generate a report on the Live Stream files, you should select Live Stream > Files > Report files.
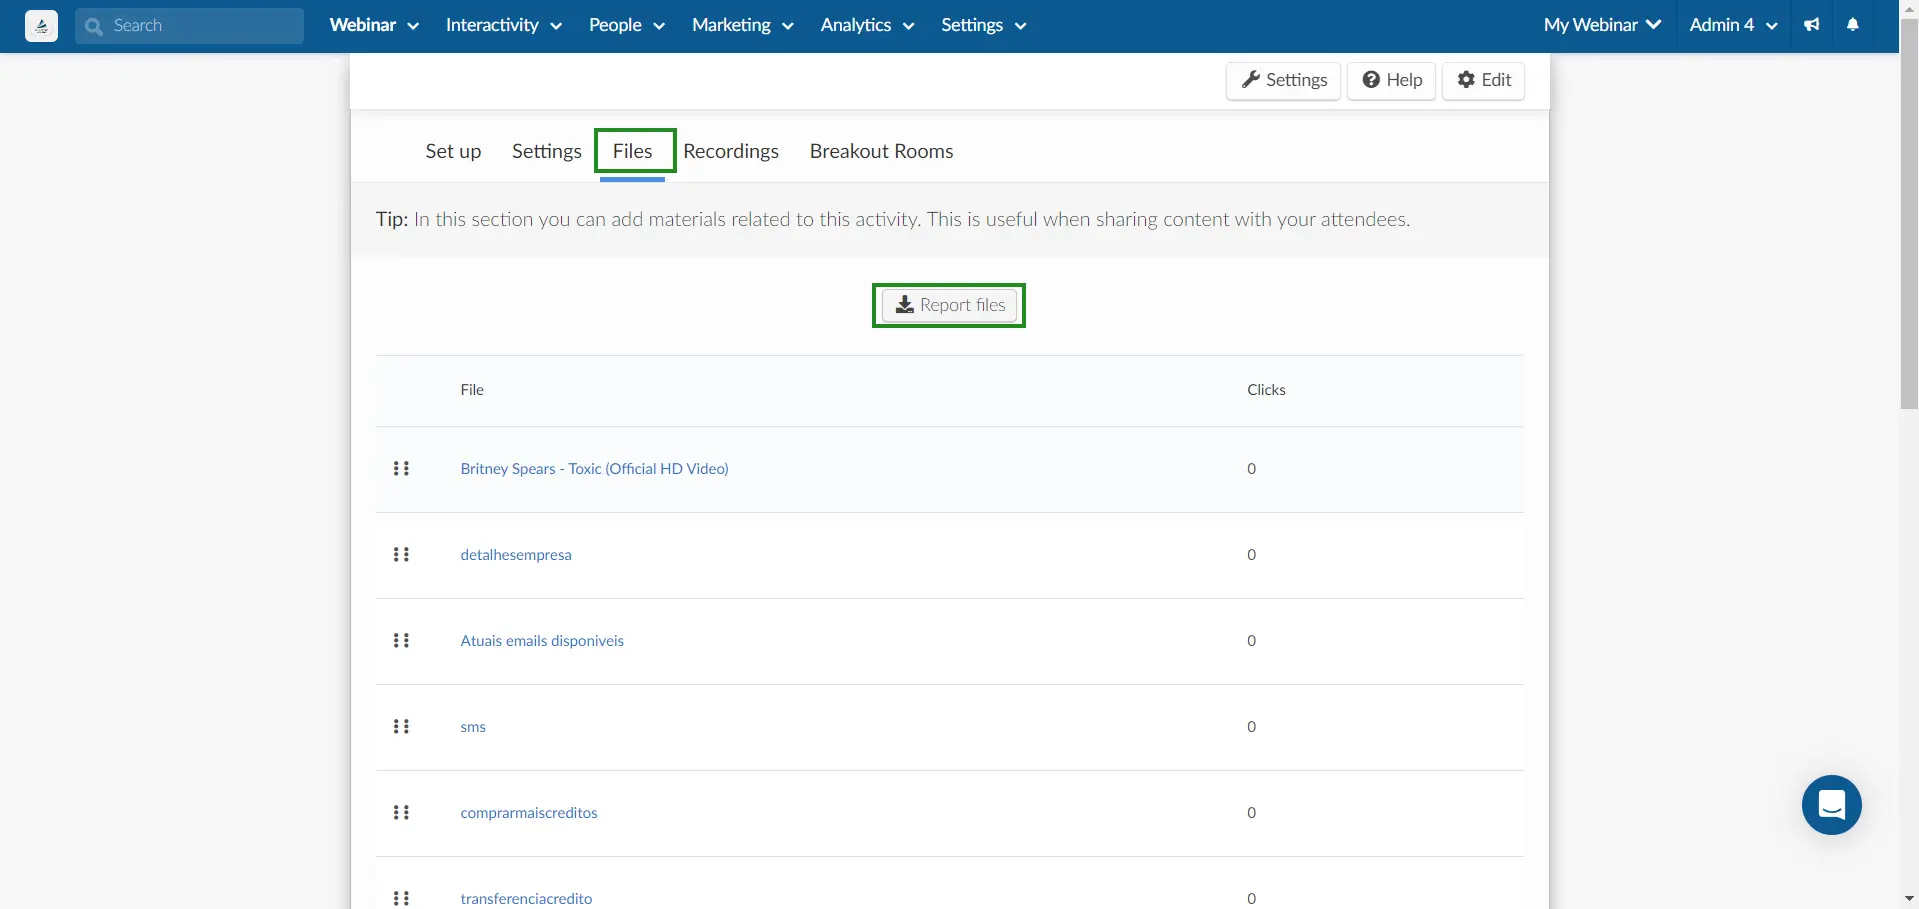
Once you click the button, a message will appear at the top of the screen, notifying you that you will receive the file with the data in your email when the process is complete.
The spreadsheet will cover categories such as who viewed the file and how many clicks it got, the file URL, the first click date, among other data.