Webinar - Configuring your Live Stream
 Updated 1 year ago
by
Faisal Durrani
Updated 1 year ago
by
Faisal Durrani
This article teaches you how to choose the settings for your Webinar Live stream, this implies what the participants will see when they are connected during the live event.
Setting up your Webinars
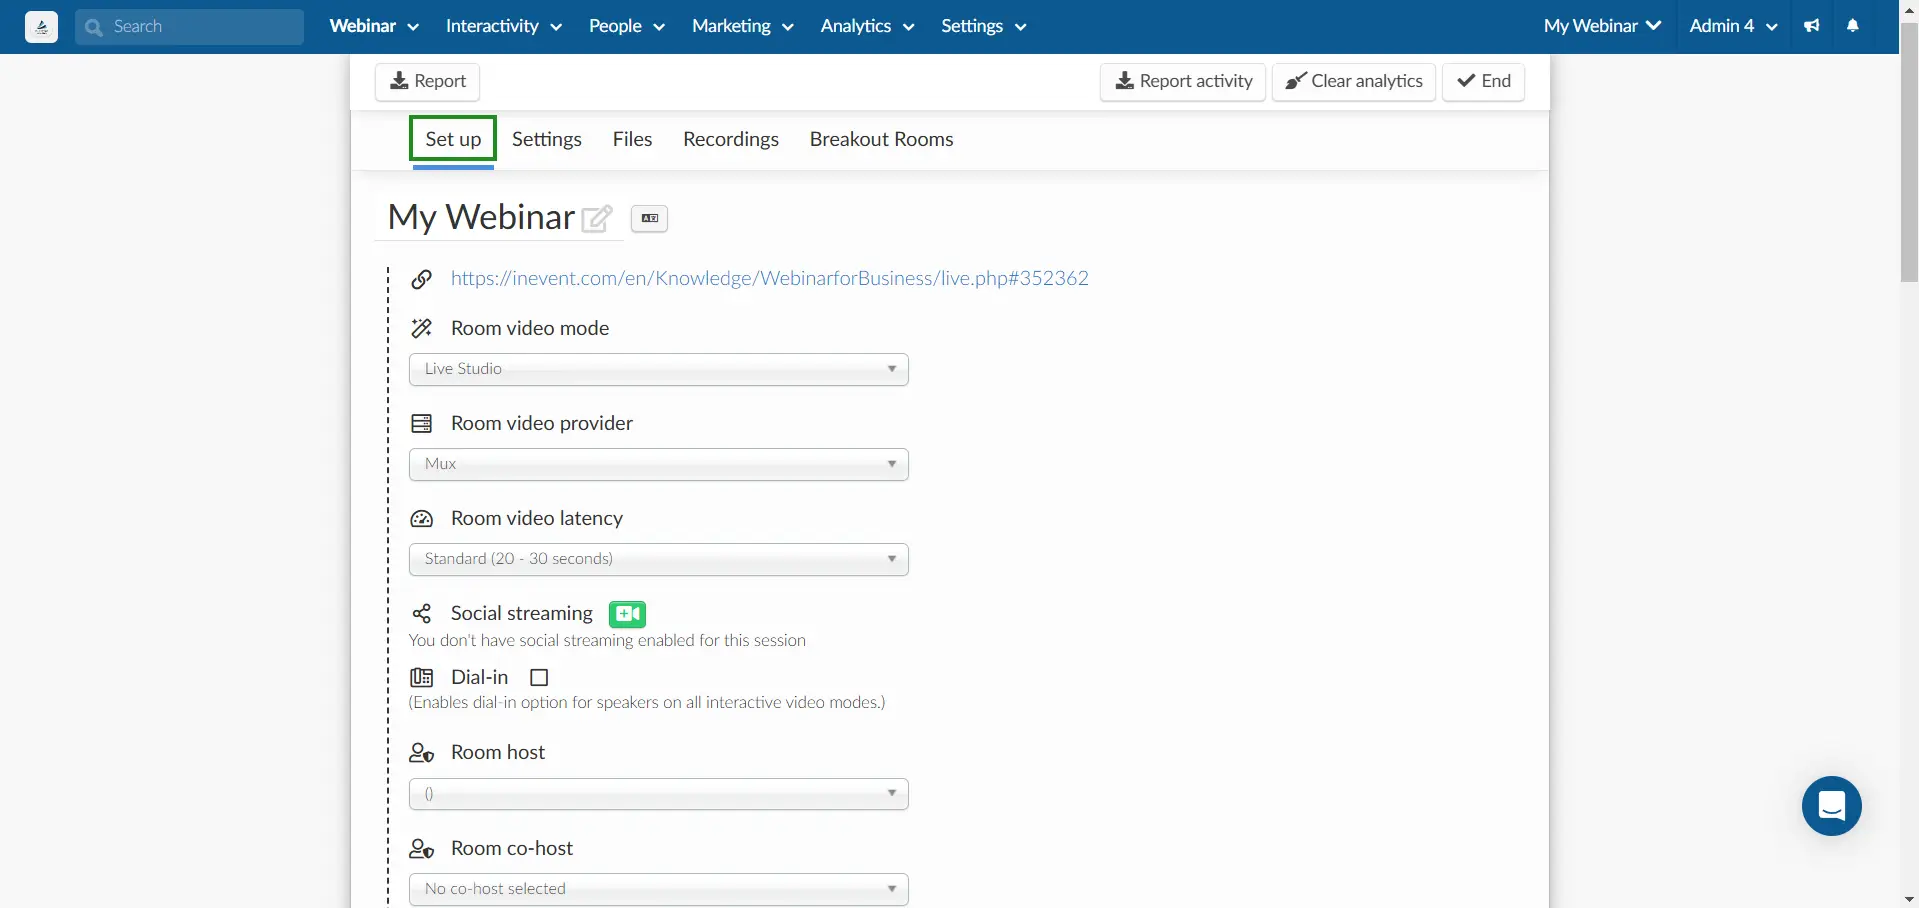
To set up your webinars, navigate to Webinar > Live Stream > Set up.
The Set up tab provides the configuration options for your webinar. Here, you can customize settings such as renaming your webinar, adding translations, selecting a room video mode, assigning a room host, and more.
Choosing your Room Video Mode
By default, your room video mode will be set to Live Studio. However, you have the option to change it if needed. Other room video mode options are:
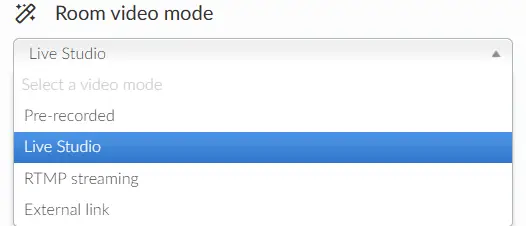
For further information, refer to our article on video modes.
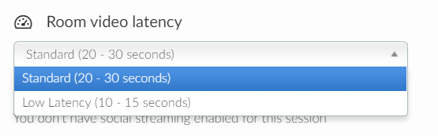
Configuring room video latency
Even though the Live Studio will allow speakers to interact with users, they will experience latency in the Live preview, as is standard with live streaming technology.
Currently, we offer Mux and AWS IVS as the video provider, each with different latency options:
- Standard latency: 20-30 seconds (available with Mux).
- Low latency: 10-15 seconds (available with Mux and AWS IVS).
Enabling dial-in
The dial-in feature allows speakers to join the webinar online from their phones. This option is useful for speakers do not have access to microphone and speakers, computers, or the internet at the moment of the session. For more information, refer to our SIP Dial-in: joining the event by phone article.

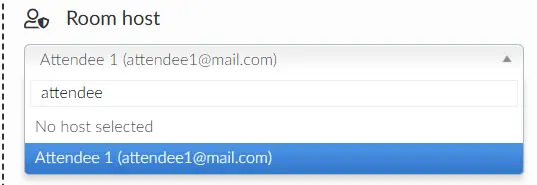
Setting a room host
You can select who will be the host of the room. The host will need to be in the room to start the Live Studio stream and ensure that the session is being recorded. The host can be anyone from your attendee list.
Room recording
InEvent allows you to download any type of live broadcasting you created and use it to promote your webinars. Tick the checkbox to enable room recording.

Setting the maximum number of presenters
All administrators when entering a session can enable the camera and microphone, if you want to define the maximum number of administrators who will have that access in that room, enter the amount in the Maximum number of presenters in the room field.

Speech to text transcription
By using our Speech to text transcription feature, you’ll be combining both speech recognition and live translation, which means your online events will now have real-time subtitles during your sessions.
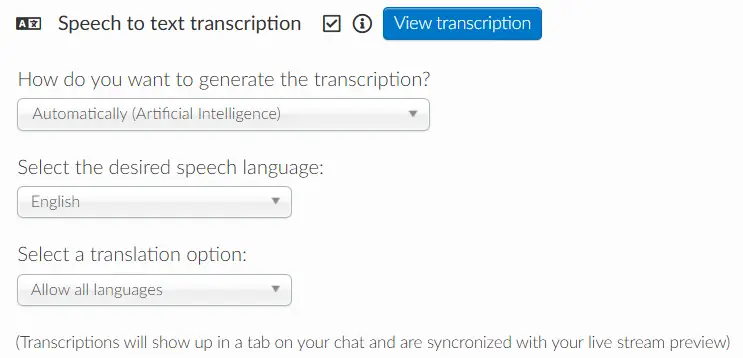
For further information, refer to our article on Live transcription and translation in the Virtual Lobby.
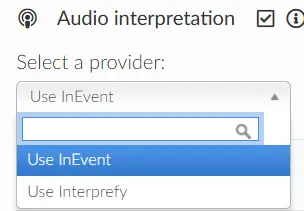
Audio interpretation
You can select between two audio interpretation providers:
Live streaming with Live Studio
To enable this feature, check the available box. For more information on streaming with the Live Studio, refer to our Live Studio article.

Setting the access policy
By default, the access policy is set to Yes, and attendees will be able to join the webinar before their start time and after their end time.
To edit this setting, click on Edit and select one of the options in the drop-down menu. Press End to save the changes as displayed below.
Attendance tracking
For more information on setting up webinar attendance tracking, refer to our Attendance tracking - Webinar article.
Interactions in the platform
You can view attendees interactions in the platform by clicking the following links:
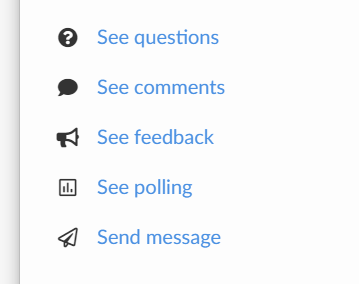
Clicking on these options in the platform will take you to a page where you can view attendees' interactions.
Settings
The Settings tab lets you configure your activities by managing the visibility of the following fields:
- General settings
- Tab visibility
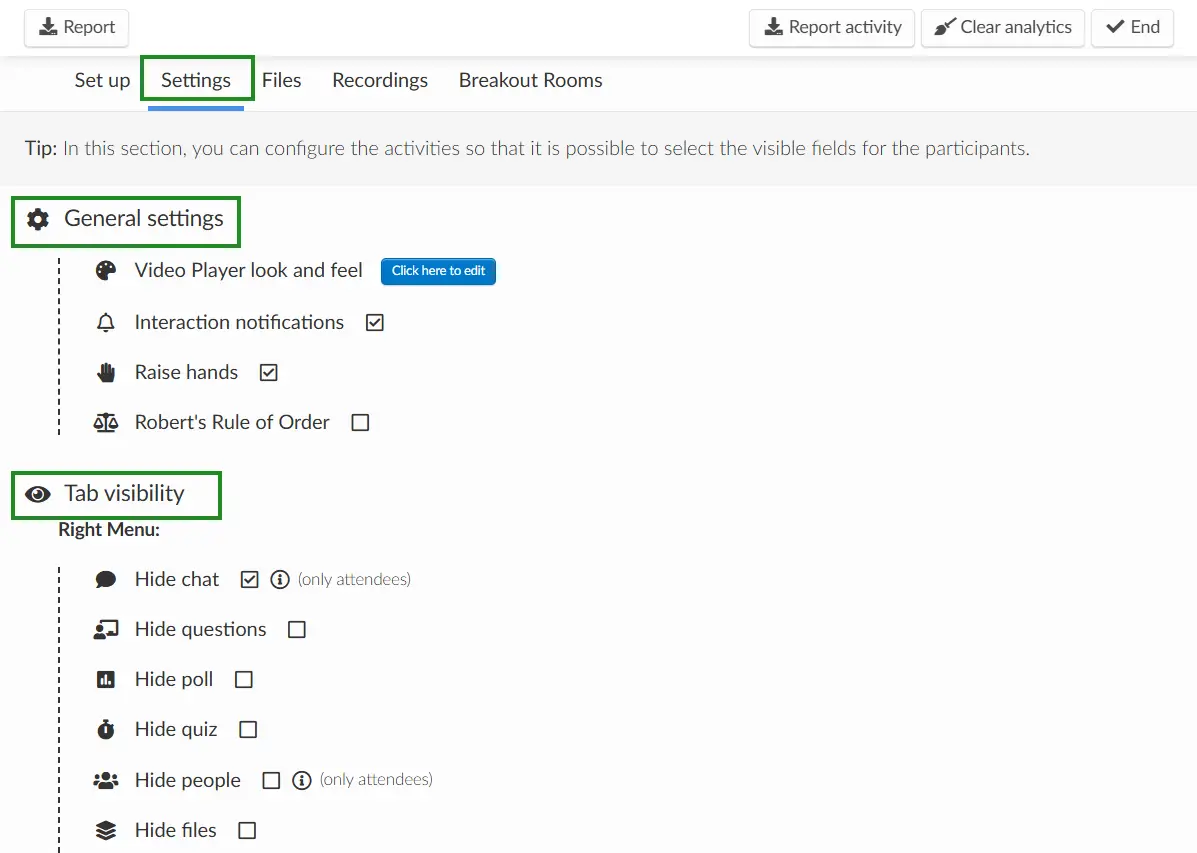
General settings
The features that can be controlled from the General settings are listed below:
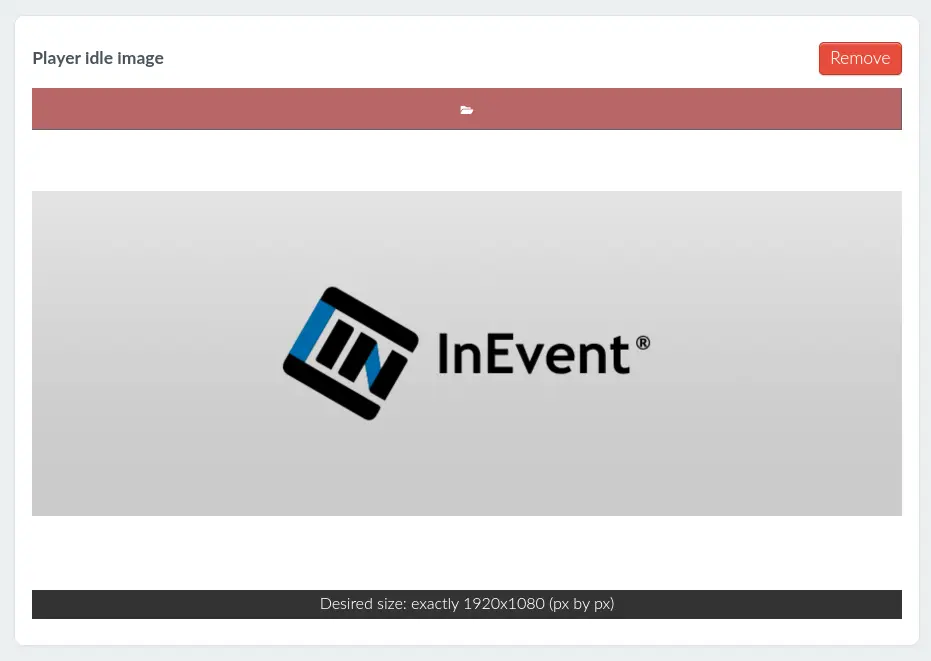
- Video Player look and feel: When you click on the Click here to edit button, it will lead you to the page that allows you add, change or remove the Player Idle image of your Live Stream.
- Interaction notifications: If you enable this, users will receive an automatic notification about interactions added to this activity.
- Raise Hands: If you enable this, users will be able to click on the Raise hands icon during this session. If you wish to activate this function for the Discussion room created within the Session, refer to our Discussion room article to learn how.
- Robert's Rule of Order: This feature is dependent on the Raise hands feature to function. The Raise hands feature must first be enabled, to have it appear. Refer to our Raise hands - Robert's Rules of Order article for more information about Robert's Rule of Order.
Tab visibility
You can configure the visibility of the following tabs that appear on the right menu of your Live stream:
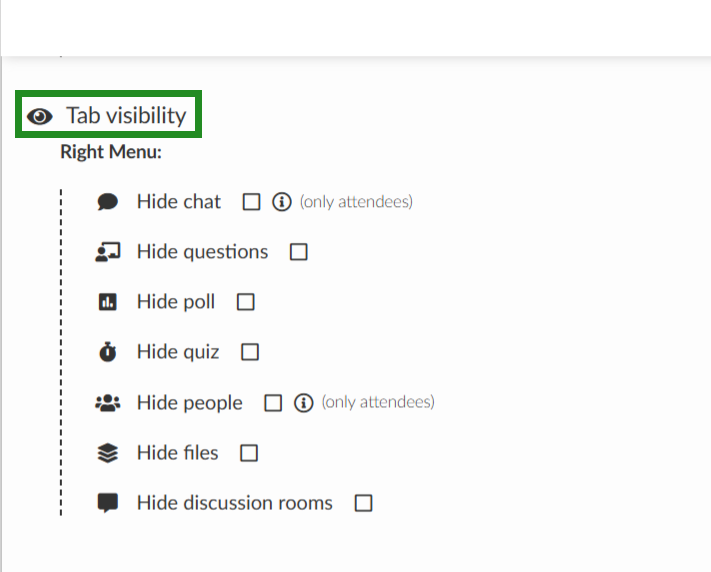
- Hide chat: It will hide the Chat tab in the Live Stream.
- Hide questions: It will hide the Questions tab in the Live stream in the Virtual Lobby.
- Hide poll: It will hide the Polling tab in the Live stream.
- Hide quiz: It will hide the Quiz tab in the Live Stream.
- Hide people: It will hide the People tab from users in this room. Admins and speakers will still be able to see the tab.
- Hide files: It will hide the Files tab in this activity in the Live Stream.
- Hide discussion rooms: It will hide the Discussion room tab in the Live Stream.
Files
For more information about adding files to your Live Stream, refer to our Files - InEvent Webinar article.
Recordings
For more information about downloading your Live Stream recordings, refer to our Room recording article.
Discussion rooms
For more information about creating discussion rooms for your live stream, refer to our Discussion Rooms article.
Extracting reports
To extract a report of your Live Stream, click on Edit > Report. Then, click on Done on the Settings pop-up window. Once completed, you will receive an email with the spreadsheet attached.
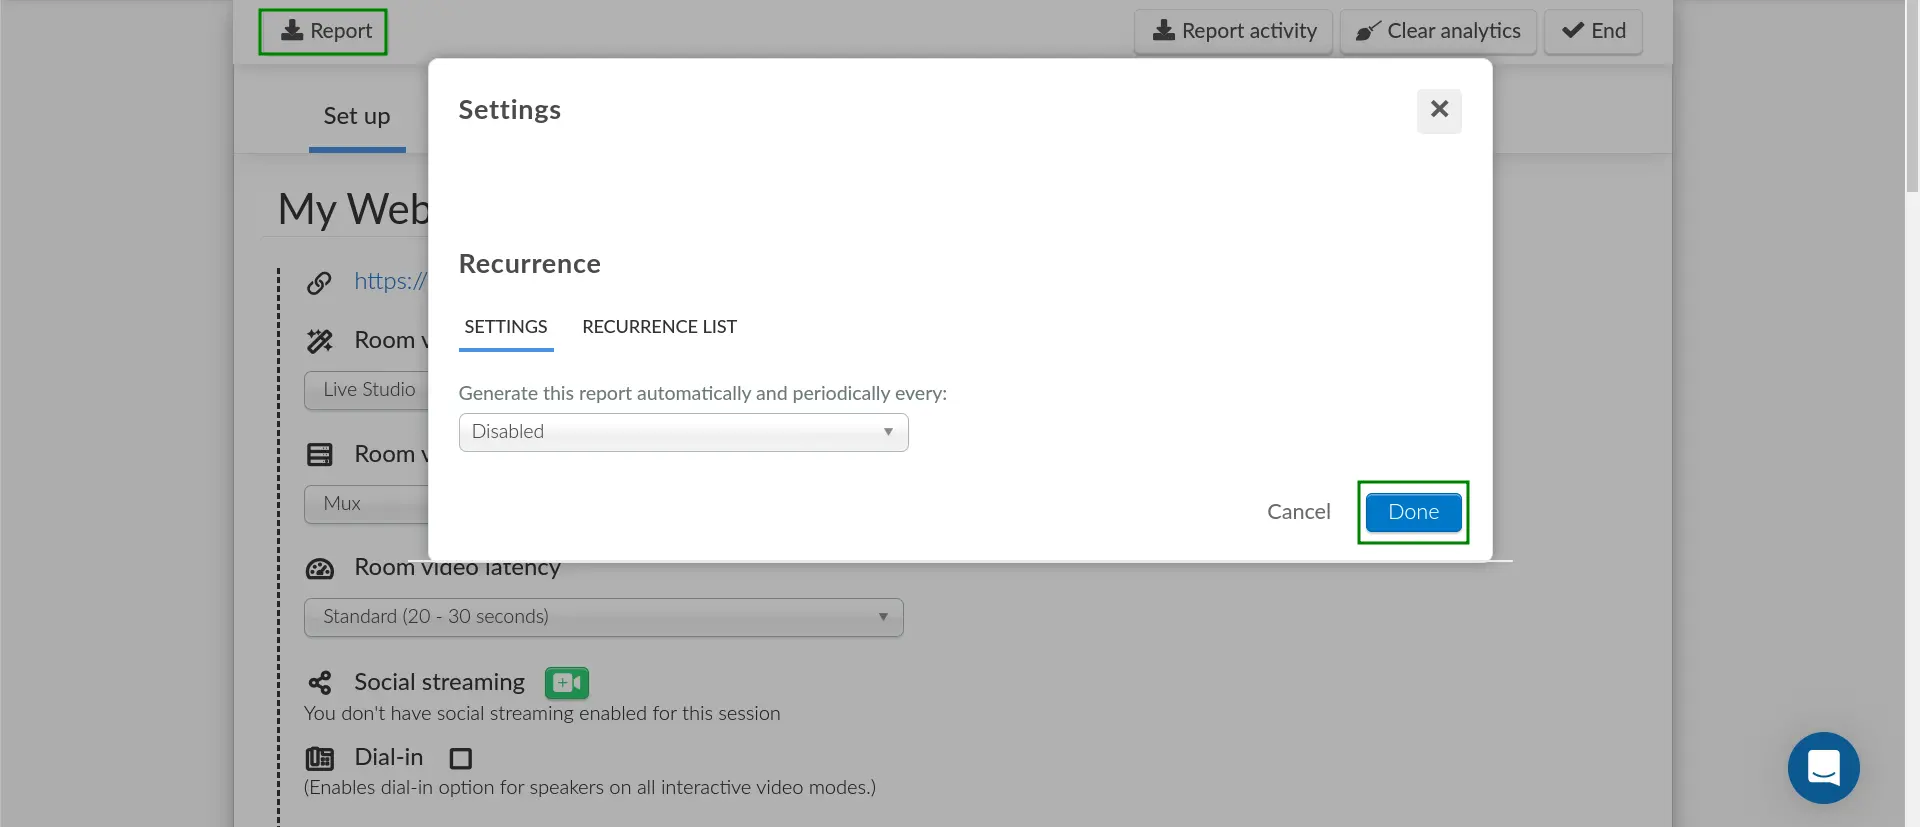
Recurring reports
You can set up recurring reports to automate the generation of your reports and have them sent to your email. This allows you to select or create a time interval for generating reports automatically.
Follow the steps below to create recurring reports:
- Click on Edit > Report on the Live stream page.
- Scroll down to the Recurrence section in the settings pop-up.
- Select your preferred report generation frequency using the provided drop-down menu. The available options are Every 12 hours, Every day, Every week, Every month, and Custom.
- Enter a name for your report.
- Click on Generate to create your recurring report.
Editing recurring reports
You can edit the recurring reports you have created. This allows you to edit the name and recurring time of your reports. To do this, follow the steps below:
- Click on Edit > Report.
- Select RECURRENCE LIST within the Settings pop-up box.
- Click on the orange edit icon next to the target recurrence report.
- Modify the Report name and Recurrence as needed.
- Click on the blue save button to save your changes.

Deleting recurring reports
If you want to stop receiving automatic reports via email, you can delete your recurring reports, to do so, follow the steps below:
- Click on Edit > Report on the Live stream page.
- Select RECURRENCE LIST within the Settings pop-up box.
- Click on the red trash can icon next to the target recurrence report. The Remove report reminder pop-up box will be displayed.
- Enter REMOVE REPORT in the confirmation text field.
- Click on Remove to delete your report.
