Shuttles
 Updated 11 months ago
by
Bissen Ouesleti
Updated 11 months ago
by
Bissen Ouesleti
You can upload the information with the shuttles' details so that the attendees know how to arrive at the event or where they will stay. The event organizers can upload this information manually or via a web-based attendee spreadsheet to attendees.
For event organizers
How do I enable this feature?
To enable this feature, go to Settings > Tools > select the Hospitality section. Then, press Edit, and make sure you toggle the Shuttles button. To save these changes, click on End.
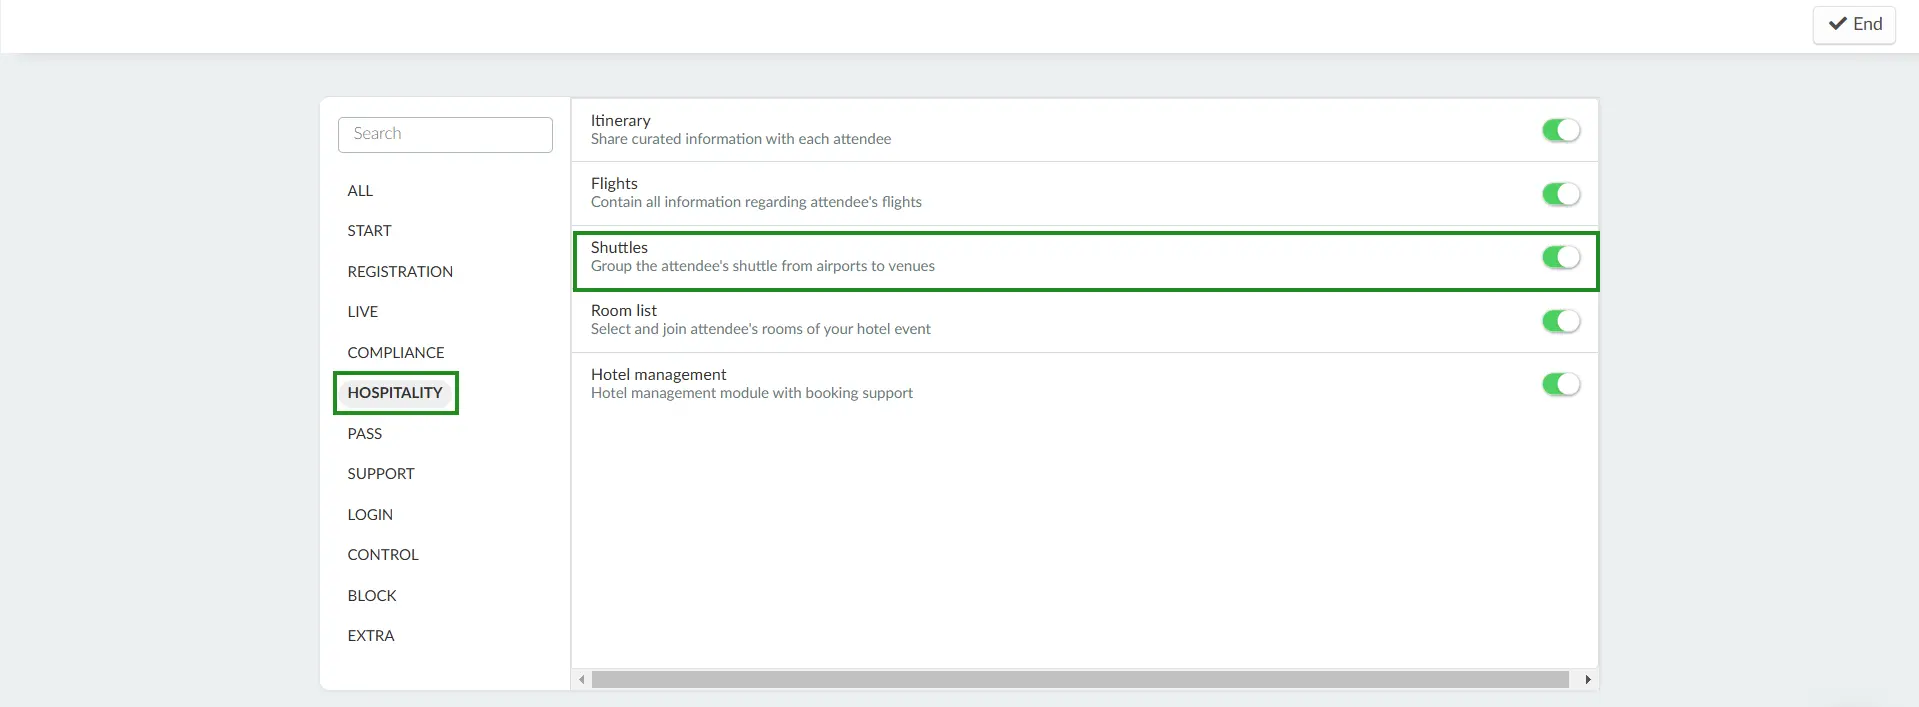
If instead of seeing a checkbox, you see No or Purchase, that means you need to follow the steps below to activate it.
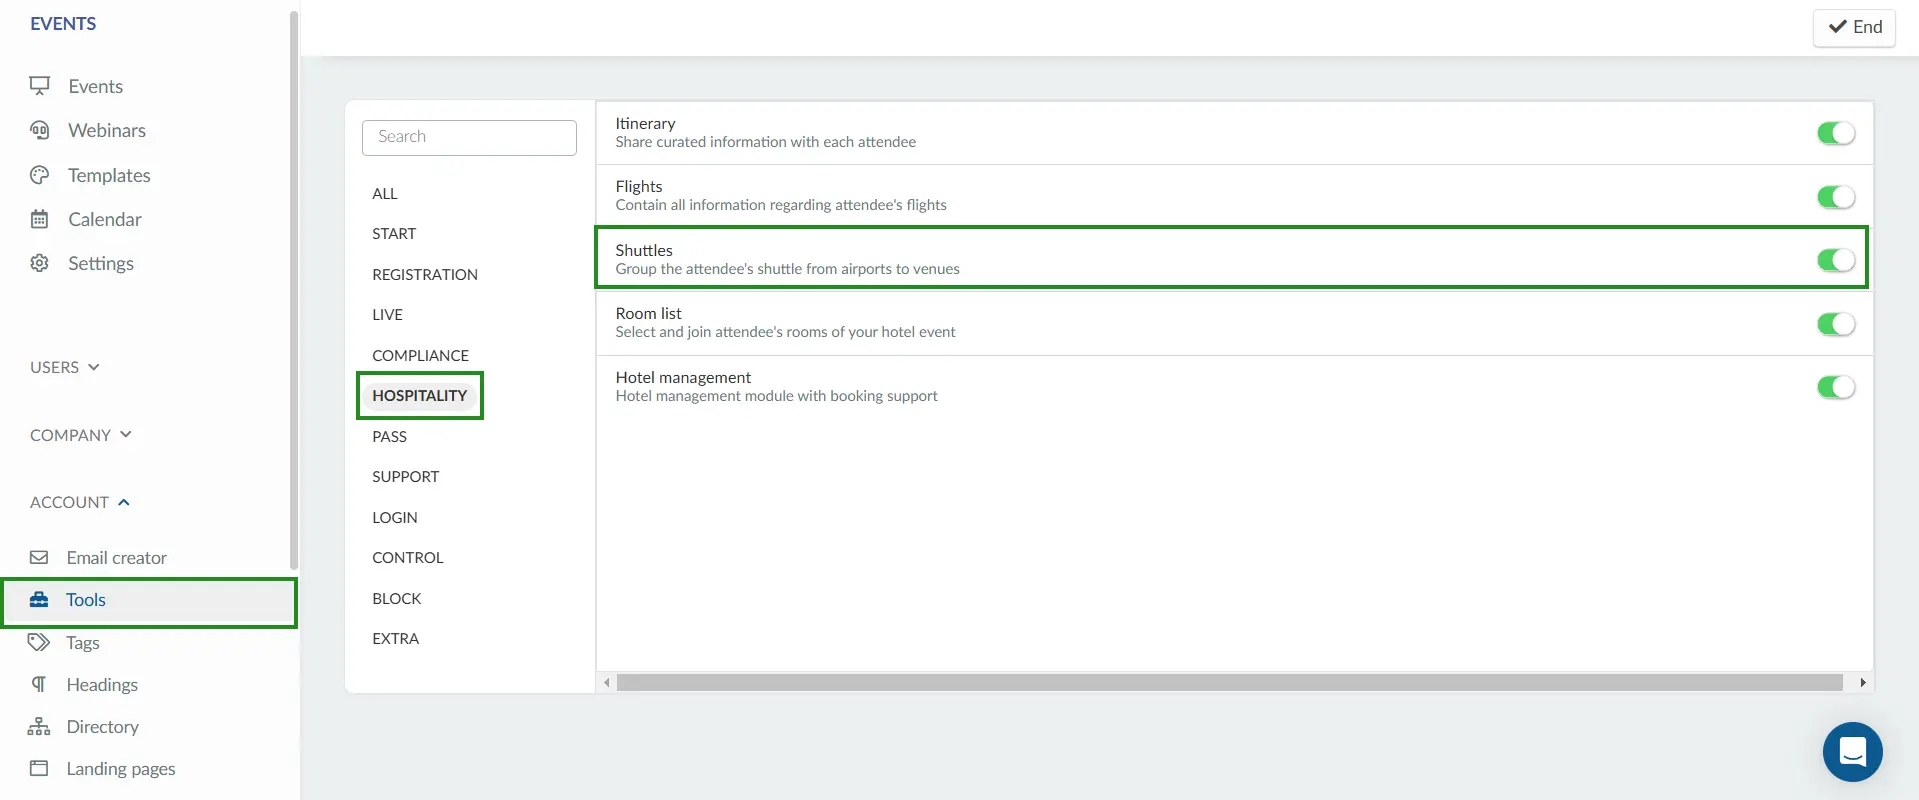
To enable this feature in the company tools, you must follow these steps:
- Go to the company level, and click on Account > Tools in the menu on the left-hand side.
- Select the Hospitality section, click on Edit, and make sure you tick the Shuttles checkbox.
- Click on End to save the changes.
If you went to the company tools and instead of seeing the checkbox, you still saw Purchase, this means that this feature is not in the plan you have purchased. To check which features are part of each plan, Click here.
How can I add shuttle information?
Manually
To manually add your shuttle information, follow the steps below.
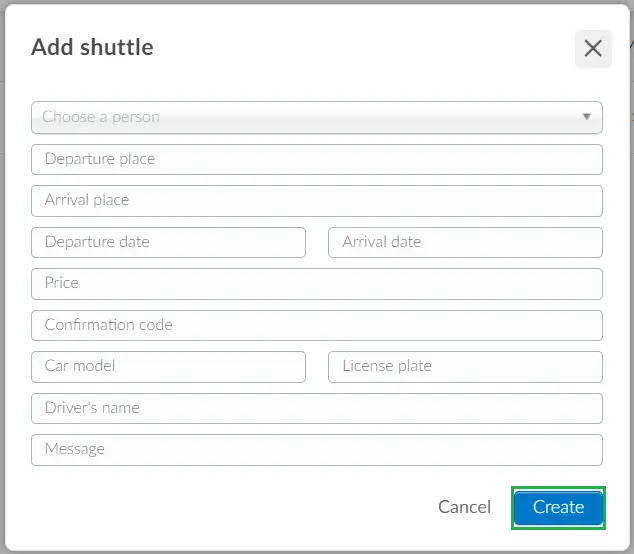
- Click on People > Logistics > Shuttles > + Add Shuttle.
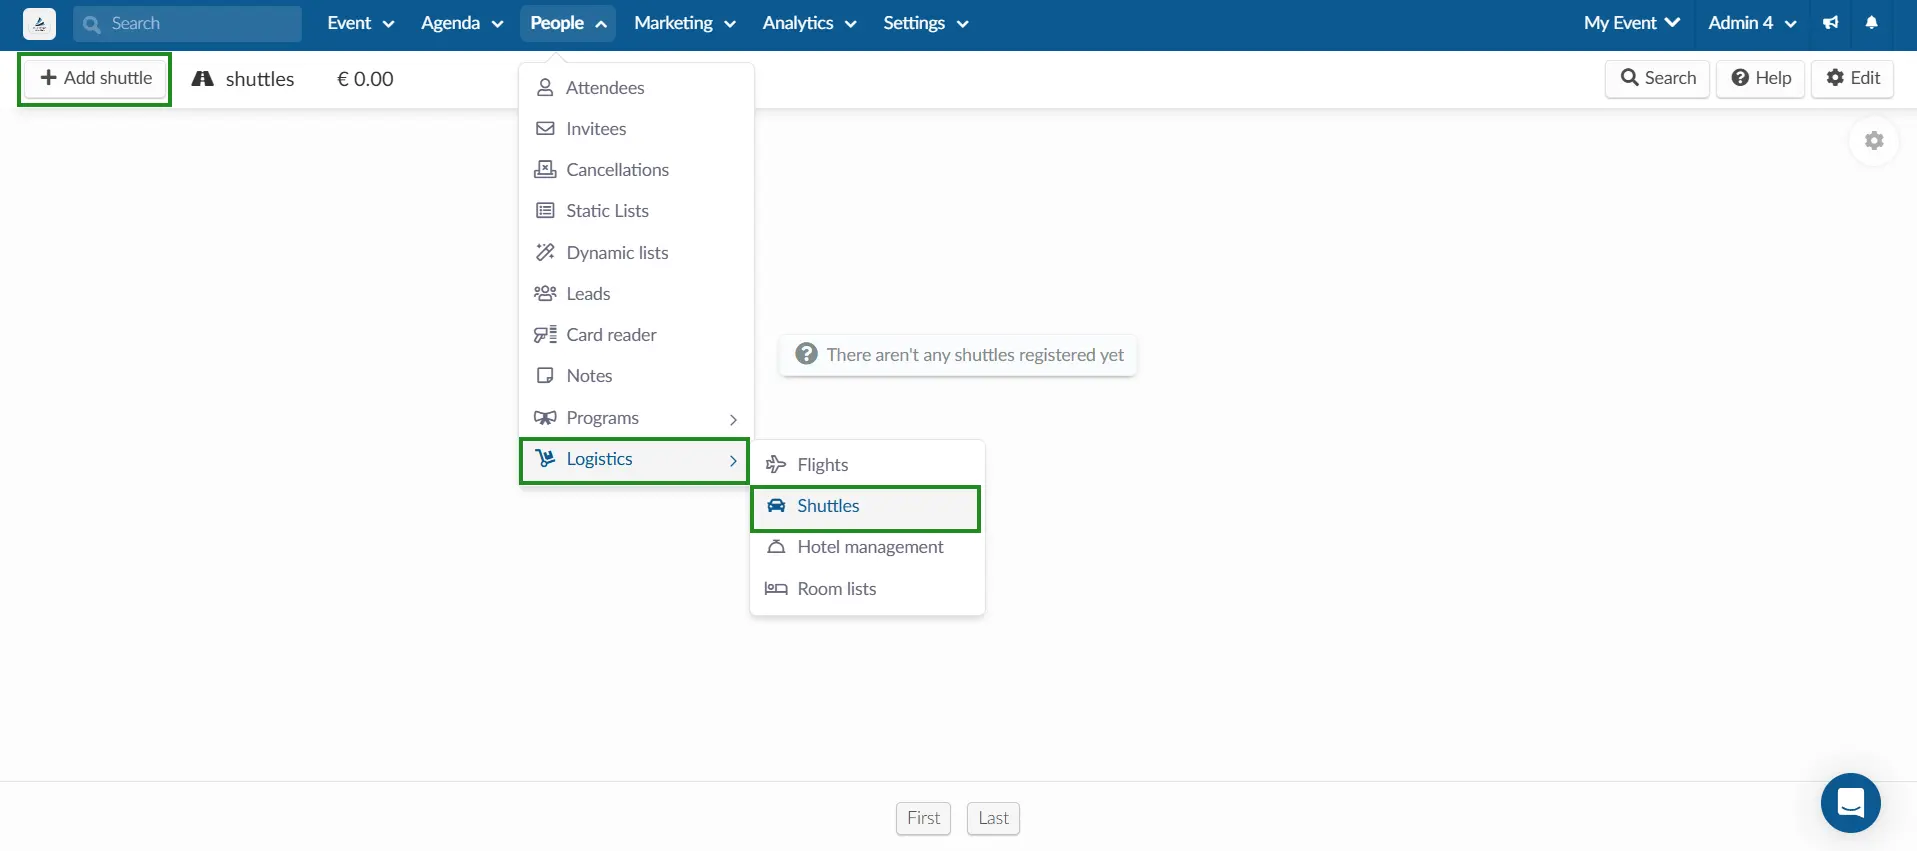
- Then choose a person, fill in the blank fields and click on Create.
In bulk
To upload your shuttle information in bulk, follow the steps below.
- Click on Edit > Import > Download Demo File.
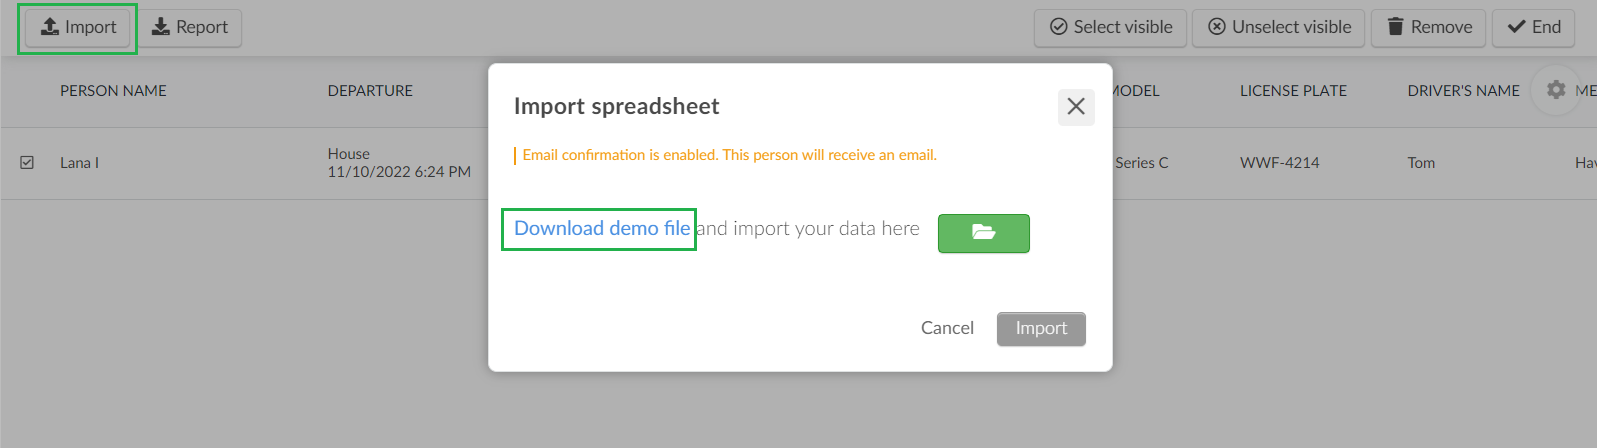
- When the download is complete, enter the requested information into the spreadsheet.
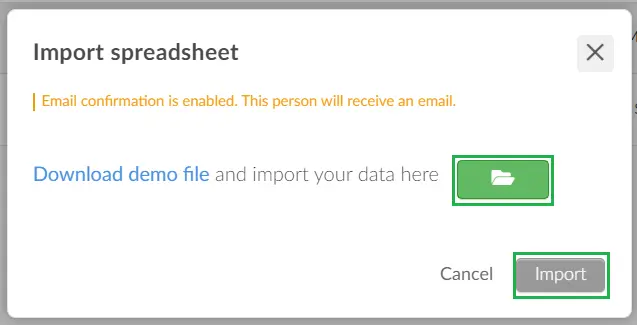
- Then, save the file and upload it to the platform by clicking on Import > Green File Icon > selecting your file > Import > End.
How do I edit registered information?
To edit the information you have already registered onto the platform, click on the desired user and then Edit.
In the menu on the right, you can edit the shuttle information saved. Click on End to save your changes.

How do I remove registered information?
To remove an attendees' shuttle details, press Edit, click on the checkbox of the information you would like to delete and press Remove in the top right corner.

How do I add shuttle information to an email?
To share the shuttle details with your attendees via email, you must create an email and add a digital voucher.
Click here to learn how to do so.
How do I extract a report?
To extract a report on all shuttles, simply click on Edit, then press the Report button at the top left corner of the page. You will receive a message letting you know that your excel sheet report is being processed and will be sent to your email once completed.

For attendees
How can the attendees view their shuttle information?
You can send the itinerary information to each of your attendees via email or a mobile application for them to view.
Email
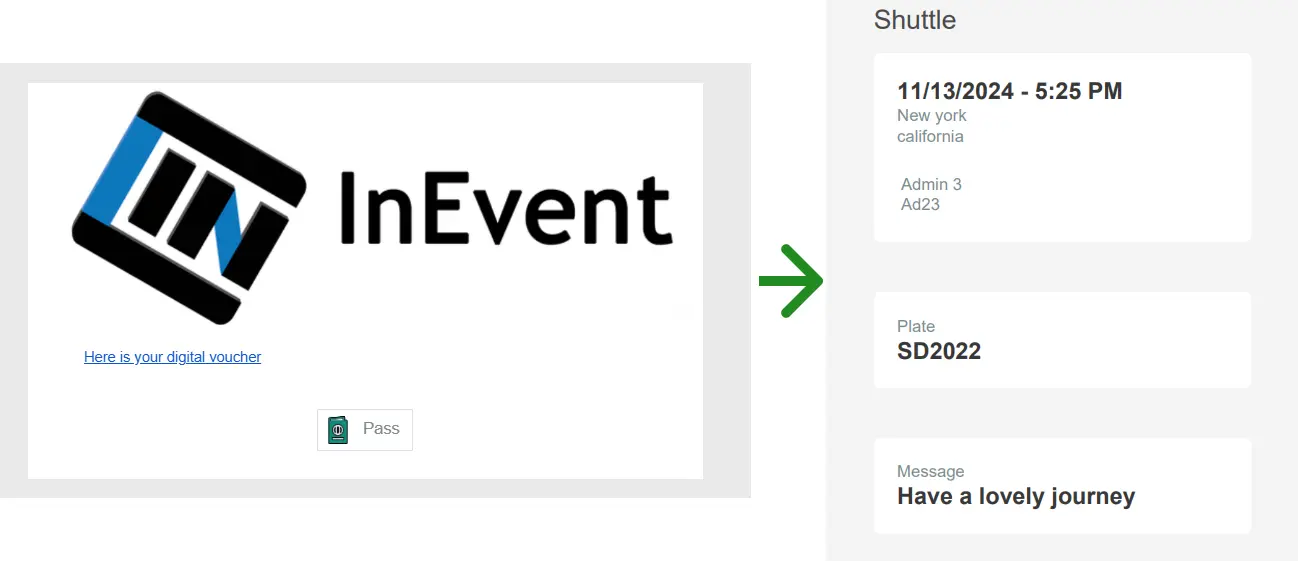
The email containing the digital ticket voucher with the flight details will look like the example shown below:
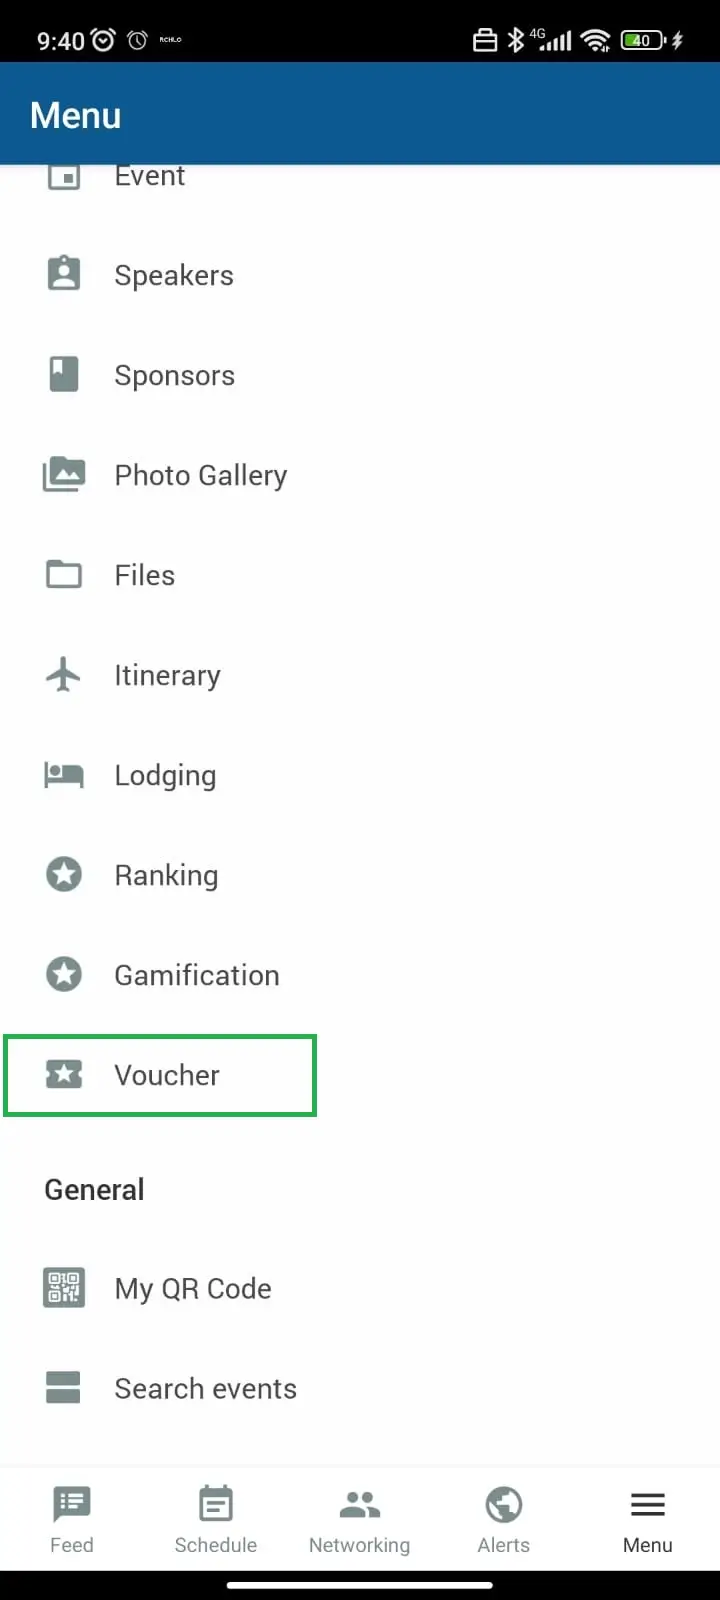
App
This image shows how to view the flight information by going to the Menu>Voucher section in the mobile application.