Company Tools
 Updated 1 month ago
by
Lorenzo
Updated 1 month ago
by
Lorenzo
Company tools are the functionalities available to your company according to the purchased plan. You can enable and disable the tools as you wish.
How can I access the company tools?
To access the company tools, go to Account > Tools at the company level.
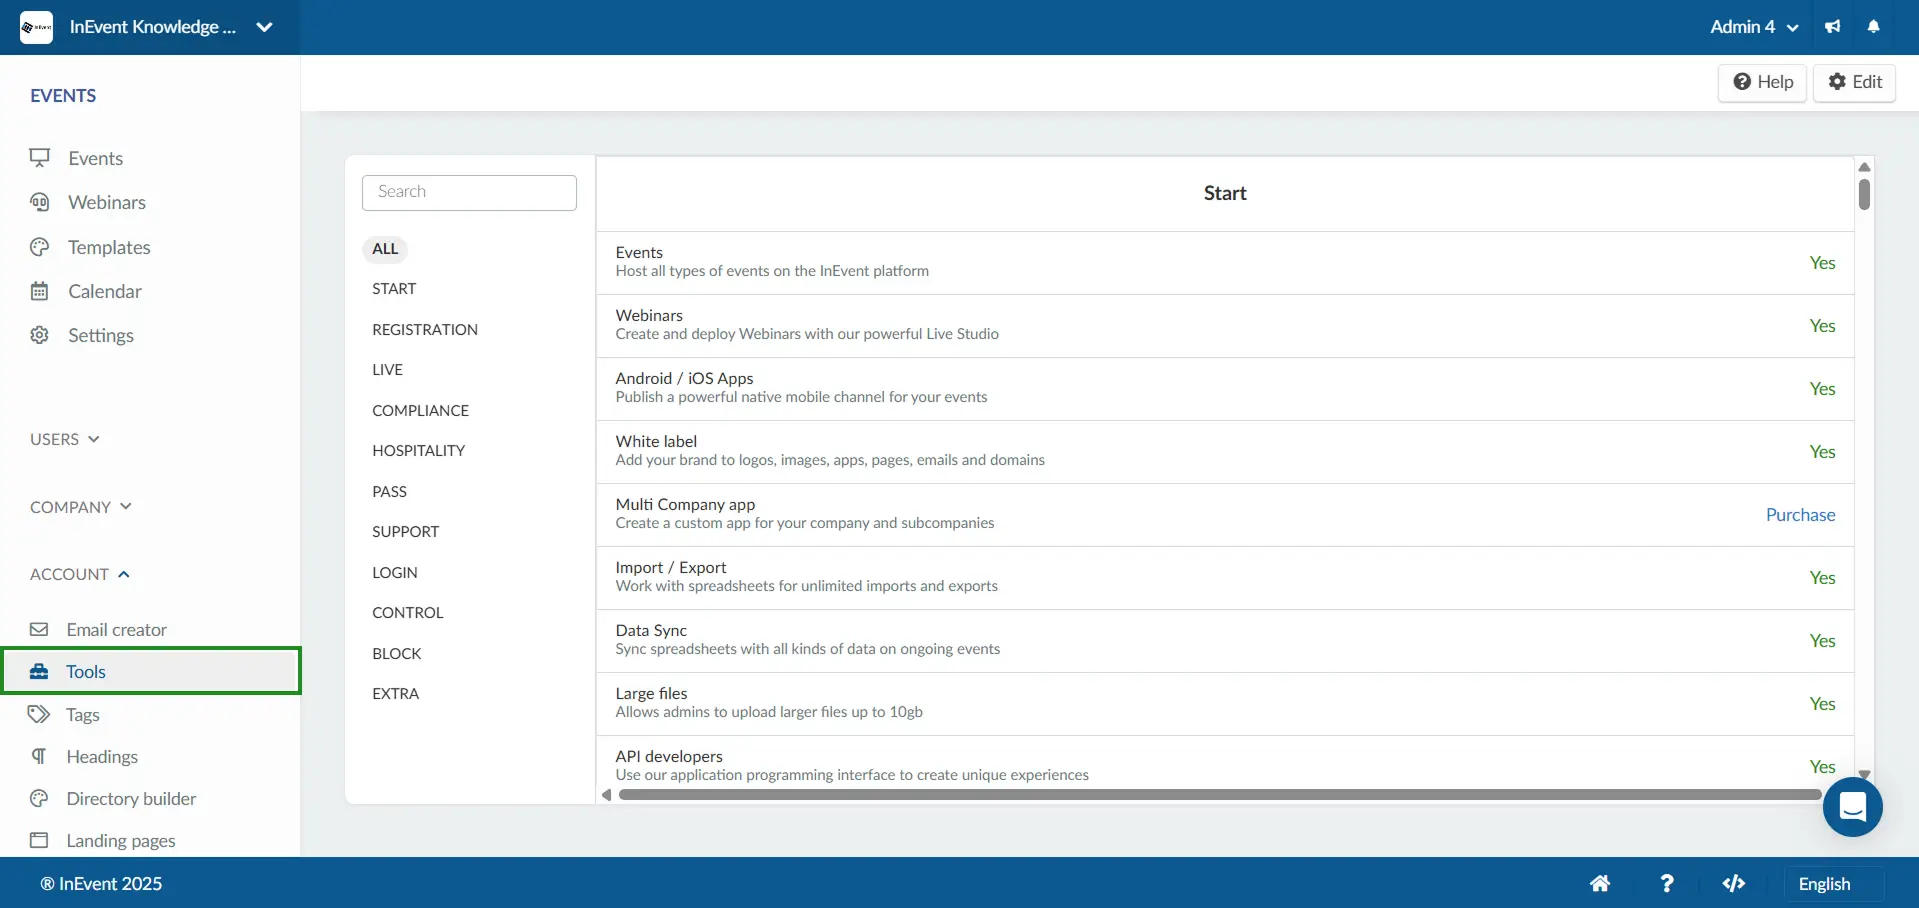
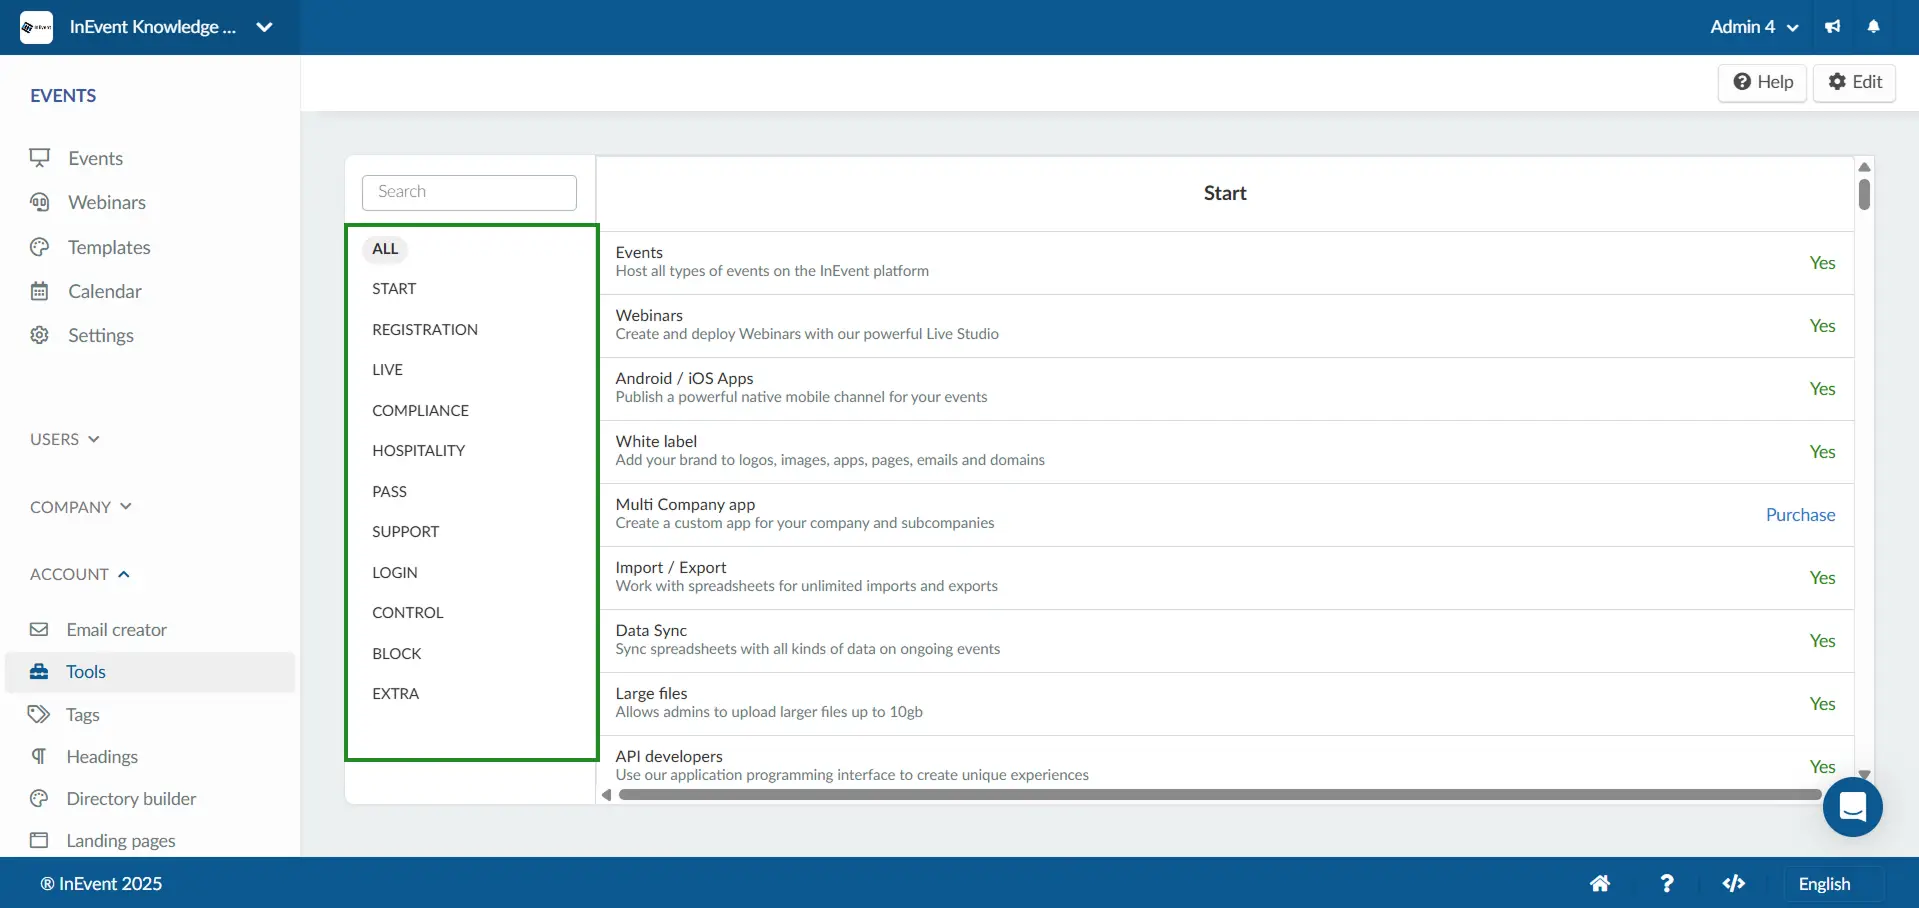
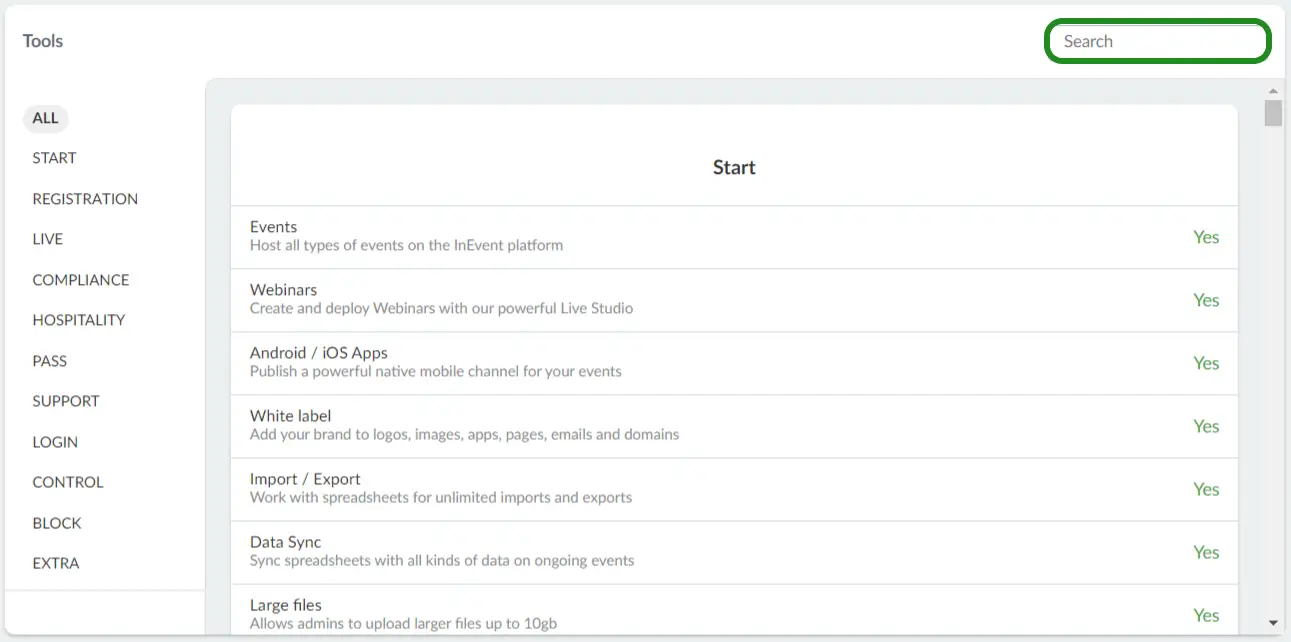
From the Tools page, you can view all the tools categories with their relevant tools. The All tab section shows all the tools sections in one space as you can scroll down. The 12 sections of tool categories are as follows:
Activating and deactivating tools
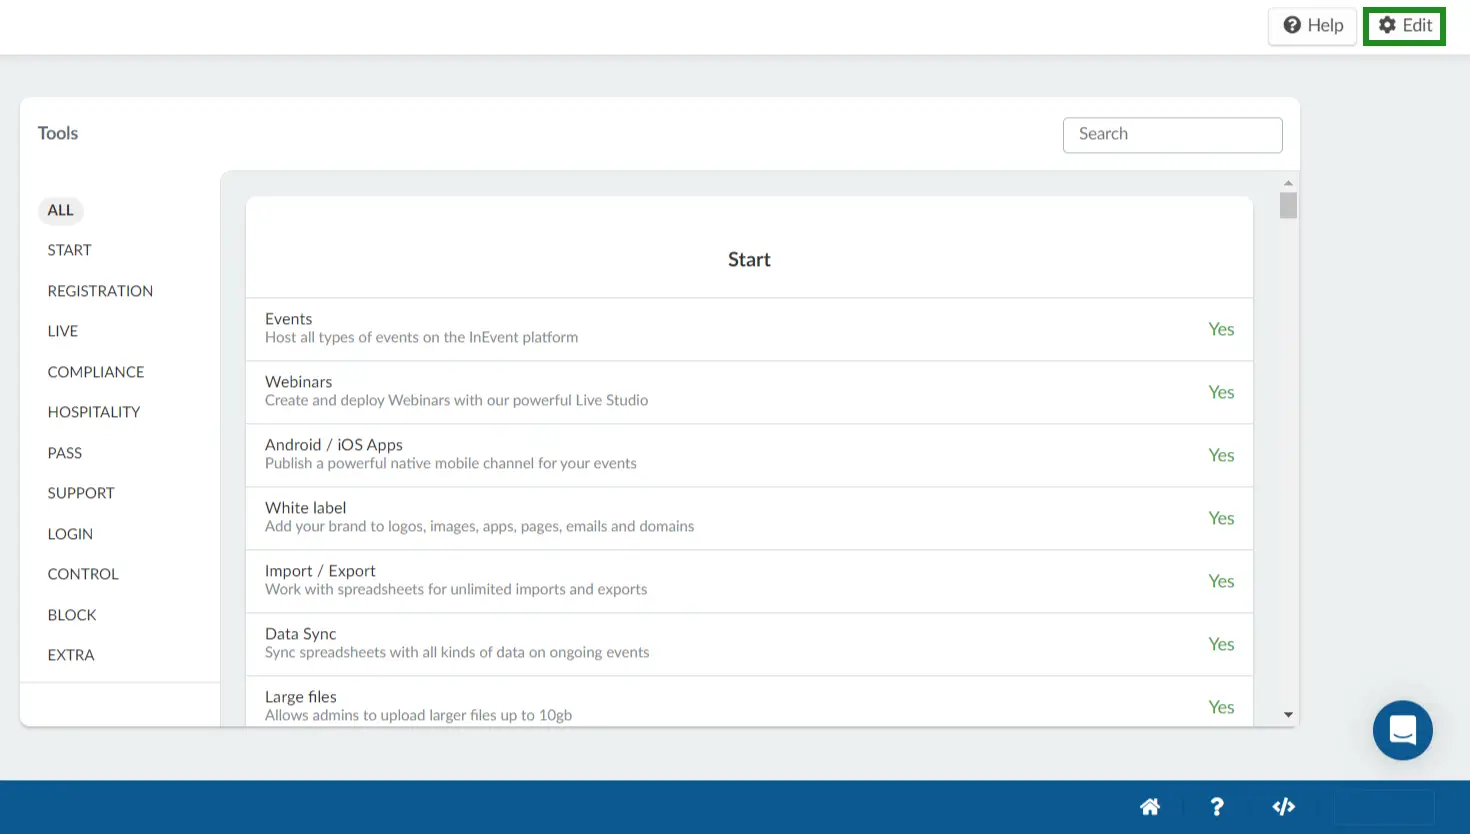
To enable or disable a tool, click the Edit button in the top right corner of the platform.
- To activate a feature for the company, allowing it to be chosen in any event in the company, toggle the button of the respective feature to turn it green, and press End to save the changes. The status will display as Yes once the feature is enabled.
- To deactivate a feature for the company, and consequently disable it for all events in the company, toggle the button of the corresponding feature to turn it grey, and press End to save the changes. The status will show as No once the feature is disabled.
Searching for tools
You can search for specific tools through the Search bar on the upper right corner of the tools card.
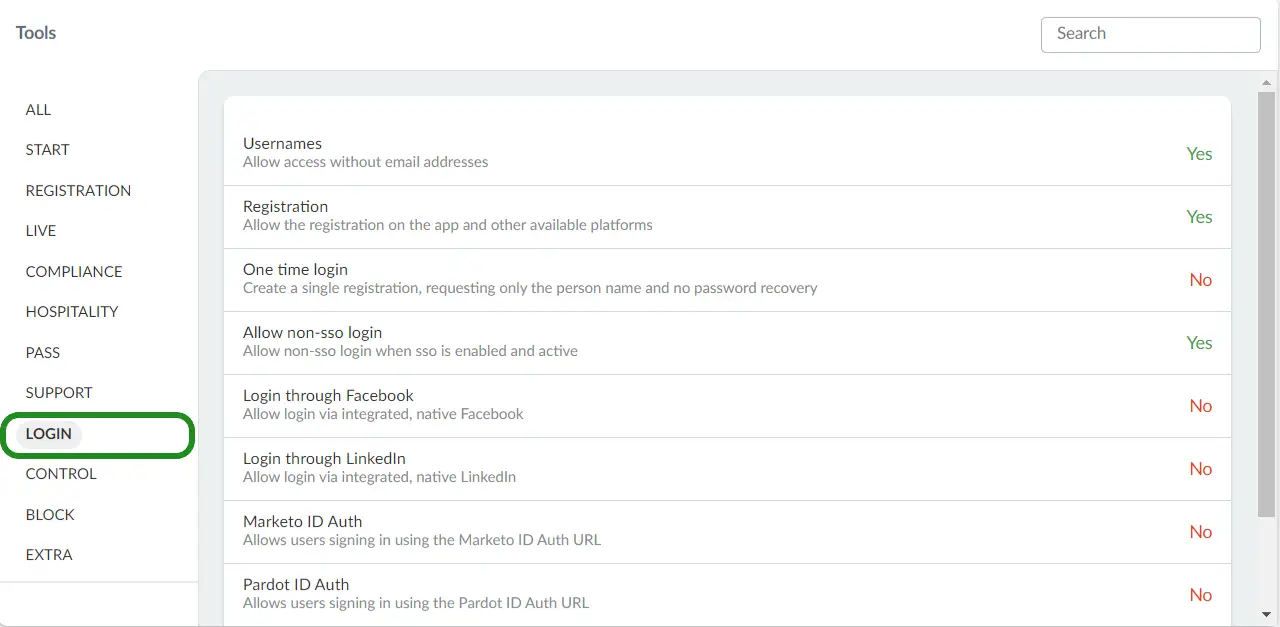
Login section
This section contains tools related to the log in process.
Tool name | Description |
Usernames | Allows access without email addresses. If you do not have or cannot use the email address of your participants, you can register your participants by using a username. For further information, refer to our Usernames article. |
Registration | Allows attendees to sign up for the event via mobile app without the need for previous registration via the platform. For further information, refer to our Login through the app article. |
One time login | Creates a single registration, requesting only the person's name and no password recovery. For further information, refer to our One time login article. When one time login is activated, the email address field will be unavailable on the Registration Form. Users will not have the option to input their email address during the registration process. |
Allow non-sso login | Allows non-SSO login when SSO is enabled and active. For further information, refer to our Single Sign-On article. |
Login through Facebook | Allows attendees to sign up for the event by connecting the Facebook account logged into their own smartphone with the app. For further information, refer to our article on logging in through the app with Facebook. |
Login through LinkedIn | Allows attendees to sign up for the event by connecting the Facebook account logged into their own smartphone with the app. For further information, refer to our article on logging in through the app with LinkedIn. |
Marketo ID Auth | Allows users to sign in using the Marketo ID Auth URL. For more information, refer to our Integration with Marketo article. |
Pardot ID Auth | Allows users to sign in using the Pardot ID Auth URL. |
Mandatory SSO Auth | Users can only enroll to the event if they are authenticated through SSO. |
Skip app profile onboarding | Skips profile onboarding on InEvent App for users without complete profile information. |
Enable company login in app | Allow users to login on company account in the app. |
Enable directory on company login | Redirect users to the directory on company login. |
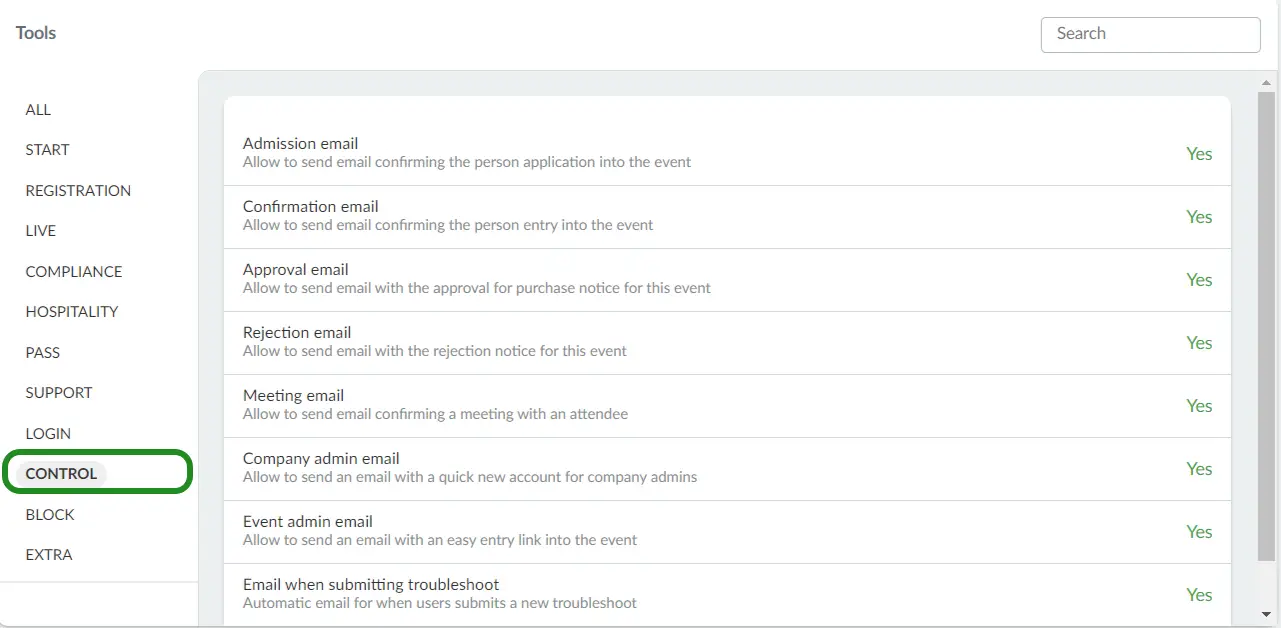
Control section
This section contains tools related to the registration and admission process.
Tool name | Description |
Admission email | Allows an email to be sent to attendees who have tried enrolling and are awaiting approval. For more information, refer to our Confirmation email and other emails article. |
Confirmation email | Allows an email to be sent to all participants confirming their entry into the event. For more information, refer to our Confirmation email and other emails article. |
Approval email | Allows an email to be sent to all participants with the approval for purchase notice for the event. |
Rejection email | Allows an email to be sent whenever you deny someone's enrollment into your event. For more information, refer to our Confirmation email and other emails article. |
Meeting email | Allows the platform to send emails confirming a meeting with an attendee. For more information, refer to our Meetings article. |
Activity approval | Sends an automatic email, approving or rejecting participation in an activity. For more information, refer to our Confirmation email and other automatic emails article. |
Meeting approval | Sends an email requesting a meeting with one or more attendees. |
Company admin email | Allows all company admins to receive an invite email with a link to access the platform. For more information, refer to our article on global admins and customized access admins. |
Event admin email | Allows all event admins to receive an invite email with a link to access the platform. For more information, refer to our Confirmation email and other emails article. |
Email when submitting troubleshoot | Allows automatic emails for when users submit a new troubleshoot |
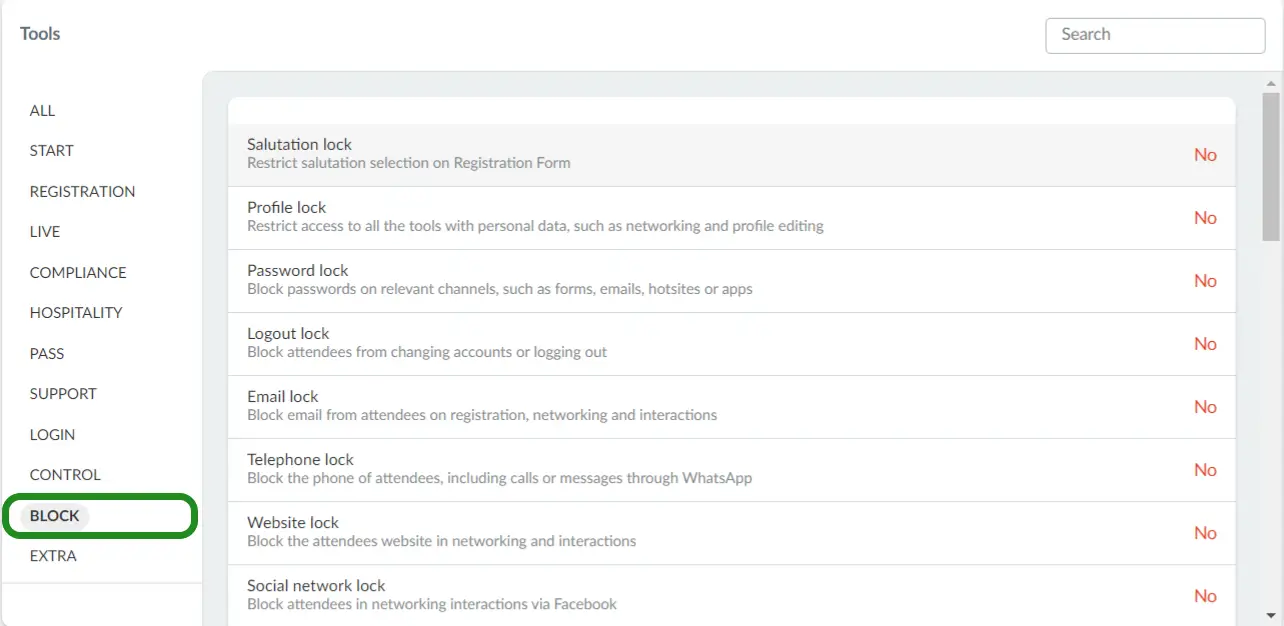
Block section
This section contains tools that blocks or disables certain functionalities for attendees or admins.
Tool name | Description |
Salutation lock | Restricts salutation selection on registration form. |
Profile lock | Restricts access to all the tools with personal data, such as networking and profile editing. For more information, refer to our Virtual Lobby Tools article. |
Password lock | Blocks passwords on relevant channels, such as forms, emails, websites, or apps. |
Logout lock | Blocks attendees from changing accounts or logging out. |
Email lock | Blocks email from attendees in networking interactions. For more information, refer to our Virtual Lobby Tools article. |
Telephone lock | Locks the phone of attendees, including calls or messages through WhatsApp. |
Website lock | Locks the attendees website in networking and interactions. |
Social network lock | Blocks attendees in networking interactions via Facebook. |
Social network lock | Blocks attendees in networking interactions via Instagram. |
Social network lock | Blocks attendees in networking interactions via LinkedIn. |
Social network lock | Blocks attendees in networking interactions via Twitter. |
Schedule lock | Disables access to personalize or edit the event's personal agenda. For more information, refer to our article on creating activities with restrictions and choice blocks. |
Sharing lock | Blocks attendees from sharing content or event information. For more information, refer to our Content Sharing article. |
Favorite lock | Does not allow any favorites to be added by attendees. For more information, refer to our Networking via App article. |
Chat lock | Blocks any conversation between attendees. For more information, refer to our Networking via App article. |
Role field lock | Disables the Role field on the registration form. |
Company field lock | Disables the Company field on the registration form. |
Global field lock | Disables global fields on registration form. |
Tags lock | Disables the tags section on the registration form. For more information, refer to our Registration Form article. |
Profile picture lock | Disables the picture section on the registration form. For more information, refer to our Registration Form article. |
Email confirmation | Disables the Confirm email address field on the registration or purchase form. |
Password confirmation | Disables the Confirm password field on the registration or purchase form. |
Block assistant email | Disables the Assistant email field on the registration form. |
Disable global event templates | Disables all global event templates InEvent creates by default. For more information, refer to our Templates article. |
Event booking templates lock | Disables Template selection on event booking forms. For more information, refer to our Briefing Management article. |
Event booking tags | Disables Tags selection on event booking forms. For more information, refer to our Company tags article. |
Event booking region lock | Disables the region section on event booking forms. |
Event booking admins lock | Disable admin selection on event booking forms. |
Assigned to admin lock | Disables the option to assign admins to booking forms. For more information, refer to the Briefing Management article. |
Event booking new event approvals lock | Disable approving event bookings as new events (Using templates and copying events is still allowed) |
Extra section
This section contains extra tools.
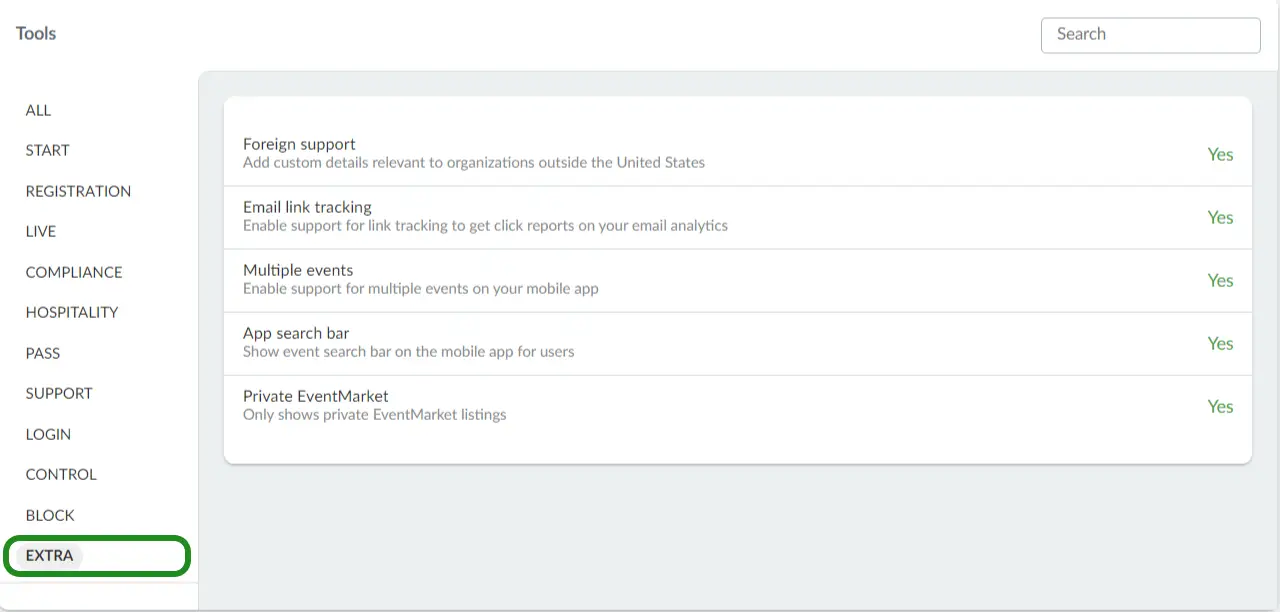
Tool name | Description |
Foreign support | Allows adding custom details relevant to organizations outside the United States. Foreign support will affect the Address section of the purchase form. |
Email link tracking | Enables support for link tracking to get click reports on your email analytics. For more information, refer to our Email Analytics article. |
Multiple events | Enables support for multiple events on your mobile app. |
App search bar | Shows the event search bar on the mobile app for users. |
Private EventMarket | Only shows private EventMarket listings. |