Integration with Zapier
 Updated 1 year ago
by
Amalia
Updated 1 year ago
by
Amalia
Zapier integrations allow you to connect the InEvent platform to over 2,000+ platforms without a single line of code. Using drag and drop, you can link your InEvent with your preferred marketing CRM, catering company, AV provider or else to create seamless data workflows. You can get notifications, emails, synchronizations and new favorite solutions without expensive custom development work.
Integrating Zapier with InEvent
In this section, you will find information on integrating Zapier with InEvent.
Creating a trigger on Zapier
To integrate Zapier with InEvent and automate actions, it is necessary to create the appropriate triggers. To do so, follow the steps provided below.
- Click on Create > Zap from Zapier's Home interface.
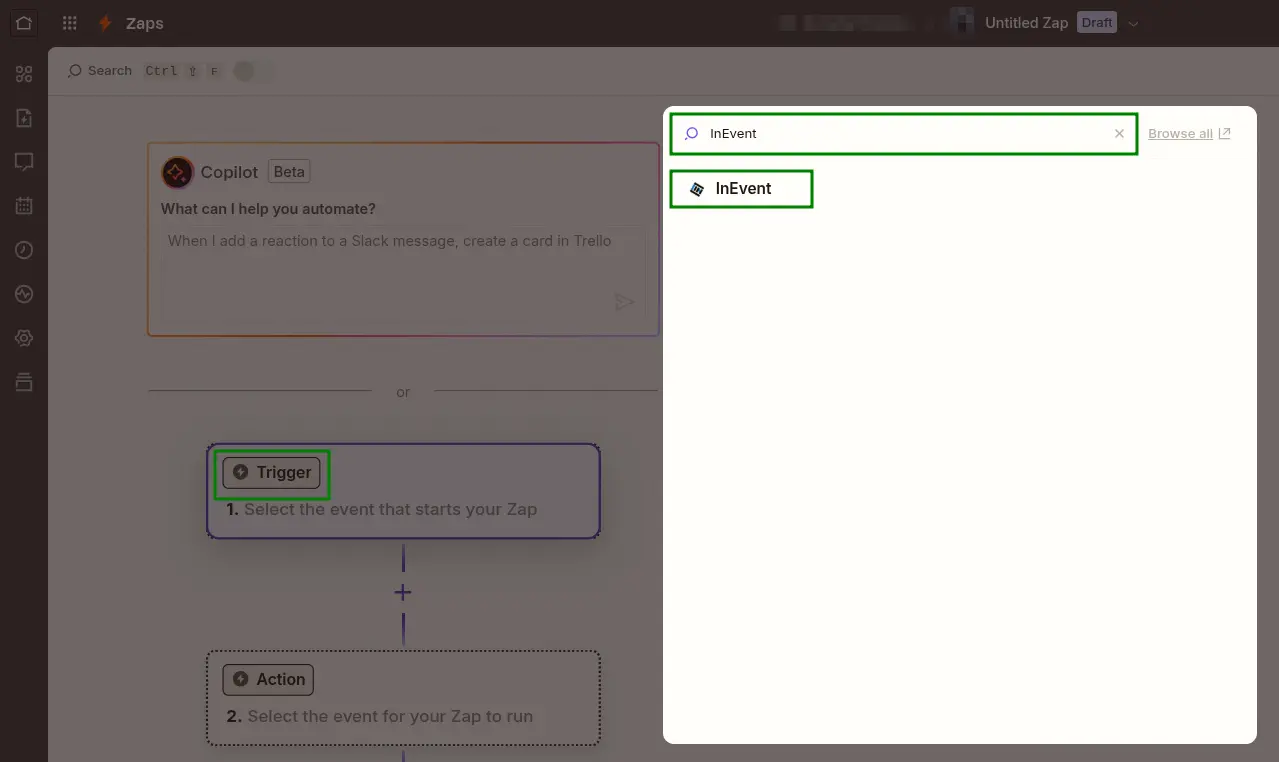
- Click on the + Trigger button above 1. Select the event that starts your Zap.
- Enter InEvent to the search box.
- Click on InEvent.
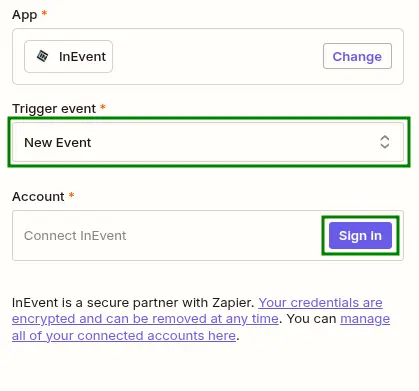
- Select a Zapier trigger event using the drop-down menu. The available options are API Request, New Attendee, New Attendee Check-in and Check-out, New event, New Person on Waitlist, and Poll Answers.
- Sign in and connect to an InEvent account to use with the integration. A new browser window will pop-up.
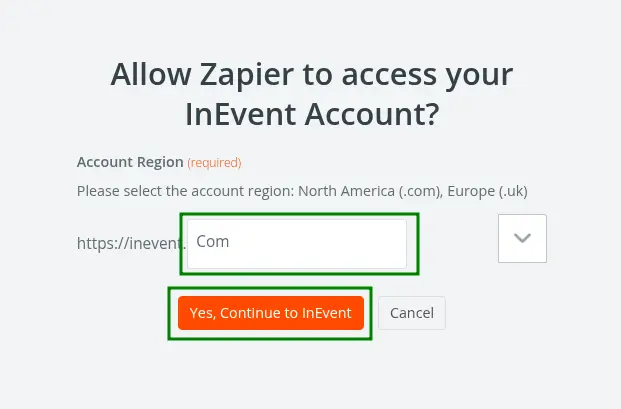
- Ensure that the appropriate InEvent account region is selected and click on Yes, Continue to InEvent.
- Log in to the target InEvent account and authorize the Zapier connection with InEvent.
- Click on Select on the Zap creation page and ensure to select the target InEvent account.
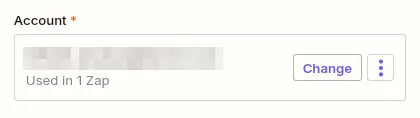
- Click on Continue.
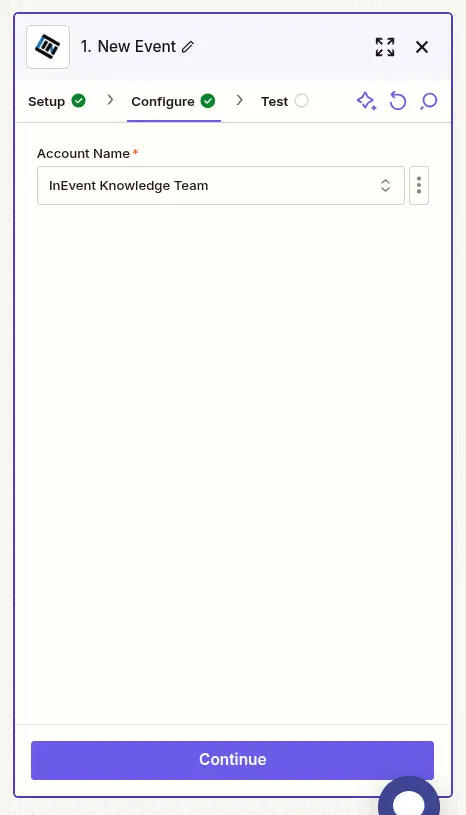
- Select the target InEvent company using the Account Name drop-down box.
- Click on Continue.
- Click on Test trigger to proceed with Zapier's integration test and verification.
- Select your target event from the available records. You can verify the event's details by clicking on the available records.

- Click on Continue with selected record.
The steps above completes the trigger creation.
Creating an action on Zapier
After completing the trigger creation, you can proceed to create an action to be executed following the trigger event. To do so, follow the steps below.
- Search and select your target app on the selection interface that automatically appeared. In this guide, Google Docs will be used as an example.
- Select from the available Action event as provided by the target app.
- Connect and select the appropriate target account to be used with the target app.
- Click on Continue.

- Complete the Configuration menu with the necessary information. The contents of this menu will differ depending on the target app.
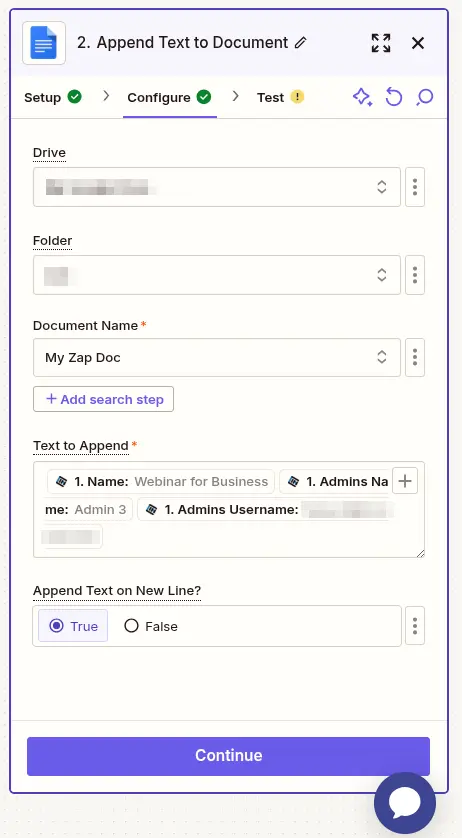
- Click on Continue.
- Complete Zapier's testing and confirmation step.
- Click on Publish to finish setting up the action.
After completing the steps above, the setup is complete and the integration is immediately applied live.
Renaming a Zap on Zapier
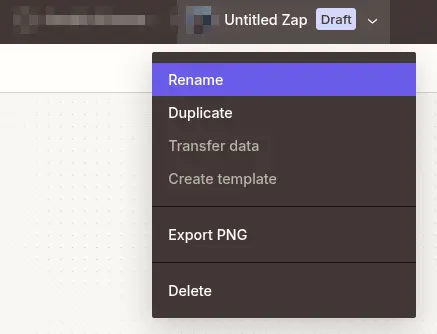
Zaps are titled Untitled Zap by default. To rename the integration, click on Untitled Zap on the top bar and click on Rename. Then, enter the desired Zap name and press Enter on your keyboard.
Creating a Zap with API Request as Trigger action
To create an API request, select API Request under the Trigger action drop-down box. When API Request is selected as the Trigger action, the following configuration options must be entered:
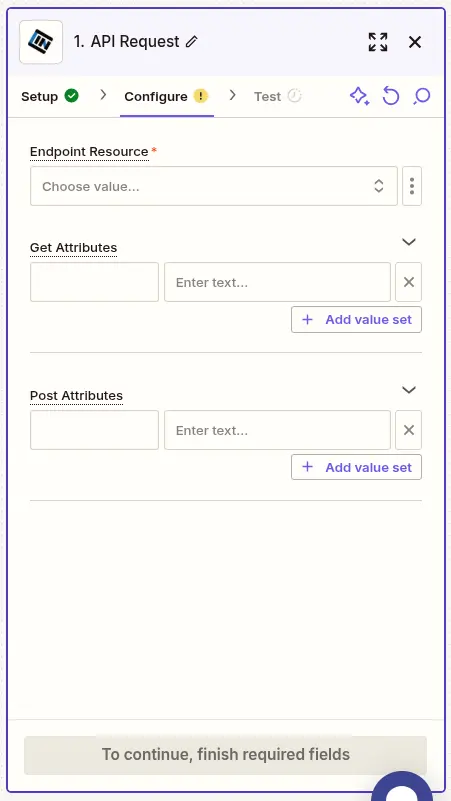
- Endpoint Resources
- Get Attributes
- Post Attributes
Then, click on Continue to proceed with the Zap test and publish the integration.
Integrating InEvent with HubSpot via Zapier
InEvent offers a native Integration with HubSpot. It is also possible to integrate InEvent with HubSpot via Zapier. For more information refer to our guide on HubSpot via Zapier integration.
Integrating InEvent with WhatsApp Notifications via Zapier
To integrate InEvent with WhatsApp Notifications via Zapier, select WhatsApp Notifications as a target app when creating an action, and select Send Message as the Action event. Then, connect Zapier to the target WhatsApp account to receive notifications.
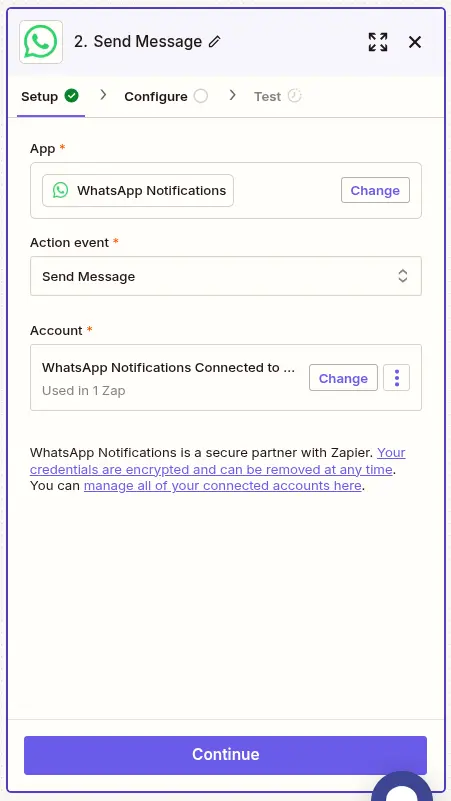
When Send Message is selected as the Trigger action, you can choose from a set of Zapier's pre-made Static templates.
After configuring the message to be sent to the target WhatsApp account, click on Continue to proceed with the Zap test and publish the integration.