Integration with Stripe
 Updated 11 months ago
by
Chioma Okenwa
Updated 11 months ago
by
Chioma Okenwa
The integration with Stripe will allow you to charge your attendees for tickets. Your attendees will be able to purchase tickets via the registration form, website, or my account page.
How do I link the account from Stripe with InEvent?
Company level
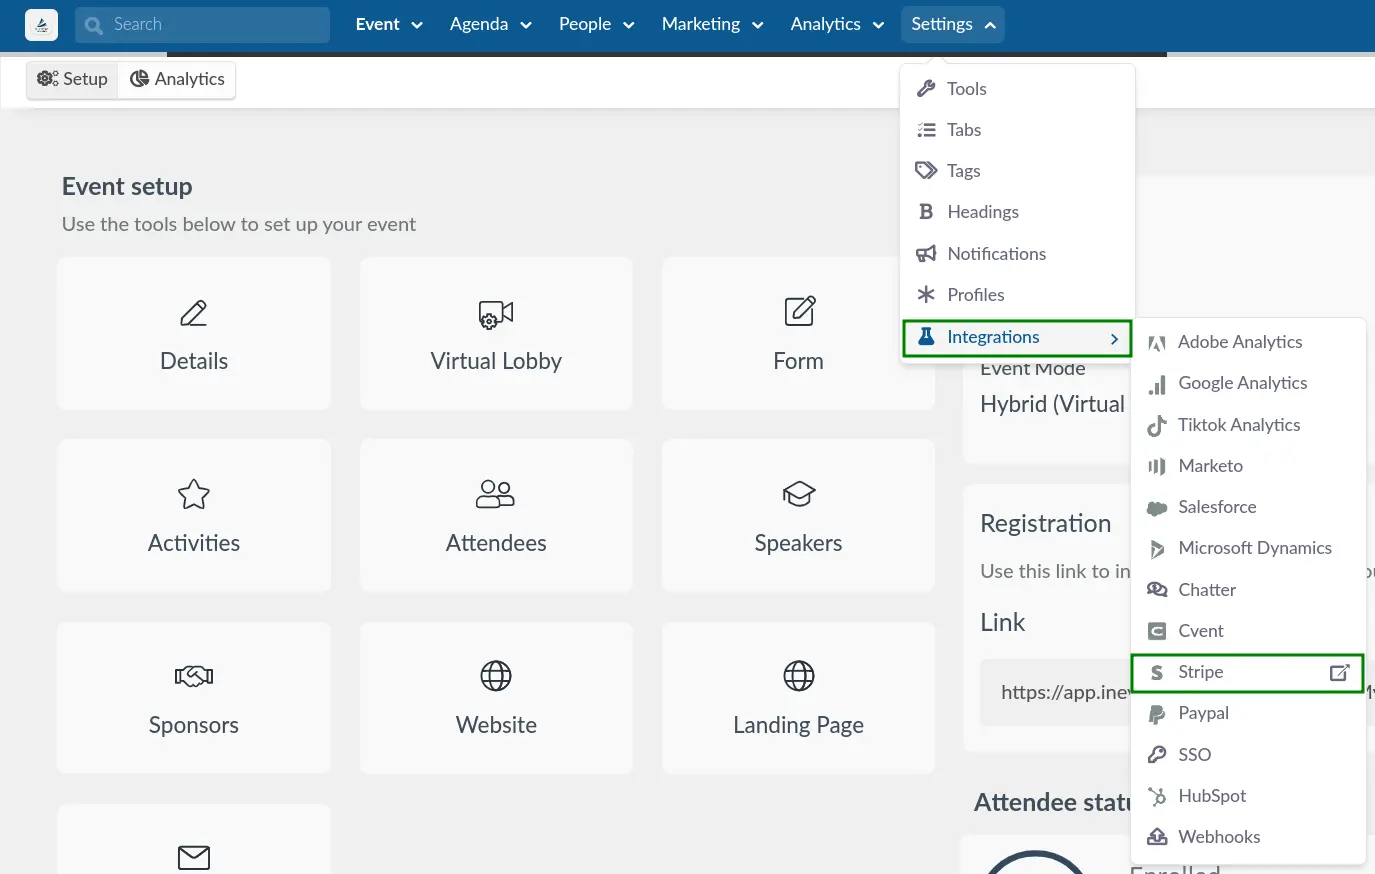
To link your Stripe account at the Company level, go to Integrations > Stripe. Next, enter your Publishable Key and Secret Key into the designated fields. You can also select the Credit card and/or Invoice option using the drop-down menu, Yes or No.
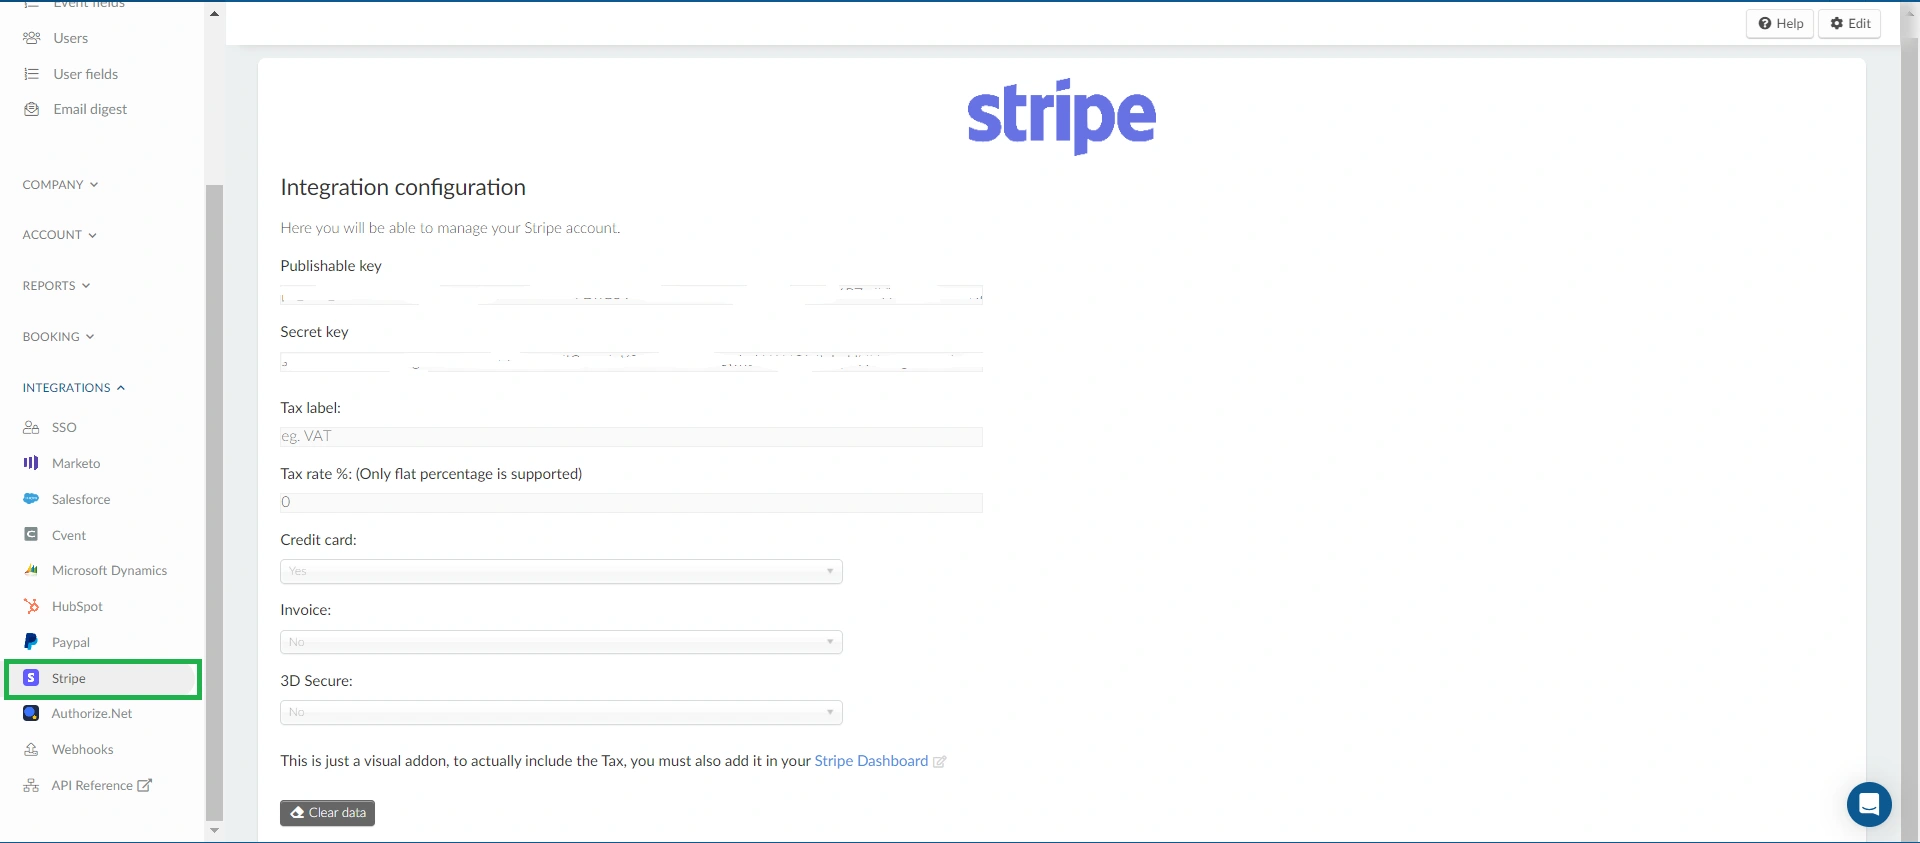
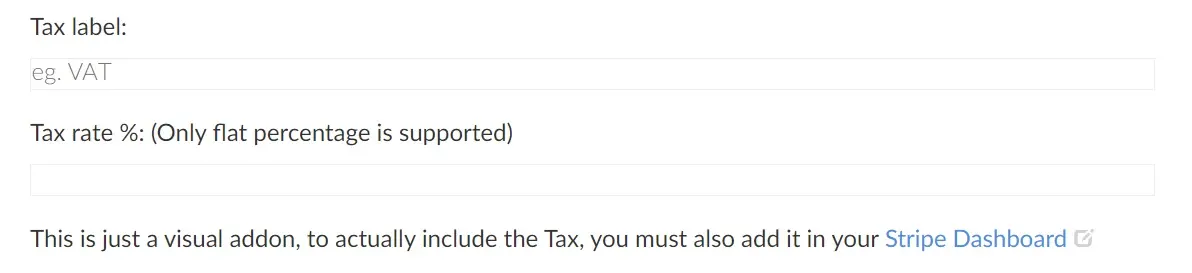
With Stripe integration, you can have a flat tax percentage. Add a value-added tax (VAT) by defining the Tax Label and associating it with a specific Tax rate %.
You can also add choose whether to use the 3D secure option by selecting the Yes or No.
3D Secure
Once you have entered the desired information, the account from Stripe will now be linked with the InEvent platform and you can start selling tickets for your event.
To learn how to create tickets for your event, click here.
Event level
To link the account from Stripe at the Event level, choose an event then go to Settings > Integrations > Stripe.
This action will take you to the Company Level, where you will be able to enter your Publishable Key and Secret Key into the designated fields.
Where do I find the keys by Stripe?
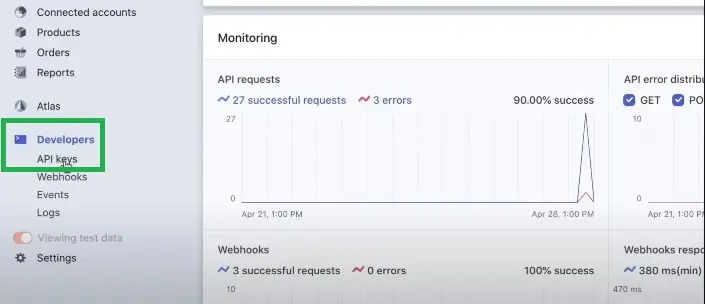
Navigate to stripe.com and login, click on Developers > API Keys > and copy your Publishable and Secret key to the InEvent platform.
How can I configure the Stripe Invoice option?
At the company level, the Invoice option is disabled by default. To enable it, click on Edit and select the option Yes under the Invoice drop-down menu. You can configure the number of due days for the invoice:
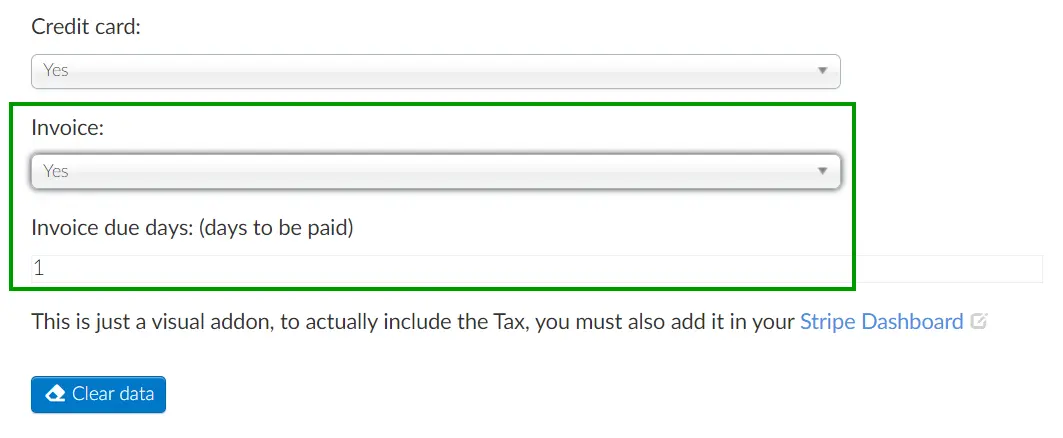
After generating the invoice, users can pay using the ACH instructions, Credit card, and various other ways, which are defined by the merchant according to their Stripe Dashboard.
How do I test my integration before going live?
Testing the payment gateway will ensure that the integration is properly set up and ready to start receiving payment, and it can also give you a good idea of how the purchase process works.
Every account has separate keys for testing and for running live transactions. Click here to learn more about these two types of keys.
To make sure your integration is working as planned, there are two options:
- Live mode: With the live keys entered into the platform, you can create a ticket that costs 1$ and complete the purchase with a real credit card.
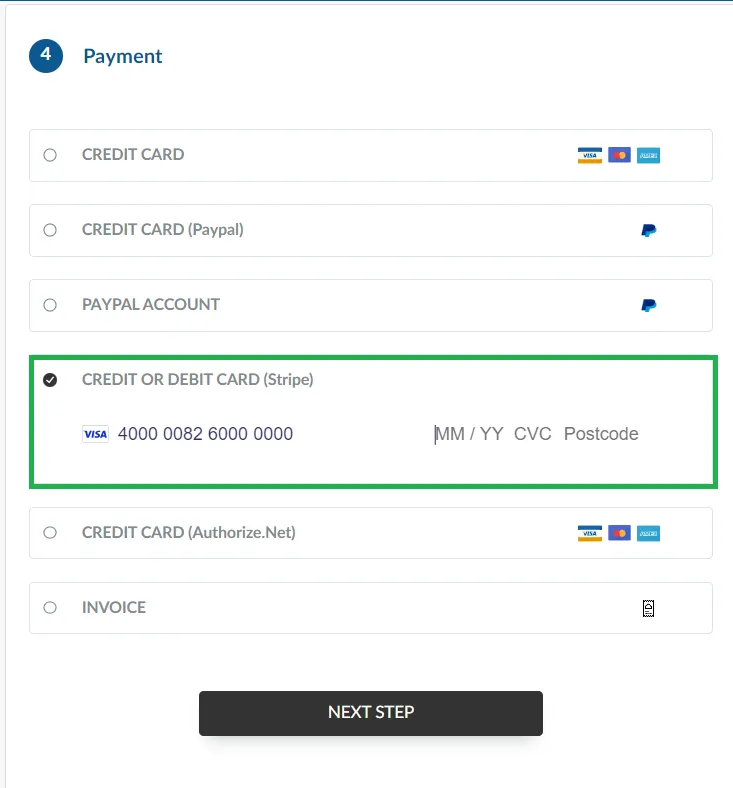
- Test mode: You can remove the production keys you have entered, add the testing keys to our platform and test the integration with one of the testing credit cards provided by Stripe. The credit cards that you can use as well as the step by step on how to test your integration before going live are listed in this article.
What currencies are supported by Stripe?
Multiple currencies are accepted by Stripe however these are dependent on the country you registered your account from Stripe in, to see the full list click here.
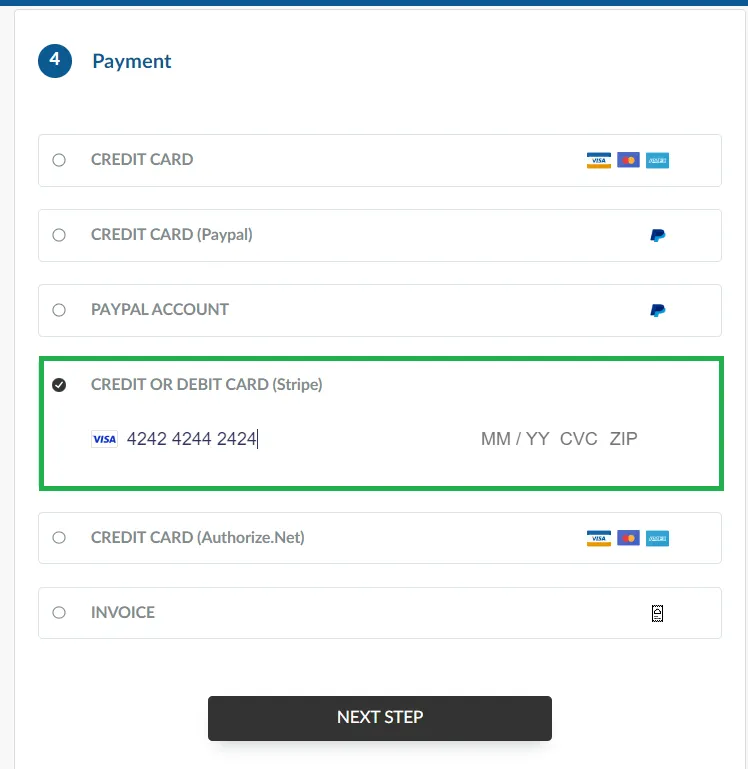
How does the Stripe field appear on the Purchase form?
On the Purchase form, the Stripe field will appear under the Payment section as shown below: