Webinar Breakout rooms
 Updated 1 year ago
by
Chioma Okenwa
Updated 1 year ago
by
Chioma Okenwa
Breakout rooms aim to facilitate interactions and leverage group within a webinar. You can take advantage of this feature if your attendees need to discuss particular ideas and topics within several groups simultaneously.
This article intends to teach you how to use this feature inside your webinar Live stream.
How do I enable this feature?
To enable this feature, go to Settings > Tools > scroll down until you see the Live section. Then, press Edit, and make sure the Breakout rooms checkbox is checked. Press End to save the changes.
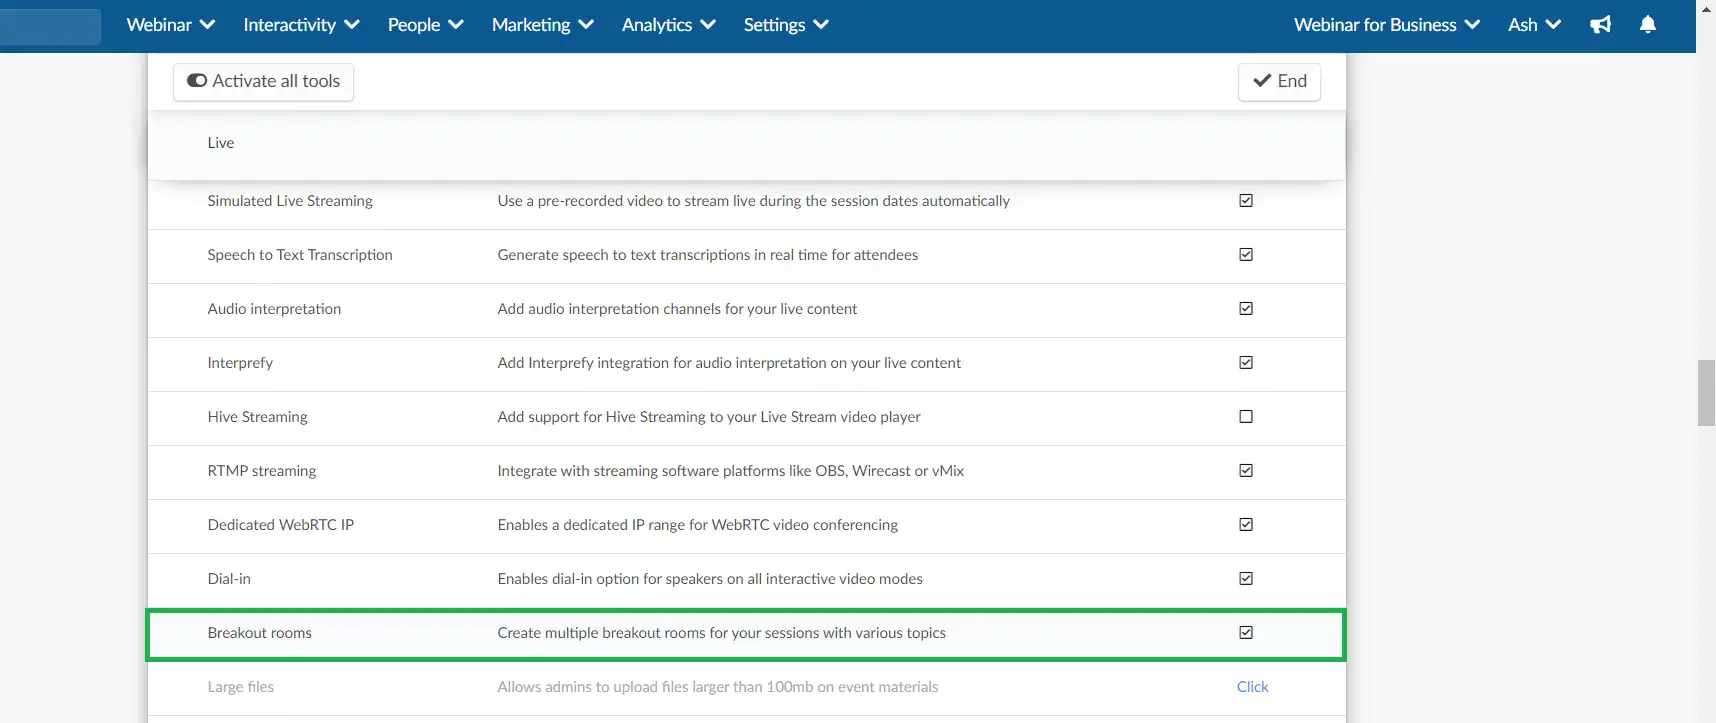
If instead of seeing a checkbox, you see Click, you will need to enable this feature at the company tools. By pressing Click a new tab will open directly at the company tools, scroll down until you see the Live section, press Edit, and make sure the Breakout rooms checkbox is checked. Press End to save the changes.
Creating Breakout rooms for your Live stream
This feature is available to all webinar room video modes, except the External Link which will take the users outside the InEvent platform.
In the platform
Once this feature is enabled, you can follow these steps:
- Go to Webinar > Live stream
- Click on Breakout Rooms and press Edit
- Press +Create breakout room
- Add the room topic and adjust the other settings according to your needs, press Create
- Click on End to save the changes.
Settings
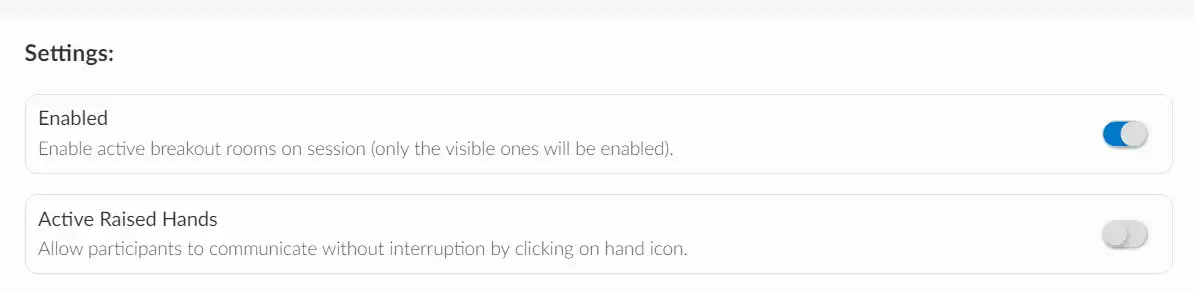
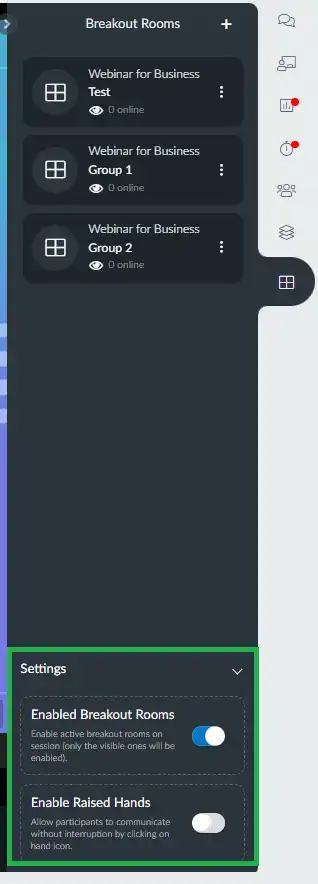
At the Breakout rooms tab, you have the Settings:
- Enabled: You can toggle to the right to activate the breakout rooms in your Live stream (only the visible rooms will be enabled).
- Active Raised Hands: Even if this function has been enabled at the Live stream settings tab, you still need to toggle to the right to activate for the Breakout rooms too.
Editing or Deleting the Breakout room
To edit information or delete the breakout room, press the 3 dots on the top right, and a small window will give you the options to Edit Room or Delete Room.
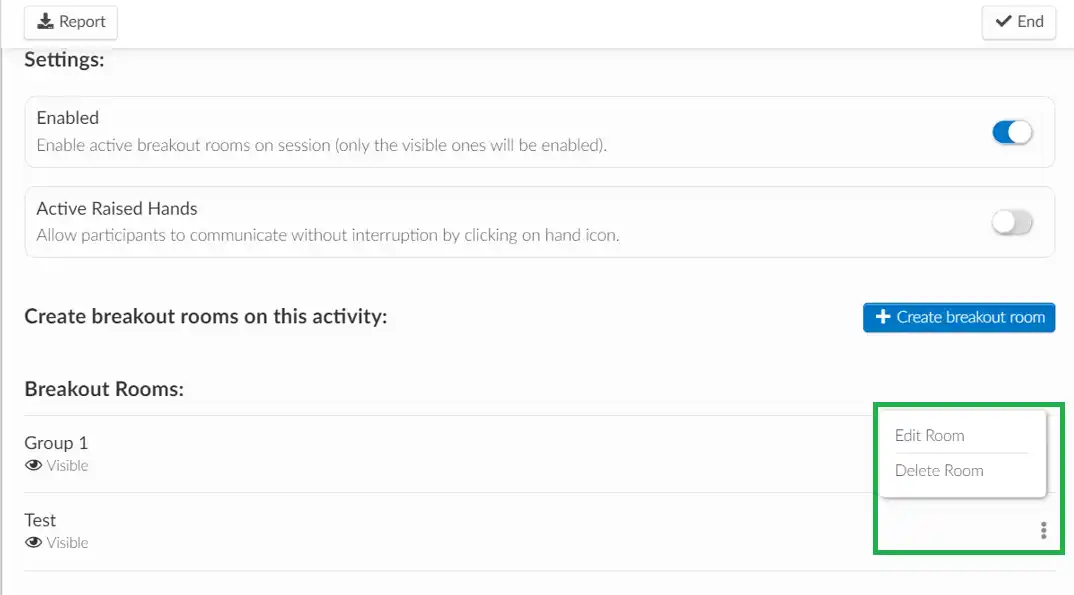
- If you choose to Edit Room, once you change the configuration just press Save.
- If you opt to Delete Room, a pop-up message will appear for you to confirm the action, press Yes.
Can I hide/unhide the breakout room tab in the Live stream?
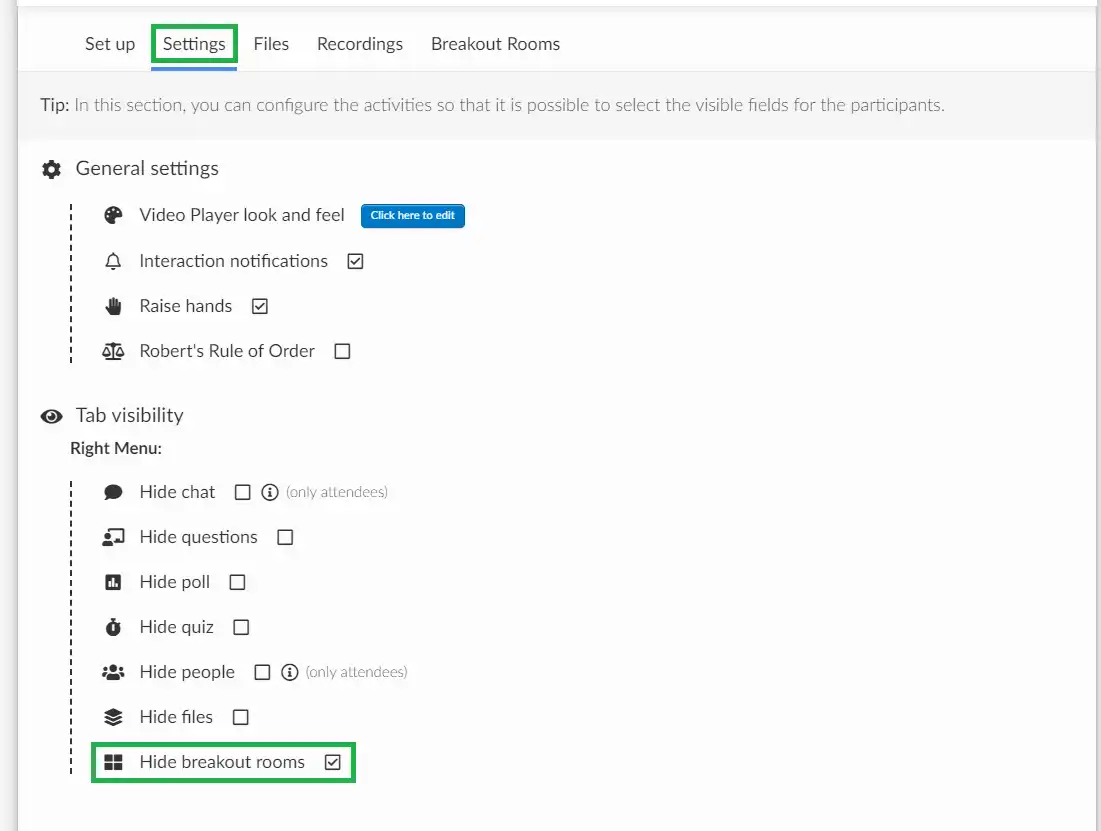
At the Settings tab, under the section Tab visibility, the Hide Breakout rooms will be enabled by default. If you wish to display as a tab on the right menu inside the Live stream, press Edit and untick the correspondent checkbox. Click End to save the changes.
In the Live stream
It is also possible to create the Breakout rooms inside the Live stream if you are an admin, room host, room co-host or staff, by following these steps:
- Go to the Breakout rooms tab and press the plus icon +
- Add the topic room and choose the settings you wish
- Press Create
Settings
At the bottom of the Breakout rooms tab inside the Live stream you can find the Settings that can be enabled/ disabled at any time by the admin, room host, co-host or staff:
Editing or Deleting the Breakout room
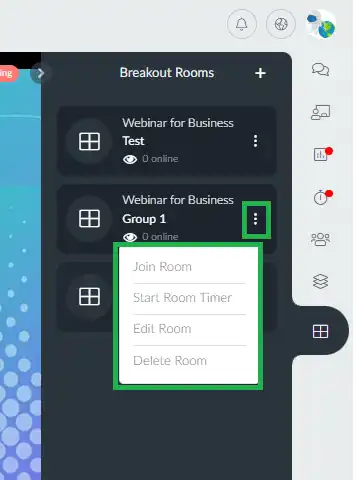
To edit information or to delete the breakout room, press the 3 dots on the top right, and a small window will give you the options to Join Room, Start Room Timer, Edit Room or Delete Room.
- If you select Join Room, a Device Configuration pop-up will appear to choose if you want to Join as viewer or Join now.
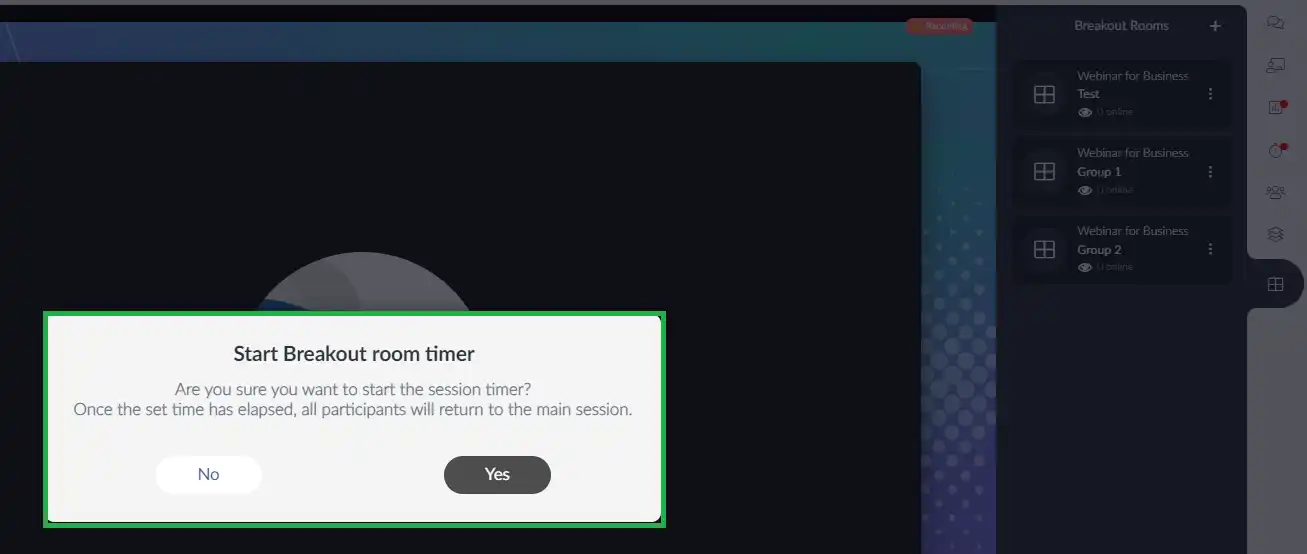
- If you press Start Room Timer, a pop-up message will appear as displayed below to confirm the action. Once the set time has elapsed, all the participants will have the Device configuration pop-up to join the session again.
When the set time of the breakout room has passed, the label will show as Timer expired. If you wish to allow the participants to rejoin the session, click again on the 3 dots and press Reset Room. A pop-up message will appear to confirm the action, press Yes.

- If you wish to Edit the Breakout room information, make the necessary changes and press Close.
- If you press Delete Room a pop-up message will appear for you to confirm the action, press Yes.
Running Timer
If you decide to set a Time limit for the Breakout rooms, a counter will be displayed on top of the main screen showing the remaining time. Once it reaches 15 seconds towards the end, a pop-up message will appear as illustrated in the gif below:
If the participants choose 'Leave now' they will be redirected back to the Live stream straight away, or else will have 15 seconds left before this happens automatically.
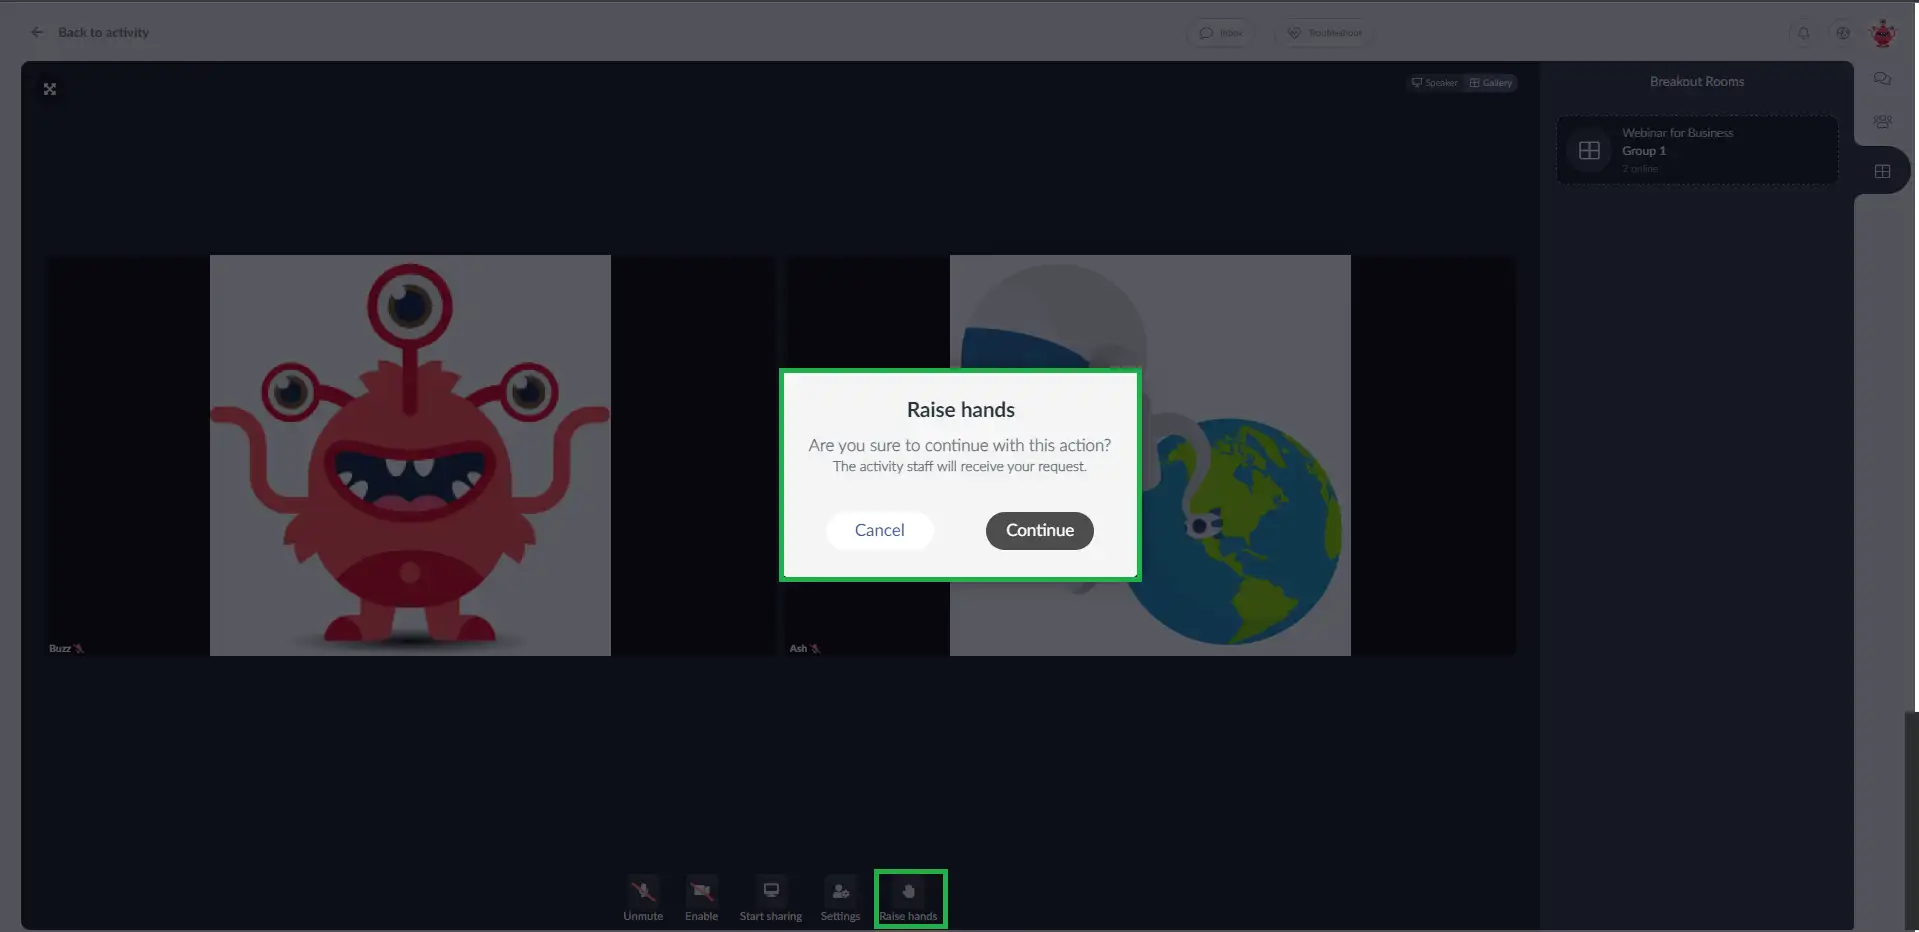
Raise Hands
When clicking on the Raise hands button at the bottom of the page, a pop-up message will be displayed to confirm the action:
The admins, staff, room host and co-host can see the participants' requests as shown in the image below:
Once the requests have been addressed, the admins, staff, room host ad co-host can click on the hand icon (next to the eye icon) and confirm the action:
