How do I configure Sections and Dividers on forms
 Updated 11 months ago
by
Caleb Kotey
Updated 11 months ago
by
Caleb Kotey
- Sections
- Adding sections to forms
- Registration form
- Custom form
- How do I add sections to the Booking form?
- How do I edit a section after creating it?
- How do I add translations to sections?
- How do I add fields to a section?
- How do I change the order of the sections?
- How do I set a section as a conditional to a question?
- How do conditional sections appear on the registration form?
- How do I set questions as conditionals inside the section?
- How do I remove a section?
- How do I preview a section on the Registration form?
Sections and Dividers enable you to structure your forms more effectively, clarify the process, and improve the experience for participants. Where sections collect similar questions into groups, dividers form separations between two individual questions.
This article explains how to create and customize sections on your Registration, Custom and Booking forms as well as creating dividers on your Registration form.
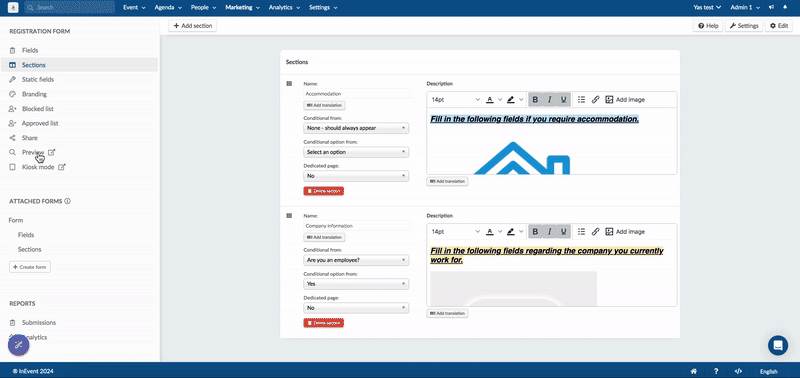
Sections
Sections allow you to separate parts of the registration, custom and booking forms into their own group. With sections, you can group similar questions on your registration form for better organization. You can also add titles and subtitles to better describe each section.
Adding sections to forms
The process to add new fields to forms will be the same for the different types of form offered by InEvent such as:
The only difference will be how to access the page in order to create these fields.
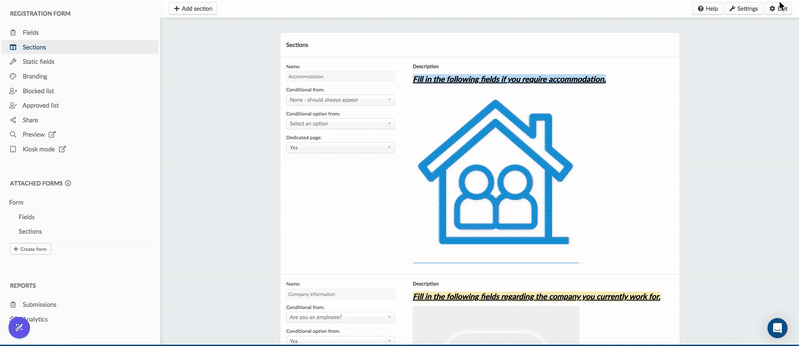
Registration form
To add a section to the registration form, carry out the following steps:
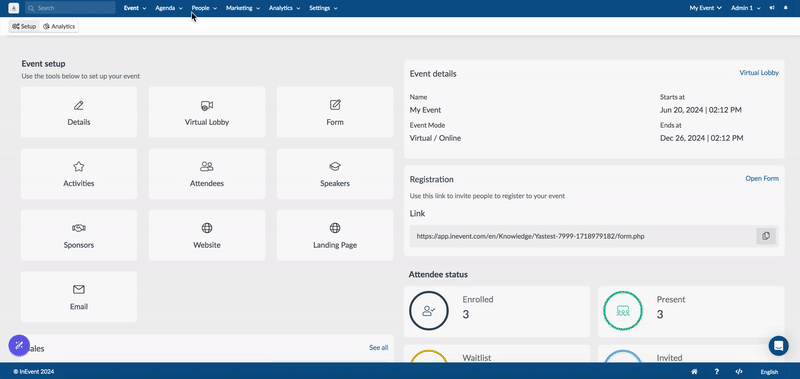
- Go to Marketing > Registration > Registration form.
- Click on Sections in the left panel.
- Click on the + Add section button at the top of the page.
- Enter the section title and description in the dialog box that appears.
- Press the blue create button.
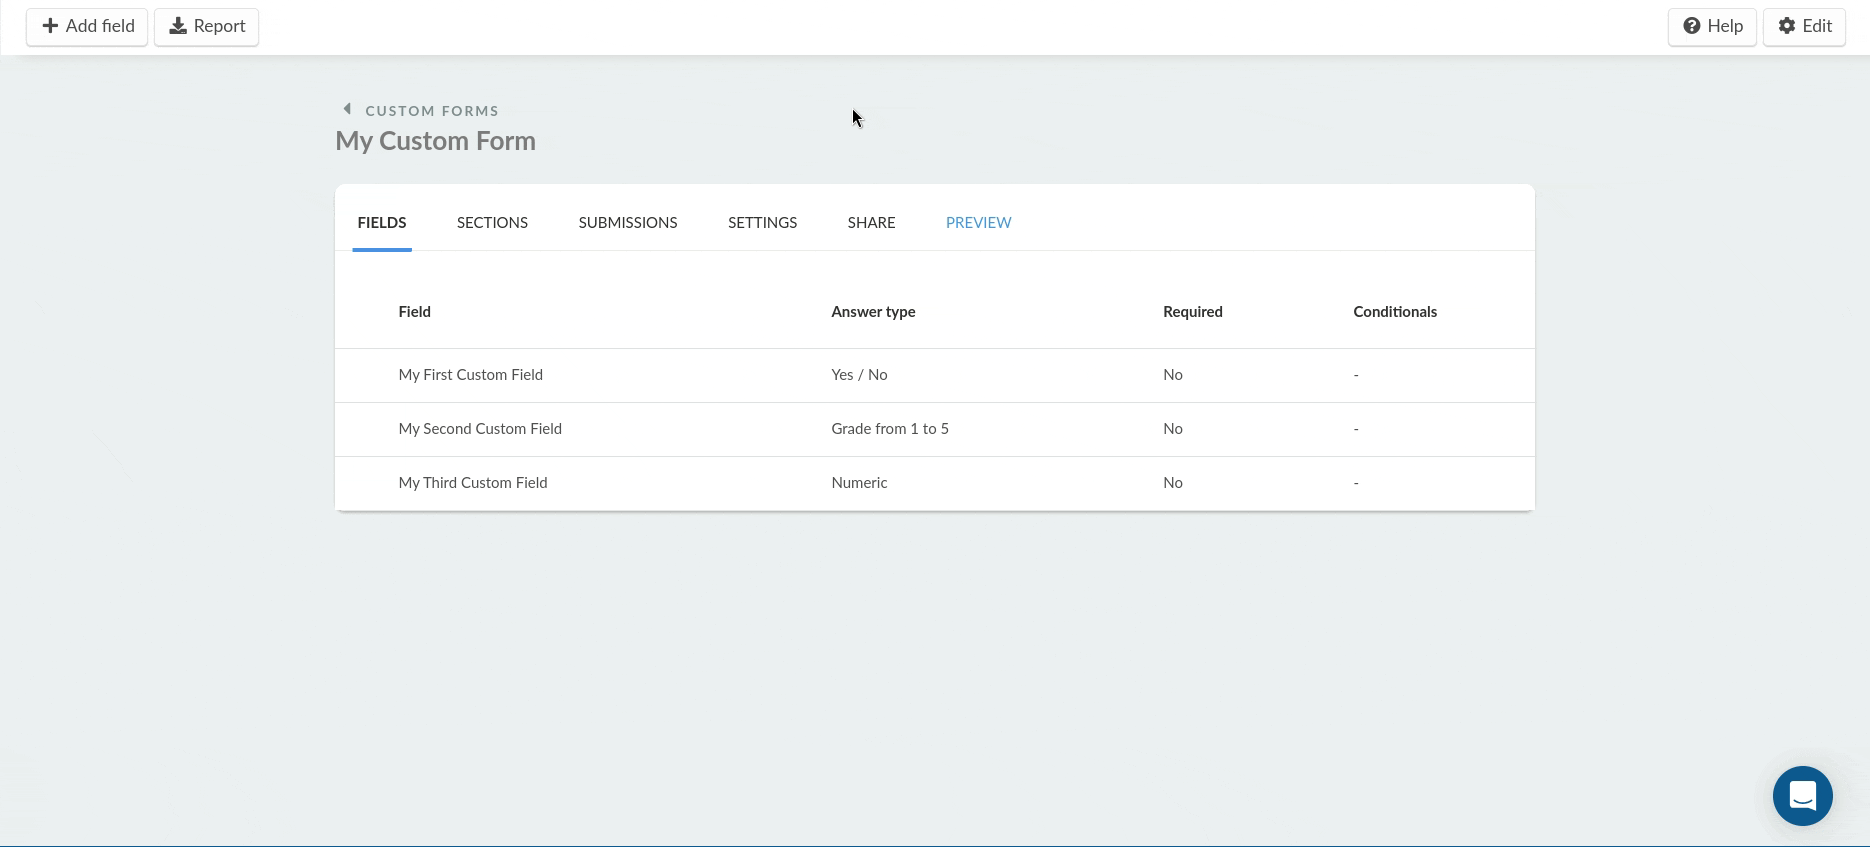
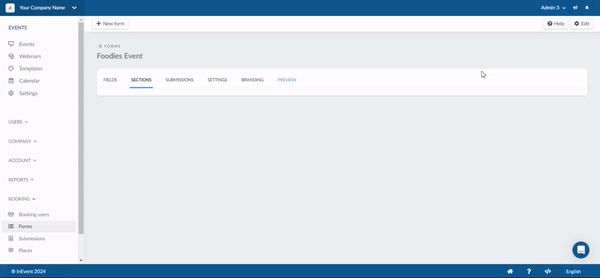
Custom form
To add a section to the custom form, follow the steps below.
- Click the Sections tab.
- Click Edit.
- Enter your desired section name in the text box.
- Click on New section.
Once you have completed the steps above, you can proceed to modify your section details, such as adding a description, configuring its Conditional rules, or creating its own dedicated page.
How do I add sections to the Booking form?
To add a section to the form, carry out the following steps:
- Click on Sections tab.
- Click on the + Add section button at the top of the page.
- Enter the section title in the field that appears.
- Press the blue New section button.
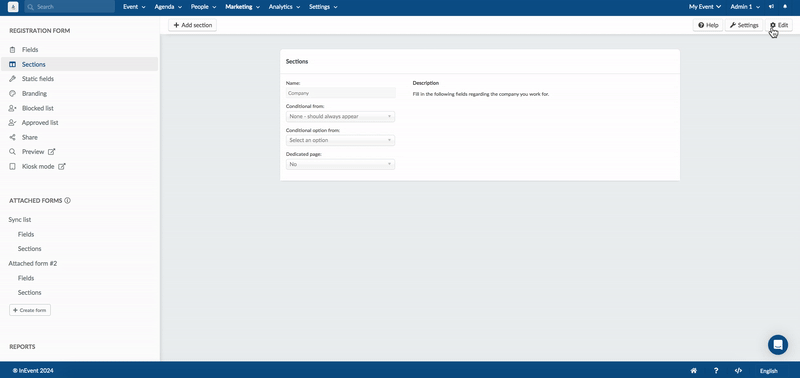
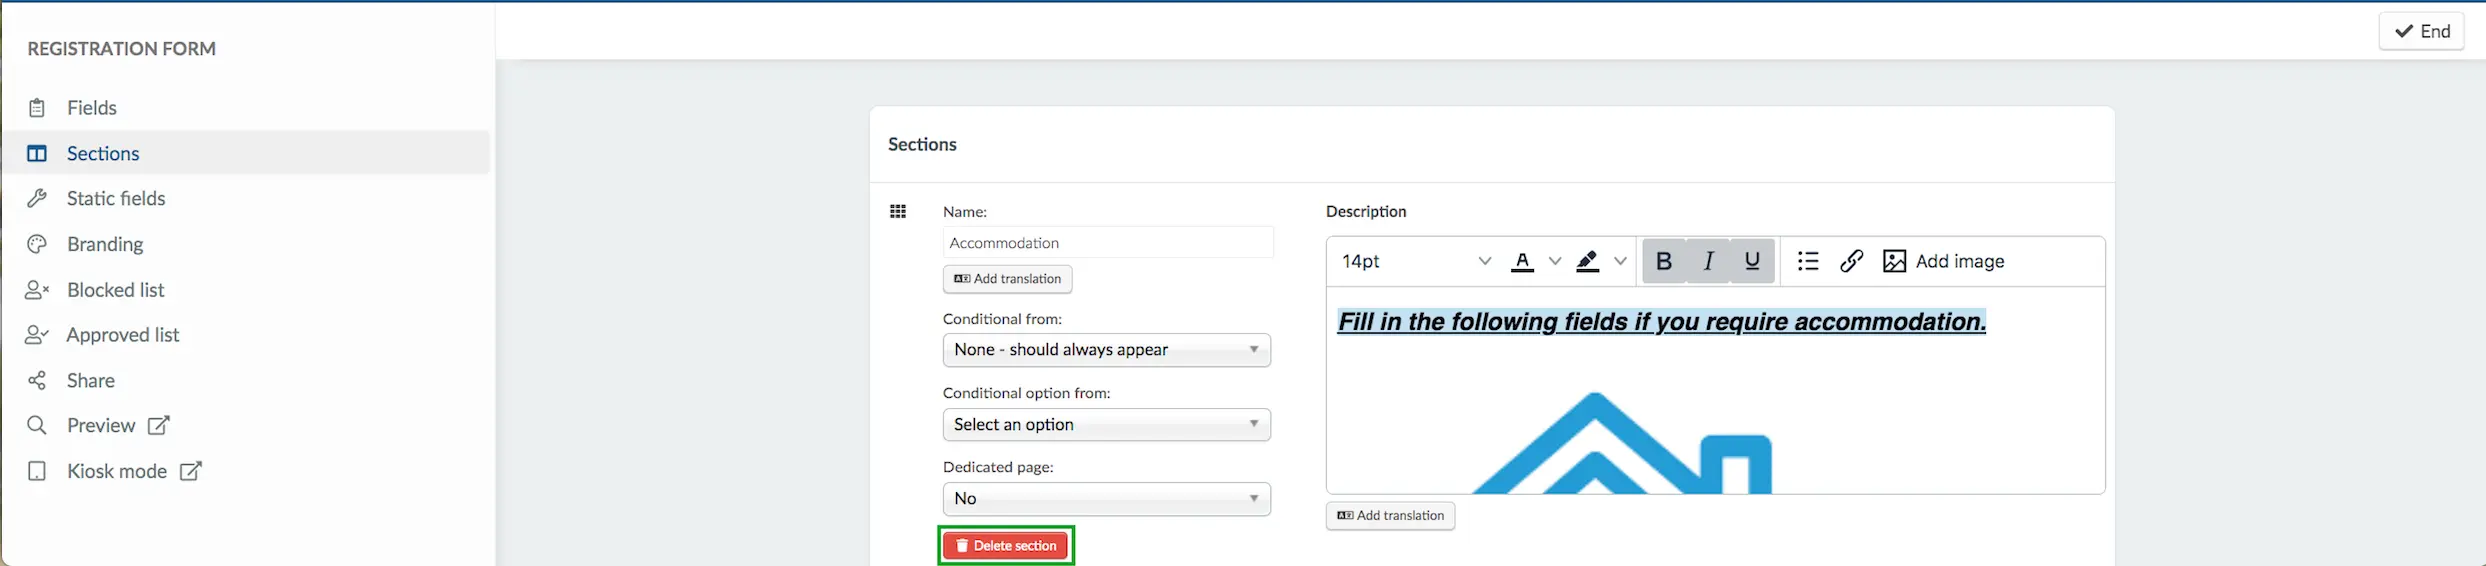
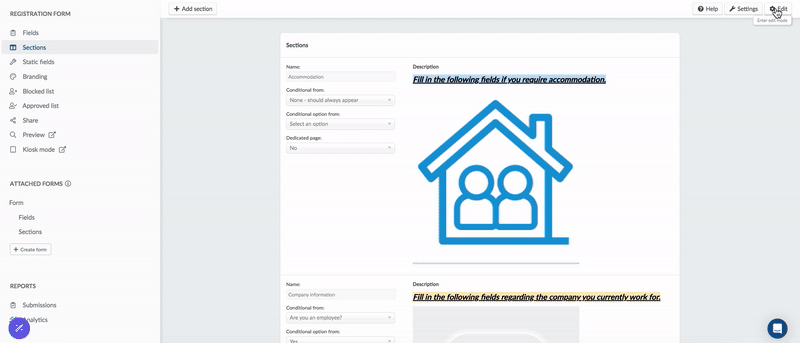
How do I edit a section after creating it?
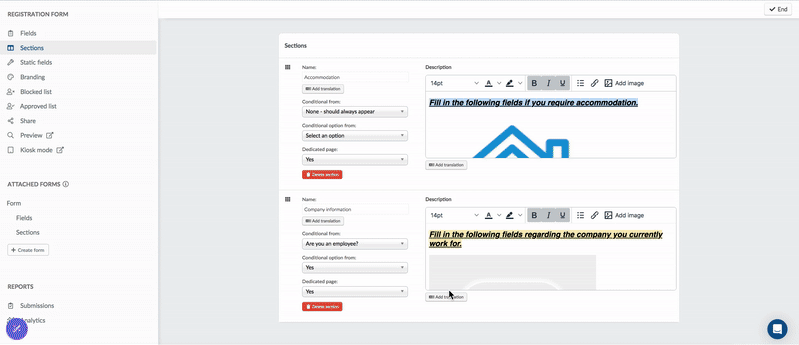
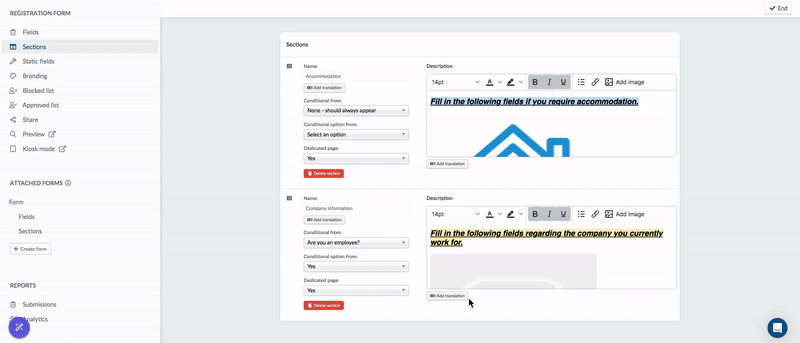
After creating a section, you can customize it by clicking the Edit button at the top right of your screen. This allows you to modify the following section attributes:
- Name: Modify the name of your form.
- Description: Add a description of your form.
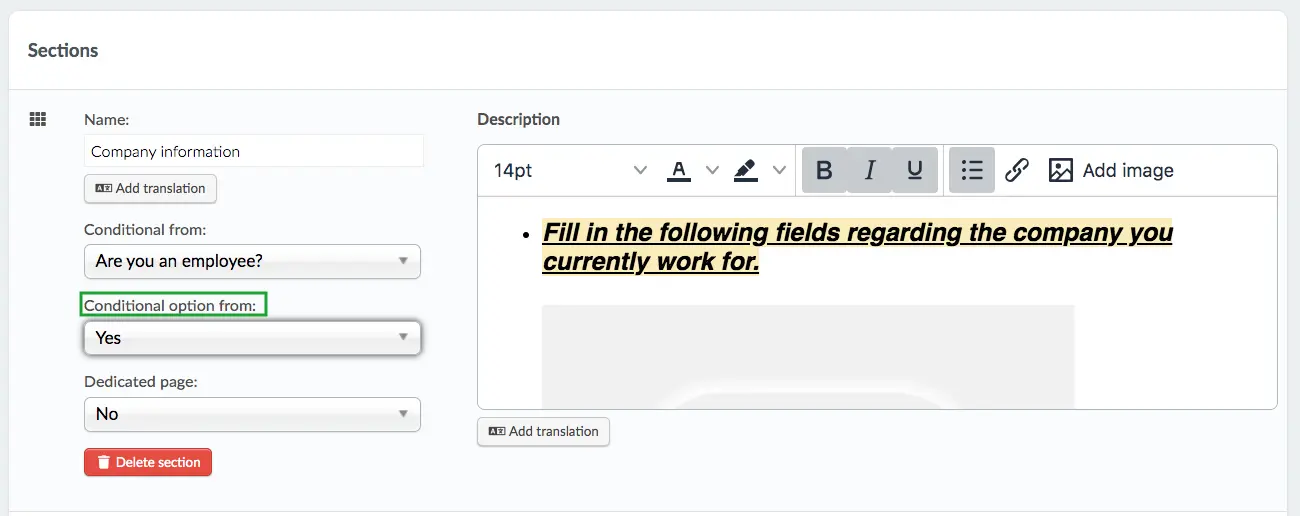
- Conditional from: This field is relevant when setting sections as conditionals. Refer to this article to learn more.
- Conditional option from: This field is relevant when setting sections as conditionals. Refer to this article to learn more.
- Dedicated page: When set to Yes, the section and fields attached to it, will be shown on a separate page in the Custom form when you click on Next. When set to No, the section will appear within the form's first page. Refer to this section to learn more.
- Add translations: You can add translations to your Name and Description fields. To learn how to add translations, refer to our information on adding section translations.
How do I add translations to sections?
You can enable translations of the languages of your choice by clicking on the Add translation button in Sections. This way participants have the possibility to select the language of the section among the options you have included on the Registration form.
Generating translations to sections' names
To generate translation(s) of a section's name, simply click the green Generate button beside the default language(s) provided by the platform.
If the desired language is not present among the default languages, click on the Select a language drop down menu and select the desired language, and then click the blue Add translation button in order to generate it.

Generating translations for sections' descriptions
To generate translation(s) for a section's description, simply click the green Generate button beside the default language(s) provided by the platform.
If the desired language is not present among the default languages, click on the Select a language drop down menu and select the desired language and then click blue Add translation button in order to generate it.
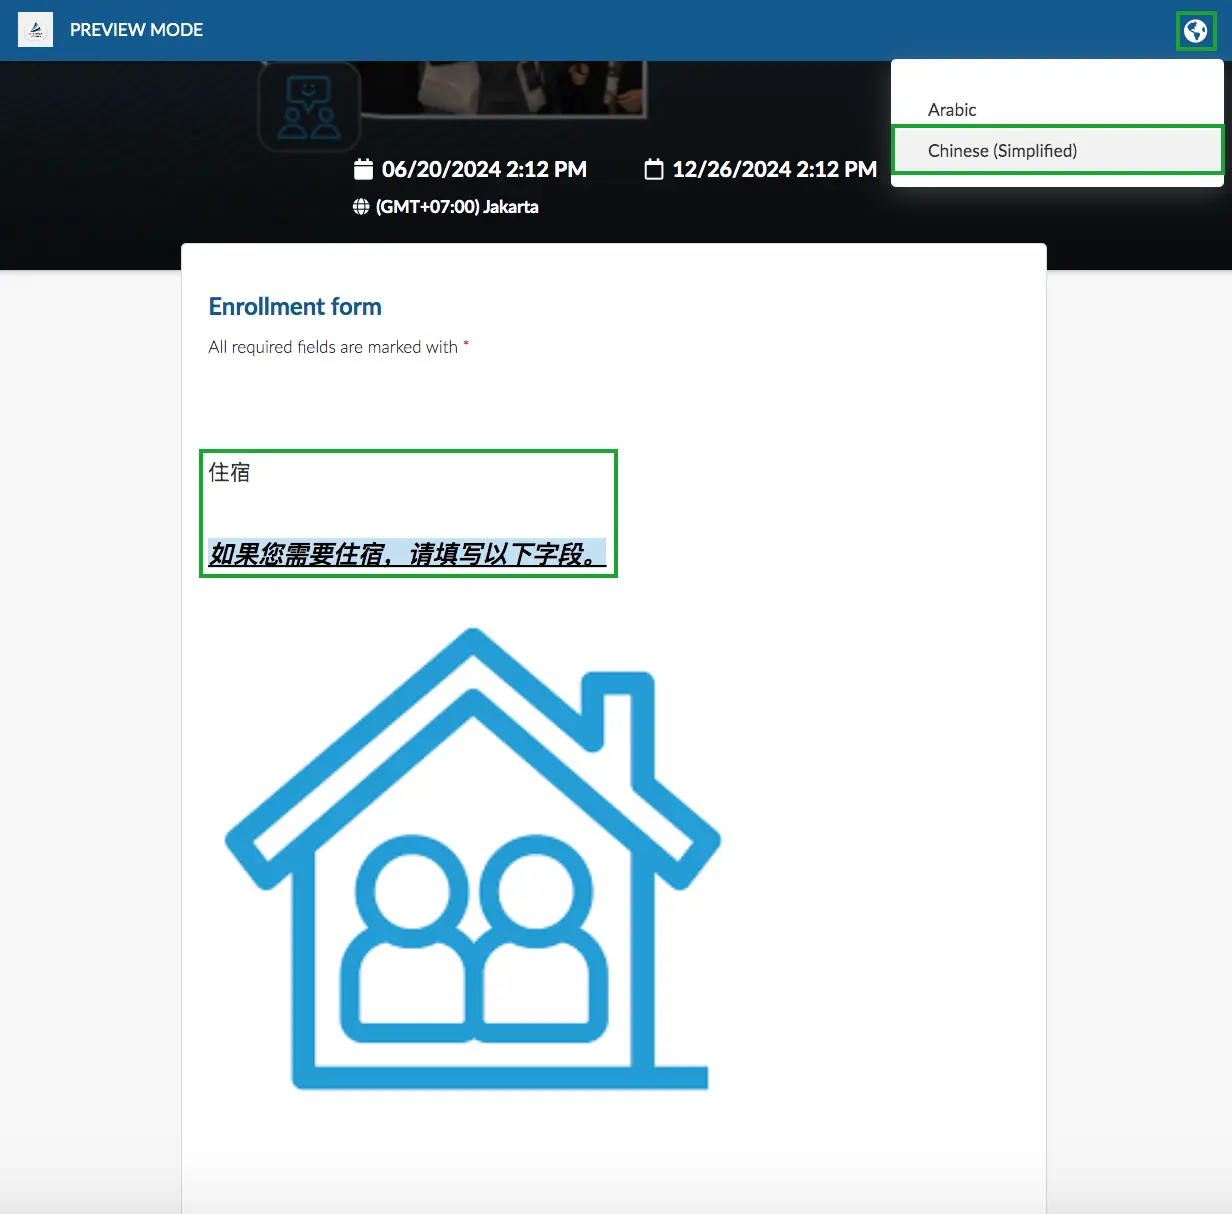
You can also format the translation box of your Section description by using the available tools - you can add links, images, change font type, font size and font color, change background color and text color of a section's description, etc, by clicking on their corresponding icons as shown below:
Below is an example of how a Section name and description translation text with an image added will appear on the Registration Form after choosing from the globe icon the desired language.
How do I remove translations?
You can remove translations the same way you would remove images or texts, just leave the translation's text box empty by deleting the texts, and click on save.
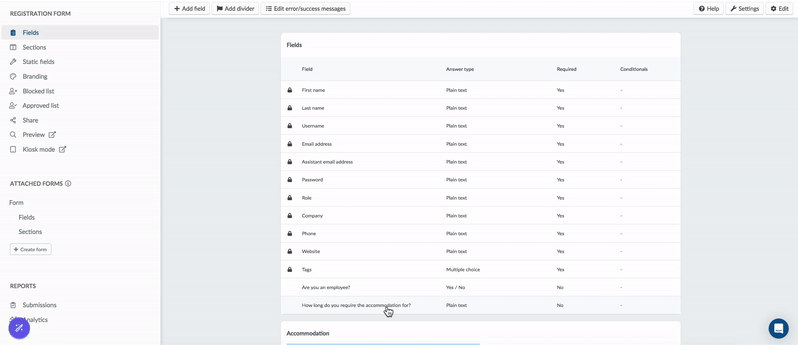
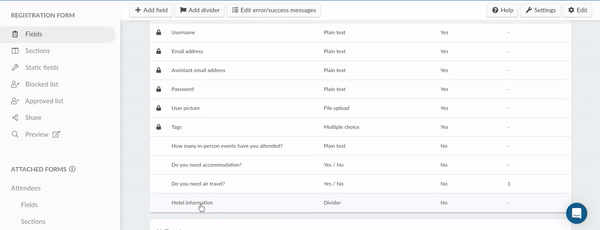
How do I add fields to a section?
You can add new fields while creating them to a section by selecting a section from the drop down menu of the Section field.
Complete these steps to add a new field to a section:
- Click on + Add field.
- Enter the question title and subtitle, then choose the question answer type.
- Choose the section from the dropdown.
- Press the create button.
Additionally, you can also add existing fields to a section.
Complete these steps to add existing fields to a section:
- Click on the desired field.
- Click on the Edit button.
- Click on the Section drop down menu and select the desired section title as the option.
The field will then instantly shift locations from to become part of the selected section as shown below:
Copying field questions to a specific section
You can quickly copy existing field questions directly into a specific section of your registration form. This makes it easier to reuse and reorganize fields without recreating them from scratch.
To copy a question into a section on the Registration form, follow the steps below:
- Navigate to Marketing > Registration > Registration form.
- Click on the field you want to copy. The Field settings panel will open.
- Click on Copy question.
- From the drop-down menu, select the section where you'd like the question to be copied.

- Click the blue copy icon to complete the action.
The copied question will appear in the selected section, ready for further editing or use.
To copy a question into a section on the Custom form, follow the steps below:
- Navigate to Marketing > Registration > Custom form
- Select a form.
- Click on the field you want to copy. The Field settings panel will open.
- Click on Copy question.
- From the drop-down menu, select the section where you'd like the question to be copied.
- Click the blue copy icon to complete the action.
How do I change the order of the sections?
You can change the order of sections by dragging them to the intended position.
Click Edit, and a pixel square icon will appear on the top left corner of each section. Using this icon, drag the section into place.

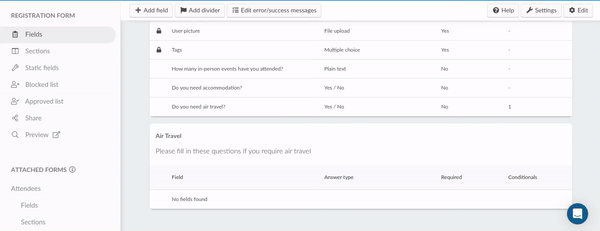
How do I set a section as a conditional to a question?
If your form includes Options list or Yes/No questions, you can set sections as conditionals. Conditional sections appear based on an attendee's response to a specific question on the form.
To set a section as a conditional, complete the following steps:
- Go to Sections on the left panel.
- Click on Edit.
- Choose the parent question in the Conditional from drop-down. (The section will be linked to the question selected here.)

- Choose the parent answer in Conditional option from drop-down. (Once attendees provide this answer, the section will appear on the registration form.)
- Press End to save your changes.
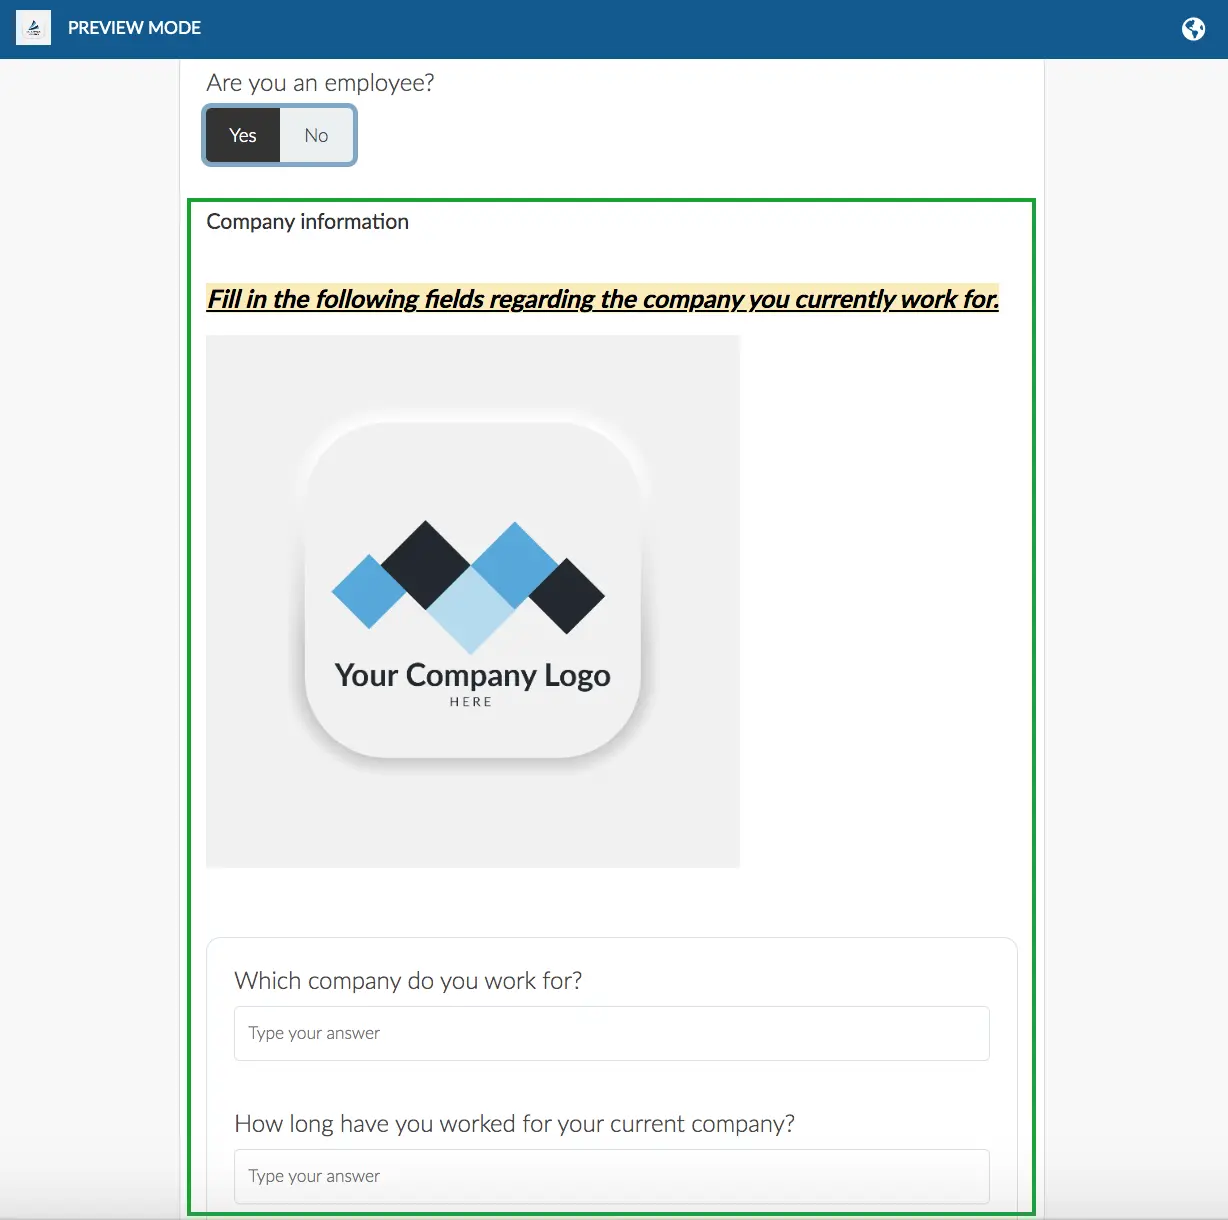
How do conditional sections appear on the registration form?
Conditional sections will initially be invisible on the registration form. However, attendees will see the parent question.
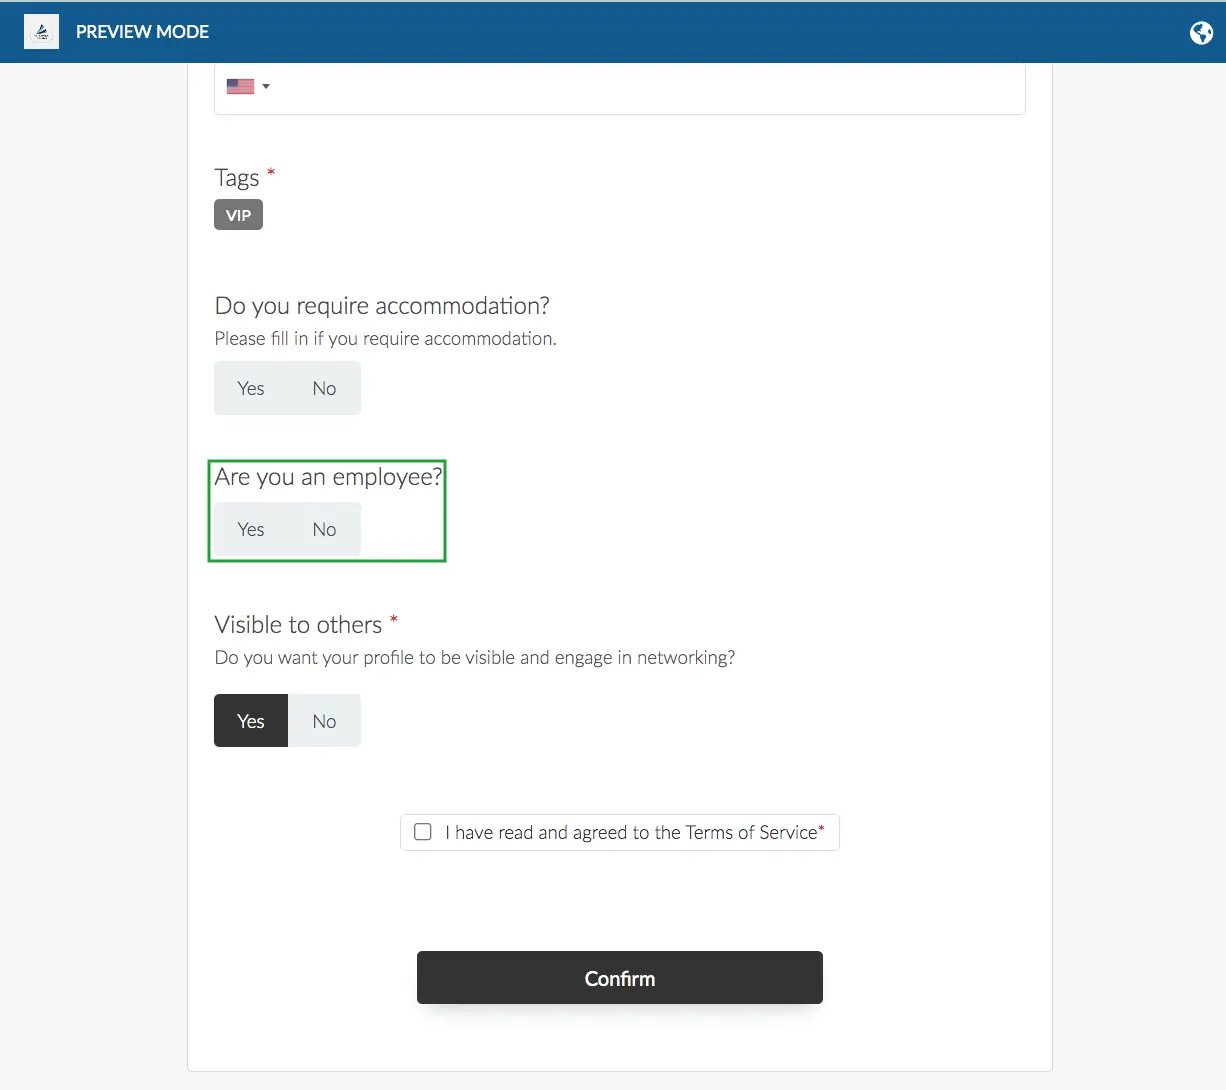
Once attendees select the chosen answer to the parent question (the conditional option from), the entire section will appear on the form.
How do I set questions as conditionals inside the section?
Similar to the Fields tab, you can set questions as conditionals to other questions within a section. For more information about this, check our conditional questions article.
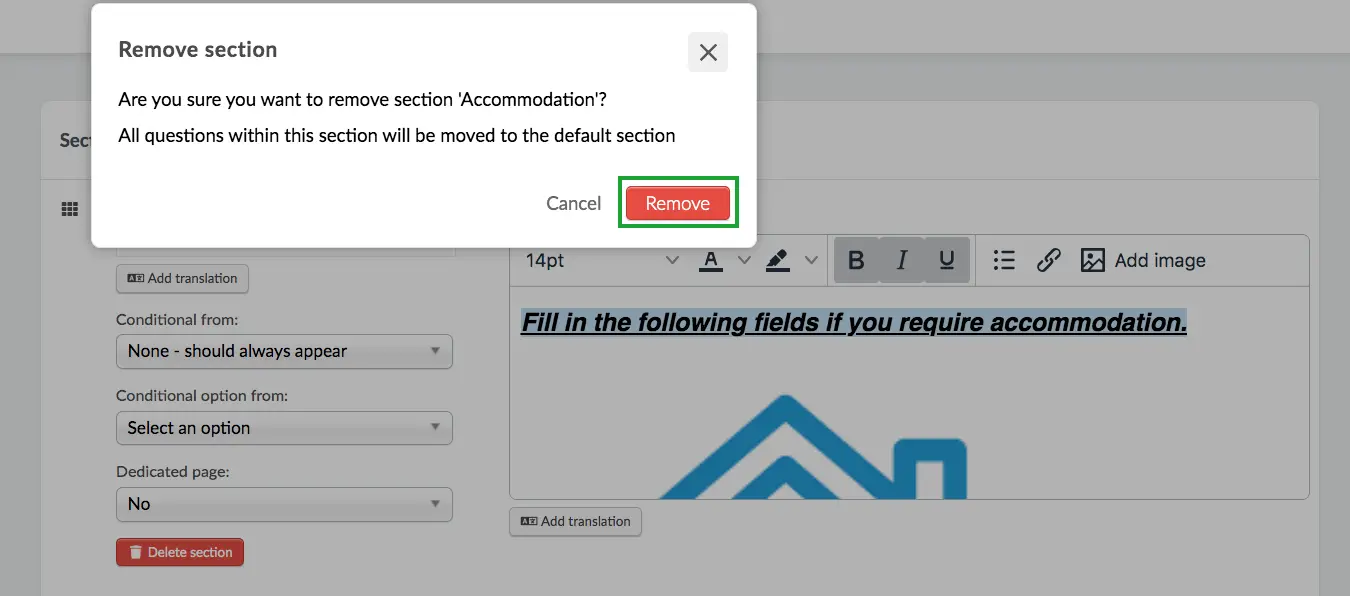
How do I remove a section?
To remove a section from your registration form, carry out the following steps:
- Click on Sections on the left panel.
- Press the Edit button.
- Press the Delete section button within the section you would like to remove.
- Click on Remove.
How do I preview a section on the Registration form?
To preview the section you have created for your registration form, simply click on Preview tab on the left menu of the page. You will be redirected to the preview page where the form will be displayed in Preview mode. Click on the I understand button to close the disclaimer window. Now, you will be able to fully visualize the form in preview mode where you can scroll down and preview the section you have created.
How does a section with a dedicated page appear in the preview?
Once you enabled a Dedicated page for the section by clicking on Yes from the drop down menu of Dedicated page, the section will appear on a seperate page on the Registration form, which you will only be able to view upon clicking Next.
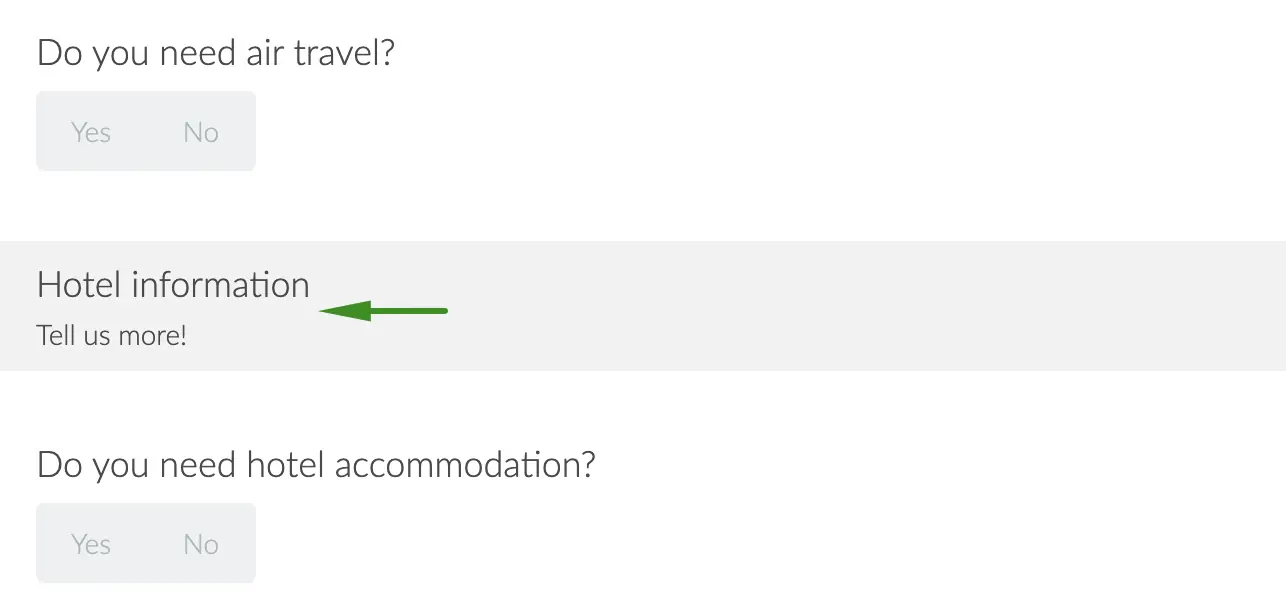
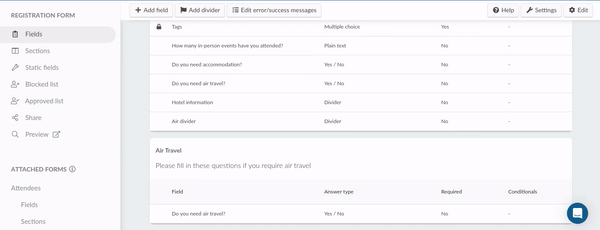
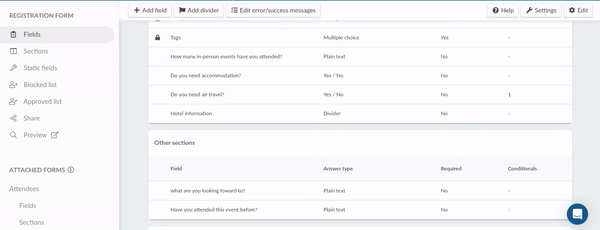
Dividers
Dividers are separators that divide two registration form questions using a title and subtitle. They are best used for categorizing questions within a Section.
How do I add dividers to my registration form?
To add a divider to your registration form, carry out the following steps:
- Go to the Fields tab in the left panel.
- Click on Add divider at the top of your screen.
- Enter the divider title and subtitle in the dialog box that appears. Using the divider parent selector, you can set the divider as a conditional to a registration form question (optional).
- Press the Create button.

How do I change the position of a divider?
To change the position of a divider, carry out the following steps:
- Click the Edit button at the upper right of your screen.
- Position the divider by dragging the pixel square icon next to it.
- Press End to save your changes.
How do I customize a divider after creating it?
To customize a divider, click the Edit button and select it. You will be able to carry out the following actions:
- Change the divider title and subtitle:
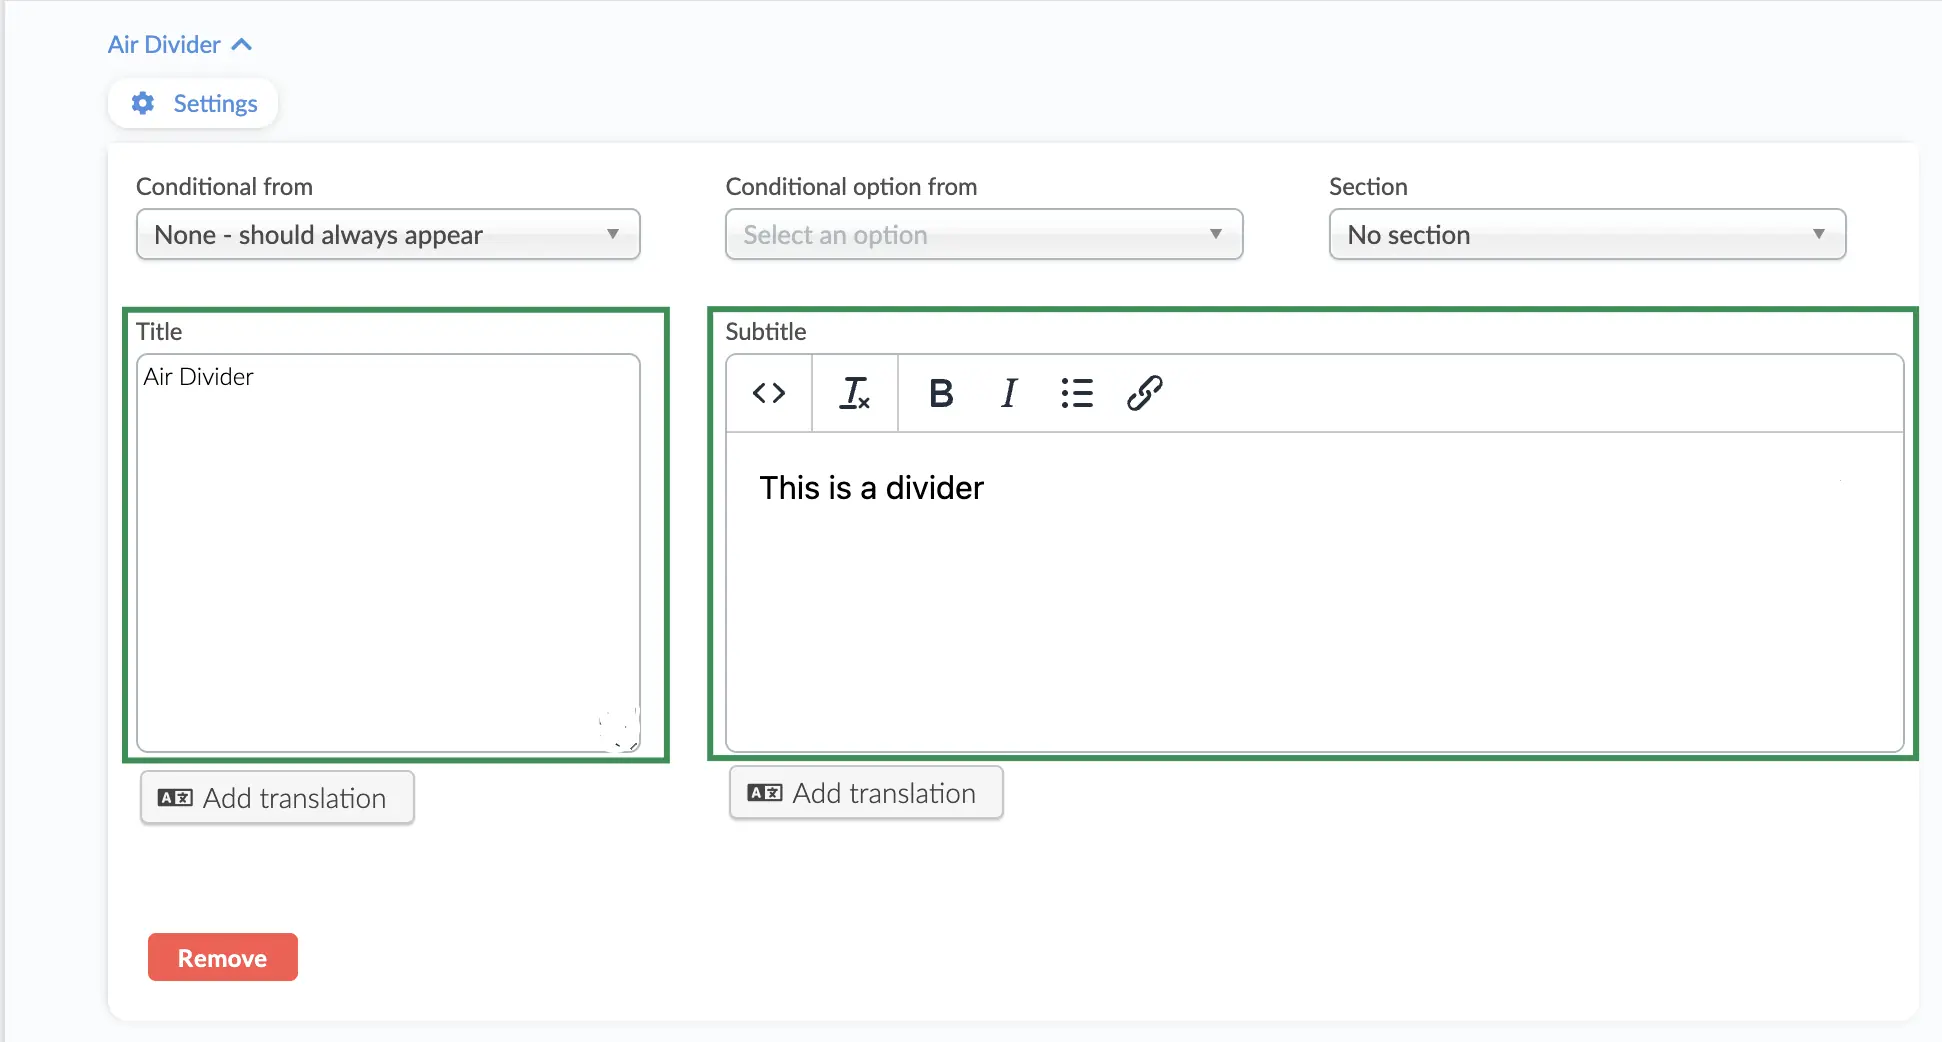
- Set the divider as a conditional by linking it to a parent question as shown below:
- Move the divider to other Sections of the registration form:
How do I remove dividers from my registration form?
To remove a divider from your registration form, complete the steps below:
- Select the divider and click on Edit.
- Press the Remove button at the bottom of the divider.
- Click Remove in the confirmation box.
