Registration Form
 Updated 1 week ago
by
Amalia
Updated 1 week ago
by
Amalia
- Enabling the Registration form tool
- Creating an event's registration form
- Fields
- Default fields
- Hiding form titles
- Adding new registration form fields
- Adding online signature fields to the registration form
- Creating Global fields
- Adding translations to custom, default fields and headings related to registration form
- Privacy
- Submenu
- Registration form dividers
- Modifying default platform error/success messages
- Creating multiple registration forms
- Allowing attendee registrations without e-mail addresses
- Allowing insecure passwordless purchase form operation
- Add to calendar button upon completed registration
- Identifying unfinished registrations
- Adding multiple Terms of Service links
- Enabling reCAPTCHA on your registration form
You can collect important data from attendees enrolling in your event through the Registration form. The standard Registration form on the platform requires the attendee's name, e-mail address, assistant e-mail address, username, password, role, and company information.
In addition to the default fields on the Registration form, the Event admin can add other fields. It is also possible to edit or hide the default field labels or remove field from the form.
Enabling the Registration form tool
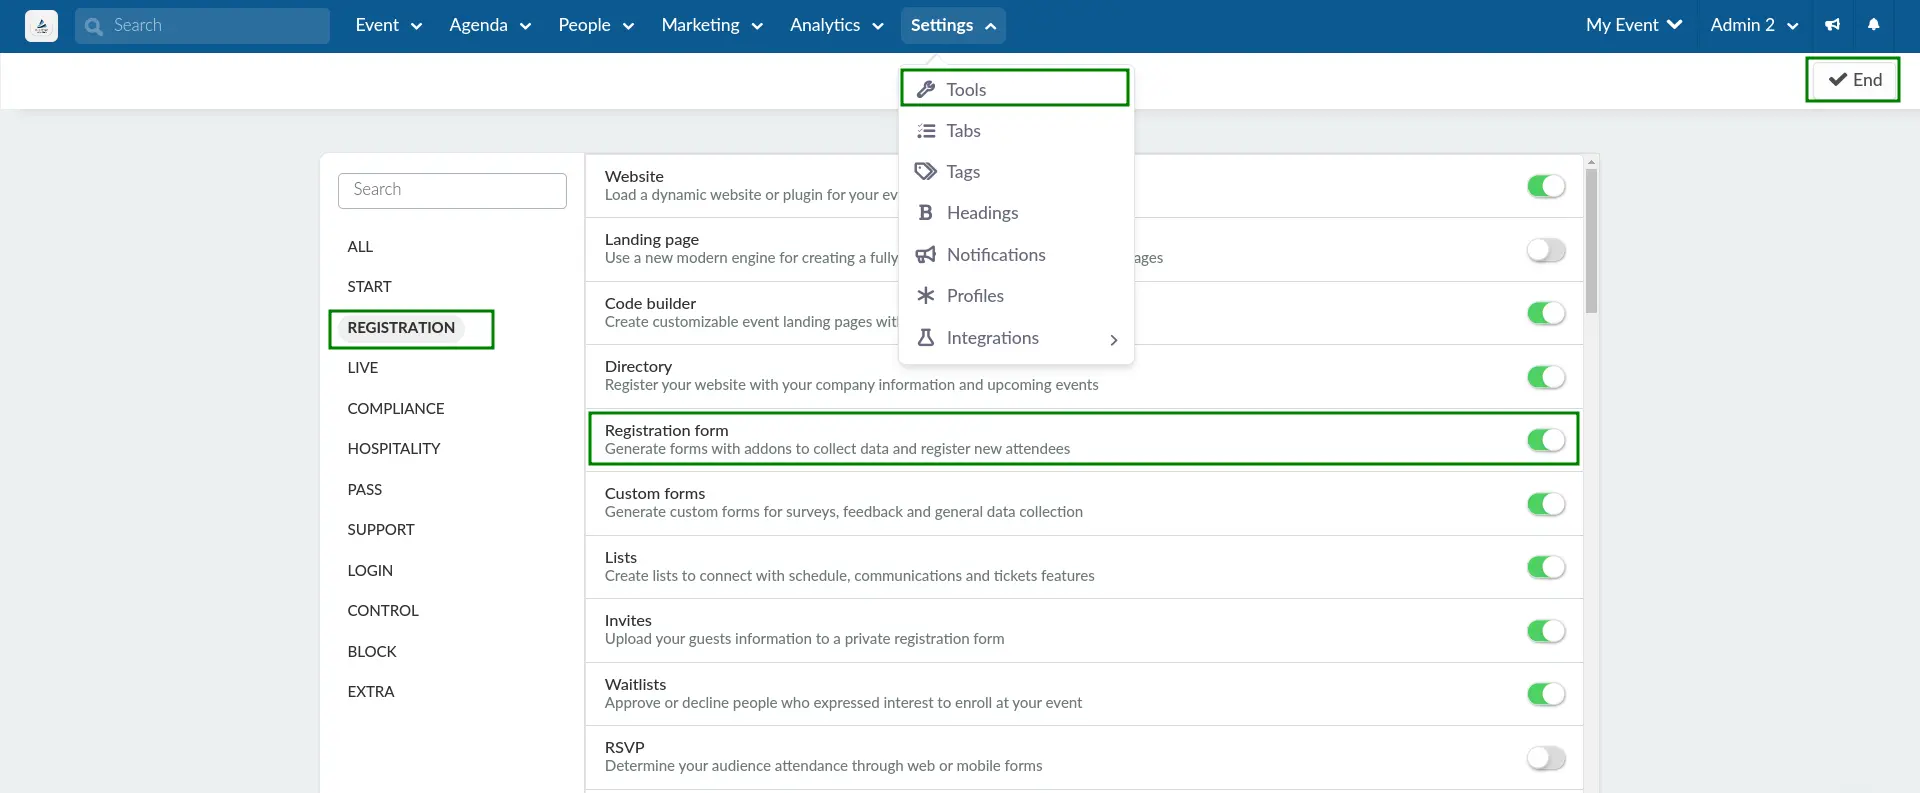
To enable the Registration form at the Event level, follow these steps:
- Go to Settings > Tools.
- Click the Edit button at the upper right, then locate Registration form in the Registration section.
- Activate the Registration form toggle button.
- Press End to save your changes.
You can disable the Registration form by deactivating the Registration form toggle button.
Creating an event's registration form
To create a registration form, click on Marketing > Registration > Registration form. At the left side of the page, you will find the following options:
- Fields
- Sections
- Static fields
- Branding
- Email domain policy
- Share
- Preview
- Attached forms
- Submissions
- Analytics
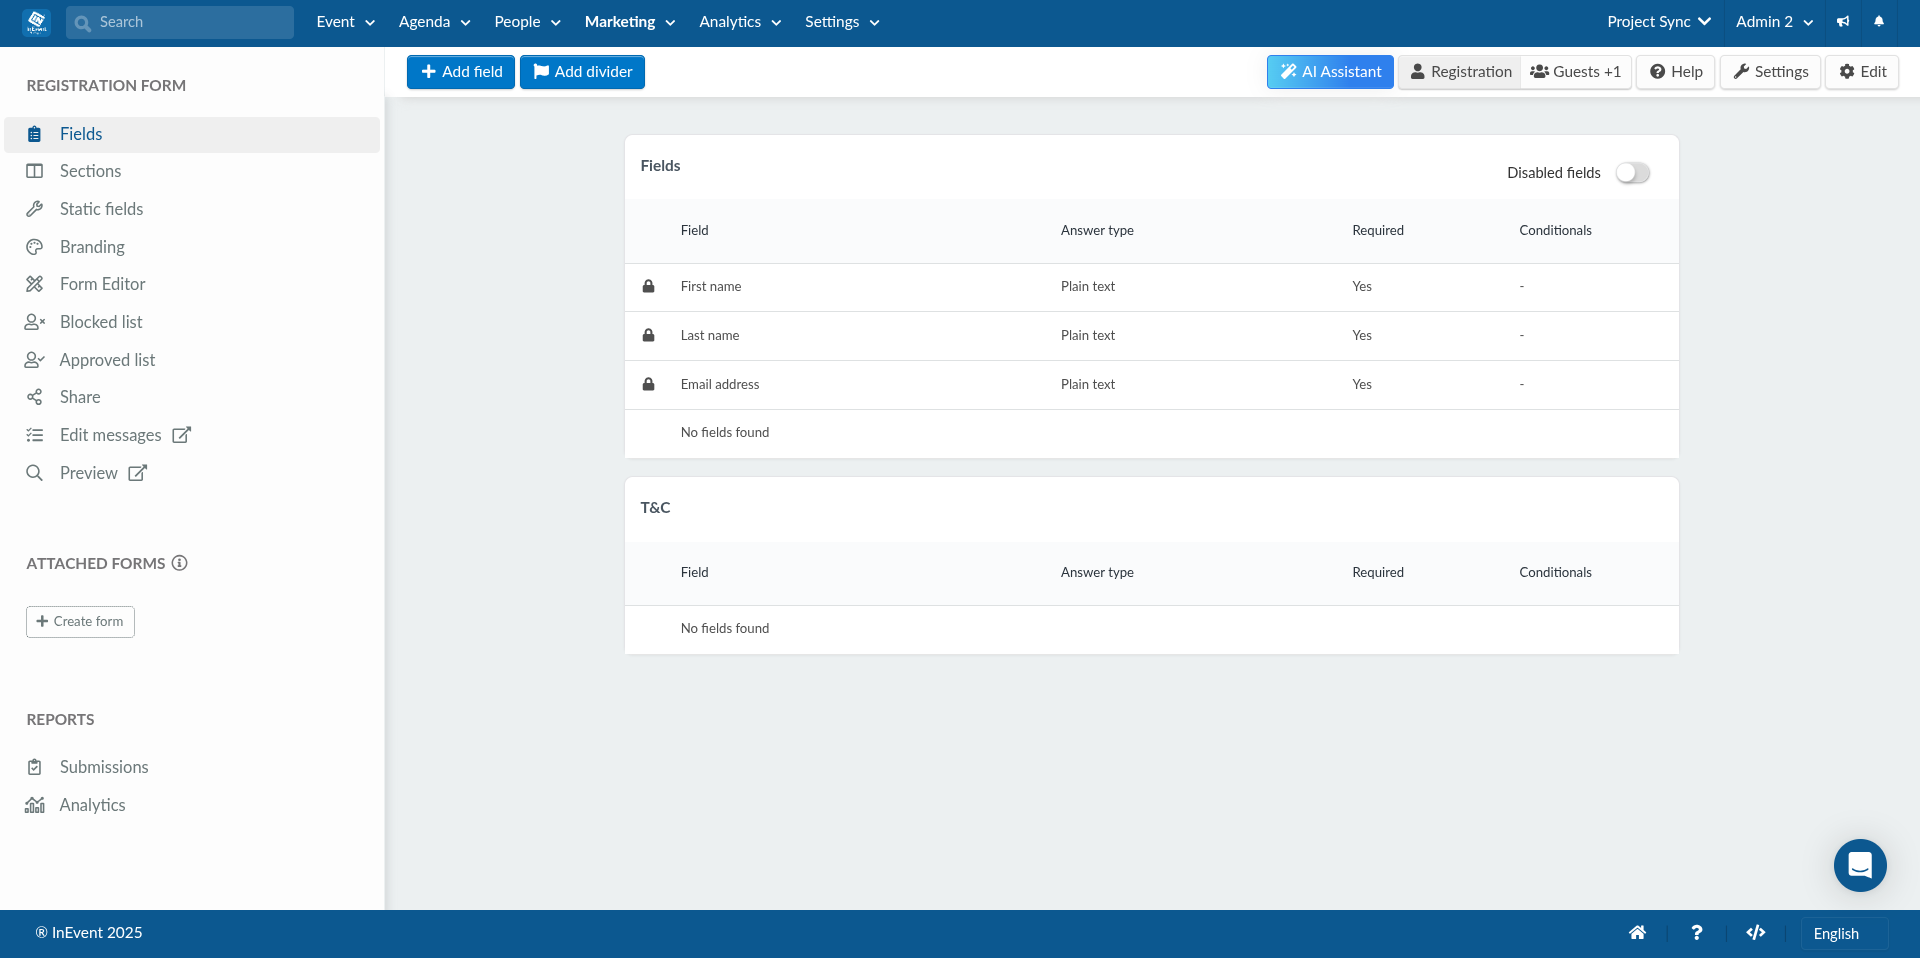
Fields
The Fields tab contains the default registration form fields. It allows you to add new fields and modify or customize existing ones.
Default fields
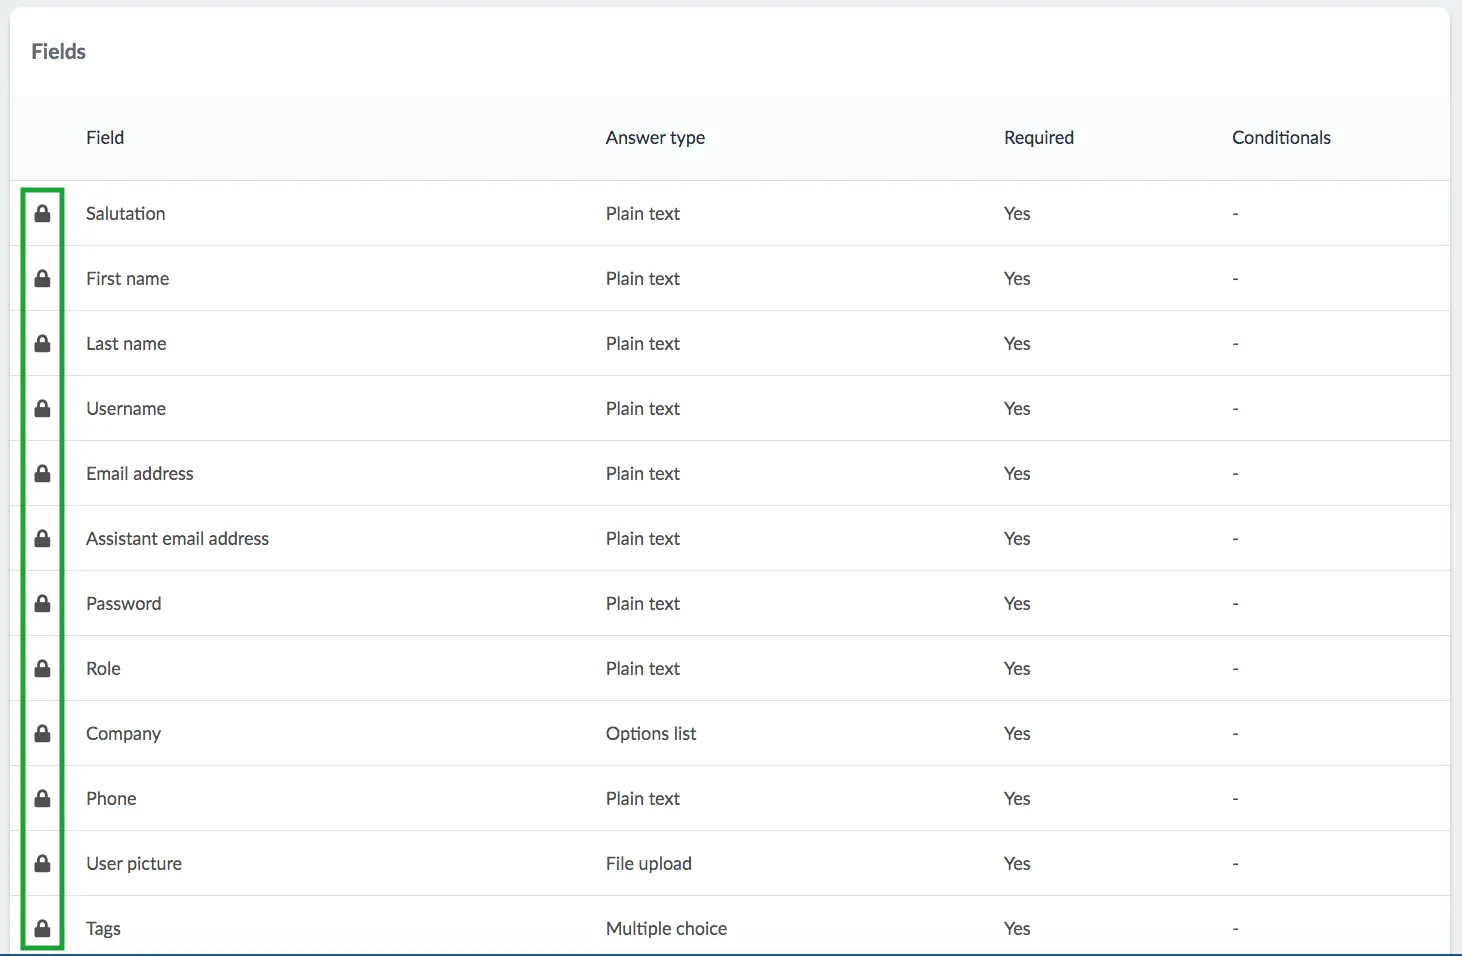
The default fields on the registration form include the following mandatory fields: First name, Last name, Username, and Email address.
Salutation, Assistant email address, Password, Role, Company, Phone, Tags, User picture and Website are also default fields. However, they are not mandatory; you can remove them from the registration form under the Static field settings.
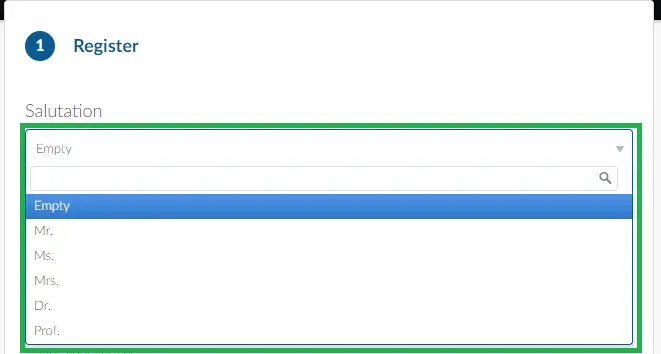
This is how your Registration form will look like with all the default fields mentioned above:
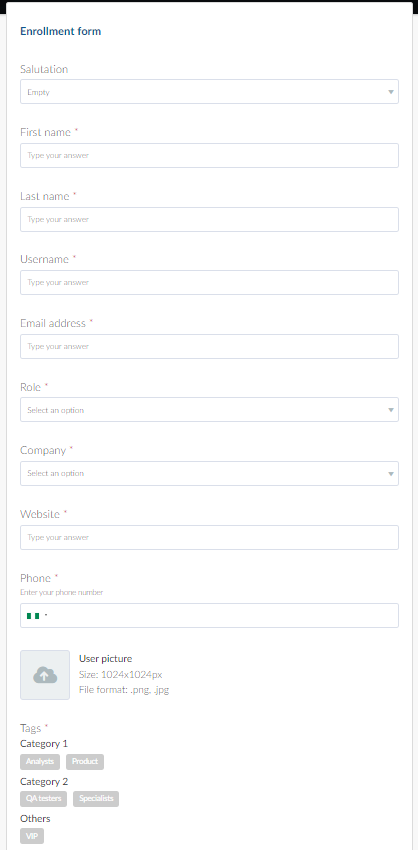
The Salutation field shows a dropdown list of default options that users can select: Mr., Mrs., Ms., Dr., Prof. Users can also enter a custom salutation if their choice isn’t listed.
You can set a different list of salutations for your event, which will then appear on your form. To do this, see this section.
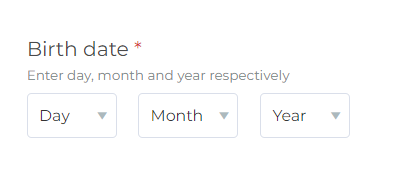
Besides the above mentioned fields, you will also see the Birth date field. The Birth date is a field of the Purchase form that will only appear as a mandatory field if Foreign support and Ticket requirement are enabled simultaneously under Settings > Tools.
To make the User picture field mandatory in your form, enable the Attendee profile picture required tool.
The size limit for user pictures are 20mb.
To remove the User Picture field entirely from your form, enable the Profile Picture Lock tool.

Modifying default field labels
To modify default field labels or titles, follow these steps:
- Click the Edit button in the top right corner.
- Click on the field you want to change.
- Enter the new content in the Value field as shown below:
- Press End to save your changes.

Modifying default field answer types
By default, most fields use the Plain Text answer type. However, you can change the answer type for Role and Company to Options List.
The Salutation field can also be changed from the default salutations (Mr., Mrs., Ms., Dr., Prof.) to an Options List, allowing you to create a custom set of salutations for your Registration form.
To change an answer type:
- Click on Role, Company, or Salutation, then click Edit.
- Under Answer Type, select Options List from the drop-down menu.
- Add options one by one using New Option or add multiple options at once by clicking Add Multiple Options.
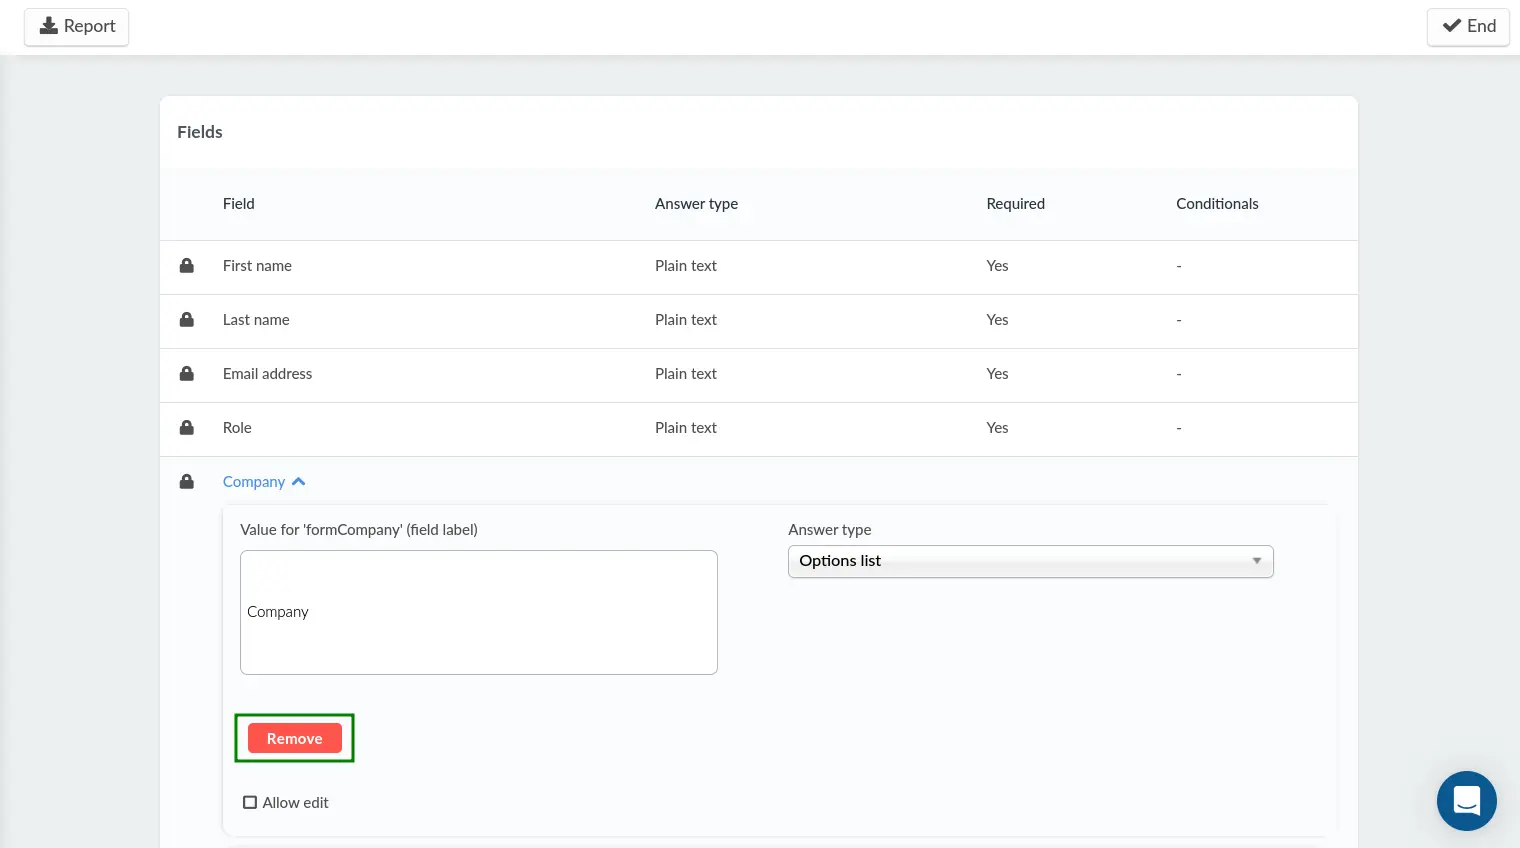
Removing default fields
To remove the default fields, click on the Edit button, select the field and click on the red Remove button.
Hiding form titles
It is possible to hide registration form titles. For more information on this, refer to our Registration Form Settings article.
Adding new registration form fields
You can have an unlimited number of fields in the Registration form. To learn more about how to add custom fields to your form, refer to our article on configuring fields on forms.
Adding invisible fields
You can create invisible fields by adding a new field and setting it to Invisible. For more information about creating and making use of invisible fields, refer to our information on configuring invisible identification fields on forms.
Adding online signature fields to the registration form
To learn how to add an online signature field to your form, refer to our information on configuring online signature fields on forms.
Creating Global fields
Global fields are fields created at the company level which appear in all events and webinars registration forms, as well as booking forms within a company. To learn more about global fields, refer to the Global fields article.
Adding translations to custom, default fields and headings related to registration form
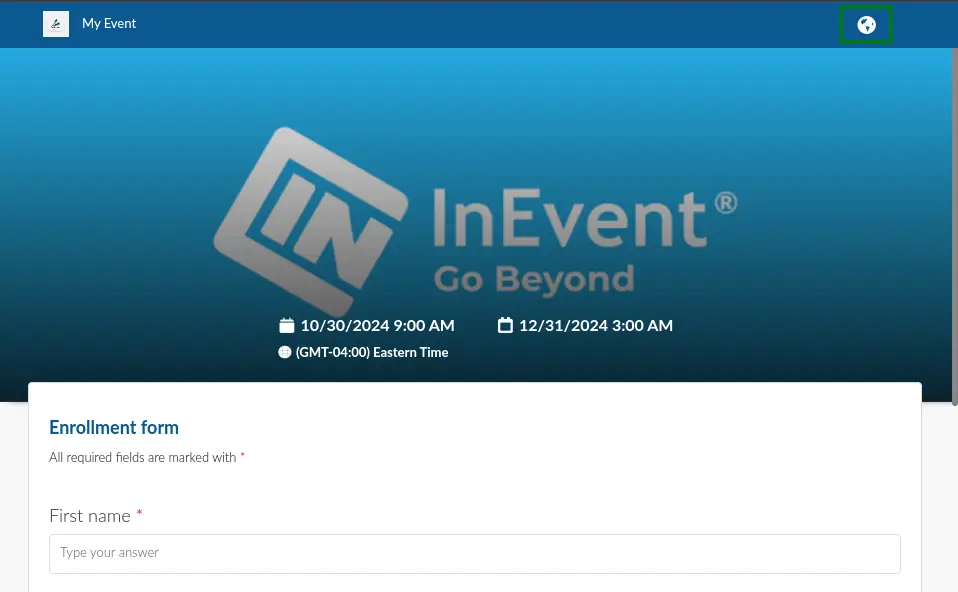
You can add translations for custom fields at your event as well as for Global fields. This way, participants can select the language in which Registration form fields will be displayed by clicking on the globe icon shown below:
- Adding translations to the field's title:
You can add a translation to the Title of a field by clicking on Add translation. Then, generate a translation for the list of default languages by clicking on the green Generate button next to the desired one.
You can also add your language of choice from the Select a language drop-down menu by selecting it and then clicking on the blue Add translation button. Then, locate the language you just added and click on Generate. You can also manually type in the translation.
- Adding translations to the field's subtitle:
You can add a translation to the subtitle of a field by clicking on Add translations and then generate a translation from the list of default languages by clicking on the green Generate button next to the desired one.
You can also add your language of choice from the Select a language drop down menu by selecting it and then clicking on the blue Add translation button. Then, scroll down to the translation you just added and click on Generate. You can also manually type in the translation.
- Default fields and headings:
Default fields and headings related to the registration form will be translated and displayed for the participants after they have selected the desired language from the globe icon drop-down menu. You can add languages to your event at Event > Content > Translation and add heading translations at Settings > Headings.
This is how it will appear on the Registration Form when participants select the added language:
Privacy
This question Visible to others will be available in the form and it is a mandatory field. The participants can opt to be available and visible on the event's networking list or not. When the attendee chooses No during registration, their profile won't be public in the event's networking list.
For further information about how this option can affect the Networking feature, refer to our article on Networking guide for event organizers.
Submenu
The Fields tab provides a submenu that allows you to configure different actions on your registration form. The submenu offers options to add fields and dividers to your form. It also allows you to edit the error/success messages displayed when attendees submit your registration form.

Registration form dividers
Dividers are separators that divide two registration form fields using a title and subtitle. They are best used for categorizing fields within a Section. For further information, refer to our article on Section and Dividers.
Modifying default platform error/success messages
It is possible to change the platform's messages that are displayed when submitting the registration form, and also the text displayed on default fields. For more information on modifying the messages, refer to our Headings article.
Sections
Sections allow you to separate fields of your custom form into their own group. With sections, you can group similar fields on your form for better organization. You can also add titles and subtitles to better describe each section. To learn how to add sections to your Registration form check our article How do I configure Sections and Dividers on forms.
Static fields
You can edit and configure your form's fields in the Static fields tab.
For further information on how to adjust your static fields and other settings, refer to our article on Registration Form Settings.
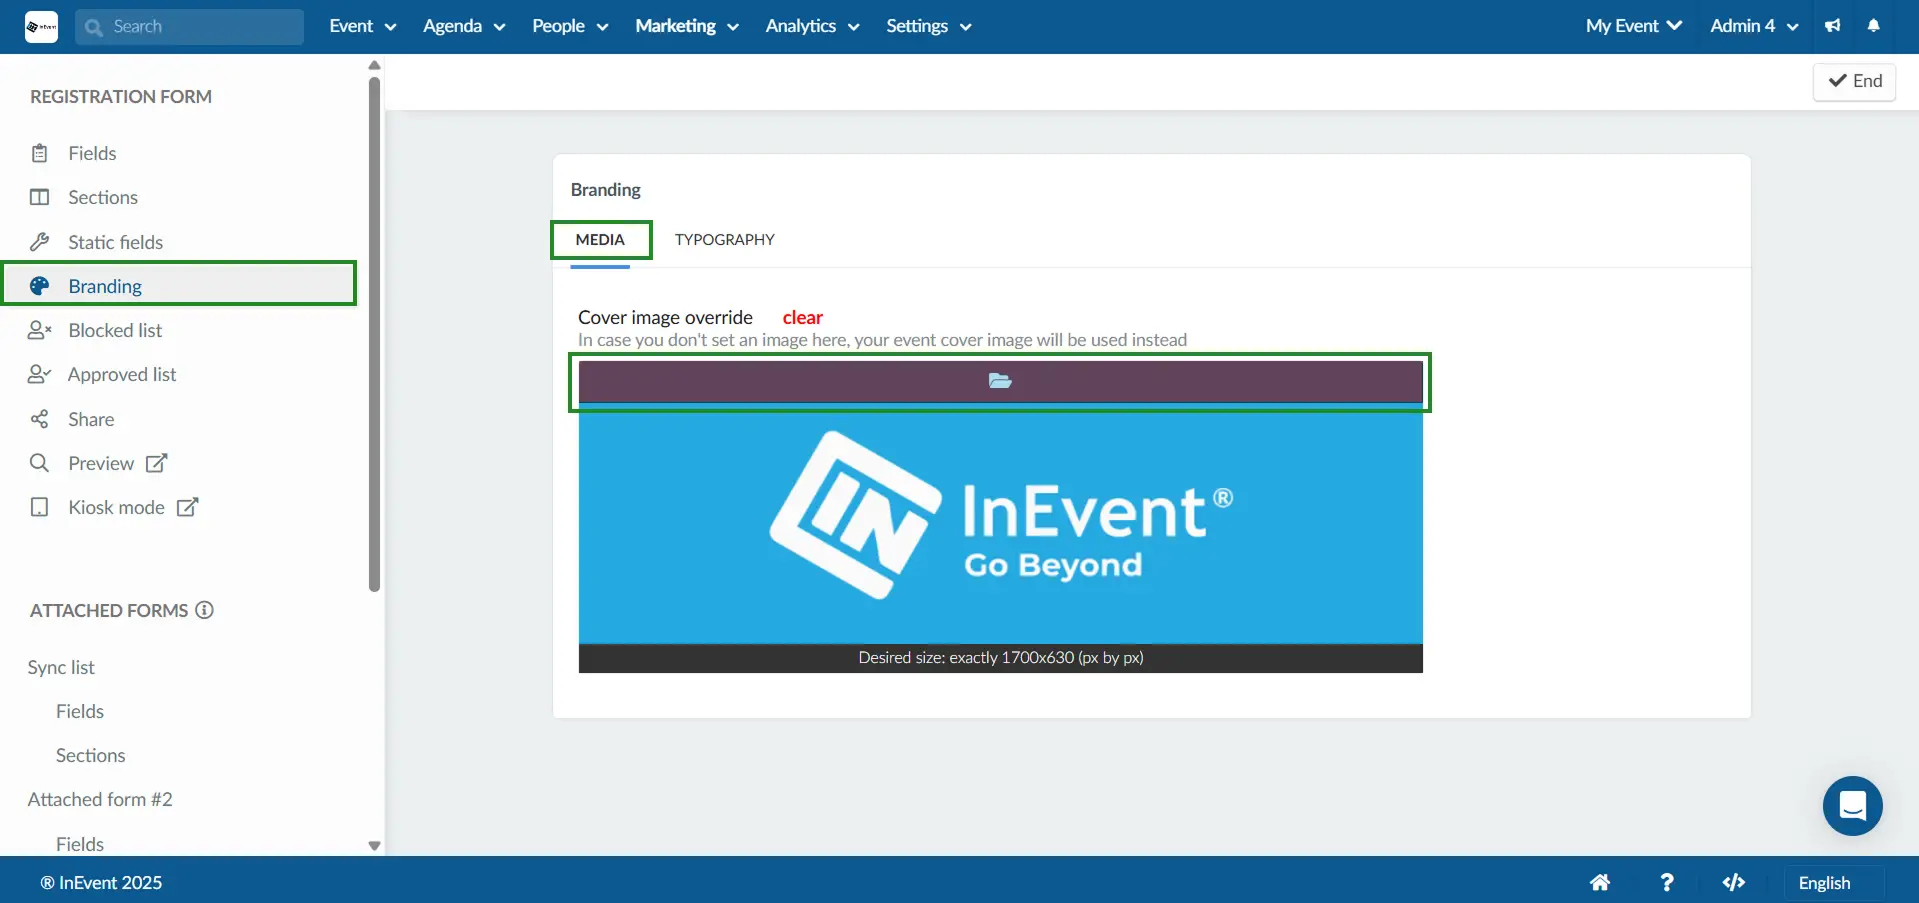
Branding
You can set a cover image and select a typography style to customize your branding and how text appears on the registration form.
To add a cover image, follow the steps below:
- Click Edit at the top right corner of the platform.
- In the registration form menu, select Branding.
- Go to the Media tab.
- Click on the red bar with the folder icon to upload your desired cover image.
- Click on End to save changes.
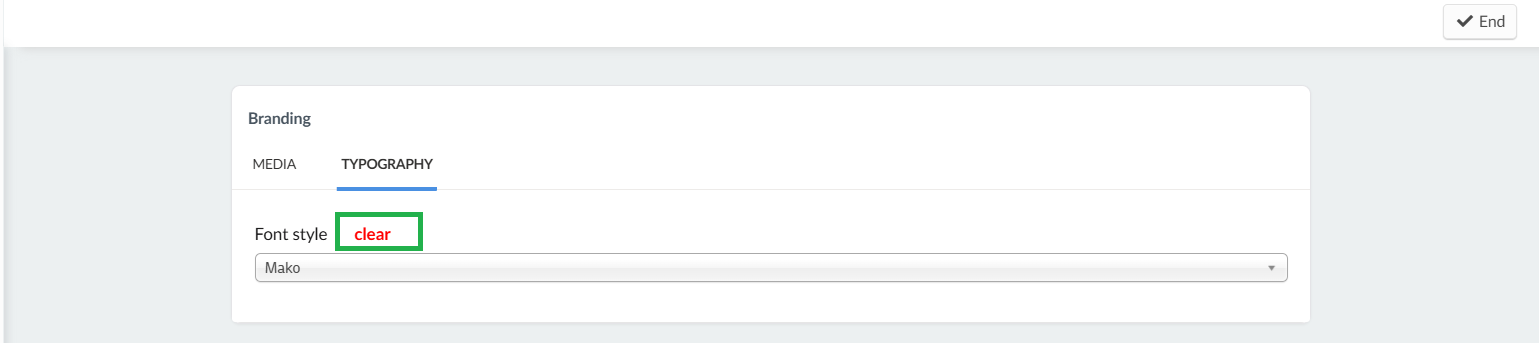
To update the typography style on your registration form, follow the steps below:
- Click Edit at the top right corner of the platform.
- In the registration form menu, select Branding.
- Go to the Typography tab.
- Select a Font style click on End to save changes.
Once saved, the new typography style will be instantly applied to your registration form, giving it a consistent and customized visual appearance that matches your event branding.
To clear the typography style, click on Edit and press the clear button.
Waiting Room
The InEvent platform provides a fully configurable Waiting Room feature to prevent congested traffic during high registration demand. With this feature, event organizers can define the maximum number of registrants that are active simultaneously, and the Waiting Room will start queuing registrants once the defined number is reached. InEvent will then manage the queue automatically, ensureing a steady registration rate.
To enable this feature for your event, navigate to Settings > Tools. Then, locate the Virtual waiting room entry within the Registrations section, or use the search bar to immediately find the entry. Click Edit, enable the tool using the toggle, and click End.

The Waiting Room section will be displayed in the Registration forms page.
Waiting Room settings
The following settings are available for the Waiting Room feature.
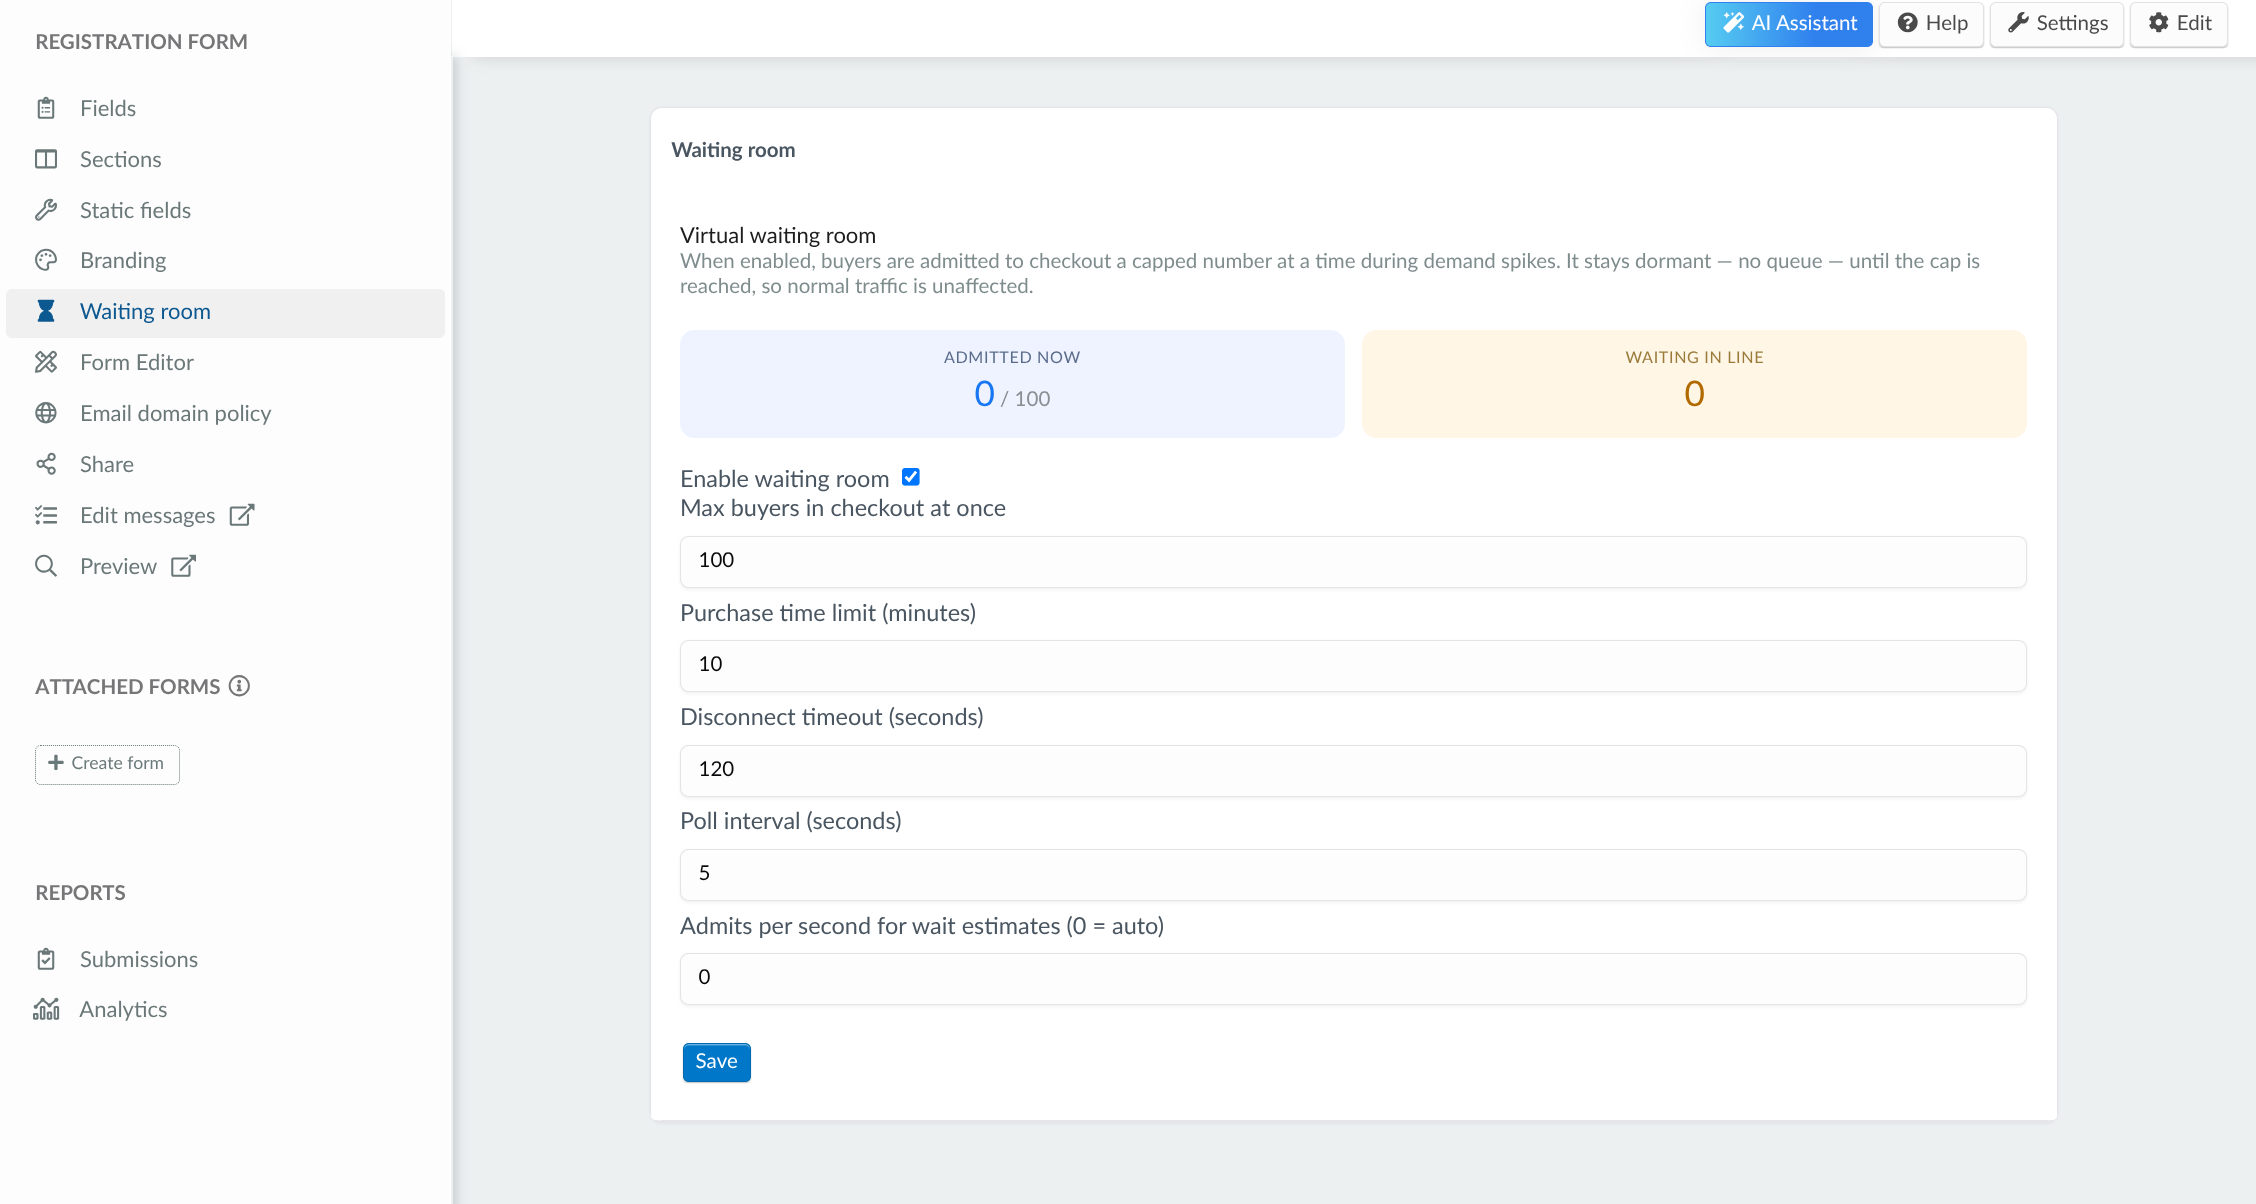
- Virtual waiting room: The Admitted now status panel displays the number of registrants who are currently active in the registration form, and Waiting in line status panel displays currently queued registrants.
- Enable waiting room: Ensure the Enable waiting room is checked to use the Waiting Room feature. Uncheck this box to disable this feature while still being able to modify the Waiting Room settings.
- Max buyers in checkout at once: Defines the maximum number of registrants that can be active simultaneously. The same value is displayed as the maximum value of Admitted now. When this number is reached, registrants will be automatically sent to the queue, shown as Waiting in line in the status panel.
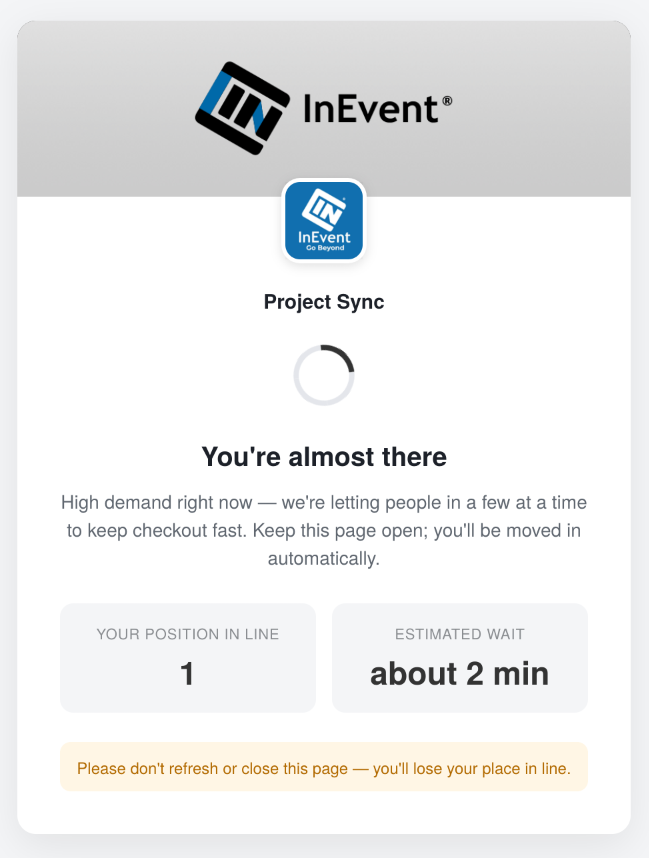
- Purchase time limit (minutes): Defines a time limit for registrants to complete the registration form, in minutes. The following indicator will be displayed at the bottom of the form to ensure registrants complete their submission in time.

When the time almost runs out, the indicator turns red.

If the registrant fails to complete the form submission in time, and there are registrants in the Waiting Room, the participant at the top of the queue will be directed to the registration form. The registrant that failed to complete the form submission is sent to the bottom of the queue.
- Disconnect timeout (seconds): Defines a disconnect timeout for registrants in seconds.
Poll interval (seconds): Defines the poll interval, or every how many seconds the platform will check for the number of currently active and queued registrants.
- Admits per second for wait estimates: Defines the estimated admittance rate of registrants per second to the registration when the Waiting Room is active. Set 0 to let the platform automatically manage the Waiting Room estimation rate calculation.
Form Editor
You can customize your Registration form through the use of the Form Editor tool. This tool allows you to customize the look and feel of your Registration form.
For further information, refer to our Form Editor: Registration Form article.
Email domain policy
The Email domain policy allows you to block and approve certain domains from able to register in the Registration Form. For more information, refer to the Email domain policy article.
Share
If you wish to embed your registration form on an existing external (non-InEvent) website you can use an iFrame. For further information, refer to our article on adding registration form to an external website.
Edit messages
Event administrators may want to modify the messages, labels, and field titles in the event registration, purchase, or custom forms. The modifications can be done by using the Headings feature, which can be directly accessed by clicking Edit messages. Within the Headings page, you can immediately locate and modify the desired headings.
Preview
To preview the form you have created, click on the Preview tab at the left menu of the page. You will be redirected to the Preview page where the form will be displayed in Preview mode.
On this page, you will see a pop-up disclaimer which will display the Live URL of the Registration form which you can copy by clicking the copy icon beside it.
As an admin, clicking on the Open Live mode button will lead you to the Registration form page, but you will see the message saying You are already registered.
Click on the I understand button to close the disclaimer window. Now, you will be able to fully visualize the form in preview mode.

Attached forms
Attached forms help event organizers collect additional information from specific participants during event registration. When configured, attached forms will accompany the registration form as additional questions.
To learn how to add and manage attached forms, refer to our article on adding attached forms to the registration form.
Using the InEvent AI assistant to manage your registration form
InEvent's AI Assistant allows you to create and edit your event’s registration form using natural language commands, saving time and simplifying the setup process. To use the AI Assistant, make sure the feature is enabled by following the steps below.
- Navigate to Settings > Tools.
- Locate the AI Assistant option and ensure it is activated.

Once enabled, the AI Assistant icon will appear in the top right corner of the Registration Form page.

Using the AI Assistant
Follow the steps below to use the AI assistant:
- Navigate to the Registration Form page within your event.
- Click the AI Assistant icon to launch the assistant.
- Describe the action you want the AI Assistant to execute as clear and as detailed as possible. For example: Create a field named "Select your country" with Option List as the answer type. The options must contain a list of countries.
The assistant retains context during the conversation, making it feel more natural and responsive.
AI Assistant capabilities
The AI Assistant is capable of executing the following actions on the Registration form page:
- Creating new form fields
- Creating form sections
- Editing form fields
- Finding specific form fields by name or type.
- Removing form fields you no longer need.
- Adding or modifying answer options for multiple-choice fields.
- Creating or listing form chains to control conditional logic between questions.
Configuring the registration form for specific behaviors
This section contains information on further configuring the registration form to achieve other specific behaviors.
Creating multiple registration forms
It is possible to have distinct registration forms targeted to different audiences at the same event using Attached forms.
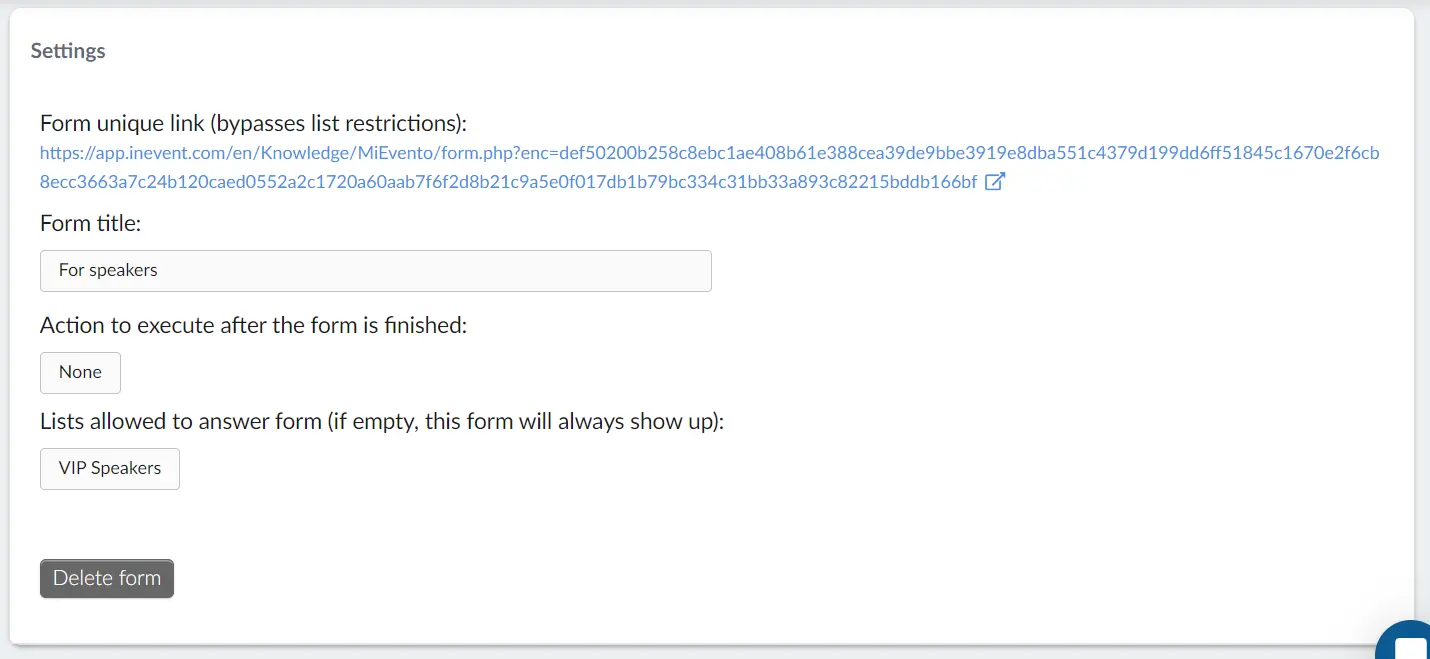
Follow these steps to create multiple registration forms:
- Create an attached form for your event.
- Get the Unique link from the attached form.
Allowing attendee registrations without e-mail addresses
It is possible to register attendees without their email address if you enable Username. For further information, refer to our Usernames article.
Allowing insecure passwordless purchase form operation
The Insecure passwordless purchase login tool can be enabled at the event level to allow passwordless purchase form operation. With this tool enabled, anyone with access to an existing attendee's username and/or e-mail address can act and operate the purchase form as the attendee without any form of verification, such as password or magic link.

With the Insecure passwordless purchase login tool enabled, entering the username of an existing attendee will automatically populate other identity fields. Then, the user can click Next to proceed with the rest of the form.
As a comparison, with the tool disabled, the user will be prompted to request a magic link sent via email.
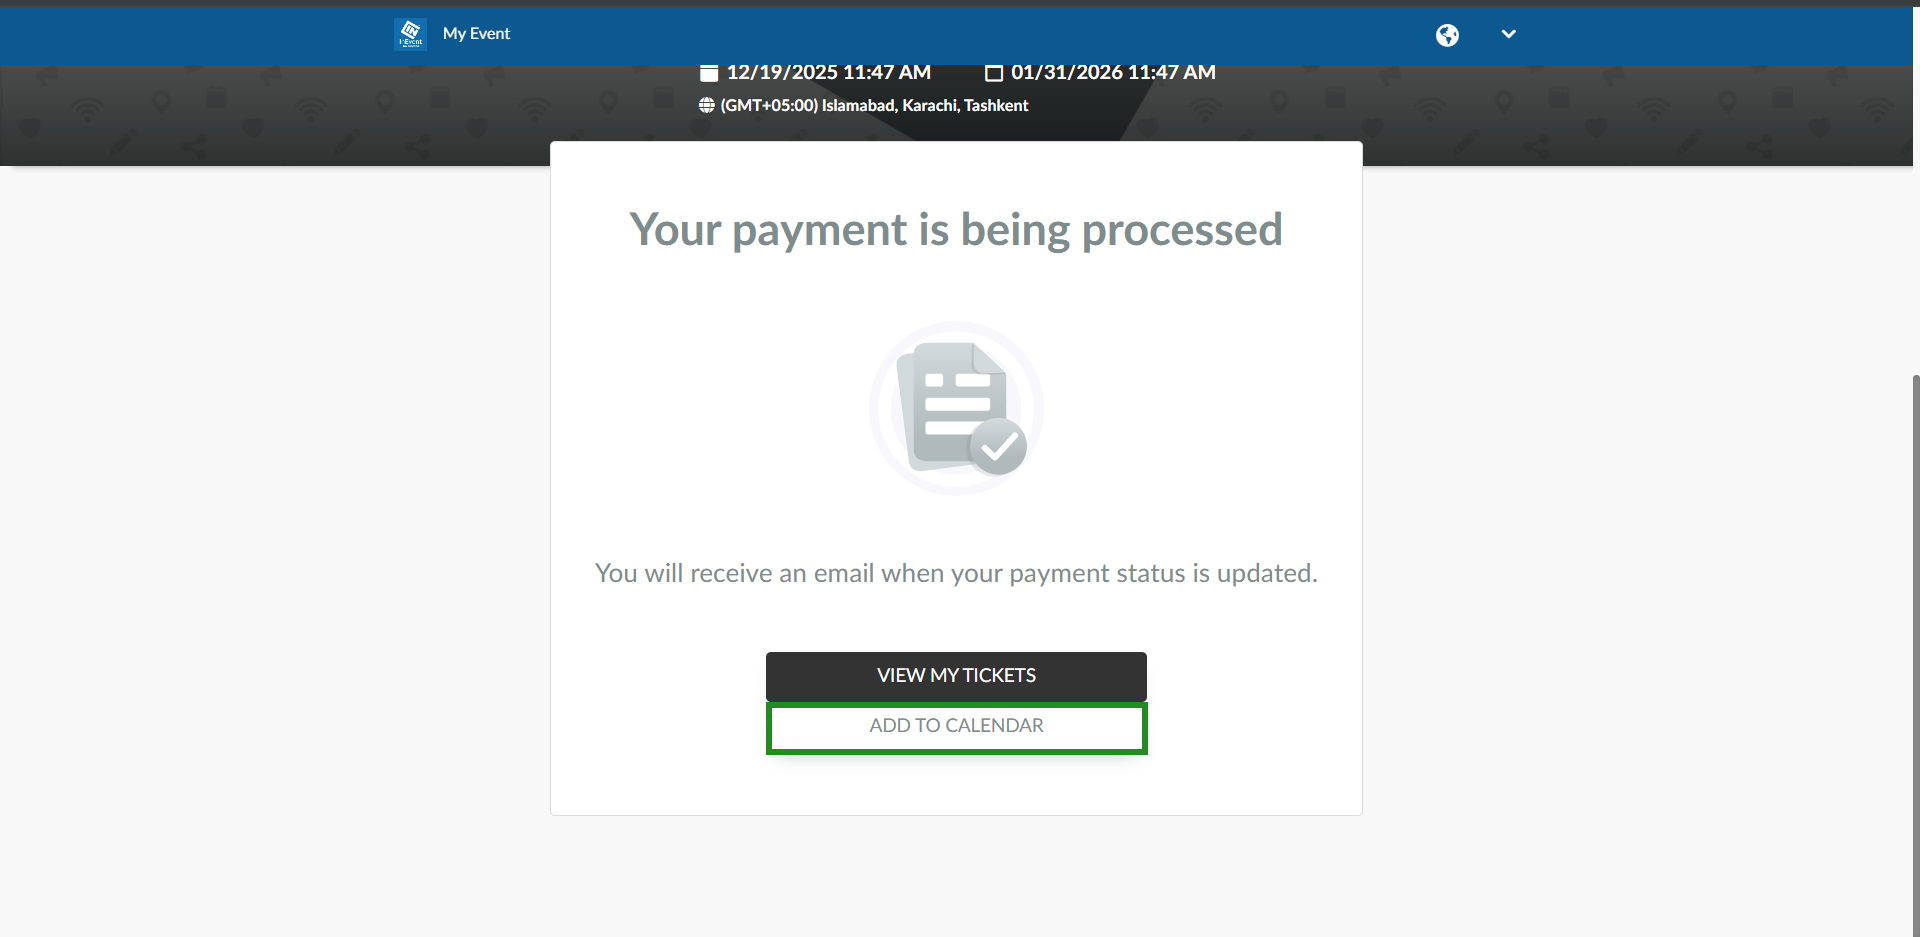
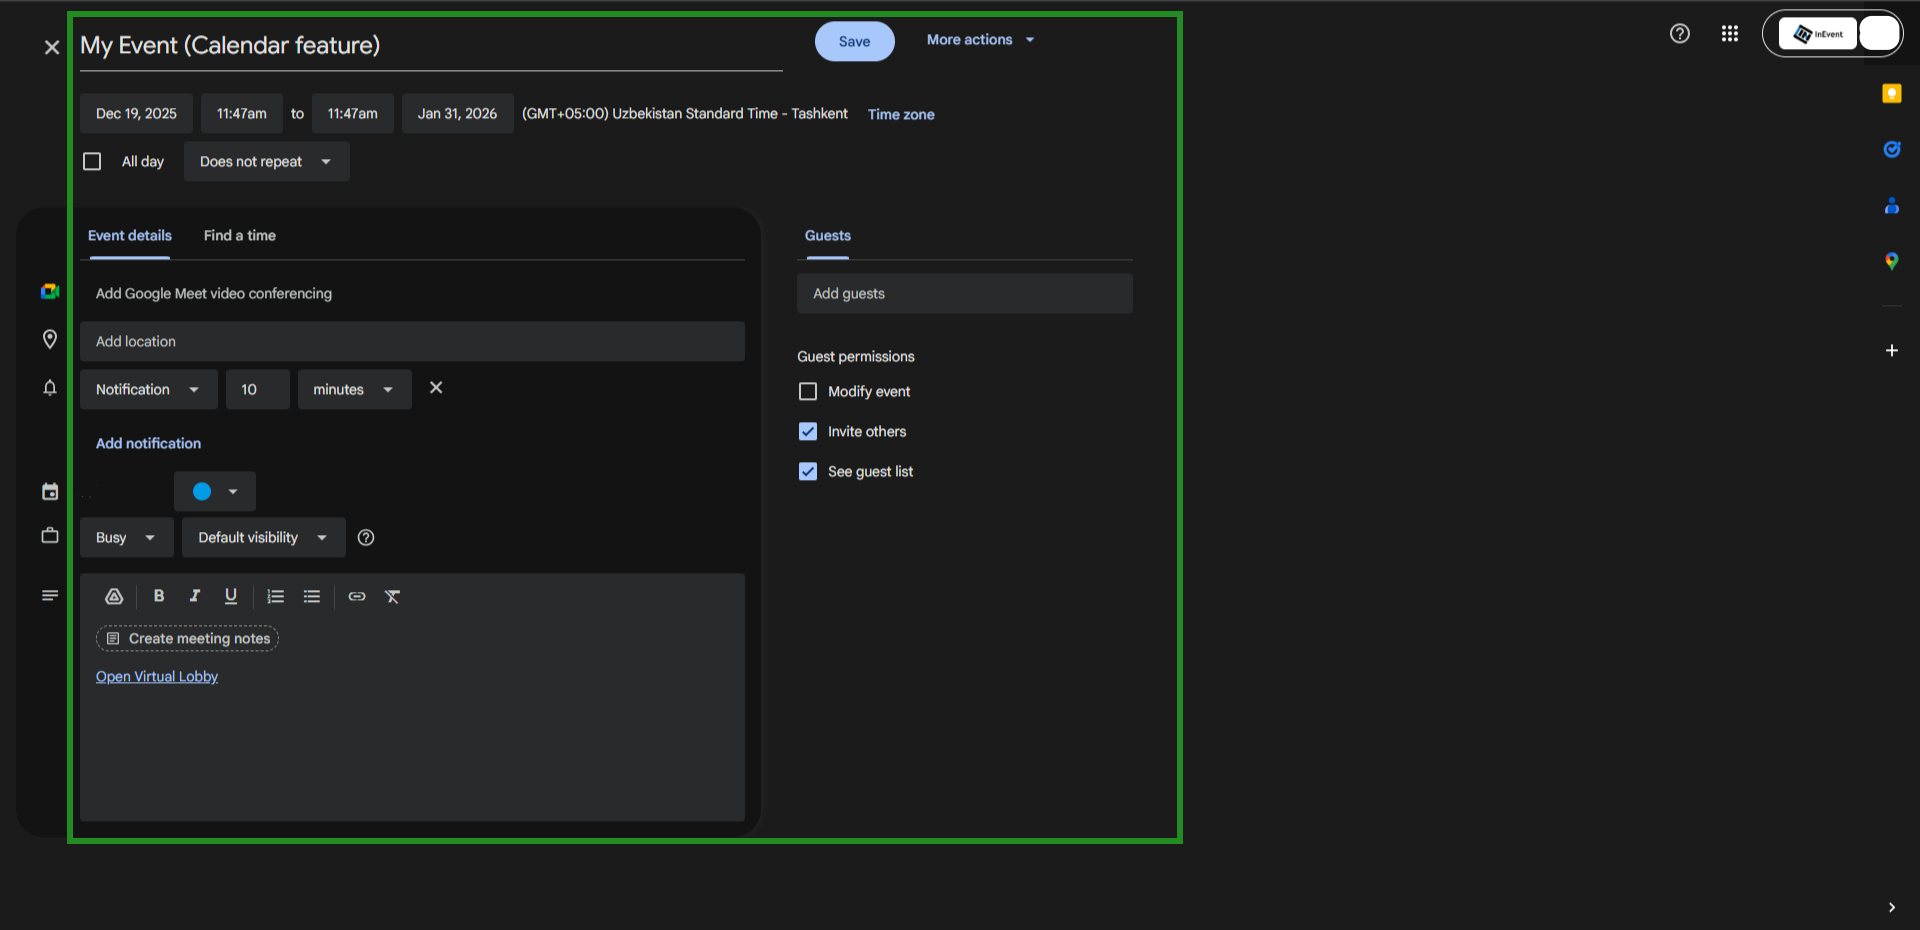
Add to calendar button upon completed registration
The Add to Calendar button allows registrants to quickly save the event to their personal calendar after completing a registration or purchase form.
When enabled, the button appears on the form success page, making it easier for attendees to remember the event details and reduce the chances of missed attendance. This feature helps improve the attendee experience by providing a convenient, one-click way to add the event to their preferred calendar application.
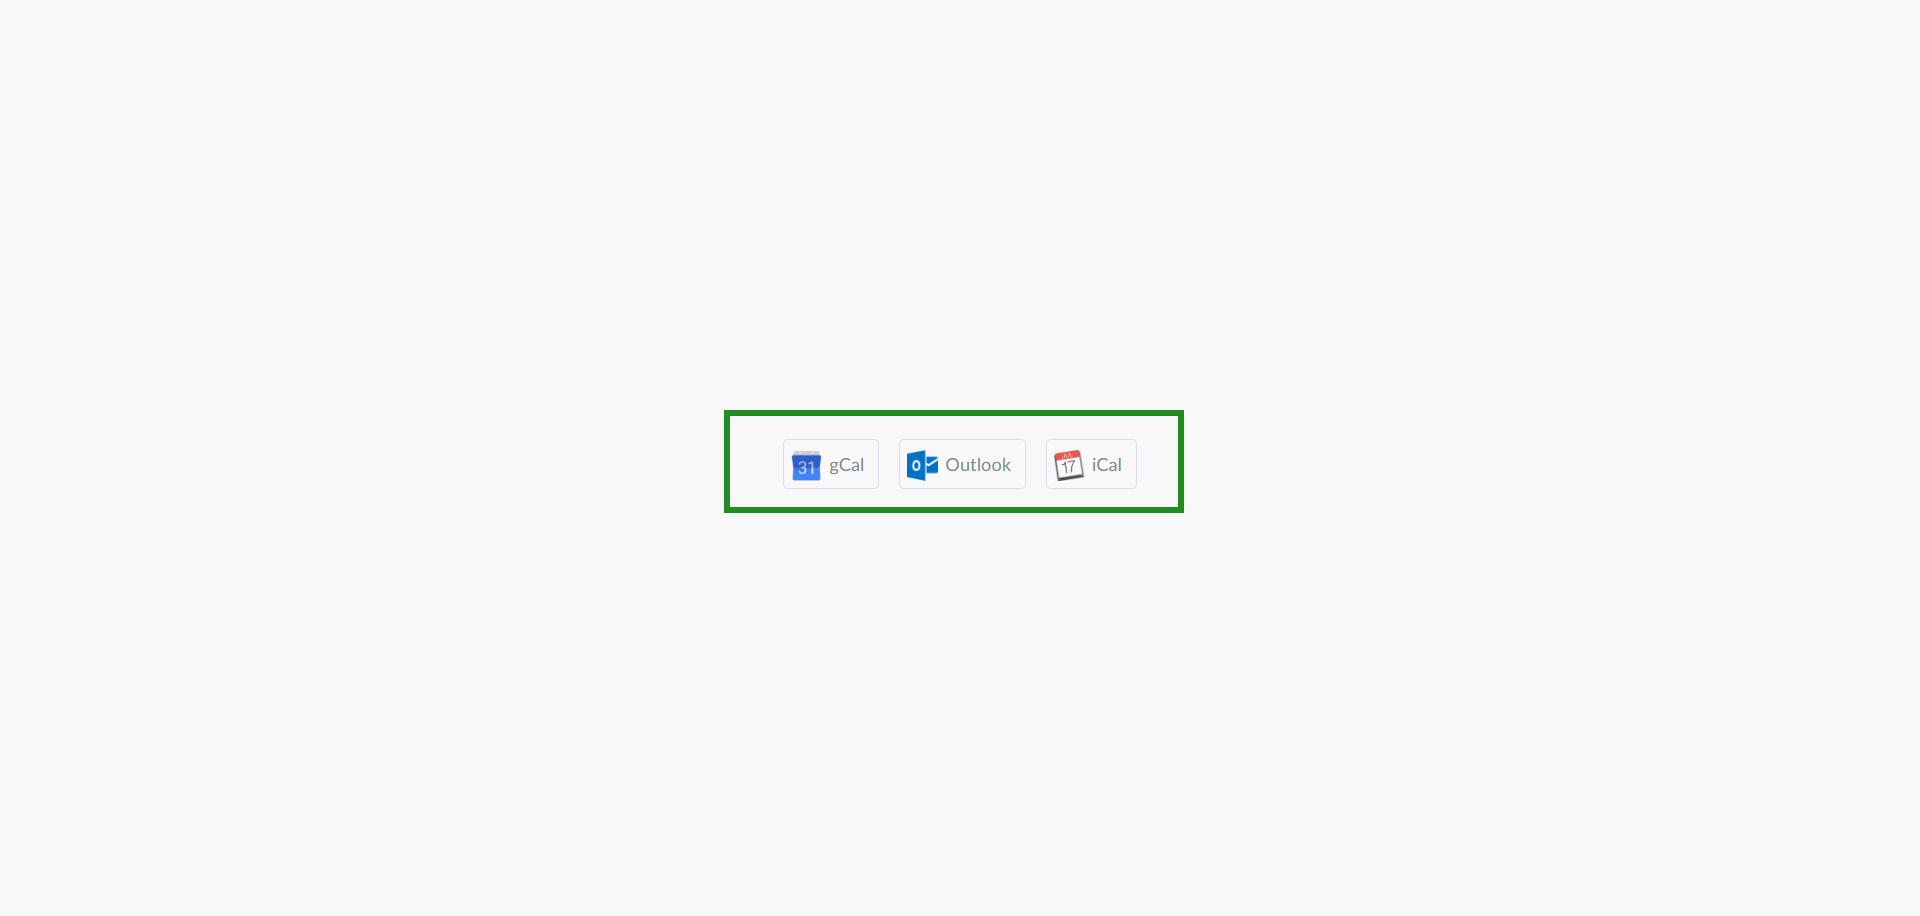
Users can select their preferred calendar to automatically save the event details, including the session name, date, time, and location. This ensures attendees can easily keep track of the event and reduces the likelihood of missing it.
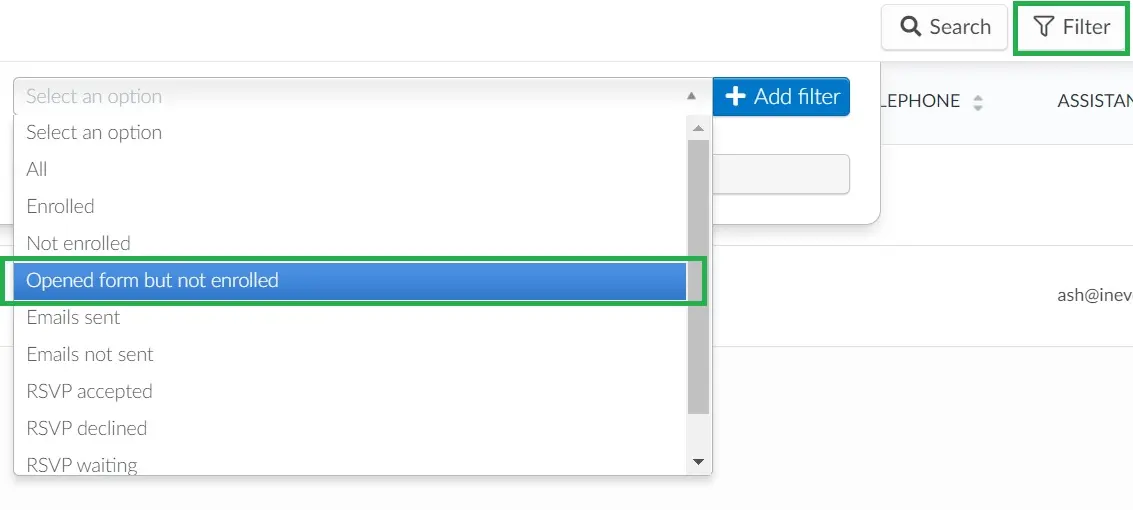
Identifying unfinished registrations
If you have the Invites tool enabled, and have an invitation list in your event, you can identify and track invitees' unfinished registrations.
To do so, navigate to People > Invitees and click on the Filter button on the top right corner. In the Filter menu, select Opened form but not enrolled using the drop-down menu and press the + Add filter button. Doing so will display the list of invitees who have opened the registration form without completing the registration.
Adding multiple Terms of Service links
You can modify the Terms of Service heading to feature multiple links. For more information on achieving such behavior, refer to our information on adding multiple Terms of Service links.
Enabling reCAPTCHA on your registration form
To protect your registration form from spam and bot submissions, InEvent allows you to enable Google reCAPTCHA. This adds an extra layer of security to ensure that only genuine users can complete the registration process.
To enable reCAPTCHA for your event’s registration form, follow these steps:
- Navigate to Settings > Tools.
- Locate the reCAPTCHA option in the Control section.
- Toggle the switch to enable the tool.
- Click on End to save changes.
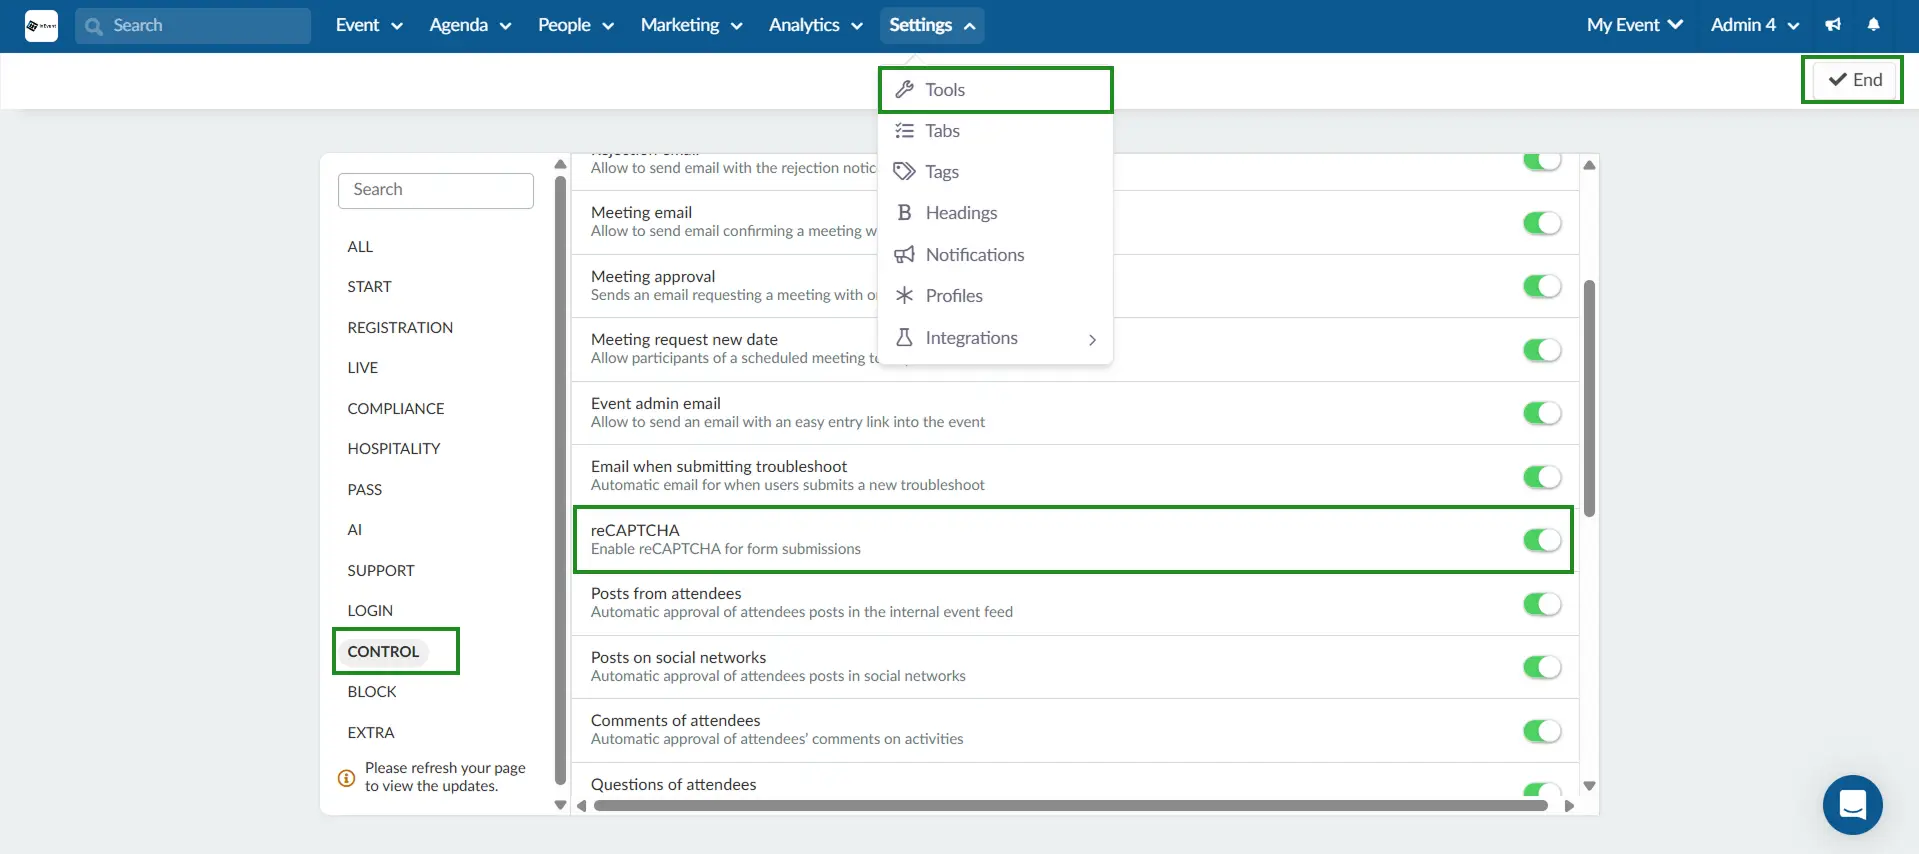
Once enabled, attendees will see the CAPTCHA challenge when submitting the form.
Submissions
For further information about viewing the attendee's answers to the registration form, refer to our Submissions article.
Analytics
To check the analytics of the registration form click the Analytics tab at the left of the page. You will also find a filter with the same options as the People > Attendees.

Extracting attendee registration reports
To extract attendee reports from the registration form, follow the steps below:
- Navigate to Marketing > Registration > Registration form and select Fields.
- Press the Edit button.
- Click on the Report button on the upper left corner.
- Click on Done.
You will receive an email with the report and a download request will also appear in the blue notification banner.
Automating report delivery to your email
You can automate your report downloads by creating a Recurring report. To do this, follow the steps below;
- Press Edit and click on Report in the upper left corner, this will trigger a pop up window to appear.
- Click on the drop-down list in the Settings pop-up window and select your desired period to generate your report periodically.
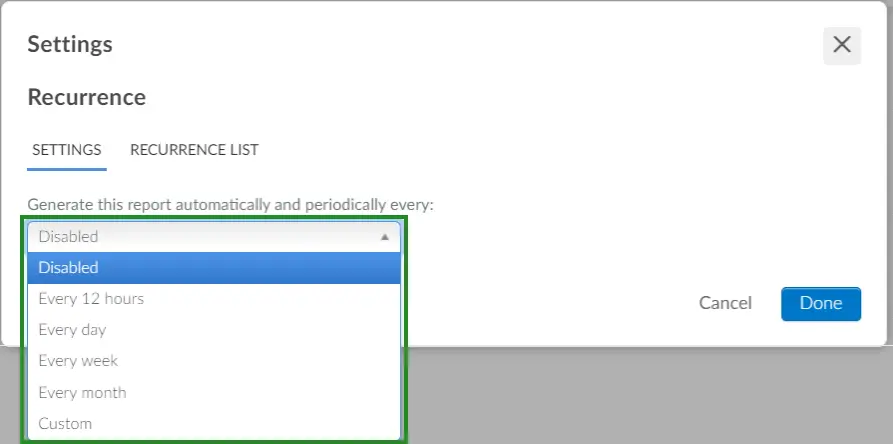
- Enter the name for the report.
- Click on Done to generate your recurring report.

Deleting a recurring report schedule
You can delete your recurring report to stop receiving automatic reports in your email. Follow the steps below to do this:
- Press Edit and click on Report in the upper left corner. Doing so will trigger a pop up window to appear.
- Select RECURRENCE LIST in the Settings pop-up window.
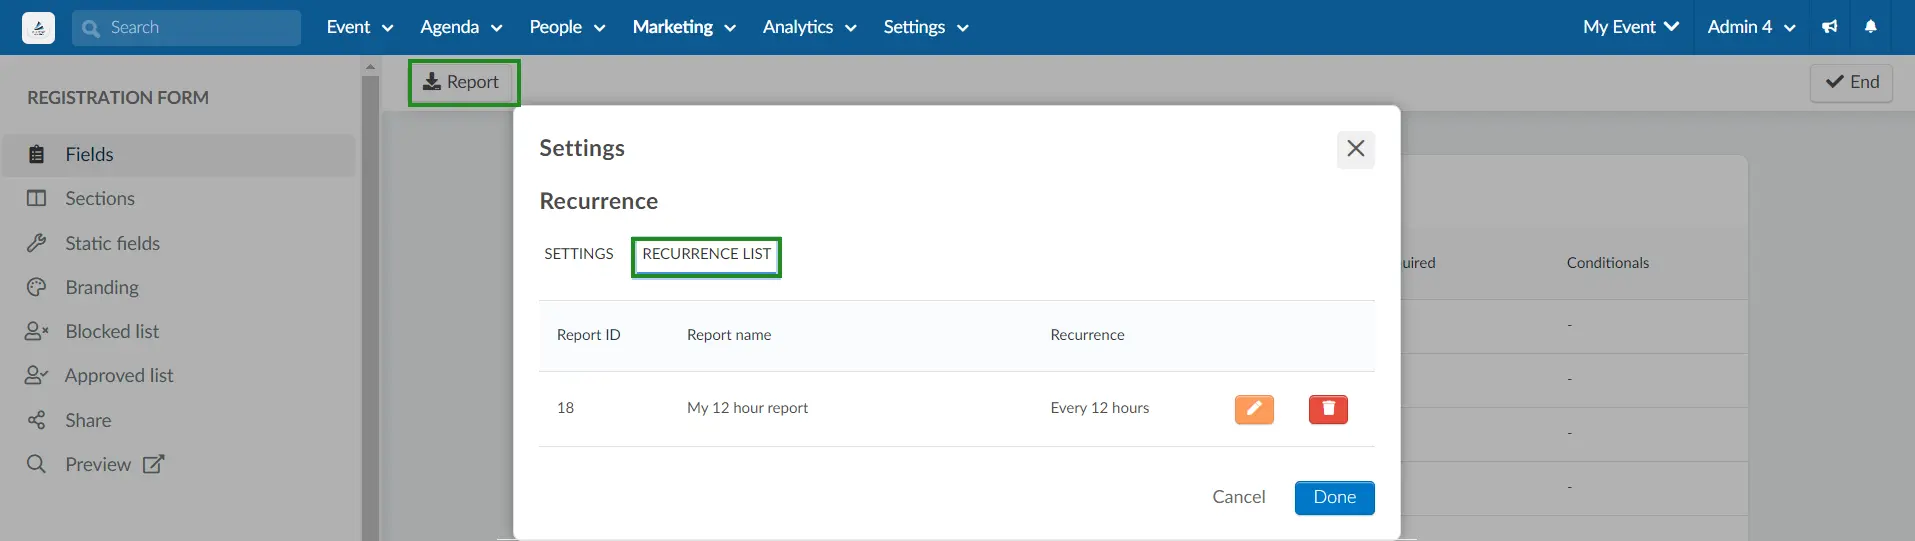
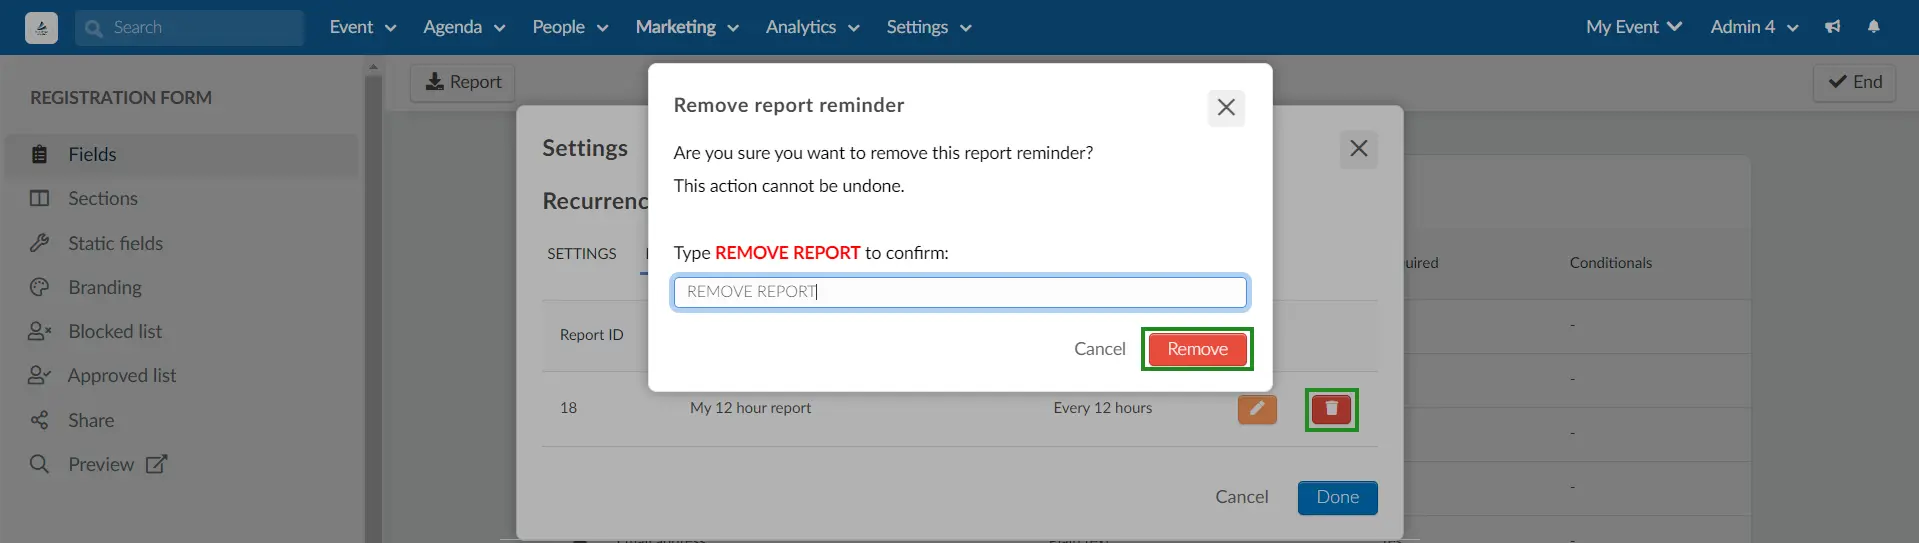
- Click on the corresponding red icon and enter the REMOVE REPORT confirmation text.
- Click on Remove to finalize the deletion of your report.
Modifying a recurring report schedule
You can edit the recurring reports you have created, this allows you to edit the name and recurring time of your reports. To do this, follow the steps below:
- Press Edit and click on Report in the upper left corner. A pop up window will appear.
- Select RECURRENCE LIST in the pop-up window.
- Click on the corresponding orange icon and edit the Report name and Recurrence.
- Click on the corresponding blue icon to save the changes made.