How do I resend the confirmation email?
This article intends to show you how to resend the confirmation email. To fully understand this article, make sure to read the article Confirmation email and other automatic emails first.
Resending the confirmation email
You can resend the confirmation email individually to specific attendees or in bulk.
Individually
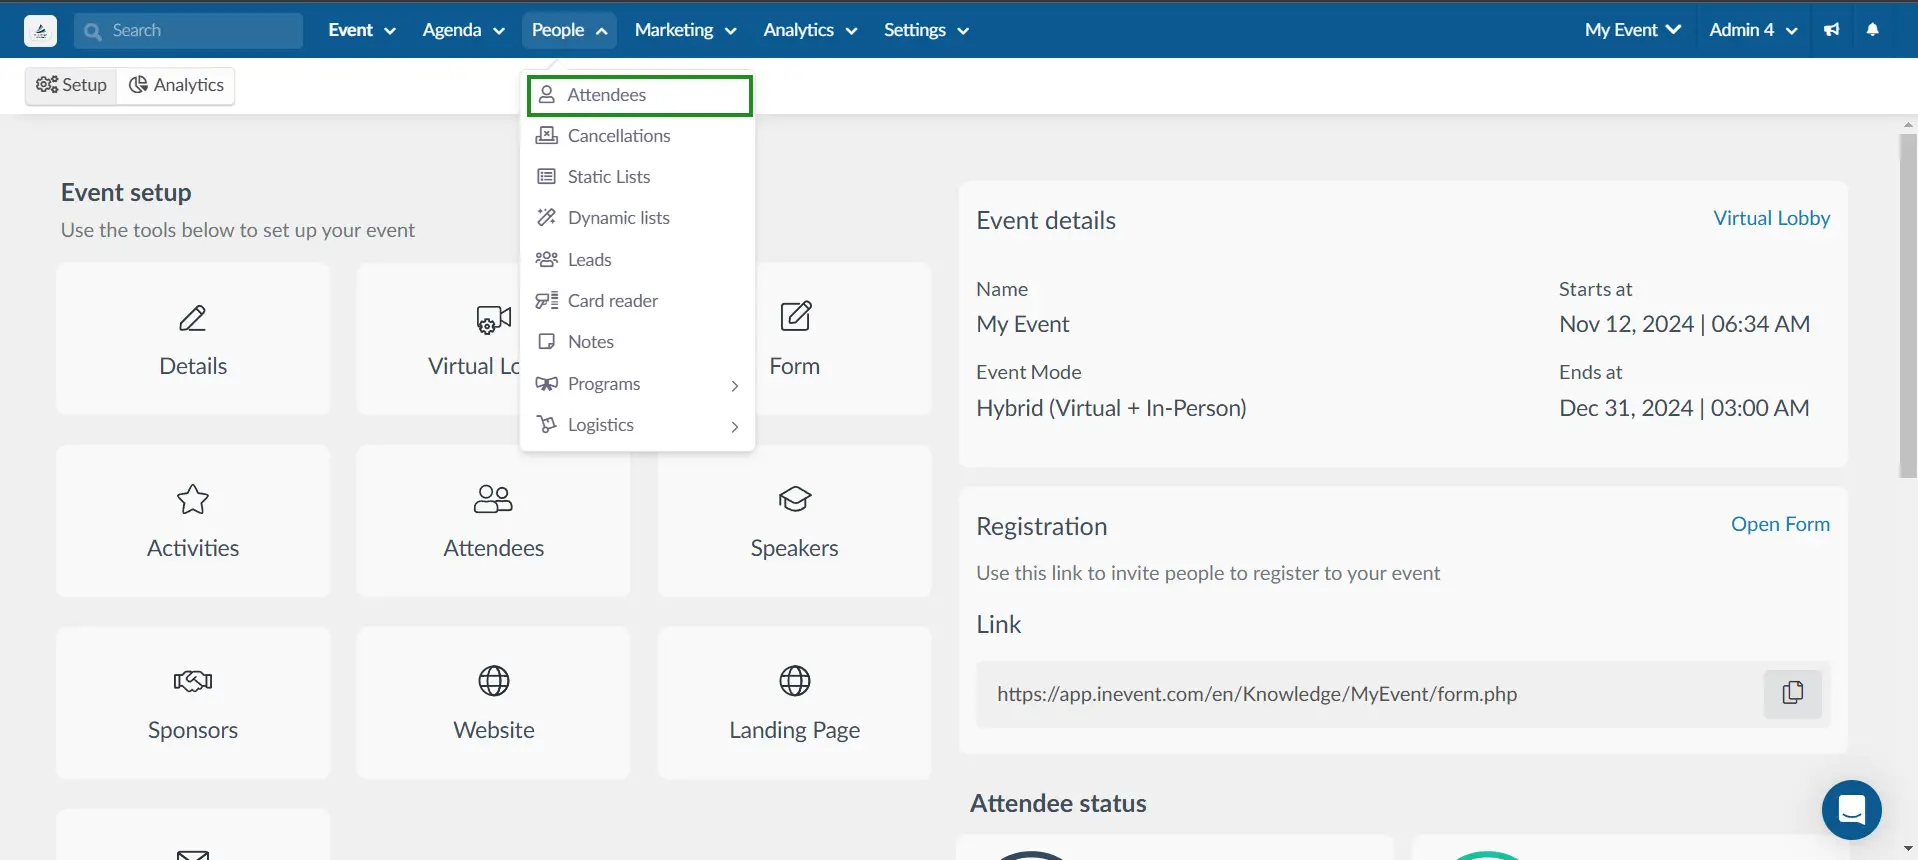
- To resend the confirmation email to a specific attendee, go to People > Attendees.
- On the attendees' list, look for the attendee you would like to resend the confirmation email to and click on their name.
- A window will pop up on the right side, just click on the Email button, as shown below.
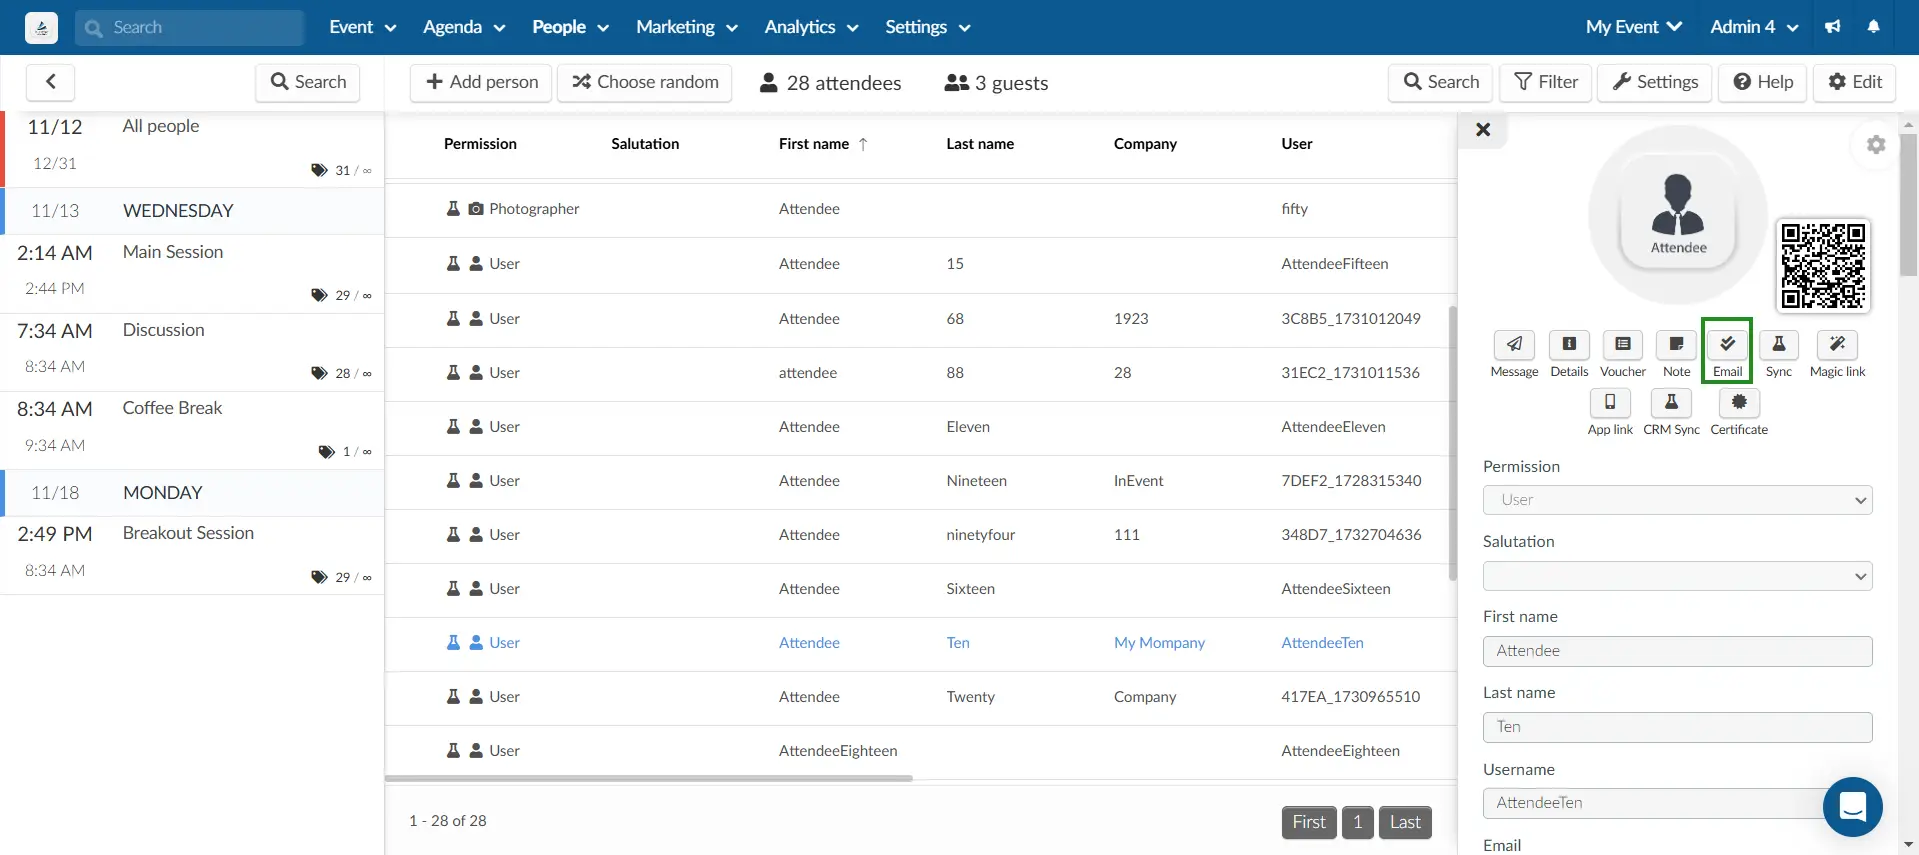
If the Confirmation email tool is disabled, it won't be possible to resend a confirmation email to an attendee as the Email button will no longer appear in the Attendee's profile.
In bulk
If you wish to resend the confirmation email to all attendees, you will need to copy the original email and send it again. To do so, follow the steps listed below:
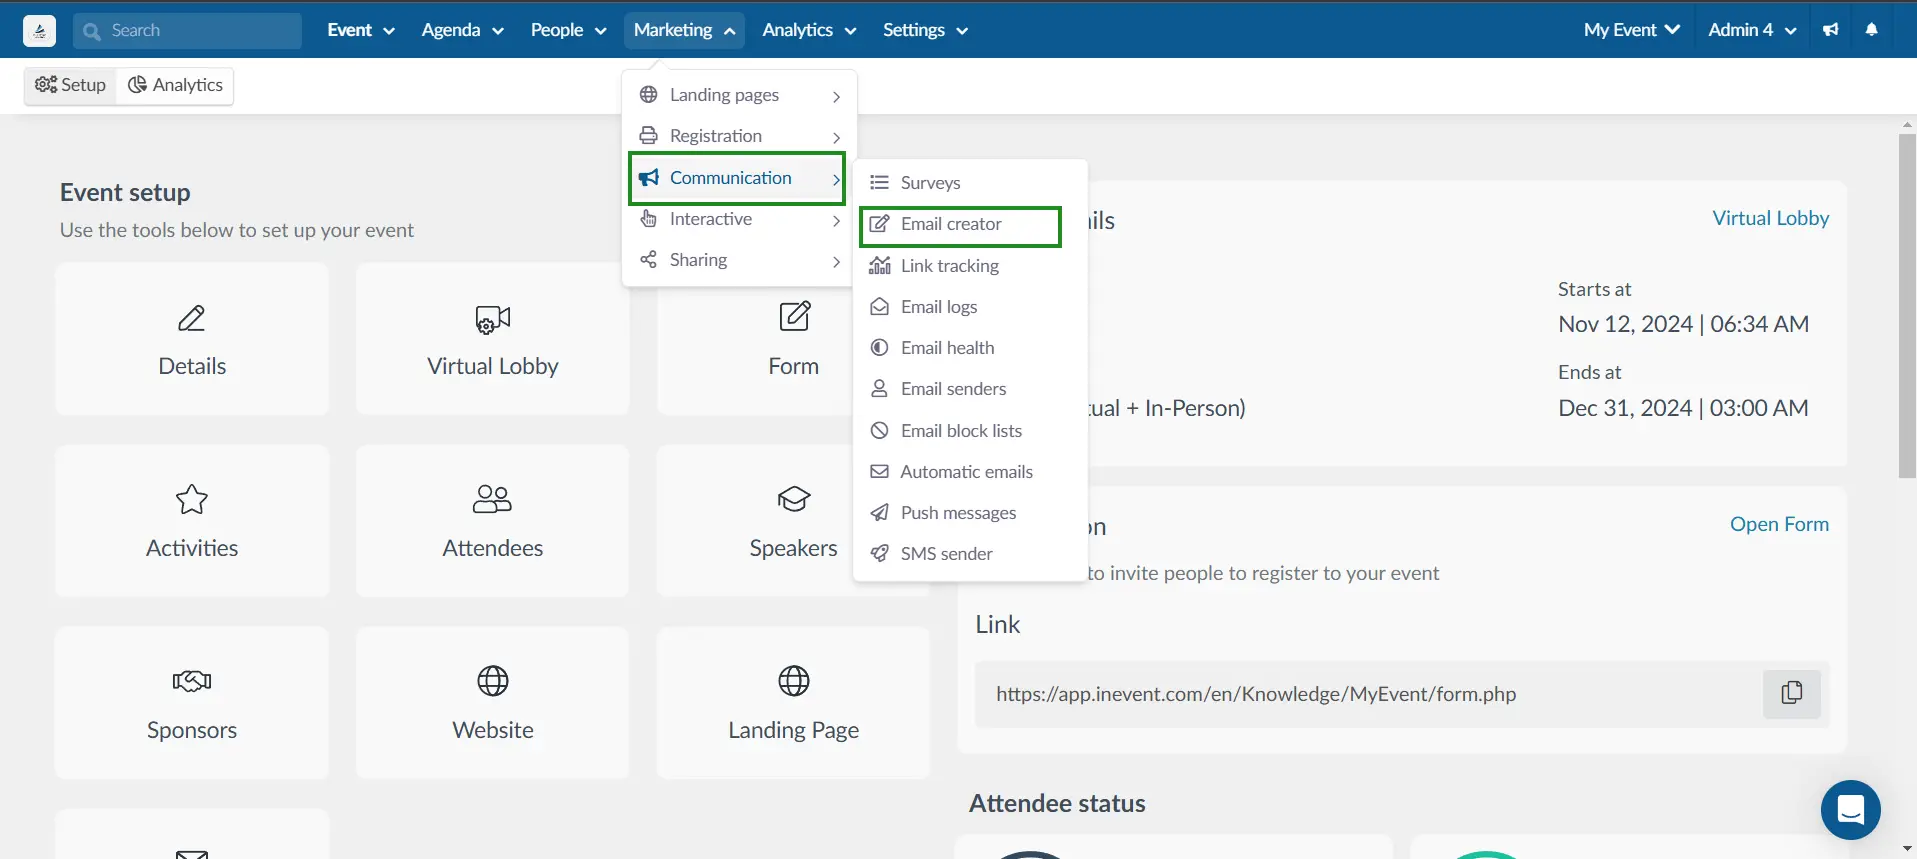
- Go to Marketing > Communication > Email creator.
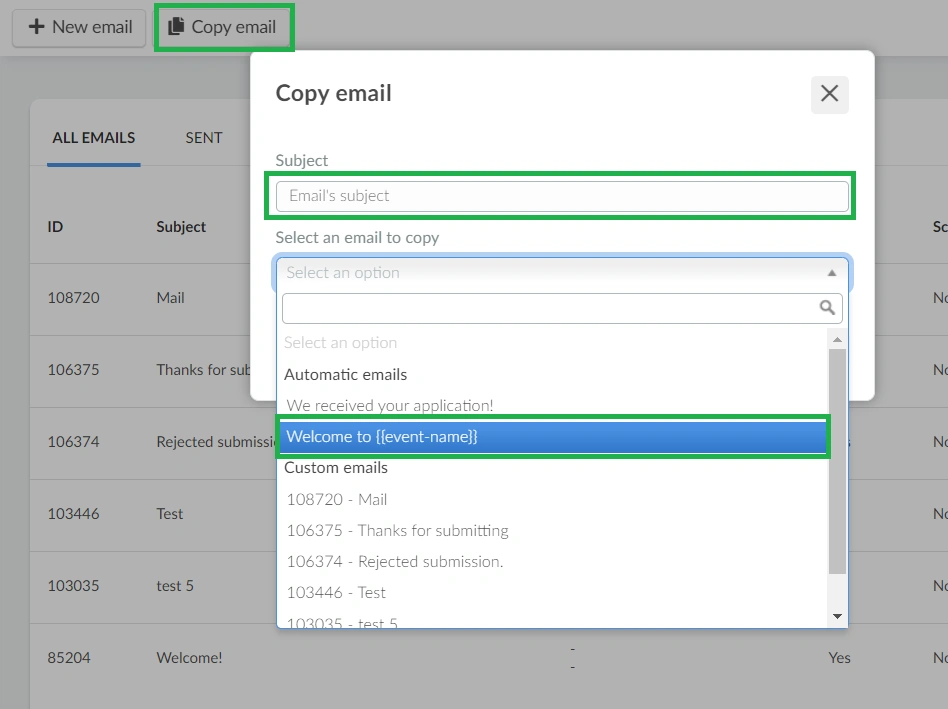
- Click the Copy email button in the upper left corner and a new window will pop up.
- Type in the Subject of the email and on the dropdown menu Select an email to copy, select the confirmation email you wish to resend and click Copy.
- You will be directed to the design and customization page of the email. If you wish to send out an identical copy, you can skip the Design step and go straight to the Target step.
- On the Target step, you will need to choose the recipients of your email. To send it to all registered participants, select All attendees using the drop-down bar.

- Next press the Review tab at the top of the screen. You can schedule the specific date and time that you prefer to send the email or send it right away.
Click here for further information on how to customize and send emails.