Email Creator - Event Level
 Updated 1 week ago
by
Lorenzo
Updated 1 week ago
by
Lorenzo
- Creating personalized emails
With InEvent, you can easily create personalized emails using the Email creator tool and send them to event invitees, attendees, and custom lists of people. In addition, you can also configure automatic emails, create customized email templates, and set up triggers to send your emails automatically.
To open the Email creator, navigate to Marketing > Communication > Email creator.
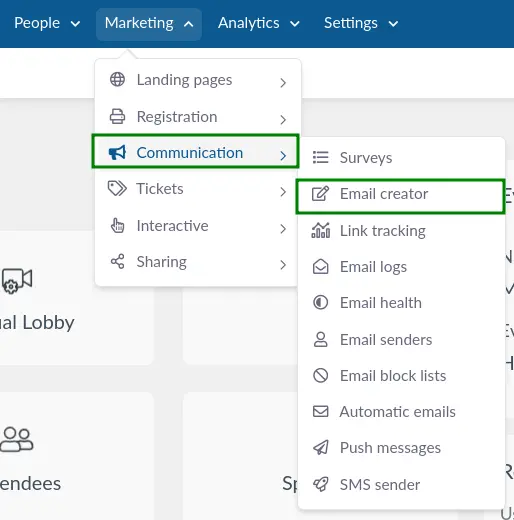
The Email creator has 4 main sections which can be accessed from the left sidebar:
- Emails: You can create and personalize emails in this section.
- Automatic emails: You can configure and customize automatic emails in this section.
- Templates: You can create and customize email templates in this section.
- Triggers: You can set up triggers to send customized emails automatically in this section.
Creating personalized emails
You can create a personalized email by following the steps below.
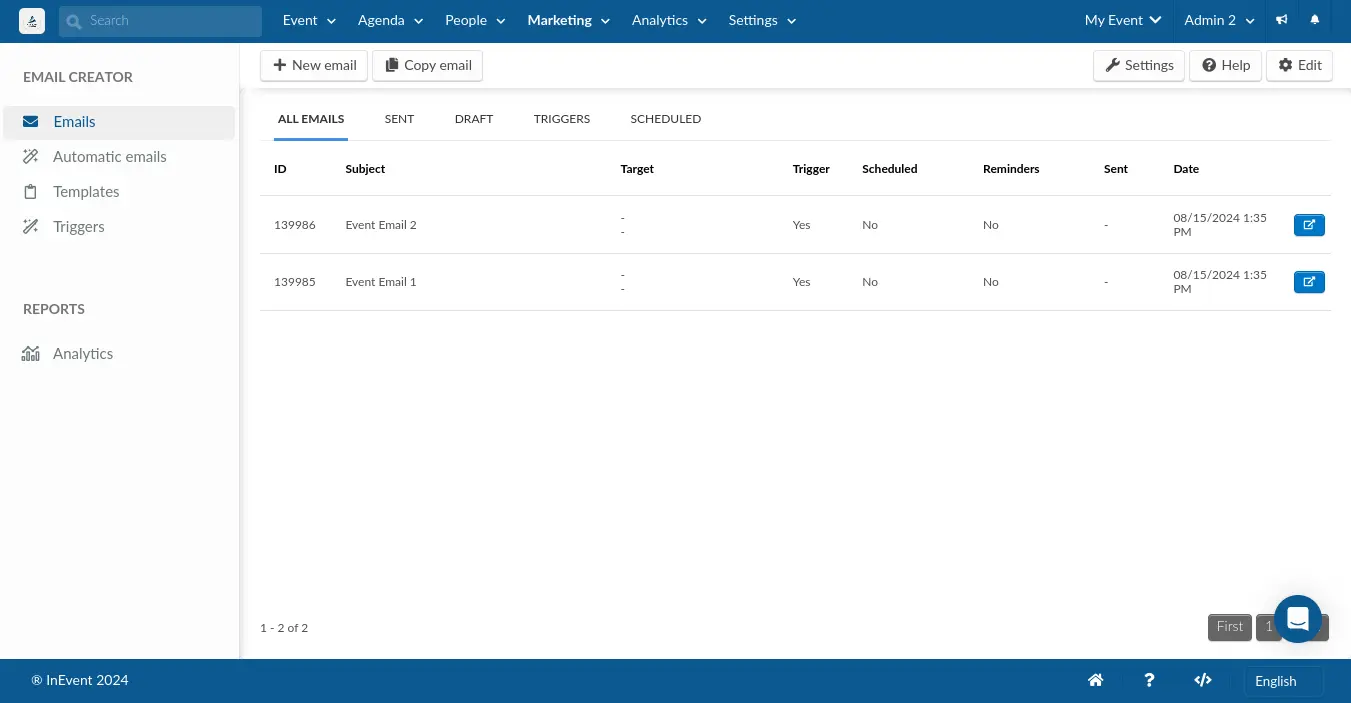
- Navigate to the Email section in the Email creator page.
- Click on the + New email button in the top left corner.
- Enter the email subject and choose a System template or click on My templates to select a custom template that you have created.
- Press the blue Create button.
Design
After adding the subject of your email and choosing the email template, you will be directed to the design and customization page of the email.
Adding sections
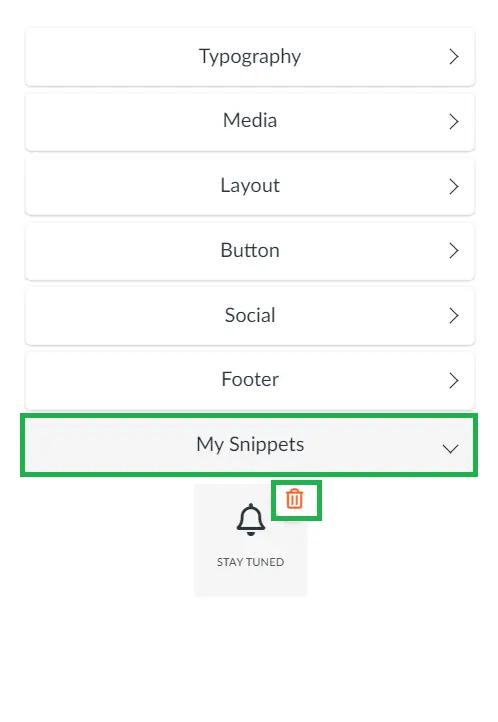
You will find six categories that contain different options to create sections on your email. To add a section, drag it from the left to the email on the right.
- Typography: In this section you will find headings and text templates of different font sizes and formats, with and without editable icons and buttons, lists and tables.
- Media: Here you will see options to insert images, an editable QR code, a section with all your event sponsors that you previously added under Event > Sponsors, as well as a section with all the event Speakers added under Event > Speakers. Refer to our Sponsors article for more information about the Sponsors' section on the email and its customization, and refer to our Speakers article for more information on the Speaker's section on the email and how to customize it.
- Layout: Add divisions to your email sections.
- Button: Insert different buttons, such as 'App download', 'Add to Calendar' and the attendee's Digital Ticket Voucher.
- Social: Add social media links to your email. The links can be edited by clicking on the section in the email body and clicking Social content on the left menu, where you can toggle link visibility using the check boxes and input the links to your social media.
- Footer: Choose between 2 footer options for your email.
- My Snippets: This helps you recreate emails faster. If you have created snippets, you can easily add them to your email.
Editing sections
You can reorganize, duplicate, and delete sections using the icons at the right corner of each added section.
You can also change icons and make them clickable as shown below.
You can also create snippets which will helps speed up email creations by clicking on the save icon.
Creating a Snippet
Snippets are custom, predefined email elements that can be inserted to custom emails or automatic emails. You can save time and effort by saving commonly used elements as snippets to be used in other emails.
To create snippets, follow the steps below:
- Locate the added section you wish to make a snippet.
- Click on the red save icon at the right corner of the section.
- Enter the Snippet's title.
- Choose an icon for the snippet.
- Click on Create.
The created snippet will be available for easy use when creating new emails or editing automatic emails in the My Snippets section.
To remove a snippet, simply go to the My Snippets section, hover around the snippet and click the remove trash icon that appears.
Sections settings
- Text contents
To add text or links to a section, click the text area to open the editing panel on the left side of the screen. You can also insert Dynamic content, which automatically displays information about your event or a person. Additionally, you can insert Dynamic links, such as links to your website, registration form, download page, or account page. The editor also allows you to add images, tables, hyperlinks, and forms, as well as format the content of your email. You can clear any formatting applied to the text by clicking the Clear formatting button.
For further information regarding dynamic content, refer to our E-mail creator: dynamic content and links article.
- Background
You can choose the section's color on the color picker or enter the hex code of the color you would like to have. You can ask Google what hex code represents each color. For example, blue is #0000FF.
- Padding
Padding goes around all four sides of the content and you can target and change the padding for each side (just like a margin).
- Show content
You can decide whether to show or hide certain content from a section such as Speaker content, Sponsor Content Social content and Calendar content.
Once you have finished editing your email, you can proceed to choose the recipients of your email by clicking Target.

Emails with translations
When designing your email, you’ll find the language translation drop-down menu in the top-left corner of the email editor. This allows you to add additional languages beyond the default (English), and manually translate the text content in any section of the email.
The email will be sent out in the default (English) language but translated and received accordingly depending on the attendee's language of choice.
To add translations:
- Open the Design tab.
- Click on the language drop-down menu on the top-left corner of the platform and select Add new language.
- Select the language you would like to add using the drop-down menu.
- Click Add language to complete the process.
Recipients will receive emails in the same language they selected when viewing the registration form. For example, if the event's default language is English but a French translation was added, an attendee who registered using the French version of the registration form will receive emails in French — as long as the French version of the email exists.

Switching between language variants
After adding a new translation language to your email, each version becomes a separate language variant and can be edited differently. You can easily switch between these variants using the language drop-down menu. Each language variant will show the specific edits made for that language, allowing you to customize the email content for each audience.
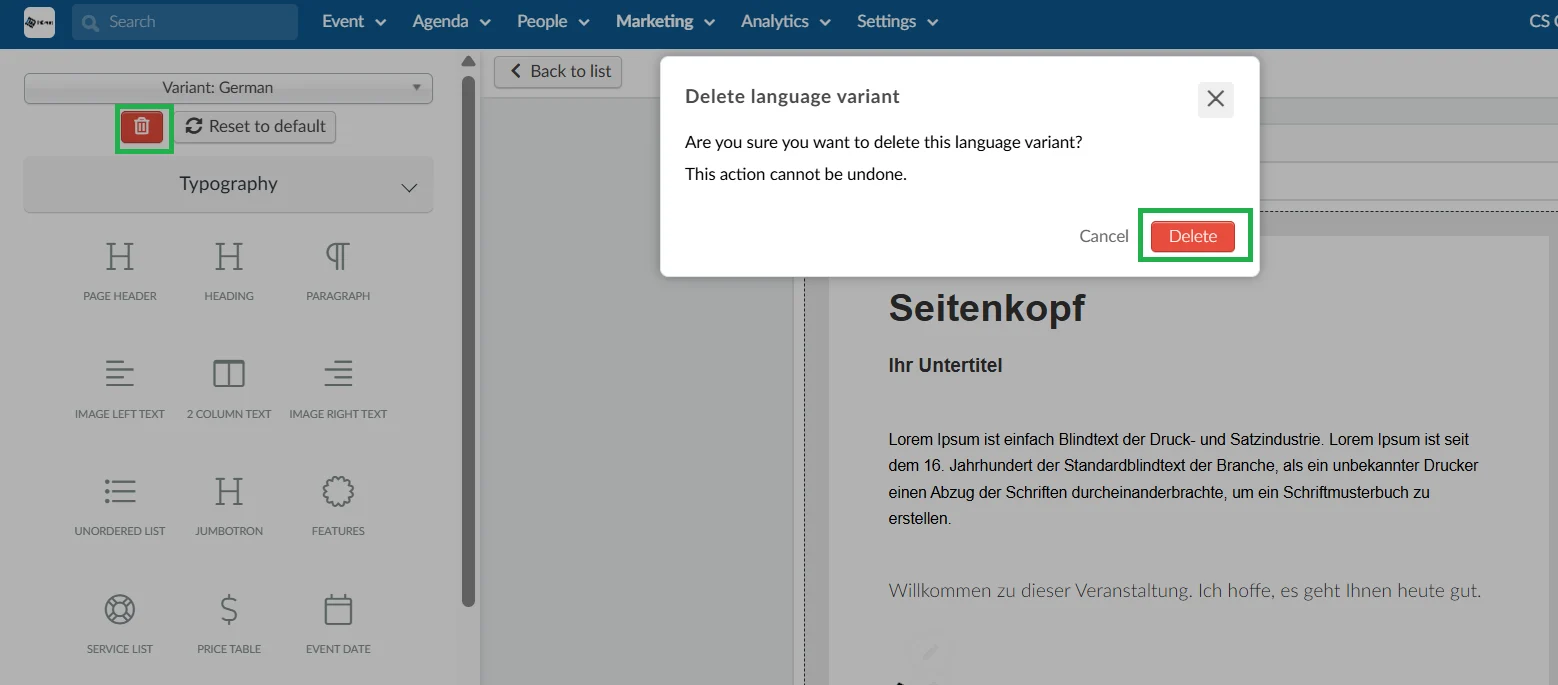
Deleting email translations
You can delete an email translation by clicking on the red thrash icon beside the language variant at the top left corner of the page. A confirmation window will appear to confirm your action. Simply click on Delete and it will be restored to the default English language.
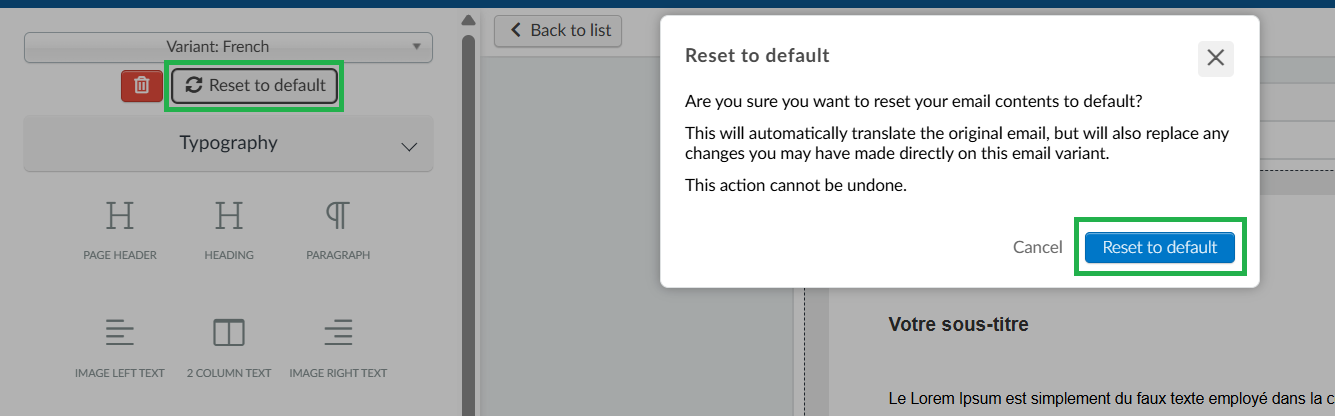
Resetting to default
Resetting your email content to default will take your email back to its original setting before any changes were made. To do this, click on the Reset to default button and press Reset to default in the confirmation window that appears.
Generating emails with the InEvent AI
With InEvent AI, you can easily generate an email by entering a prompt from the email builder. To use this feature, you need to enable the Email AI tool from the Settings > Tools > Registration page. Below are instructions on how you can use InEvent AI in the Email creator:
Email AI
To use the Email AI in generating emails, follow these steps:
- Add a text content into the email body.
- Click on the text content to display the text editor.
- Click the InEvent AI drop-down box in the text editor.
- Select Email AI. A pop-up box will appear.
- Enter your email prompt in the Write an email for text field.
- Press Generate to start processing your request. When the process is finished, a new pop-up box will appear.
- Add the generated email by pressing Use content.
- Review the generated email and edit if necessary before saving.
Text AI
You can also easily generate text by entering a prompt from the email builder with the use of InEvent AI - Text AI. Below are the instructions on how you can use this tool in the Email creator.
- Add a text content into the email body.
- Click on the text content to display the text editor.
- Click the InEvent AI drop-down box in the text editor.
- Select Text AI. A pop-up box will appear.
- Enter your text prompt in the Type your request below text field.
- Press Generate to start processing your request. When the process is finished, a new pop-up box will appear.
- Add the generated text by pressing Use content.
- Review the generated text and edit if necessary before saving.
Understanding InEvent AI token equivalents
InEvent AI token equivalents
One token is approximately equal to 0.75 words.
One hundred tokens is approximately equal to 75 words.
Alternatively
One to two sentences is approximately equal to 30 tokens.
One paragraph is approximately equal to 100 tokens.
1,500 words is approximately equal to 2,048 tokens.
Target audience
In the Target section, there are two drop-down boxes that will help you select recipients. The boxes are highlighted below:
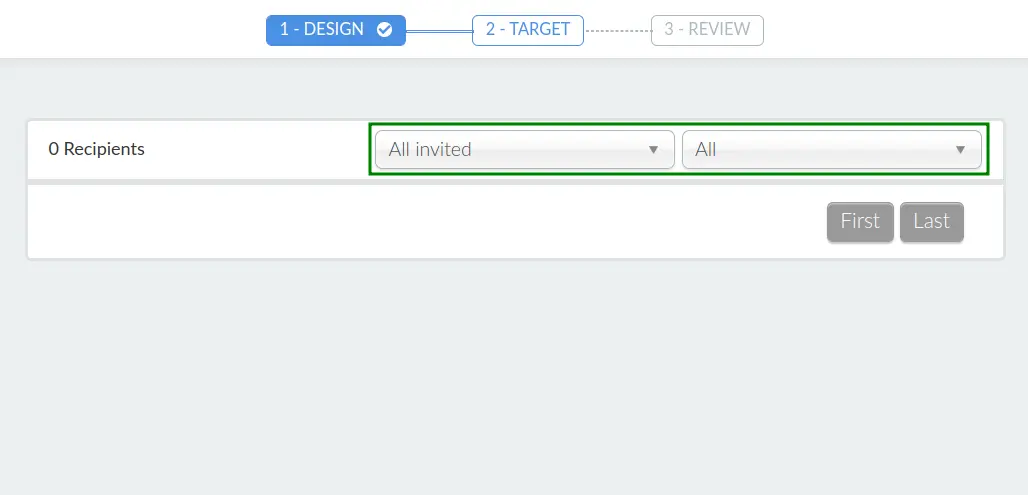
The first drop-down box allows you to choose the group of targets who will receive your email, as highlighted below:
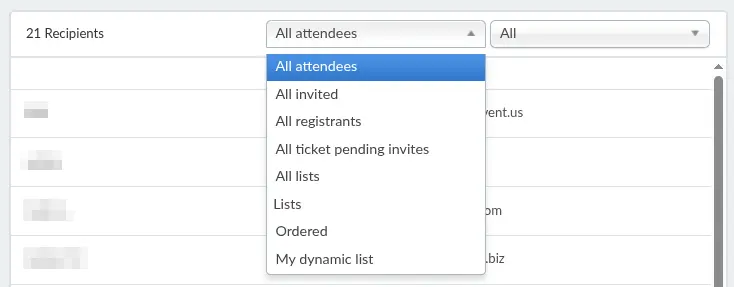
You can choose from the following groups:
- All attendees
- All invited
- All registrants
- All ticket pending invites
- All lists
- Custom lists and dynamic lists you have created
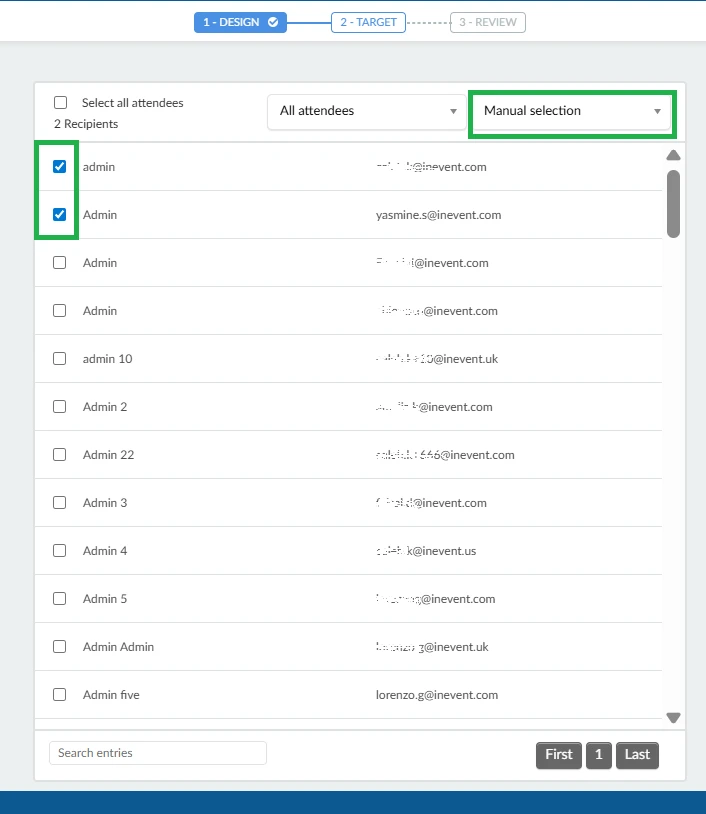
Afterwards, using the second drop-down box, you can either make a manual selection or apply a custom filter to filter users based on specific criteria.
Manual selection
When this option is selected, it allows you manually select users by ticking their checkboxes.
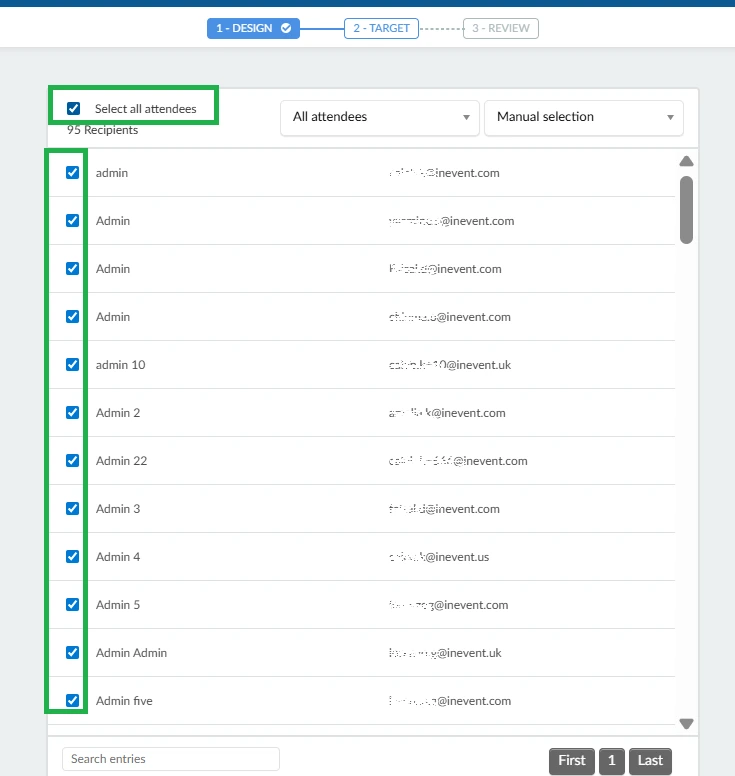
You can also select or deselect All attendees at once by checking or unchecking the Select All Attendees checkbox when using Manual selection, as shown below:
Custom filters
You can select targets using specific filters. Click on the second dropdown to select Custom filters and then click on the Filter button to select a filter.
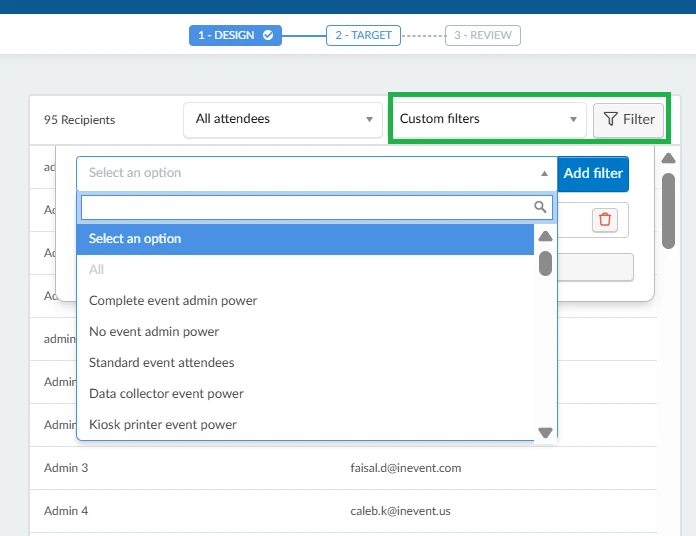
By choosing All, you can automatically select all available targets as recipients.
Filters are available depending on the group you have chosen in the first drop-down box, with the specifics listed below:
- All attendees
Refer to our Filtering attendees article for Attendee filters.
- All invited
Refer to our Invitees article for Invitee filters.
- All registrants
Filters available for this option are:
- Waiting for form submission: Users yet to submit their form.
- Ready for approval: Users whose applications are awaiting administrator approval.
- Approved for purchase: Users whose purchase applications are approved.
- Pending purchase: Users with pending purchases.
- Enrolled: Enrolled users, or attendees.
- Approved: Users whose applications have been approved.
- Waitlist: Users who are still waiting for approval.
- Not cancelled: Users whose enrollments are not cancelled, as opposed to Cancelled.
- Cancelled: Users whose enrollment are cancelled
- Rejected: Users whose registrations were rejected
- Pending: Users whose registration is pending
- Tags: Users who selected/are assigned attendee tags. For more information, refer to the Tags article.
- All lists: Only Manual selection and All will be available for this option.
You can also select a specific list and tick the checkbox os users within the list.
Once you have finished selecting the recipients of your email, you can proceed to review and send the email by clicking Review.
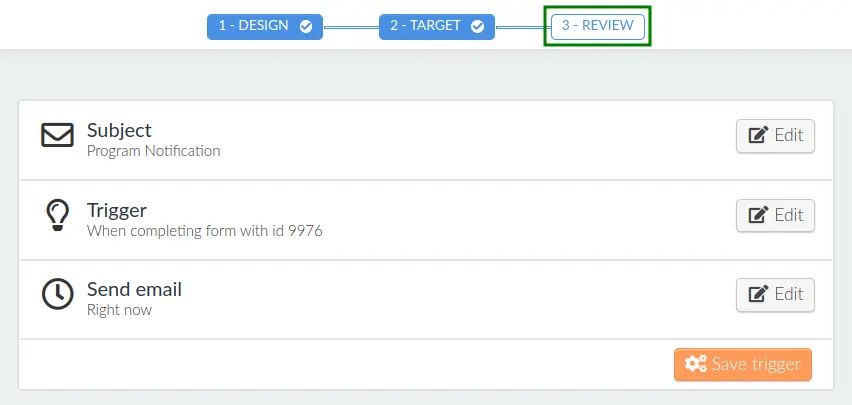
Review & Send
In the Review section, you can verify the email subject, set a trigger, configure reminders, and either send the email immediately or schedule a specific date and time for its delivery.
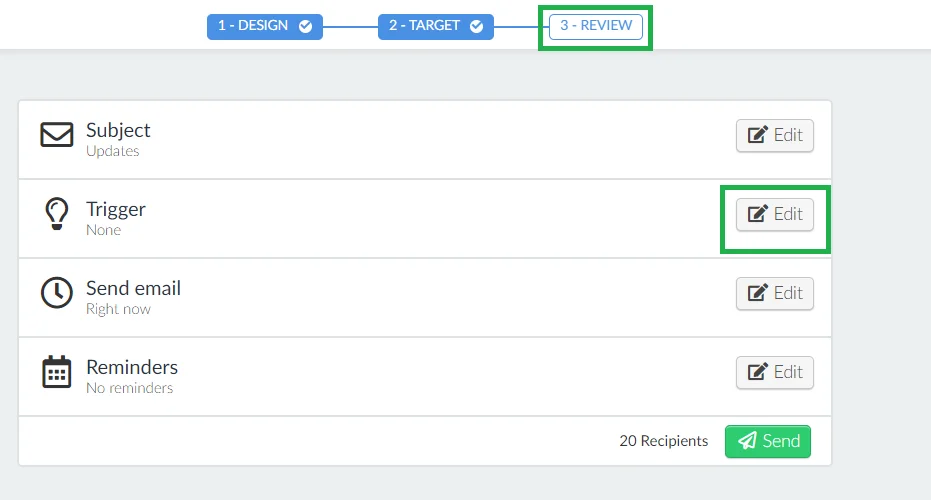
Setting a trigger
You can create a trigger for your email, such that it will be sent as soon as someone responds to a specific form. To do this, click Edit in the Trigger field.
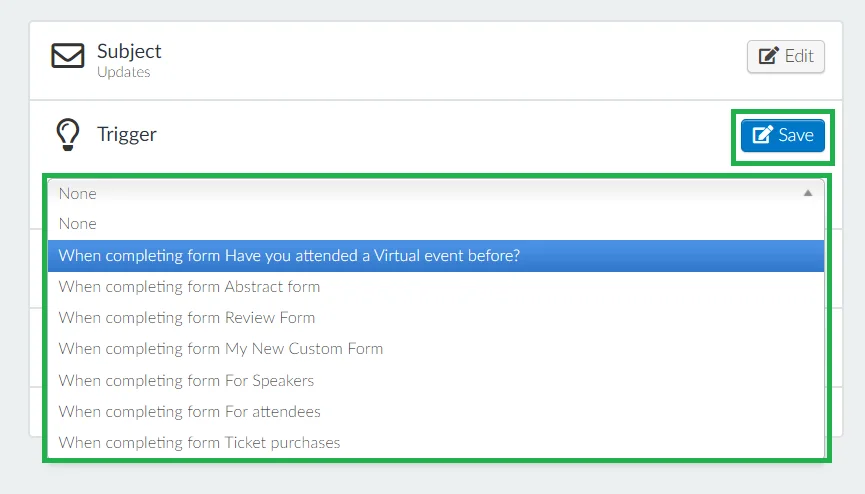
Choose the desired form from the available options in the drop-down that you want to link to the email, and then click the blue Save button.
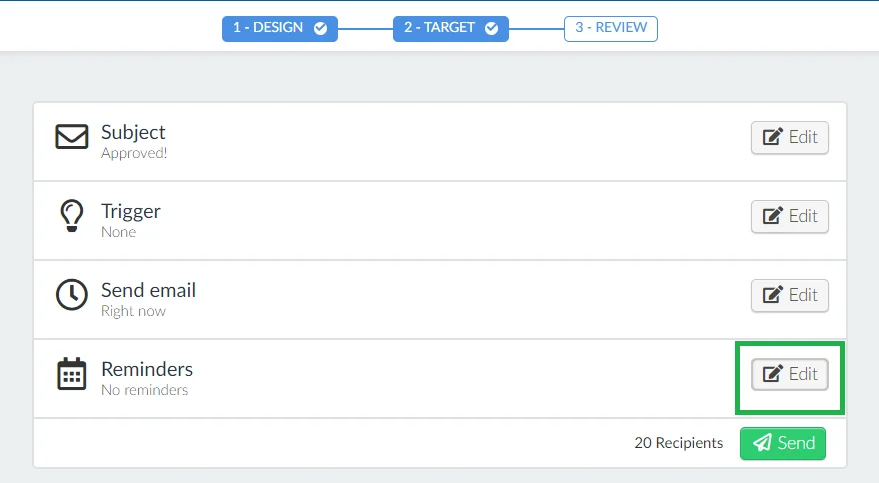
Scheduling an email reminder
To schedule email reminders at a specific time interval, click on the Edit button in the Reminders field.
Next, choose your preferred reminder time schedule from the available options and press the Save button.
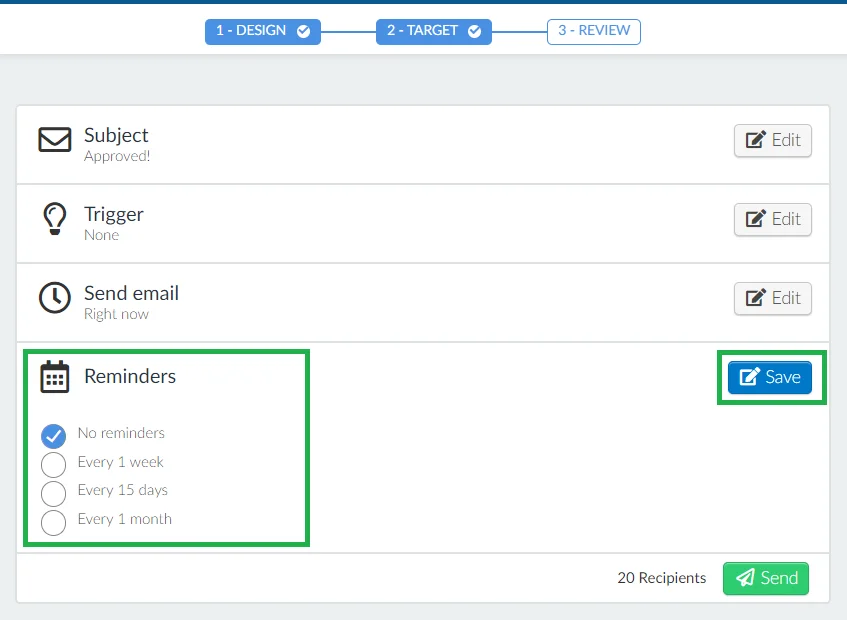
Once the reminder is set and the email is sent, the email will be resent to recipients at the scheduled time intervals.
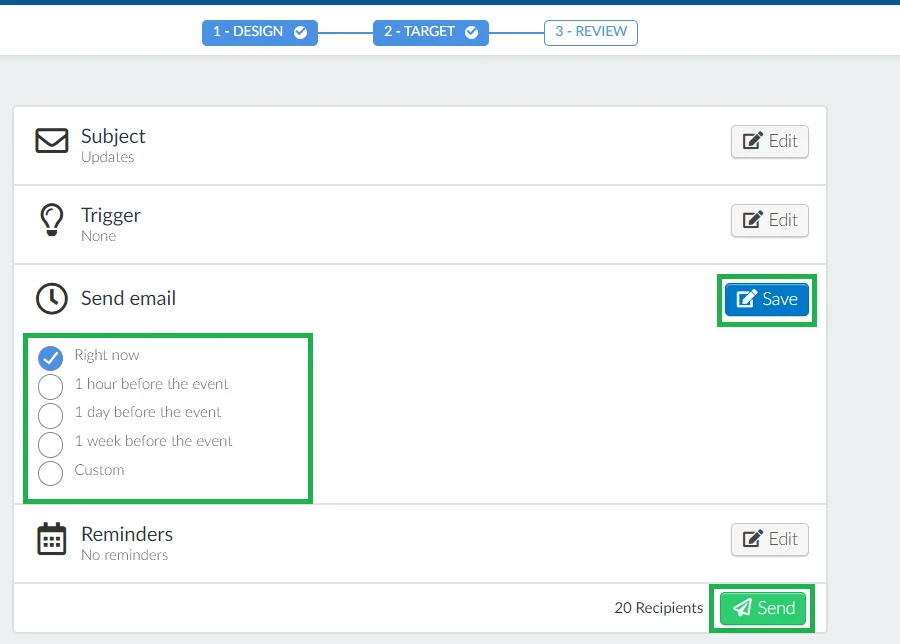
Sending the email
After setting the trigger and optional reminder, click the Edit button in the Send email field to either send the email immediately or schedule a specific date and time.
Once you've selected the timing, click the blue Save button, then press the green Send button.
Sending an email preview
You can preview the email on a computer or on a smartphone by clicking on the preview button, or you can send a preview to your email by following a few steps.
To send an email preview:
- Click the Preview button in the top-right corner of the page.
- Open the Target list dropdown menu and select the group where your test recipient is located. The available options include:
- All attendees
- All invited
- All registrants
- All ticket pending invites
- (Static) lists
- Dynamic lists
- Choose the person you want to send the preview to by typing their name in the Select the person who should receive the preview field.
- Click the blue Send preview button to send the email.
The email received will contain a preview of the email and the possibility to View in browser the preview as shown below:
Cancelling email reminders for sent emails
To cancel an email reminder for an email that has already been sent:
- Locate the email in the email list.
- Click the blue pen icon to open the email.
- At the top-right corner, click the Cancel reminder button.
This will stop recipients from receiving the email at the previously set reminder interval.

Archiving Emails
The Archived section in the Email creator lets you store emails you no longer need to keep active, without deleting them. This helps keep your email list clean and organized while still allowing you to access them later if needed. Archiving reduces clutter in your active email lists, making it easier to focus on current campaigns while safely keeping your past emails on record.
To archive your emails, follow these steps:
- Navigate to Marketing > Communication > Email creator > Emails. You will see all the emails in your email creator in the All Emails section.
- Click Edit and select the emails you wish to archive by ticking the boxes corresponding to the emails.
- Once you have selected the emails, click the Archive button. This will move the selected emails to the Archived section of the Email creator.
- Click End to finish and then click on the Archived section to view all the Archived emails.
Unarchiving Emails
To unarchive your emails, follow these steps:
- Navigate to Marketing > Communication > Email Creator > Emails, then click on the Archived tab to view all archived emails.
- Click Edit at the top-right corner.
- Select the emails you wish to unarchive by ticking the checkboxes next to them.
- Click the Unarchive button. This will move the selected emails back to the All Emails section.
- Click End to finish. You can now find the unarchived emails in the All Emails tab.

Configuring automatic emails
In the Automatic emails section, you can disable or enable automatic emails using the Status toggle. You can also customize the design of automatic emails by pressing on the blue Open email editor button that corresponds to the automatic emails. Then, you will be able to customize the email subject, layout, and design.
Creating custom templates
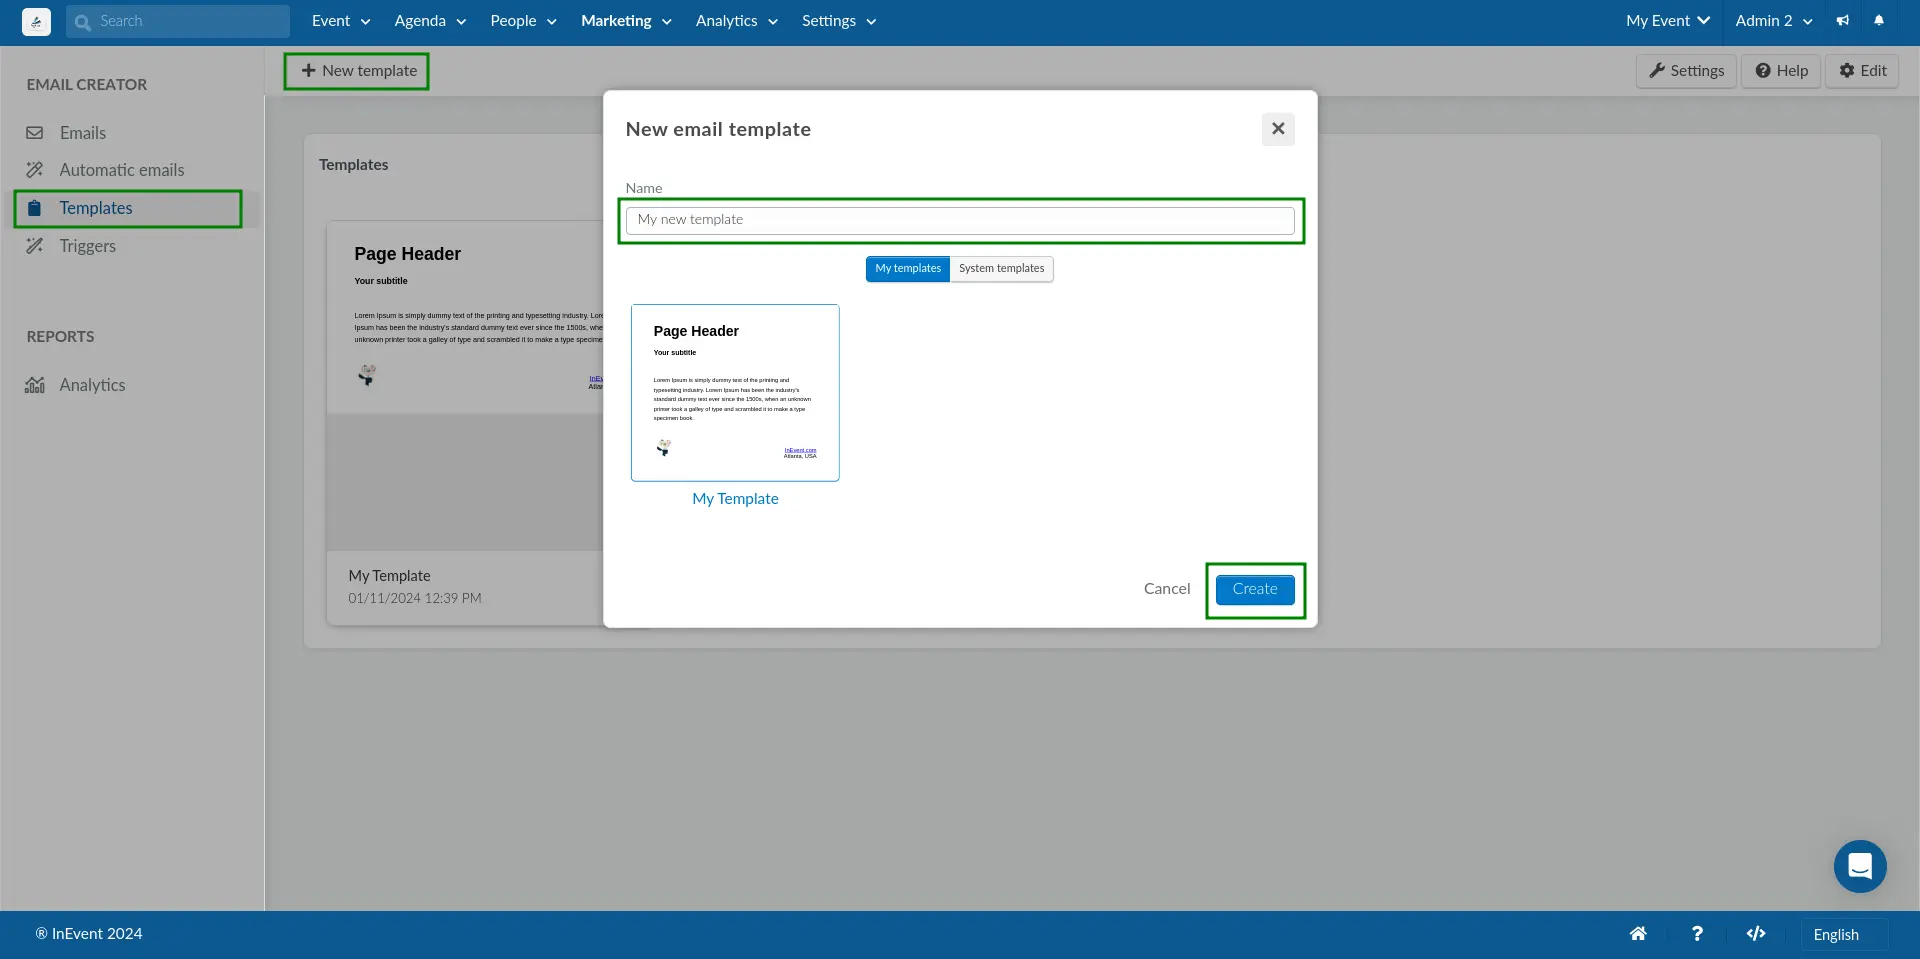
In the Templates tab, you can create custom templates off the system templates available for your emails. To create a custom template, follow the steps below:
- Click on Templates from the left menu of the Email creator interface.
- Click on +New template.
- Type the name of your template under the Name text box.
- Click on Create.
Once you have created the custom templates, they will appear in the Templates tab and will be available for you to select from My templates when creating an email.
To remove a custom template, simply click on Edit and tick the checkbox of the template you want to remove, click on the Remove button at the top right corner of the page. A confirmation pop-up will appear, click on Remove again to confirm the action.

Setting up email triggers
In the Triggers section, you can set up and configure triggers to send your custom emails automatically using custom templates.
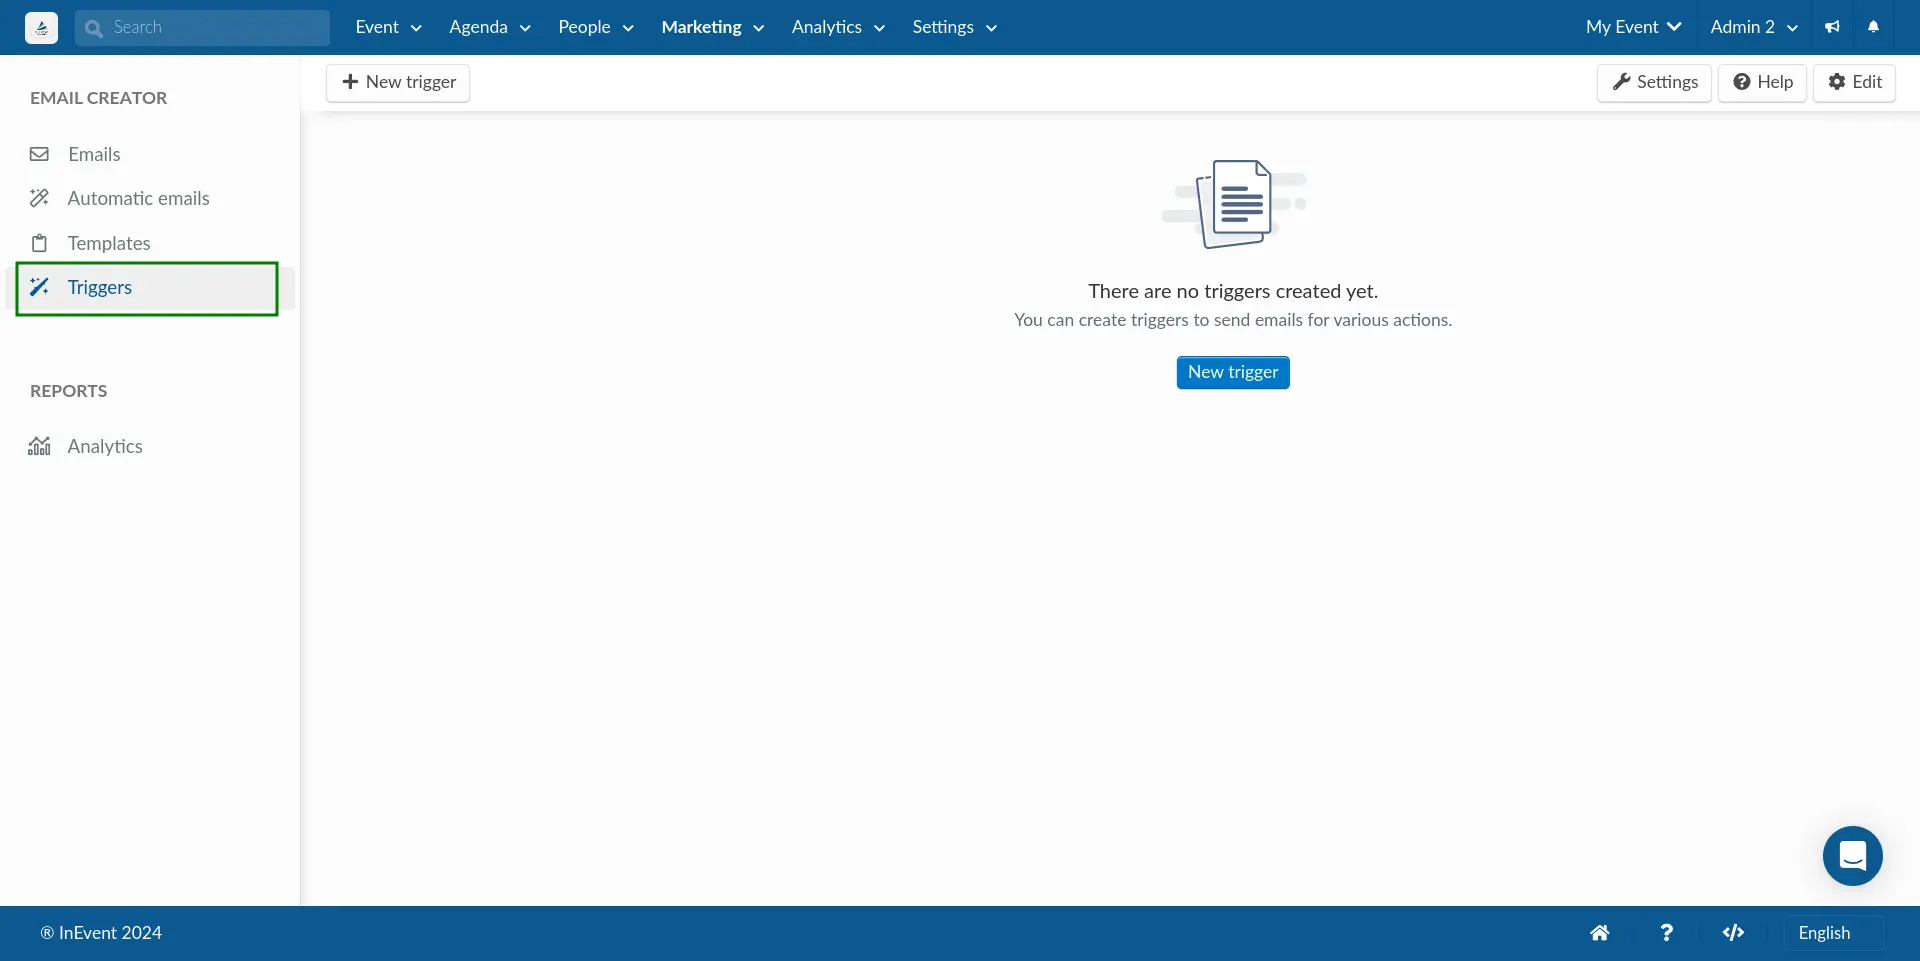
To set up a new trigger, follow the steps below:
- Click on the New trigger button on the top left corner. The New trigger pop-up box will be displayed.
- Select an Action using the drop-down selector. The available options are as follows:
- Finishes a form: Set so that the email is sent when a user finishes a form.
- User is waiting for approval: Set so that the email is sent when a user has applied for your event and is waiting for the organizer's approval.
- Users with purchase unfinished: Set so that the email is sent when a user has an unfinished purchase.
- User is added to list: Set so that the email is sent when a user is added to a list.
- User removed from list: Set so that the email is sent when a user is removed from a list.
- User registered without activities: Set so that the email is sent when a user registers to the event without selecting any activities to join.
- Feedback submission approved: Set so that the email is sent when a user's feedback submission is approved.
- Feedback submission rejected: Set so that the email is sent when a user's feedback submission is rejected.
- Select a custom template using the Select an email template drop-down selector.
- Enter the amount of minutes this trigger should be delayed for using the Delay text box. When adding a delay, the system will check if the action still fits the trigger criteria before dispatching the email.
- Press the Create button.
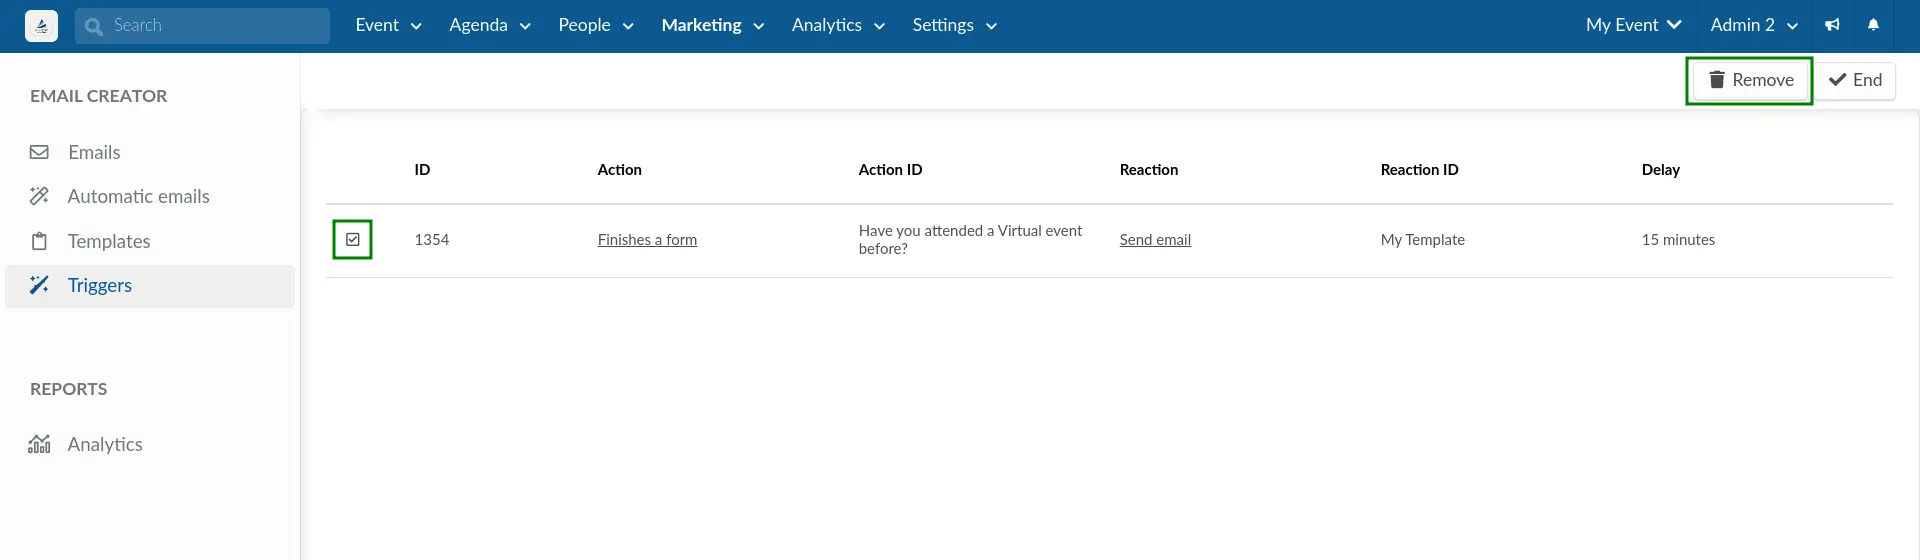
Removing an email trigger
To remove an email trigger, click on the Edit button. Then, select the trigger(s) to be removed using the corresponding checkbox, and click the Remove button.
Settings
You can access the relevant tools of the Email creator by clicking on the Settings button in the top right corner of the page. A pop-up will appear with the tools that will help you customize your email settings. The tools are segmented into their various categories: Registration, Moderation, and Extra.
To enable or disable a tool, click on the switch next to it as shown below:
Alternatively, you can access these tools from the Tools page (Settings > Tools). Refer to our Event Tools article for further information.
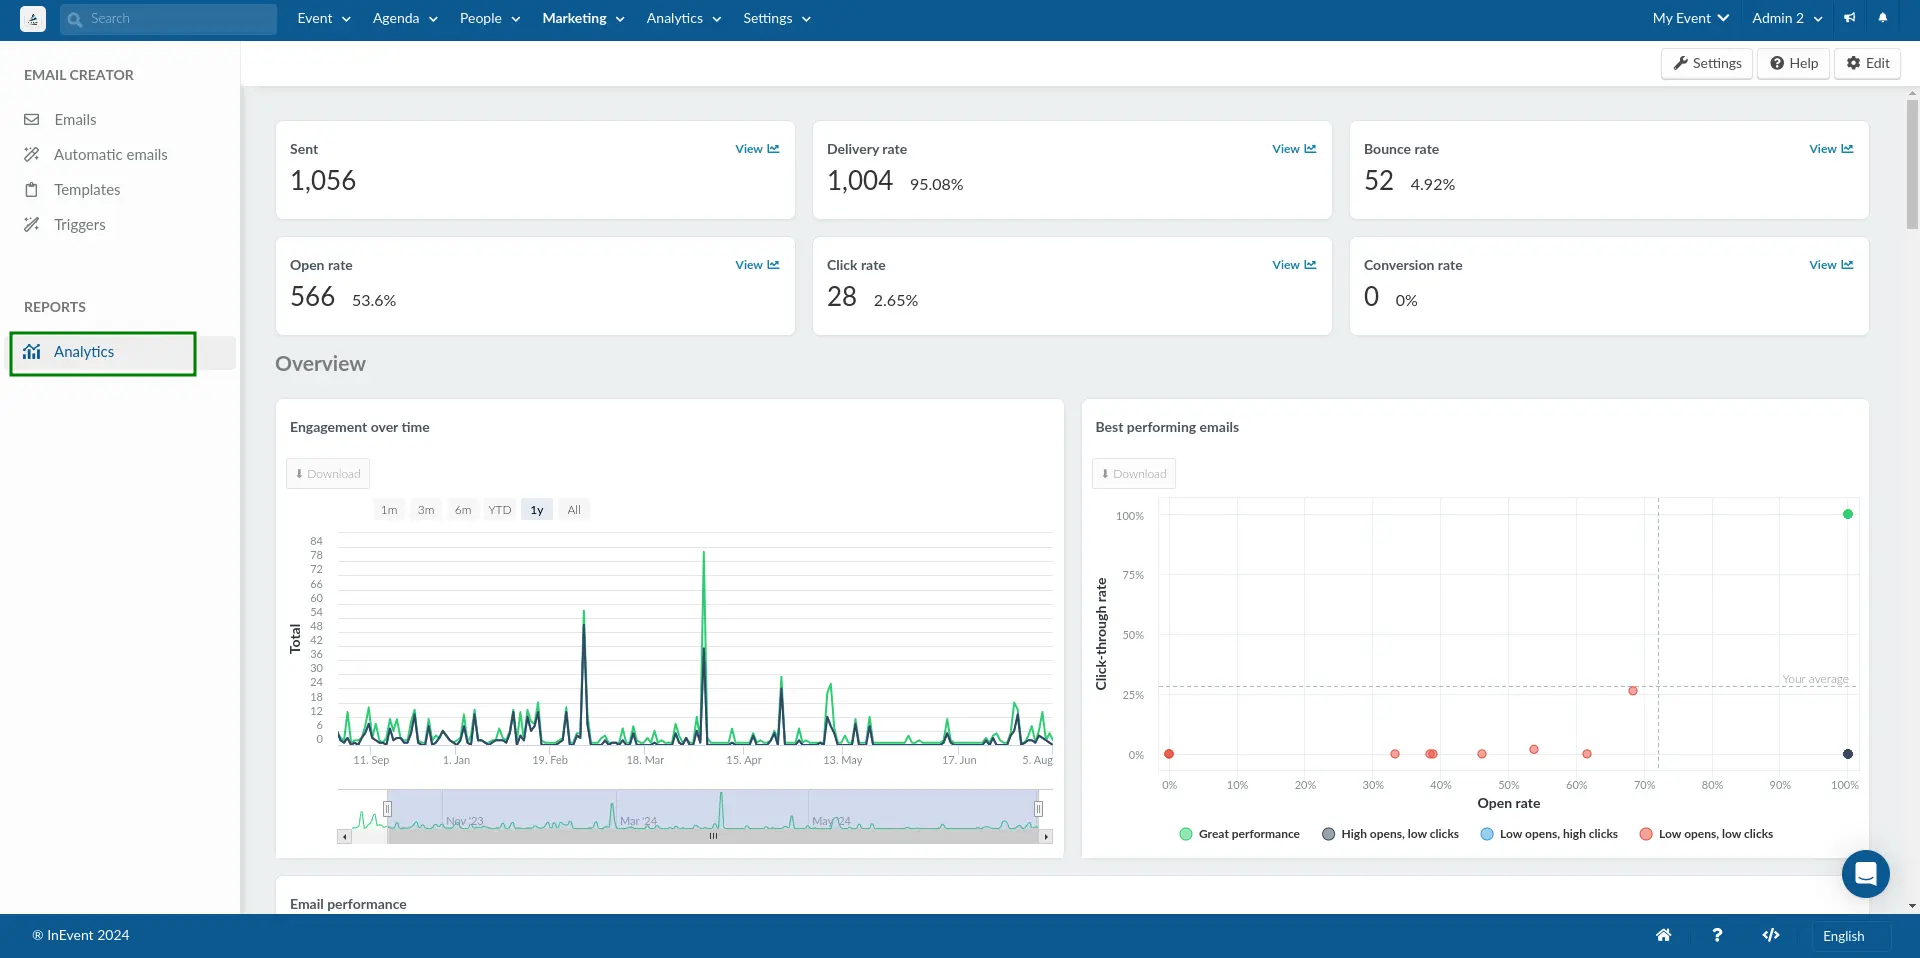
Email Analytics
To see a full analytic report of your emails, click on Analytics from the left menu under the Report section. This section will show all the statistics of your emails. To learn all about the analytics report, refer to the Email Analytics.
- If you wish to white label your event app as well as have custom emails, take a look at our Custom email article.
- To prevent your event's email quota from being blocked due to a high bounce rate check out our Reducing your email bounce rate article.