Confirmation email and other automatic emails
 Updated 1 week ago
by
Lorenzo
Updated 1 week ago
by
Lorenzo
- Configuring automatic emails
- Available automatic emails
- Event access automatic emails
You are able to send automatic emails to your attendees as soon as they complete the enrollment.
Configuring automatic emails
To find and configure automatic emails, navigate to Marketing > Communication > Automatic emails.
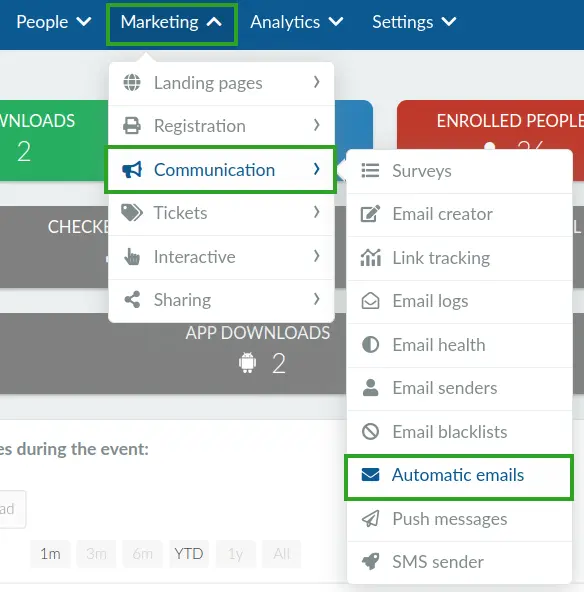
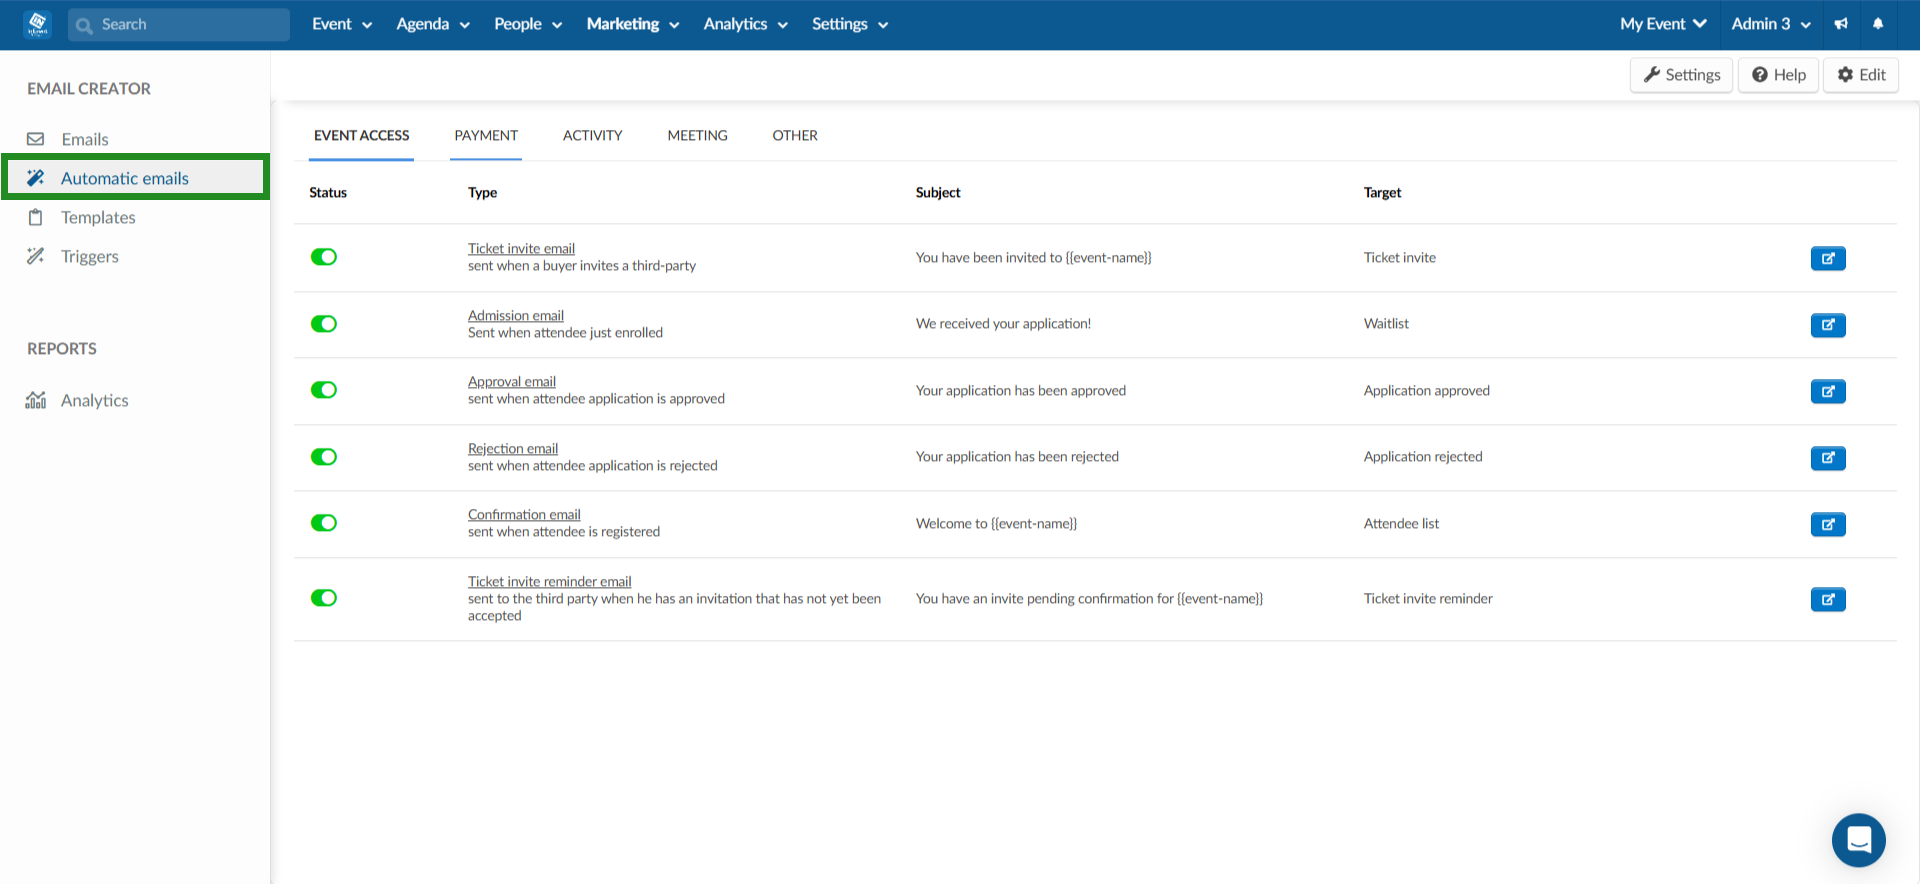
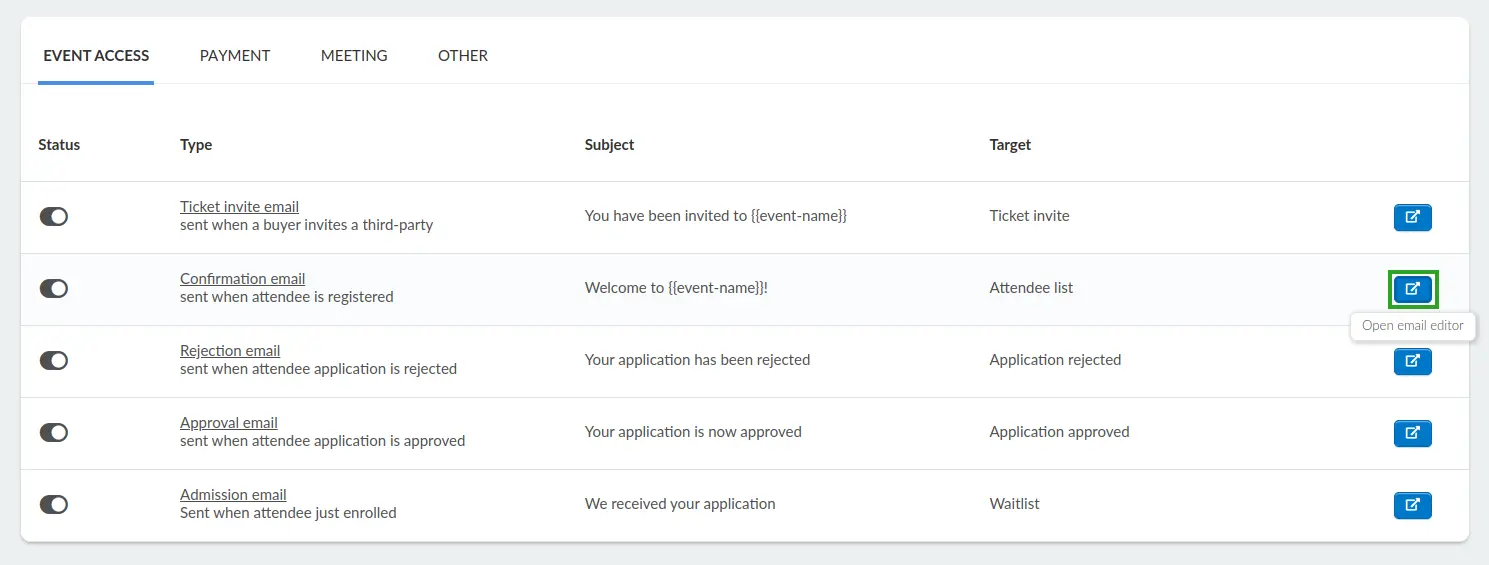
In the Automatic emails page, you can enable and disable the automatic emails by using the Status toggle for the corresponding email.
Alternatively, you can also navigate to Marketing > Communication > Email creator. From the Email creator interface, select Automatic emails on the left sidebar.
You can, however, disable Payment-related emails for free purchases. To do so, find the Payment email for free purchases tool in Settings > Tools. For more information, refer to the Set Event Tools article.
Available automatic emails
There are 5 available categories of automatic emails, listed as follows:
- Event access: Contains automatic emails related to event admission and access.
- Payment: Contains automatic emails related to the payment process and refund.
- Activity: Contains automatic emails related to activity enrollment approval and rejection.
- Meeting: Contains automatic emails related to Meetings in the Virtual Lobby.
- Other: Contains automatic emails to notify newly added event admins and to acknowledge issue reports raised by attendees.
Event access automatic emails
This section provides information on all emails that belong to the Event access category.
Confirmation email
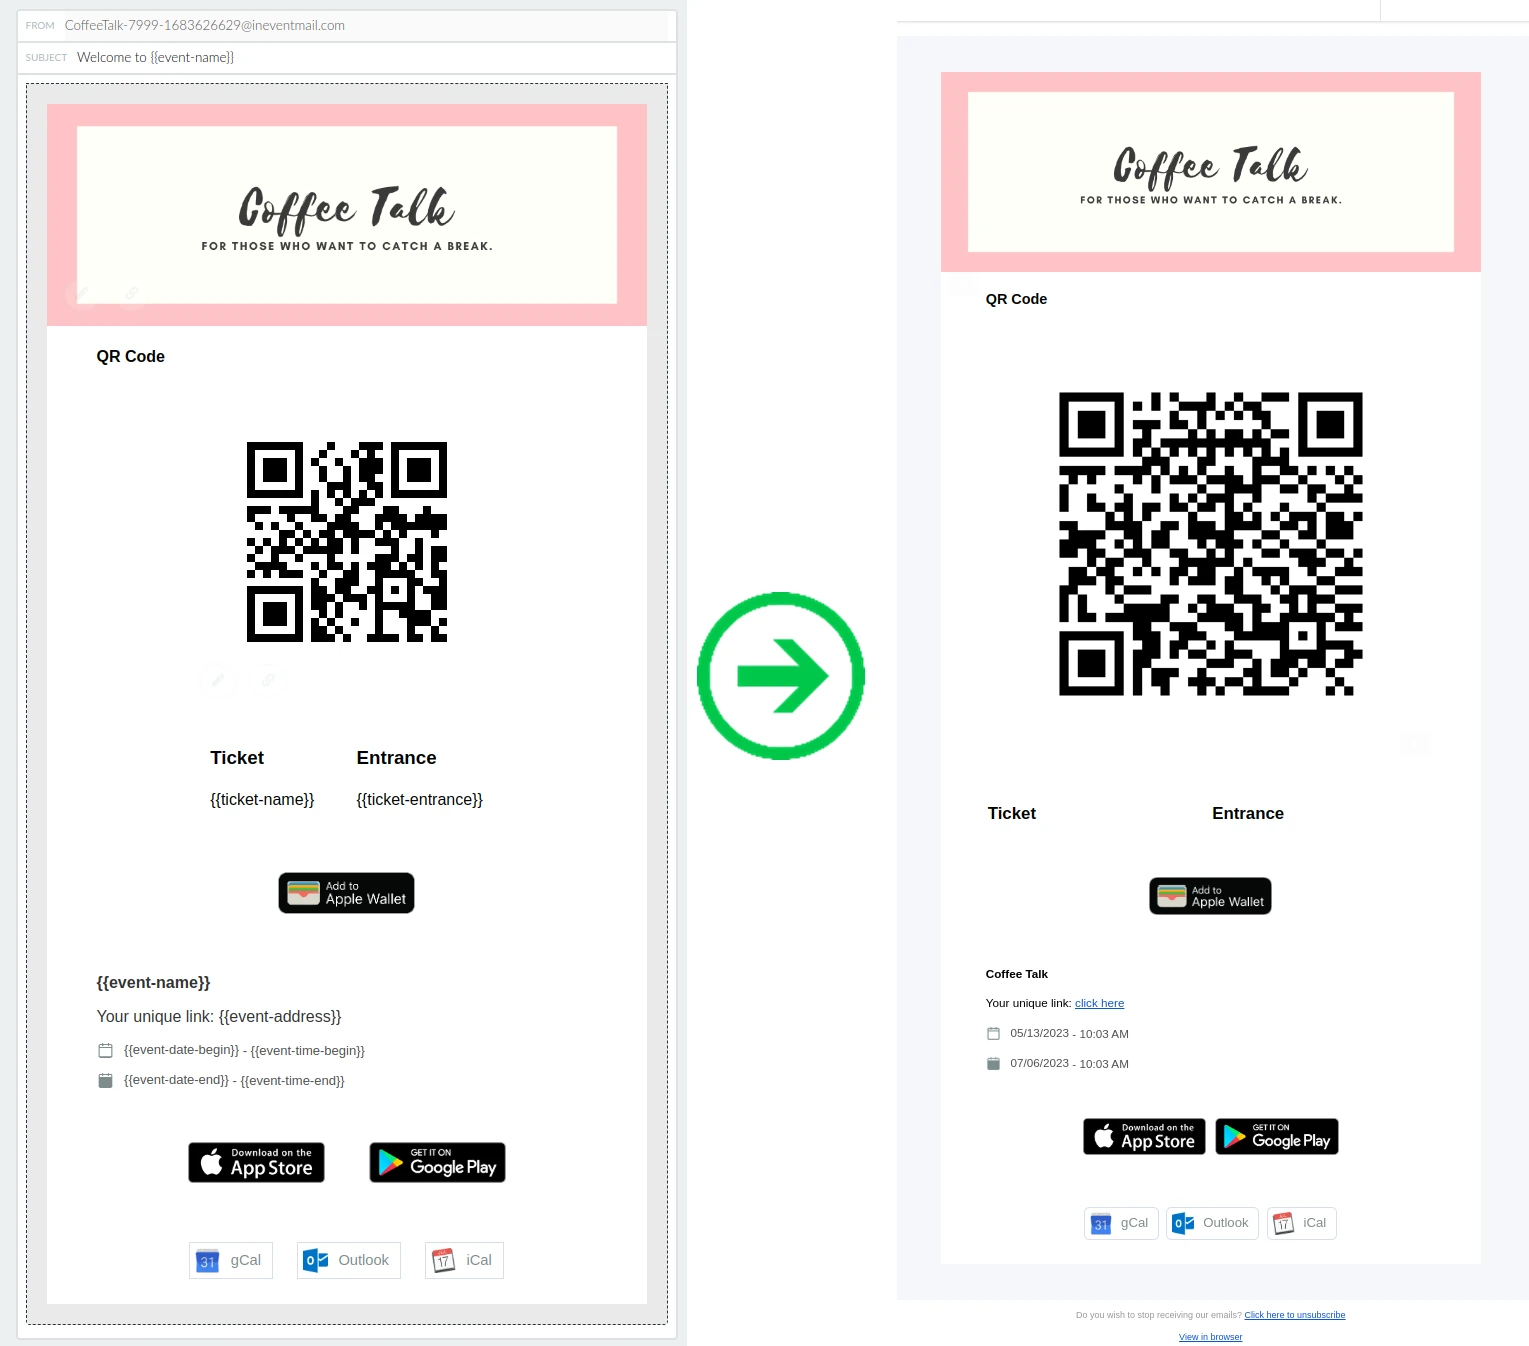
A Confirmation email will be sent to an attendee who enrolls into the event via the registration form, or an attendee who is added to the event from the platform by event organizers.
Below is how the default Confirmation email looks, with the preview version on the left and the sent version on the right.
Disabling automatic confirmation emails
Event organizers can decide to disable automatic confirmation emails. When the Confirmation email is disabled, attendees who register for your event will not receive an automatic confirmation email, even if you re-enable the Confirmation email.
Resending confirmation emails
You can manually resend confirmation emails to individual attendees or in bulk. For more information, refer to our article on resending confirmation emails.
Attaching an event calendar invite to confirmation emails
You can attach a calendar invite to confirmation emails by enabling .ics file on confirmation emails.
Removing attendee QR codes in confirmation emails
You can remove the QR code from the Confirmation email by customizing the email using the email editor.
In addition, you can also remove the QR code by completely disabling QR codes on your event. You can do so by disabling My QR Code from the Event tools.
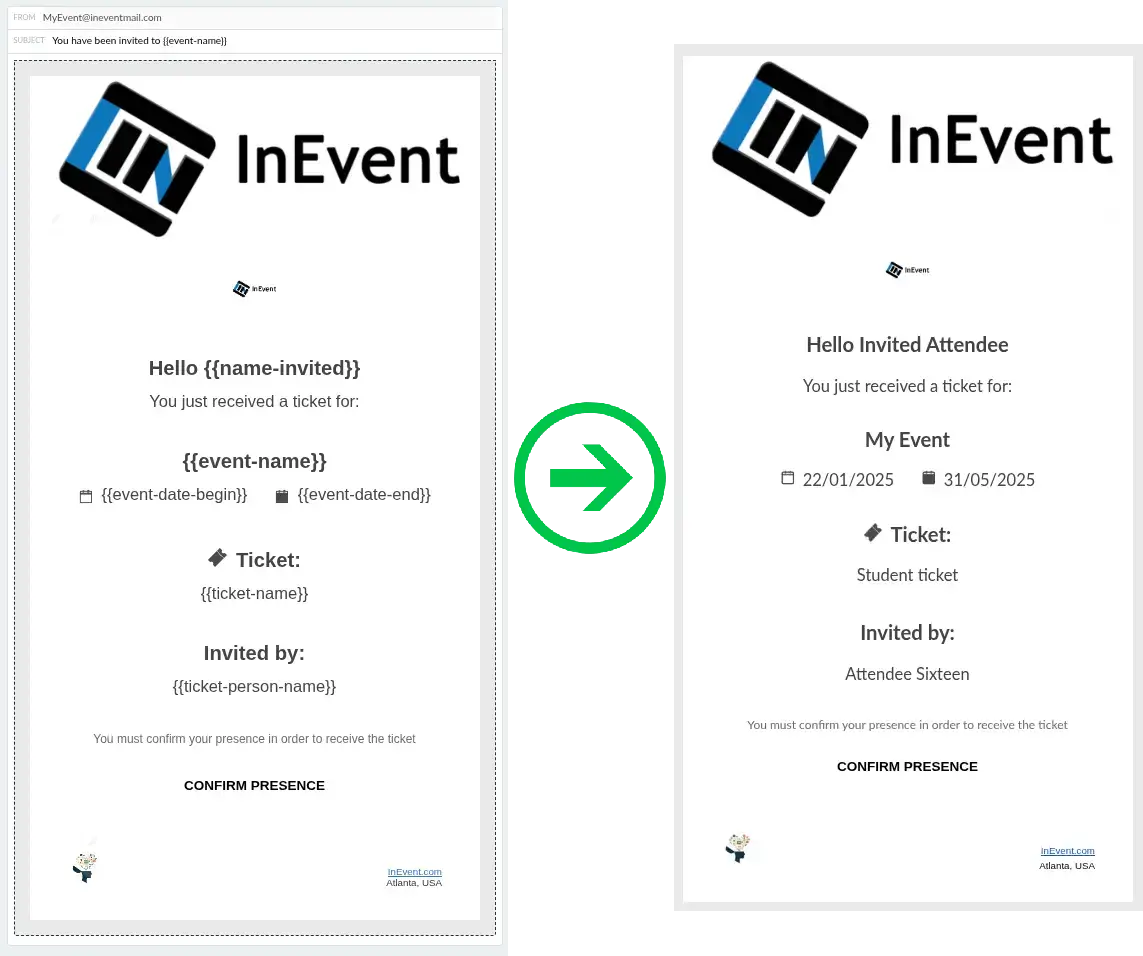
Ticket invite email
A Ticket invite email will be sent when an attendee invites a third party or gives away a ticket to a recipient. The automatic email will be received by the attendee's invitee or their ticket giveaway recipient.
Below is how the default Ticket invite email preview looks, with the preview version on the left and the sent version on the right.
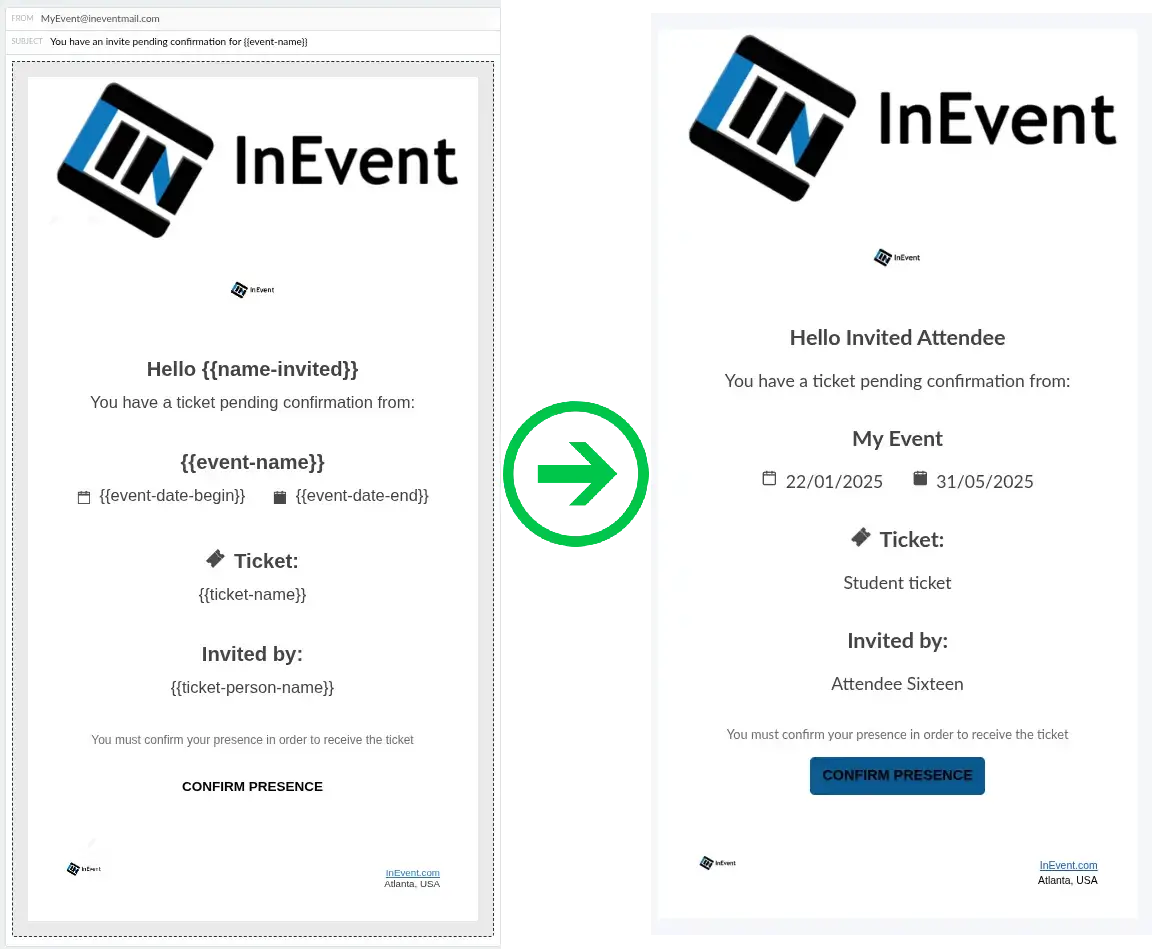
Ticket invite reminder email
A Ticket invite reminder email will be sent when an attendee's invitee or ticket giveaway recipient has not completed their event registration. The automatic email will be received by the attendee's invitee or their ticket giveaway recipient.
Below is how the default Ticket invite reminder email preview looks, with the preview version on the left and the sent version on the right.
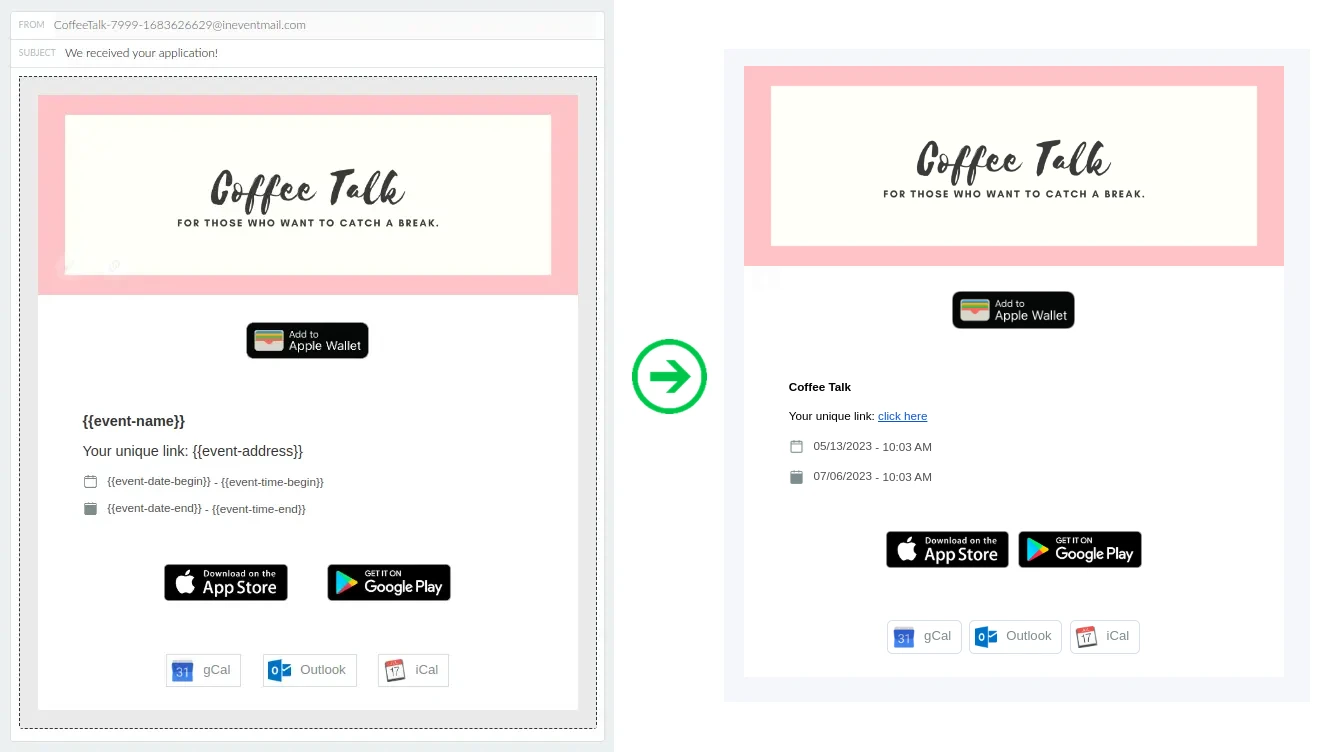
Admission email
An Admission email will be sent to a registrant who has enrolled via the registration form and is awaiting approval from event organizers.
Below is how the default Admission email looks, with the preview version on the left and the sent version on the right.
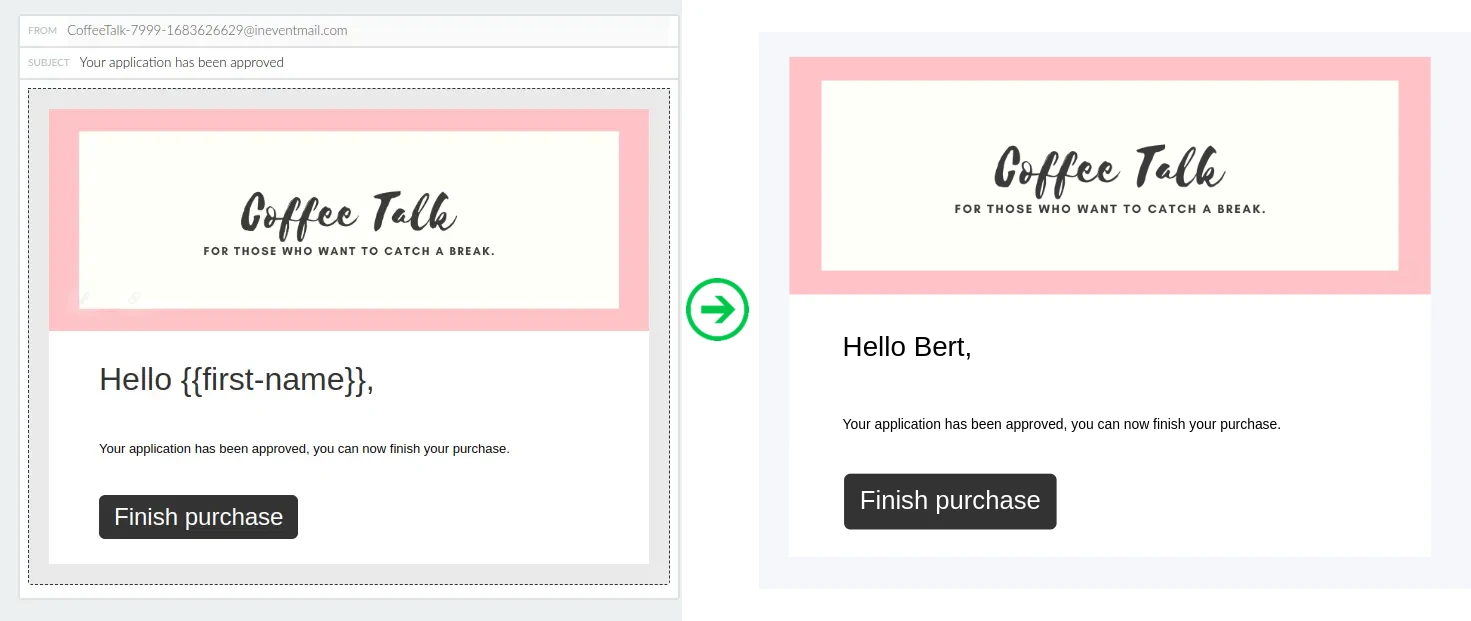
Approval email or Approved for purchase email
An Approval email will be sent to a registrant once their event enrollment is approved or accepted by the event organizer.
The Approval email becomes Approved for purchase email when Ticket requirement is enabled alongside the Approval requirement feature
Below is how the default Approval/ Approved for purchase email looks, with the preview version on the left and the sent version on the right.
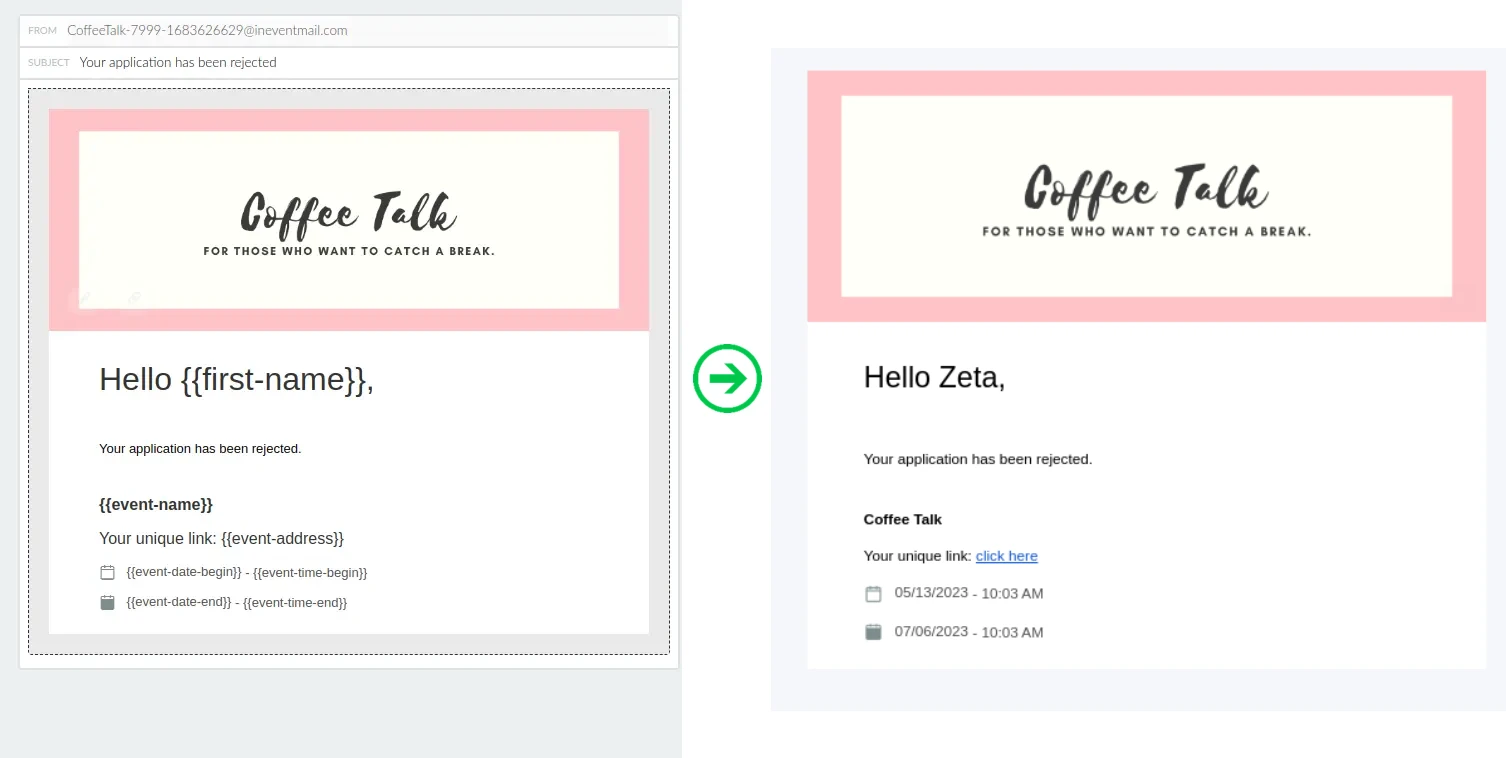
Rejection email
A Rejection email will be sent to a registrant once their enrollment is rejected or declined by the event organizer.
Below is how the default Rejection email looks, with the preview version on the left and the sent version on the right.
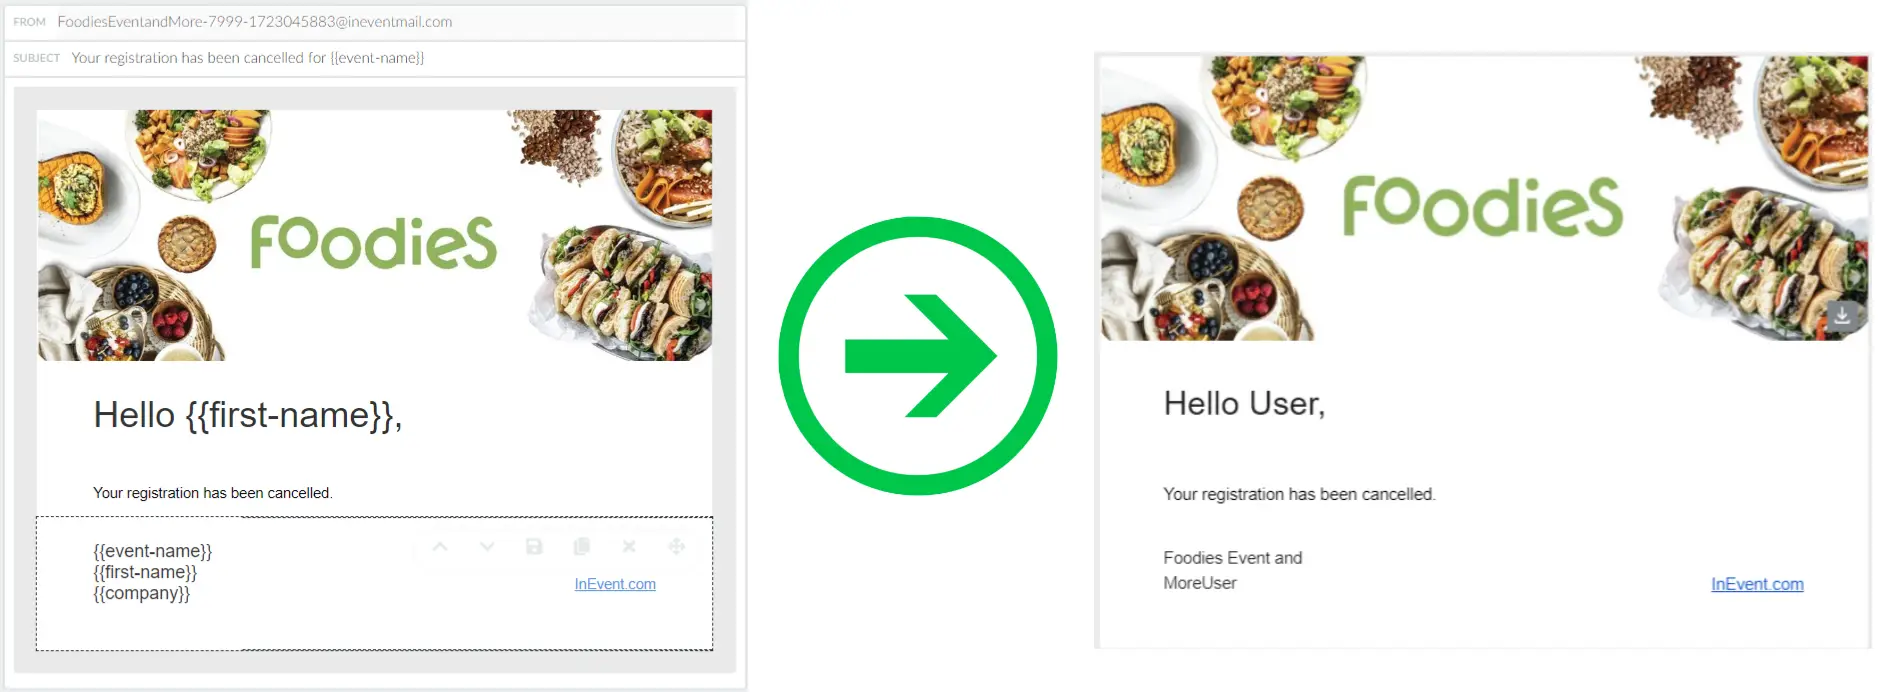
Cancellation email
A Cancellation email will be automatically sent once user cancels their registration to the event by filling and submitting their cancellation form.
Below is how the default cancellation email looks like, with the preview version on the left and the sent version on the right.
Payment automatic emails
This section provides information on all emails that belong to the Payment category.
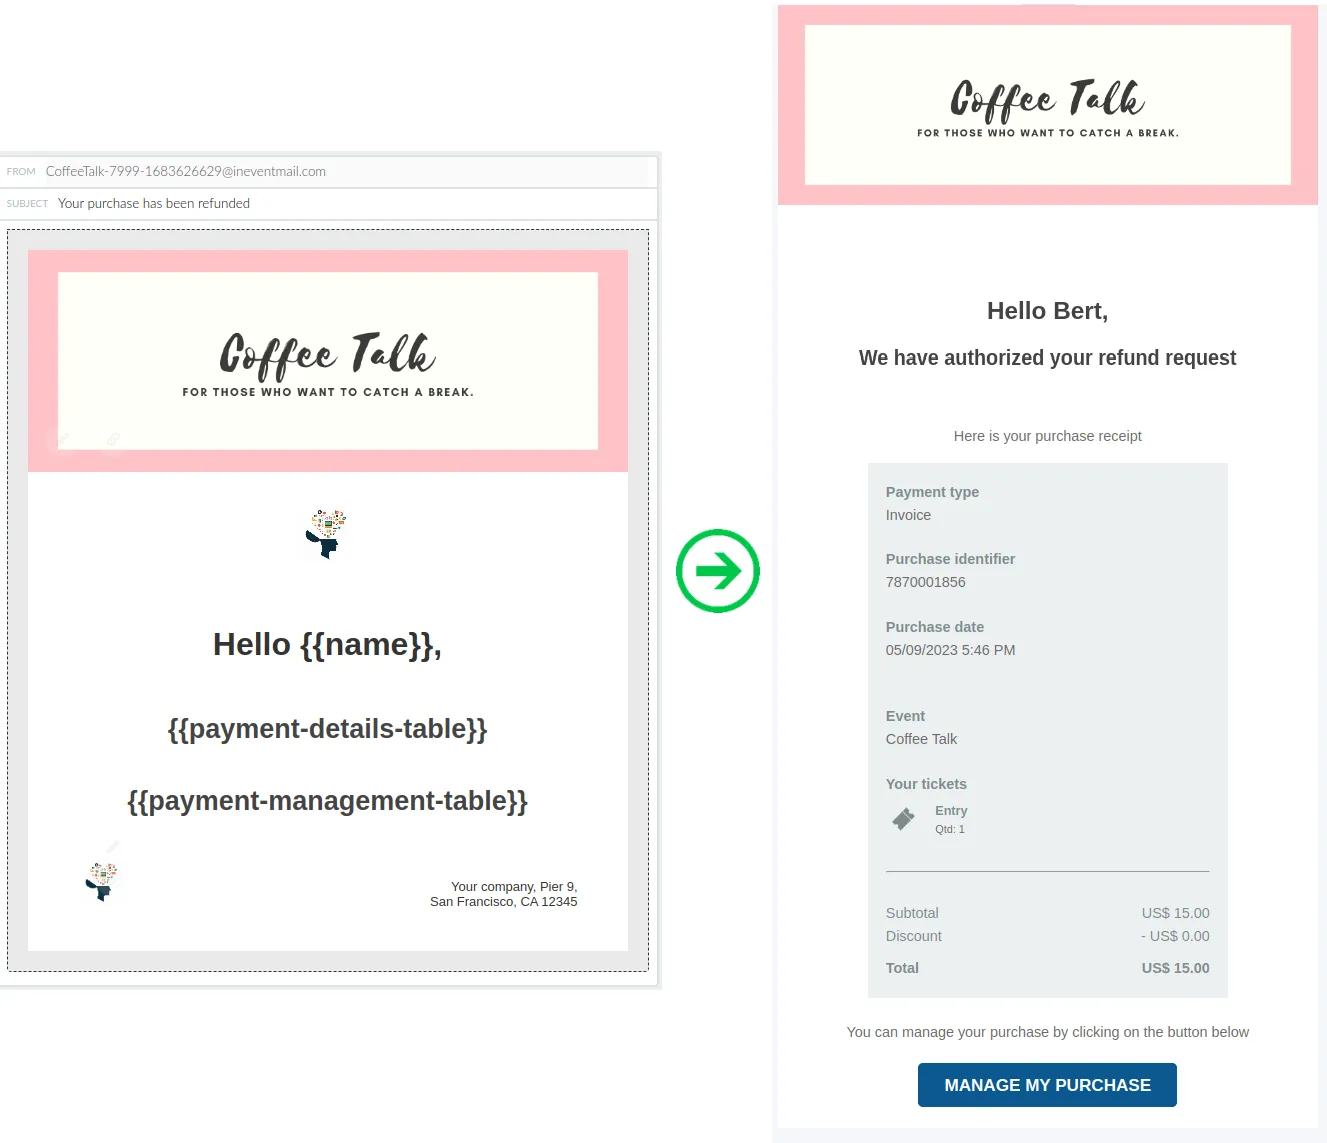
Refund email
A Refund email will be sent when an attendee's refund request is authorized by admins, or when an admin issues a refund to an attendee.
Below is how the default Refund email looks, with the preview version on the left and the sent version on the right.
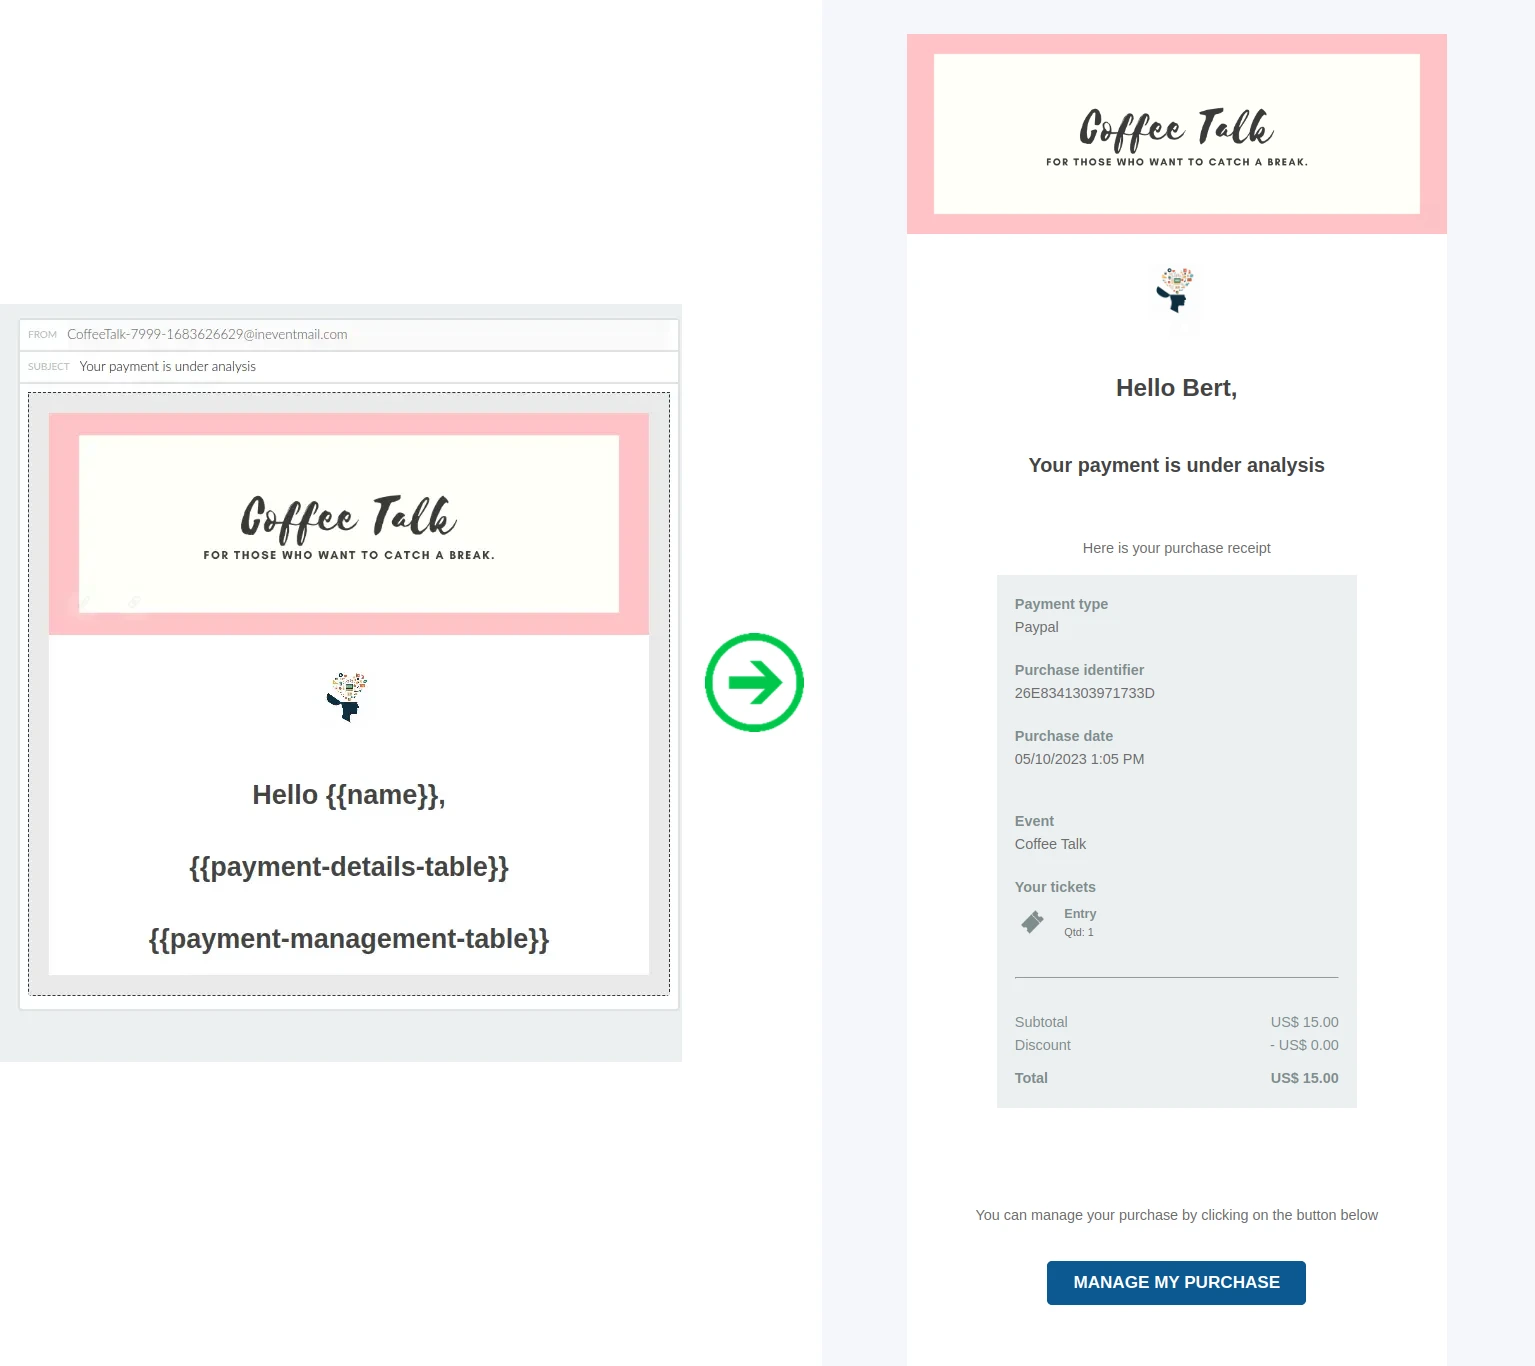
Payment in analysis email
A Payment in analysis email will be sent when an attendee's payment is under analysis or review by the integrated payment platform used.
Below is how the default Payment in analysis email looks, with the preview version on the left and the sent version on the right.
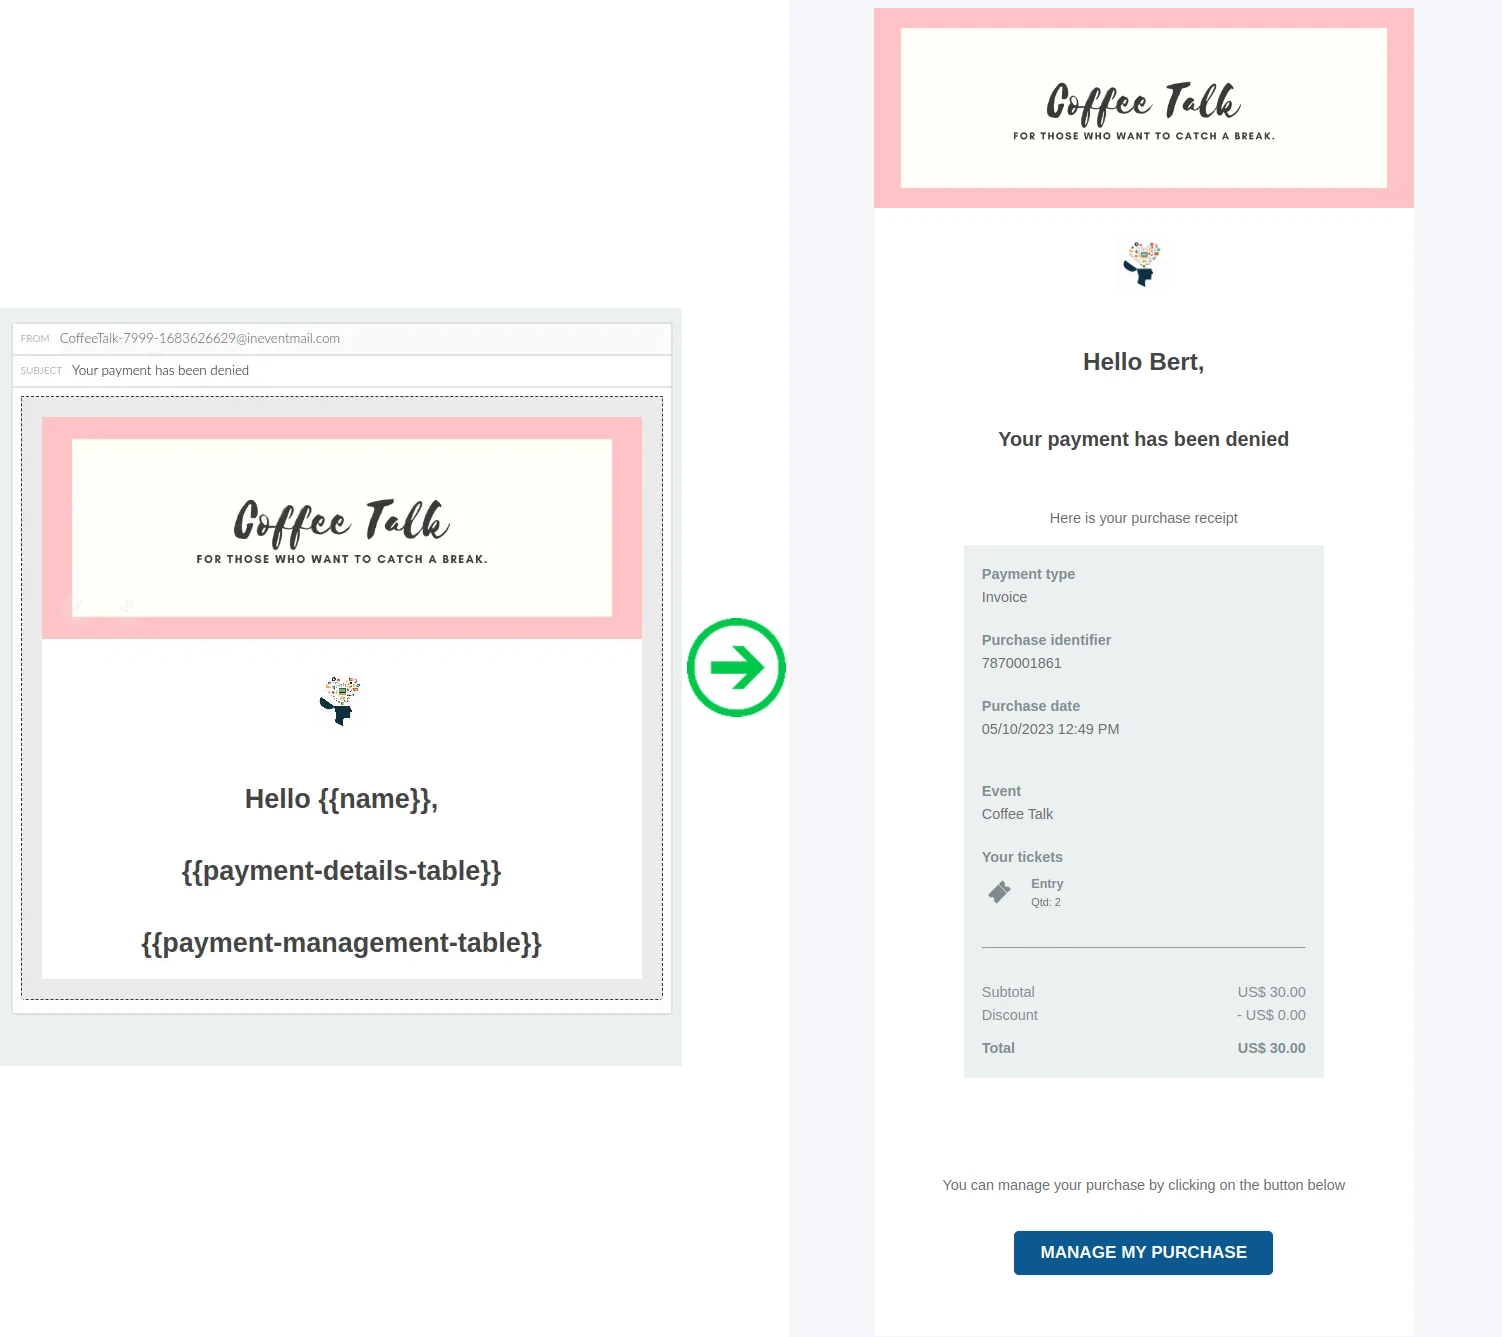
Rejected payment email
A Rejected payment email will be sent when an attendee's payment is rejected by the event organizer or fails to be processed by the integrated payment platform used.
Below is how the default Rejected payment email looks, with the preview version on the left and the sent version on the right.
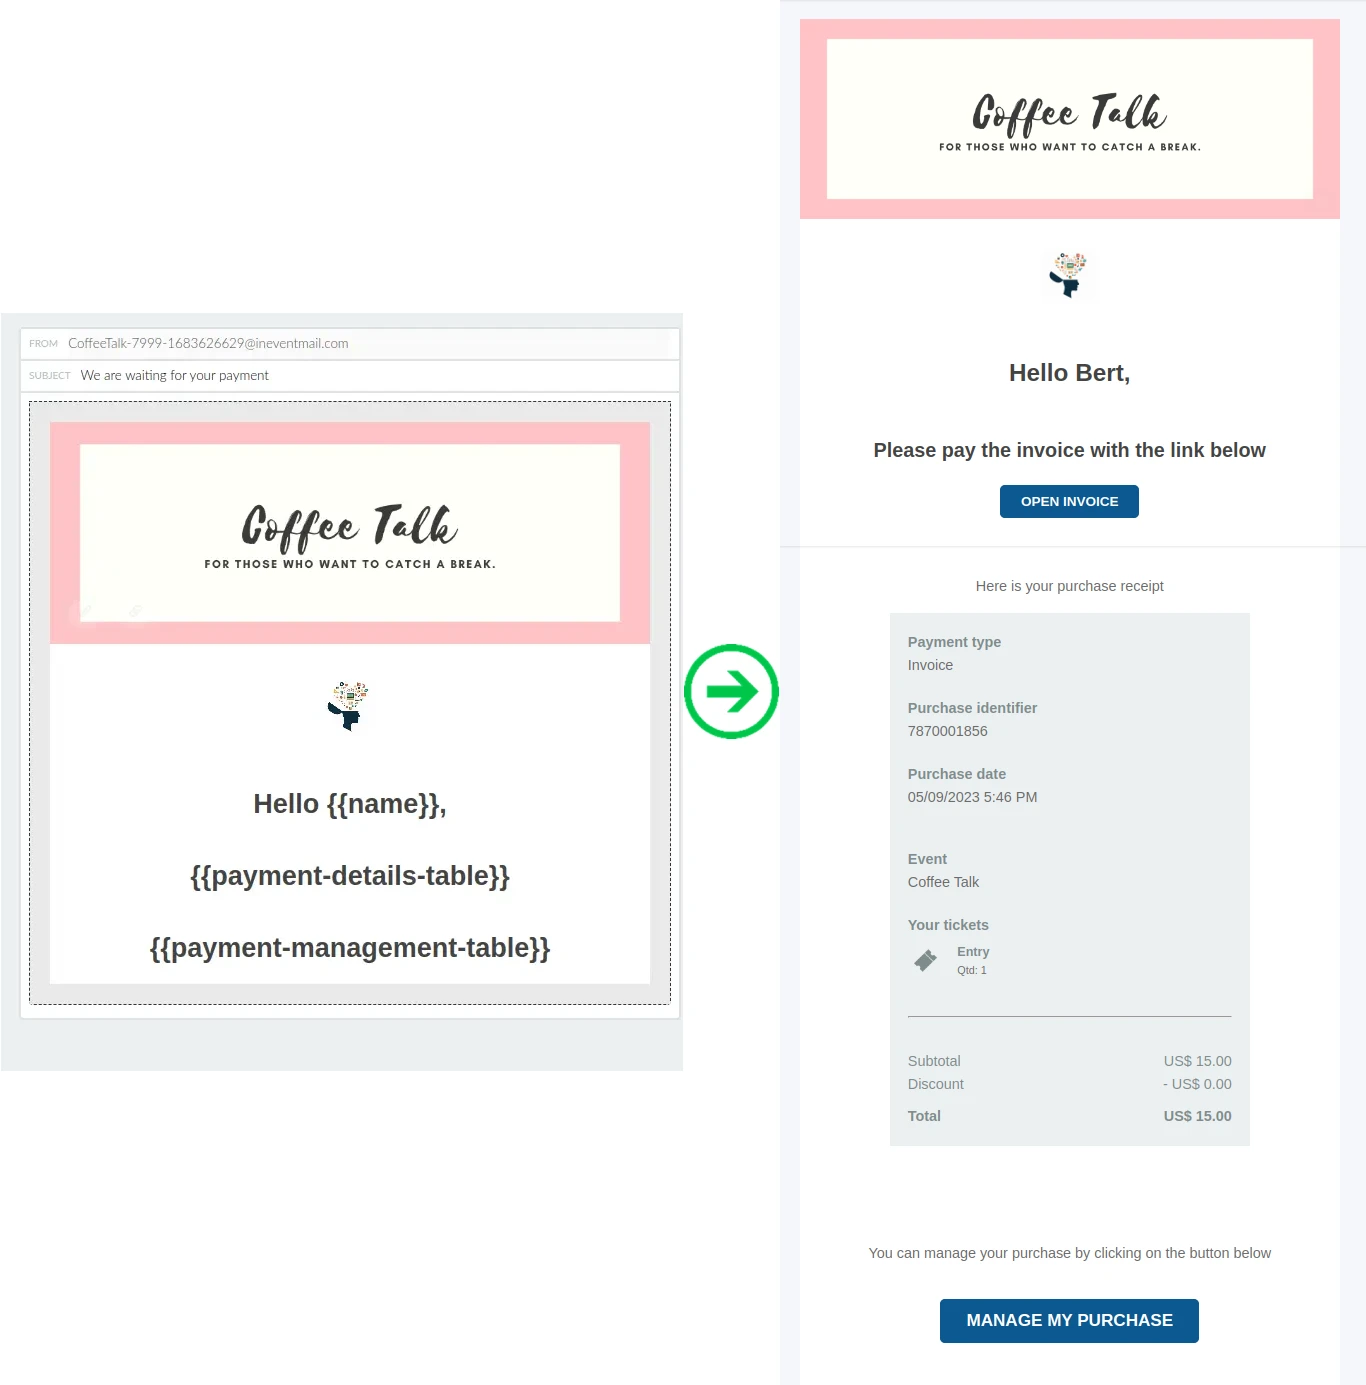
Waiting for payment email
A Waiting for payment email will be sent when an attendee purchases a ticket using the Stripe automatic invoice option or manual invoice payment option. The automatic email will be received by the attendee associated with the purchase.
Below is how the default Waiting for payment email looks, with the preview version on the left and the sent version on the right.
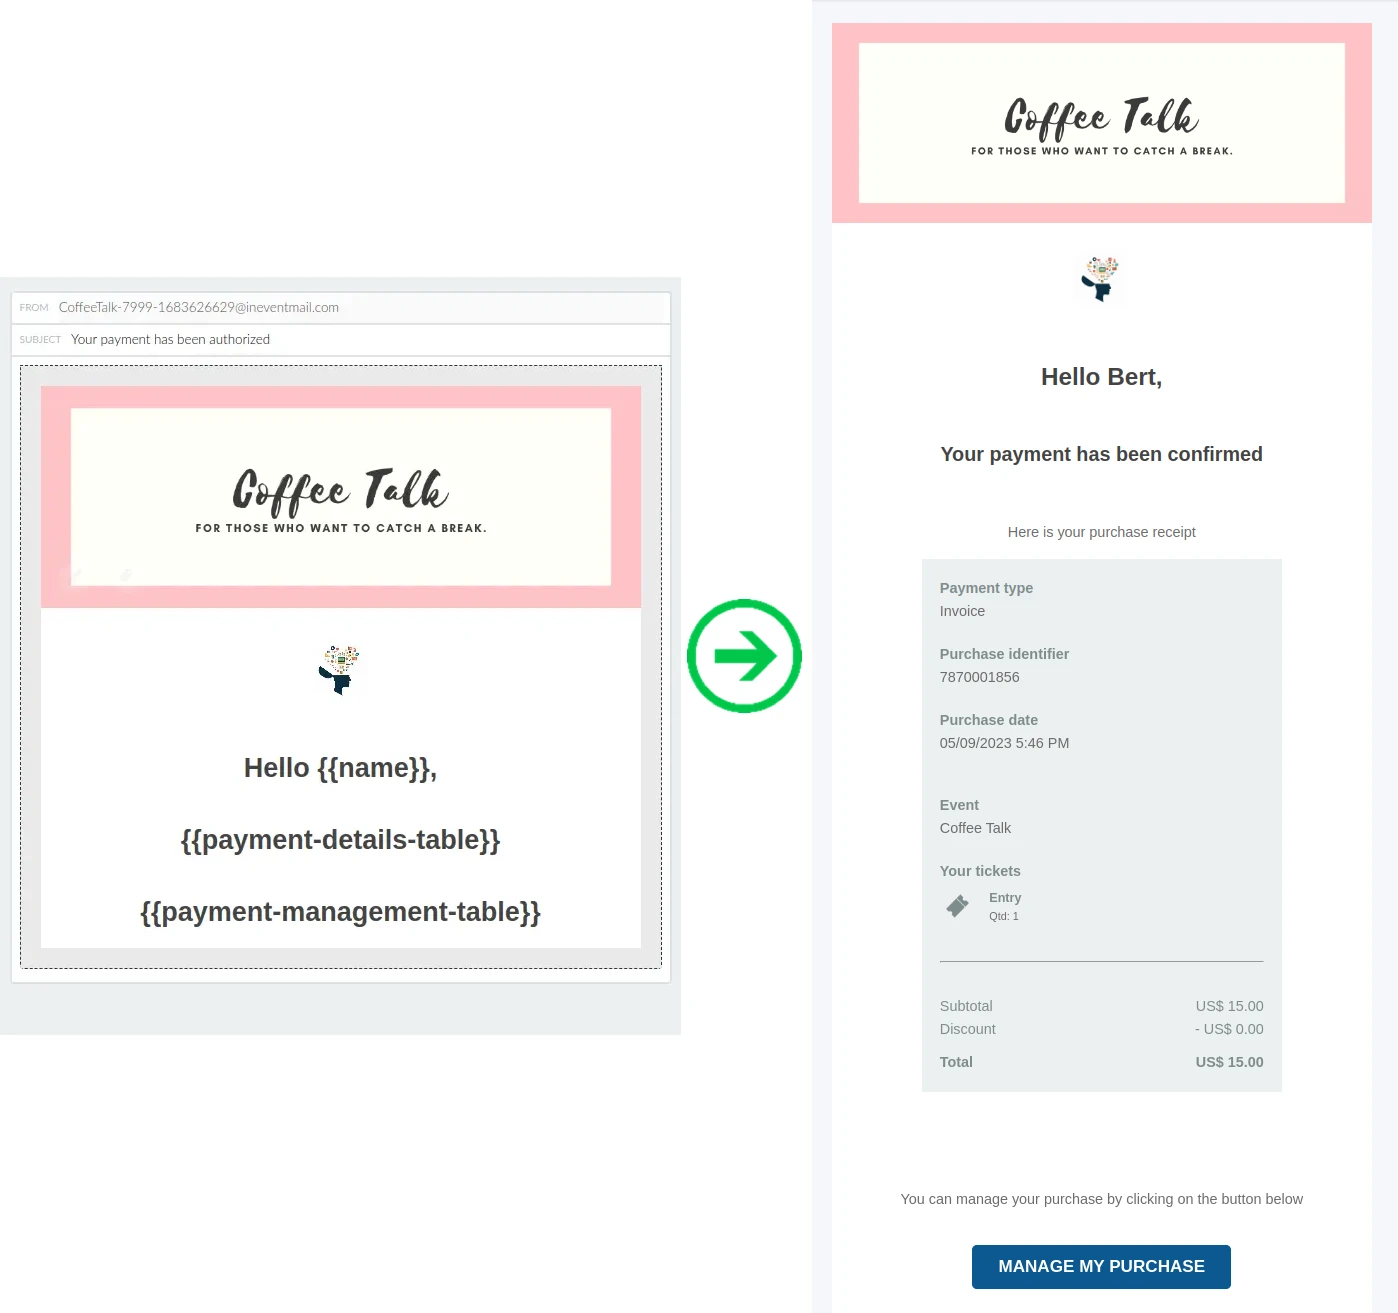
Authorized payment email
An Authorized payment email will be sent when an attendee's payment is authorized by the event organizer or the integrated payment platform used.
Below is how the default Authorized payment email looks, with the preview version on the left and the sent version on the right.
Activity automatic emails
This section provides information on all emails that belong to the Activity category.
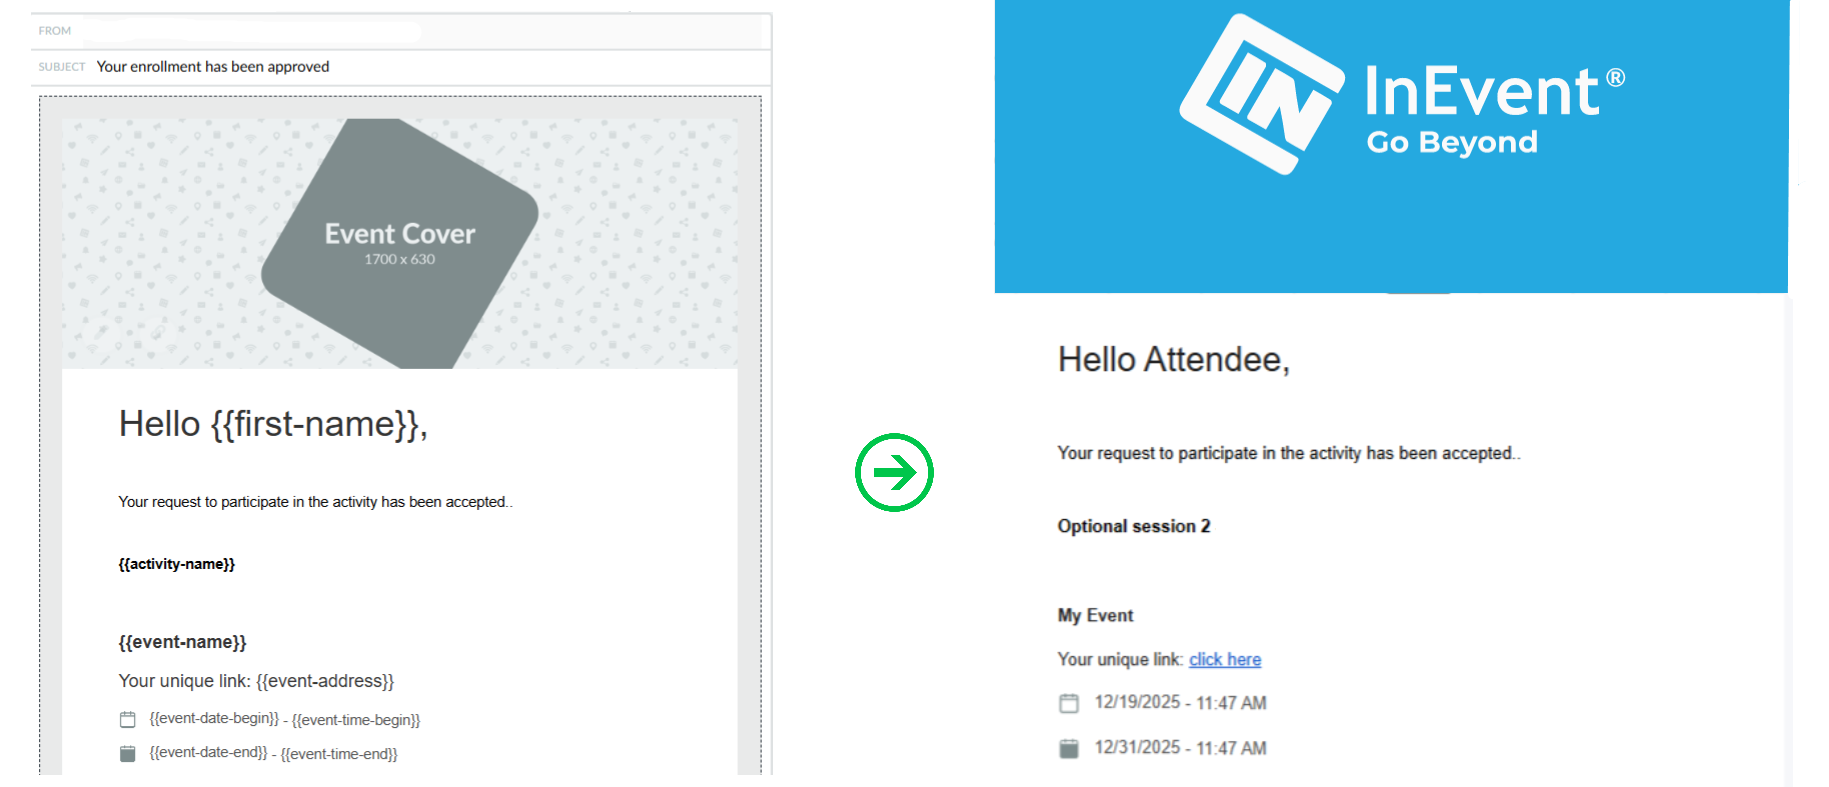
Activity approved email
An Activity approval email will be sent when an attendee's enrollment is accepted/approved. Below is how the default Activity approval email looks like, with the preview version on the left and the sent version on the right.
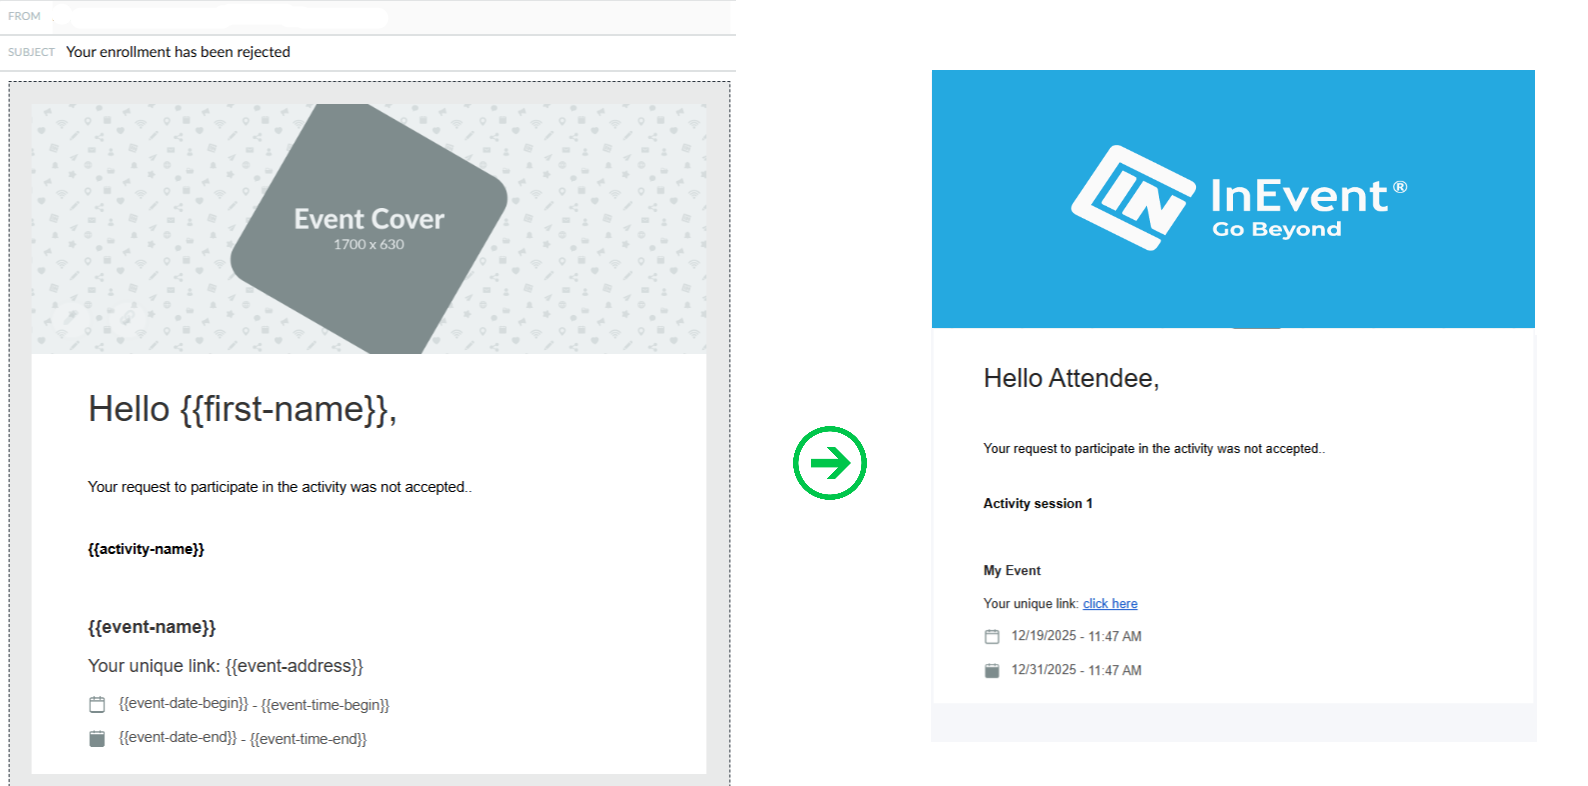
Activity rejected email
An Activity rejection email will be sent when an attendee's enrollment in an activity is rejected/denied. Below is how the default activity rejection email looks like, with the preview version on the left and the sent version on the right.
Meeting automatic emails
This section provides information on all emails that belong to the Meeting category.
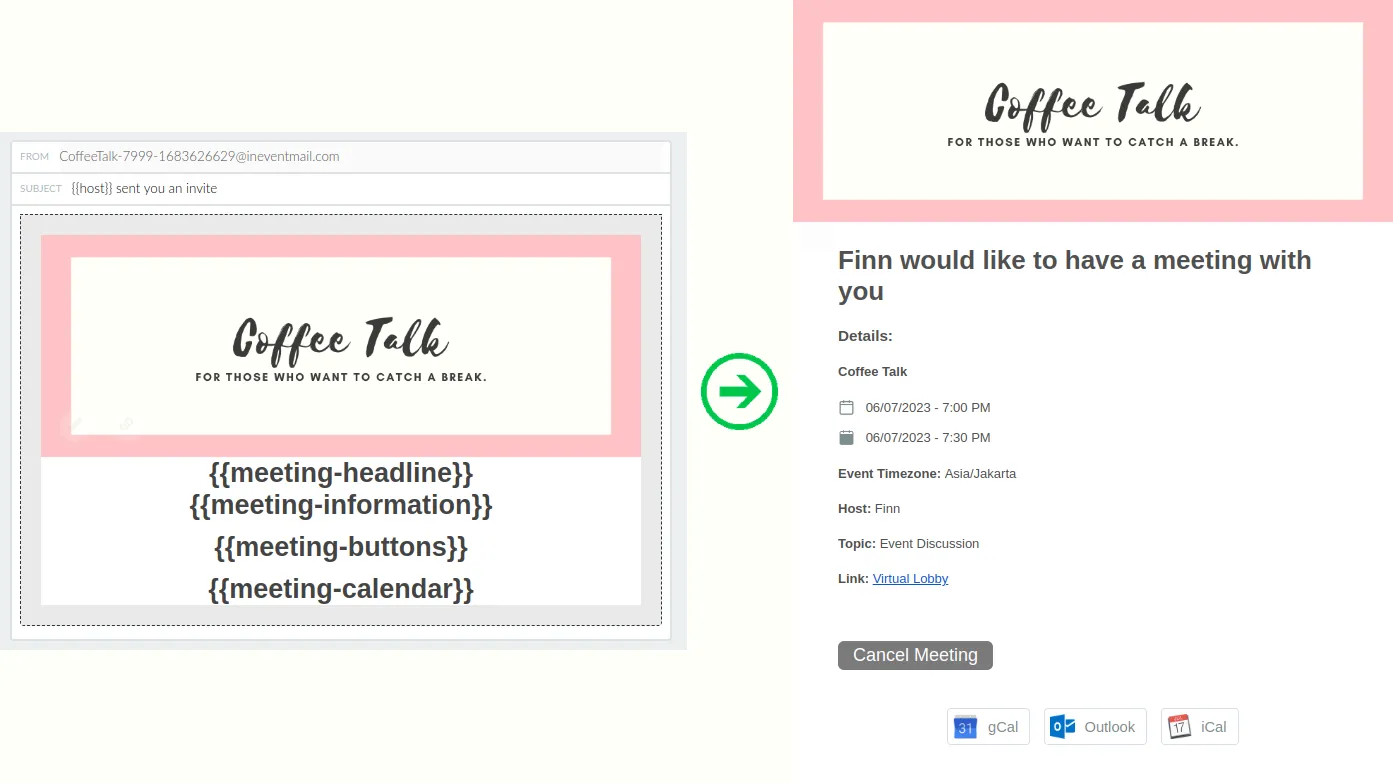
Meeting invitation email - Host
A Meeting invitation email - Host will be sent when an attendee schedules a meeting with another attendee.
Below is how the default Meeting invitation email - Host looks, with the preview version on the left and the sent version on the right.
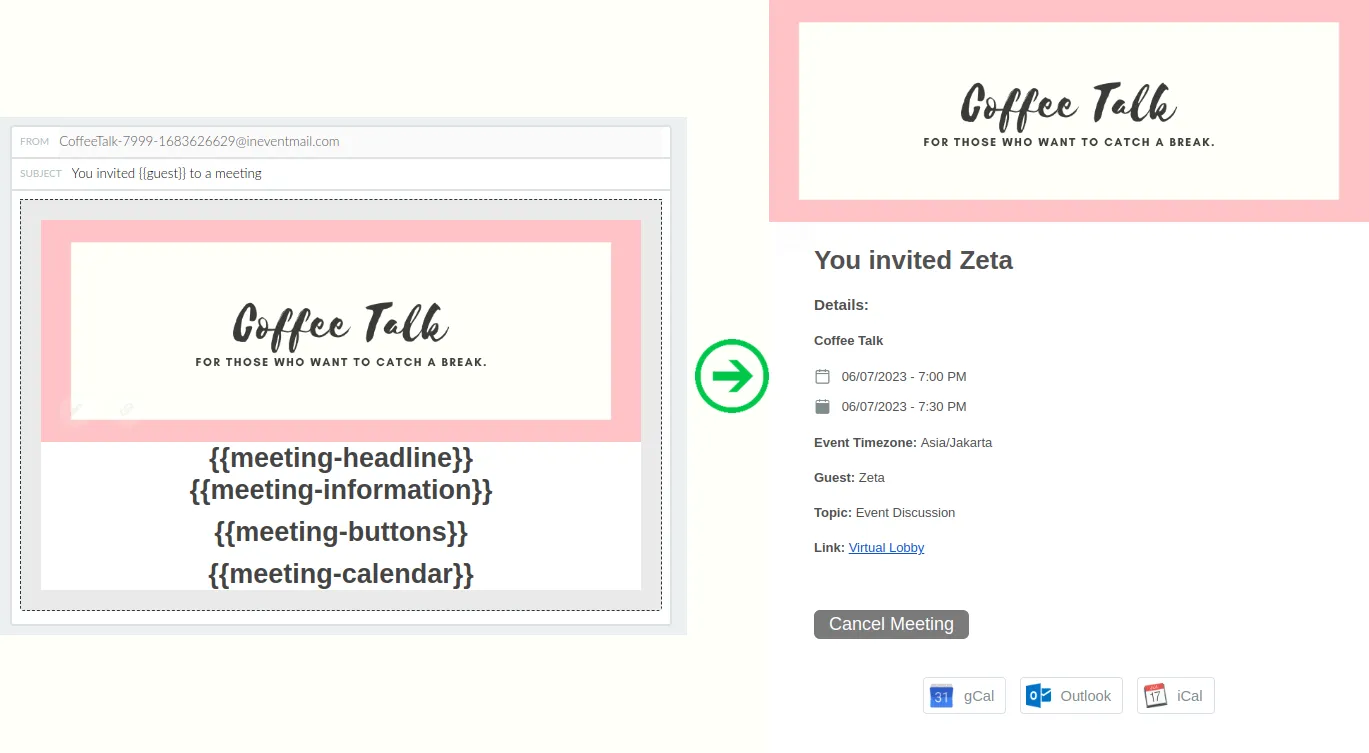
Meeting invitation email - Guest
A Meeting invitation email - Guest will be sent when an attendee is invited by another attendee for a meeting.
Below is how the default Meeting invitation email - Guest looks, with the preview version on the left and the sent version on the right.
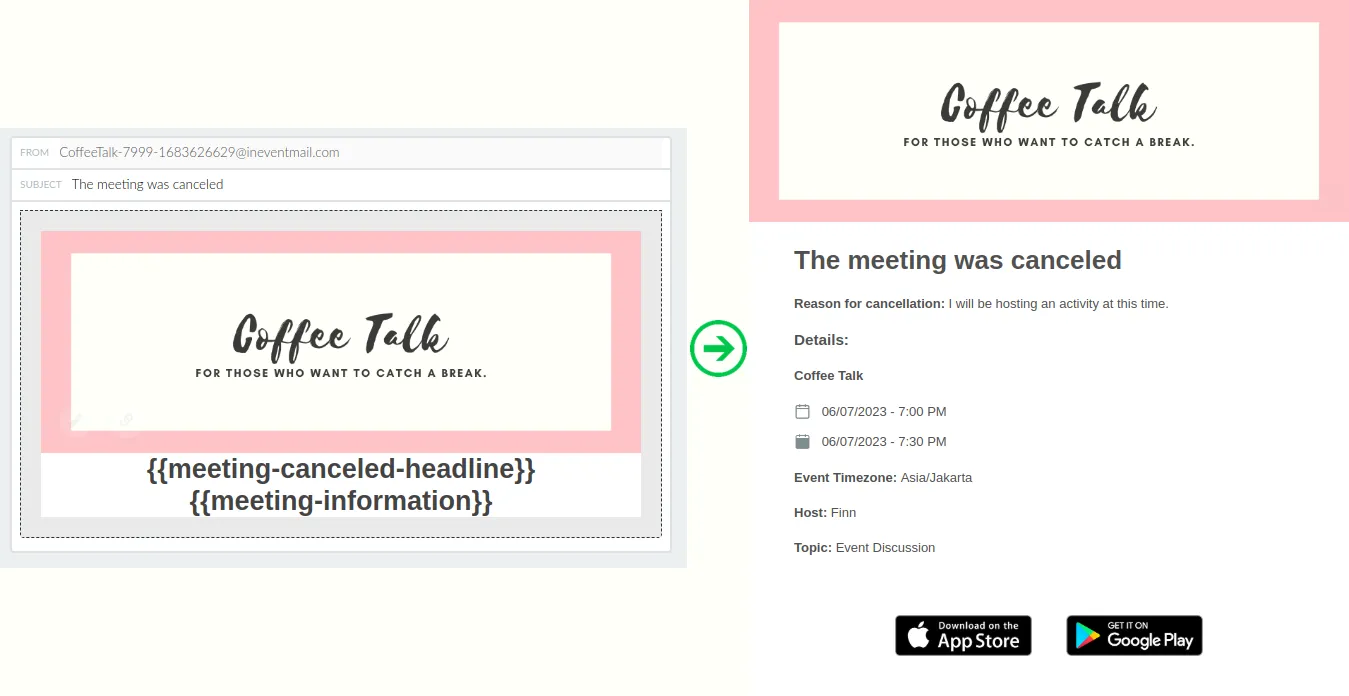
Canceled meeting email
A Canceled meeting email will be sent to meeting participants when the meeting is canceled by either the host or the guest.
Below is how the default Canceled meeting email looks for the host, with the preview version on the left and the sent version on the right.
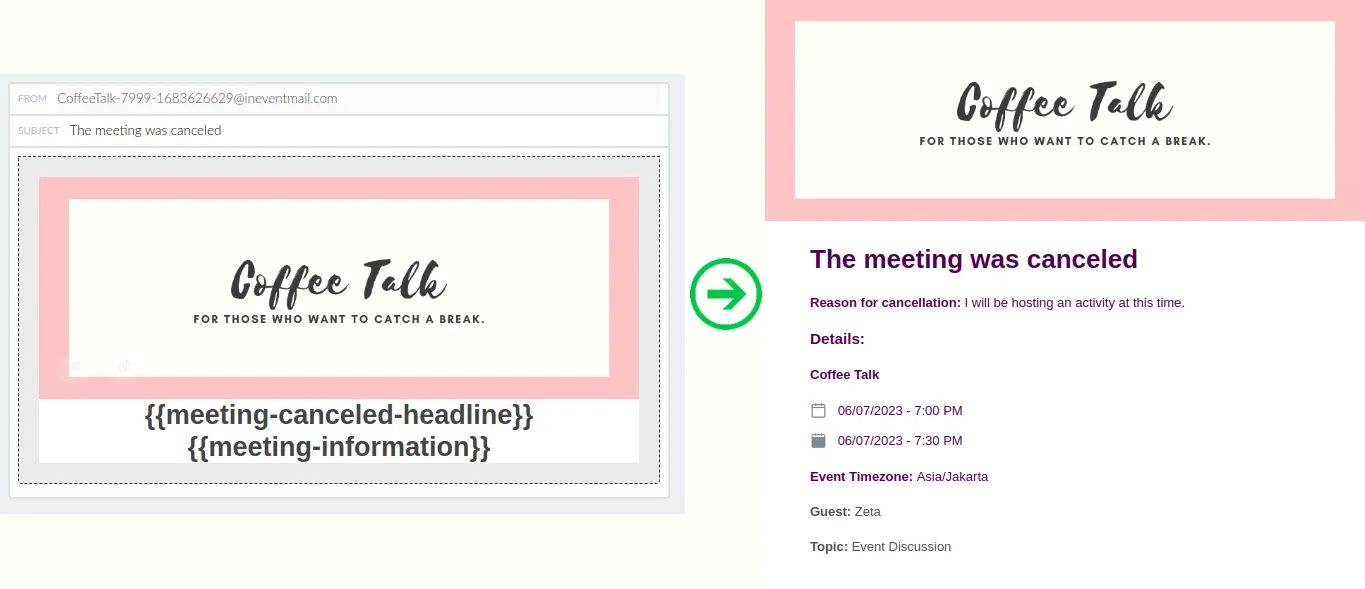
Below is how the email looks like for the guest.
Other automatic emails
This section provides information on the email that belongs to the Other category.
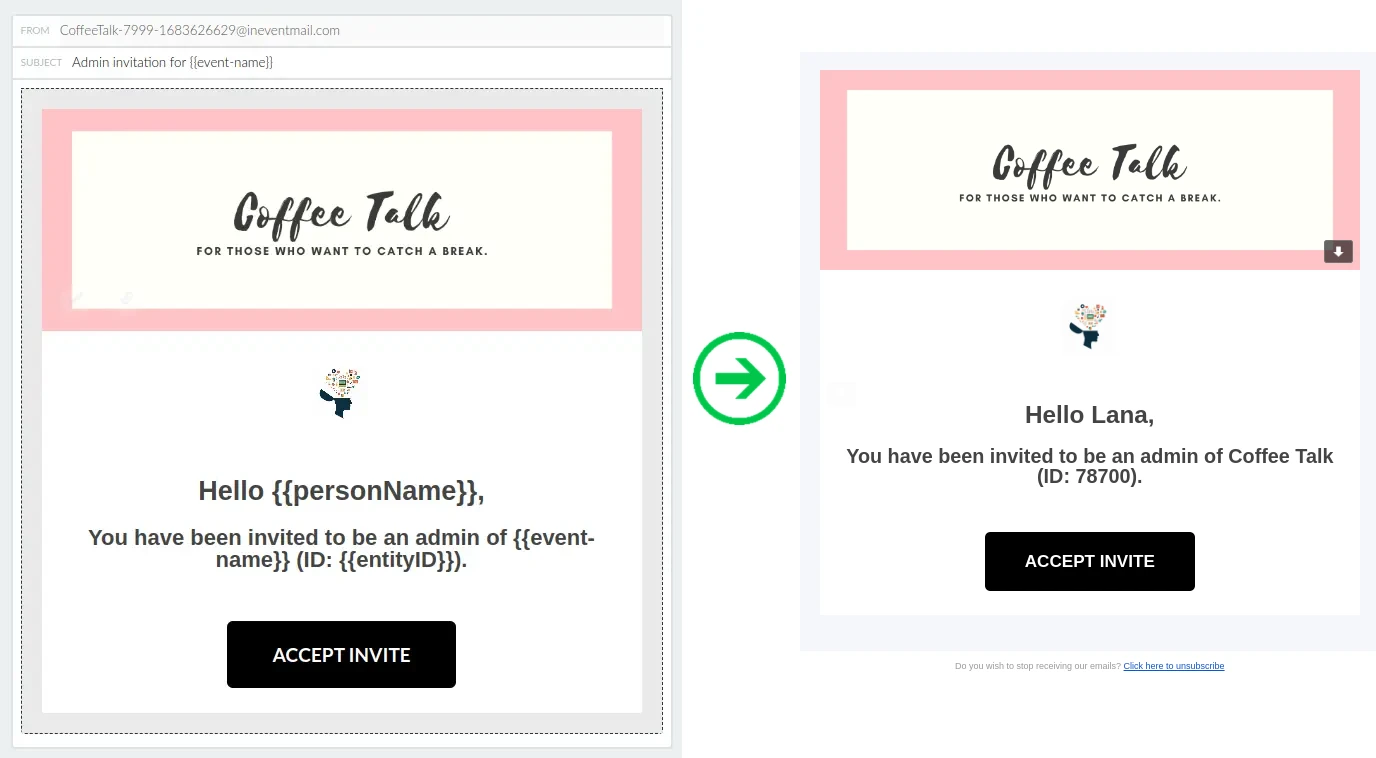
Event admin email
An Event admin email will be sent to an attendee who is given Admin permissions by an event organizer.
Below is how the default Event admin email looks, with the preview version on the left and the sent version on the right.
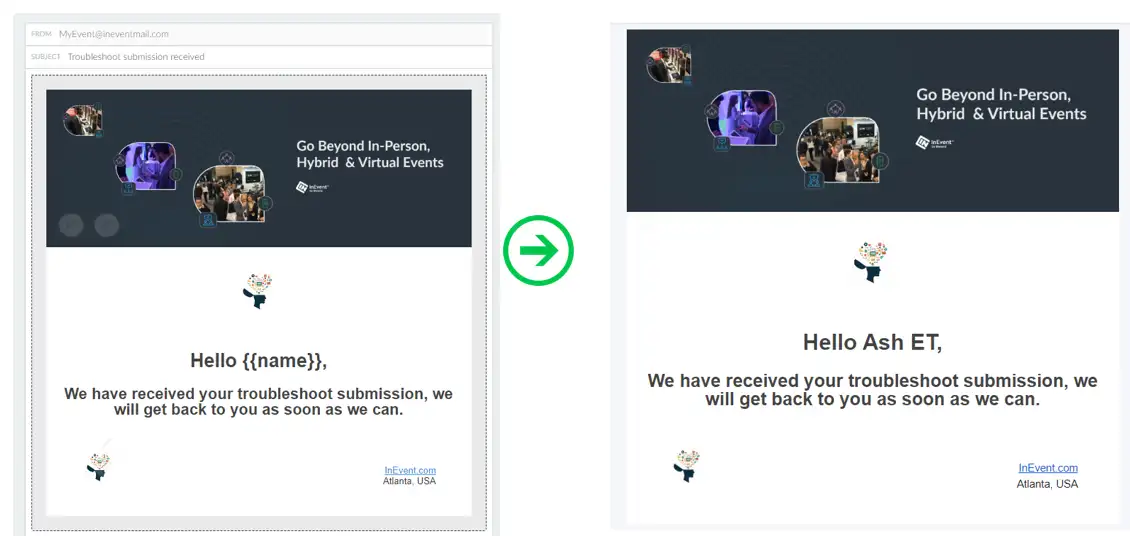
Email for new troubleshoot
An email for new troubleshoot will be sent to an attendee who raises a troubleshoot report.
Below is how the default email for new troubleshoot looks, with the preview version on the left and the sent version on the right.
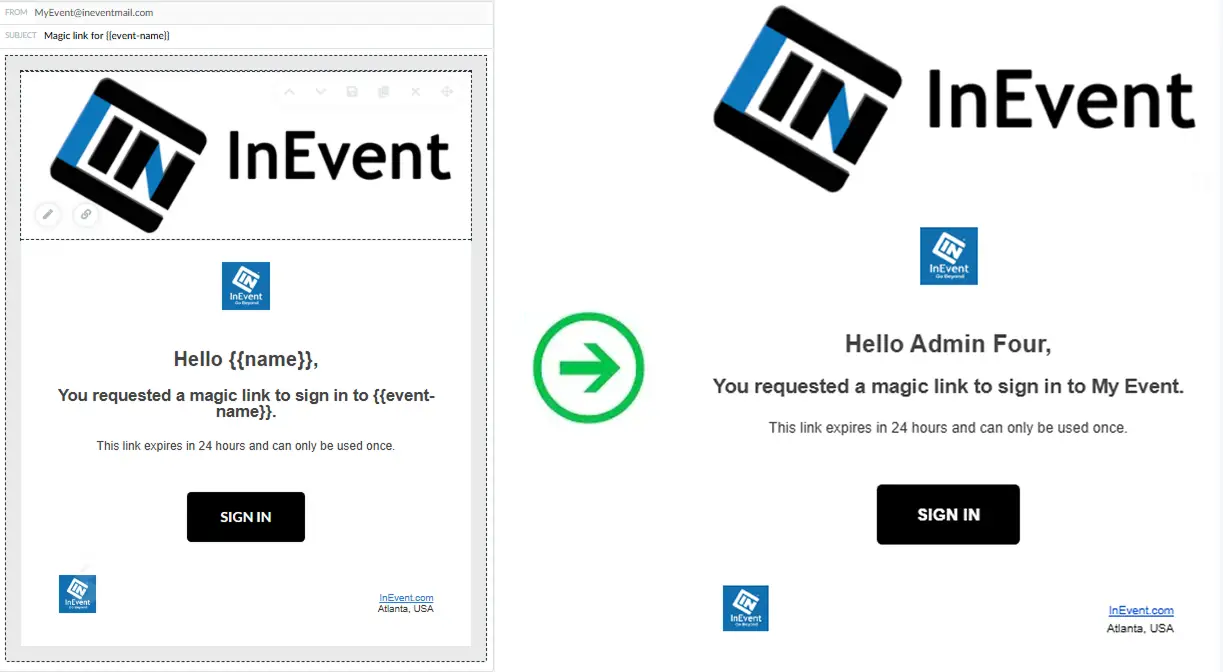
Magic link email
An email for magic link requests will be sent to attendees when they request a new magic link to access the event.
Below is how the default email for magic link requests looks, with the preview version on the left and the sent version on the right.
Customizing automatic emails
You can customize automatic emails by using the Email editor.
To customize or edit your automatic emails, press the blue Open email editor button that corresponds to the automatic email. You will be redirected to the Email editor interface. On this page, you will be able to edit the format, change the colors, change the Subject, add images, add dynamic links, add dynamic content, etc.
Dynamic content for automatic emails
When creating or customizing emails using the Email editor, you can use Dynamic links and Dynamic content to personalize your emails based on your event details or your attendees' personal information. Dynamic links and Dynamic content can be included in both automatic emails and new custom emails.
Some Dynamic links and Dynamic content are linked to automatic email triggers and therefore can only be used in certain automatic emails. For more information, refer to the following sections.
Registration form answers table for Confirmation emails
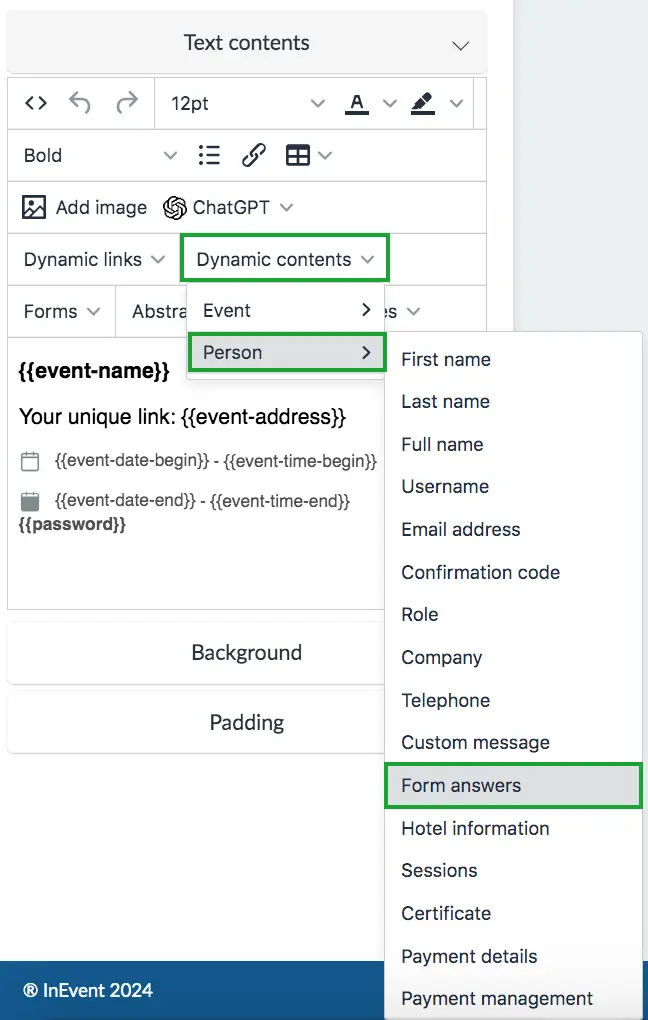
You can add a table containing your attendee's registration form answers, such as their personal data and answers to custom questions to your Confirmation email. This table can be added by selecting Dynamic content > Person > Form answers when editing a text element from the Email editor.
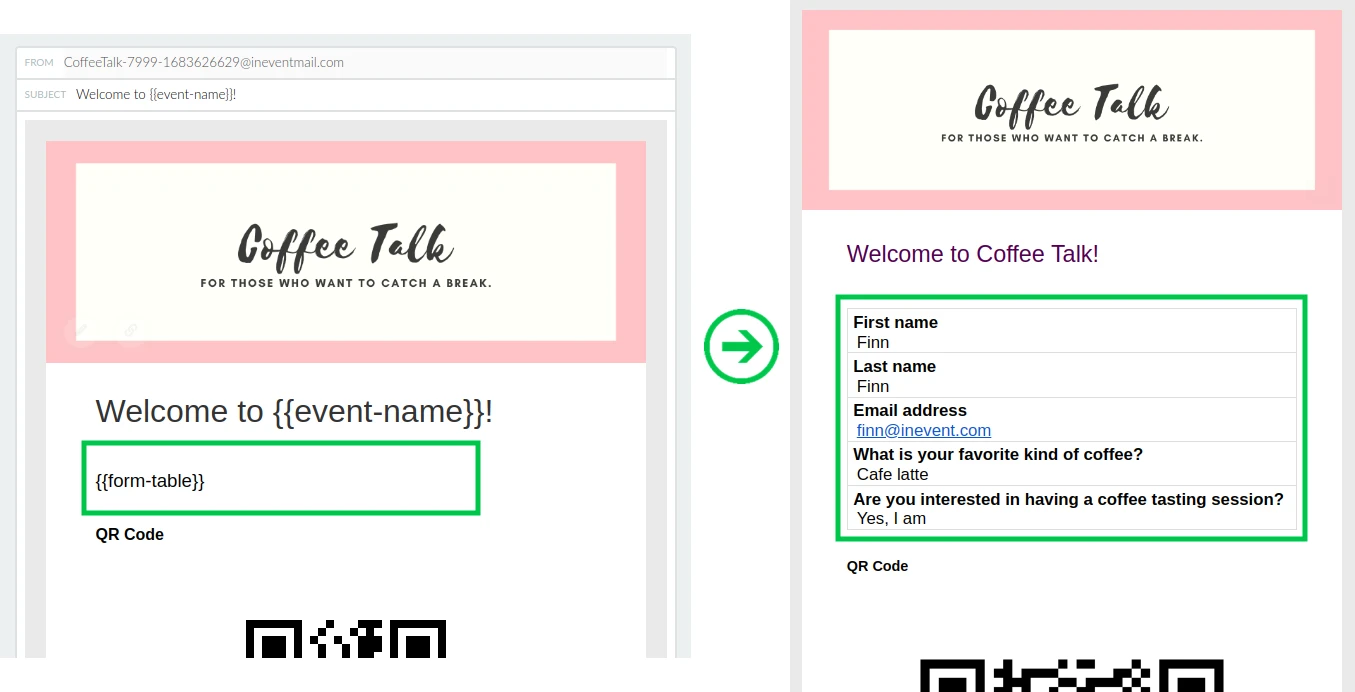
{{form-table}} in the text box.Below is how the Form answers table looks on the Confirmation email, containing the attendee's personal data and answers to custom questions, with the preview version on the left and the sent version on the right.
Hotel information for confirmation emails
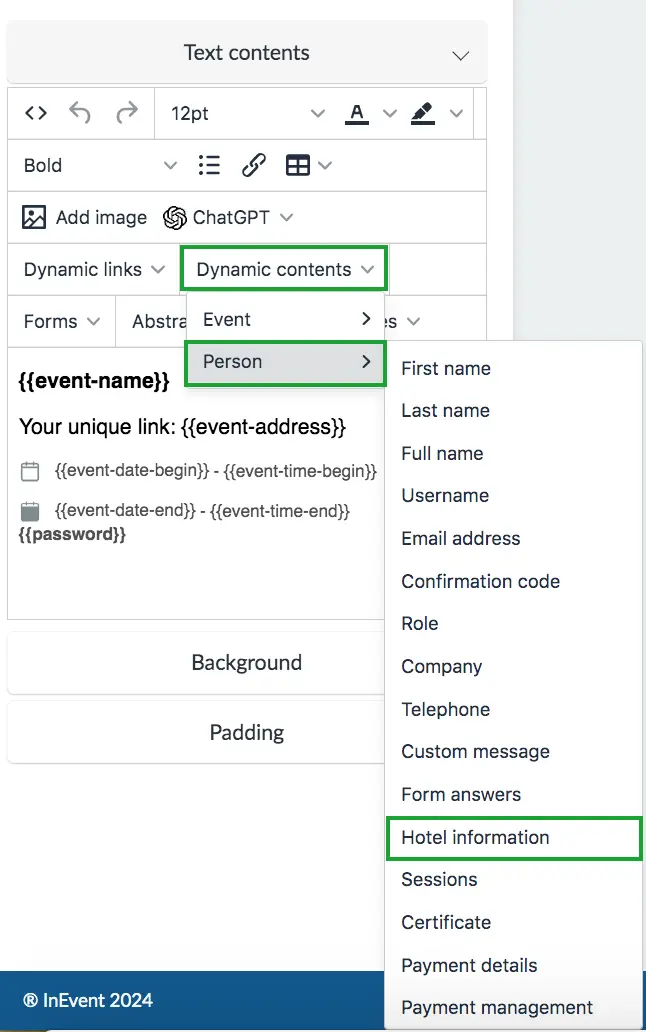
You can add a table containing your attendee's hotel name, check in and check out time, etc. This table can be added by selecting Dynamic content > Person > Hotel information when editing a text element from the Email editor
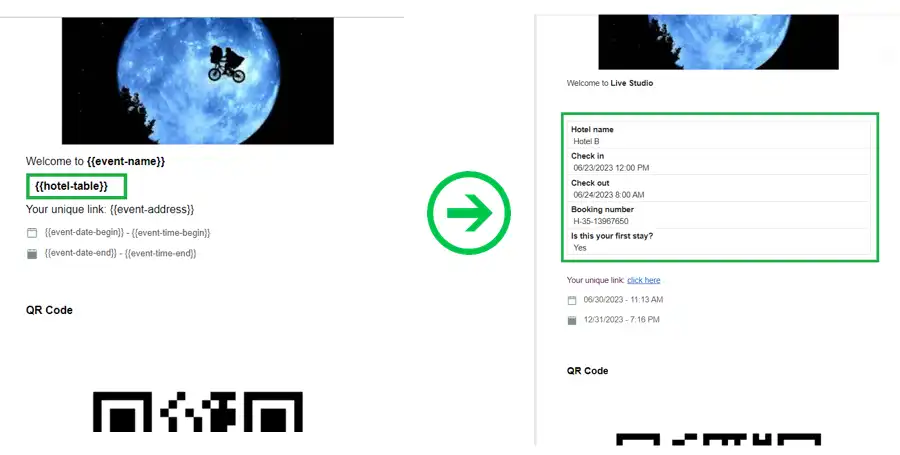
{hotel-table}in the text box.Below is how the Hotel information table looks on the Confirmation email, containing the attendee's hotel information with the preview version on the left and the sent version on the right.
Payment details table for Payment automatic emails
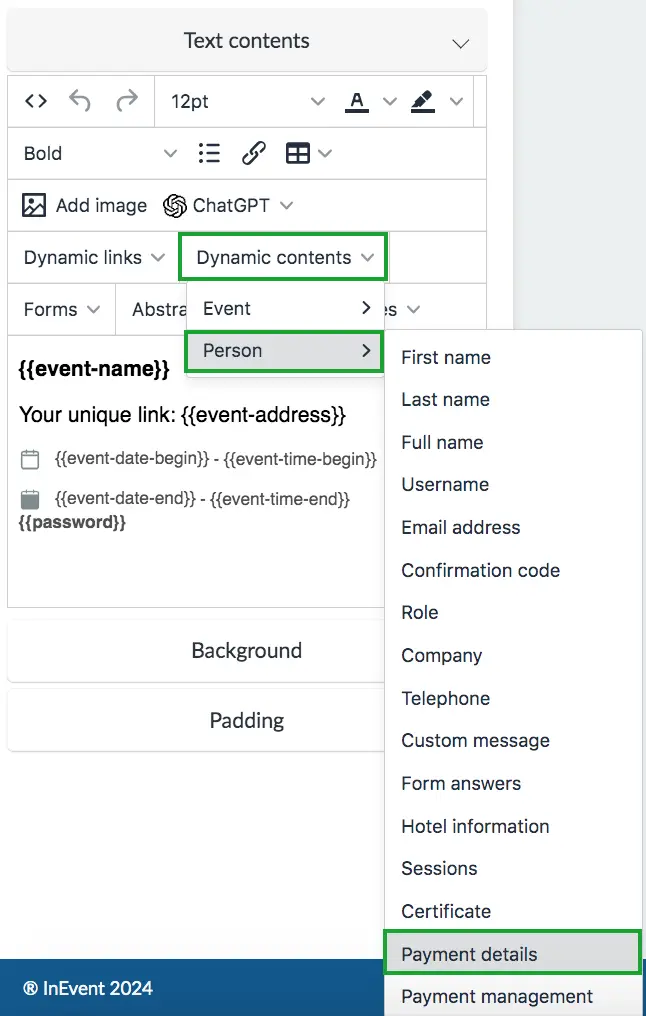
By default, automatic emails related to payment actions and process (Waiting for payment, Authorized payment, Payment in analysis, and Rejected payment emails) include the Payment details table to display the attendee's payment details. This table can be added by selecting Dynamic content > Person > Payment details when editing a text element from the Email editor.
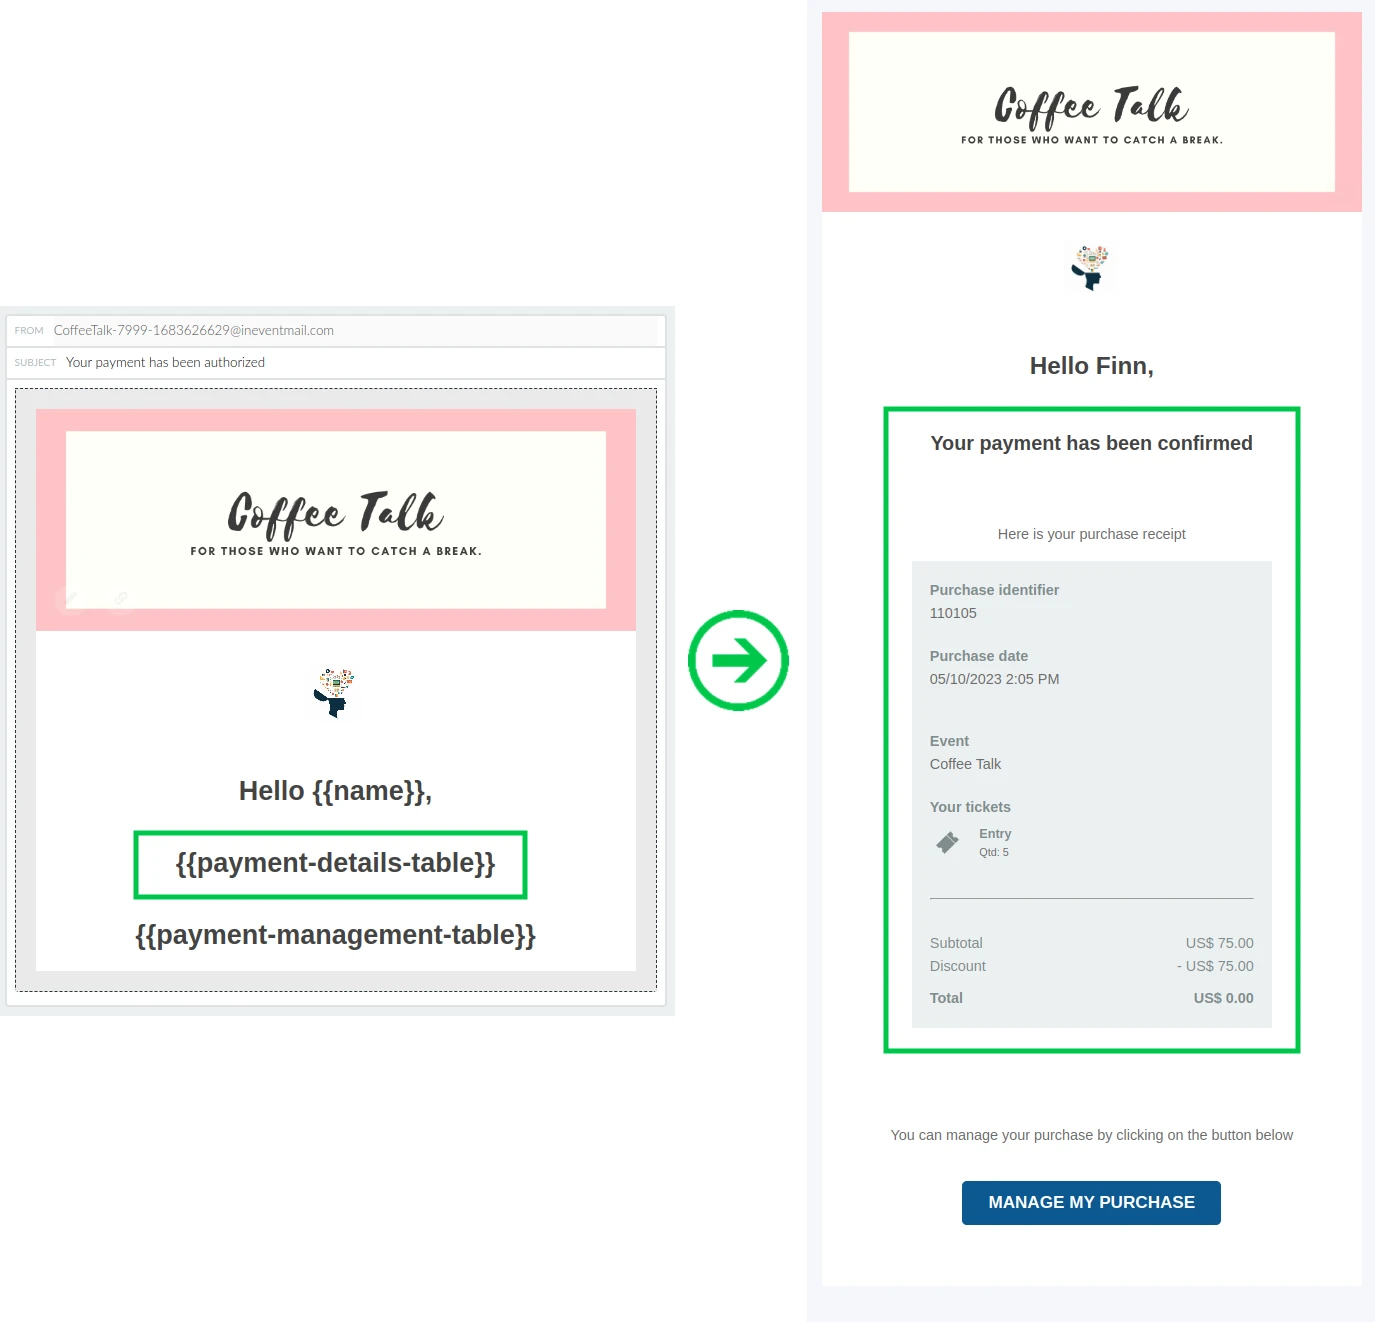
{{payment-details-table}} in the text box.Below is how the Payment details table looks on the Confirmation email, with the preview version on the left and the sent version on the right.
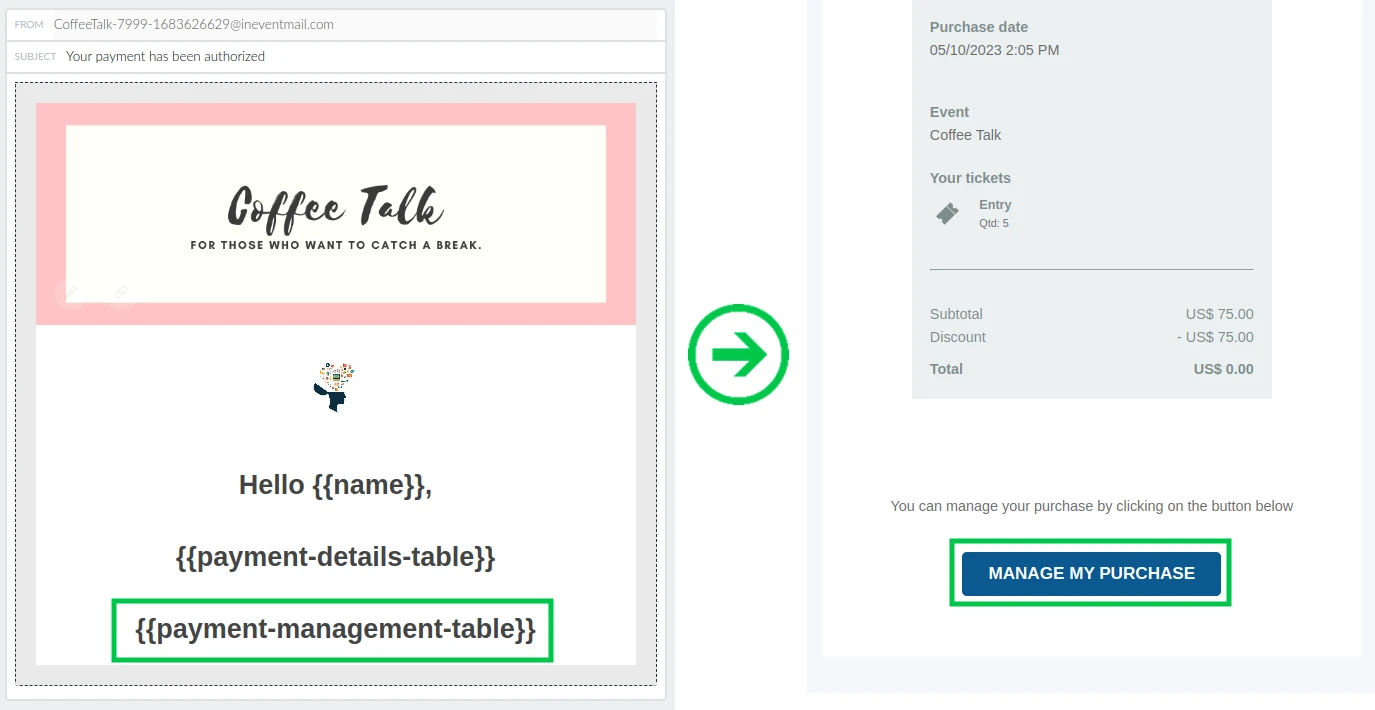
Payment management button for Payment automatic emails
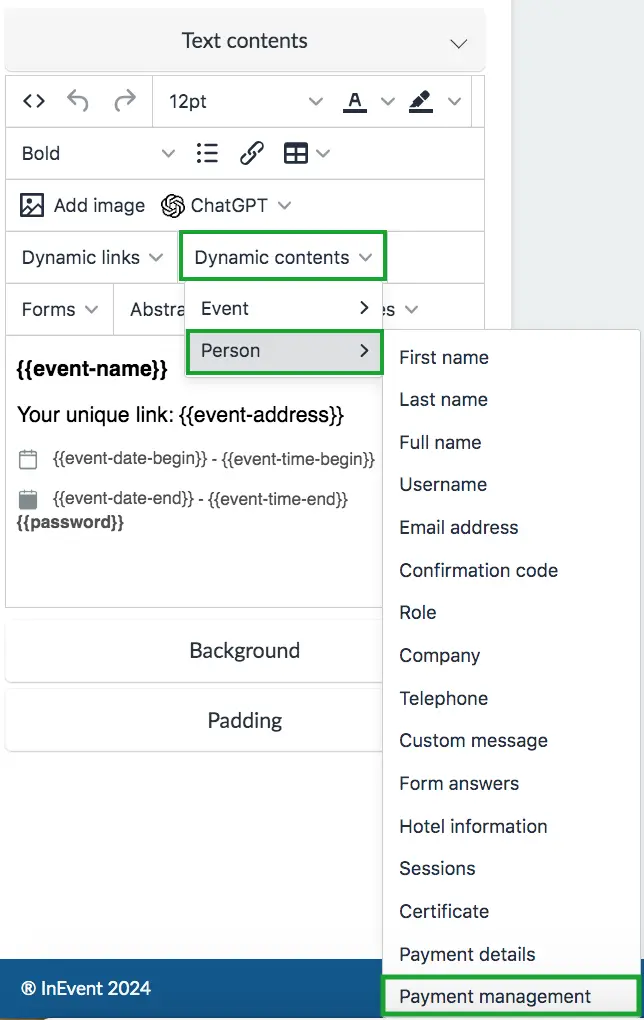
By default, automatic emails related to payment actions and process (Waiting for payment, Authorized payment, Payment in analysis, and Rejected payment emails) include the Payment management button which leads to My tickets on the Virtual Lobby. This table can be added by selecting Dynamic content > Person > Payment details when editing a text element from the Email editor.
{{payment-management-table}} in the text box.Below is how the Payment management button looks on the Confirmation email, with the preview version on the left and the sent version on the right.
Email analytics
Administrators can check and review analytics in relation to emails using the Email analytics.
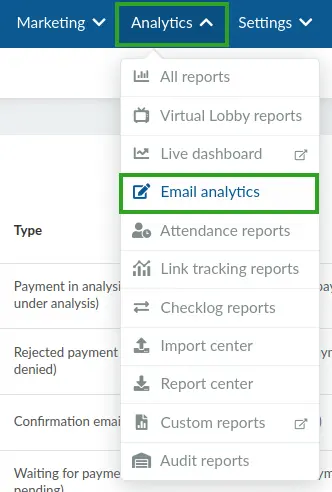
Here, you can review engagement statistics such as: how many e-mails have been sent, the delivery success rate, open and click-through rates.
Email credit consumption of automatic emails
There are two types of emails that will be sent from the platform: to the admins and the users of the event. Emails addressed to admins and emails addressed to users vary in email credit consumption.
Emails directed to the Admins
The emails addressed to the admins are usually related to the actions performed on the platform. These emails will not consume email credits such as download reports, and notifications (New applicant is added, New registration is added, Event is almost full, Event is full, Refund request), when a new Event admin is invited.
Emails sent to the users
The emails directed to the users will be deducted from the email credits, such as the following:
- Automatic emails that can be customized: Admission, Rejection, Ticket, and Confirmation,
- Payment process: If you are selling tickets for your event the users will receive emails related to that (waiting for the payment, payment authorized/ refused)
- Booking a Meeting with another participant: 2 email credits will be consumed for each Meeting booked since both who invites and the invitee will receive an email. If you wish to disable the sending of a confirmation email with the meeting's details, click here.
- Custom emails