Email management
This article intends to teach you how to manage your emails. Once you have created and sent an email using the Email creator tool, you will be able to check email statistics, resend, copy, delete an email and unsubscribe from the email list.
How do I check the email statistics?
In the Email creator, we can check the statistics for each email that has been sent. There will be data such as how many e-mails have been sent, opened emails, emails that have bounced, and click links.
To do this, go to Marketing > Communication > Email creator click on the Sent tab in the general list of sent emails, and then click on the blue icon to the right side to open a specific emails statistics.

After clicking on the blue icon you will see the statistics of the email.

Click here to learn more about Email Analytics.
How do I resend an email?
If you need to add new attendees after already having sent emails, and you want the new attendees to receive the emails that have already been delivered to all other attendees, you can do it by following the steps below:
- Go to email statistics by pressing Marketing > Communication > Email creator and clicking on the blue button on the right side of your target email.

- The platform will automatically recognize how many new attendees have been added so you can resend the email by clicking the Send now button in the Email log section, as shown below.

- You will see a pop-up to confirm if you want to resend the email. Press Send now.

- You will see a message confirming that your email has been sent as well as new statistics with the new users included in the email logs list.
How do I copy an email?
If you want to send the same e-mail to another list, for example, you can copy it. To do this click the Copy email tab in the top left corner
Then choose the email you wish to copy using the drop-down bar and press the Copy button.

How do I delete an email from the list?
To remove an existing email, you must click Edit in the top right corner, tick the checkbox corresponding to the email you wish to delete. Then, click the Remove button in the top menu on the right side.
To finish editing press the End button on the top right corner.

How can I customize the unsubscribe page
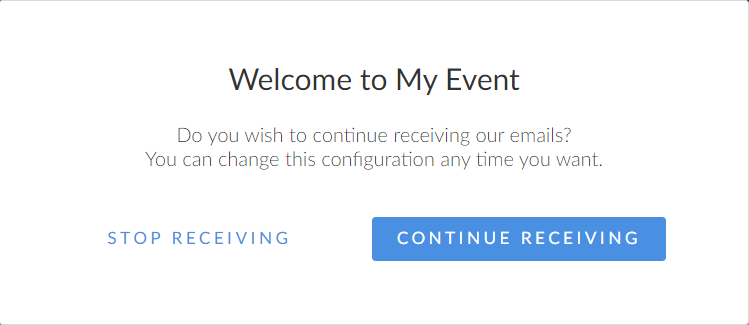
You can personalize the text or message that your attendees see when they are about to unsubscribe from the email list. By default, the message attendees will see is shown in the image below

To make customizations to this message, follow the instructions below:
- Navigate to Settings > Headings and click on +Add Heading. The New heading pop-up box will be displayed.
- Under the Select heading type drop-down box, Scroll down to Email subcription

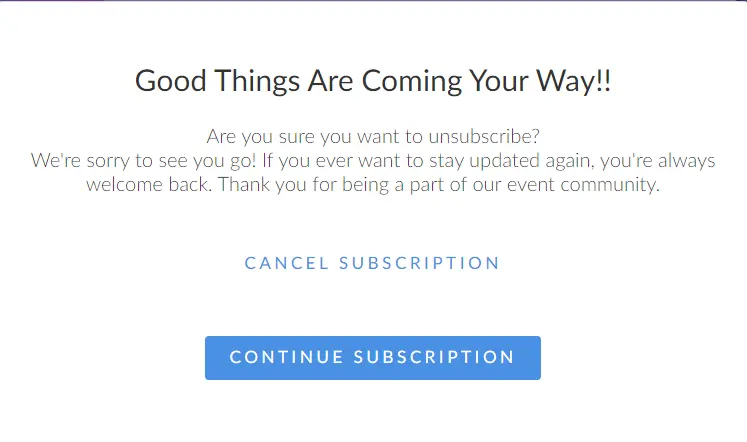
- Select the Email Subscription heading and enter your heading value to edit the default message or text. Below is an example of an edited message:

How can an attendee unsubscribe from the email list?
Attendees can unsubscribe if they no longer wish to receive emails from a specific sender.
If they choose to unsubscribe, they simply need to follow the steps below:
- Click on Click here to unsubscribe at the bottom of your email, as shown in the image below.

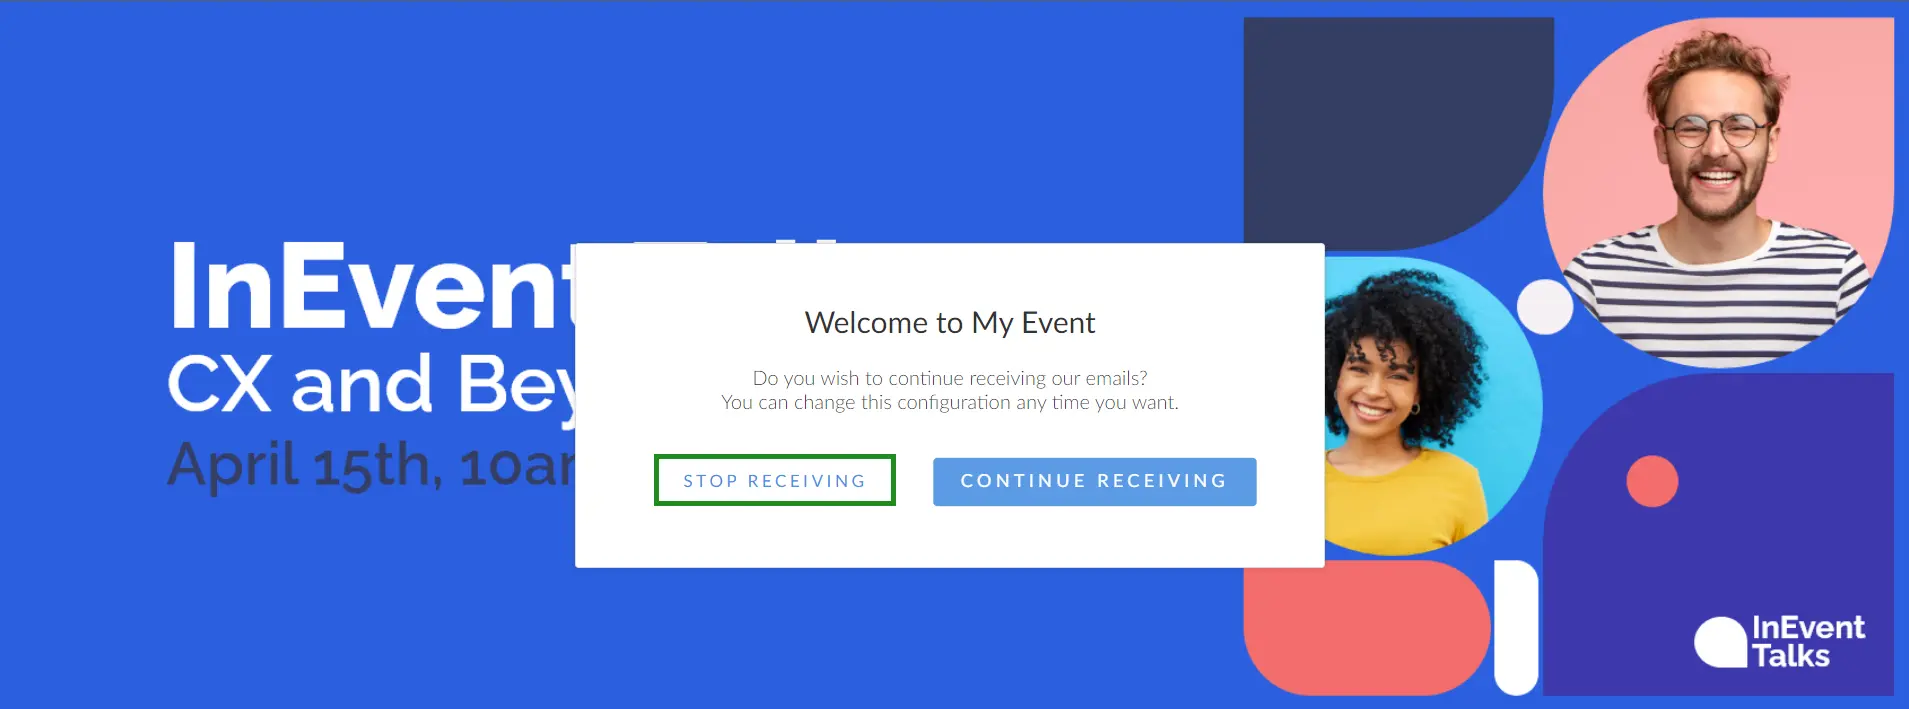
You will then be re-directed to the Unsubscribe page to confirm your decision.
- Once directed to the unsubscribe page, click on STOP RECEIVING to confirm that you want to unsubscribe.
By doing so, their subscription state will be updated automatically and they will be sent to the Email Blacklists.

How can an attendee resubscribe to the Email List
Attendees can easily resubscribe to the email list by following these steps:
- Click on the Click here to subscribe link in the email.
- On the redirected page, select Start Receiving.

By doing this, attendees will be added back to the email list and start receiving updates again.

