Virtual cameras: Changing your video background in the Virtual Lobby
 Updated 1 year ago
by
Faisal Durrani
Updated 1 year ago
by
Faisal Durrani
When planing your virtual event you were inclined to use a virtual background to look modern and create a sense of artistry that static background images simply can't match up to?
At InEvent you have the option to choose from a native video background or you can also download a third-party virtual webcam.
This article intends to teach how to download a third-party virtual webcam and integrate your options while setting your video preferences.
Virtual webcam
Third-party virtual camera
Downloading a virtual camera
- First, you will need to download a virtual camera of your choice.
- Next, install and launch the virtual camera you have just downloaded.
Giving the Virtual Camera application access to your webcam
- Windows: Check the Manage app permissions for a camera in Windows to learn how to turn on app permissions for your camera in Windows 10.
- Mac: Check the Mac User Guide to learn how to control access to your webcam on Mac.
Setting the background
Virtual background for Windows and Mac users
Once you have downloaded and launched your virtual camera, it's time for you to explore it!
One simple but powerful virtual background desktop application for Windows and Mac users is ChromaCam. Refer to the ChromaCam website to download it.
There is a free-to-use edition that lets you replace your background with a standard image or virtual green screen. With a ChromaCam Pro account, you can customize your background and logos, unlock additional images, and use PowerPoint content as a dynamic background.
When opening ChromaCam, the image below is the main page you will see when opening your virtual camera.
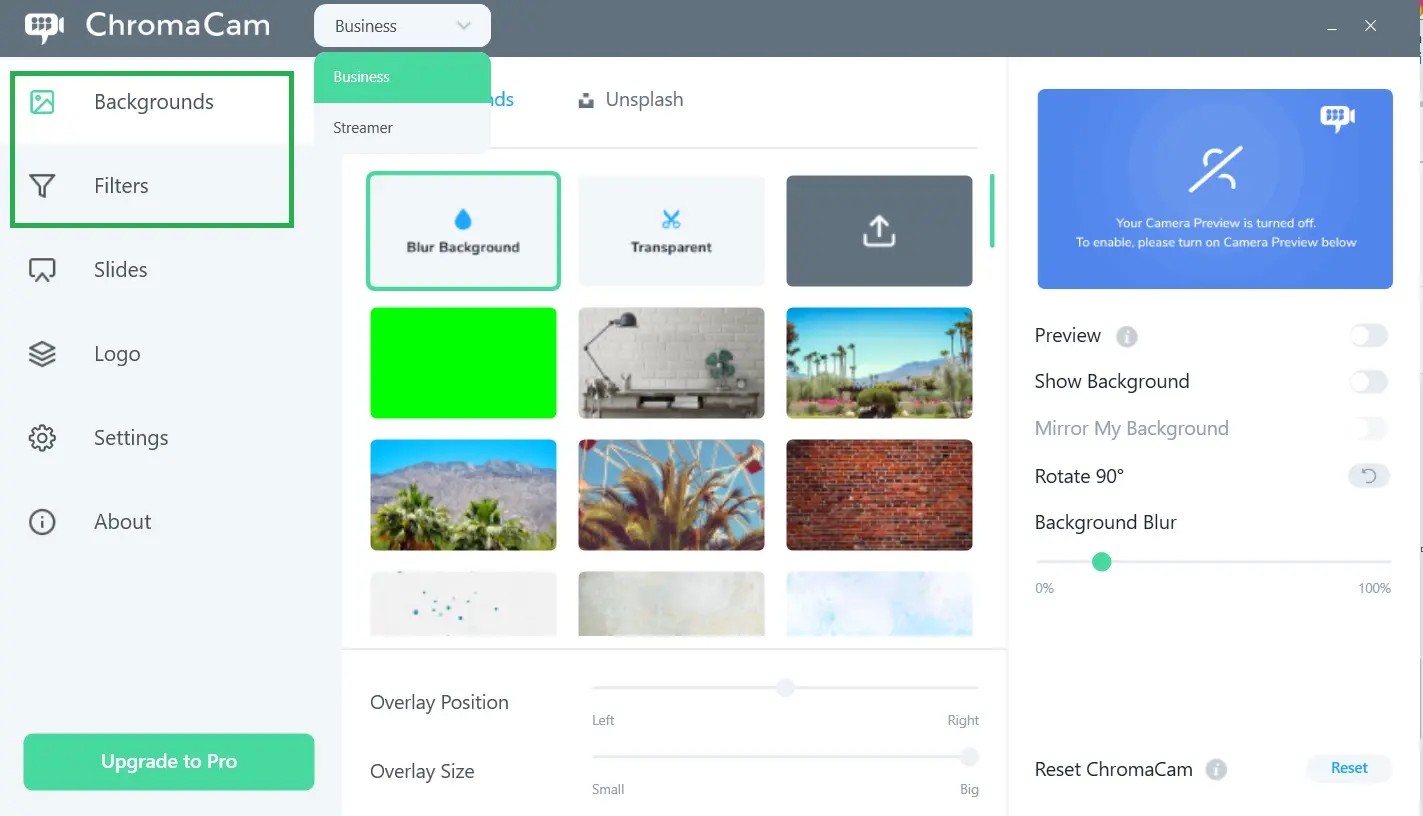
In the top left, you will see the Business and Streamer background options for you to choose from.
On the left, you can also navigate through the Backgrounds and Filters options.
Once you have chosen your background option, you can skip to the topic Selecting the virtual background to continue the setup of your event.
Virtual background for Windows users
Another alternative for Windows users is XSplit. Go to the VCam website to download it.
When opening XSplit, the image below is the main page you will see when opening your virtual camera:
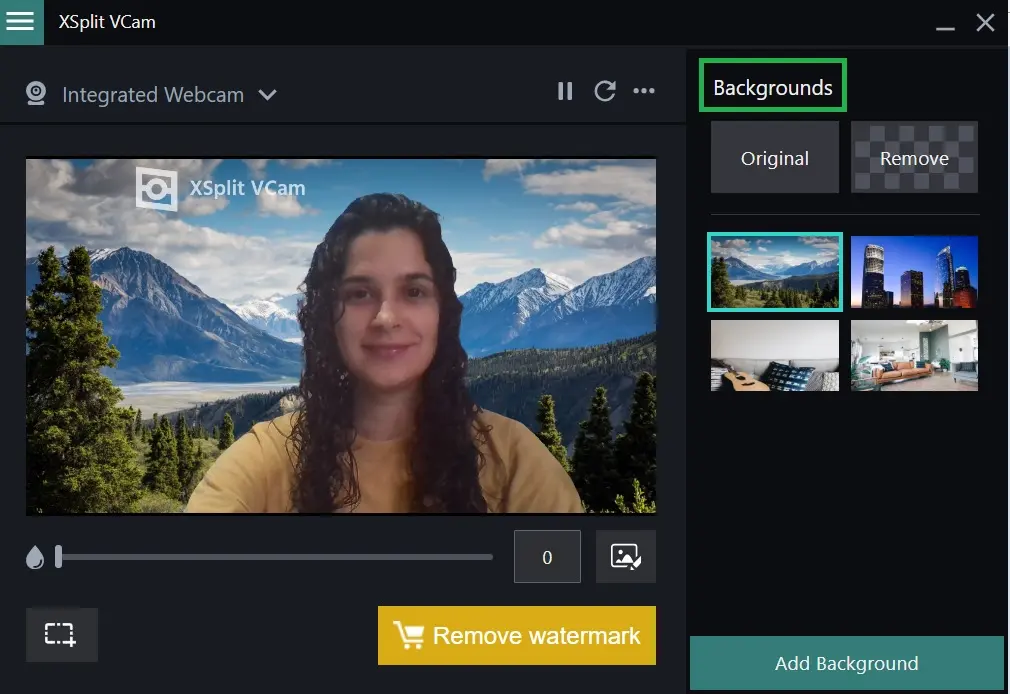
To change the background, simply click on an image on the right-hand side or press Add Background to upload a Media File, YouTube video, Webpage, or Unsplash photo as your background. For further information, visit XSplit help center.
Selecting the virtual background
Now that you have installed the virtual camera, you should access the Virtual Lobby.
If you are:
- A speaker, room host, or administrator joining a session you'll be taking part in
- An attendee being invited to speak by a room host
- A speaker, room host, administrator, or attendee networking with other people
You will be prompted to configure your devices such as a camera, speaker, and microphone so that people can hear and see you in the room you are in.
Under Camera, you should select your virtual camera as a video source. Now, the output image you see in your virtual camera with all effects and layers will be transmitted to the Virtual Lobby.