Applicants: ticket purchase management
 Updated 11 months ago
by
Faisal Durrani
Updated 11 months ago
by
Faisal Durrani
The Applicants page is where administrators can review applicants when Approval requirement and Ticket requirement tools are enabled. In this page, you can do the following:
- Review applicants who want to purchase tickets
- Approve or reject applicants who want to purchase tickets
- Download reports as spreadsheets
How can I review applicants?
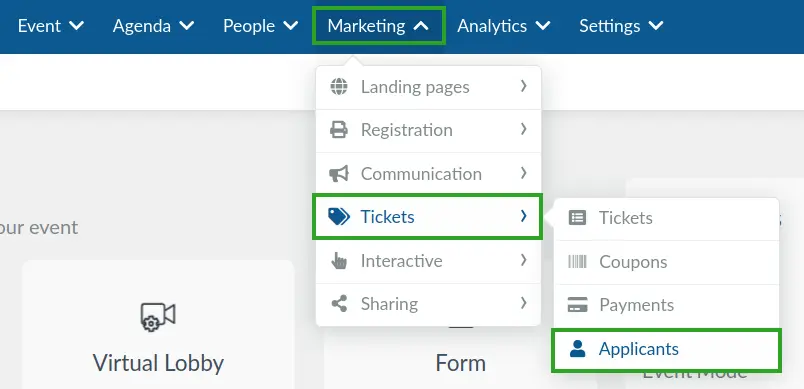
You can review applicants by navigating to Marketing > Tickets > Applicants.
In the Applicants page, you can see columns containing the following details:
- Person ID of the applicant.
- First name of the applicant.
- Last name of the applicant.
- Email address of the applicant.
- Purchases: Number of purchases made by the applicant.
- Pending: Pending or unfinished purchases made by the applicant, showing the total price and number of tickets in brackets.
- Paid: Paid or finished purchases made by the applicant, showing the total price and number of tickets in brackets.
- Date of application.
- Controls to approve and applicant for purchase or reject the applicant. Once an admin has approved or rejected the applicant, this column will display the approval or rejection status of the applicant.
You can also access the applicant's details by clicking the blue Open applicant details button. This window will display the answers of the purchase form submitted by the applicant and other ticket information.
Furthermore, you have the option to edit the answers to the custom questions submitted by an applicant. Simply click on Edit and scroll down to the Identification section to make the necessary changes to the questions' answers.
How do I approve or reject applicants?
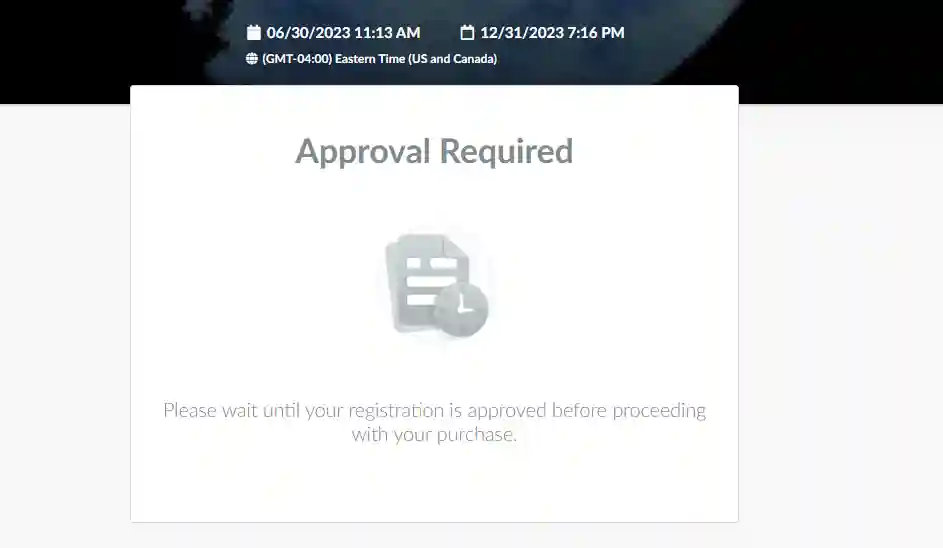
Once an applicant fills the Register and Identification sections of the purchase form, they will see the Approval required notification informing them to wait for approval before proceeding with ticket purchase.
To approve an applicant for ticket purchase, click on the Approve for purchase button under the Controls column. To reject the applicant, click on the Reject person button instead.

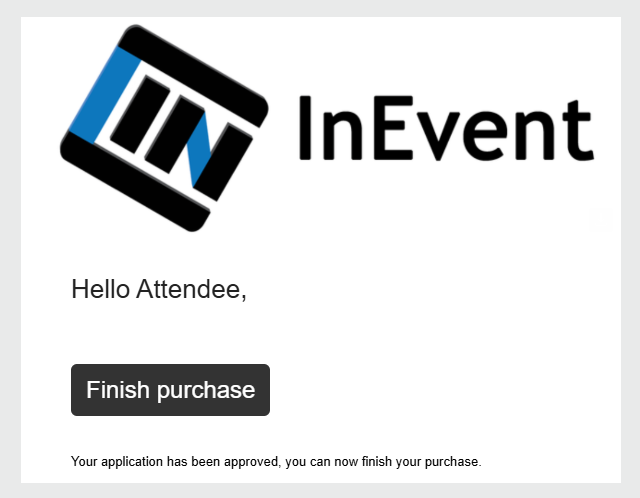
When you approve the applicant, they will receive the Approved for purchase email which notifies that they have been approved and can now finish their purchase. Once they complete their purchase, and payment is authorized, they will be added to the event as attendees and their status will show Approved.
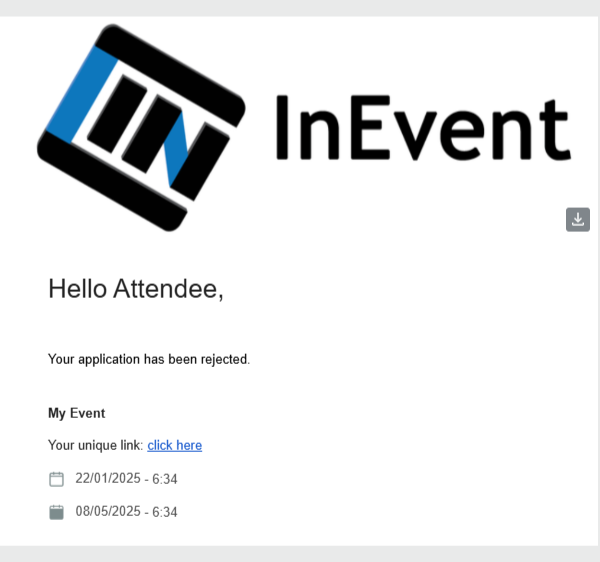
When you reject the applicant, they will receive the Rejection email, which notifies that they have been rejected from the event and cannot purchase tickets. Their status will also show Rejected by organizer.
Can I re-approve a rejected applicant?
It is possible to approve an initially rejected applicant. To do this, follow these steps:
- Click on the blue Revert decision button under the Controls column of the rejected participant.
- Click on Revert in the confirmation pop-up that appears.
- The controls will revert to the options of approving or rejecting the applicant. Simply click the Approve for purchase button to approve the applicant.
How do I make use of Filters?
By clicking the Filters button we can filter out the different users.
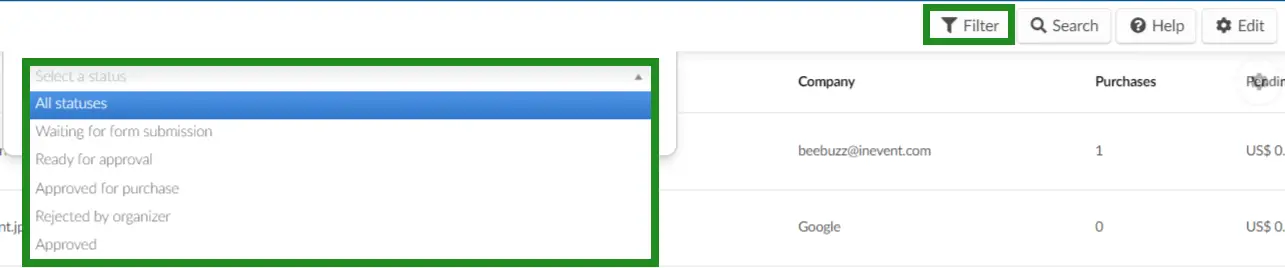
The filters are:
- Waiting for form submission: The filter displays users who filled the purchase form, but have not yet completed and submitted the form. It highlights users who did not provide responses to the required custom fields in the Identification section of the form before closing it.
- Ready for approval: This filter displays users who filled the registration form and are waiting to be approved by the event organizer.
- Approved for purchase: This filer displays users who have been approved by the event organizer to purchase tickets. Additionally, it displays users who filled the form when the Waitlist requirement tool is enabled after the event has reached its full capacity.
- Rejected: This filter displays users whose event admission have been declined by the event organizer.
- Enrolled: This filter displays users who have been approved into the event.
- Cancelled: This filter displays users who have canceled their registration.
- Tags: This filter displays users according to the tags selected during registration process.

Can I download the submission details of my applicants?
Yes, you can download the submission details of an applicant as a PDF file. To do this, follow these steps:
- On the Applicant's page, click on the Details button beside the applicant.
- Click on the Print submission button located at the top right corner of the page.
- In the new window, adjust your printing settings using the provided options. To save the user's submission as a PDF, choose either Microsoft print to PDF or Save as PDF from the Destination menu dropdown.
- Click on the Print or Save button depending on the selected PDF option.
- Provide a file name for the submission and save the PDF document to your computer.
Can I extract a report?
You can extract a report of your applicant's details from the Approvals or Applicants page. When extracting a report, you can choose or combine from the available Automated report or select the information you want to be included in the report in Custom report.
To learn more about extracting reports, refer to this article.

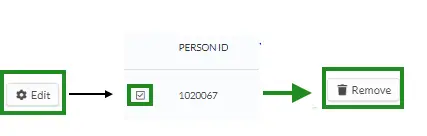
How do I remove an applicant from this page?
You can remove an applicant by clicking on Edit in the top right corner of the page, selecting the applicant using the check box, and then clicking on Remove.
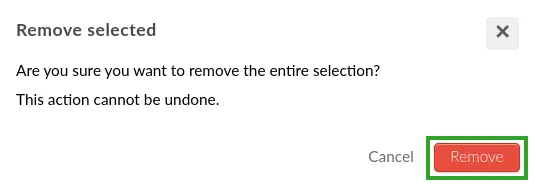
On the Remove selected pop-up box, click Remove to confirm your action.
Applicants page for event admission
The Applicants page will serve same function as the Approvals page when only the Approval requirement tool is enabled.
When using only the Approval requirement tool, the Controls column will display:
- Approve person / Reject person buttons: For users awaiting event admission.
The Status column will display:
- Approved: Also the status of a user whose event admission has been approved by the event organizer.
- Rejected by organizer: Also the status of a user whose event admission has been declined by the event organizer.
For more information, refer to the Approval requirement article.