Invoice payment option
 Updated 4 months ago
by
Lorenzo
Updated 4 months ago
by
Lorenzo
- Enabling the Allow invoice tool
- Configuring company payment details
- Using the Manual invoice option on the Purchase form
- Creating invoices for participants from the platform
The Invoice payment option allows the generation of invoices during ticket purchase. Participants can make use of the manual Invoice option to make payment when filling out the Purchase form. Additionally, administrators can generate invoices from the platform for users utilizing other integrated payment options.
This article explores all the ways the Invoice payment option can be used.
Enabling the Allow invoice tool
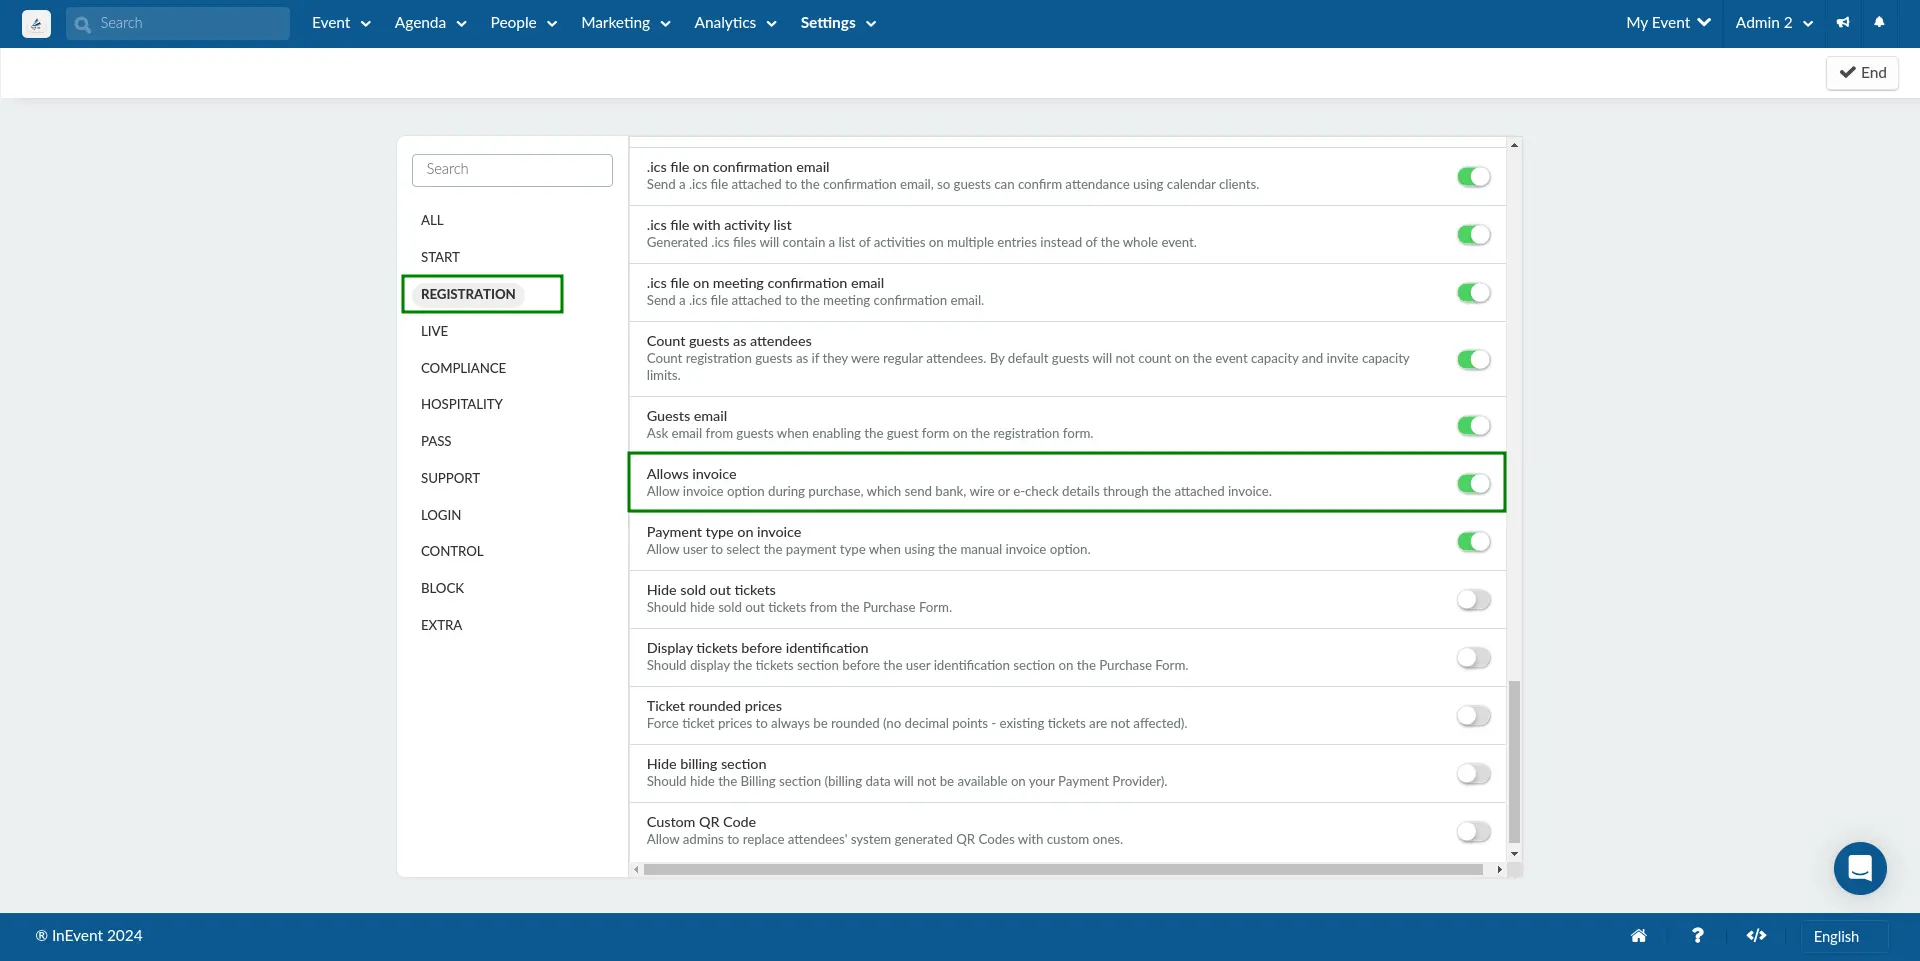
To enable invoice for manual payments, the Allow invoice tool must be enabled. To do so, complete the following steps.
- Navigate to Settings > Tools from the event level.
- Click Edit on the top right corner of the screen.
- Locate Allow invoice under the Registration section.
- Enable the tool by using the toggle.
Configuring company payment details
Company payment details allows event administrators to provide company details and other information on the invoice. The company payment details can be configured by following the steps provided below.
- Navigate to Marketing > Tickets > Invoices.
- Click on Settings under the Invoice section.
- Enter your payment details. The list of details is as follows:
- Company name: Your company name.
- Company Tax ID: Your company tax ID.
- Address line 1 & 2: Your company address.
- Days to due date: Days before the payment is due.
- Click End to save your invoice information.
Using the Manual invoice option on the Purchase form
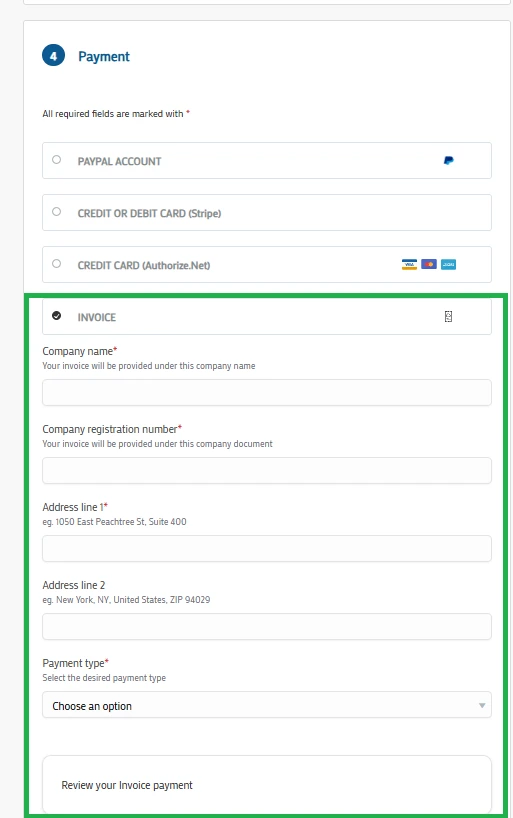
Once you have enabled the Allows invoice tool and configured your company's invoice payment details, the Invoice option will appear on the Purchase form.
After a user selects their desired ticket(s) and proceeds by clicking Next step, they will encounter a list of available payment methods, which includes the Invoice option. Choosing Manual invoice requires the user to input the following details.
- Company name
- Company registration number
- Address
- Payment type (Cash, Check, Bank Transfer)
Then select Next step.
For more information on Headings, refer to the Headings article.
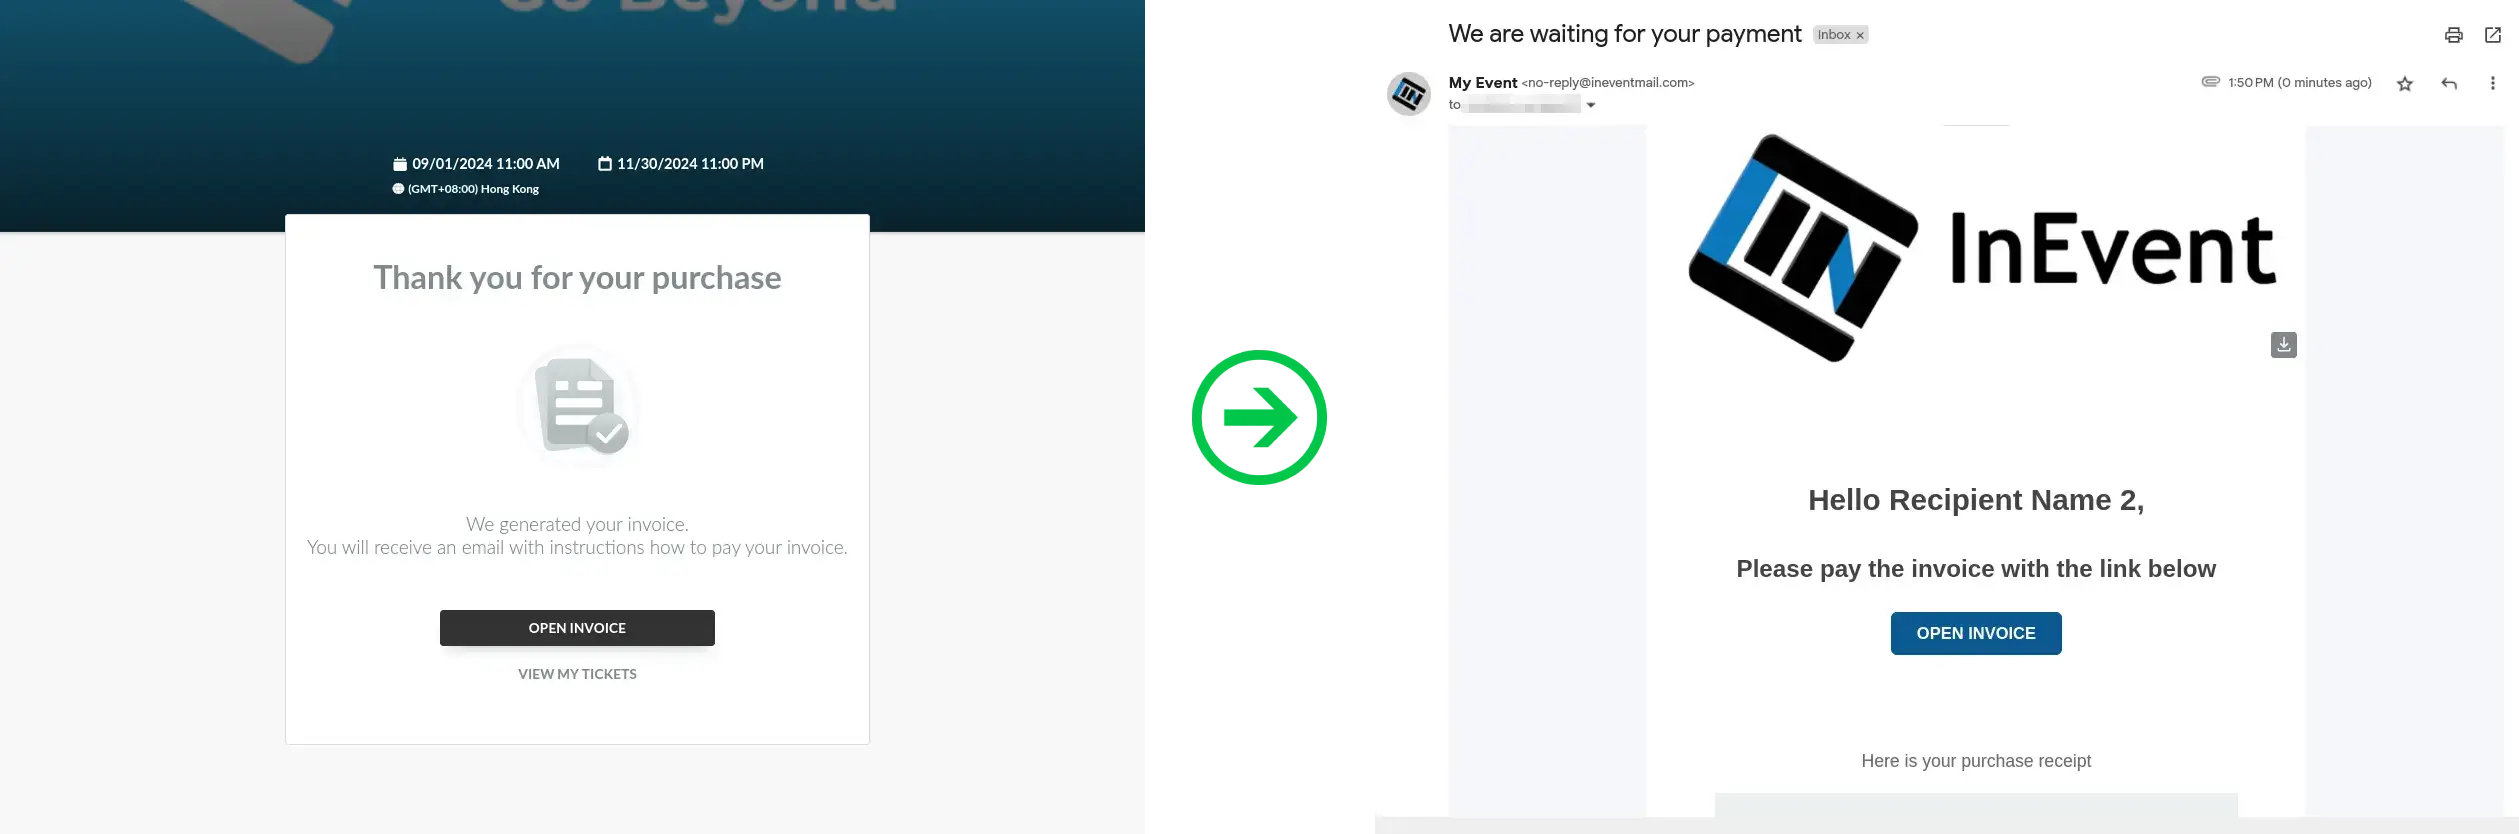
After reviewing and confirming their order, users can proceed by selecting Place order.
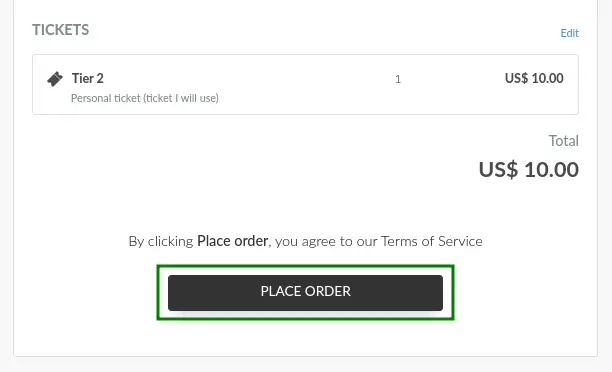
Subsequently, they will be directed to a confirmation page where they can open the invoice and view their tickets.
Additionally, an automatic email containing the invoice as an attachment will be sent to the attendees.
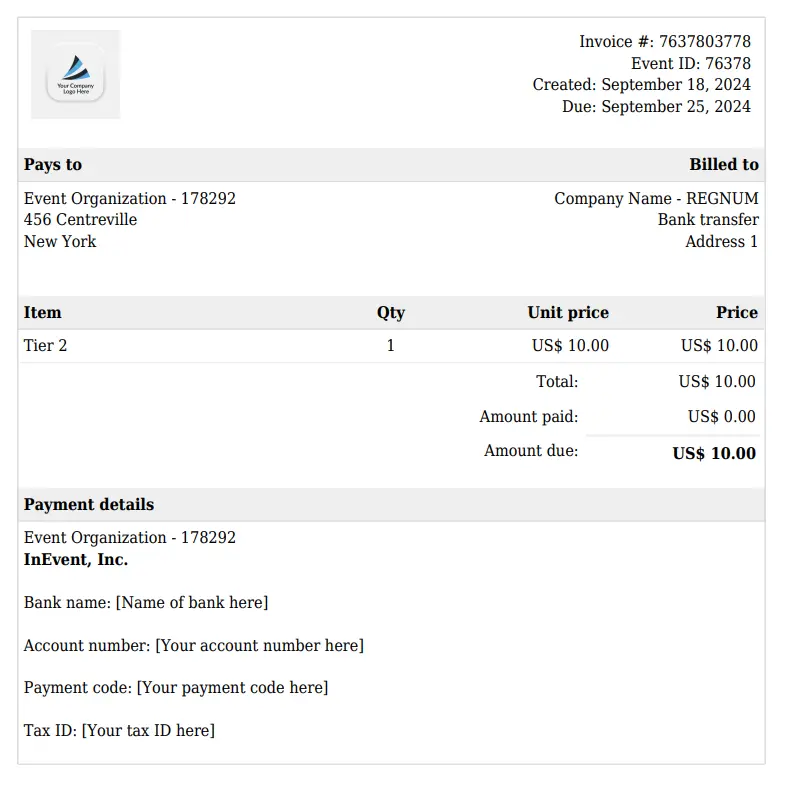
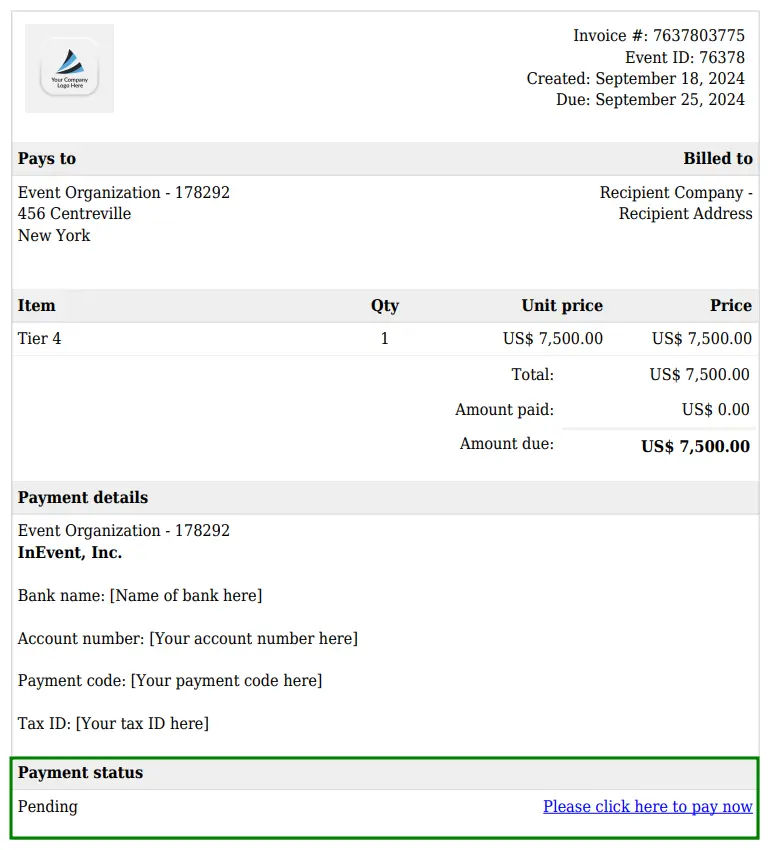
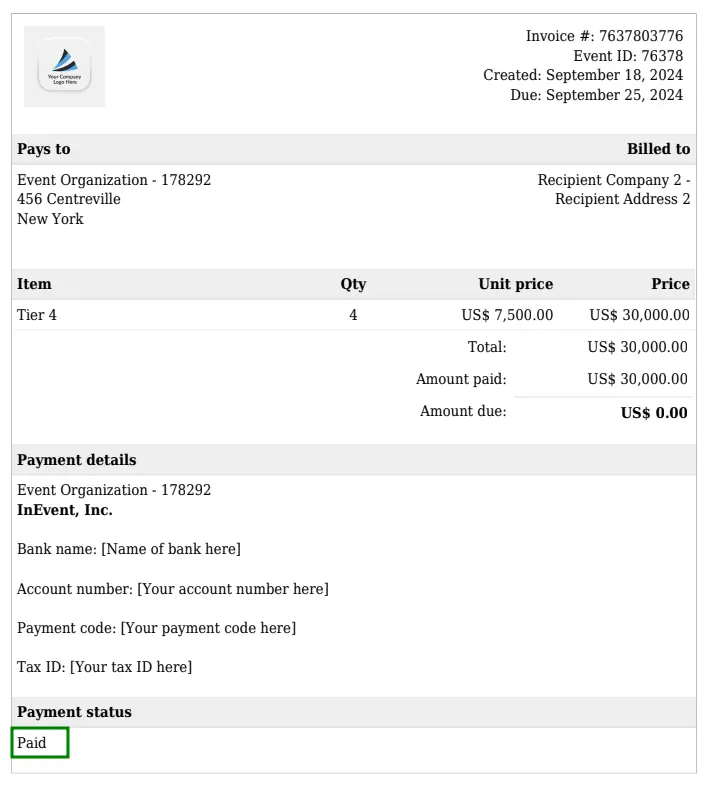
The invoice will contain your company's payment details, including payment type (if applicable). It will also contain other information like the invoice number, Event ID (which shows the event the invoice is linked to), etc. Below is an example:
Customizing the automatic Waiting for payment email
Event administrators can customize the Waiting for payment email invoice email that is automatically sent to your applicants using the Email creator.
Approving Manual invoice payments
After participants have purchased tickets using the manual invoice option, event organizers will need to review and approve their payments on the platform. To approve the invoice payment of your attendees, follow the steps provided below.
- Navigate to Marketing > Tickets > Payments.
- Click on List under the Payments section.
- Locate the payment details of the attendee and click on them to open the payment details. A new window containing the payment's information will open on the right.
- Click Approve payment.
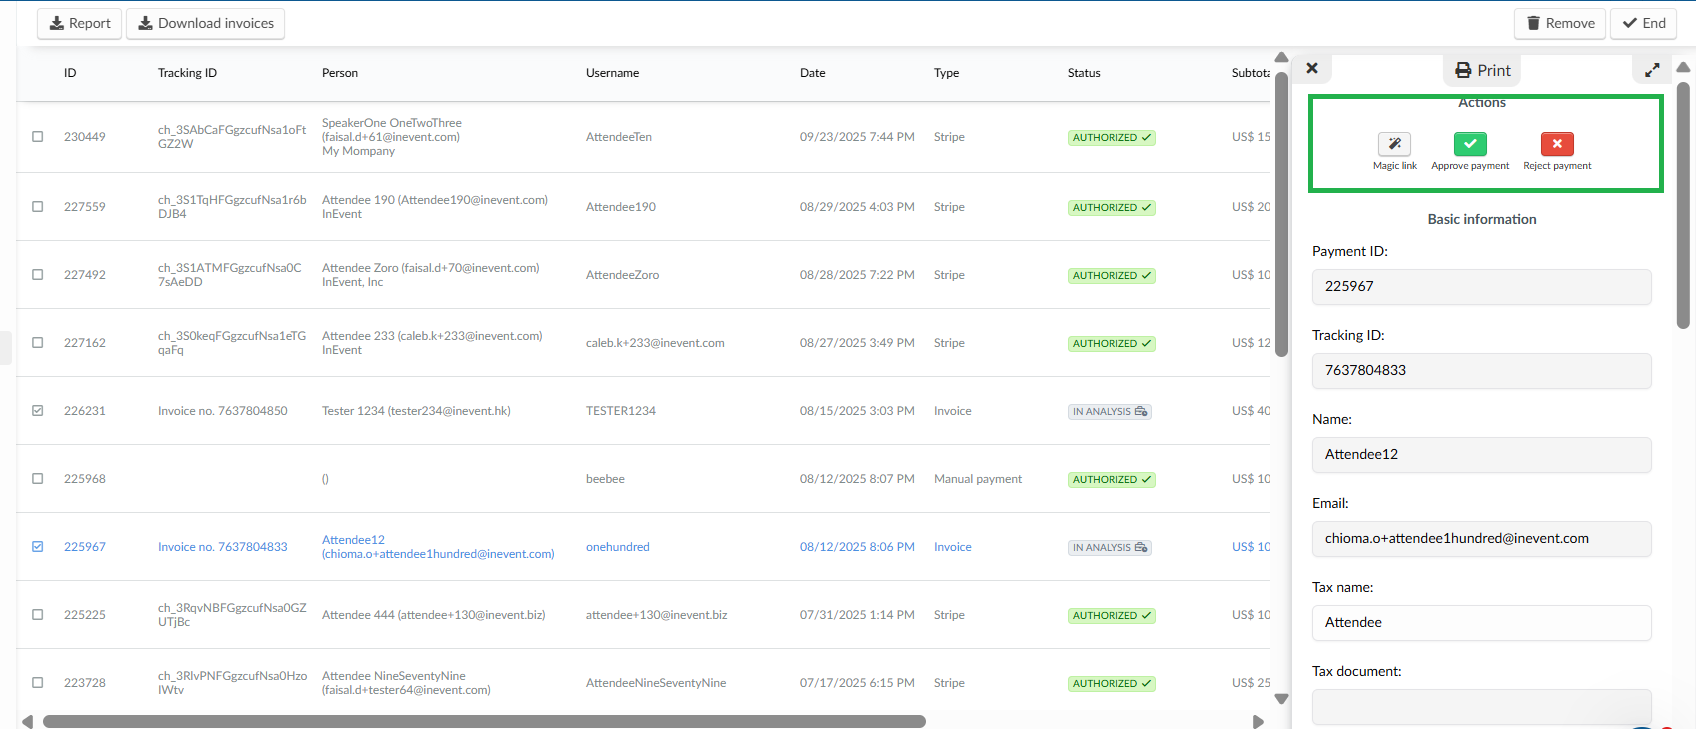
- A manual invoice payment that has not been approved, will show IN_ANALYSIS under the Status column and it requires your attention. Once approved, the status will show AUTHORIZED. For more information, refer to our Payments article.

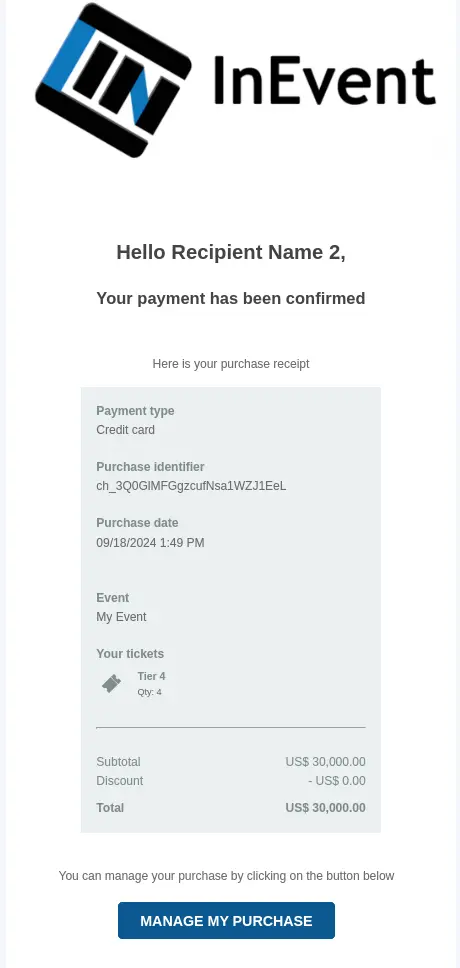
- The applicant will receive an automatic payment confirmation email with a link attached so they can manage their tickets on the My tickets tab of the Virtual Lobby. The applicant will also be listed under the Attendee's page.
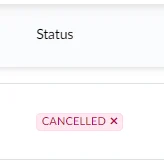
- To reject a payment, click on the Reject payment button. The applicant will receive a Rejected payment email. The status of this payment will also show CANCELLED.
Creating invoices for participants from the platform
As an event admin, you can create invoices for participants directly from the platform. This allows the generation of invoices for automated payment methods other than InEvent's manual invoice option.
To create an invoice for a participant, follow the steps provided below.
- Navigate to Marketing > Tickets > Invoices > List page.
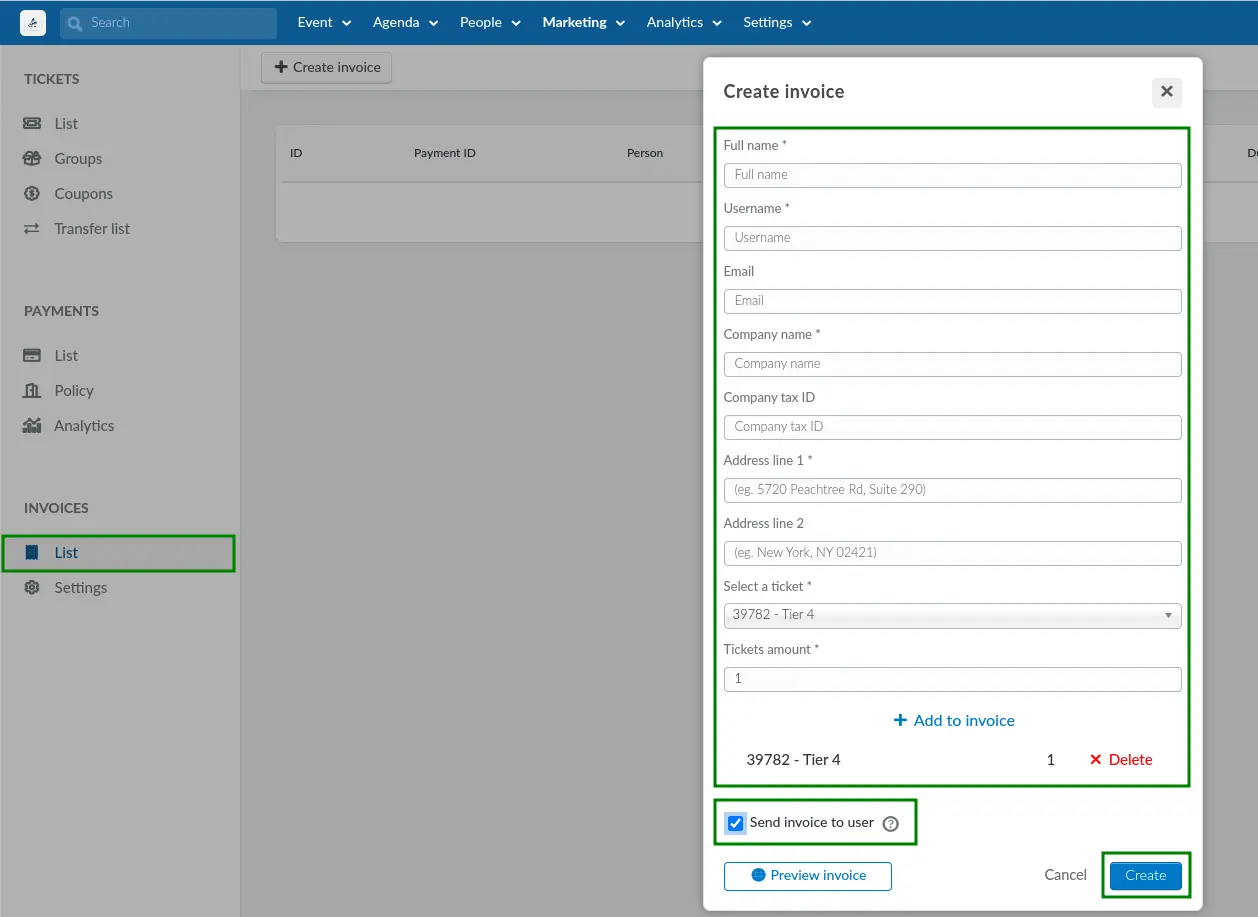
- Click on the Create invoice button.
- Enter the following details associated with your attendee in the Create invoice pop-up box:
- Full name
- Username
- Email (optional)
- Company name
- Company tax ID
- Address line 1 & 2
- Select a ticket.
- Tickets amount: Enter the amount of ticket, then click the +Add to invoice button.
- Enable the Send invoice to user checkbox to send the invoice to the user via email.
- Click Create.
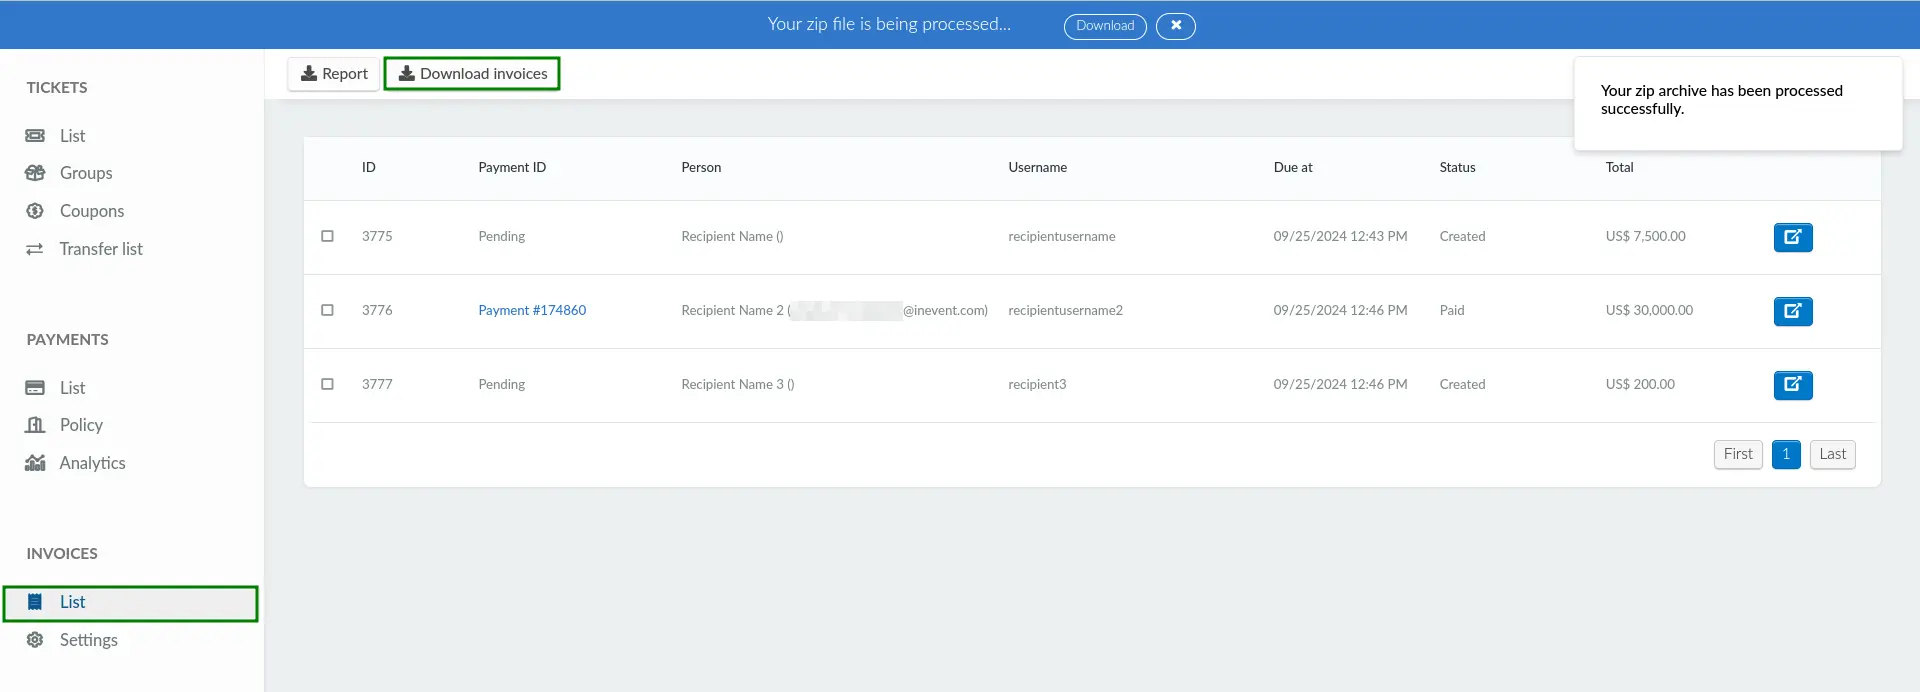
Once an invoice is created for a participant, the Payment ID of the participant will show Pending:

Previewing an invoice before sending to participants
You can preview your invoice and send the previewed sample to your self before sending it out to the designated user. To do this, simply click on the Preview invoice in the Create invoice pop-up box. A new pop-up box will appear displaying a preview of your invoice.
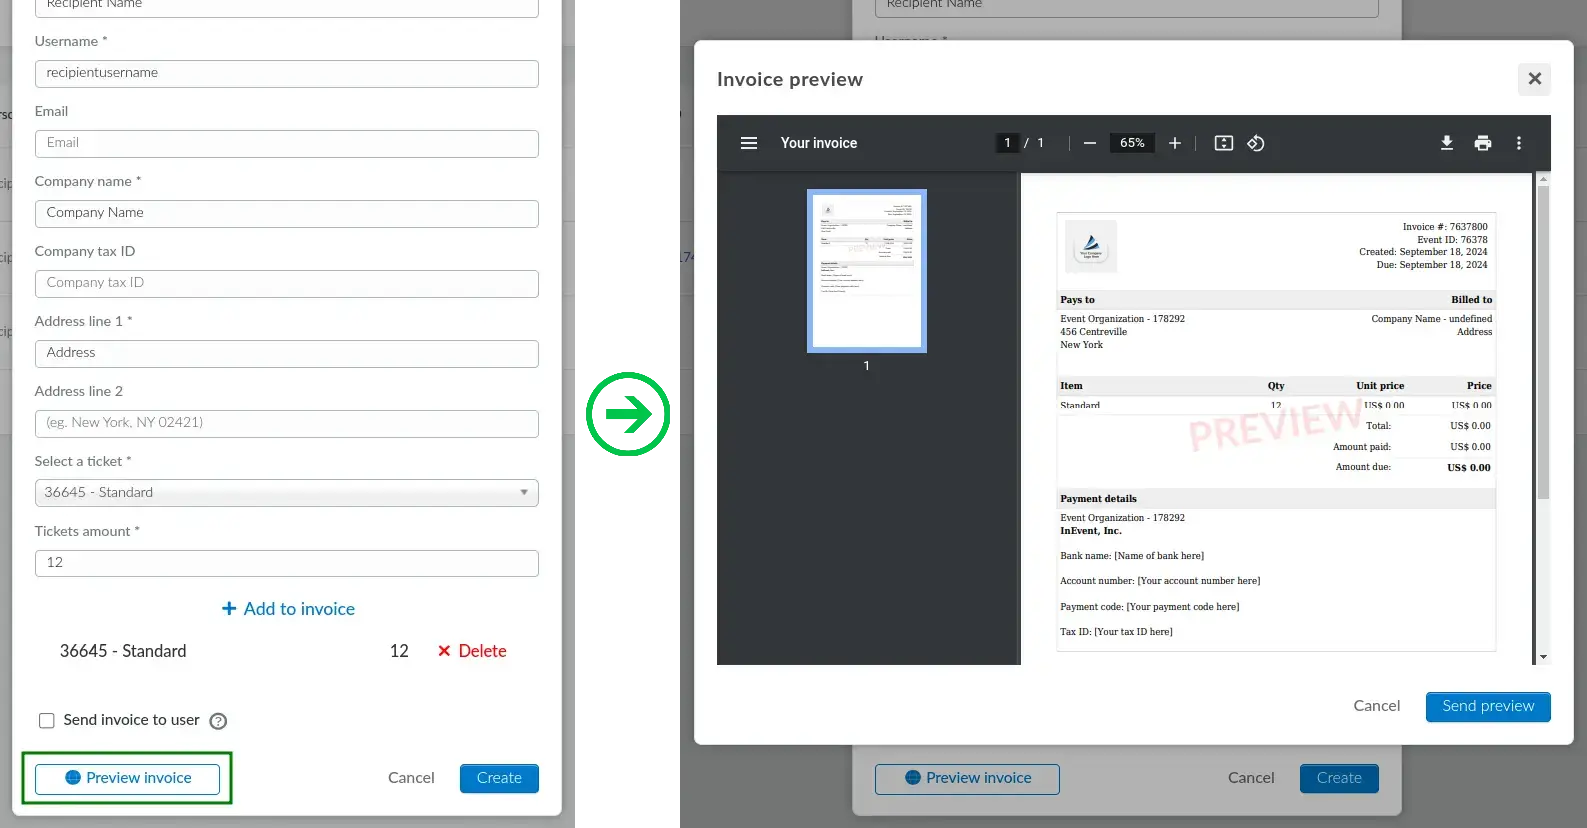
Once you are done previewing your invoice, simply click on Cancel or press the close button.
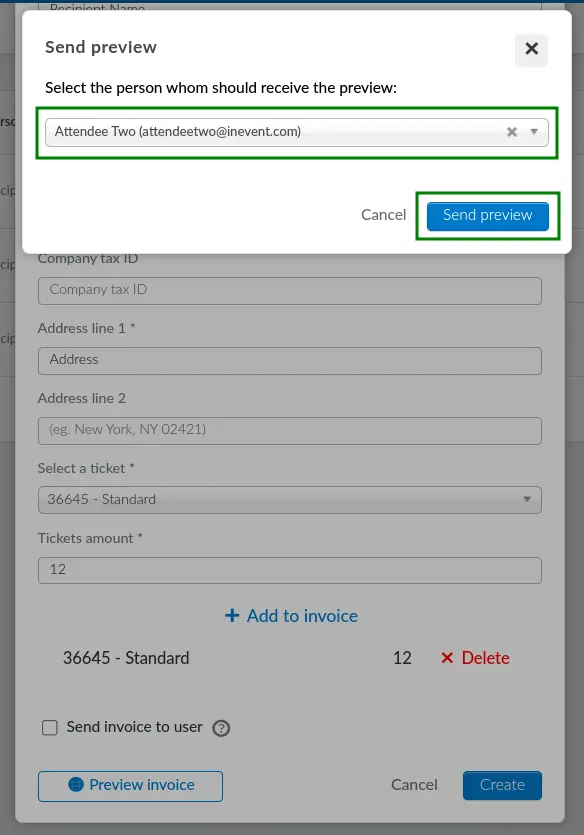
To send the invoice preview, click Send preview. In the following pop-up box, select the recipient of the invoice preview and click Send preview.
In addition, you can view the invoices of participants after already sending them. To do this, simply click the blue pen icon beside the participant. Locate and click on the Open invoice link to view the invoice.
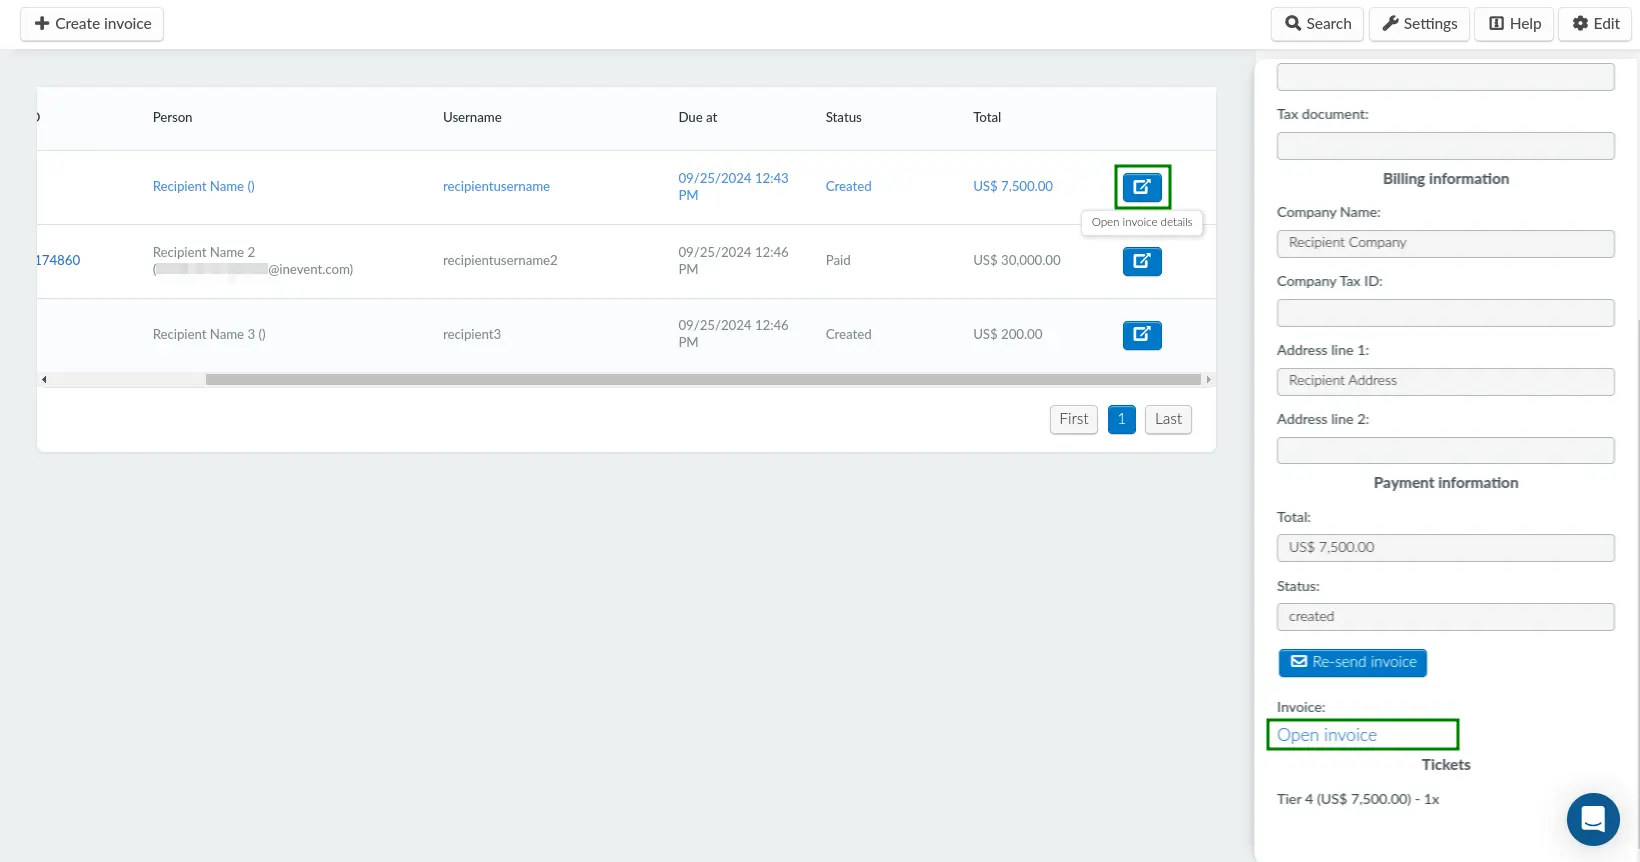
Invoice dashboard
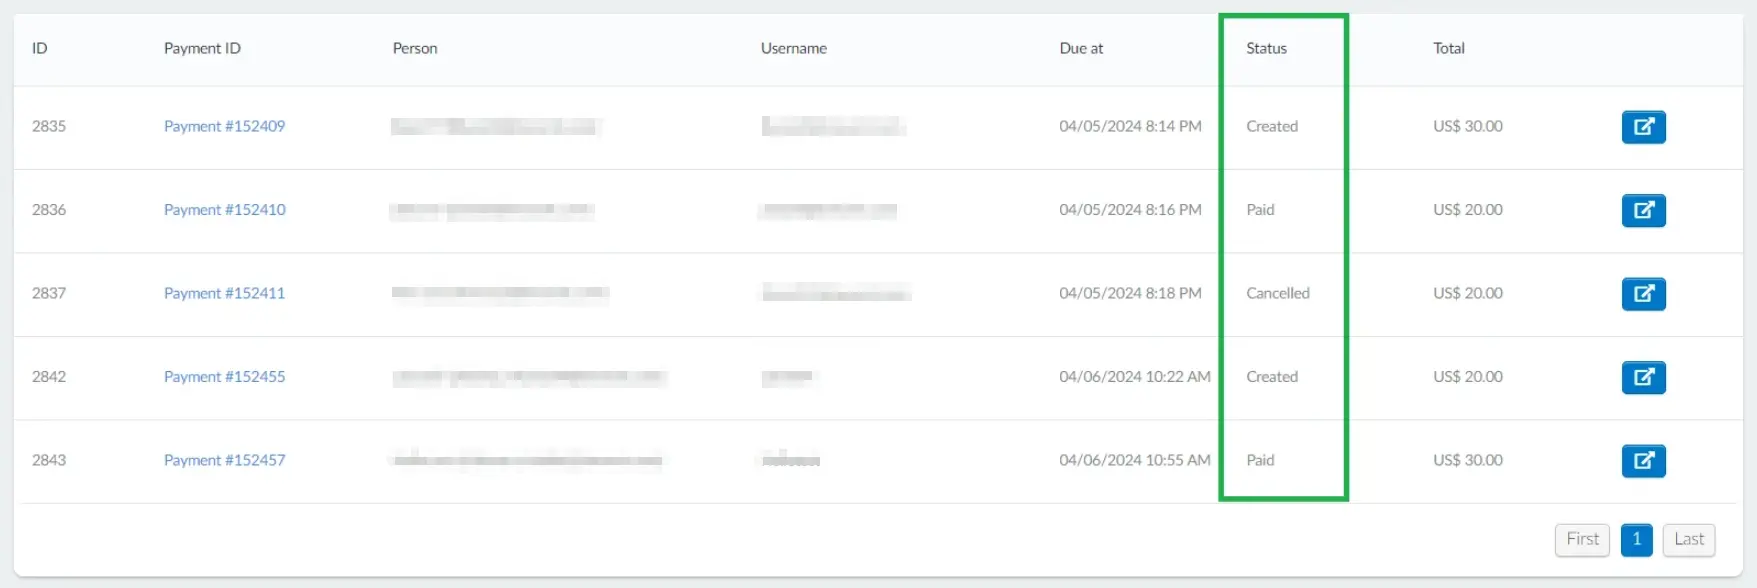
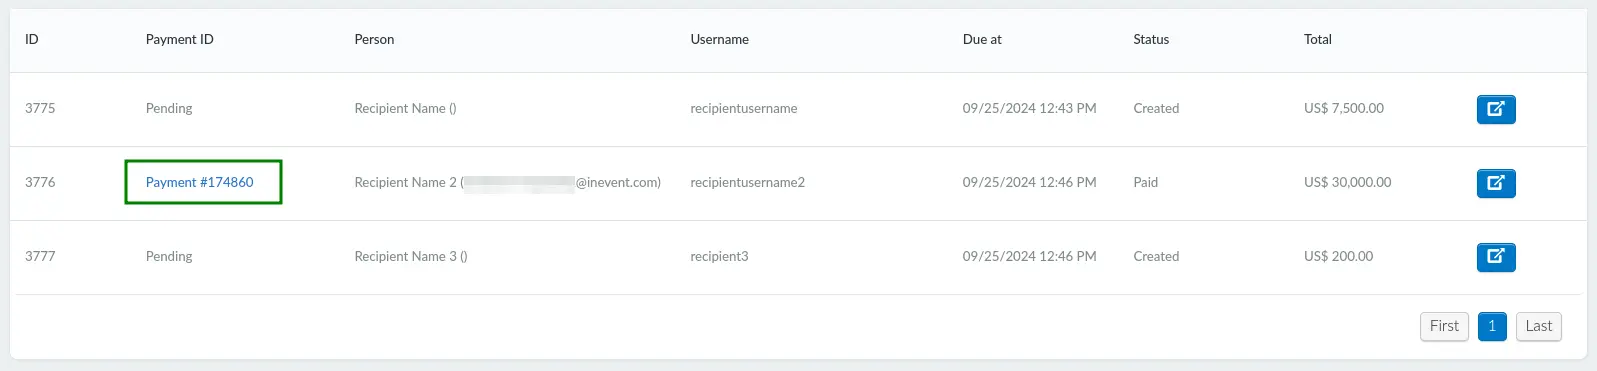
After creating an invoice for a user, the Invoice > List dashboard will display the invoice ID, Payment ID, Username, Due at, Status and Total.

The available invoice statuses of participants are as follows.
- Created: This status applies to participants whose invoices have been generated by event admins on the platform, but have not yet been approved on the Payments page.
- Paid: This status applies to participants whose invoices have been authorized on the Payments page.
- Cancelled: This status indicates participants whose invoices have been rejected on the Payments page.
By clicking on the blue icon of a participant, you will be able to view more information about the participant: Basic information, Billing information, Payment information, Tickets selected, etc.
Understanding how the platform-created invoices function on the Purchase form
Once the participants receive their invoice via email, they will see the link that states: Please click here to pay now in the invoice, as well as the Pending payment status. By clicking on the link, they will be redirected to the Purchase form.
When filling out the Purchase form, participants will be unable to add or change the preselected tickets in the Tickets section. Additionally, the manual Invoice payment option will not appear in the Payments section, as invoices have already been generated for them by the event administrator. After choosing a payment method and placing their order, it will be sent to the platform.
Once a participant places their order, a Payment ID will be generated for the participant on the platform.
In addition, the participant will receive a payment confirmation email containing an updated invoice that shows the Paid payment status.
Resending an invoice to a participant
Event organizers can resend an invoice to a participant. To do so, follow the steps provided below.
- Navigate to Invoices > List.
- Click on the participant whose invoice you wish to resend. A new window will open on the right where you can view more information.
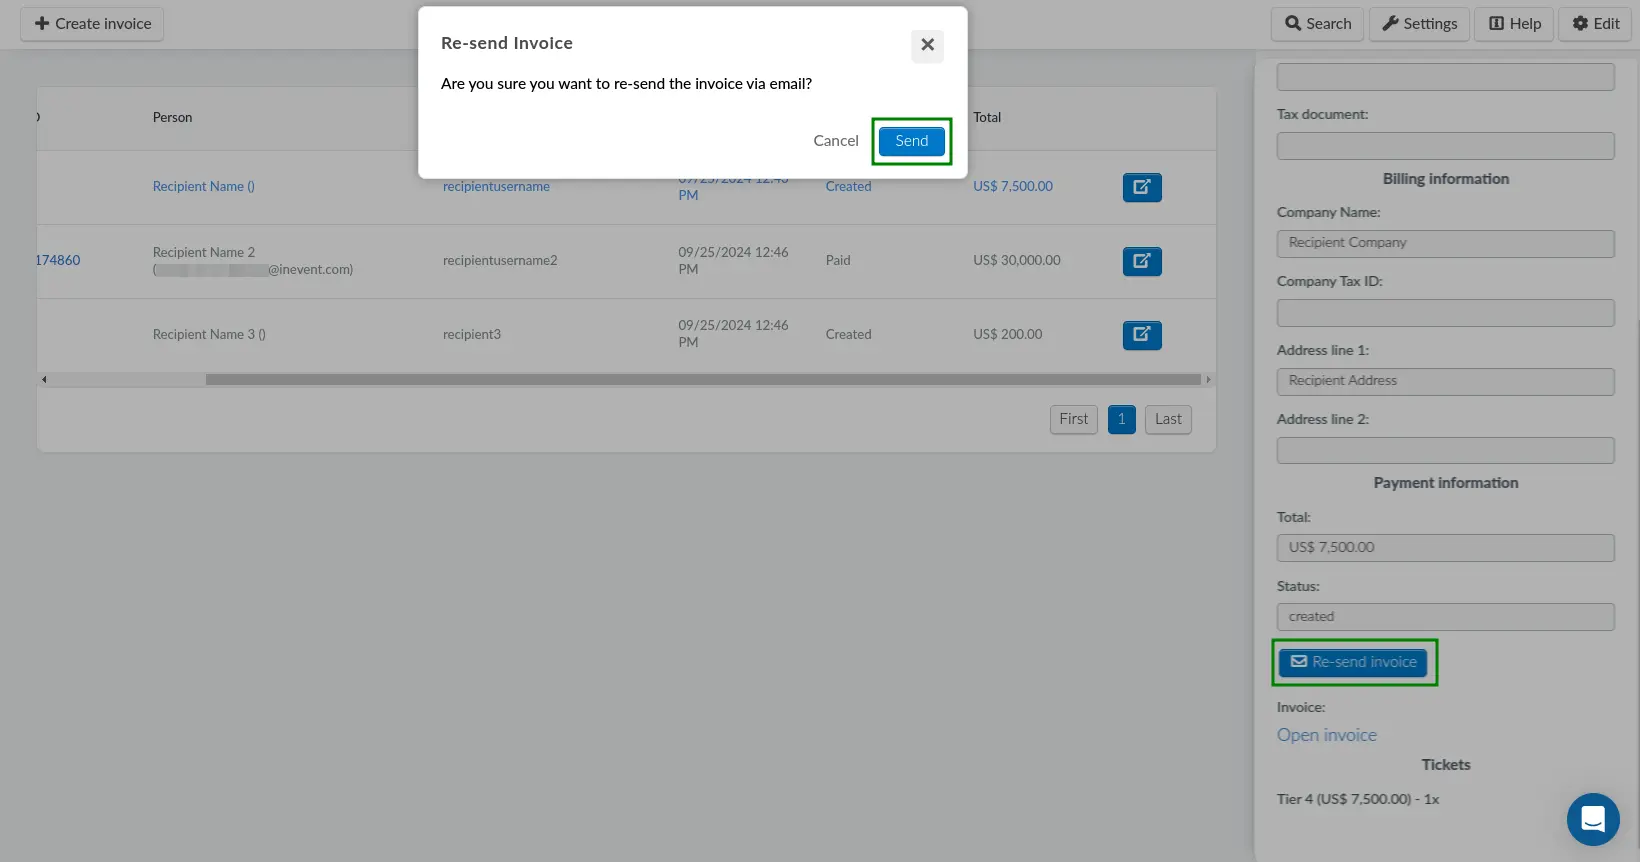
- Locate and click the blue Re-send invoice button. A new window will pop-up asking you to confirm your action.
- Click Send to confirm your action.
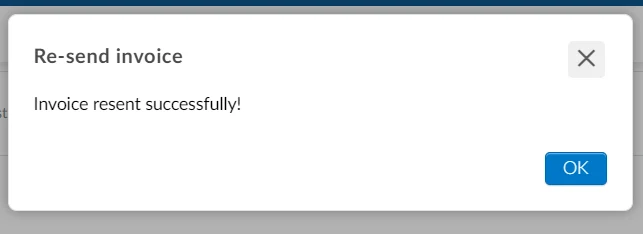
Once sent you will see the message letting you know your email was sent successfully.
Downloading invoices in bulk
To download invoices associated with your event in bulk, complete the steps provided below.
- Press the Edit button on the top right corner in any of the pages under the Invoices > List section.
- Press the Download invoices button on the top left corner. A blue notification banner will appear on the top of the page.
- Click on Download. You will be redirected to the Report center page.
- Locate your download which will have the Event Payments Invoices title.
- Press the blue download button.
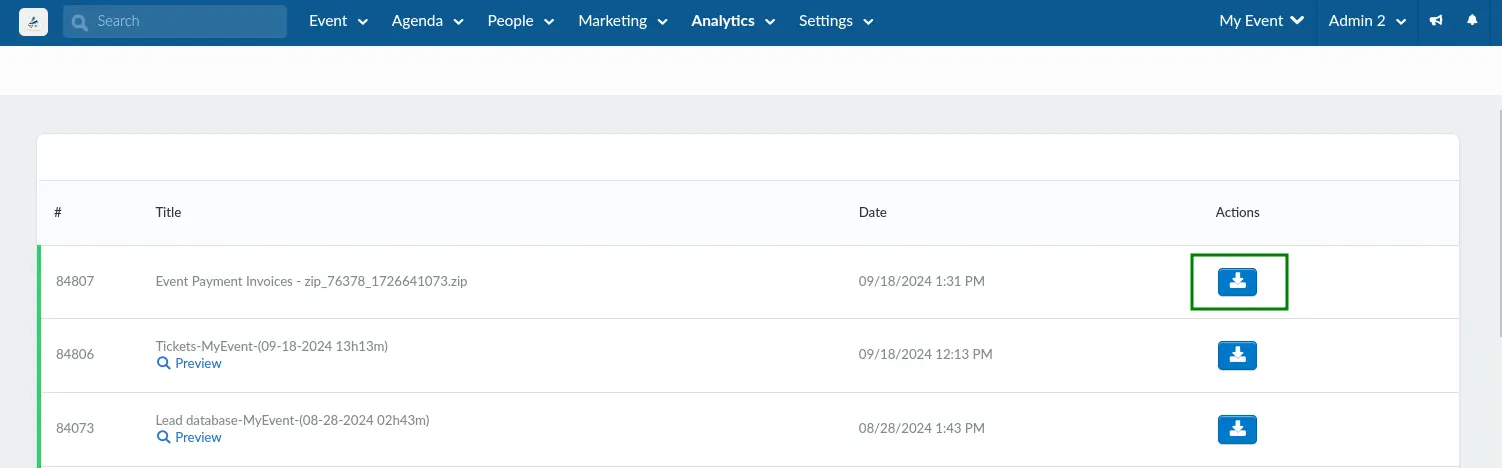
You will find all invoices associated with your event in a PDF format inside a zipped file.