Waitlists and approval requirement - Webinar
 Updated 1 year ago
by
yasmine haj sassi
Updated 1 year ago
by
yasmine haj sassi
The Waitlists feature allows the administrators to set a Webinar capacity and have people sent to the waitlist once that capacity is reached.
Another of its function is to manage all admissions and to have the option of accepting or rejecting those who have registered for the Webinar.
How do I configure the Waitlist tool?
If you would like to set a capacity for your Webinar and have guests who register after the webinar has reached its set capacity to be added to the webinar waitlist, you need to enable the Waitlists and Waitlist requirement tools.
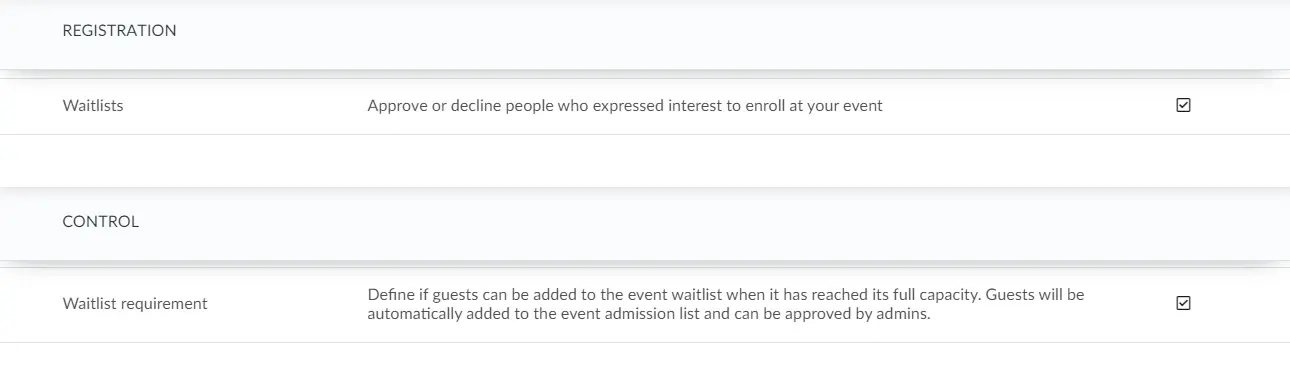
To enable these tools, go to Settings > Tools, click on Edit and scroll down to the Registration section, locate Waitlists and tick its checkbox. Next, scroll down to the Control section, locate Waitlist requirement and tick its checkbox.
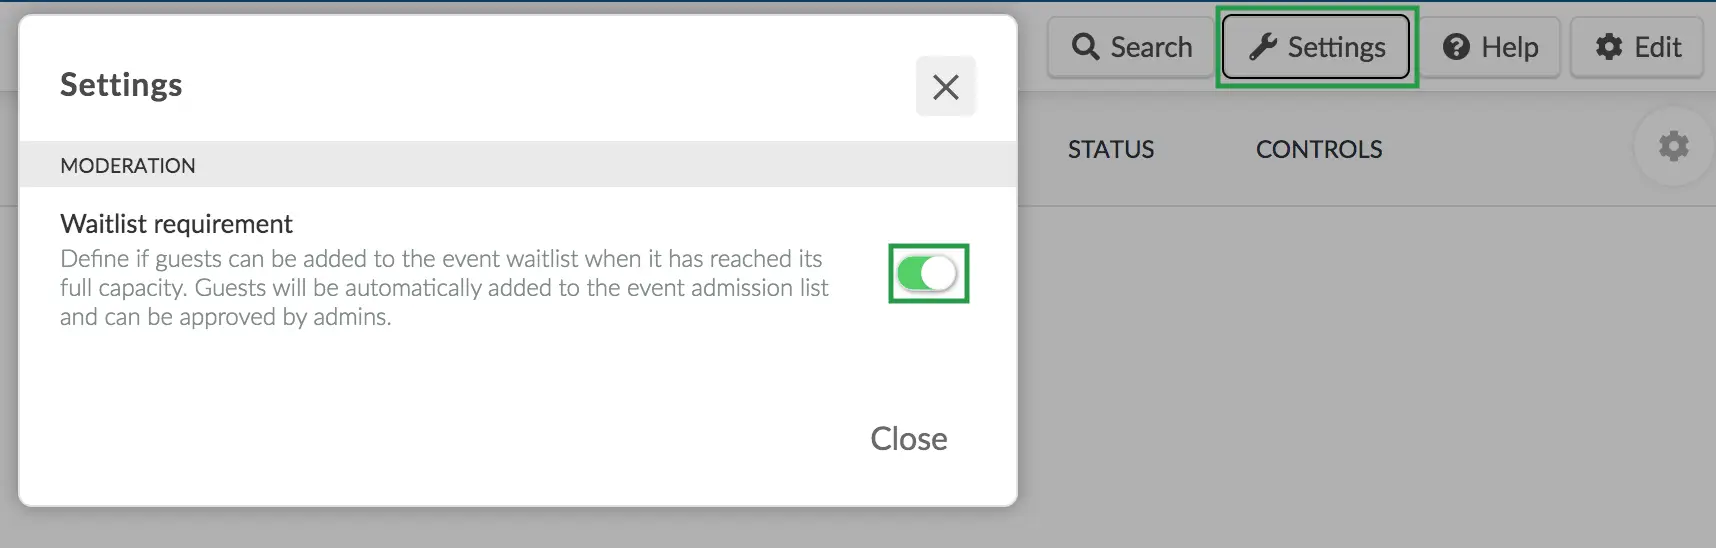
The Waitlist requirement tool can also be enabled by navigating to People > Waitlists > Settings and pressing on the switch next to Waitlist requirement.
How do I set the Webinar capacity?
If you'd like guests to be added to the Webinar waitlist when it has reached its full capacity, first you will need to set the Webinar capacity.
To do so, go to Webinar > Details > press Edit > scroll down until you see Event capacity. Then, add the number of attendees you would like to have in your event.

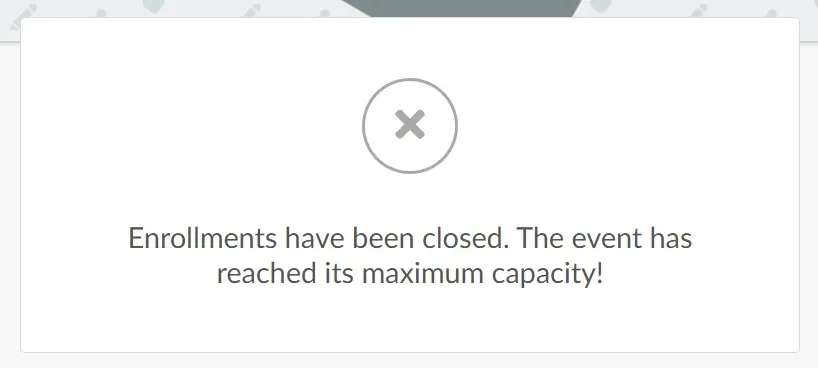
Once your Webinar reached its full capacity, and the Waitlists and Waitlist requirement tools are not enabled, they will see this message if they try registering.
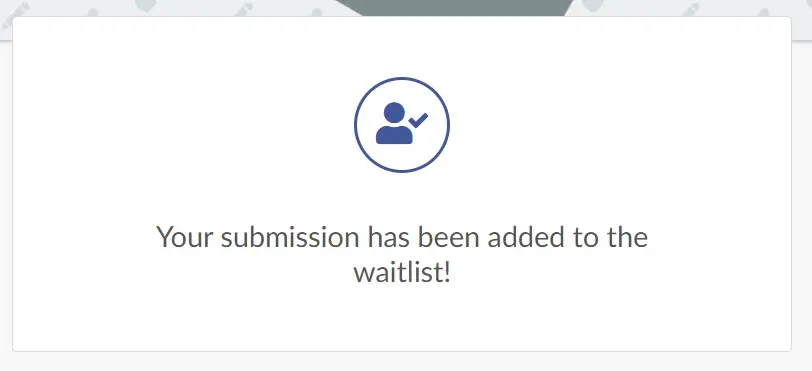
If Waitlists and Waitlist requirement tools are enabled, people will be able to register for the webinar, even when the webinar has reached its full capacity. They will be automatically added to the Waitlists page for event organizers to manually admit them.
They will see this message after registering:
Approval requirement
The Approval requirement tool is not related to the Webinar's capacity. It is a tool that allows event organizers control who they give admission into their webinars by sending all registrants to the waitlist and approving them manually.
To enable this feature, go to Settings > Tools > Control section and tick the Approval requirement checkbox. Click on End to save your changes.

Once enabled, participants who complete the registration form, will be placed on a waitlist and will need to be approved by the event admin to become an attendee.
How do I approve or reject participants?
The participants will be on the waitlist for approval or rejection either if they have filled out their registration form, or if you have added them manually on People > Waitlist > Add person.
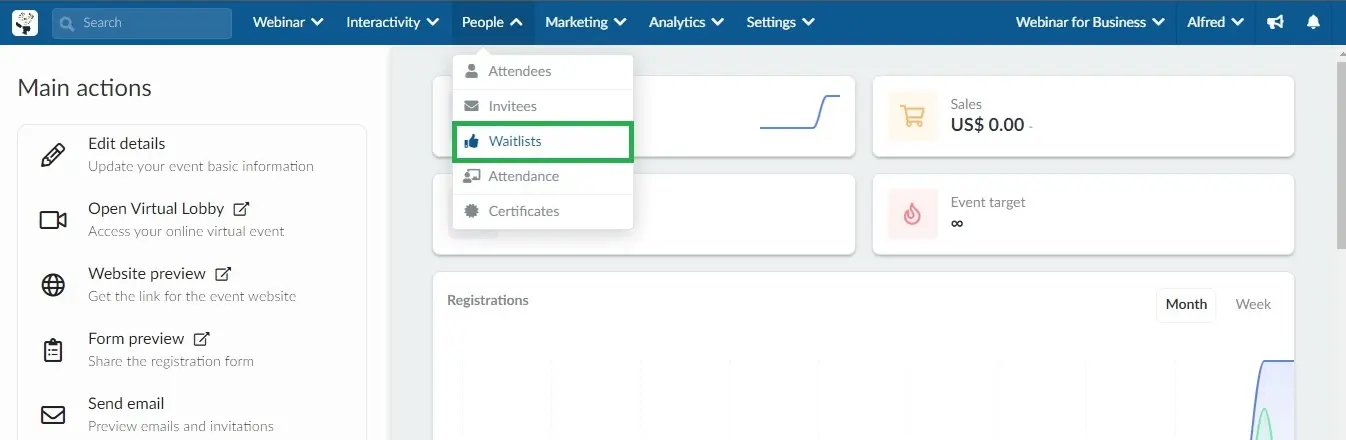
To view the waitlist, go to People > Waitlists.
There will be an option to approve or reject the invitees that have completed the registration form.
As an admin, you would need to click on the orange X box to reject the applicant or on the green tick box to accept the applicant.
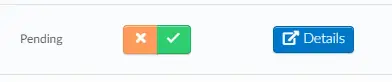
As you approve him/her, the attendee status will change from Pending Approval to Approved.

As you Reject him/her, the attendee status will change from Pending approval to Rejected.

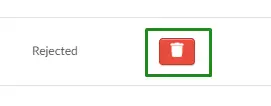
Once you have approved the person, if you click on People > Attendees, you'll see the attendee on the list. And the ones you rejected will still be on the waitlist with a rejected status, but if you wish to delete this entry, just click on the red remove button.
Admission Email
By default, attendees who are sent to the waitlist will also receive an automatic Admission Email letting them know that we have received their application.
You can enable or disable this email, as well as customize the email message, by going to Marketing > Email creator.
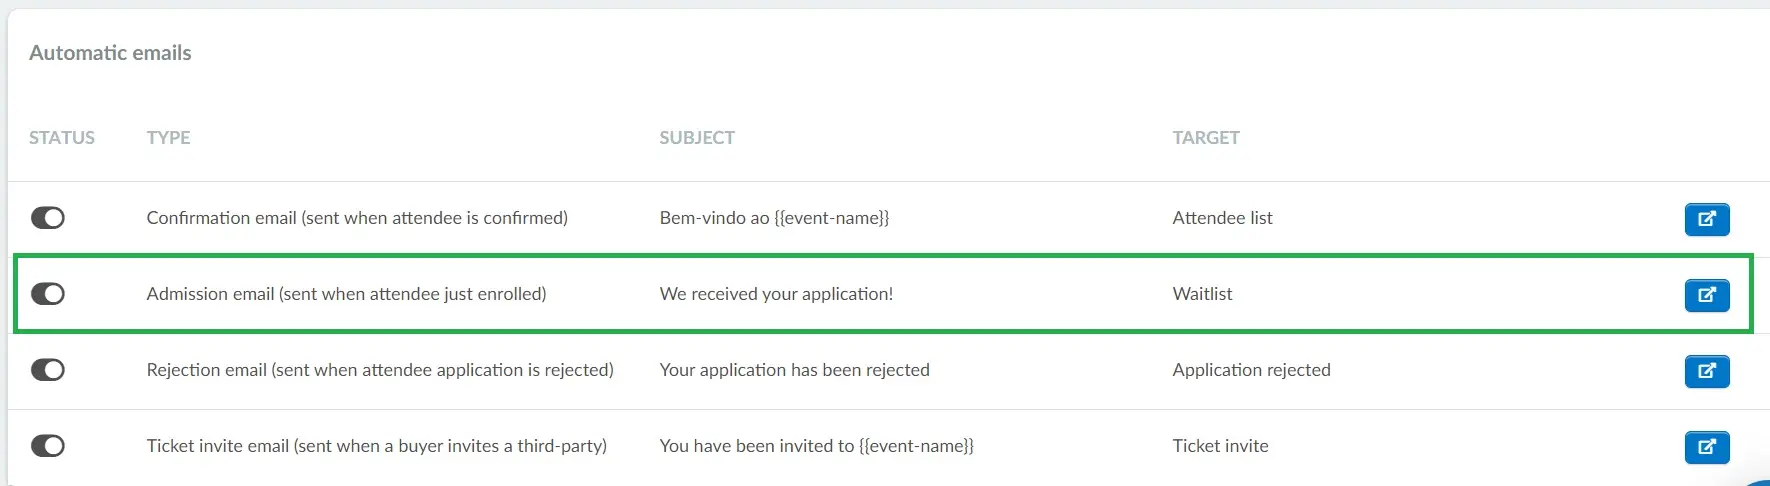
To disable the Admission email, toggle it off on the left-hand side. To customize the email, click on the blue button on the right.
Rejection email
By default, attendees who are rejected after being sent to the waitlist will also receive an automatic Rejection Email.
You can enable or disable this email, as well as customize the email message, by going to Marketing > Email creator.
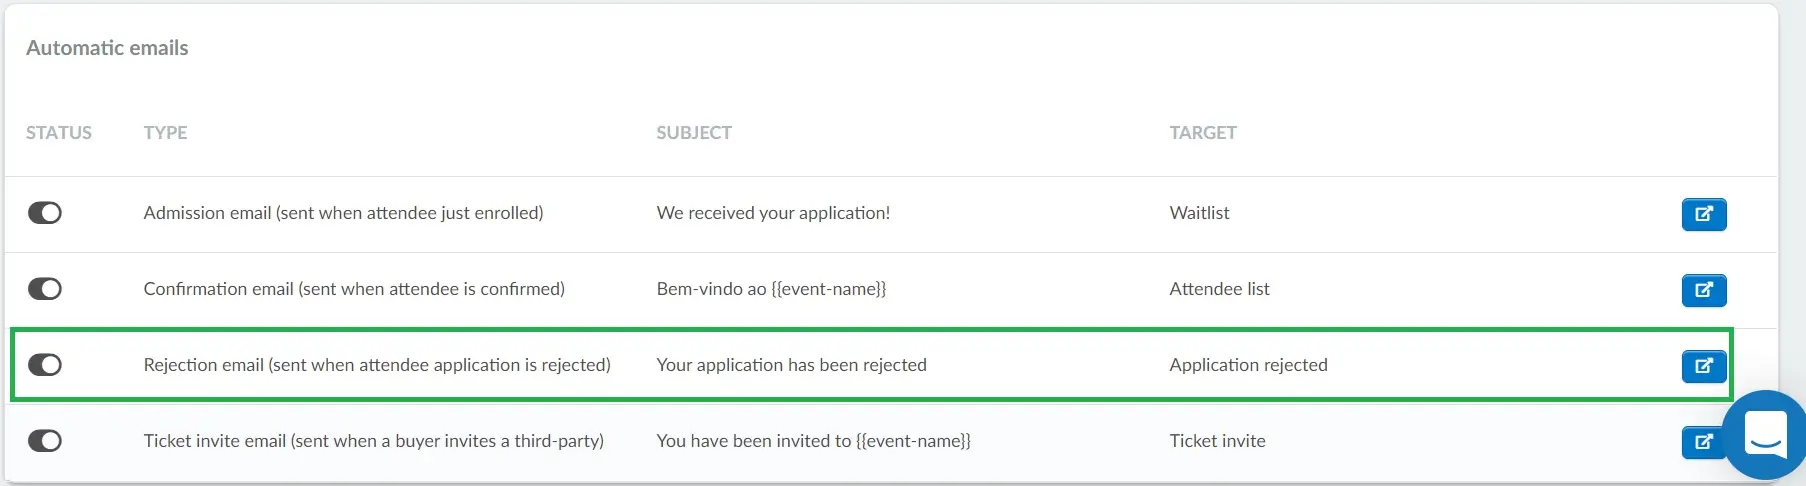
To disable the Rejection email, toggle it off on the left-hand side. To customize the email, click on the blue button on the right.
Can I extract a report?
To extract a report, press Edit > Report. When you click the button, a message will appear at the top of the screen, warning you that you will receive the file with the data in your email, when the process is complete.