Waitlists and waitlist requirement
 Updated 11 months ago
by
Faisal Durrani
Updated 11 months ago
by
Faisal Durrani
The Waitlist and waitlist requirement features have the function of ensuring that an event's set capacity is adhered to. Users who register after an event has reached its set capacity are sent to the waitlist for approval if the waitlist requirement tool is enabled.
Configuring the Waitlist tool
If you would like to set a capacity for your event and have users who register after the event has reached its set capacity to be added to the event waitlist, you need to enable the Waitlists and Waitlist requirement tools.
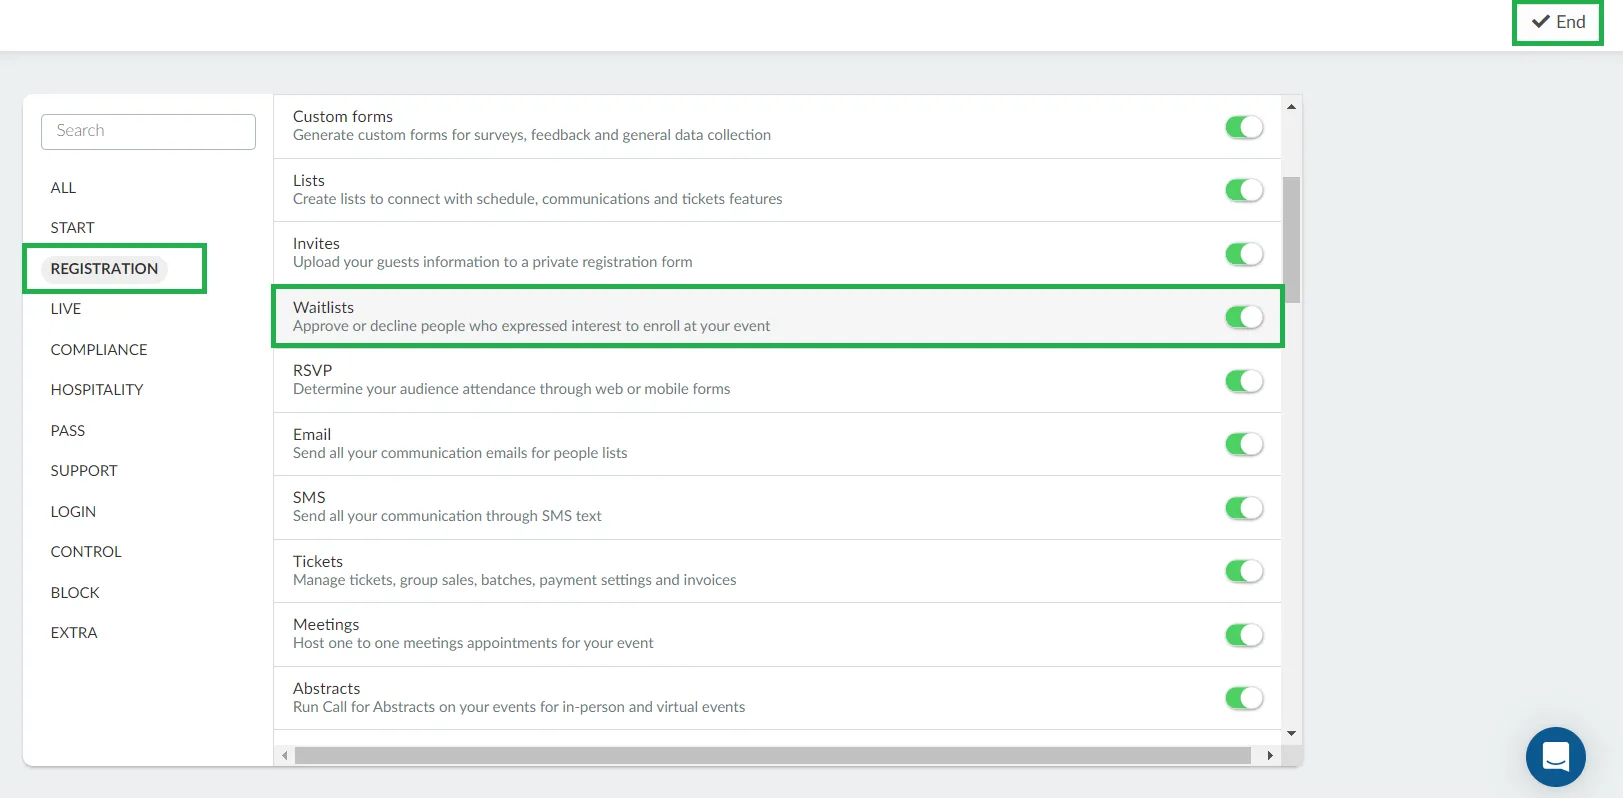
To activate the Waitlists tool, navigate to Settings > Tools, locate Waitlists under the Registration section, click on Edit and toggle its corresponding button on. Press End to save your changes.
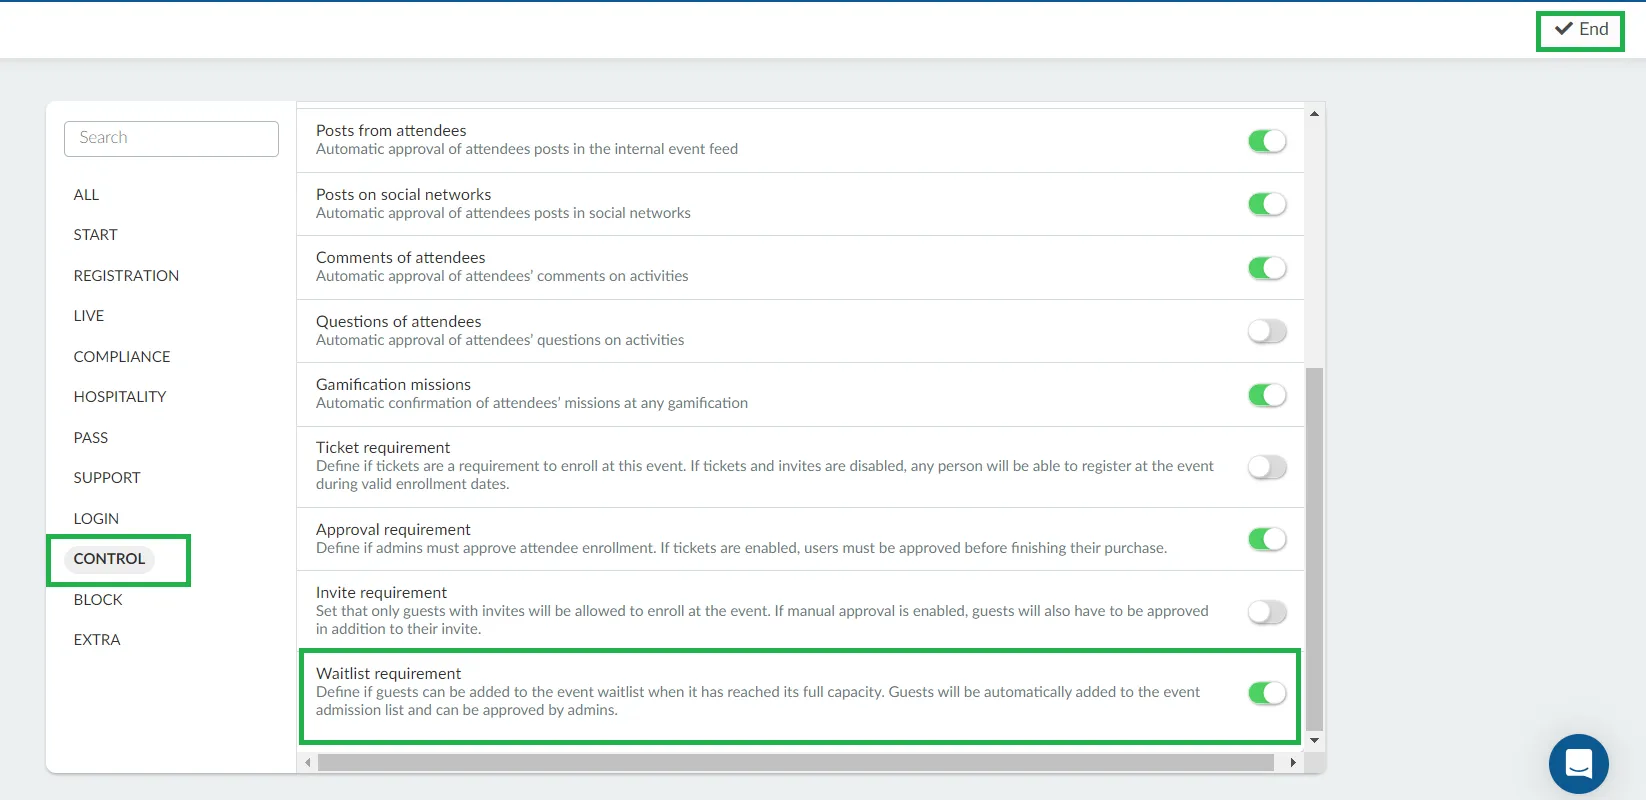
To activate the Waitlists requirement tool, go to Settings > Tools, locate Waitlists requirement under the Control section, click on Edit and toggle its corresponding button on. Press End to save your changes.
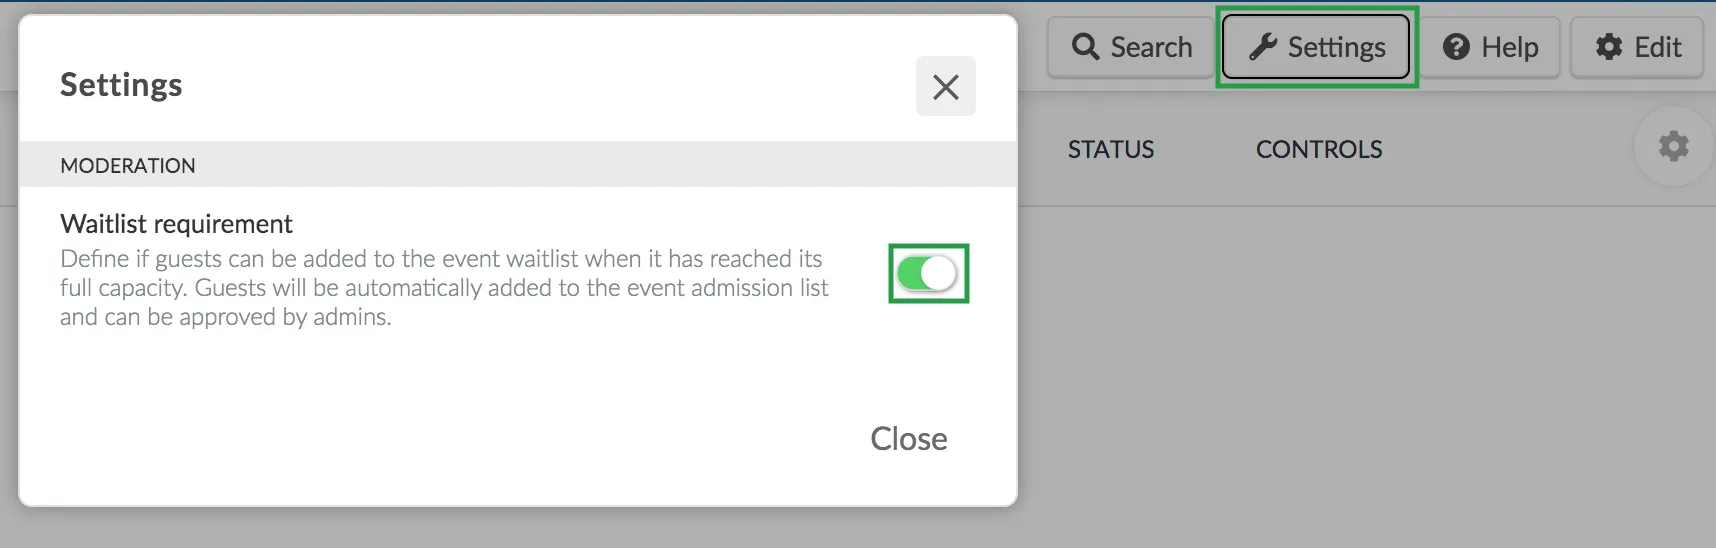
The Waitlist requirement tool can also be enabled by navigating to People > Waitlists > Settings and pressing on the switch next to Waitlist requirement.
How do I set my event capacity?
If you'd like users to be added to the event waitlist when it has reached its full capacity, first you will need to set the event capacity.
To do so, go to Event > Details > press Edit > scroll down until you see Event capacity. Then, add the number of attendees you would like to have in your event. Click on End to save your changes.

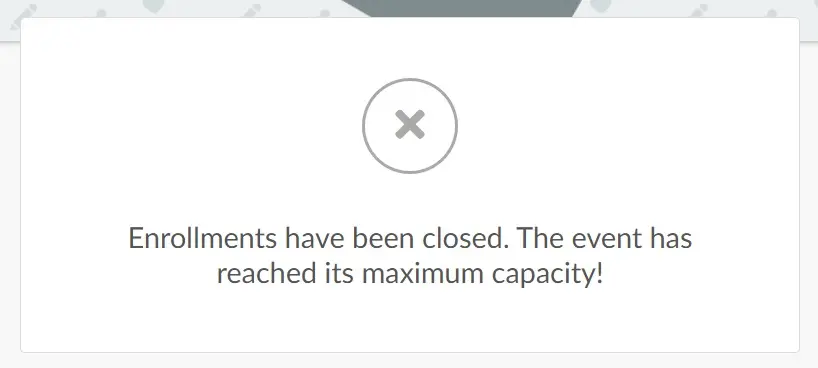
Once people try to register for your event after reaching its full capacity, they will see this message:
If Waitlists and Waitlist requirement tools are enabled, people will be able to register for the event, even when the event has reached its full capacity. They will be automatically added to the Waitlists page for event organizers to manually admit them into the event. They will see this message after registering:

Approving or rejecting participants
The participants will be on the waitlist for approval or rejection either if they have filled out their registration form, or if you have added them manually on People > Waitlist > Add person.
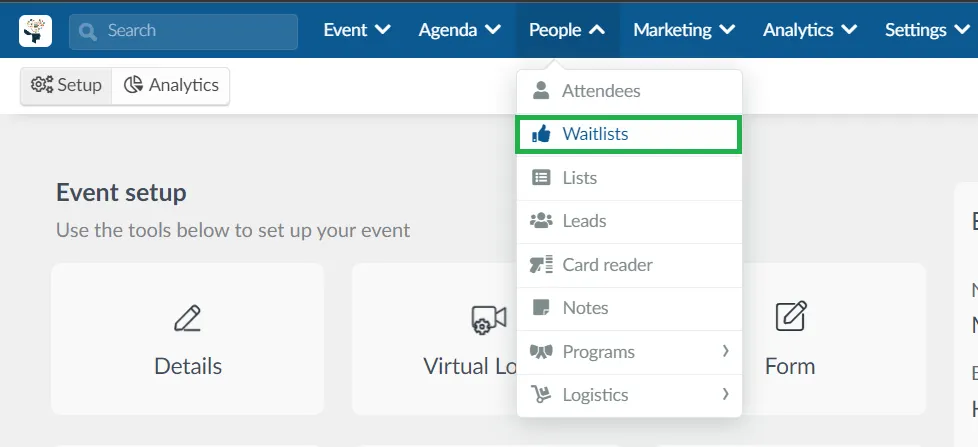
To view the waitlist, go to People > Waitlists.
There will be an option to approve or reject the participants that have completed the registration form.
As an admin, you would need to click on the orange X box to reject the applicant or on the green tick box to accept the applicant.
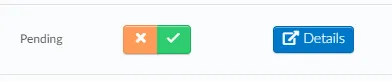
As you approve the participant, the attendee status will change from Pending to Approved.

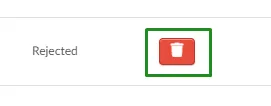
As you reject the participant, the attendee status will change from Pending approval to Rejected.

Once you have approved the person, if you click on People > Attendees, you'll see the attendee on the list. And the ones you rejected will still be on the waitlist with a rejected status, but if you wish to delete this entry, just click on the red remove button.
Admission Email
By default, attendees who are sent to the waitlist will also receive an automatic Admission email letting them know that we have received their application.
You can enable or disable this email, as well as customize the email message, by going to Marketing > Communication > Email creator > Automatic emails > Event Access > Admission email.
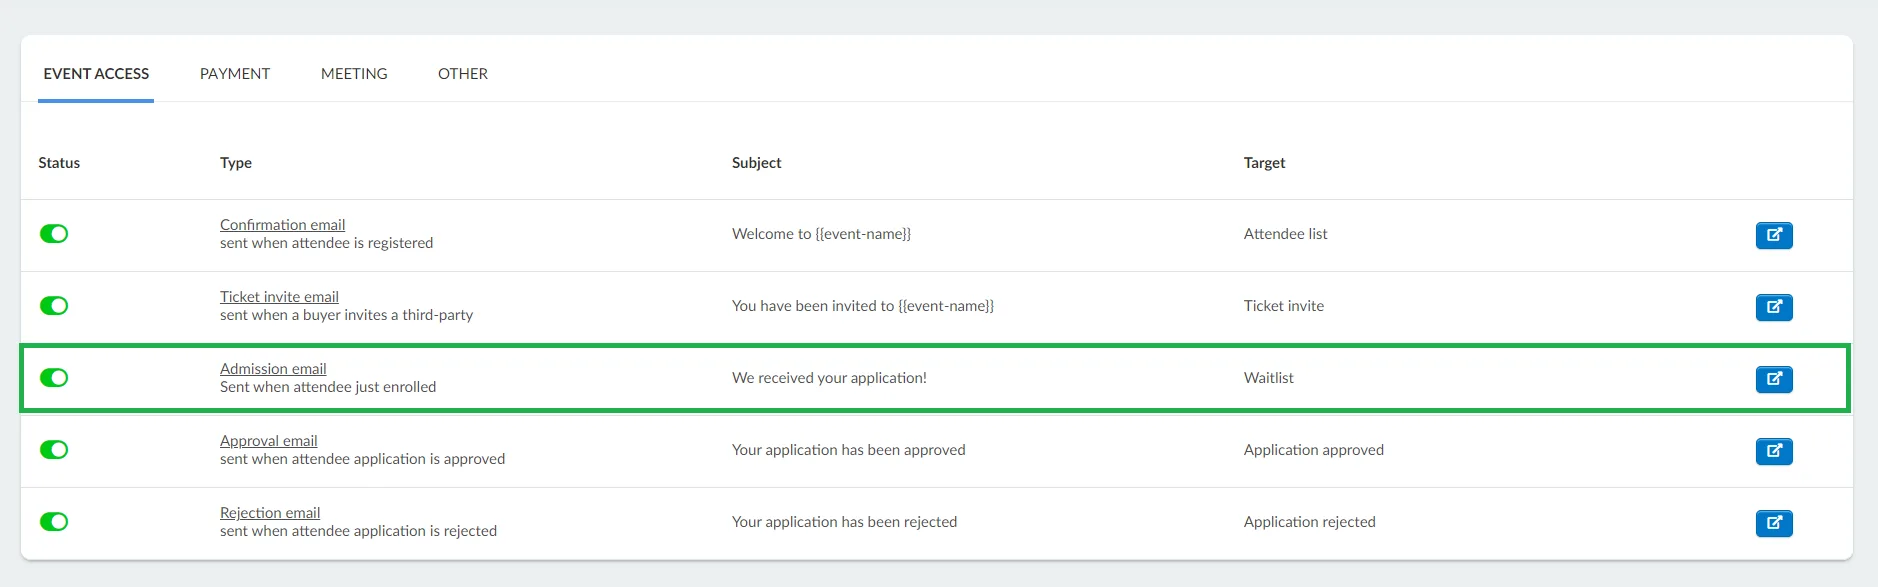
To disable the Admission email, toggle it off on the left-hand side. To customize the email, click on the blue button on the right.
Rejection email
By default, attendees who are rejected after being sent to the waitlist will also receive an automatic Rejection Email.
You can enable or disable this email, as well as customize the email message, by going to Marketing > Communication > Email creator > Automatic emails > Event Access > Rejection email.
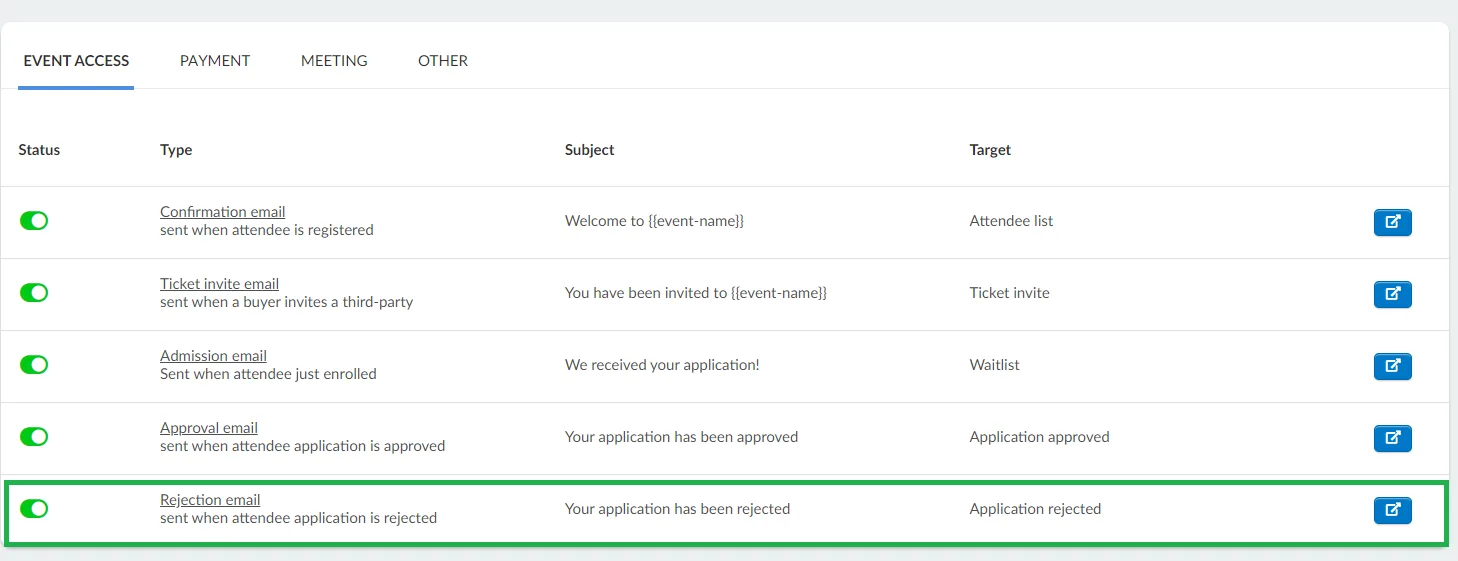
To disable the Rejection email, toggle it off on the left-hand side. To customize the email, click on the blue button on the right.
Modifying the answers to the questions submitted by a user on the waitlist
As an event admin, you have the ability to edit the answers to the custom questions in the Registration form submitted by a user on the waitlist. Here's how:
- Click on the Details button located beside the user's entry on the waitlist page.
- The user's details tab will appear. Click on the Edit button.
- Make the necessary changes to the user's custom questions' answers.
- Click on End to save the changes made.
Downloading the submission details of the users in the waitlist
You can download the submission details of the participants in the waitlist as a PDF file. To do this, follow these steps:
- Click on the Details button beside the user on the waitlist.
- Click on the Print submission button located at the top right corner of the page.
- In the new window, adjust your printing settings using the provided options. To save the user's submission as a PDF, choose either Microsoft print to PDF or Save as PDF from the Destination menu dropdown.
- Click on the Print or Save button depending on the selected PDF option.
- Provide a file name for the submission and save the PDF document to your computer.
Filtering Applicants
To filter applicants, click the Filter button. Select the desired filter using the drop-down menu and click the blue Filter button. Applicants associated with the selected filter will then be displayed. You can select from these options:
- Approved
- Cancelled
- Rejected
- Pending
- TagsTo learn more about these and other filters, refer to the section How do I make use of filters.
Extracting a report
To extract a report, press Edit > Report. When you click the button, a message will appear at the top of the screen, warning you that you will receive the file with the data in your email, when the process is complete.
