Registration Form - Webinar
- How do I enable or disable the registration form?
- How can I create a registration form?
- Fields
You can collect important data from attendees enrolling in your webinar through the Registration form. The standard Registration form on the platform requires the attendee's name, e-mail address, assistant e-mail address, username, password, role, and company information.
In addition to the default questions on the Registration form, the webinar admin can add other questions. It is also possible to edit the default question labels or remove questions from the form.
How do I enable or disable the registration form?
To enable the Registration form for your webinar, follow these steps:
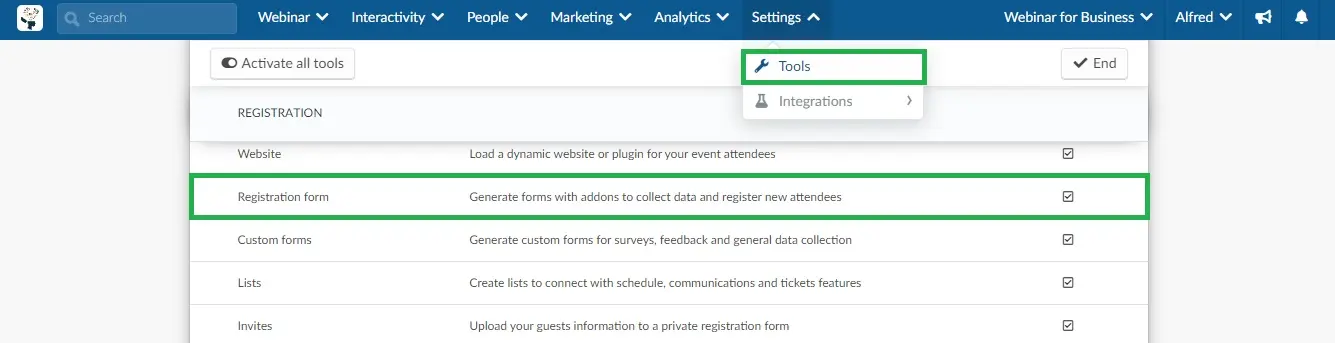
- Go to Settings > Tools.
- Click the Edit button at the upper right, then scroll down until you see the Registration section.
- Tick the Registration form checkbox
- Press End to save your changes.
How can I create a registration form?
To create a registration form, click on Marketing > Registration form. On the left side of the page, you will find the following options:
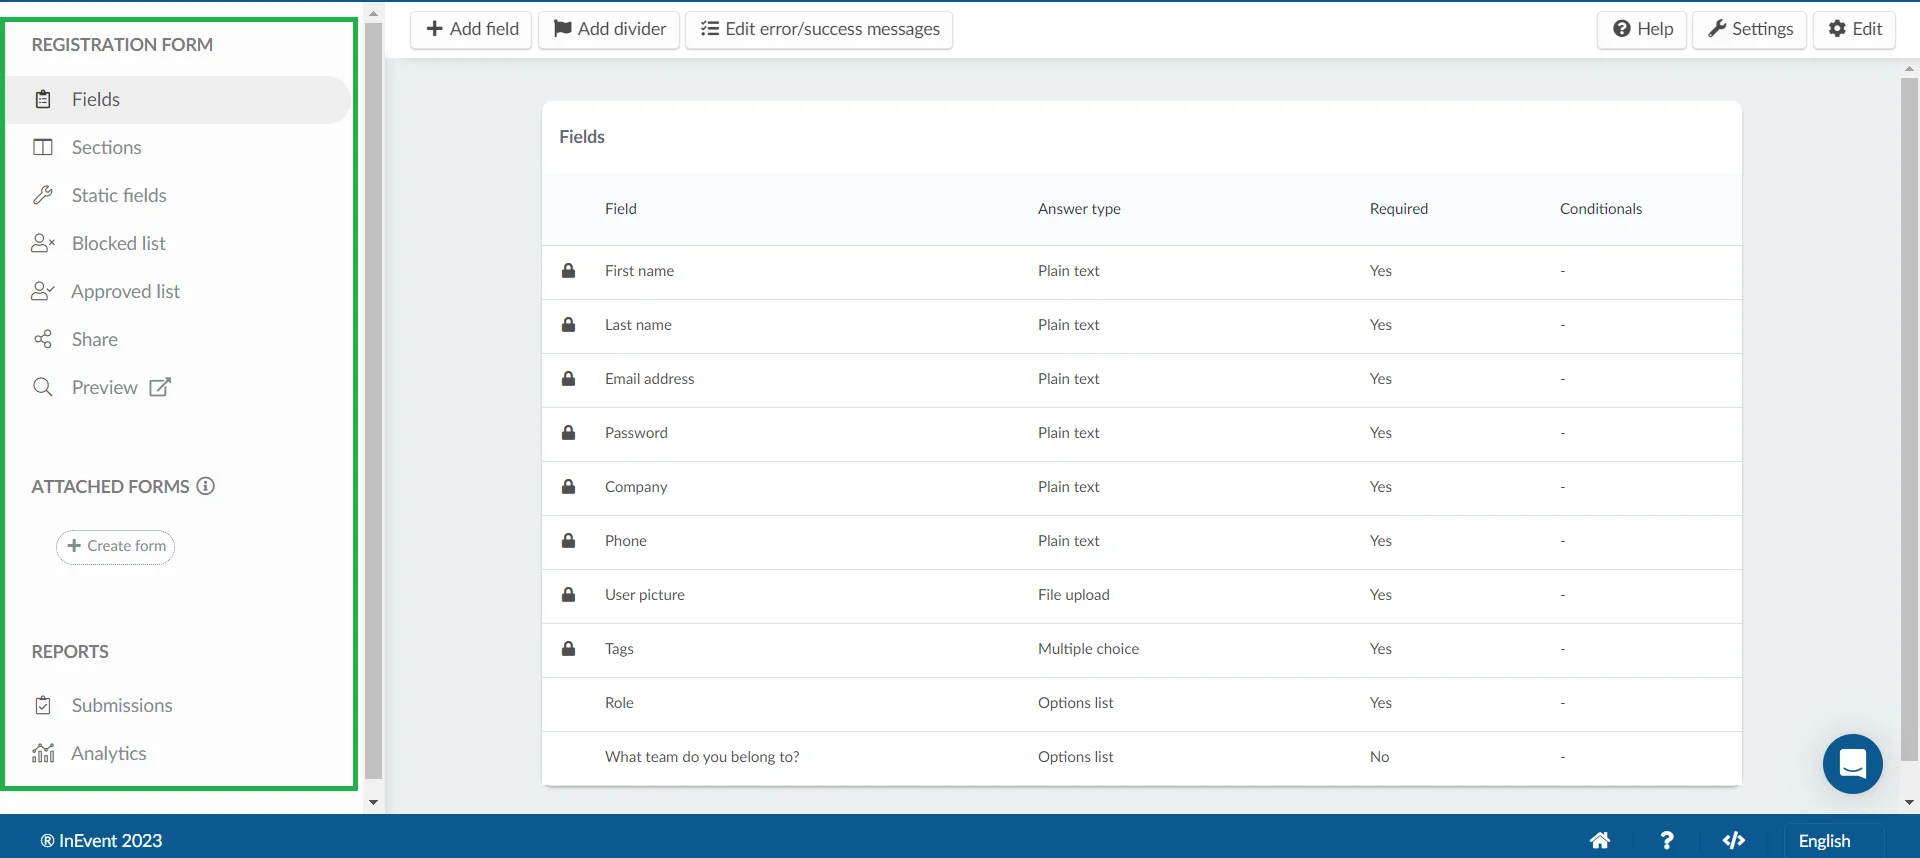
Fields
The Fields tab contains the default registration form questions. It allows you to add new questions and modify or customize existing ones.
Default fields
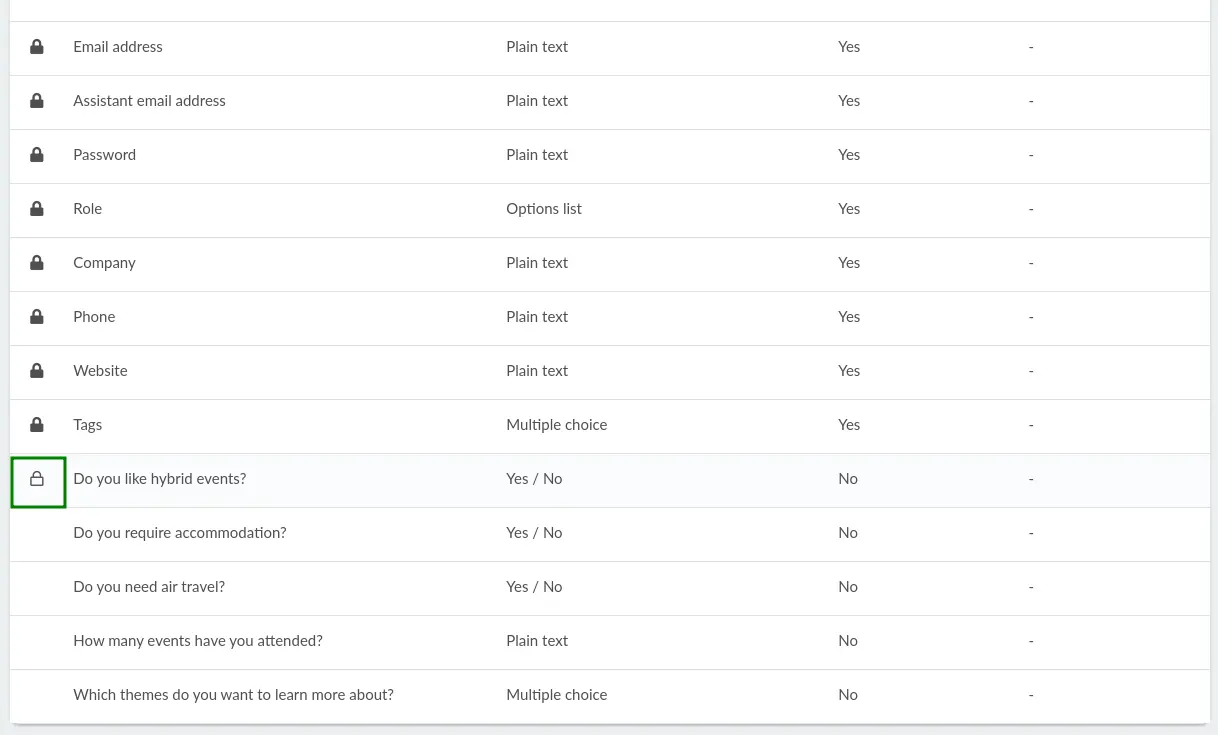
The default fields on the registration form include the following mandatory fields: First name, Last name, Username, and Email address.
Salutation lock, Assistant email address, Password, Role, Company, and Phone are also default fields. However, they are not mandatory; you can remove them from the registration form.
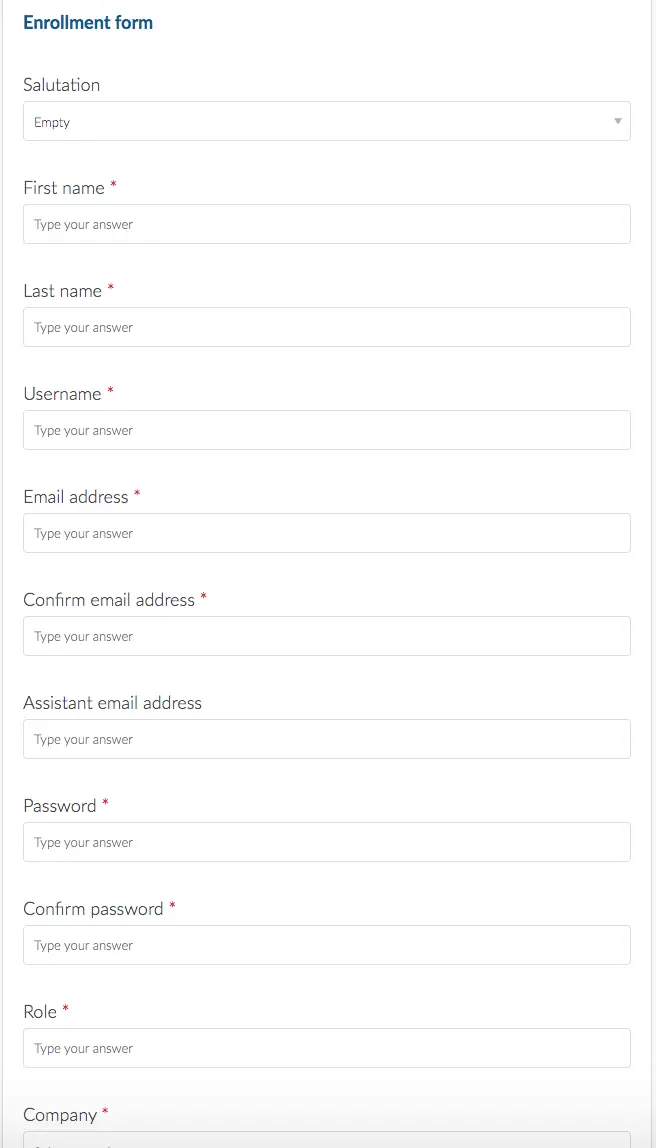
This is how your Registration form will look like with all the default fields mentioned above:
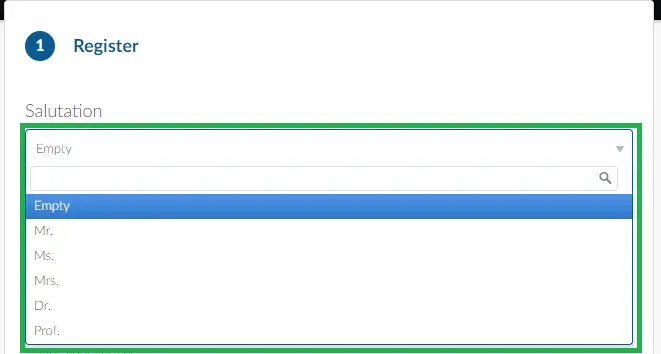
Click on the Salutation dropdown to select the desired option from the available preset. Users can enter their own salutation if the option is not listed in the preset.
Besides the aforementioned fields, you will also see the Birth date field on the Registration form if you enable Stripe and Foreign Support under Settings > Tools.
How can I change the default fields labels?
To change the default field label or text, follow these steps:
- Click the Edit button in the top right corner.
- Click on the field you want to change.
- Enter the new content in the Value field as shown below:
- Press End to save your changes.
How can I edit the default field's answer type?
The default answer type for all fields is Plain text. However, you can change the answer types for the Role and Company questions to Options List.
To do so, click on Role (or Company), then click on Edit. Click on the dropdown bar under Answer type, and choose Options List.
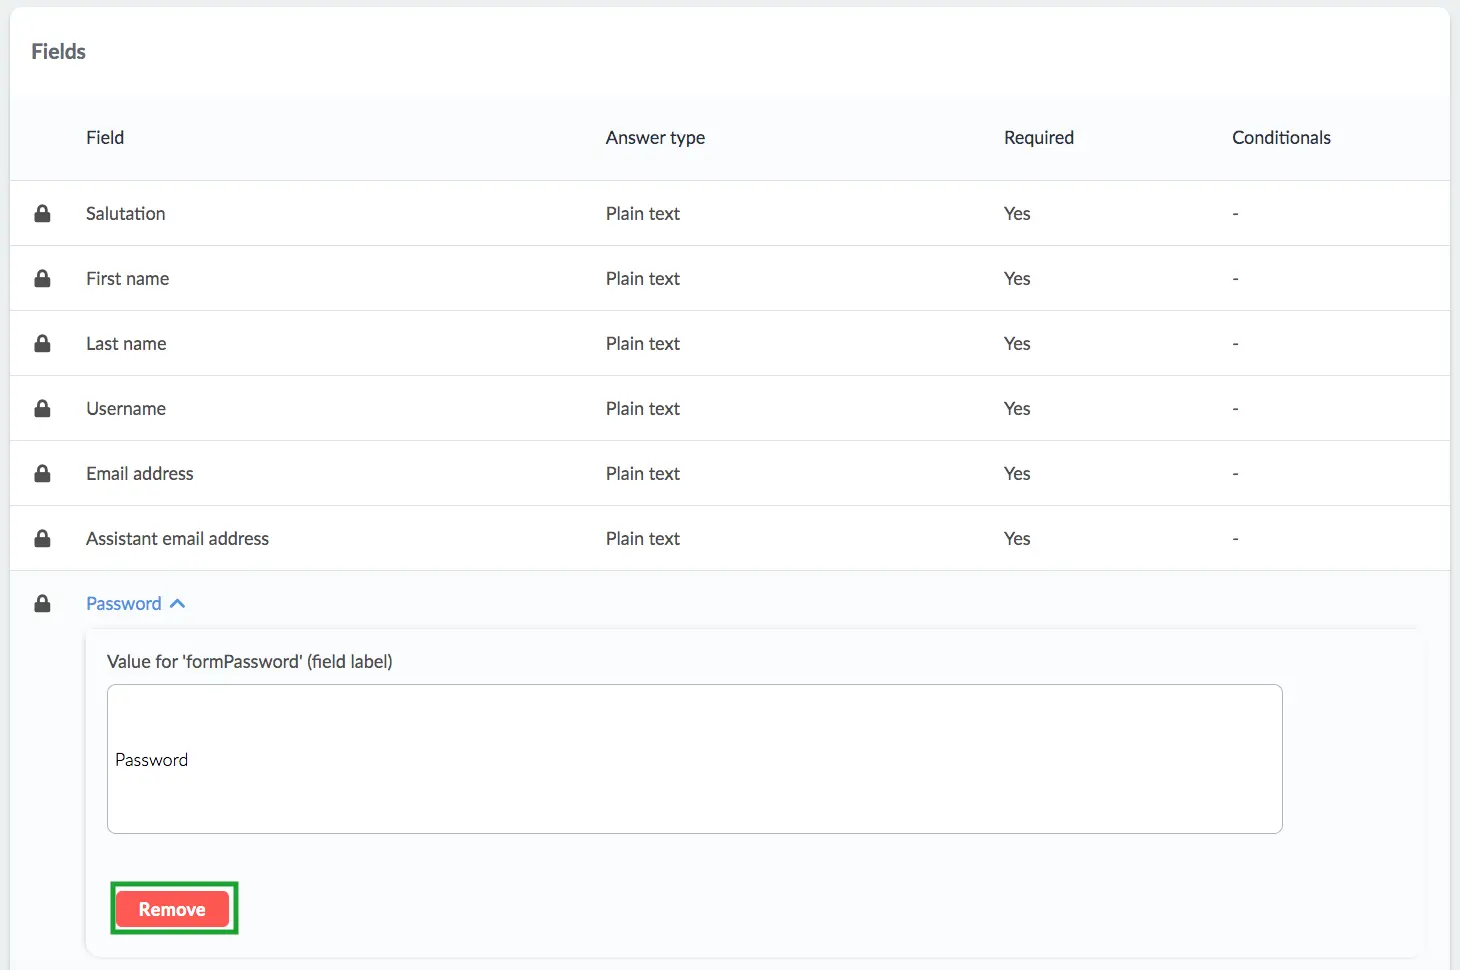
How can I remove default fields?
To remove the Salutation, Password, Role, and Company fields click on the Edit button, then click on the field and click on the red Remove button.
How do I add new fields?
To learn how to add new fields, edit and delete fields, click here.
How do I add an online signature field to my form?
To learn how to add an online signature field to your form, click here.
How do I add fields as Global Fields?
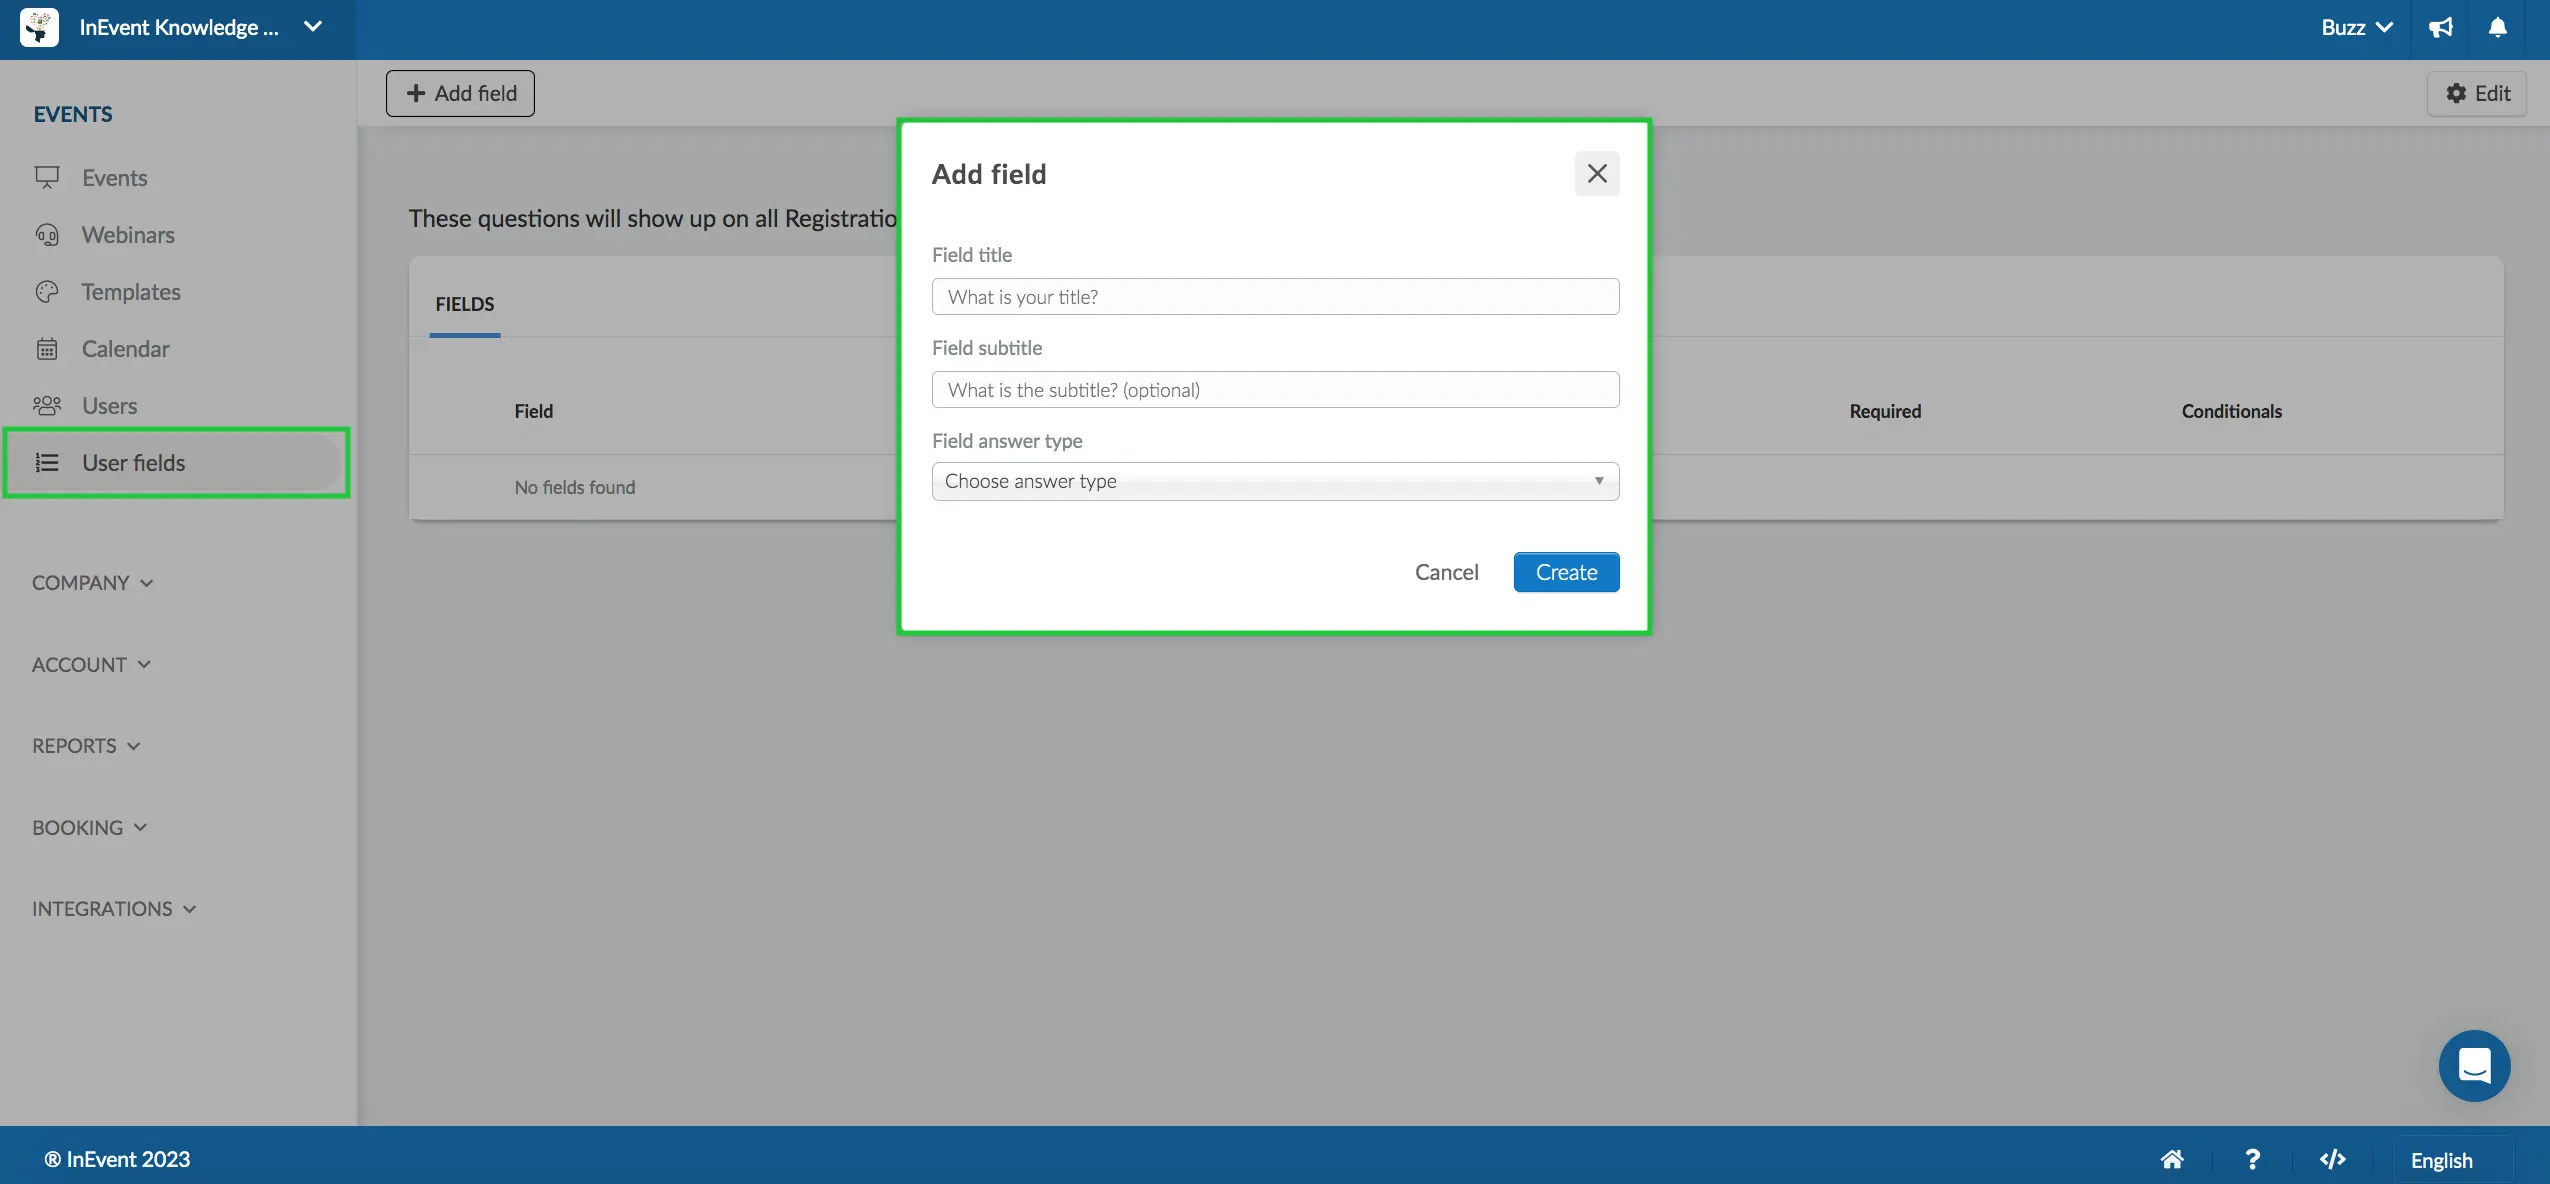
To add fields (questions) you want to appear in all your events and InEvent Webinar's forms, go to the company level, and click on Events > User fields > +Add field.
You can add as many fields as you wish and simply select the Answer type of your choice.
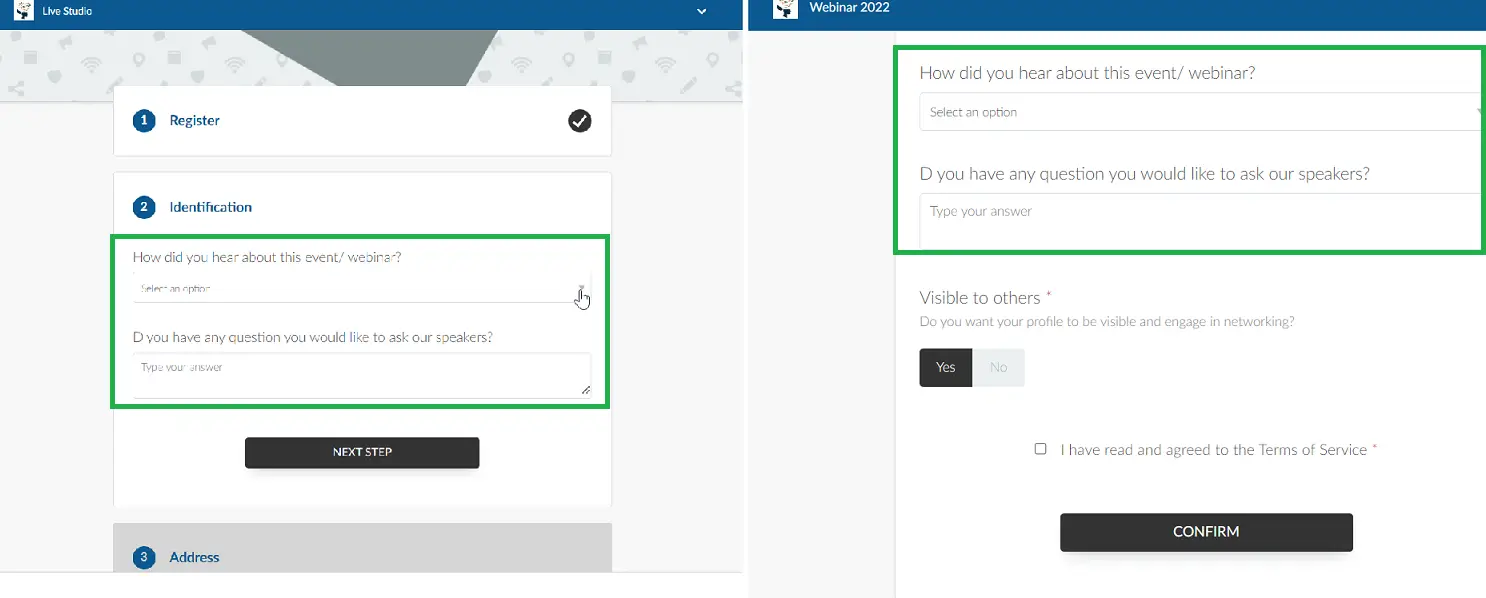
On the platform you will be able to see the fields automatically on the Registration/Purchase form for all Events and Webinars.
Applicants will also see the fields when filling up the Purchase/Registration forms:
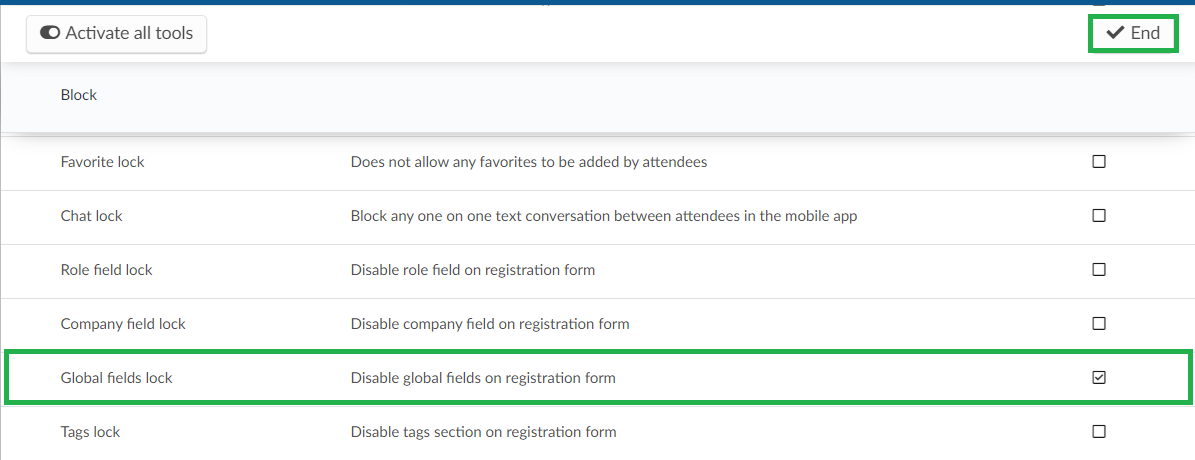
You can prevent the use of global fields questions by enabling the Global fields lock tool under the Settings > Tools > Block section. Once this tool is enabled, global fields questions will no longer appear in the Registration/Purchase form.
Can I add translations to my created fields?
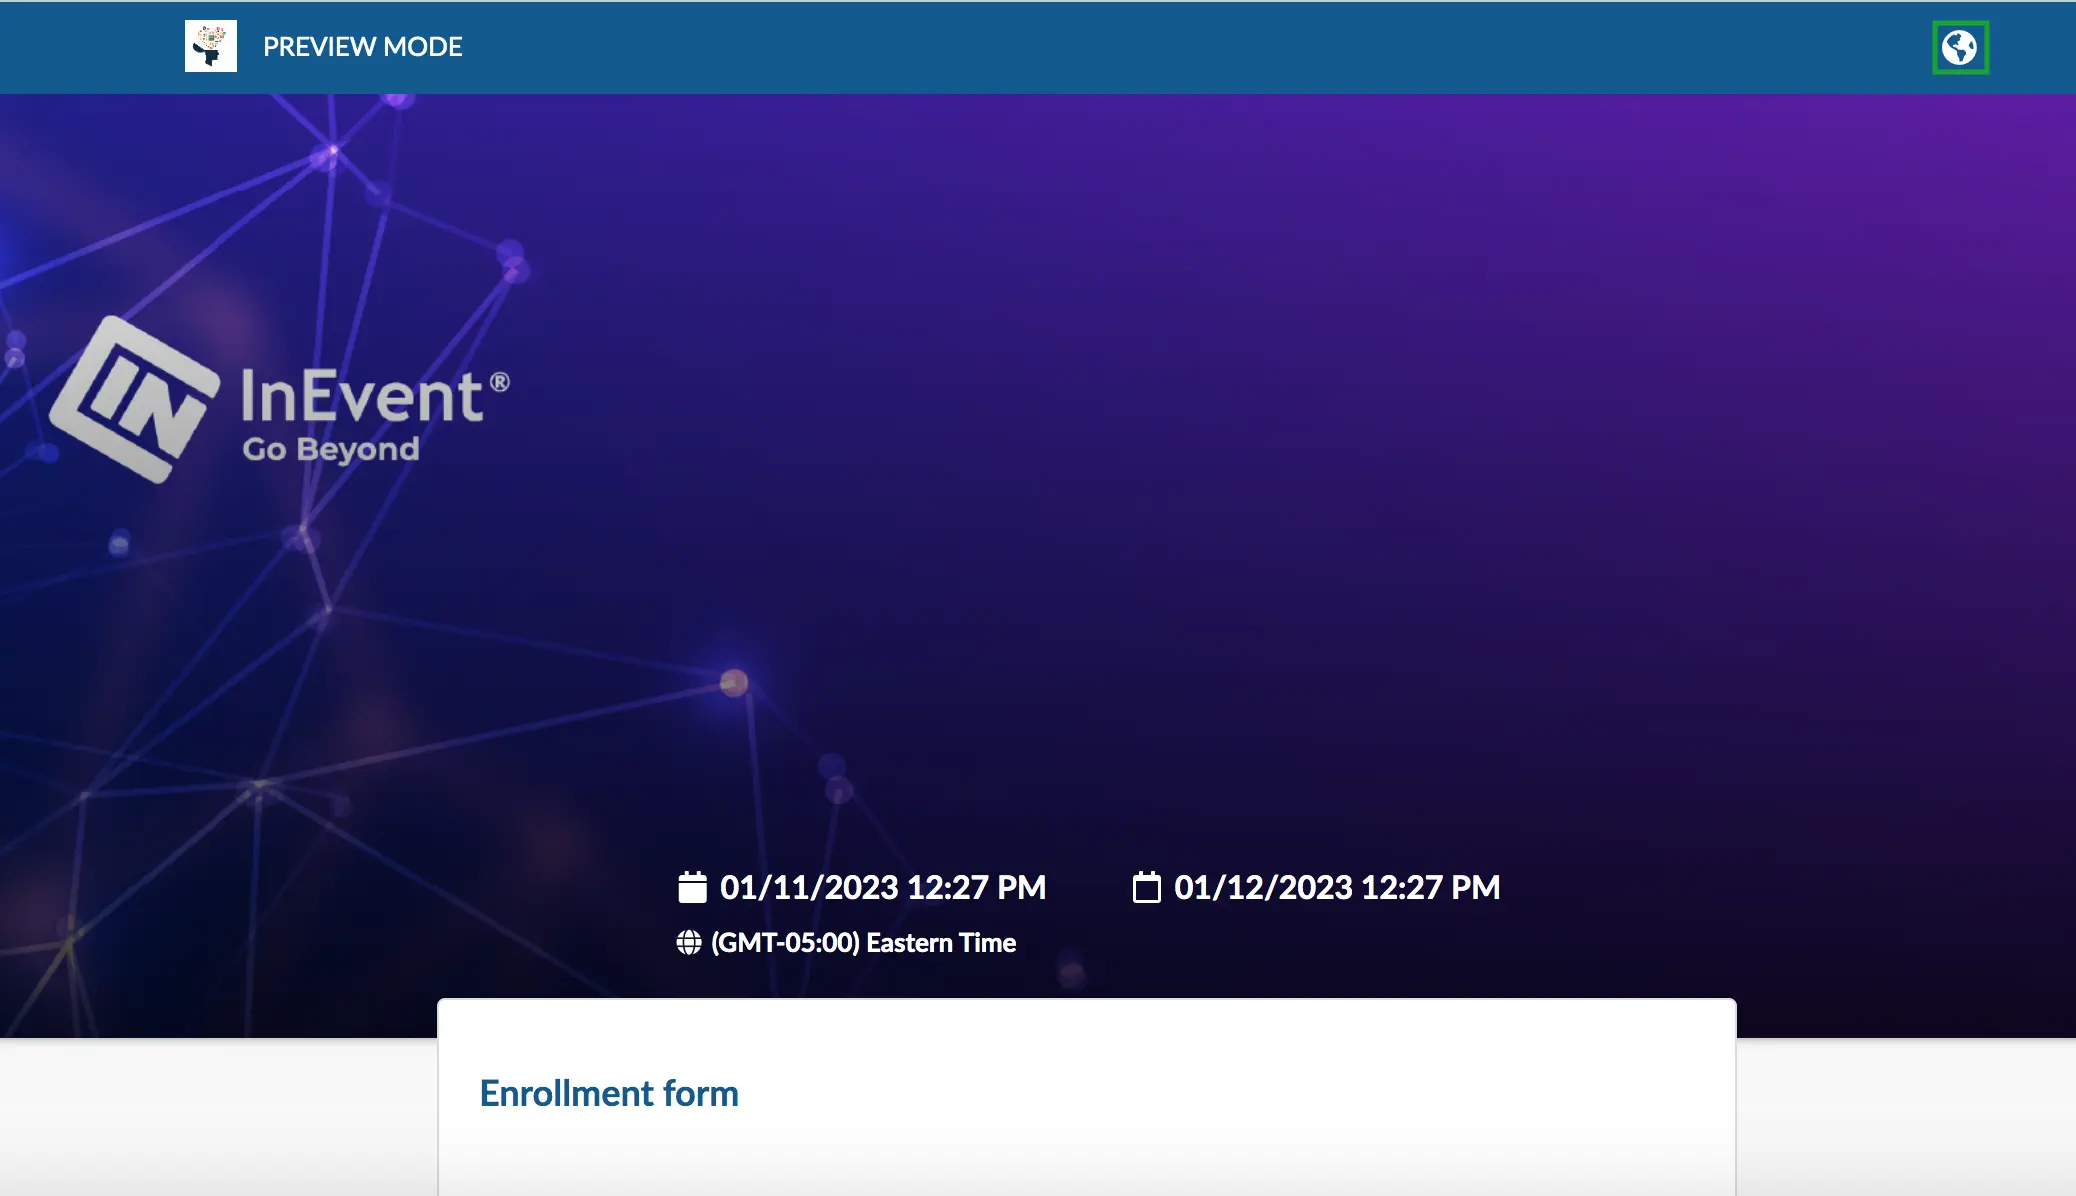
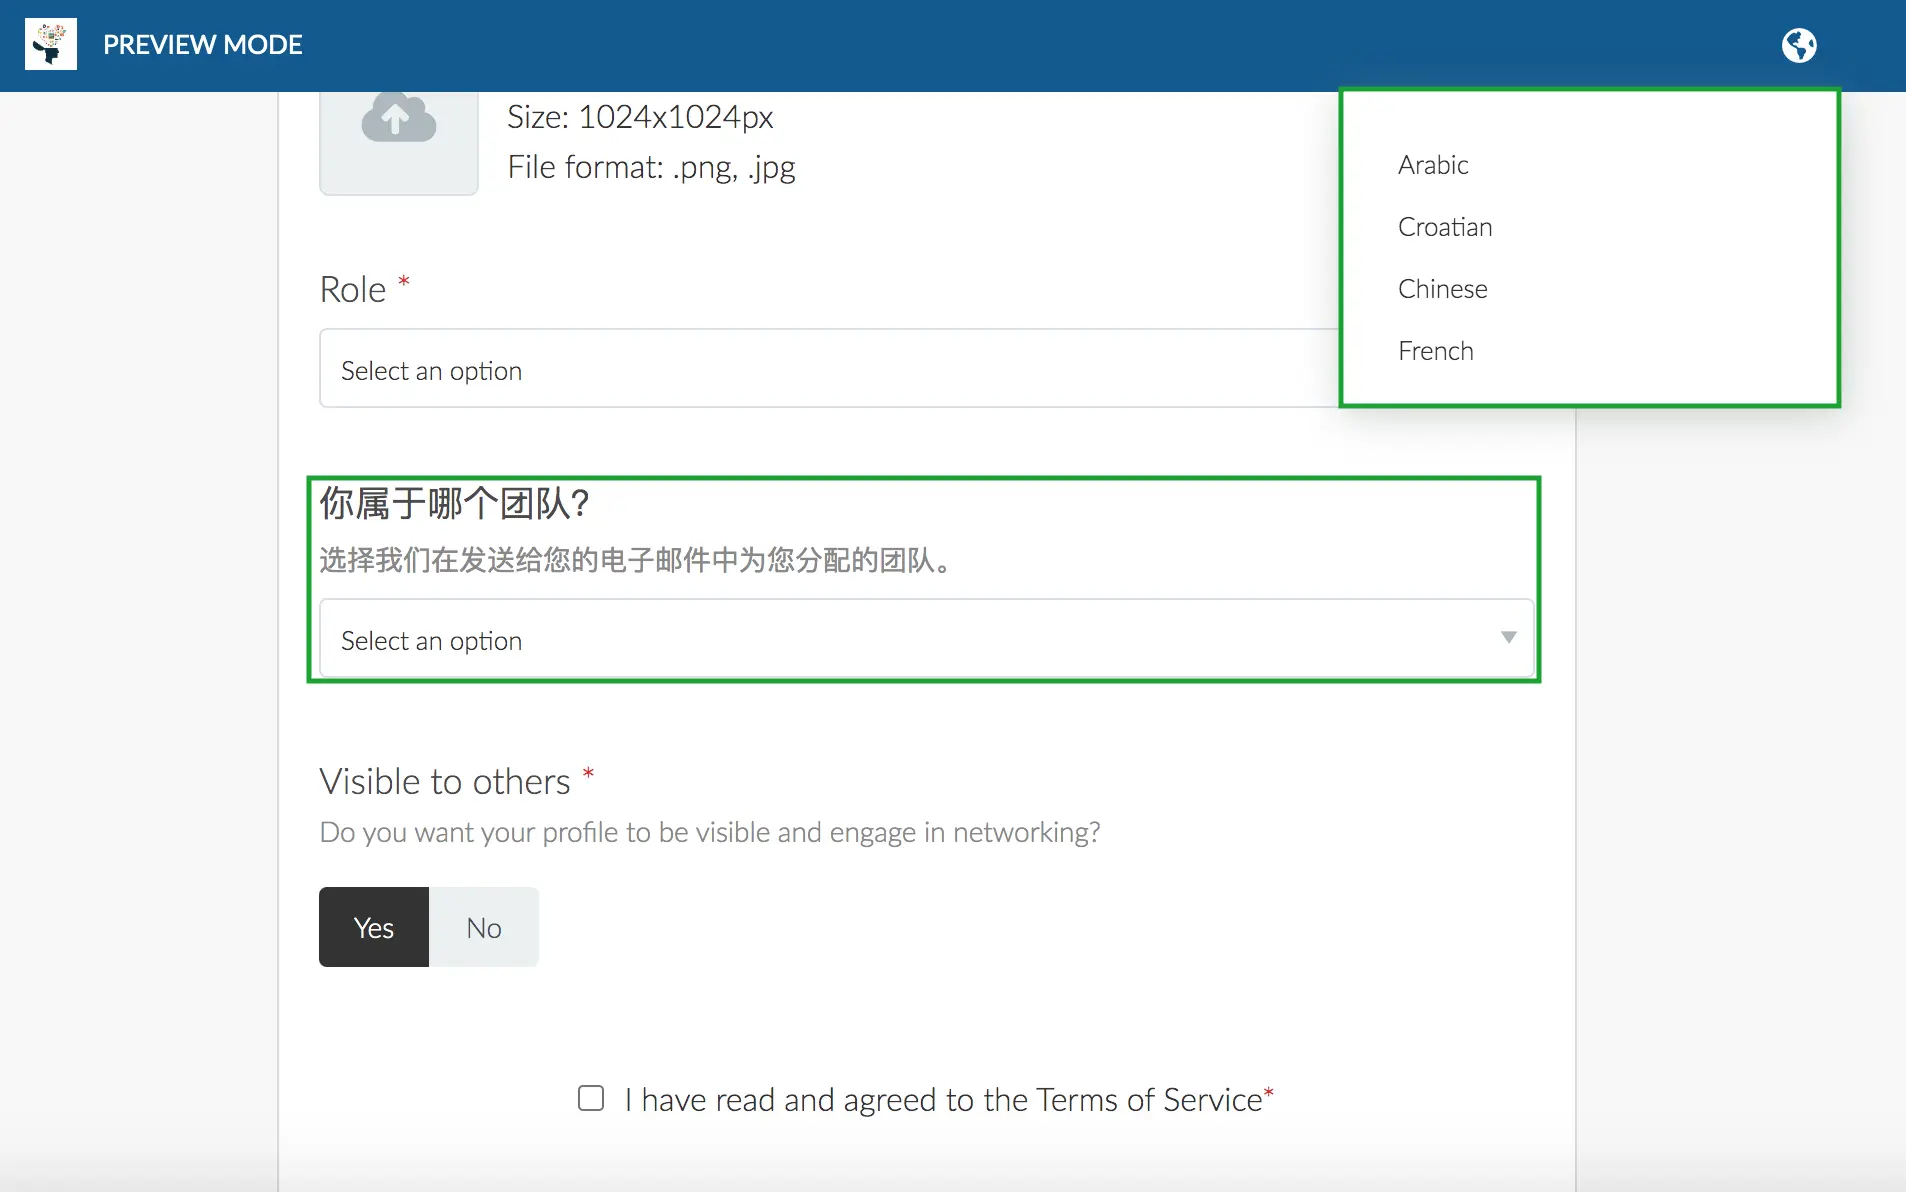
It is possible to add translations to the fields you have created for your registration form in the Fields section and the Global Fields questions as well. This way participants have the possibility to select the language in which the fields will be translated to from the translation options you have included on the Registration form, by clicking on the globe icon shown below:
- Adding translations to the field's title:
You can add a translation to the title of a field by clicking on the Select a language drop down menu and selecting the language of your choice and then clicking on the blue Add translation button. Then scroll down to the translation you just added and click on Generate. You can also manually type in the translation.
- Adding Translations to the field's subtitle:
You can add a translation to the subtitle of a field by adding your language of choice from the Select a language drop down menu by selecting it and then clicking on the blue Add translation button. Then, scroll down to the translation you just added and click on Generate. You can also manually type in the translation.
This is how it will appear on the Registration Form when participants select the added language:
Can I register attendees without their email address?
Yes, it is possible to register attendees without their email address if you enable Username. For more information, refer to our Usernames: registering people without using emails article.
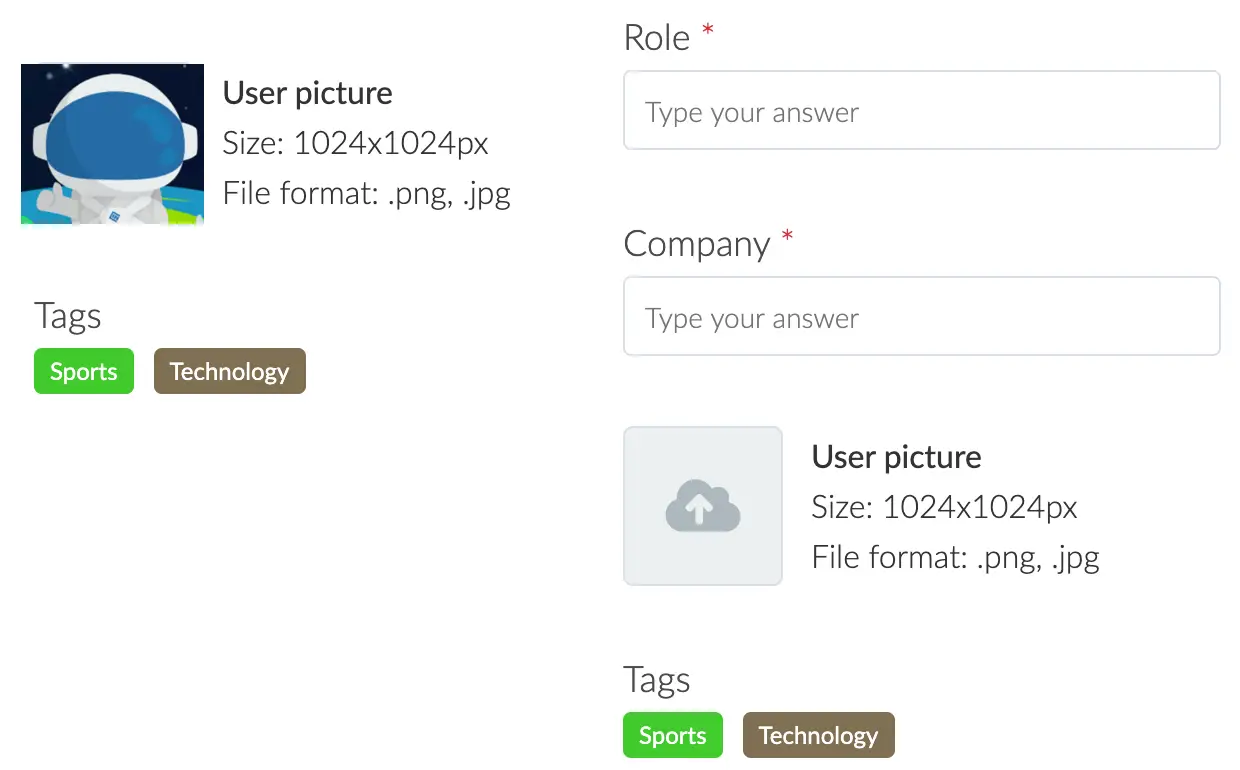
Can I add a Profile picture and tags to the form?
You can add a Profile picture and Tags fields to your webinar's registration form. On the event level, go to Settings > Tools and scroll down to the Block section to disable these options.

It is also possible for the users to upload a picture and choose a tag once they are already registered by going to the My Account tab.
Privacy
The question Visible to others will be available in the form and it is a mandatory field. The participants can opt to be available and visible in the networking list or not. When the attendee chooses No during registration, their profile will not be public for networking.
Click here to learn more about how this option can affect the Networking features.
Sections
Sections allow you to separate parts of the registration form into their own group. With sections, you can group similar questions on your registration form for better organization. You can also add titles and subtitles to better describe each section.
To learn more about sections, check this article.
Static fields
You can edit and configure your form's fields in the Static fields tab.
Click here for further information on how to adjust your static fields and other registration form settings according to your event’s needs.
Blocked list
By using the Blocked list feature, you will be able to block some unwanted entities from accessing your registration form. People who try to register using a blocked email domain will not be able to proceed.
Click here to learn how to block email domains.
Approved list
By using the approved list feature, you will be able to allow some identified entities to bypass certain registration form restrictions. In other words, people with emails containing a certain domain will be allowed easy access to the registration form.
Click here to learn how to approve domains.
Share
If you wish to embed your registration form on an existing external (non-InEvent) website you can use an iFrame. Click here to learn more about it.
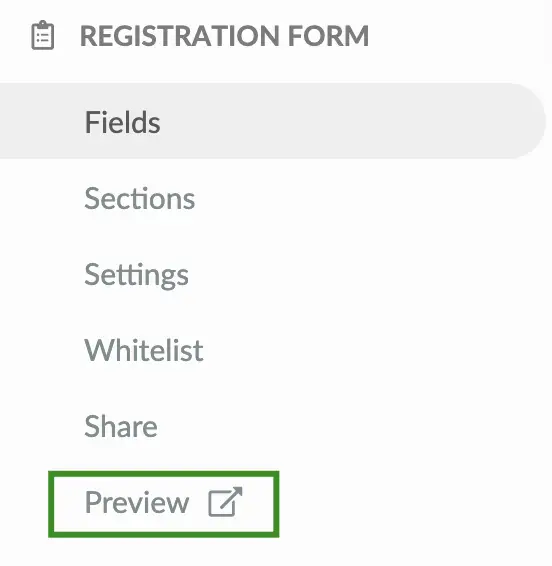
How do I preview my Form?
To preview the form you have created, click on the Preview tab at the left of the page.
Attached forms
Attached forms help organizers collect additional information from specific participants during the registration process. When configured, attached forms will accompany the registration form as additional questions.
To learn how to add and manage attached forms, see this article.
Submissions
For further information about viewing the attendee's answers to the registration form click here.
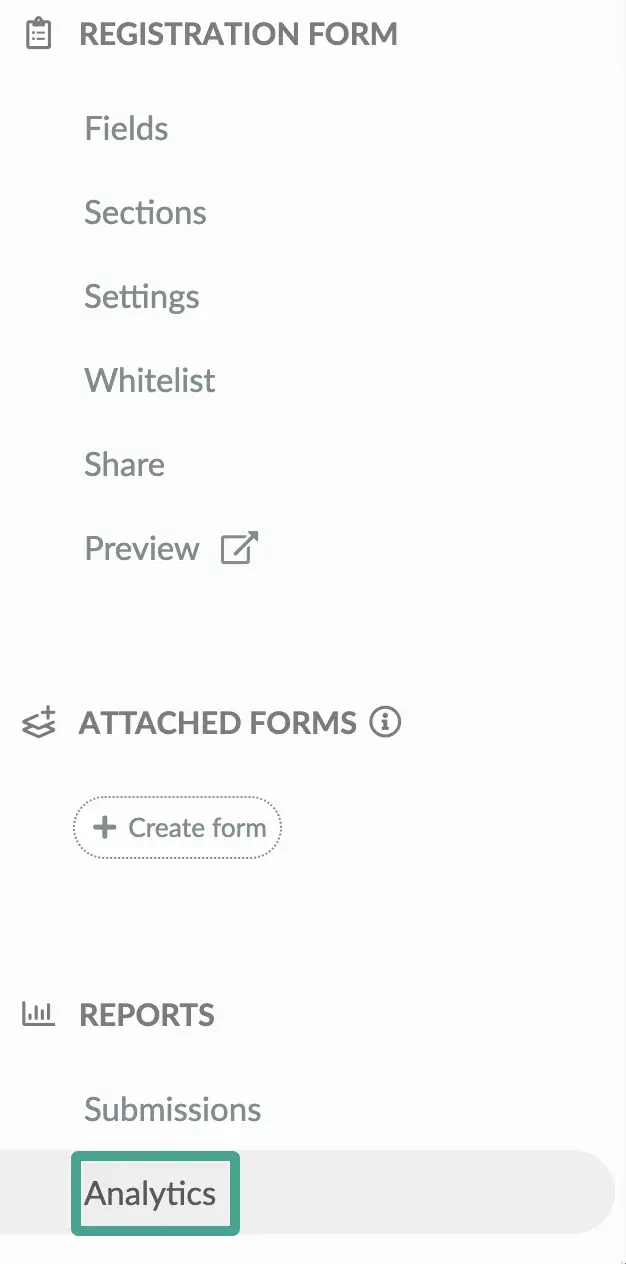
How can I view the analytics?
To check the analytics of the registration form click the Analytics tab at the left of the page. You will also find a filter with the same options as the People > Attendees.
Submenu
The Fields tab provides a submenu that allows you to configure different actions on your registration form. The submenu offers options to add fields and dividers to your form. It also allows you to edit the error/success messages displayed when attendees submit the registration form.

How can I add new fields?
You can have an unlimited number of fields in the Registration form. To learn more about how to add new fields to your form, click here.
How do I add dividers to my registration form?
Dividers are separators that divide two registration form questions using a title and subtitle. They are best used for categorizing questions within a Section. Click here to learn how to add dividers to your registration form.
Is it possible to edit default platform messages?
It is possible to change the platform's messages that are displayed when submitting the registration form, and also the text displayed on default questions. Click on the Edit error/ success messages button at the top left corner of the Registration form backend page.

If you wish to restore the original default question headings, select the item you want to restore to original settings by checking its box and click Remove. Save these changes by clicking on the End button.

Learn more about this topic in our article Headings.
Can I have multiple registration forms?
It is possible to have distinct registration forms targeted to different audiences attending the same webinar or event.
Check our article on Multiple registration forms to see how this feature works.
Is it possible to find out who opened the form but didn't finish their registration?
Yes, but only if you have created an invitation list.
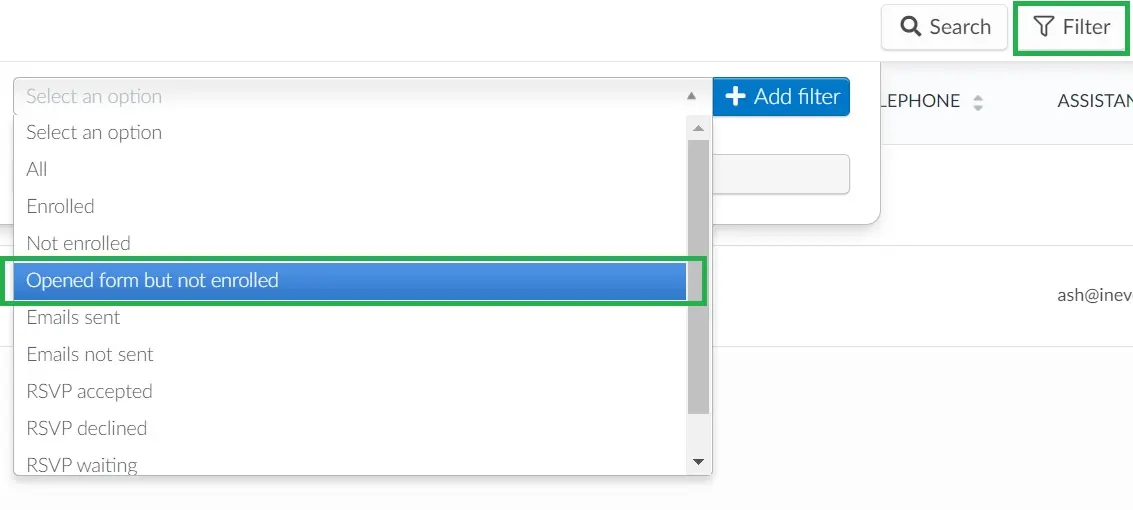
In case you have, to check who opened the form but didn't finish their registration, press People > Invitees > click on the button labeled Filter in the upper right corner.
A new window will appear and you should select the option Opened form but not enrolled and press the blue button + Add filter and you will have a list of guests who closed the form before registering
Is it possible to add links to the registration form?
Yes! To learn about how to add links to the registration form, click here