Event map
 Updated 1 day ago
by
Caleb Kotey
Updated 1 day ago
by
Caleb Kotey
The event map is a valuable feature designed to enhance the experience of your participants or guests by offering them a precise visual representation of the event's location. This tool presents a customizable map that allows you to define the specific area relevant to your event. Additionally, it provides a selection of icons strategically placed on the map, serving as effective guides for navigating and locating different aspects of your event's setup.
Enabling the Event map tool
Before starting to create and configure your Event map, the tool must first be enabled. To enable the Event map tool, follow the steps below.
- Navigate to Settings > Tools from the Event level.
- Press the Edit button on the top right corner of the page.
- Locate the Live section.
- Enable Event map using the corresponding toggle.
- Press the End button to save your changes.
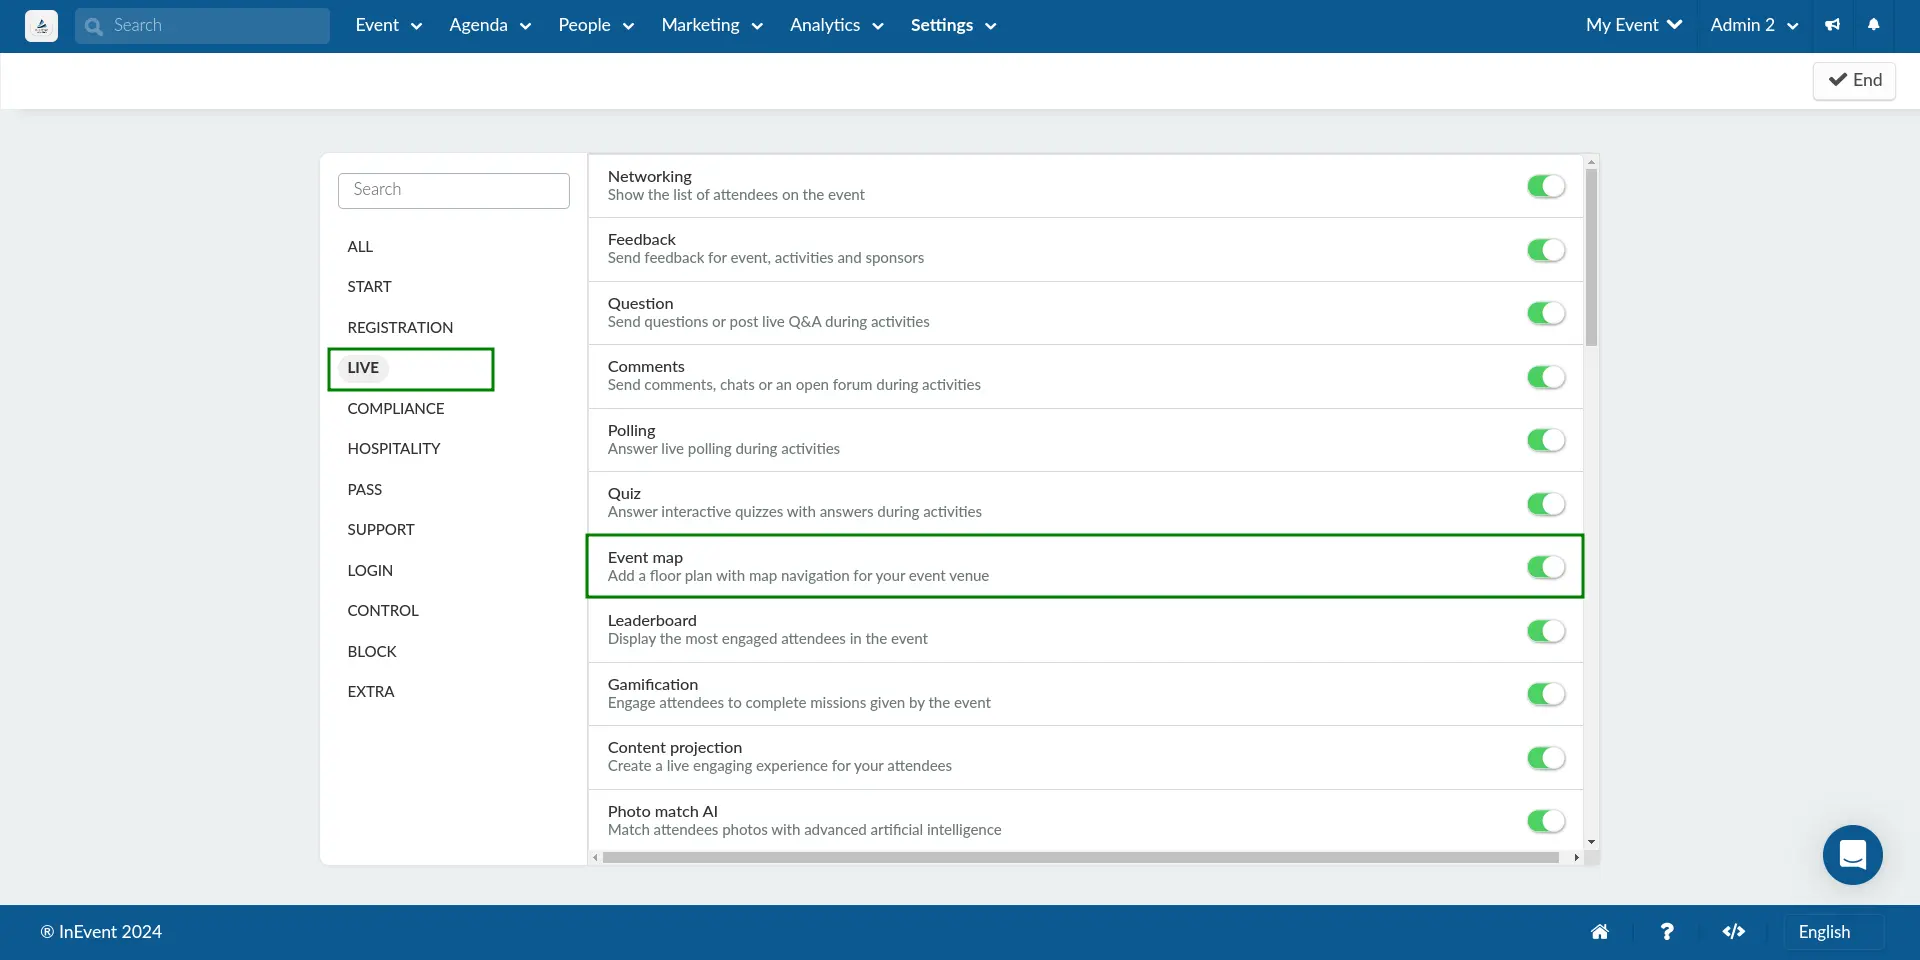
Once you refresh the page, you will be able to click on the Event Map tab in the drop down menu of the Event section.
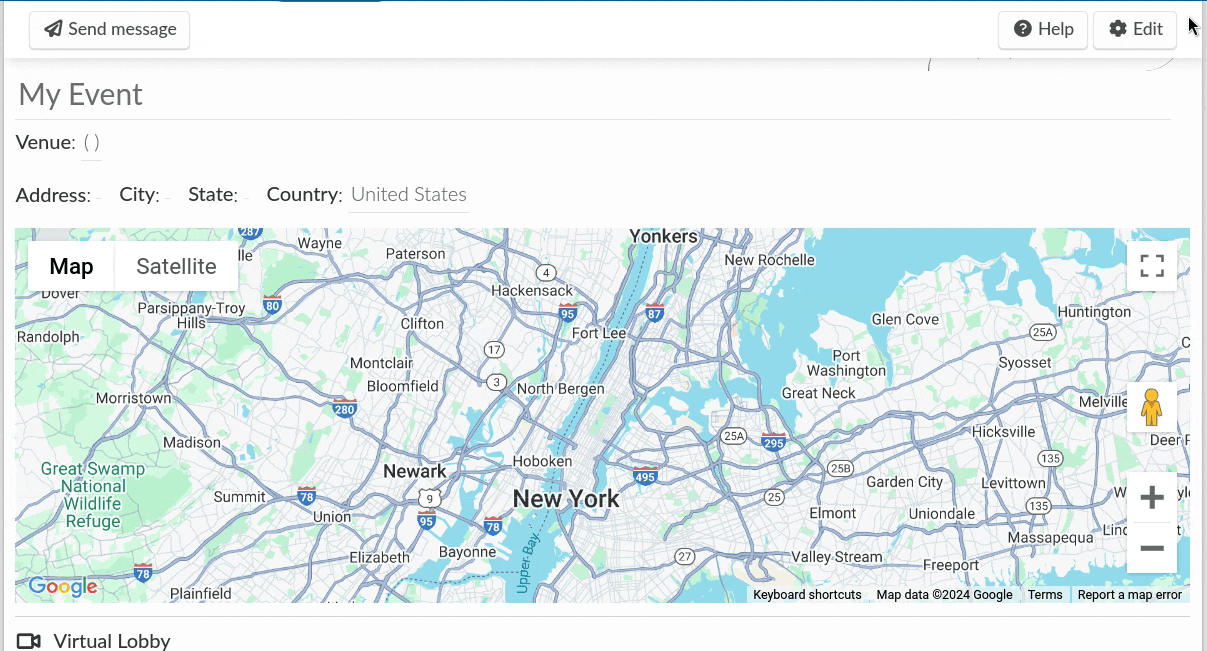
Defining the event address
Start by defining your event location address under Event > Details. Here, you can add venue name, address, city, and state information.
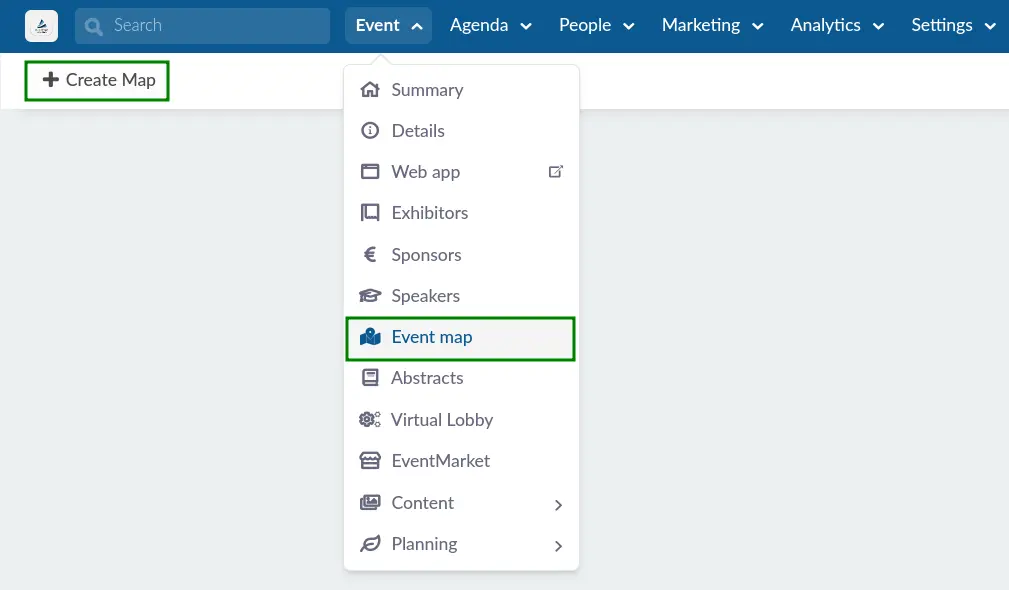
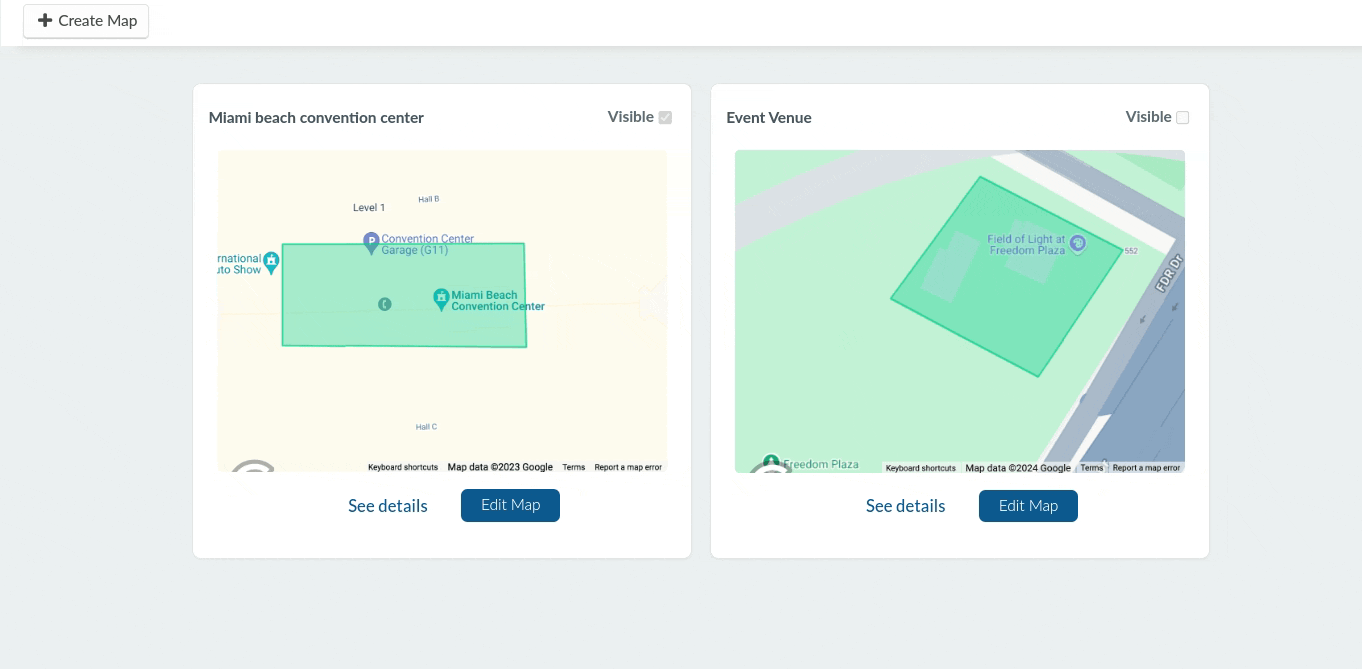
Creating the event map
After defining your event address, navigate to Event > Event map. Then, click on Create Map.
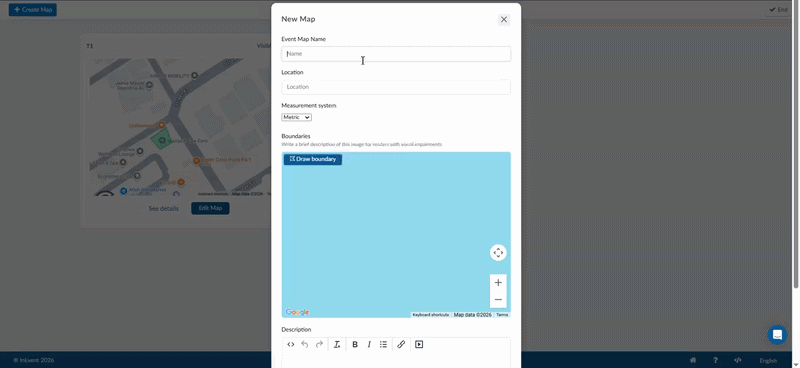
The New Map pop-up window will be displayed, in which you can add your Event Map Name, Location, measurement system, and Description.
You will also be able to contour the exact area of your location by clicking on the Draw boundary button. Click to create the dot at the first corner of the area you wish to enclose, then click again to create another dot in the opposite corner. A line will automatically link the two dots. Once you have created as many dots as necessary, you can drag the dot to improve the shape. To finalize the boundaries, click on Lock position.
After adding all of the details, click on Save, and the event map will be created.
Editing the Event map
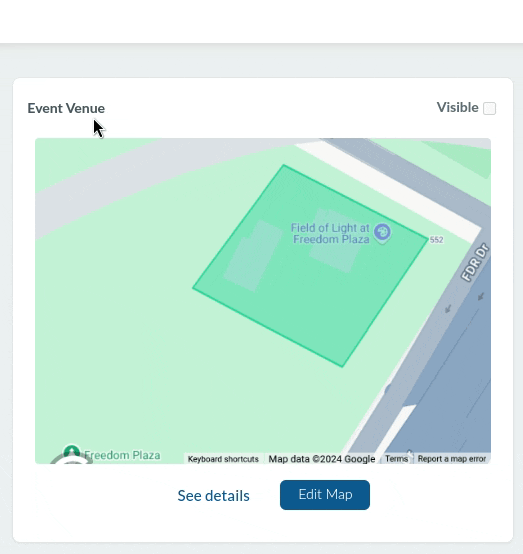
After creating your Event map, you can edit its description and populate the map with floors, areas, structures, and more. You can edit the description box of the event map by clicking on See details and the event map itself by clicking on the blue Edit button to customize the map with structures and places of interest.
Editing the description
To edit the event map's description, click See details.
You will be able to modify the description content, add bullet points, add a link, add media, and insert source code.
Populating the event map
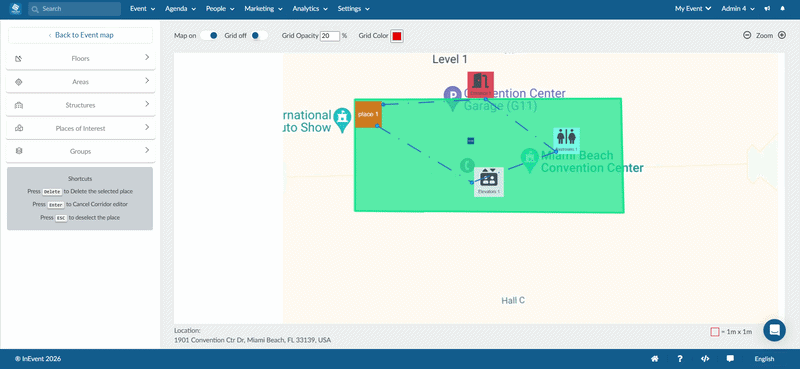
To start populating your event, click on the blue Edit Map button. You will be directed to the map editor, where you can populate the map with Floors, Areas, Structures, Places of Interest, and Groups.
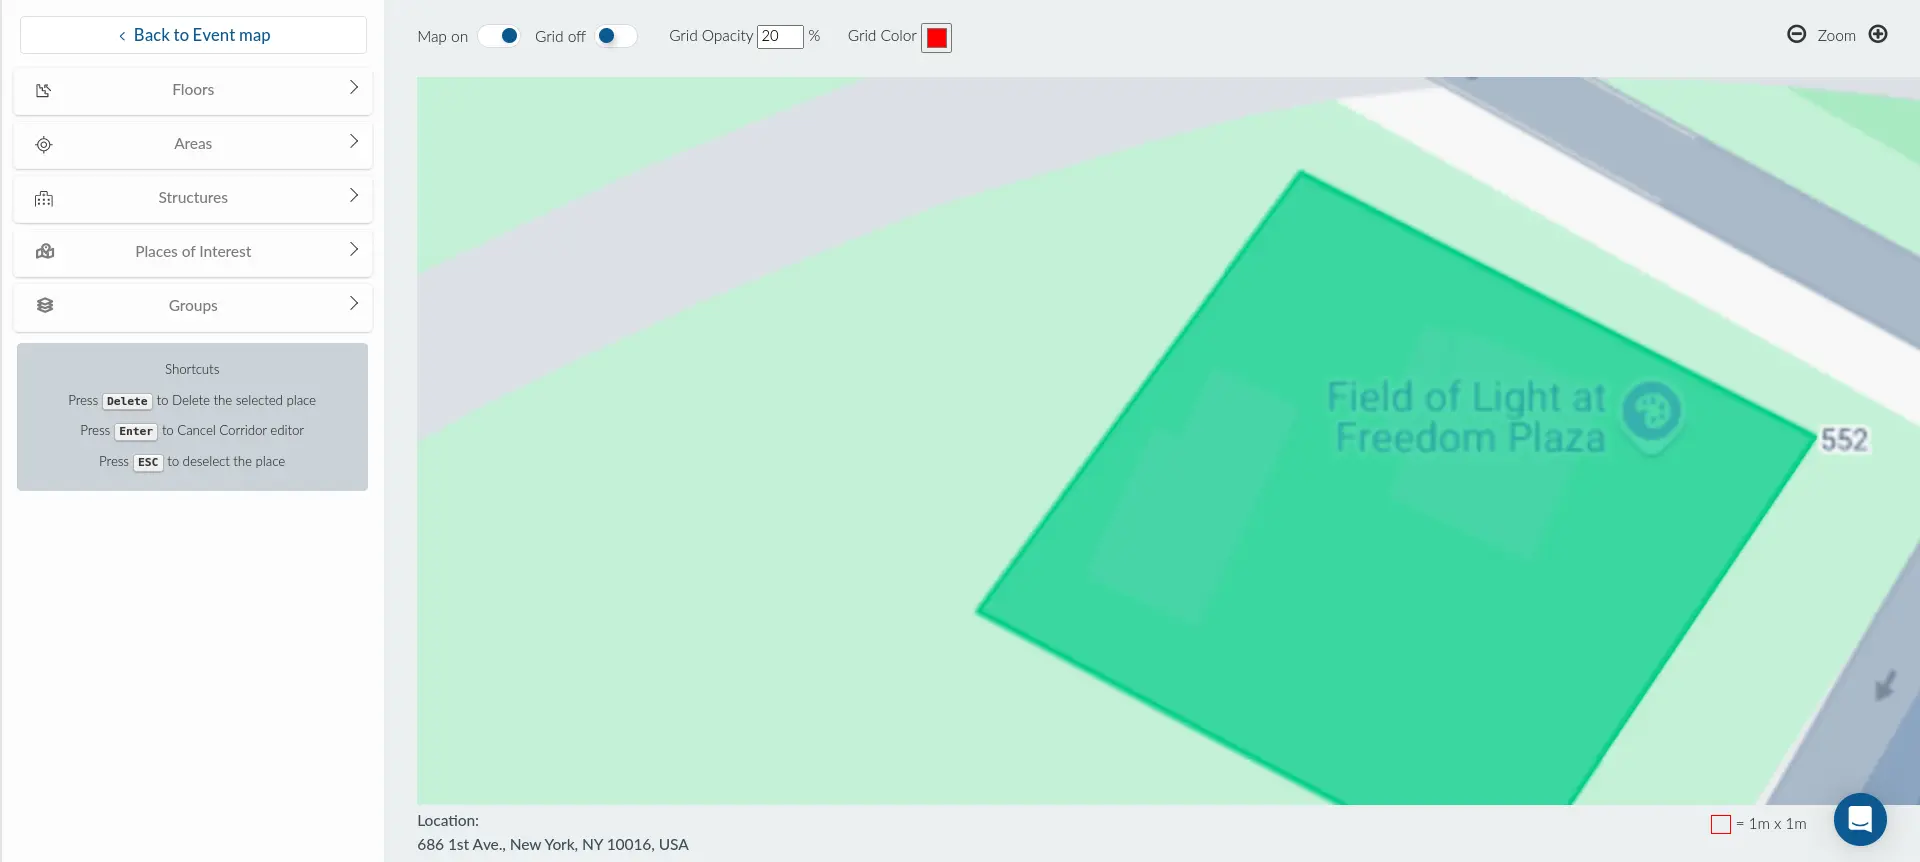
Map options
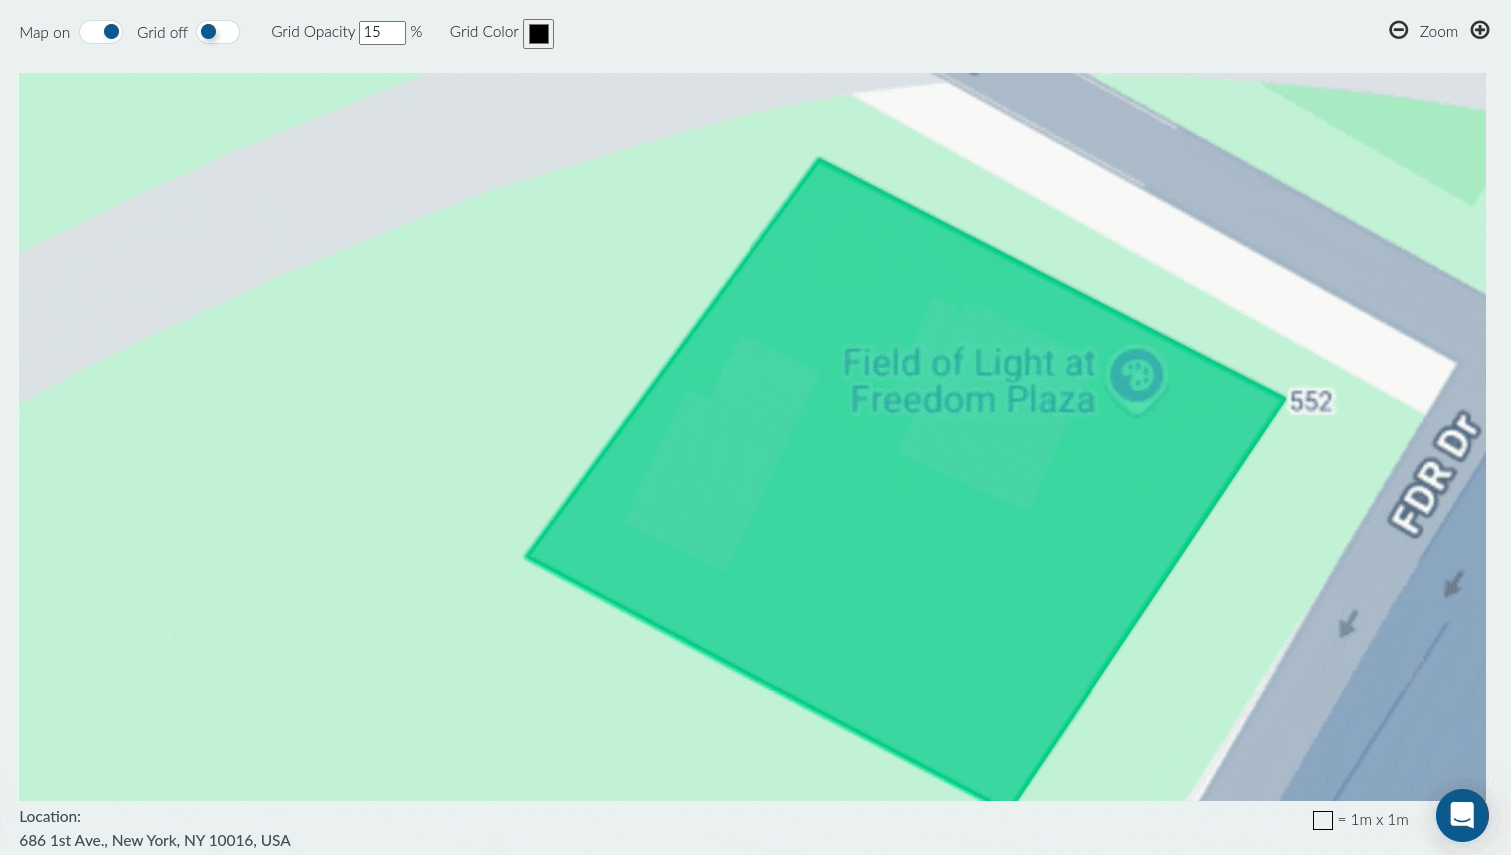
On top part of the map editor, you will find several map options to assist you when editing your map. The available map options are as follows.
- Map on/off: This utility allows you to display or hide the location map underneath your event map layer.
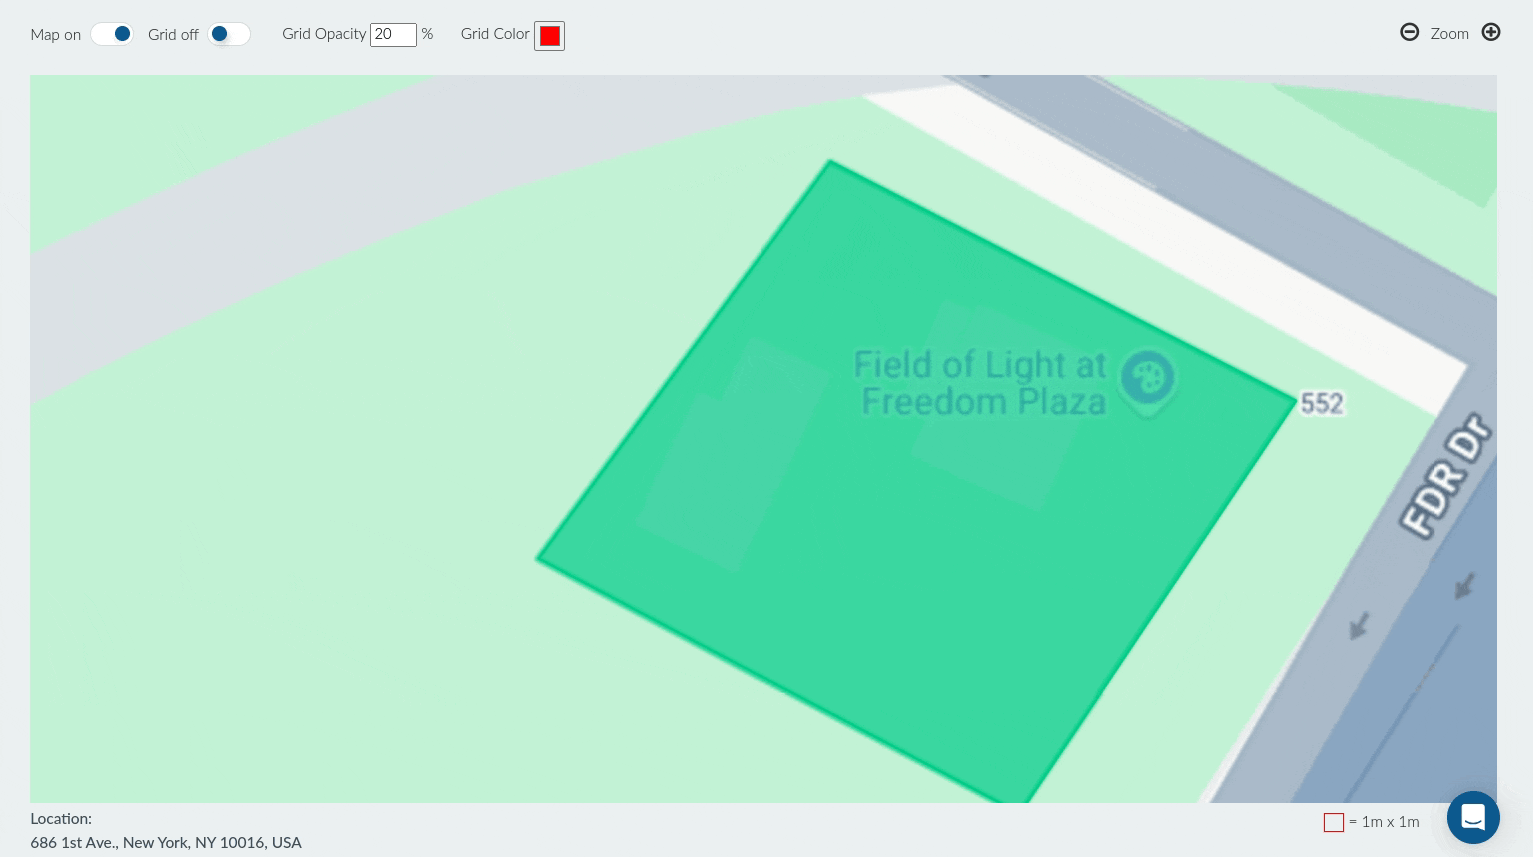
- Grid on/off: This utility allows you to choose to display or hide grids over the event map.
- Grid Opacity: This utility allows you to define the grid opacity.
- Grid color: This utility allows you to use the color picker to define the color of grid lines.

- Zoom: This utility allows you to zoom in (+)or out (-) when editing your map.
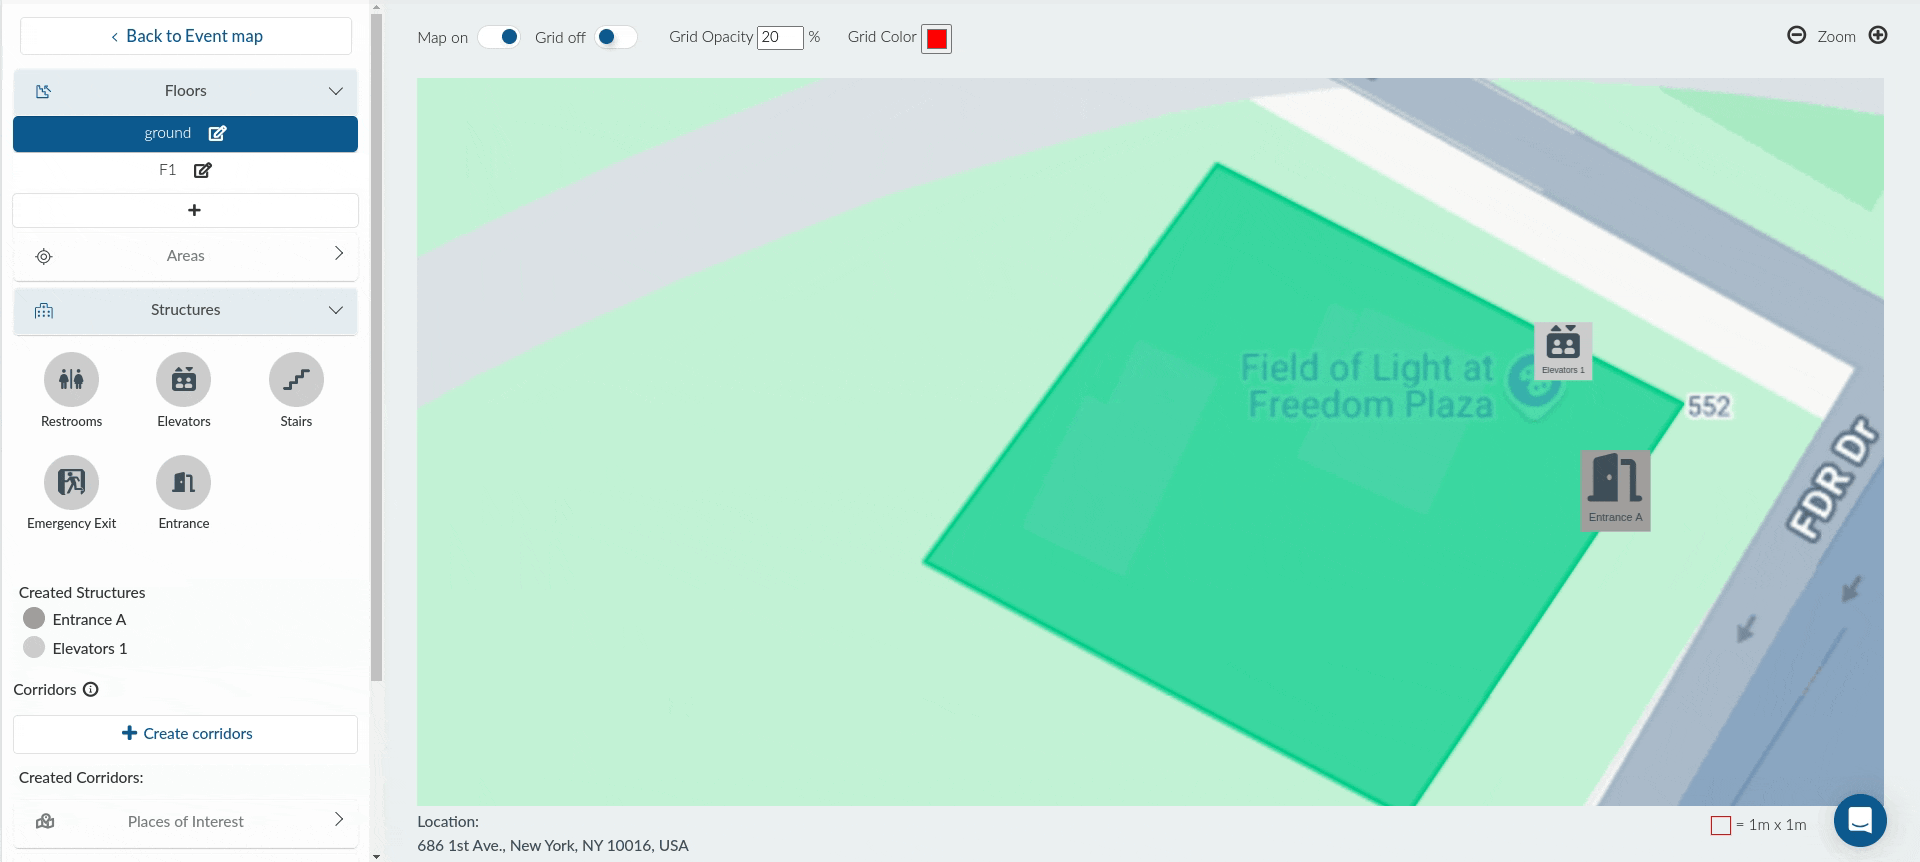
Floors
You can add a floor by clicking on the Floors tab and clicking on the + sign. Then, enter the name of the floor. After adding it, you will be able to populate the floor with Areas, Structures, and Places of Interest.
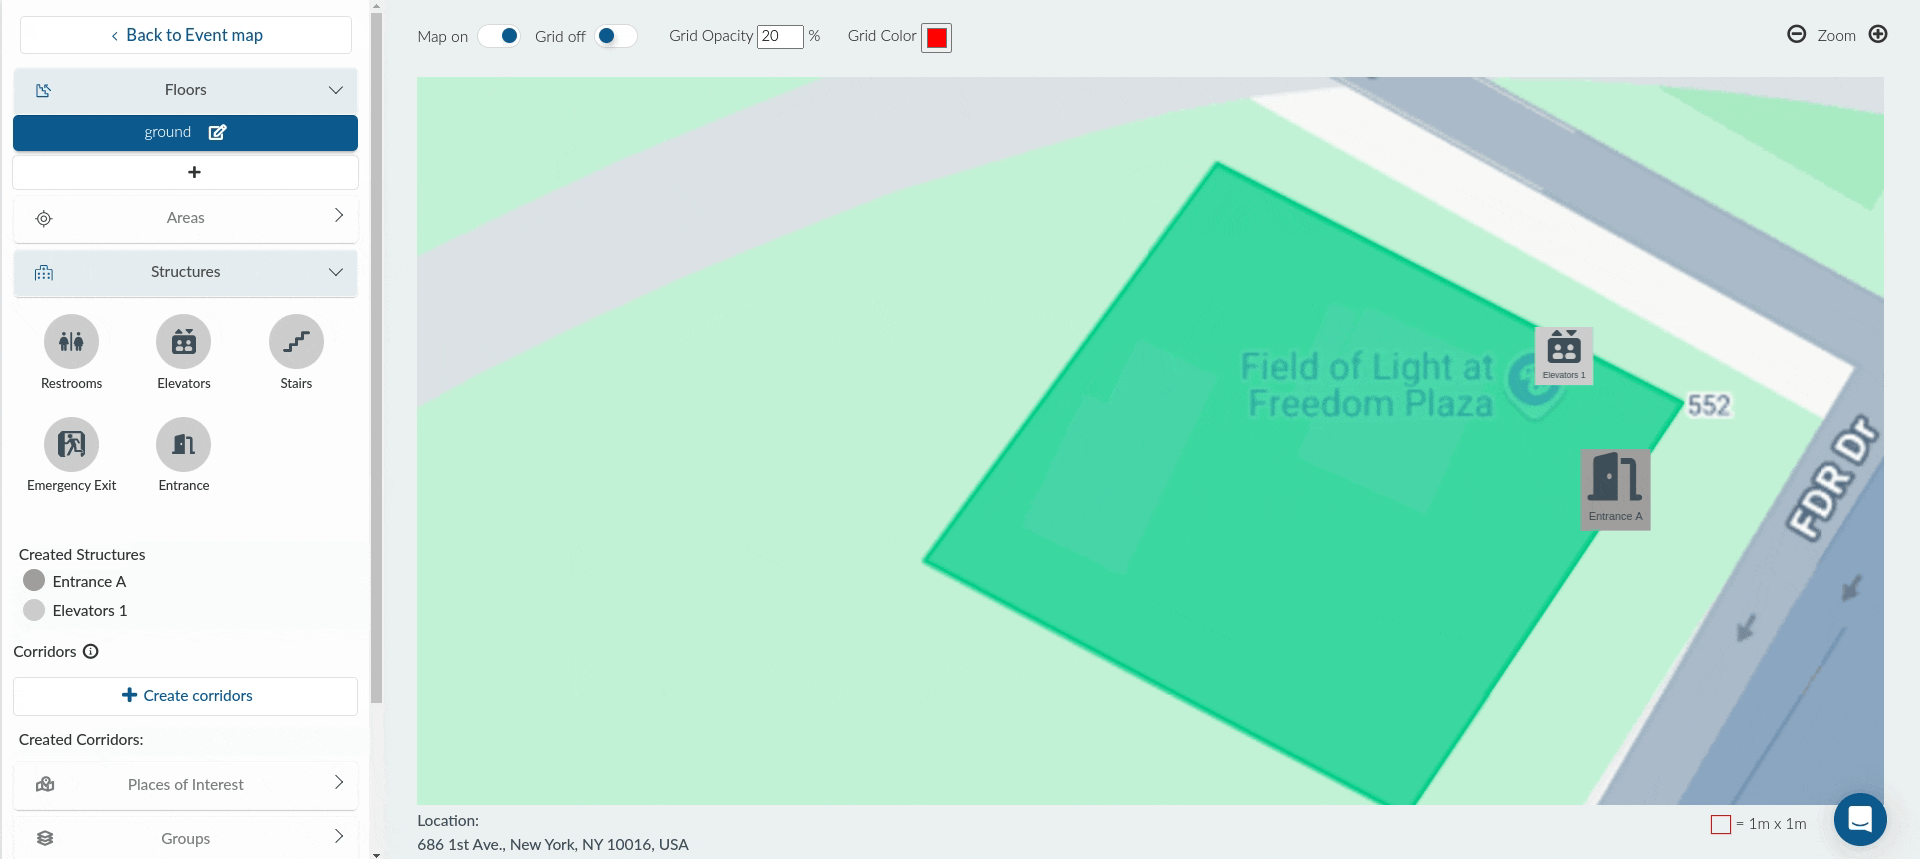
To edit or delete a floor, click on the pen icon in the floor tab and you will be able to edit the name. You will also be able to remove the floor by clicking on Remove.
Areas
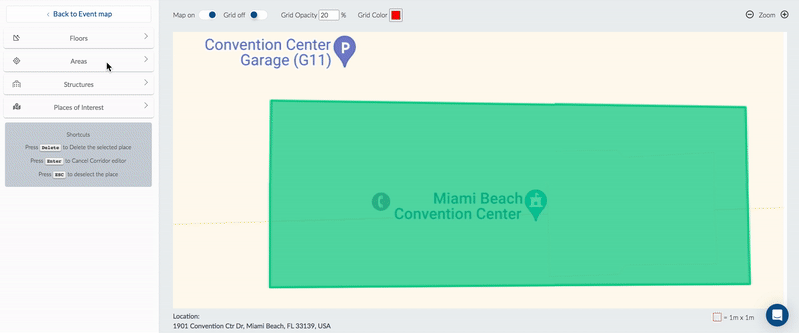
Areas allow you to add defined places such as exhibitors or sponsors. You can add a customized area by clicking the Area dropdown and dragging one of the two square areas provided.
Furthermore, you can assign a Group for the area, Area name, adjust Area size, pick a color, Upload image, and add a Description. If you click on the newly created area icon, whether using the circle under Created areas or the square in the map, the edit window will open, and you can make further edits to the area.
To delete an Area, Structure, or Place of interest, click on the icon on the map that you want to delete, or you can click on the circle beneath Created Areas, Created Structures, or Created Places of the place you want to delete, which will trigger a pop-up window. Click on the Delete button within it to delete the icon.
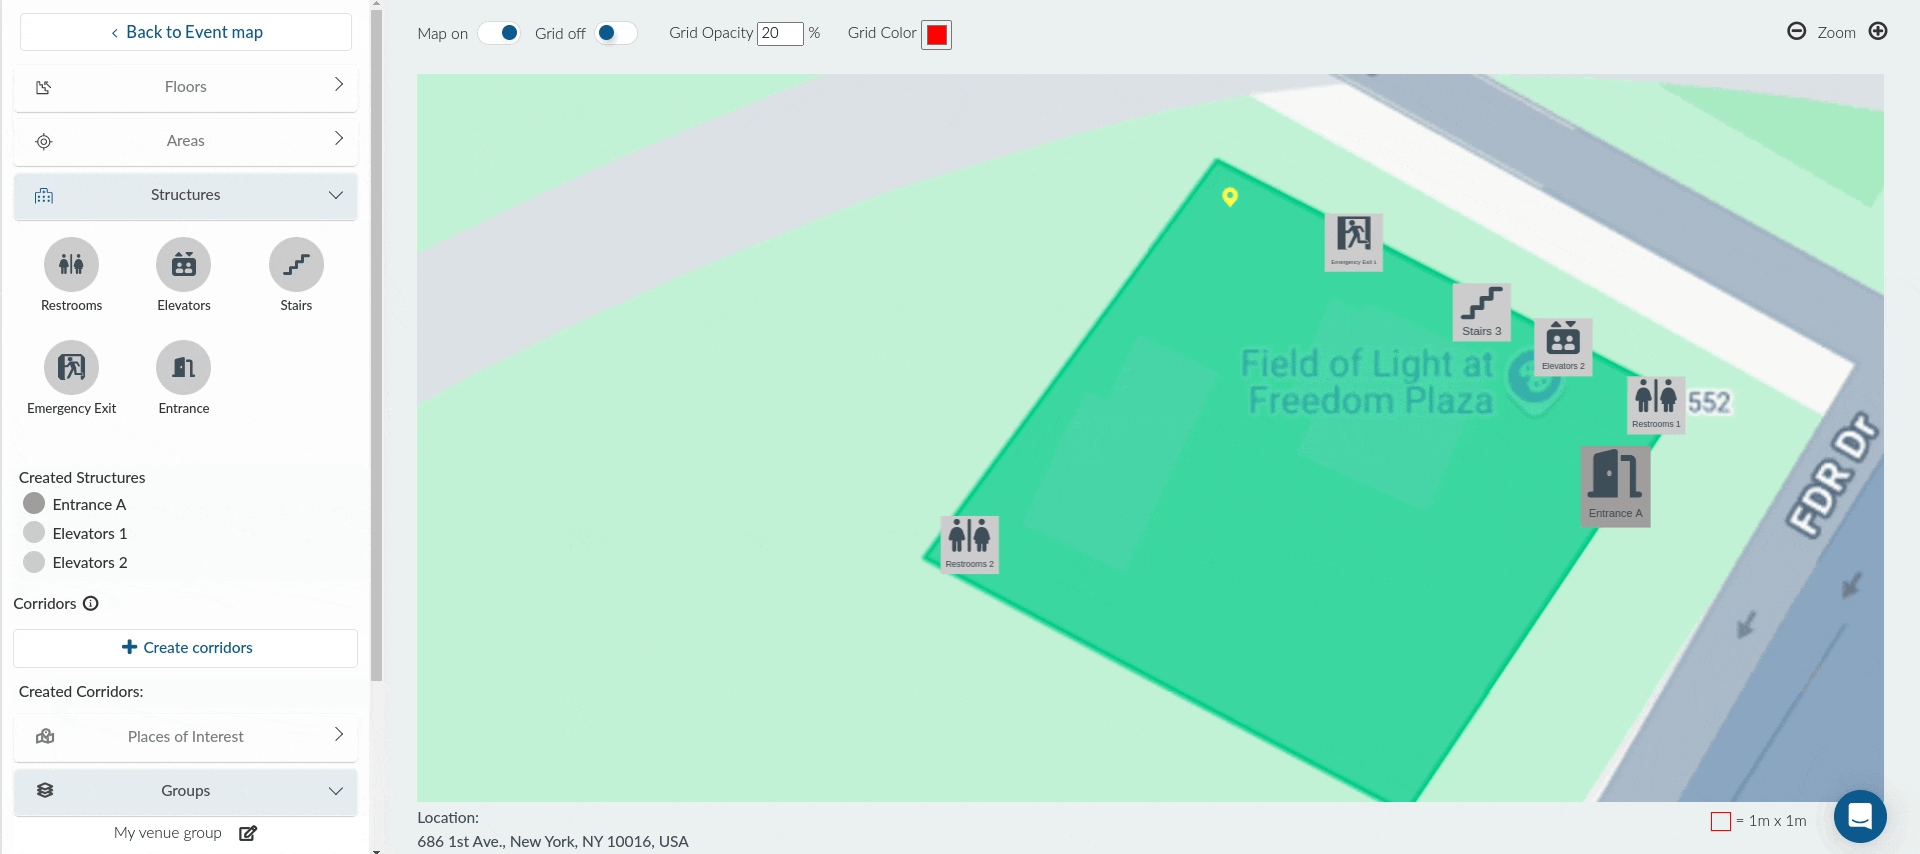
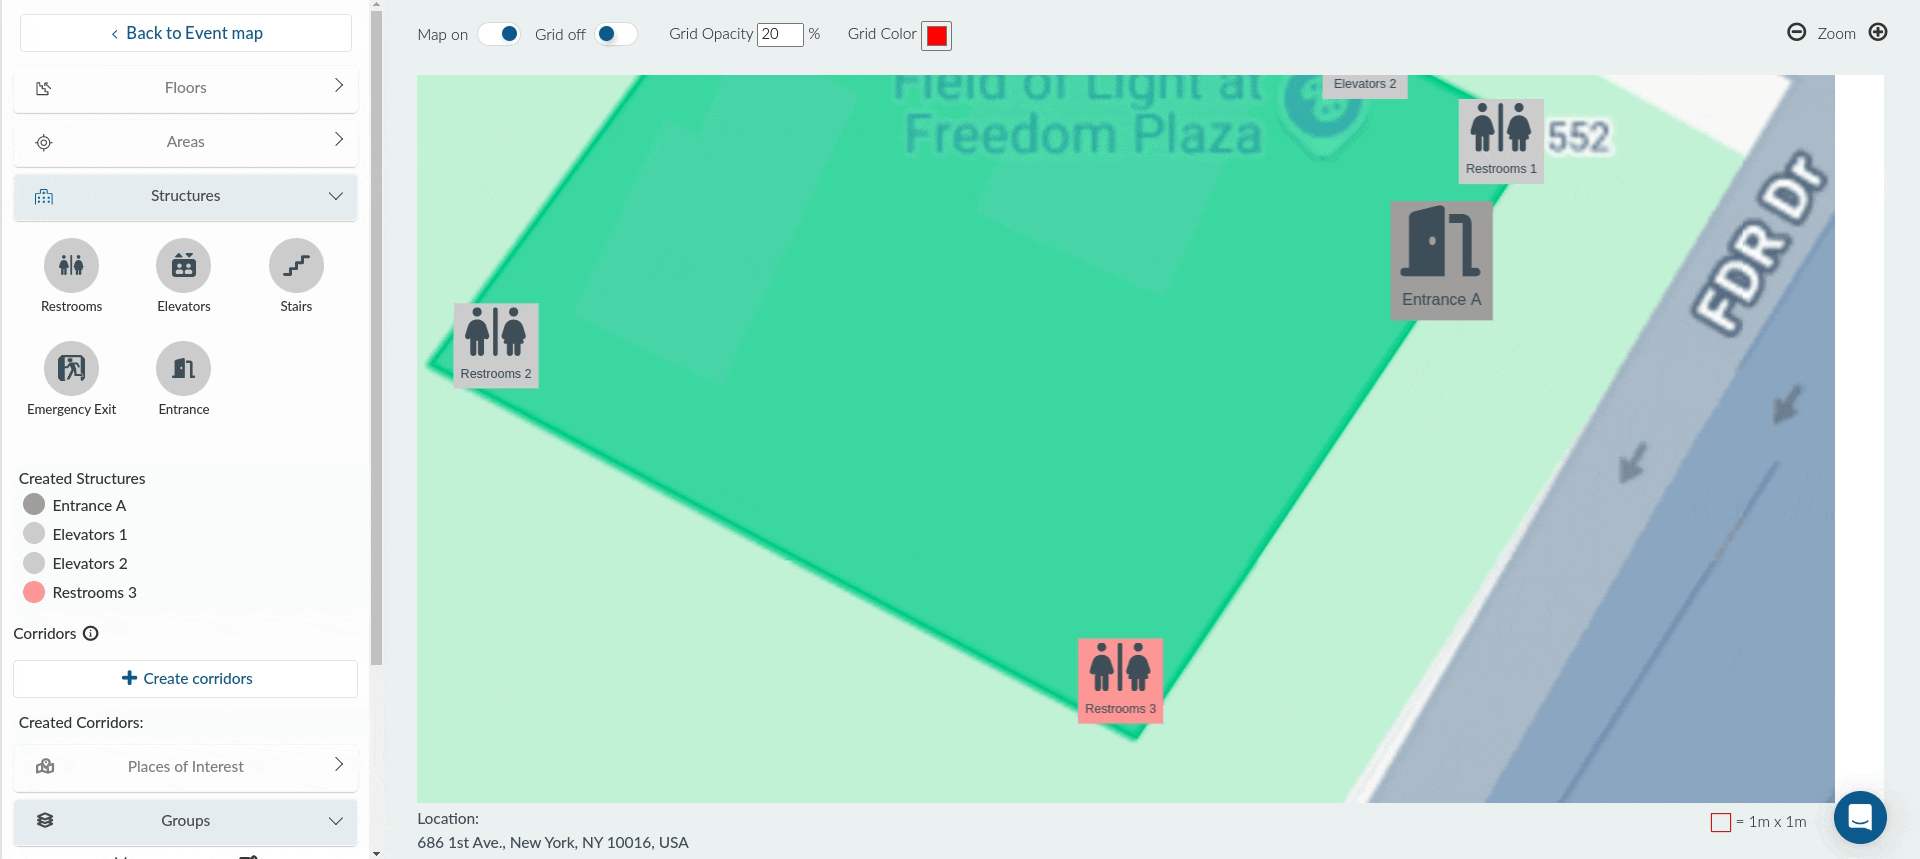
Structures
Using Structures, you can place building facilities on your event map, such as restrooms, elevators, stairs, and exits. To add them to your map, drag and drop the icons in the desired position.
Furthermore, you can assign a Group for the structure, Structure name, Area size, and modify its icon properties or assign a new image for the structure. You can also add a description for the structure. You can add the Area Name, specify Area size, Pick a color for the area, Upload an image for the area, and add a Description.
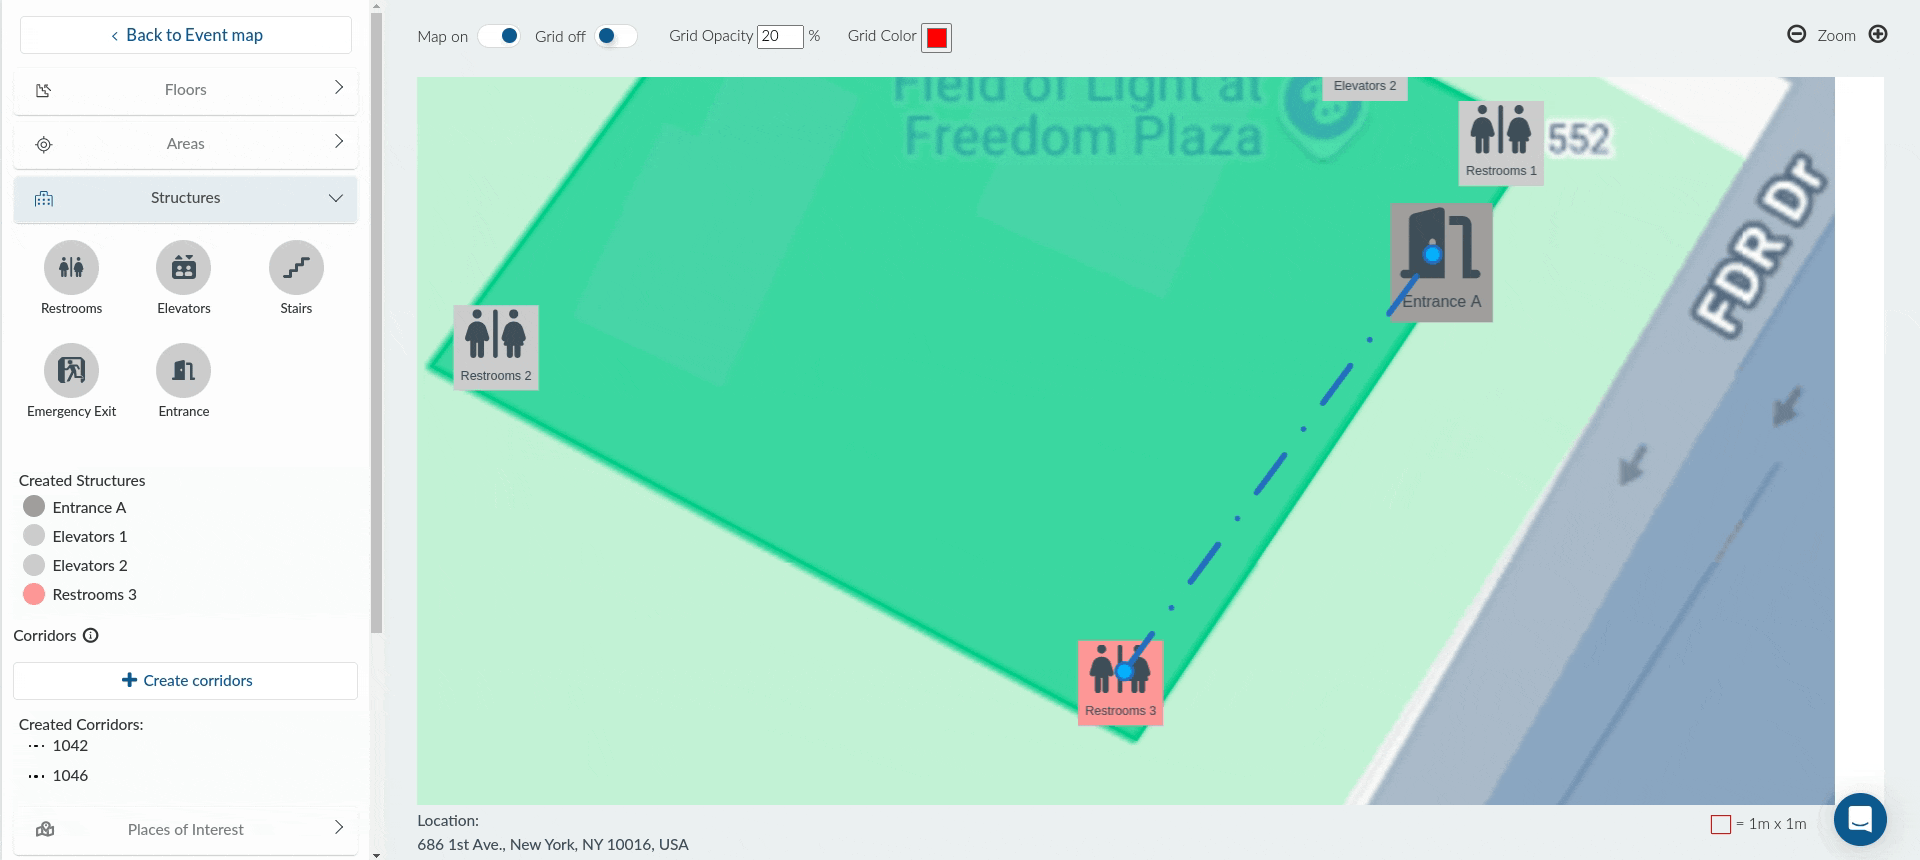
For a more detailed description, you can also add Corridors.
To add Corridors, click on + Create corridors and click next on the icon that is in close proximity to where you want to create a corridor. Then, click on the location where you want the corridor to connect to. This way, a line will automatically connect the two points. Once you are done creating the desired Corridors, press Enter on your keyboard to cancel the editor.
To remove a Corridor, click on the + Create corridor button, then select the part of the corridor you wish to delete. Press Delete on your keyboard. Then, click on the Cancel corridors editor to finalize your changes.
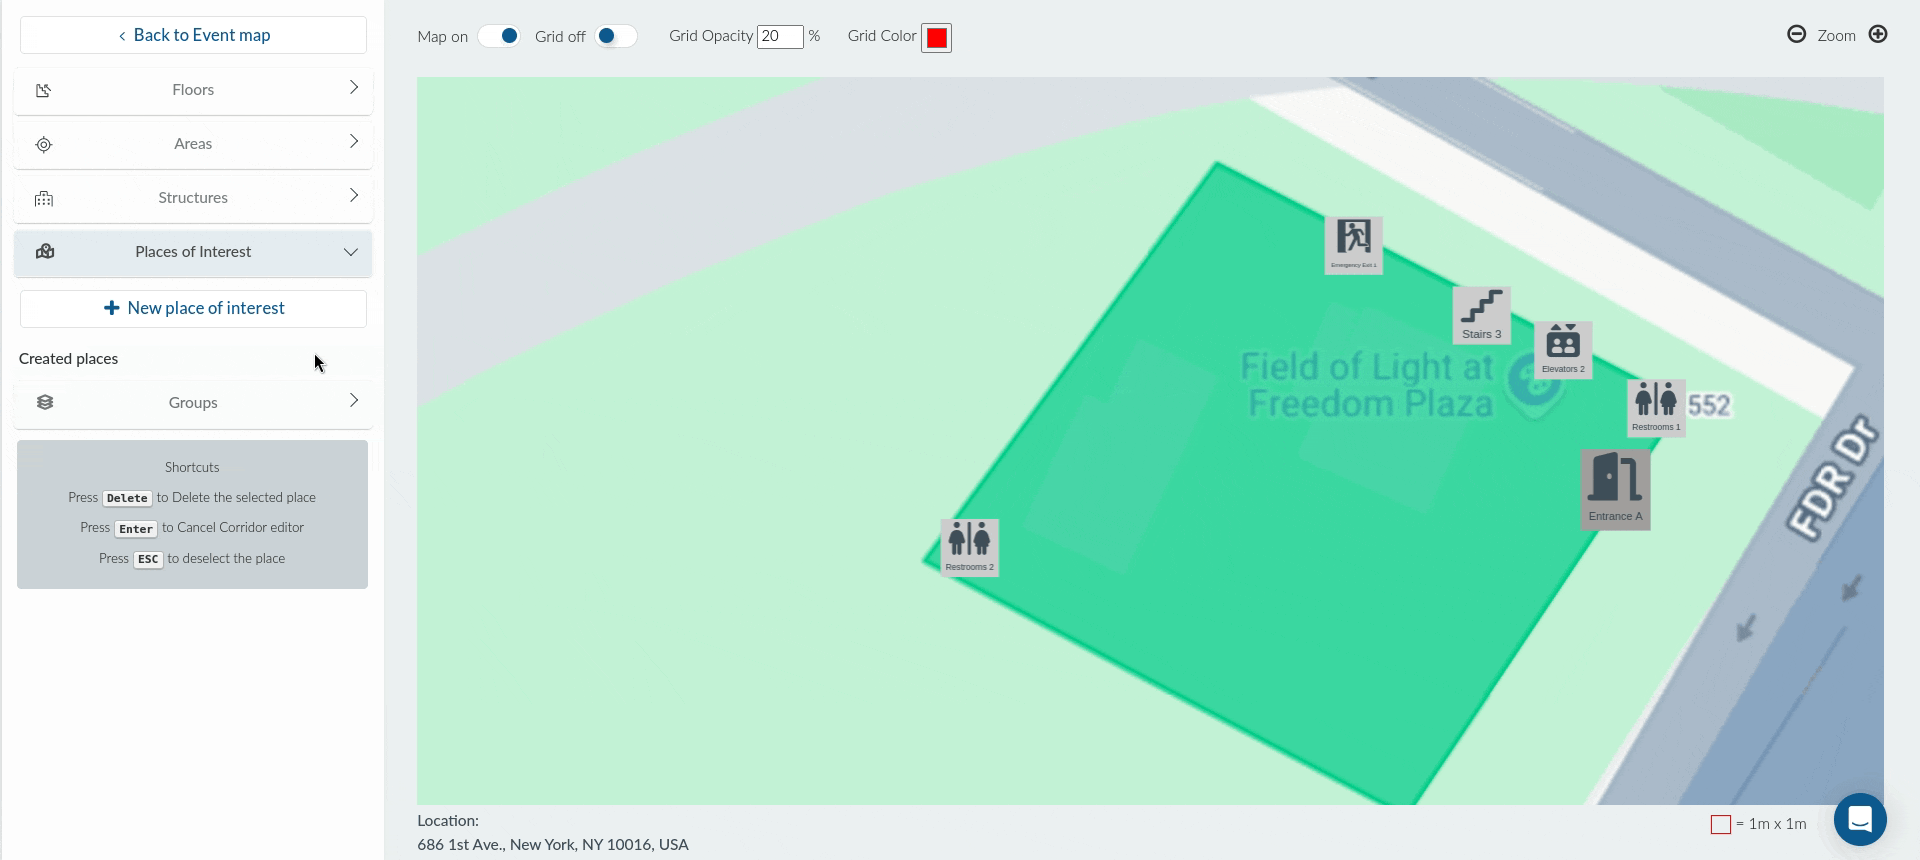
Places of Interest
Places of interest are places like food areas, information desks and ticket purchase offices.
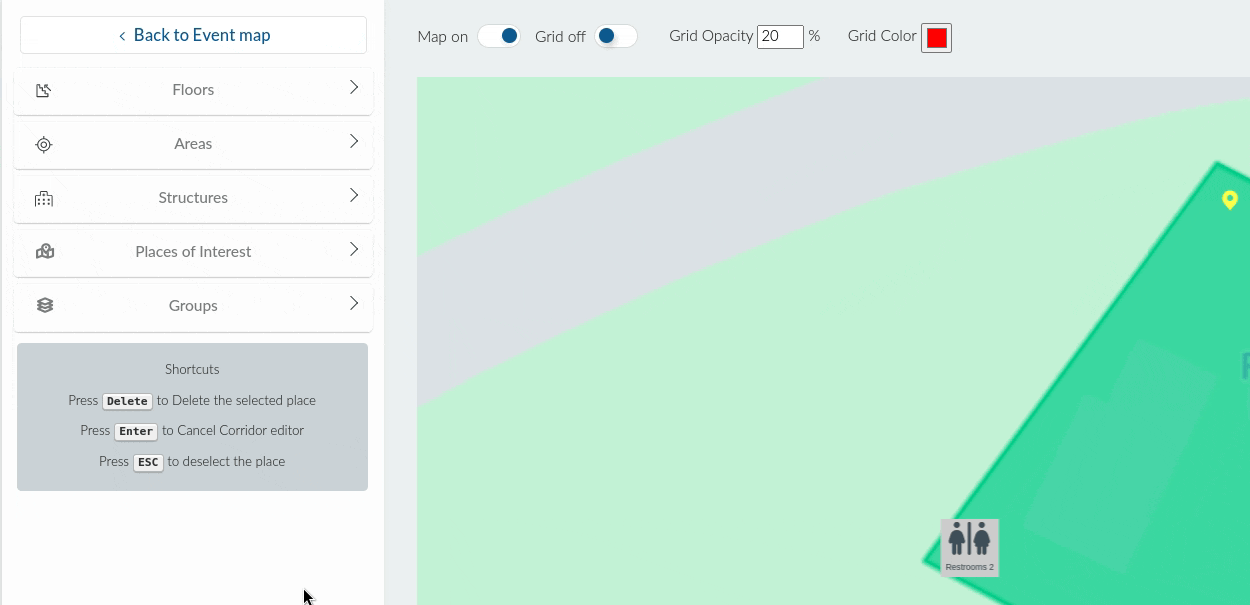
To add a Place of Interest, click on the Places of Interest section and click on + New place of interest. After doing so, you can assign a Group for the Place of Interest, Point Name, Pick a color, and add a Description for the point.
Click on the place in the map you want the place of interest to appear and it will appear there as shown below.
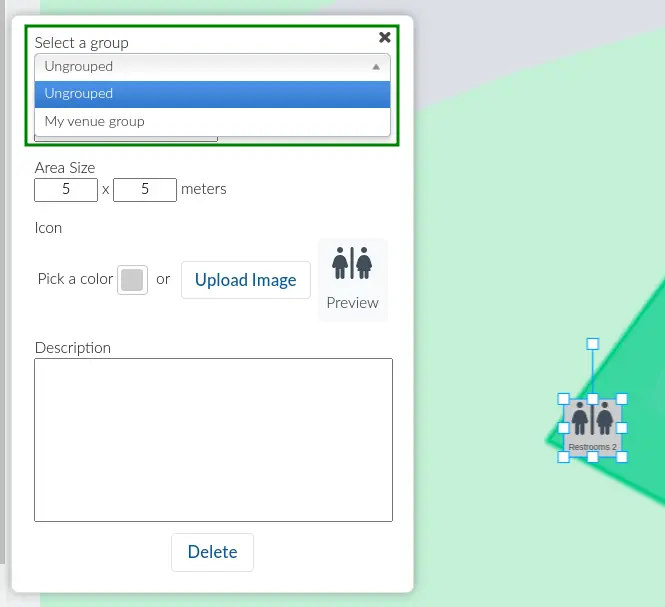
Groups
The Groups functionality allows you to categorize Areas, Structures, and Places of Interest for convenient navigation. For example, you can group accessibility-related structures together, or group structures related to specific purposes.
To create a Group, click on the Groups menu and click on +. In the Group Name pop-up box, enter the desired group name and click on Save.
After doing so, you can add Areas, Structures, and Places of Interest to the group by clicking on the target icon and selecting the target group using the Select a group drop-down menu.
Copying map elements
You can copy existing elements on your Event map, such as Areas, Structures, and Places of Interest, to quickly create duplicates without having to configure each element from scratch.
To copy an element to another floor follow the steps below:
- Select the floor or ground where the element you want to copy is located.
- Select the element you want to copy.
- Click Copy in the dialog box.
- In the Copy Structure pop-up window, select the floor or ground where you want to copy the element.
- Click Copy to complete the process.
The copied element will be added to the selected floor while retaining the relevant properties of the original element. You can then adjust the copied element's position or details as needed.
This is useful when you need to duplicate similar elements across different floors or grounds of your event map.
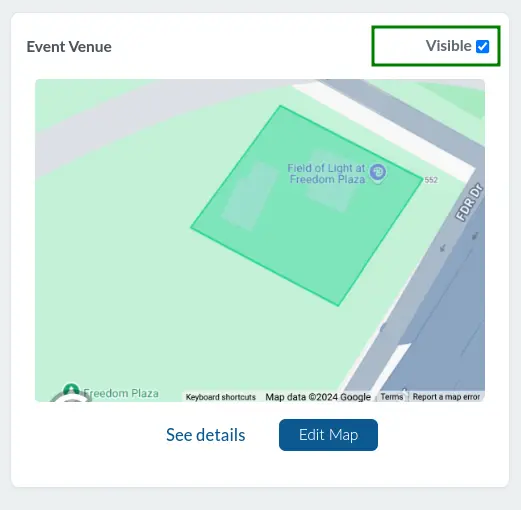
Setting the event map as visible
For the event map to be visible by attendees in the Virtual Lobby, it needs to be set to Visible. To do so, simply check the Visible box on the top right corner of the map.
Removing the event map
To remove an existing map, click on See details. Then, click on Remove, and a confirmation pop-up box will be displayed. Click on Delete to confirm. After doing so, your event map will be removed from your event.
Enabling the Event map tab on the Virtual Lobby
For the Event map to be visible to attendees, ensure that the Event Map tab is enabled within Tabs. To do so, follow the steps below.
- Navigate to Settings > Tabs.
- Click on Web app.
- Click on Edit.
- Locate the Event Map entry.
- Check the box under the Visible box for the Event Map entry.
- Save your changes by clicking the End button.
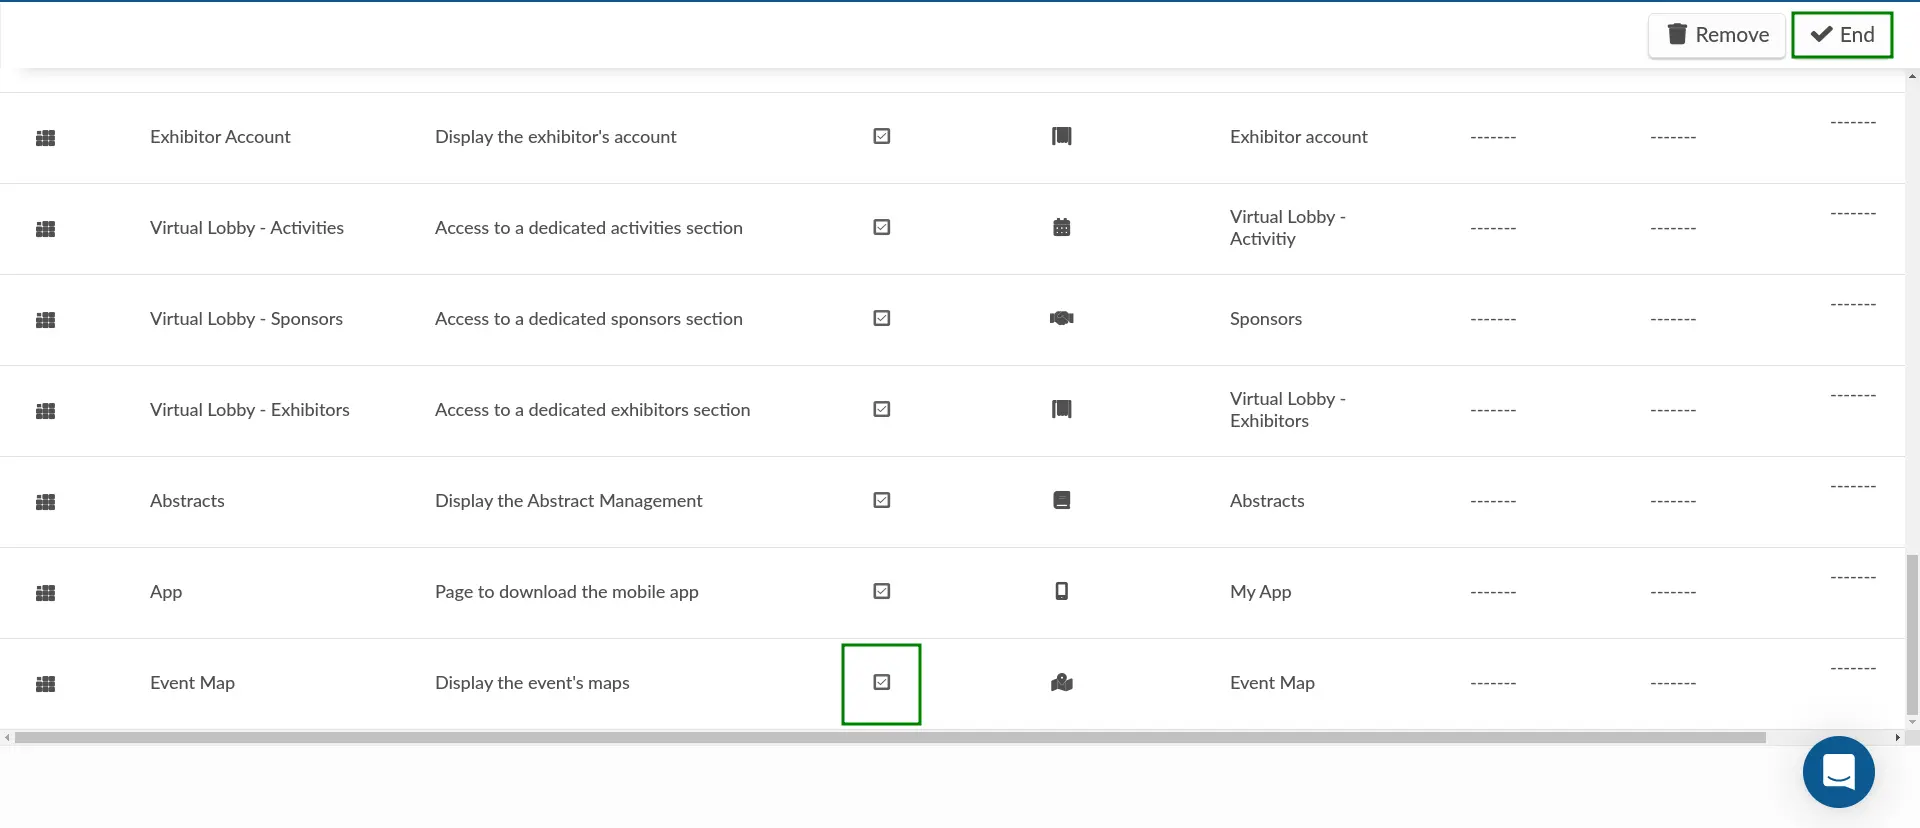
After completing the steps above, the Event Map tab will be visible on the Virtual Lobby menu.
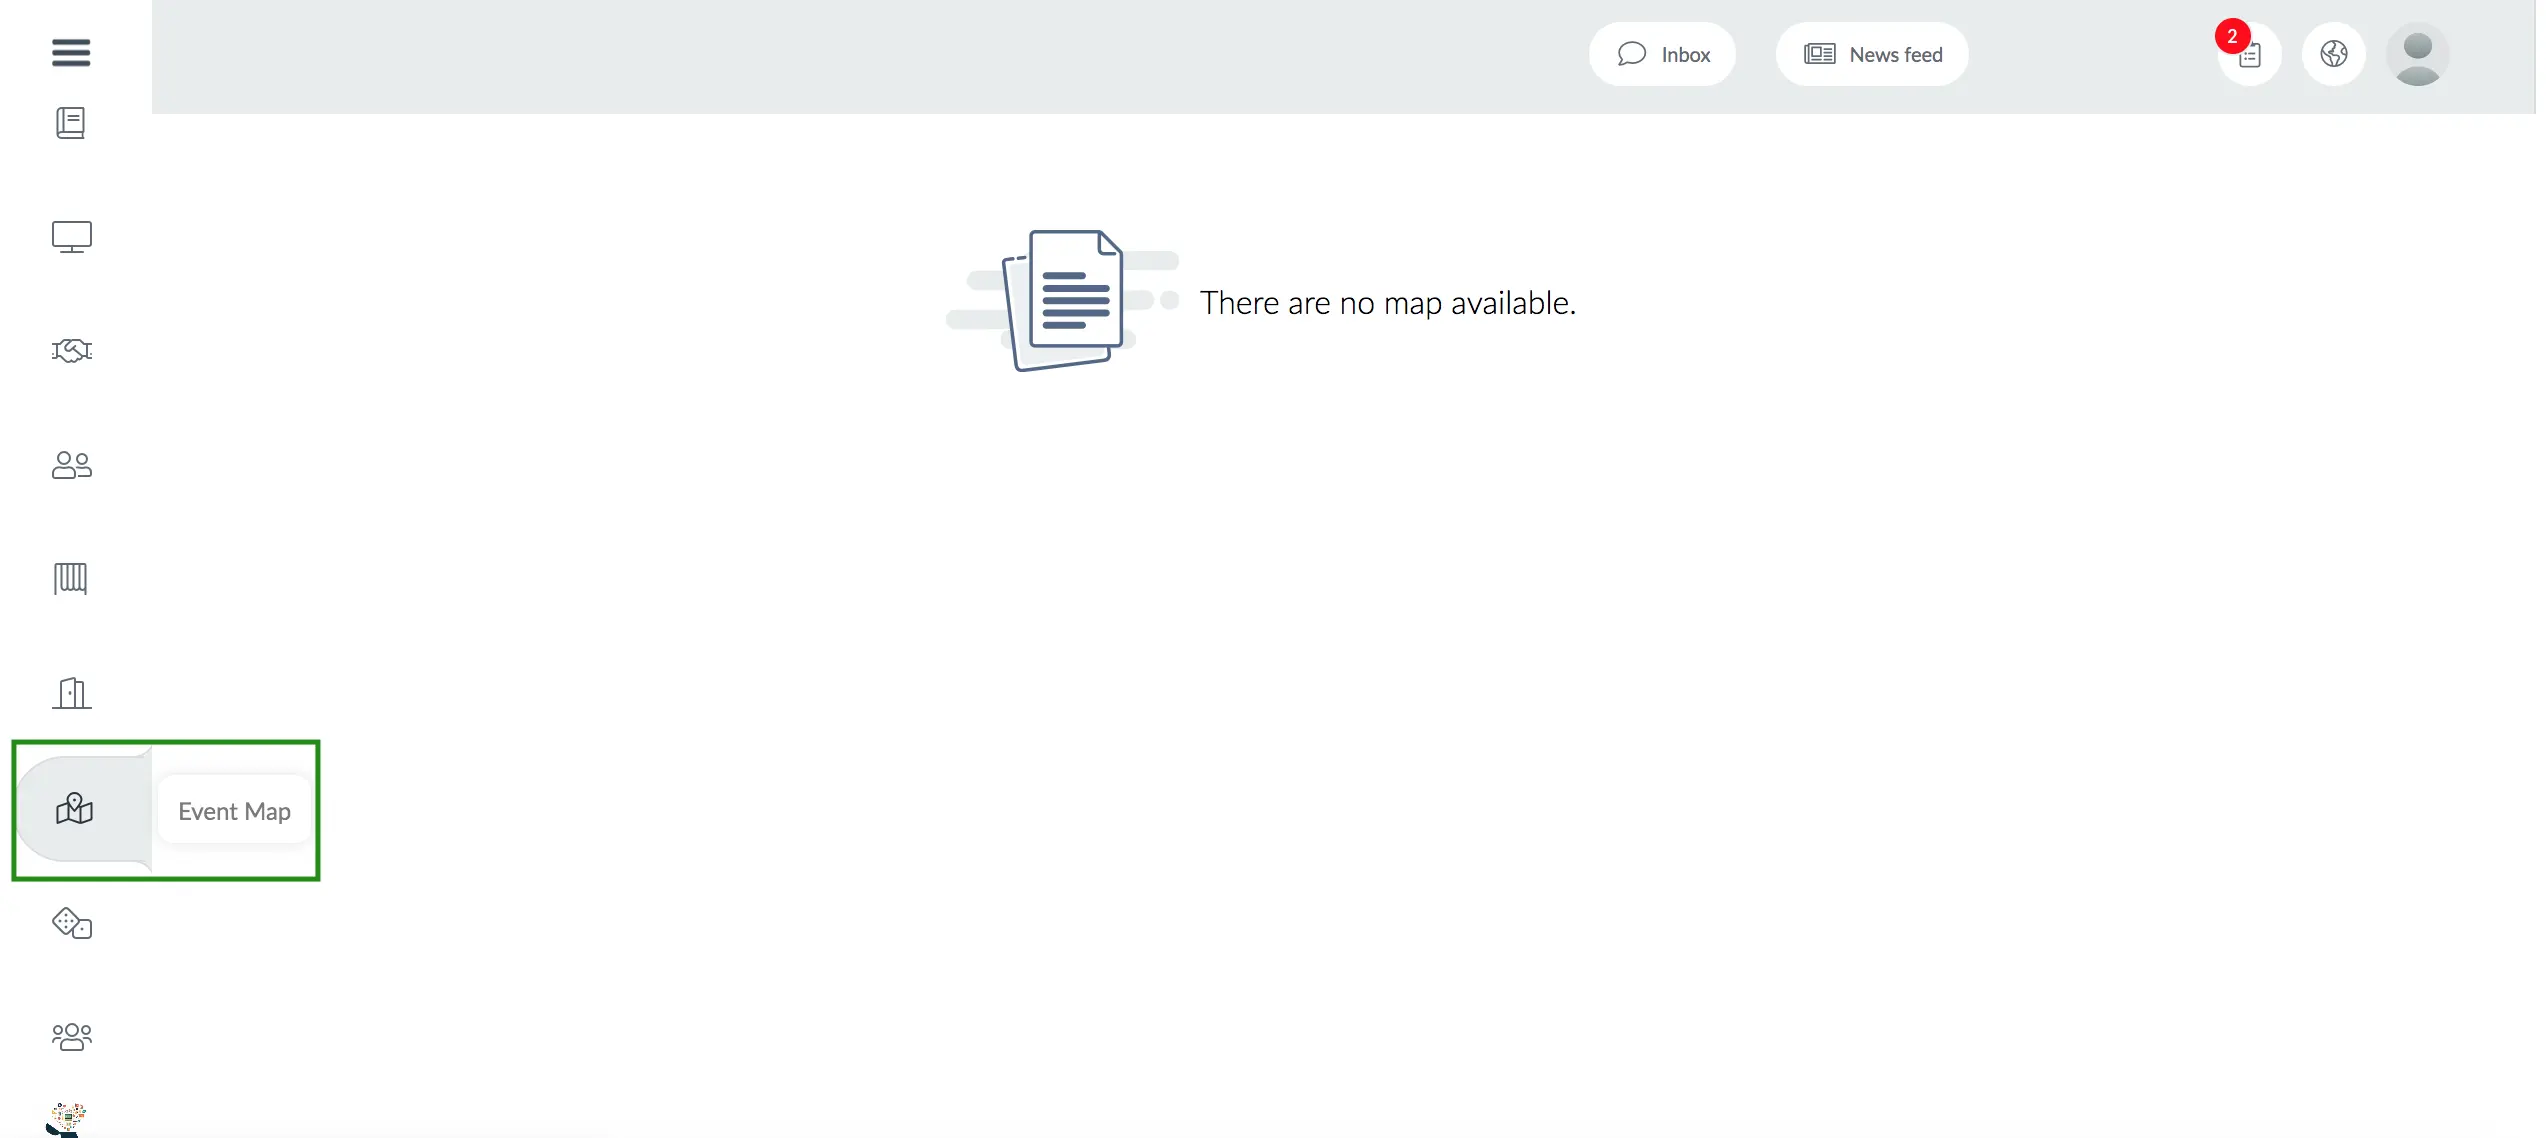
The map will then be available for attendees to see when they click on the Event Map tab:
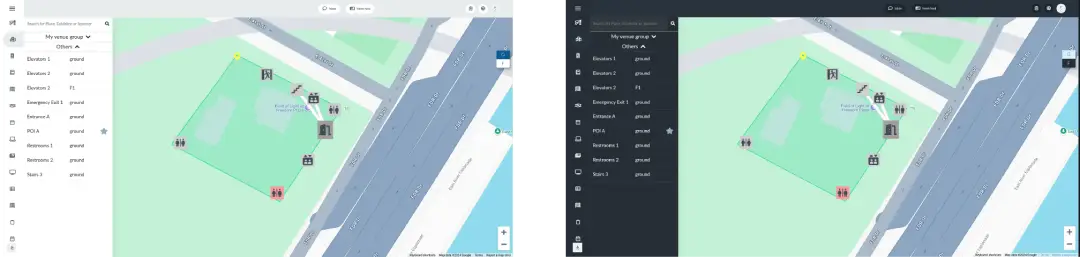
The map will display differently depending on the template mode set, whether you have selected Normal, Light or Dark. You can change the mode by navigating to Event > Virtual Lobby and selecting the desired mode from the Change template mode dropdown menu. To learn more on how to change template modes, refer to the Virtual Lobby article.
For a visual representation of how the map appears when the Light and Dark modes are enabled, see images below:
- When Light mode is enabled, the map will appear as shown below:
- When Dark mode is enabled, the map will appear as shown below:
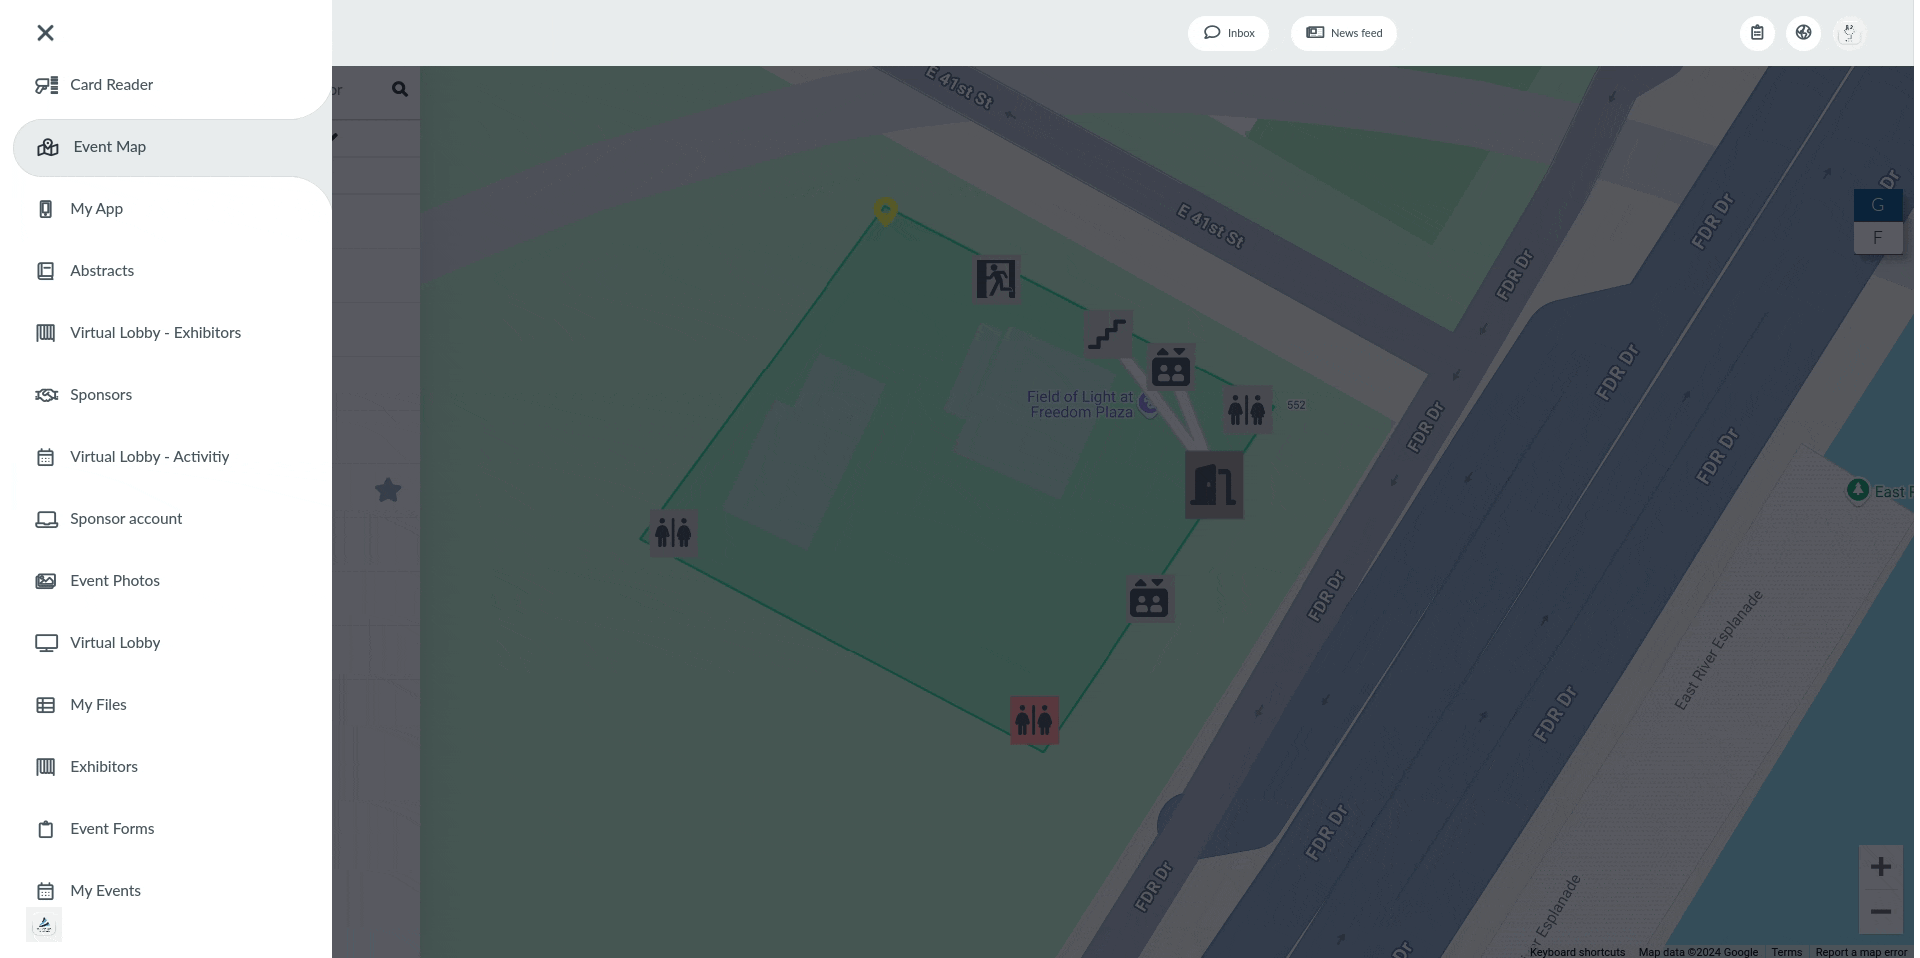
Event map experience
Custom event maps are accessible from the Virtual Lobby and from the web app, as well as the mobile app.
On the Virtual Lobby
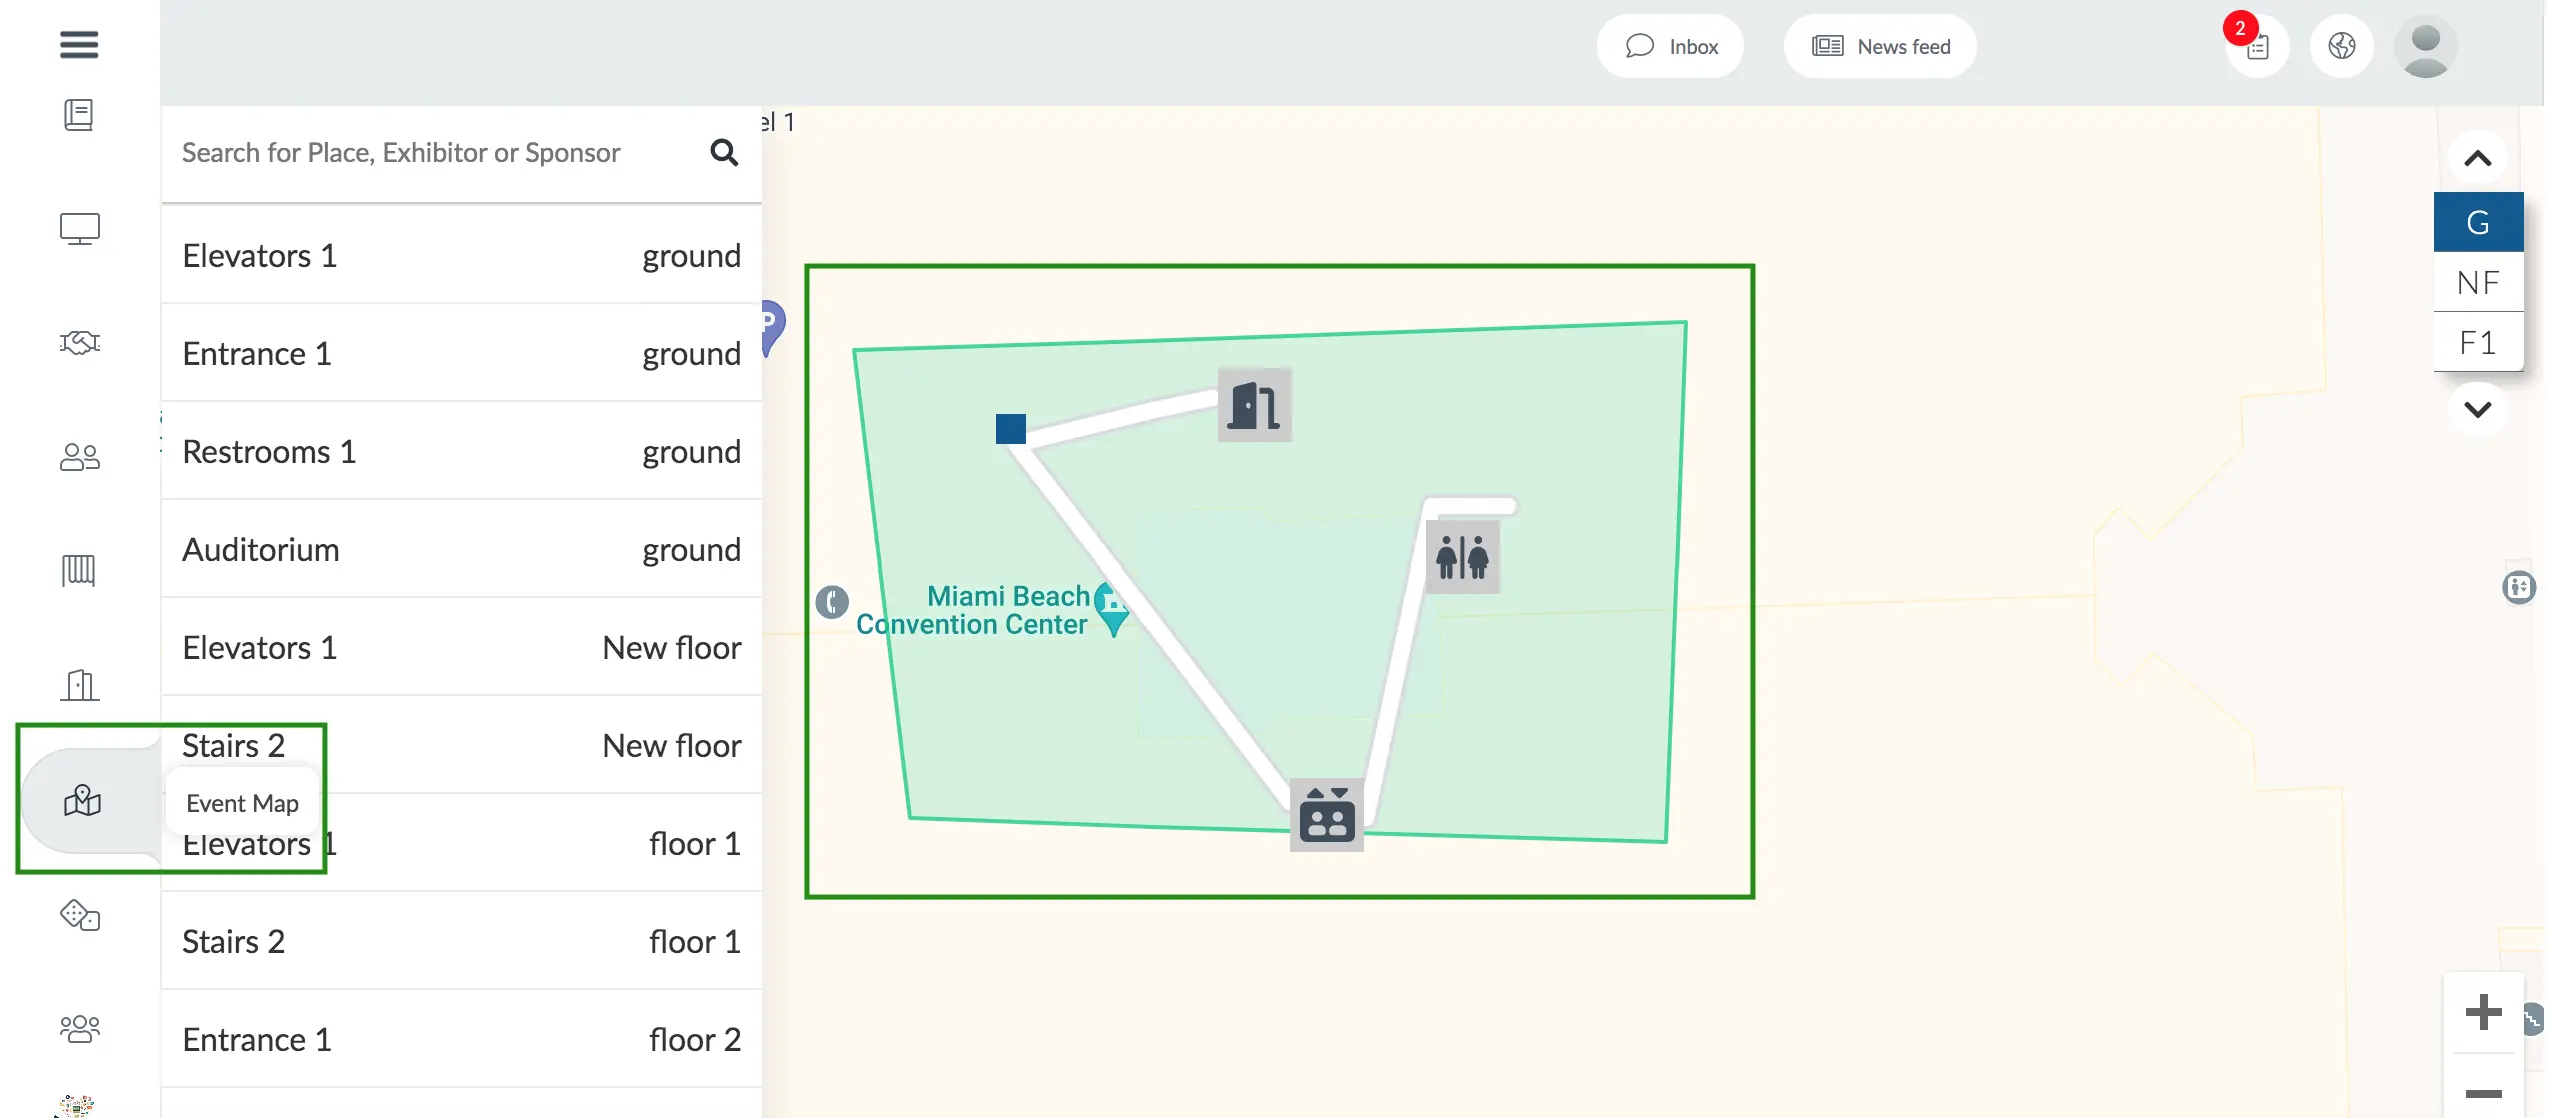
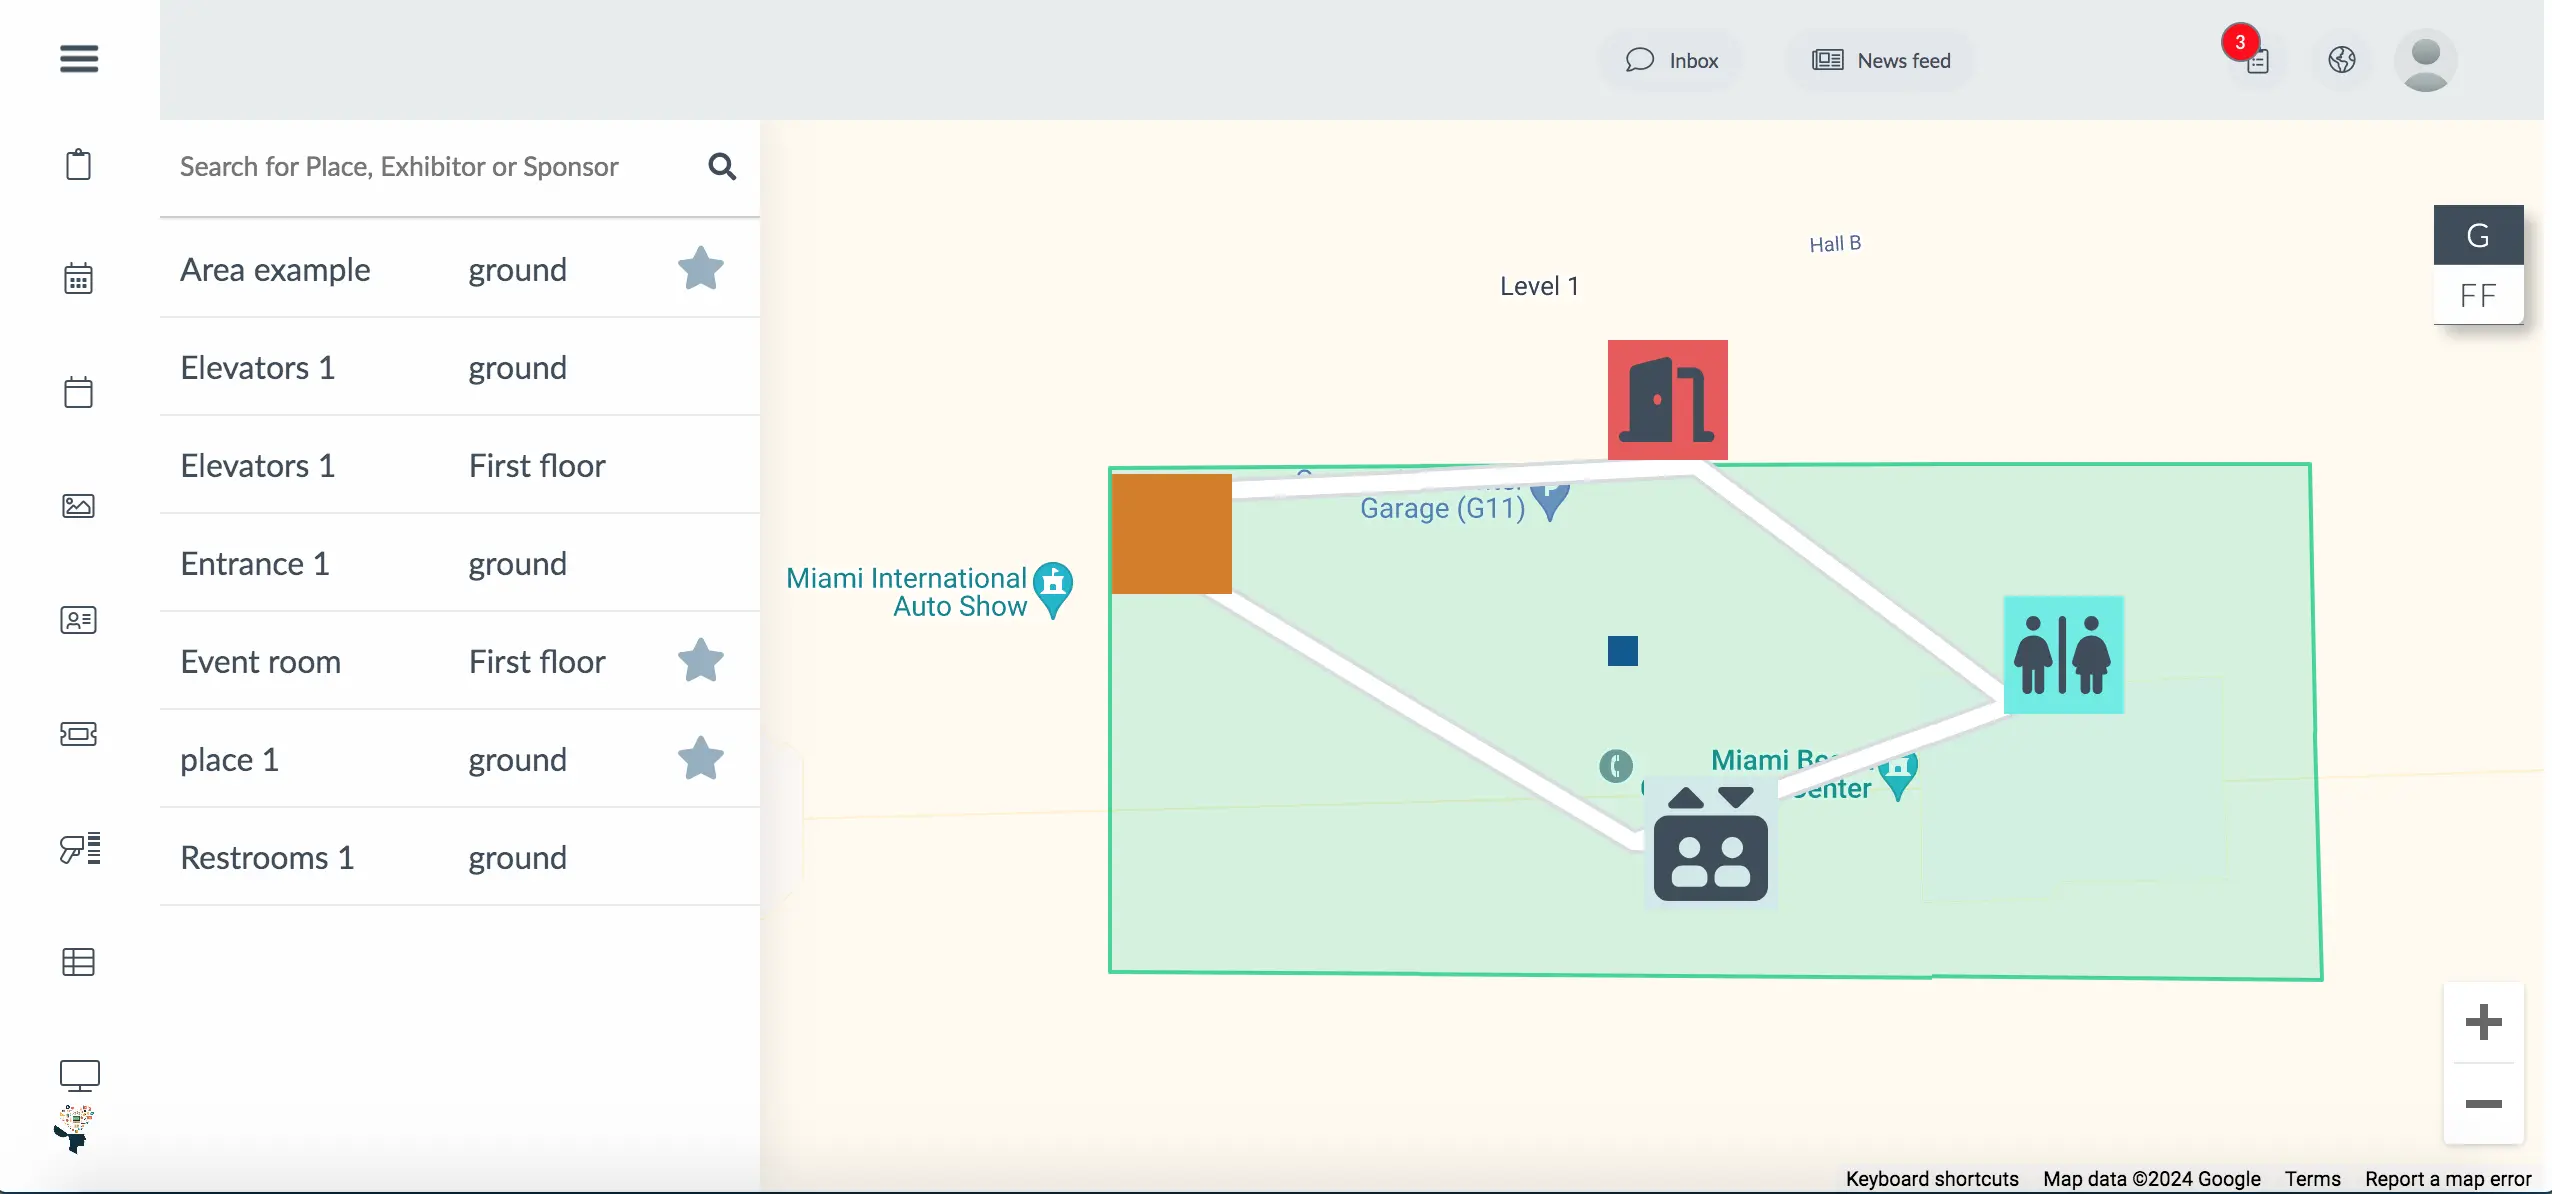
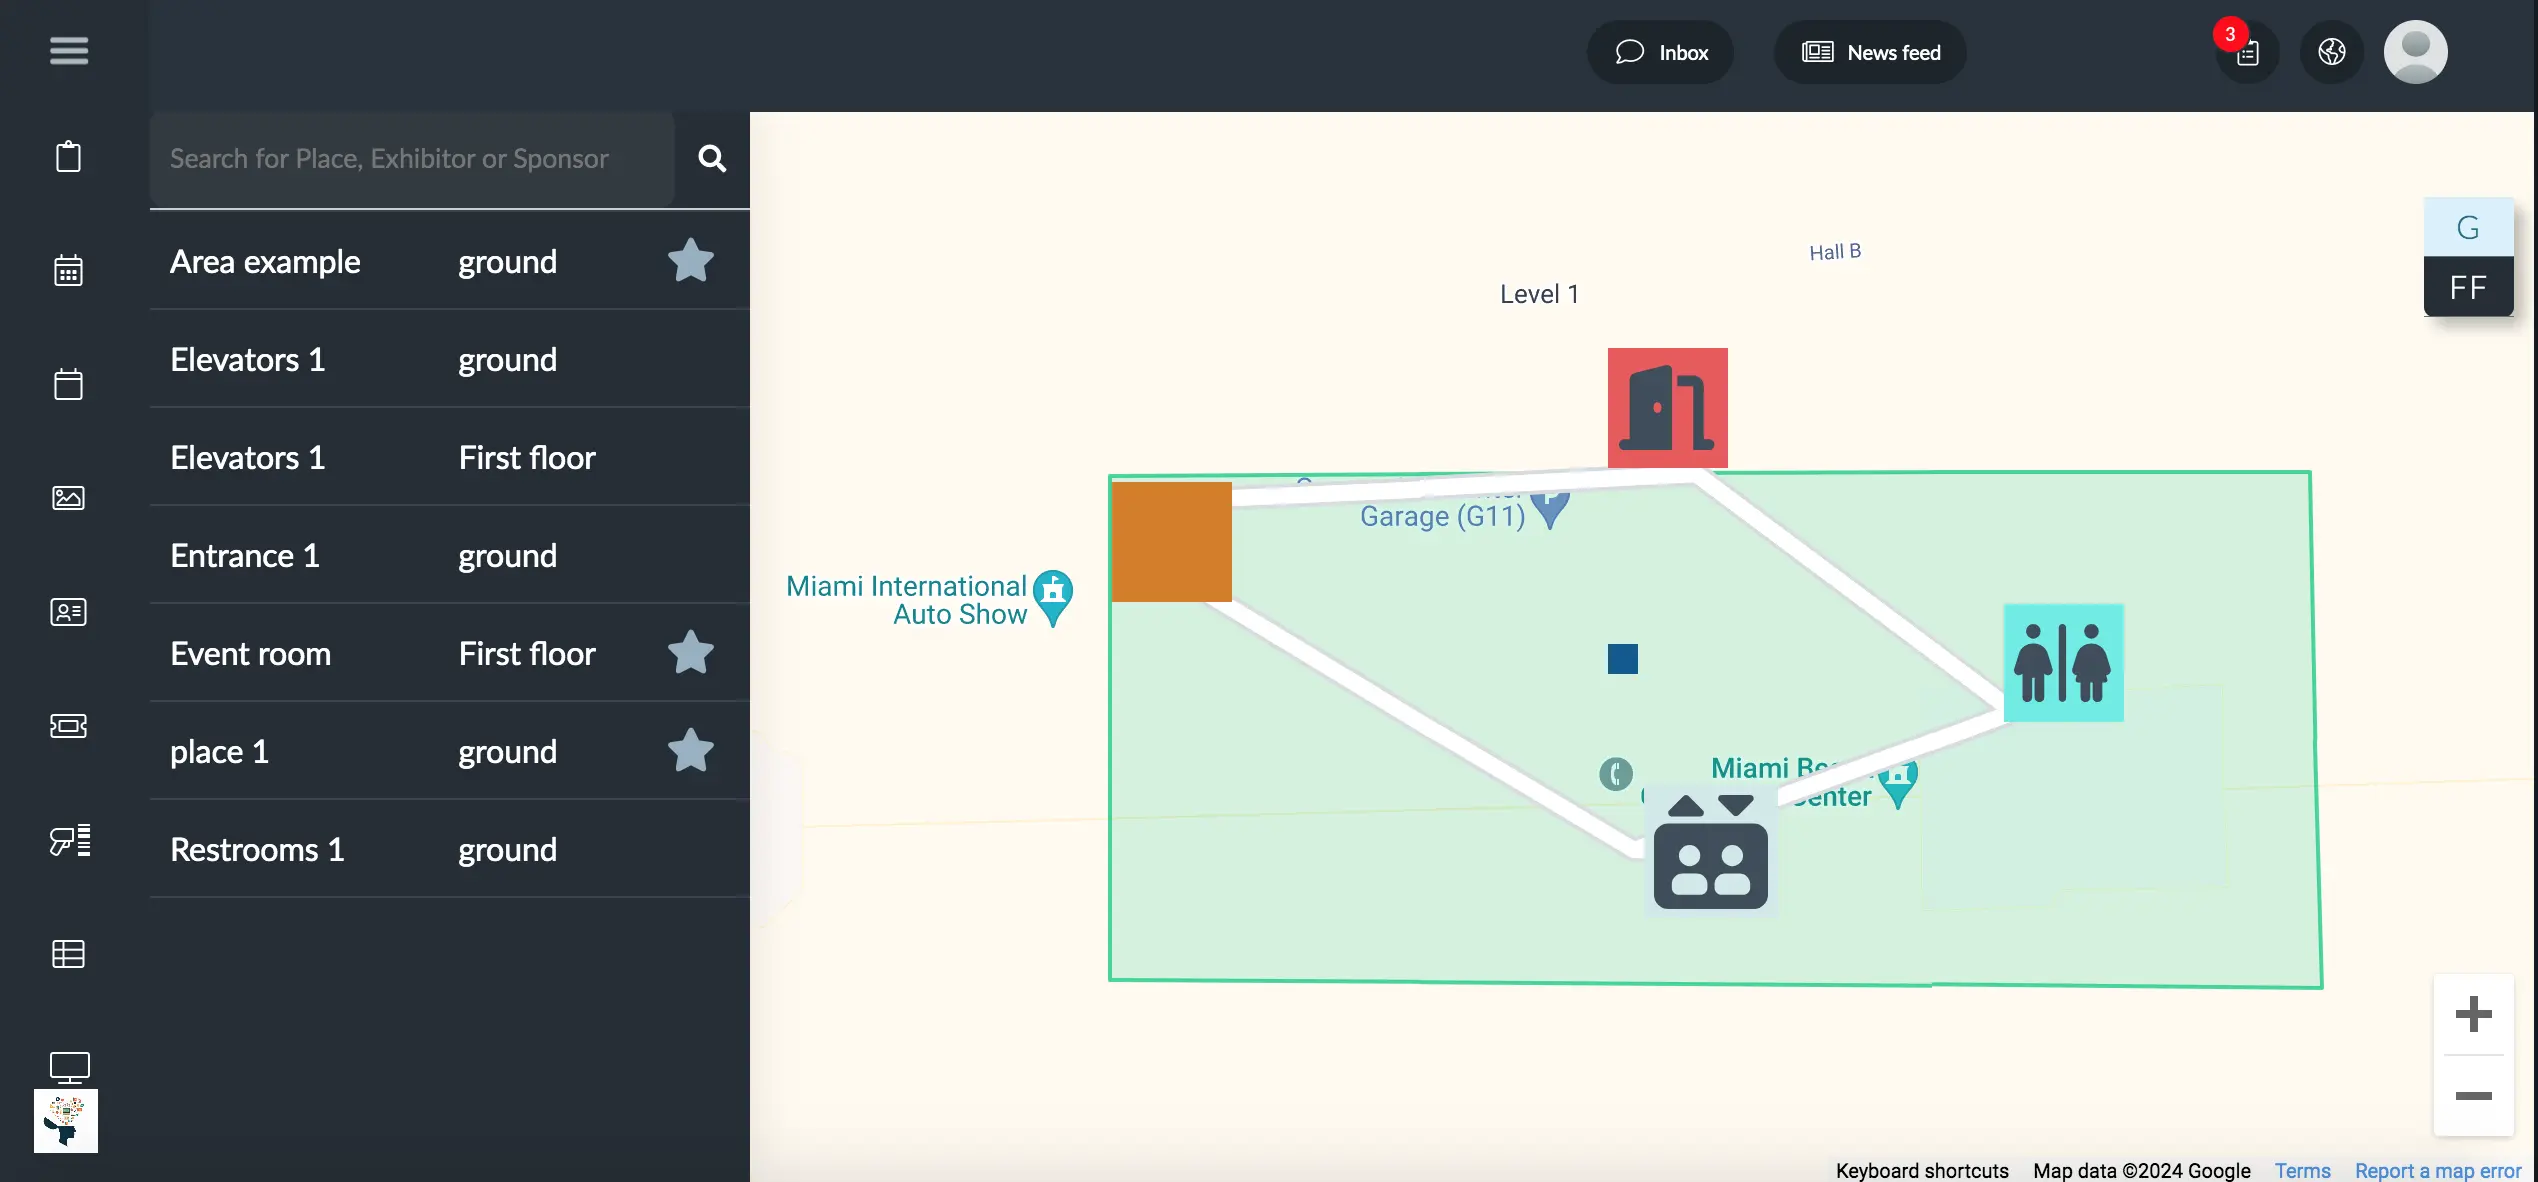
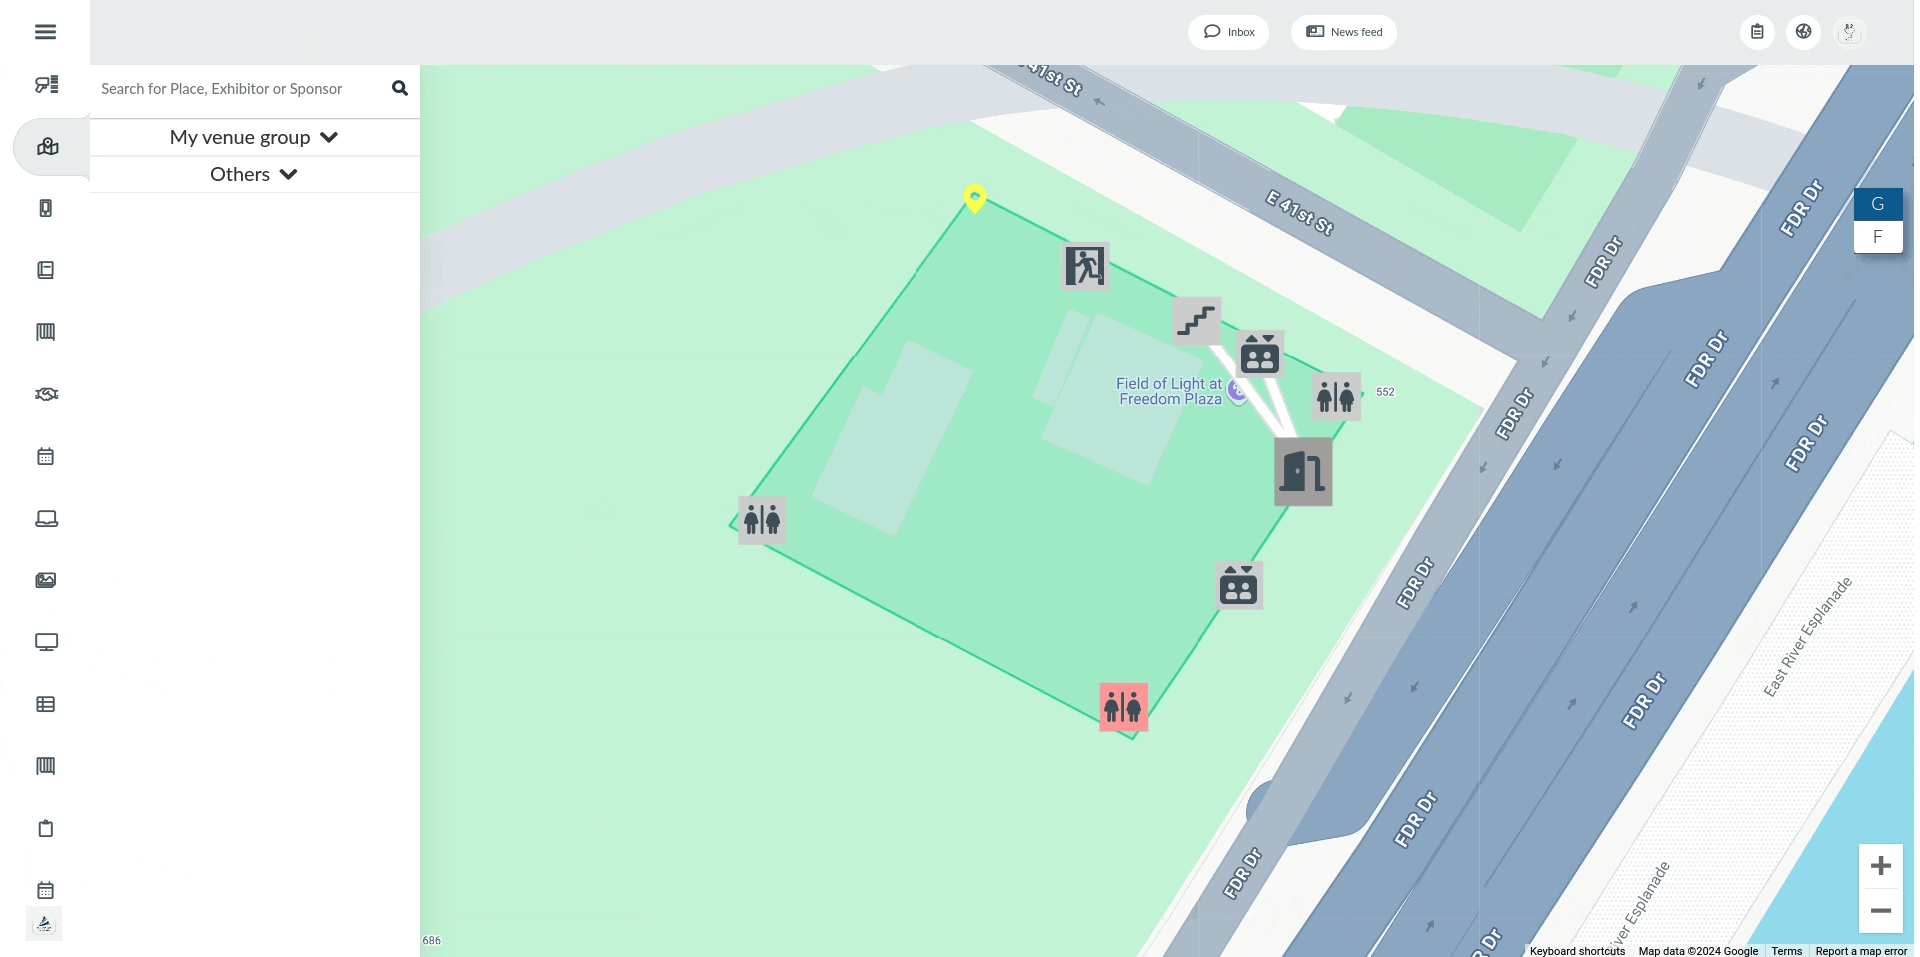
Attendees can access the event map by navigating to the Event Map tab on the Virtual Lobby, provided that the tab is enabled and made visible.
Attendees can click on the structures listed on the left menu, or on the icons to see further details about each structure, such as its description and image.
Attendees can click on the How to get there button to receive directions for each structure. They can also search for structures related to Places, Exhibitors, or Sponsors using the search bar. In addition, they can switch between floor views using the floor selector on to top right corner.
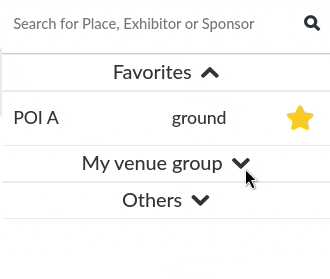
Adding favorites on the map
Attendees can add Places of Interests and Areas as favorites, allowing them to easily select them from the Favorites list that will be automatically created once you add any of these to favorites.
To add a Place of Interest or Area as a favorite, click on the star next to the corresponding field. The star icon will turn yellow once clicked, indicating that the place has been successfully added as a favorite.
Attendees can also search for their favorite Places of Interests and Areas in the search bar, and the results will be displayed under Favorites.
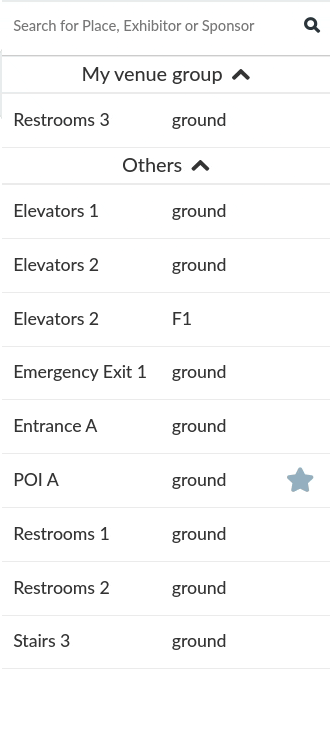
To remove a Place of Interest or Area from the favorite list, click on the star icon. The entry will be removed from Favorites, and will again be displayed under its original group.
In addition, the interface of the Event Map tab will be displayed following the Virtual Lobby's selected template mode. Below is a screenshot of the Event Map tab when Normal/Light mode is selected, as well as when Dark mode is selected.
On the mobile app
The event map can be accessed from the Maps item in the app menu, both in the iOS version and the Android version. Within the page, users can switch between floor views and zoom in and out of the event map.
