Event details
 Updated 1 month ago
by
Lorenzo
Updated 1 month ago
by
Lorenzo
That initial information page is generally your event’s participant's first contact with the event itself, and it is important for all the information to be available and clear to them.
This article intends to explain to you all the settings options available on the event details page.
Accessing Event details
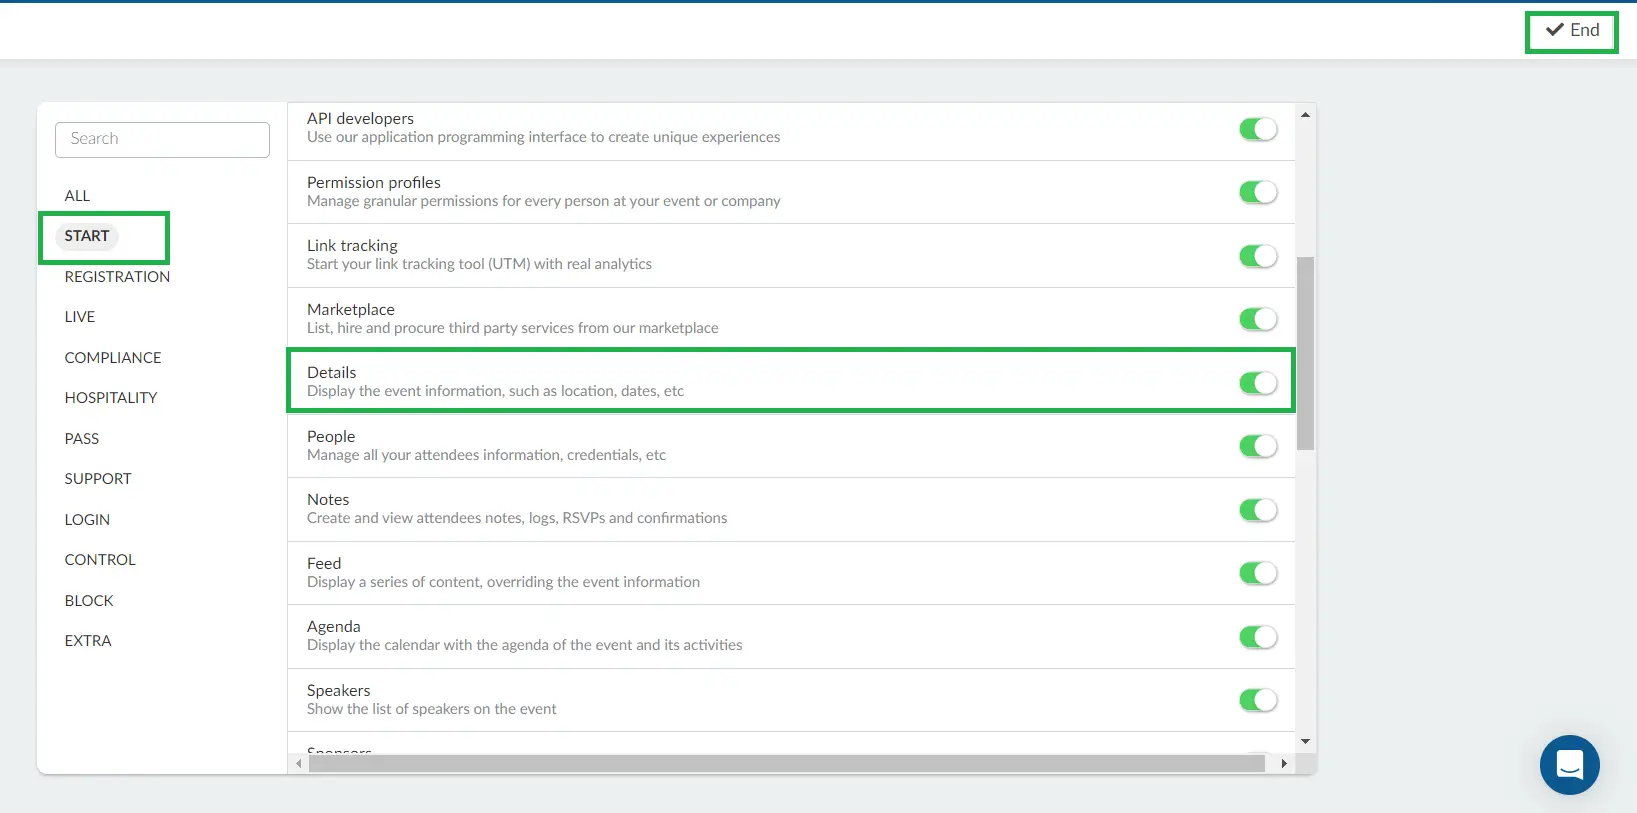
To configure the initial information of your event and that which will be the participant's first contact and experience via app, website, or Virtual Lobby, go to Settings > Tools > Start section. Click on Edit and scroll down till you locate the Details tool.. Toggle corresponding button on, and press End to save your changes.
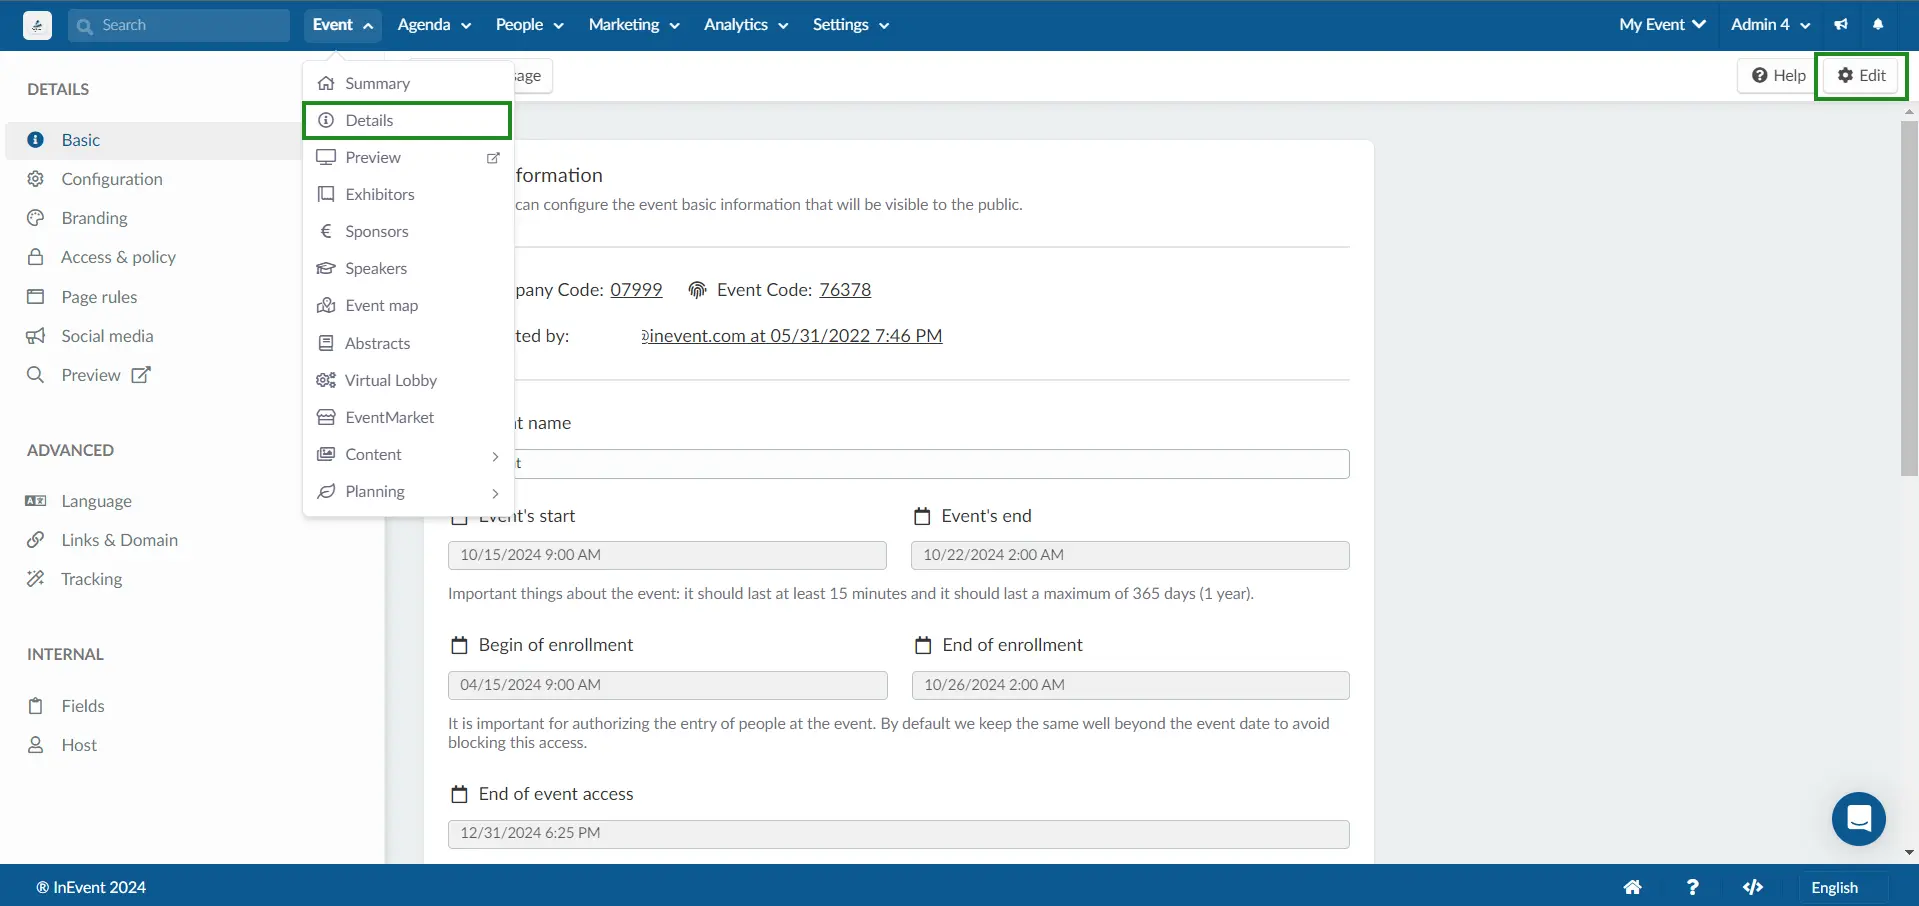
Once you have done this, you will be able to access the Event's details page by going to Event > Details. Click on Edit to begin making your changes.
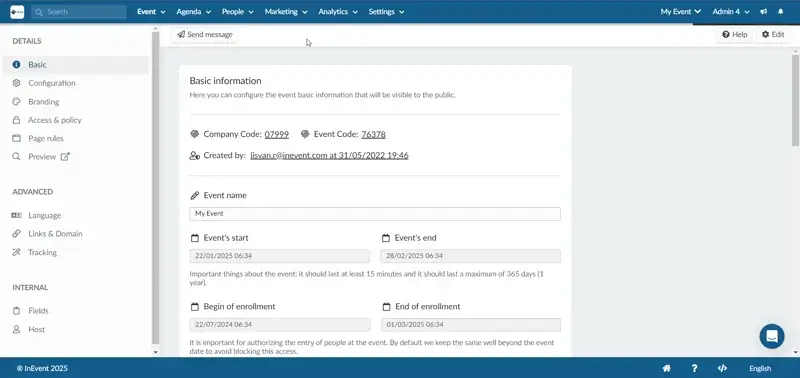
Basic information
This allows you to configure key details about your event that will be visible to the public. Here, you can manage event codes, set the event name, and configure the start and end dates, along with enrollment periods and access settings.
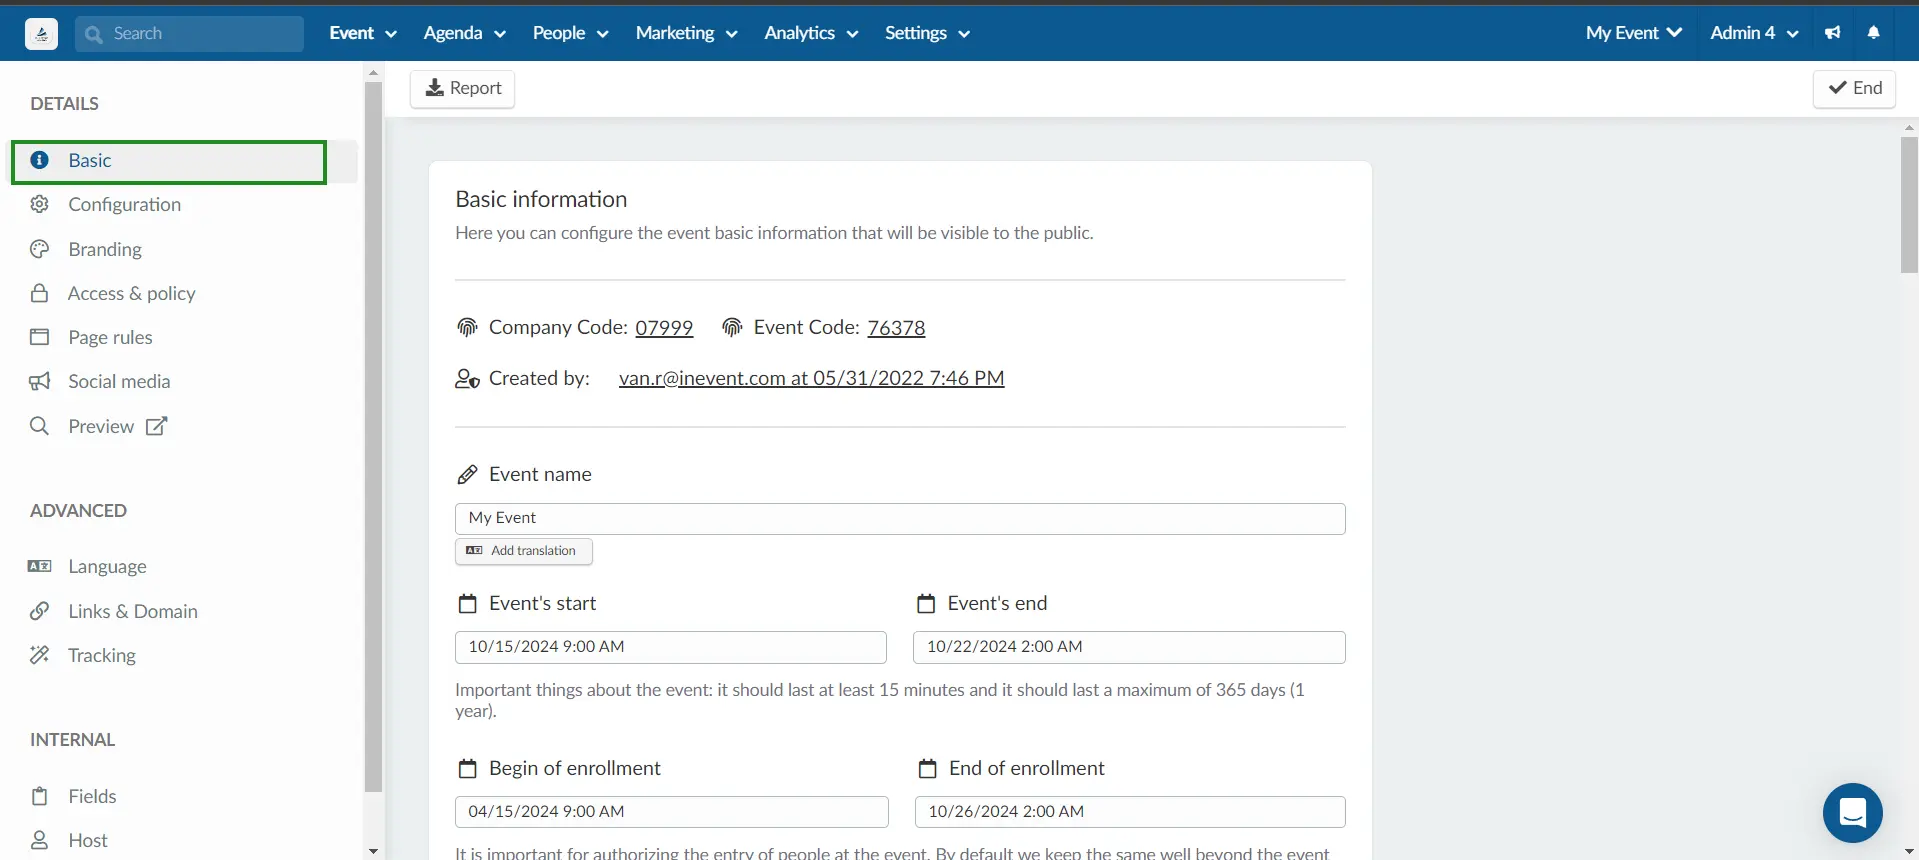
Company and Event code
This field shows two 5-digit codes:
- The Company code: Required for initial app login.
- The Event code: The ID automatically assigned to the event when created.
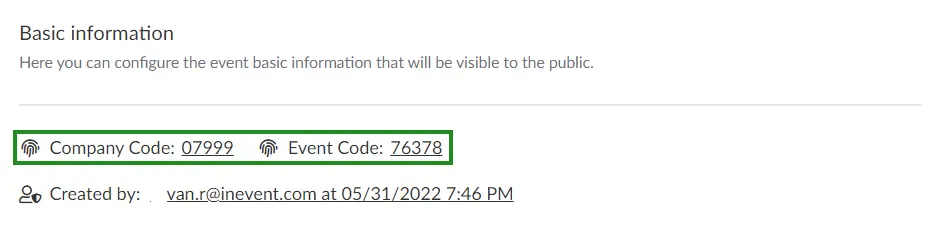
Created by
This states which administrator created the event and the date and time the event was created.

Event Name
You can modify the initial name of your event. The event's name has a limit of 256 characters (spaces inclusive).
You can also add automatic or manual translations for the event's name. To do this, follow these steps:
- Click on the Add translation button which will open a new window.
- Choose the language you want to translate to using the Select a language dropdown.
- Click on Add translation to include the language.
- Click on the green Generate button to automatically generate a translation in the desired language or you can type in the translation manually.
- Click on Save.
Event Time and Date
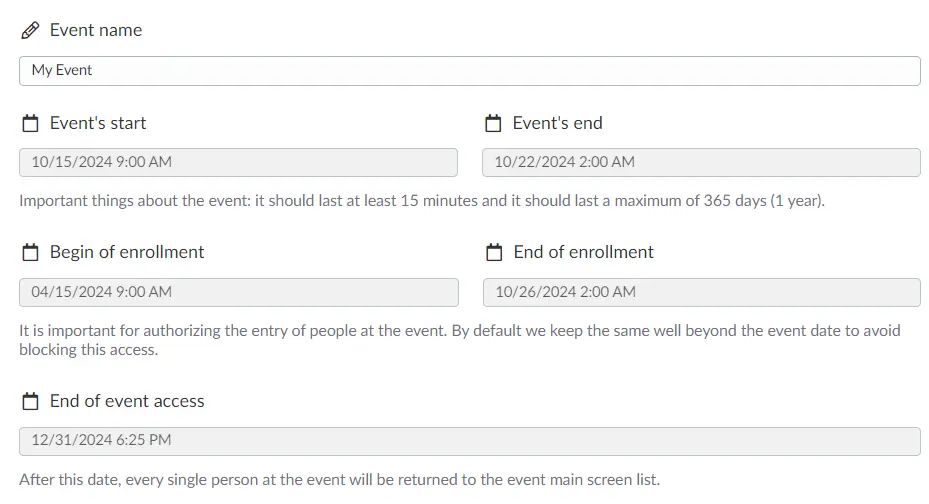
- Event’s start: Set the time and date the event is to start.
- Event’s end: Set the time and date the event is to end.
- Begin of enrollment: Set the time and date participants can begin to enroll into the event through the registration form.
- End of enrollment: Set the time and date participants can no longer enroll into the event through the registration form
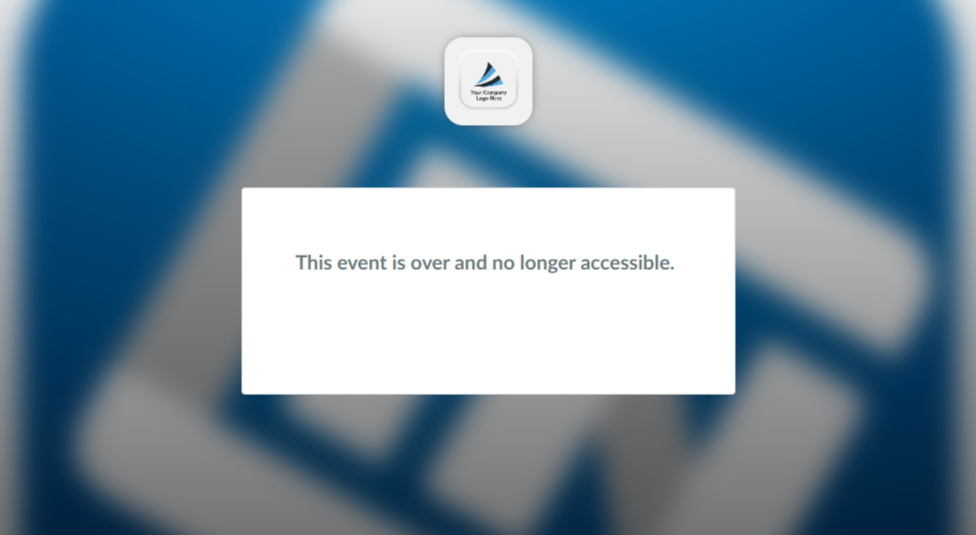
- End of event access: Set the time and date participants will no longer have access to the event. In this case, registrants or participants will see the notification below when they try accessing the event's Virtual Lobby or registration form.
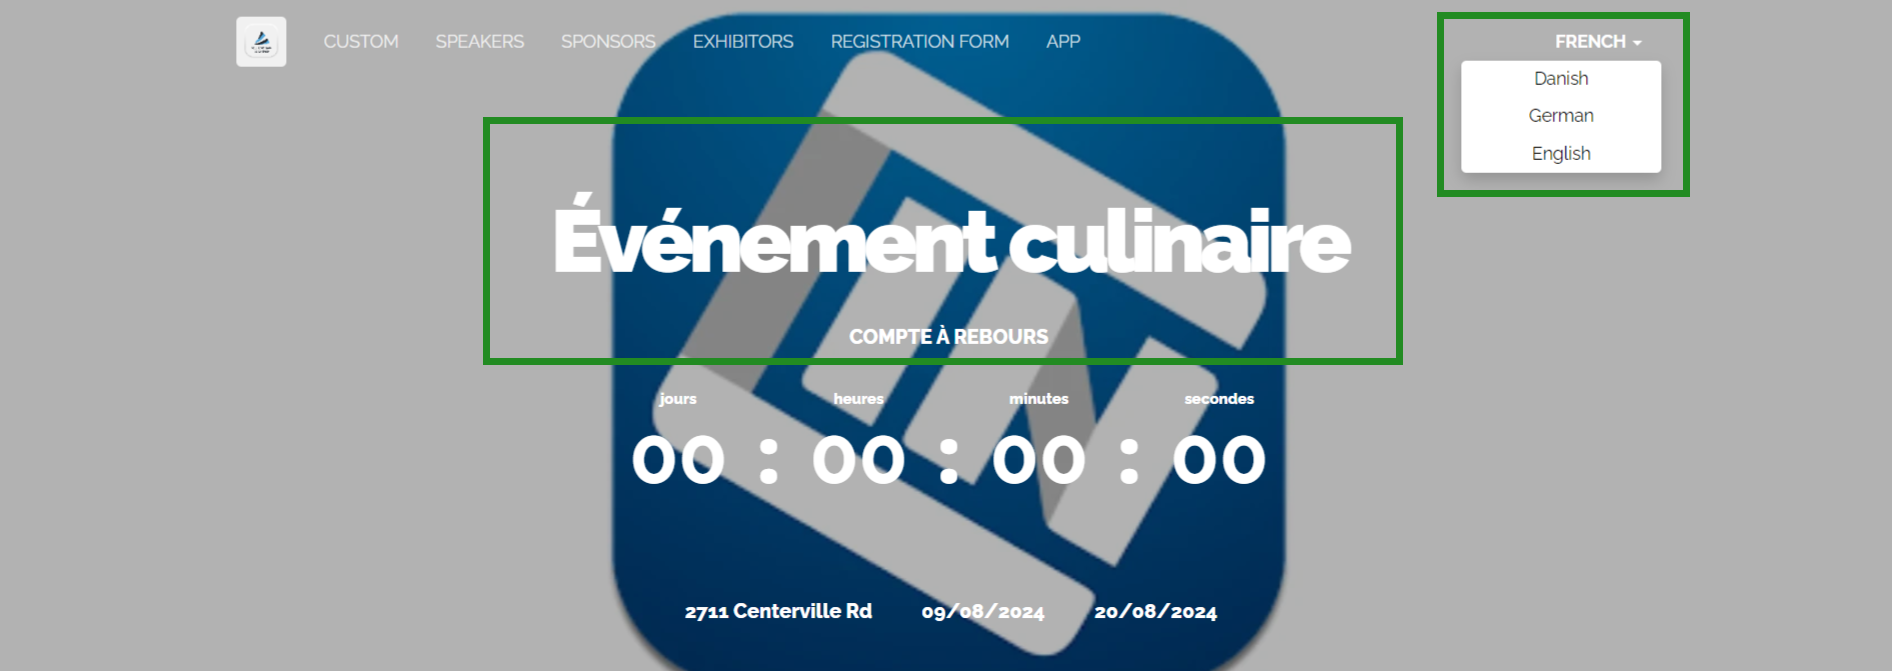
Attendees will be able to see the added language translations on the event's website by clicking on the Language dropdown and selecting from the added language option.
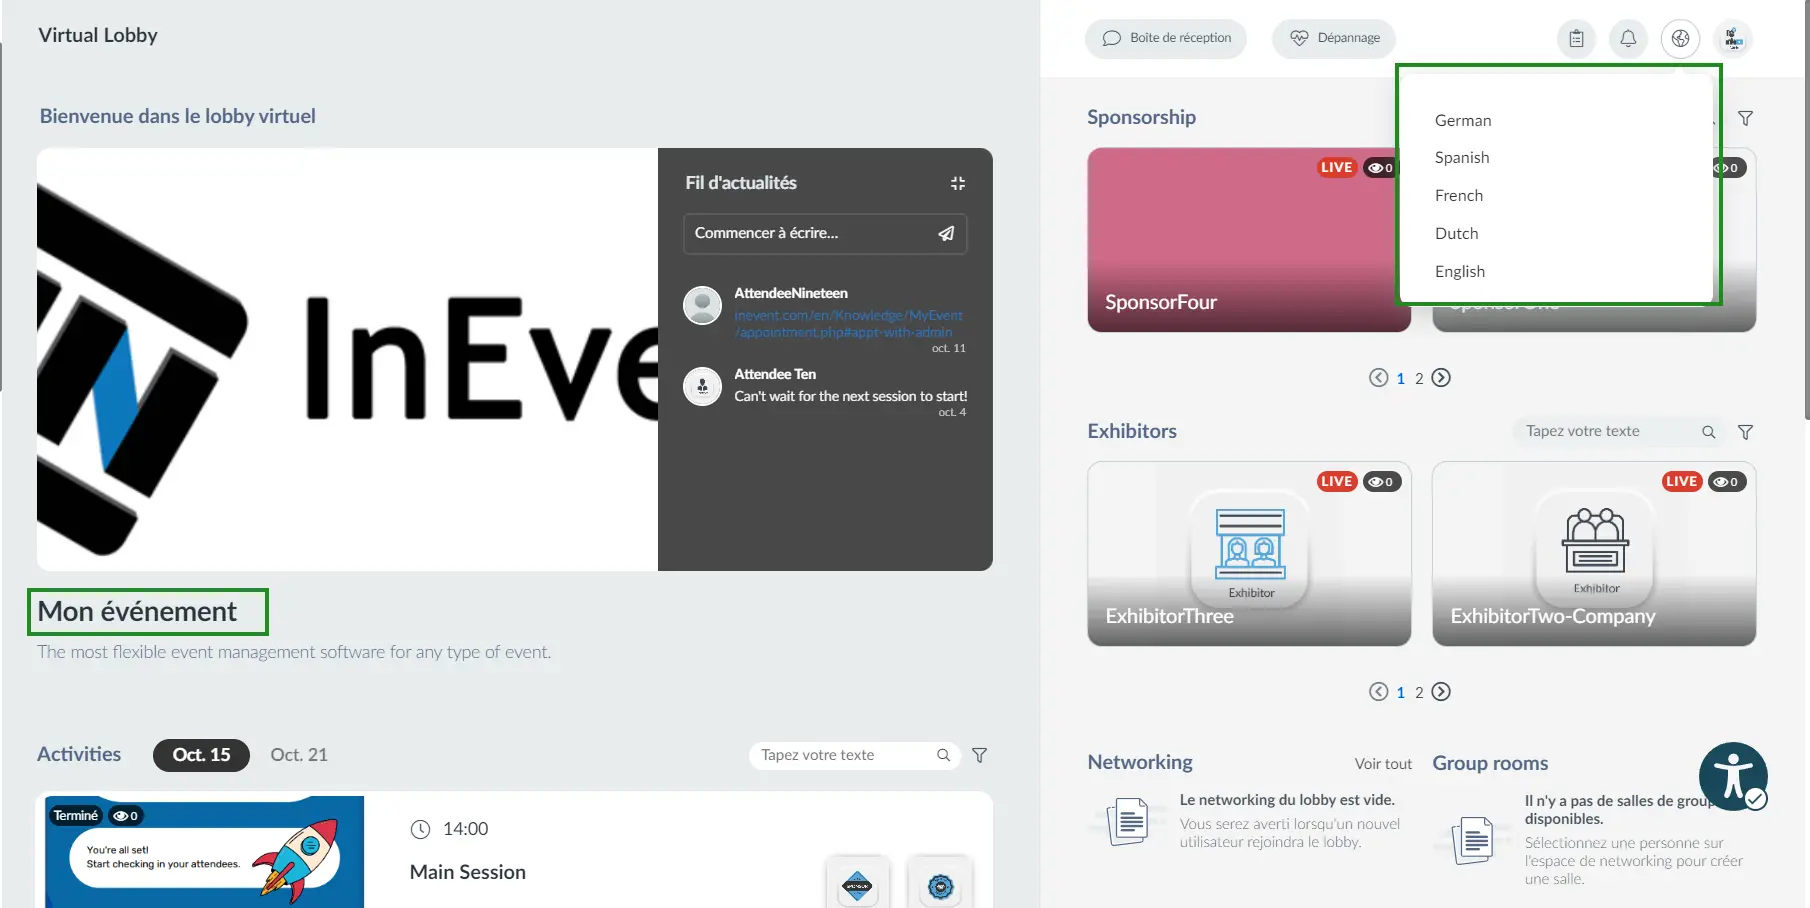
The added languages will also be available for participants to select from in the Virtual Lobby, by clicking on the globe icon and selecting the language they want to translate to.
Timezone
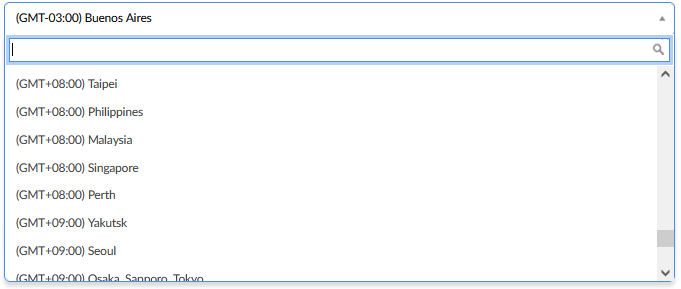
Select the timezone according to the location of the event.
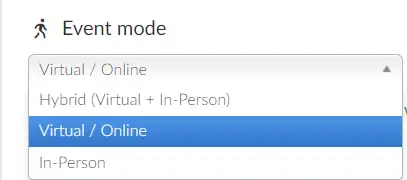
Event Mode
- Hybrid: Has a physical address but also online sessions. By choosing this option, it will be possible to add the event's address, which will be located on the map. The link for the Virtual Lobby will also be available.
- Online/Virtual Lobby: Has no physical address and the online sessions are happening within the Virtual Lobby.
- In-person: Has a physical address. By choosing this option, it will be possible to write the address of the event and it will be located on the map.
Event venue and location
You can add the location details of your event by adding the venue name, address, city, zip code country, and state details by clicking on the Venue, Address, City, Zip Code or State field. A pop-up window will appear, where you can enter the location details in the respective fields.
Once your location details are saved, the map will display the location of your event.
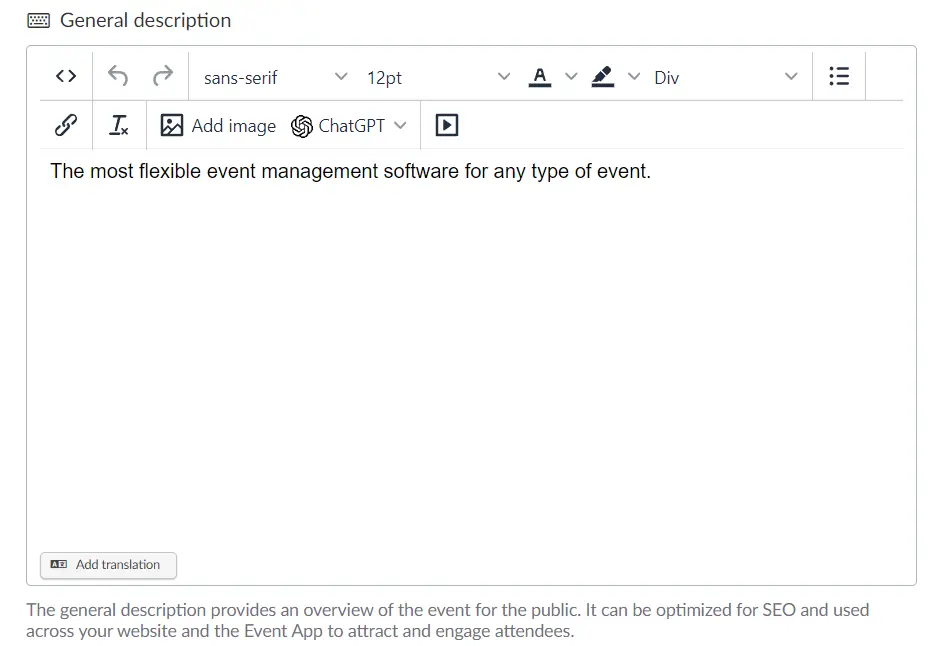
General Description
Provide a detailed description of the event here. There’s no character limit, and you can format your text using the tools in the text box — for example, change the text color, adjust the font style and size, add images, insert media, and more.
The event description will appear in the following pages: beneath the Welcome cover of the Web app, in the About sections of the Website and Landing pages as well as on the Event tab of the menu bar in the Mobile app.
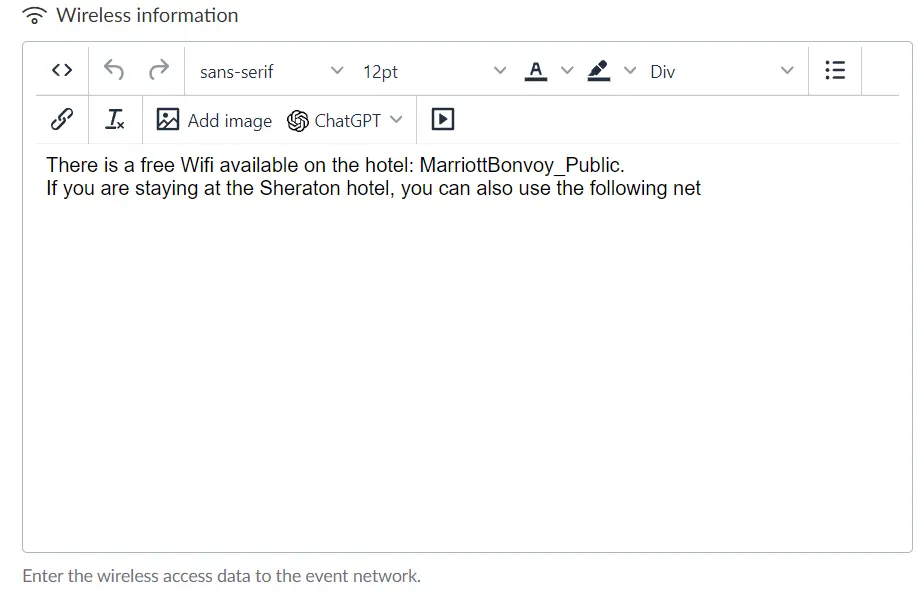
Wireless information
Describe the name and password of your event's internet access point.
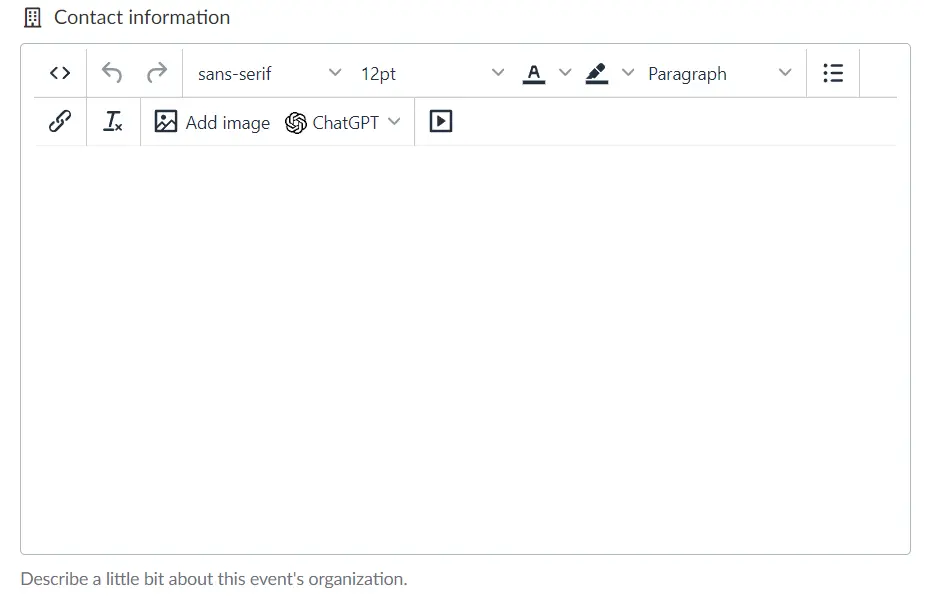
Contact information
You can enter a contact information with no character limit. Attendees will see the contact information in the mobile app under the Contact field in the Menu > Event tab.
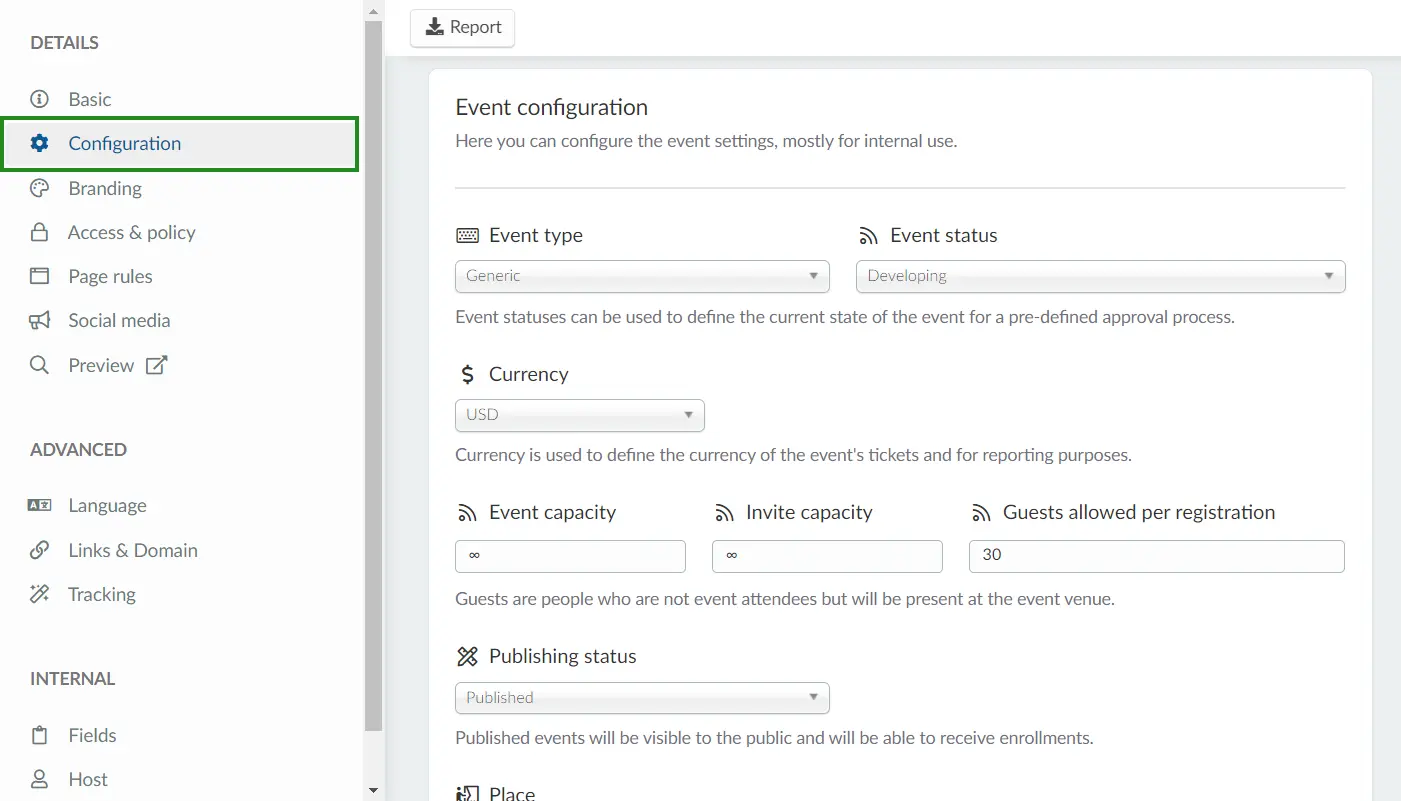
Event configuration
You can manage your event's internal settings, such as its type, status, and capacity within this section.
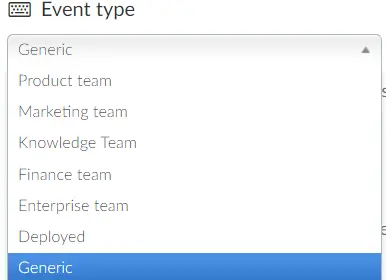
Event Type
The Event type drop down menu allows you to select a status type created in the company level Event > Settings > Status List, so that the proceeding Event status field will contain the statuses from the Type you pre-selected. To learn more about Event Type, refer to our article Settings: Event Status List.
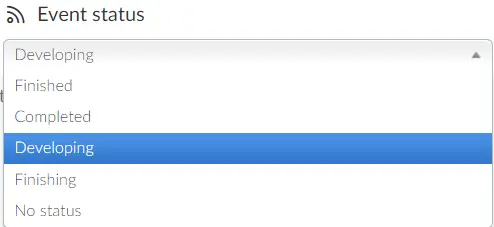
Event status
In this section, event admins can choose a status linked to a preselected status type from the dropdown menu to associate with their event. The statuses available in the menu must be created beforehand at the company level. Refer to the Settings: Event Status List article to learn more about the Status feature.
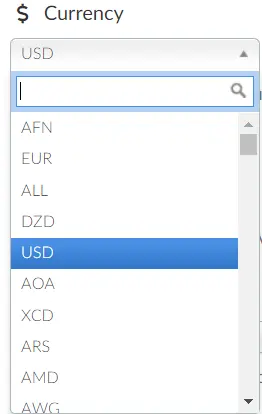
Currency
Set the currency that will be used in the event.
Event and Invite capacity
- Event capacity: The number of attendees that can be enrolled in the event.
- Invite capacity: The number of attendees that can be enrolled in the event via the invitation list.

Guests allowed per registration
Define how many guests each attendee can bring to the event.
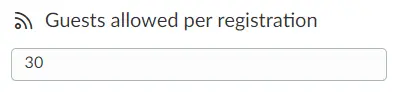
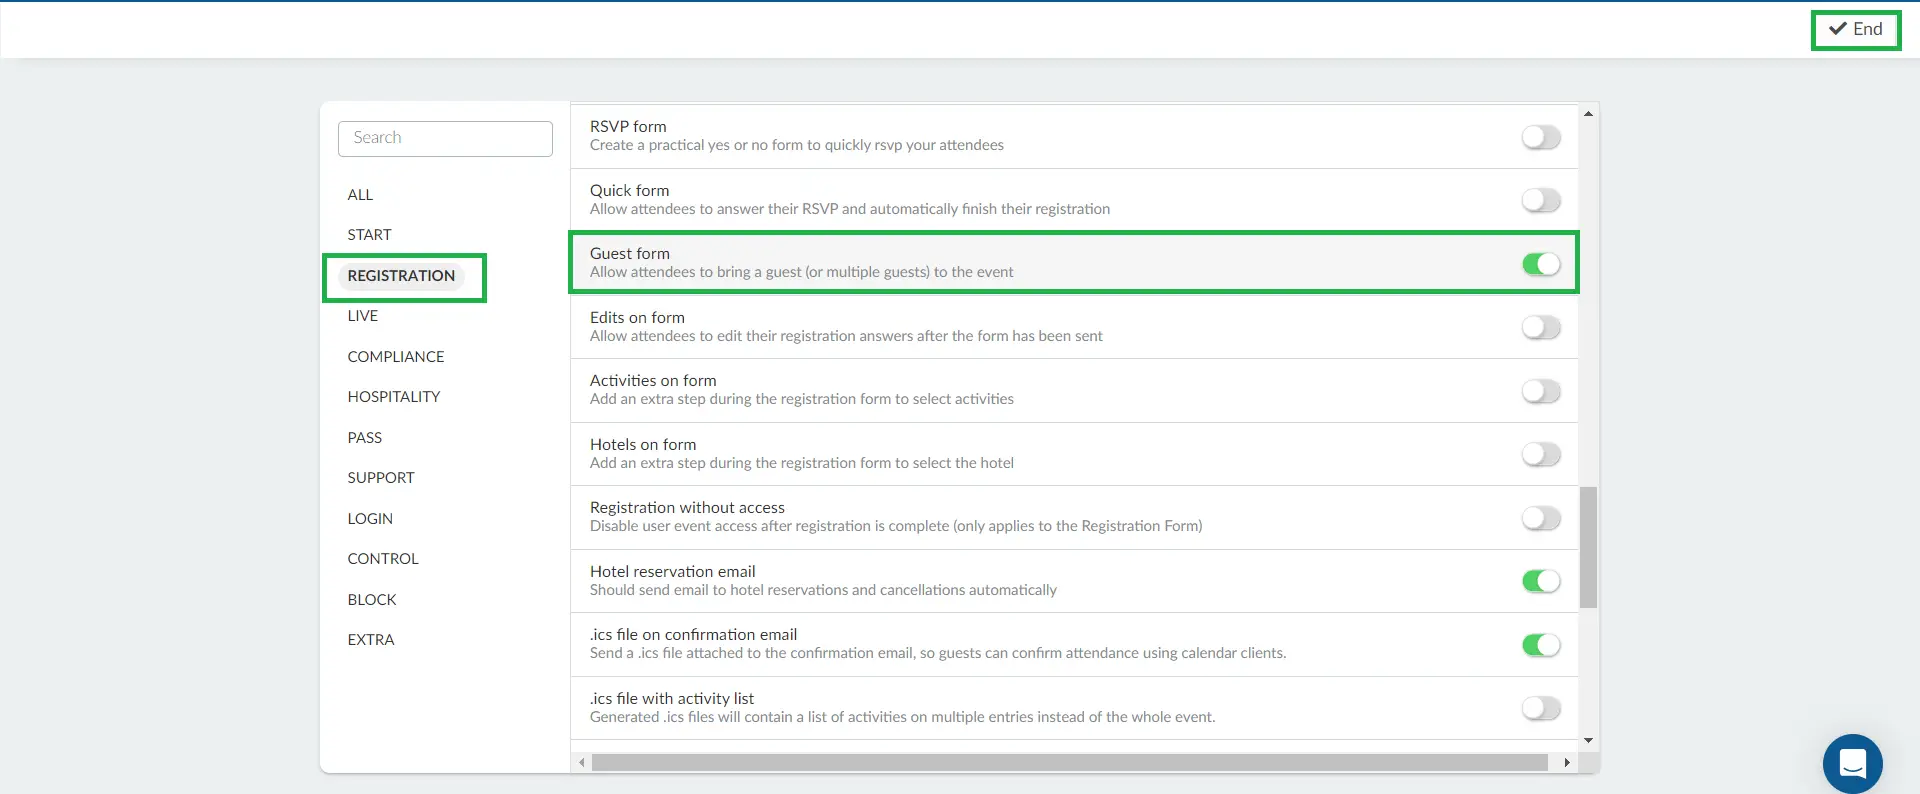
To have this field appear on the Event > Details page, you need to enable Guest form tool in Settings > Tools > Registration section. Press Edit, and scroll down to locate Guest form. Toggle its corresponding button on, and click End to save your changes.
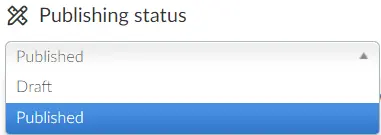
Event Publishing Status
Define whether the event will be published or whether it will be as a draft. The event must be in published mode for attendees to be registered to your event and to start communicating via email.
- Published: The event will appear on the event list. It is possible to trigger emails, push messages, and register participants.
- Draft: You will be unable to send out emails or add participants to the event, you will only be able to add content to the event such as creating the website, adding speakers and sponsors.
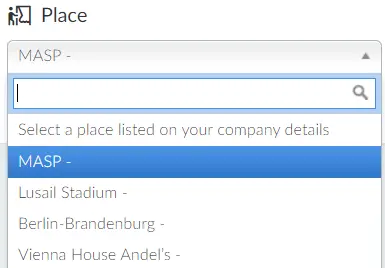
Place
Select a place listed in the company details. For more information, refer to the Company Places article.
Event branding
Here, you can configure the visual elements of your event that are publicly visible, such as uploading a cover image and applying custom CSS to personalize the event's appearance to match your brand.
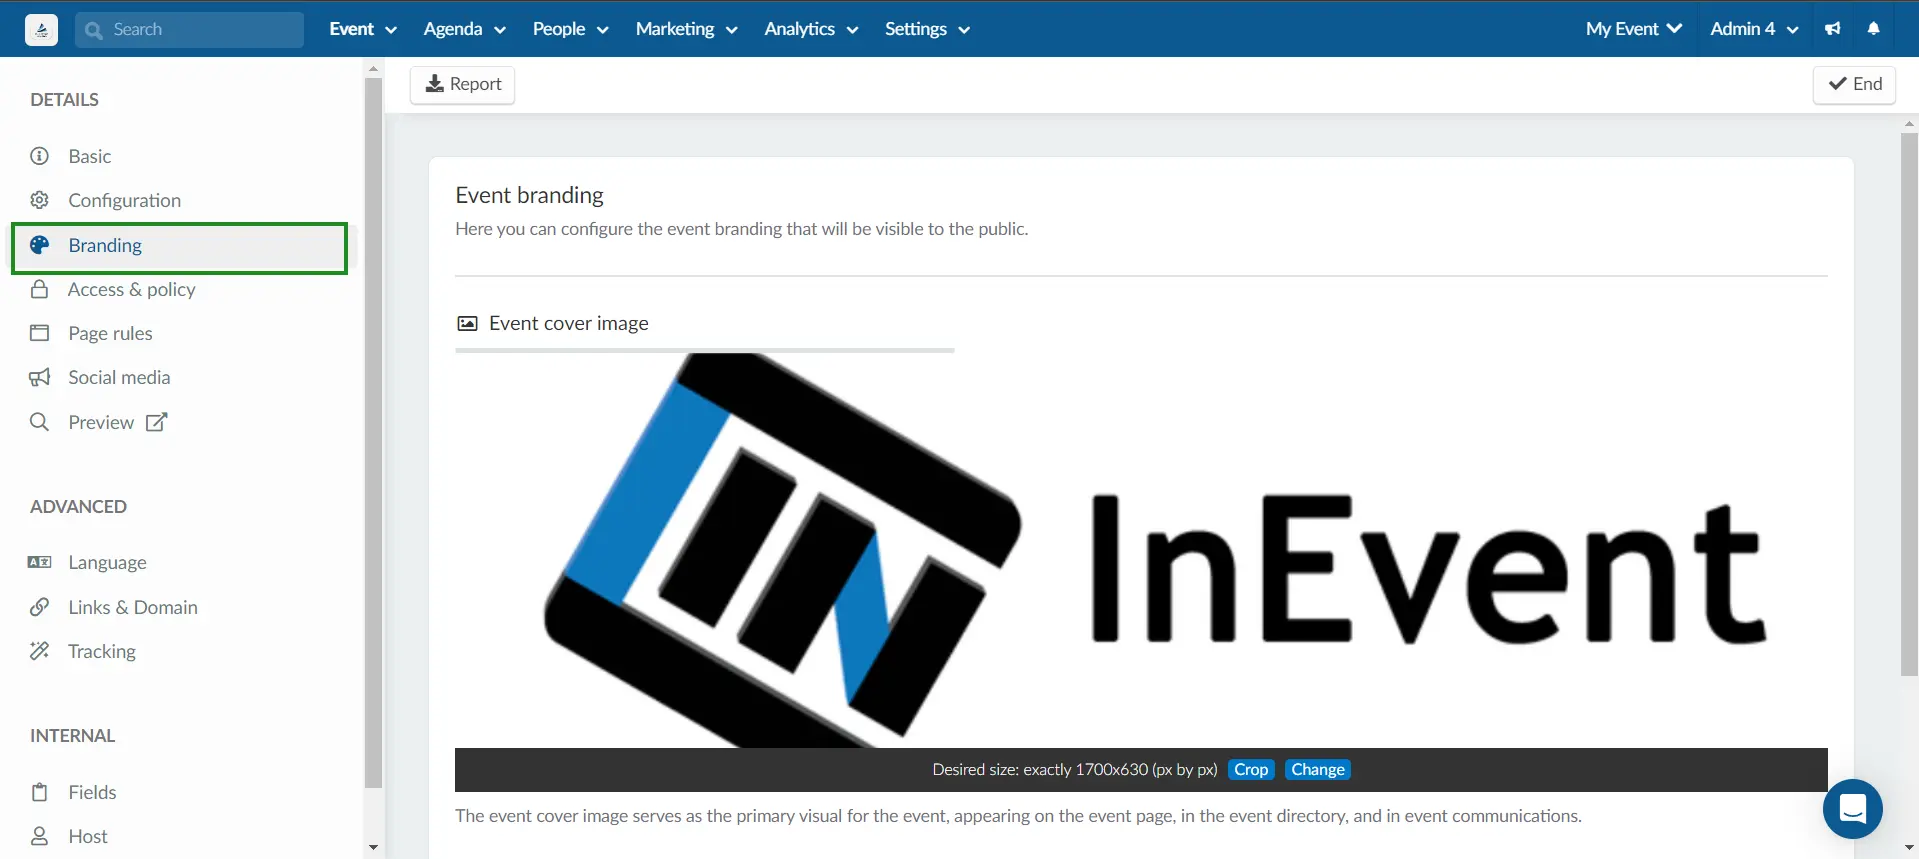
Event cover Image
This image can be viewed by the participant on the app, website, and registration form. The desired size for the image is 1700x630 (px by px), and 5MB for gifs. Click on the Change button to choose an image to upload. Additionally, you can also click the Crop button to crop and adjust the uploaded cover image.
Custom CSS
Cascading Style Sheet (CSS)

By using the CSS tool you can edit your web pages. CSS is a language and therefore best used by developers. However, we have an FAQ that shows an example of how you can add background images to your web pages. Refer to the Custom branding using CSS article to learn more about this.
Access Policy
On the Access Policy page, you can manage who is allowed to view and access your event.
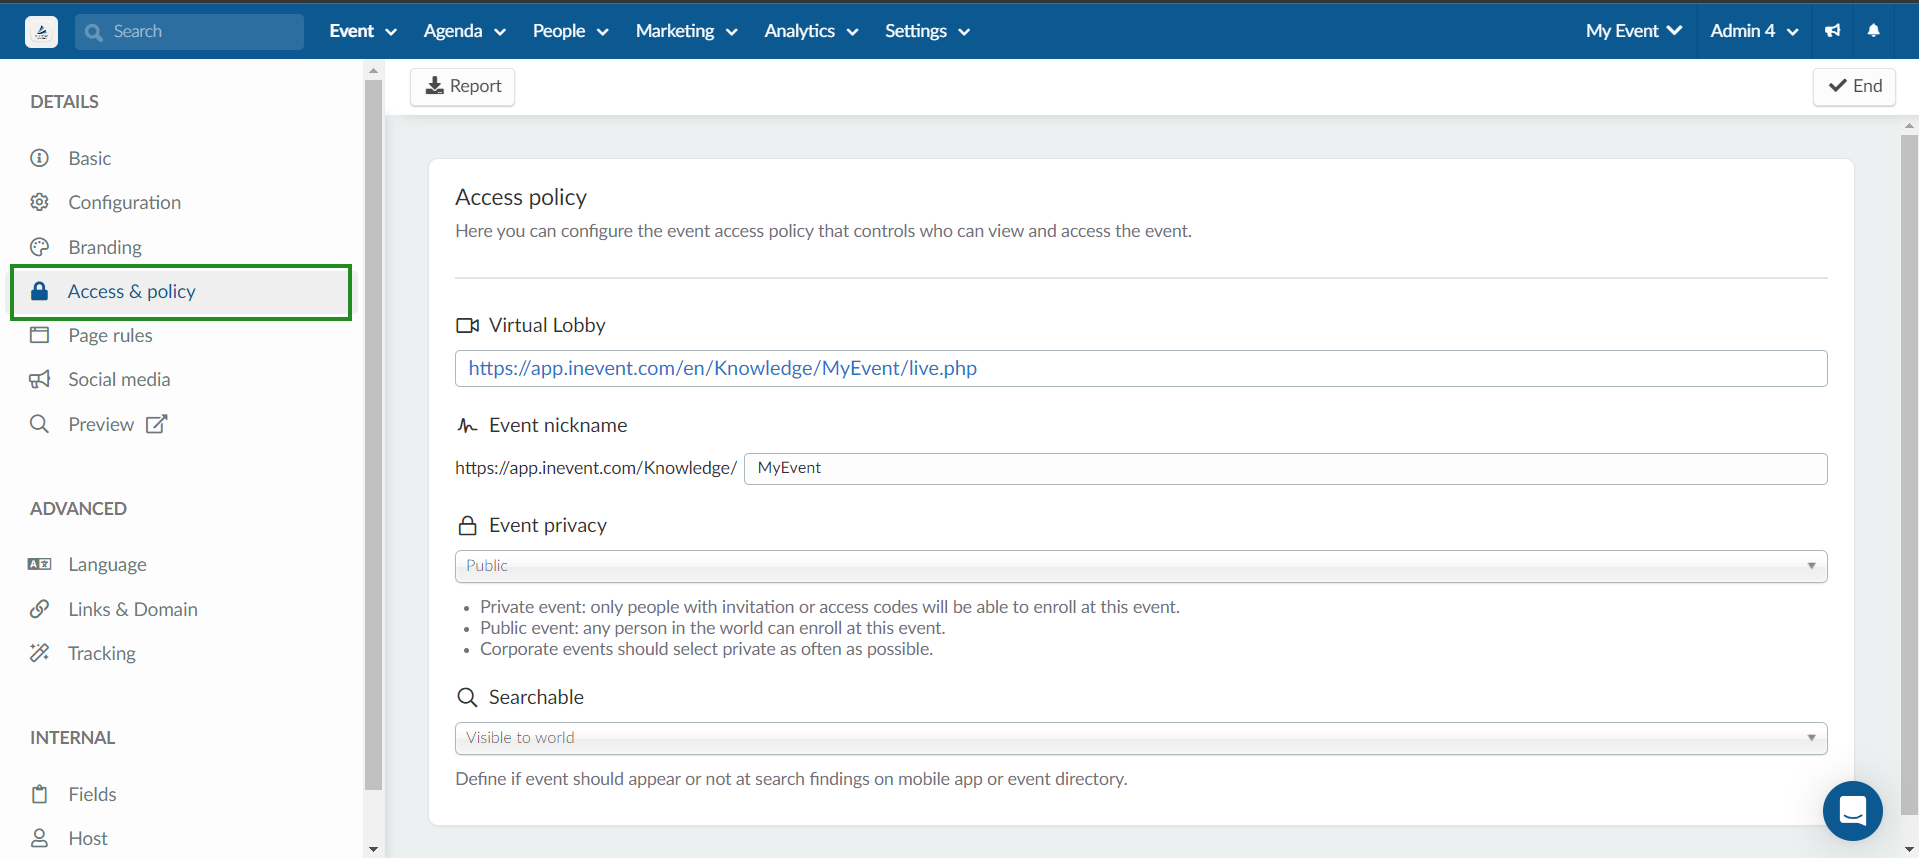
Virtual Lobby
If you have selected Online/Virtual Lobby as your event mode, you will see the Virtual Lobby field containing a link to the event's Virtual Lobby.

Event Nickname
You can create a unique URL by editing your event's nickname. Simply click on the text to edit it. Be sure to use a different event nickname to avoid receiving an error message indicating that the nickname is already taken. It's crucial that each event has a unique nickname to prevent conflicts and ensure proper identification within the system.


Event Privacy: public/private
This function allows you to control the event's accessibility, either as a public event or a private one.
- Private: If you choose Private, an Access password field will appear for you to input a 4-digit code. This code will be a requirement for anyone enrolling into your event via the registration form making your event more exclusive.
If these tools are enabled after setting an access code for your event, the access code will only be visible under Marketing > Landing pages > Website page.

- Public: If you choose Public, no access password is required when participants are registering for the event.

Visibility
Configure the visibility of your event based on the available options below:

- Visible to everyone: Anyone can see the event after downloading the app from stores, even if they are not logged in to the app.
- Visible to admins: When this option is selected, only registered admins will be able to see the event.
- Visible to admins and attendees: When this option is selected, only the admins and attendees will be able to see the event.
- Visible to admins, attendees and select criteria: Selecting this option allows admins, attendees, and users who meet specific visibility criteria (based on global fields)to view the event.
When this option is enabled, a new drop-down menu appears, allowing you to define the visibility criteria. You can select specific global fields and their corresponding responses to determine who can access the event. To include multiple criteria, click the Add more button. Any user matching at least one of the selected criteria will be able to view the event.

Page Rules
The Page rules section allows you to define which pages attendees will be directed to when accessing your event.
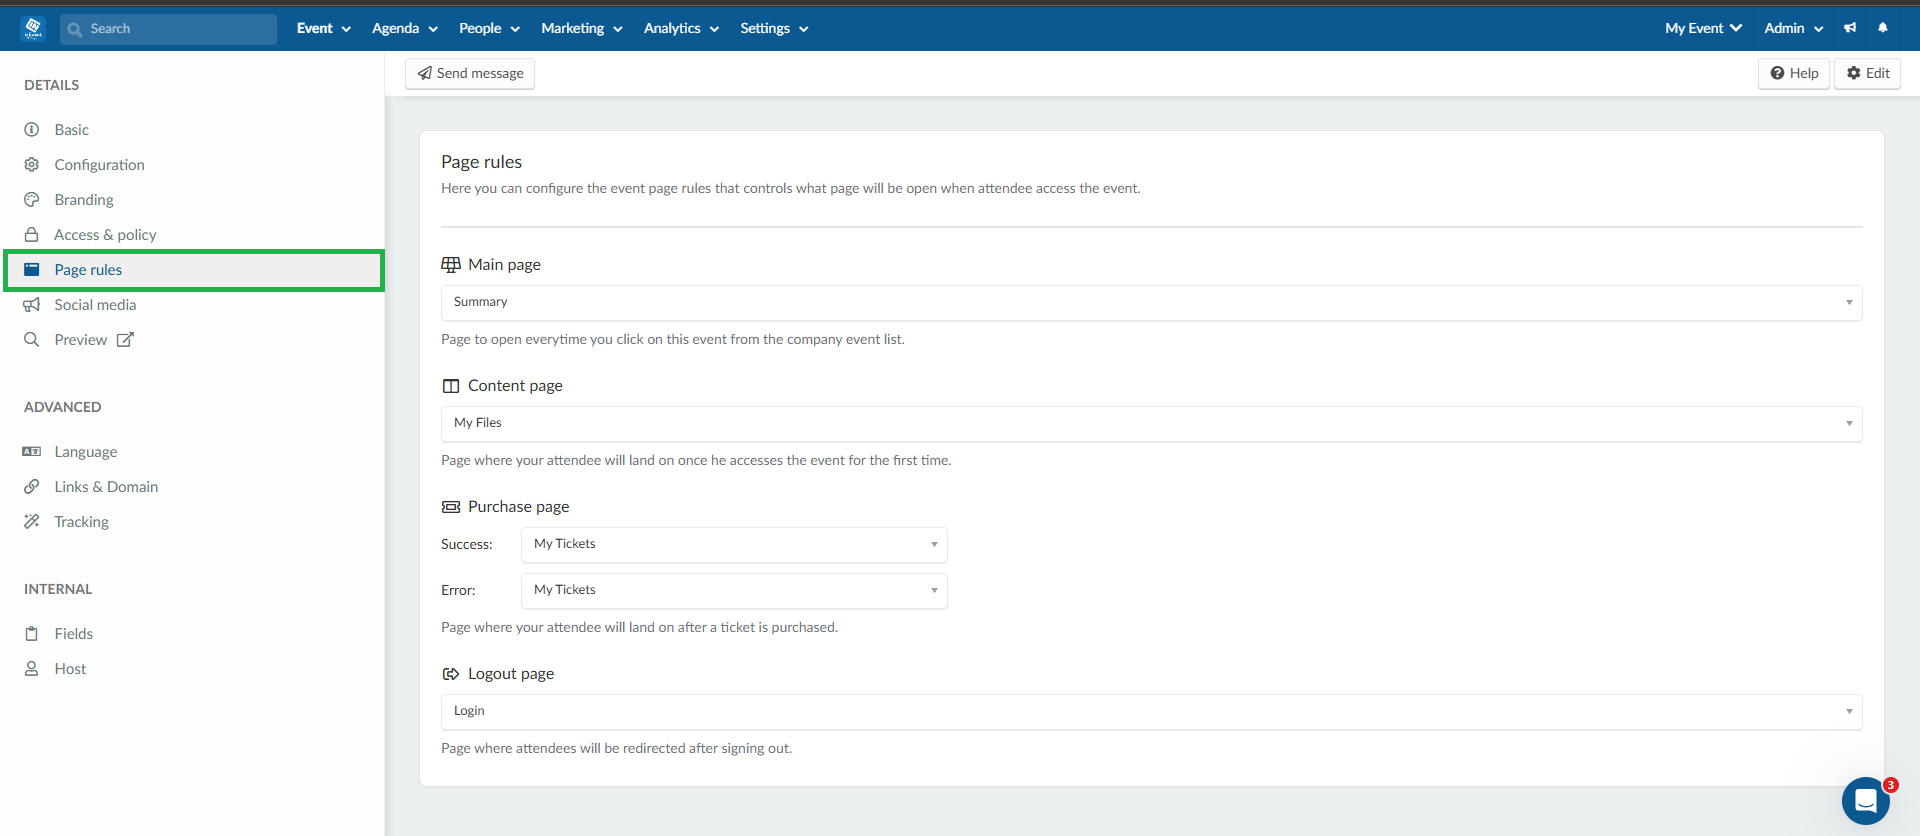
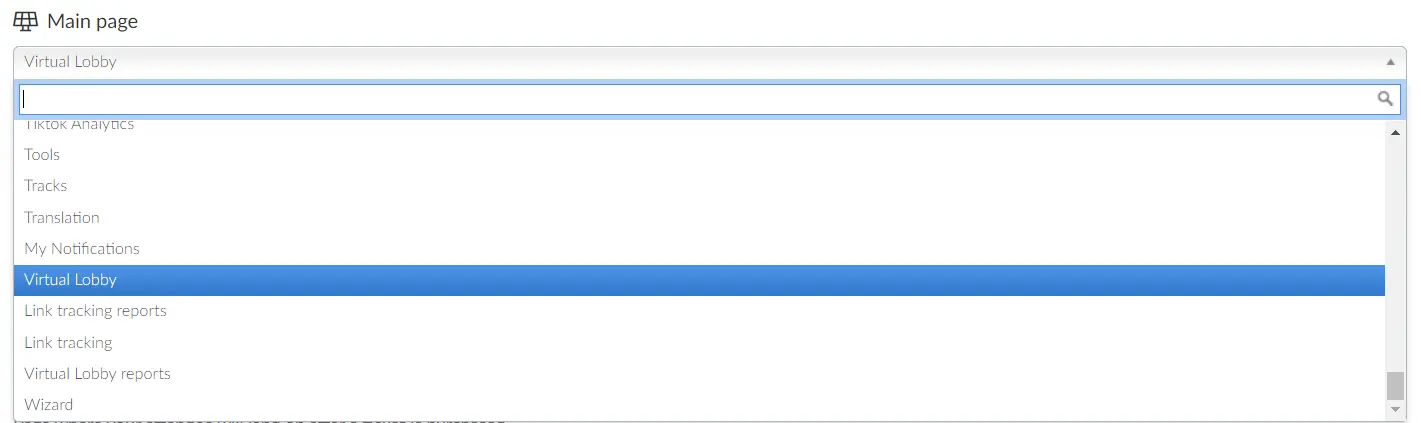
Main Page
Set the page that will open on the platform every time an admin clicks on this event from the company event list.
Content page
Set the landing page for attendees when they access the event for the first time after submitting the registration form.
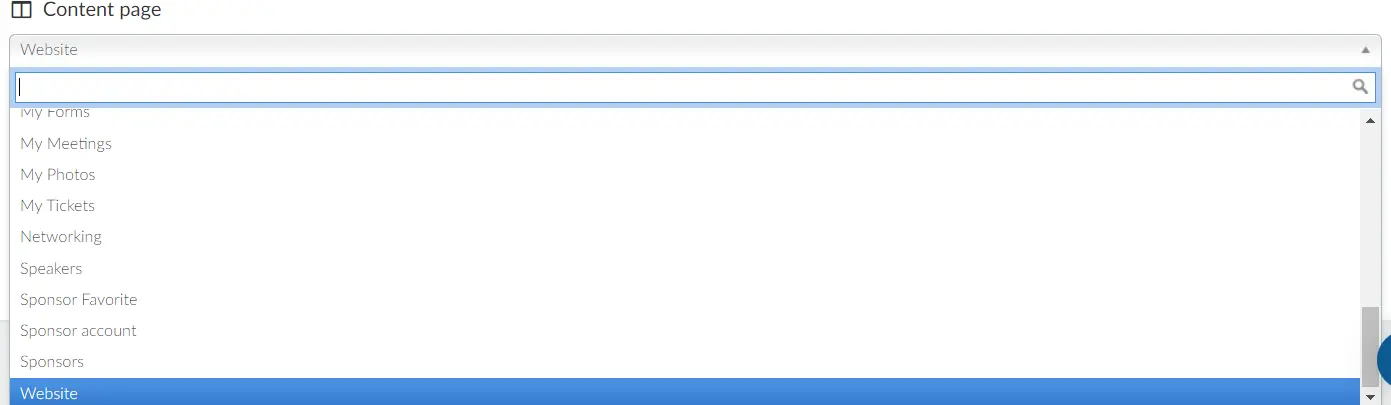
Refer to the Content page article for further information on each content page option.
Purchase page
Configure the page where your attendees will be redirected to after purchasing tickets.
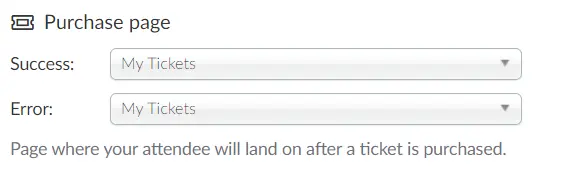
Ticket purchases have two outcomes: Success and Error. Depending on these outcomes, you can configure the page where attendees will be redirected after the ticket purchase process.
Once applicants fill the purchase form and click on Place order, they will see the View my tickets button. Once they click this button, they will be redirected to the success/error page depending on the purchase outcome.
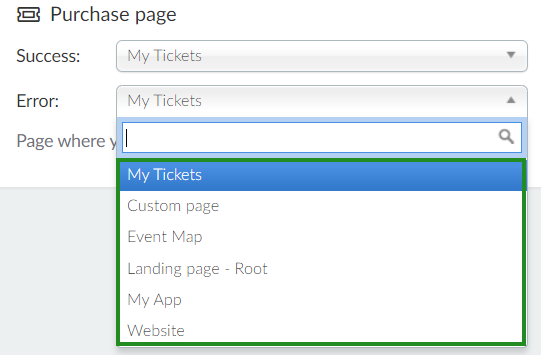
- Success: Choose a page where your attendee will be redirected to after a ticket purchase is successful and the payment is approved. The available options are My Tickets, Virtual Lobby, Virtual Lobby - Activities, Virtual Lobby - Exhibitors, Virtual Lobby - Meetings, Virtual Lobby -Sponsors, Card reader, My Account, My Agenda, My app, My Events, My Files, My Forms, Website, or Custom page.
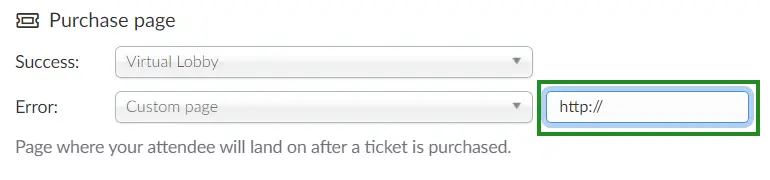
- Error: Choose a page where your attendee will be redirected to after a ticket is purchased but the payment is not yet approved. The available options are My Tickets, Custom page, Event Map, Landing page - Root and Website
Logout Page
Set the page attendees will be redirected to after logging out of the event. You can choose between the Login, Website, or Landing pages.

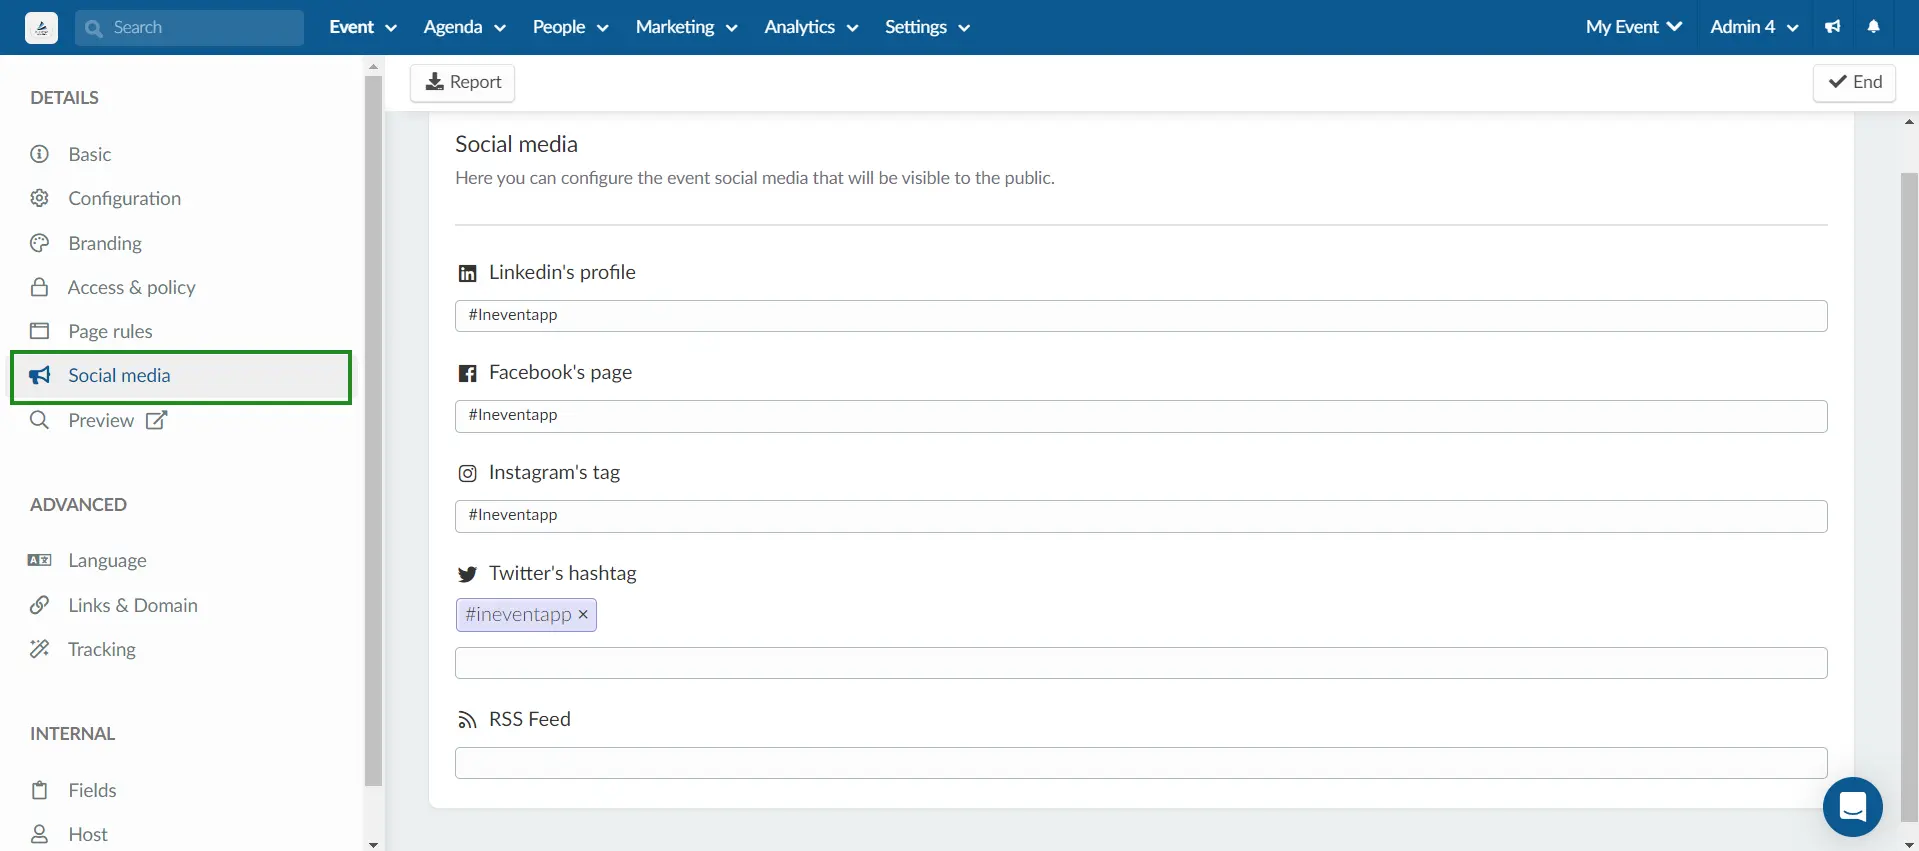
Social Media
Add social networking information like a public LinkedIn profile, Facebook hashtag, Instagram hashtag, Twitter hashtag and profile, and RSS feed. The social networks will be displayed on the event's cover image in the attendee center tabs of the Virtual Lobby.
Can I remove social networks from appearing in the Event Details page?
Yes! To remove social networks from your event details, follow these steps:
- Navigate to Settings > Tools.
- Click on the Extra tab.
- Find the tool labeled Social networks at the event details and toggle off the corresponding button
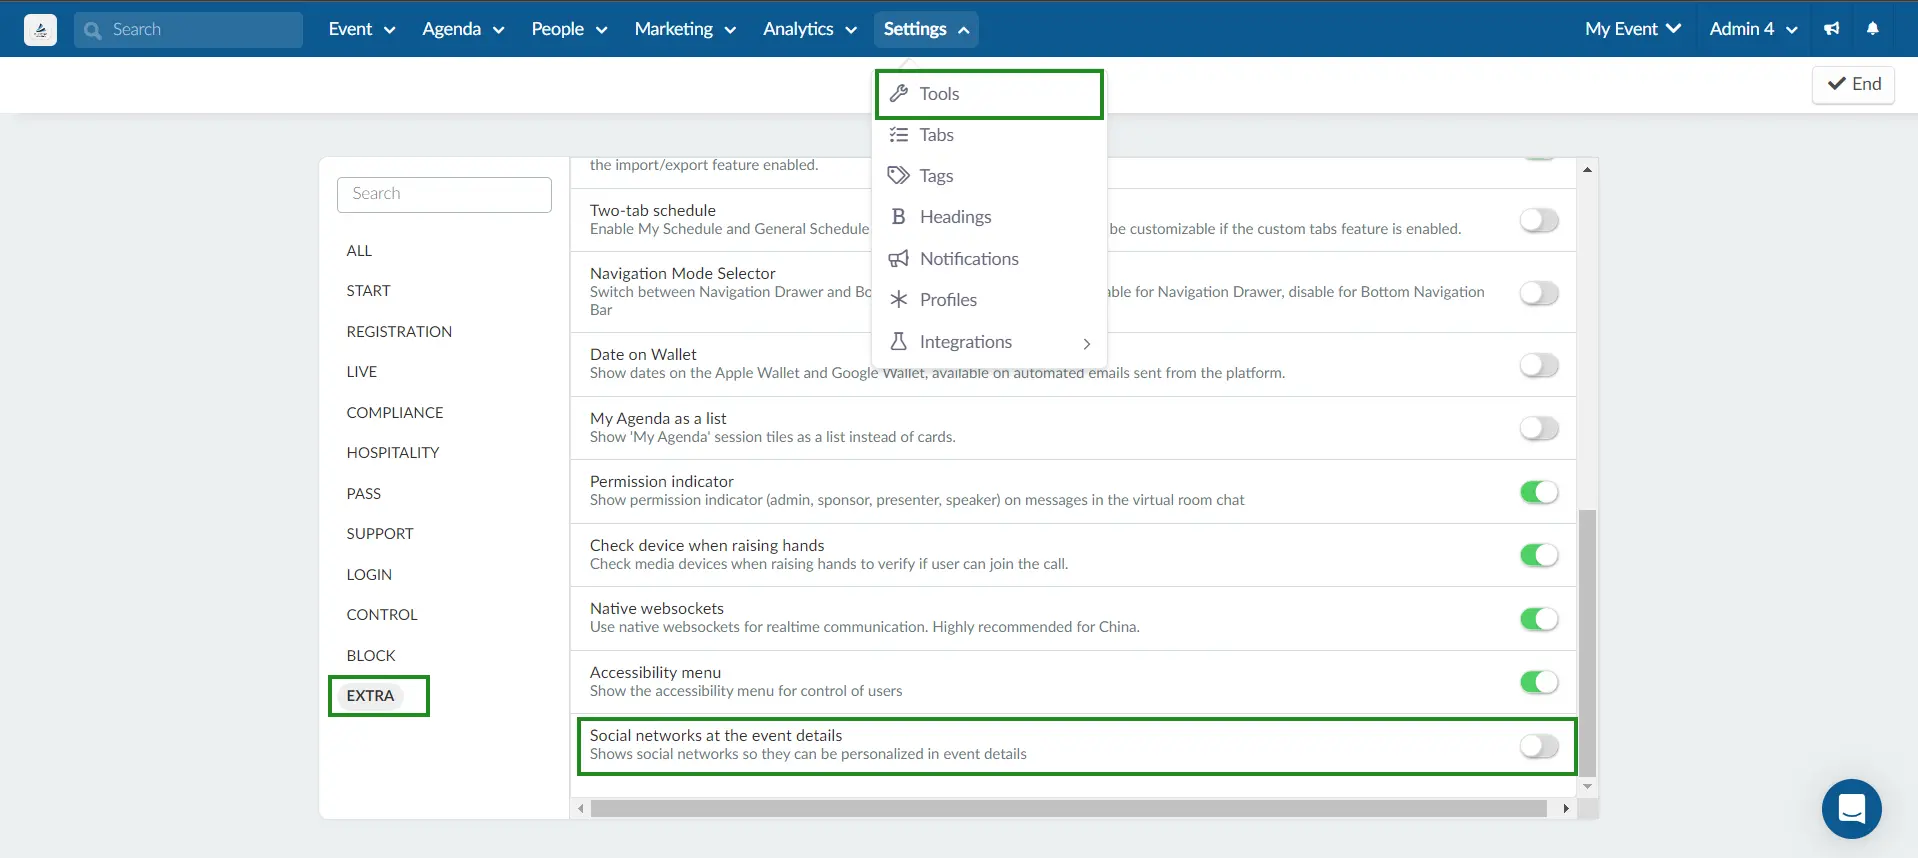
This will prevent social networks from appearing in the the Event > Details tab.
Advanced Settings
In the Advanced Settings section, you can fine-tune various aspects of your event, including language configurations, links, domain settings, custom emails, tracking, and translations.
Language
In the Language section, you can configure the language preferences for your event and manage translations to ensure accessibility for all attendees.
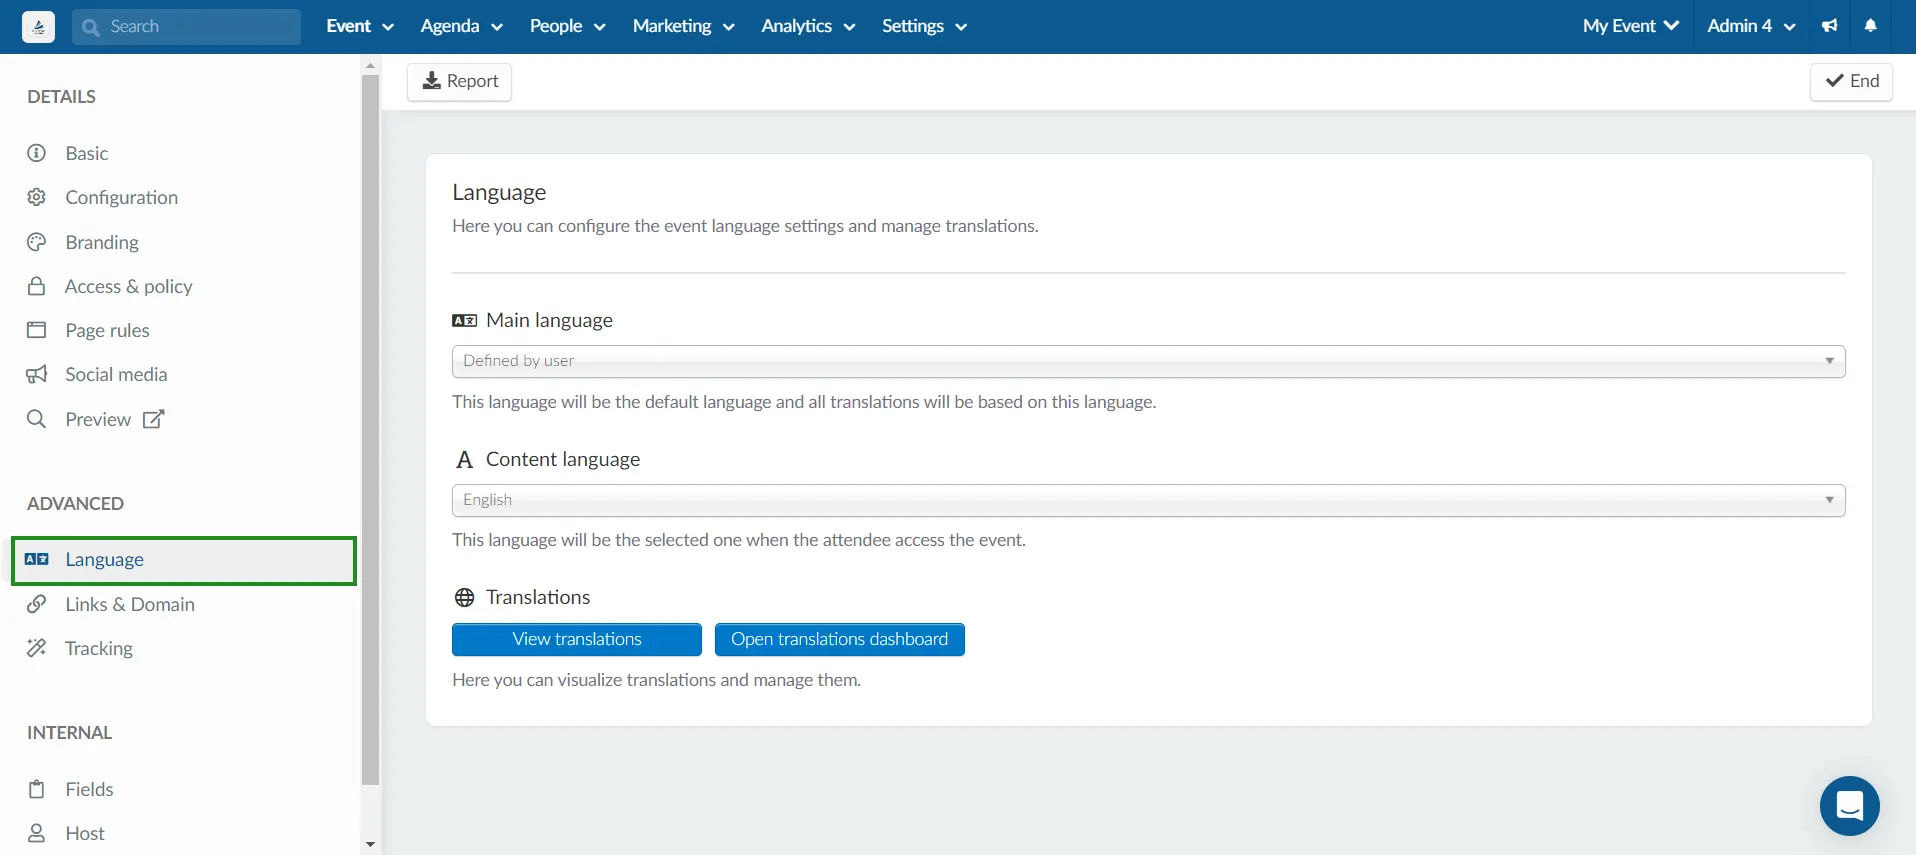
Main Language
The main language determines the language that the backend platform and the basic structure of the event will be in. They can be predetermined by the administrator or defined by the user's device.
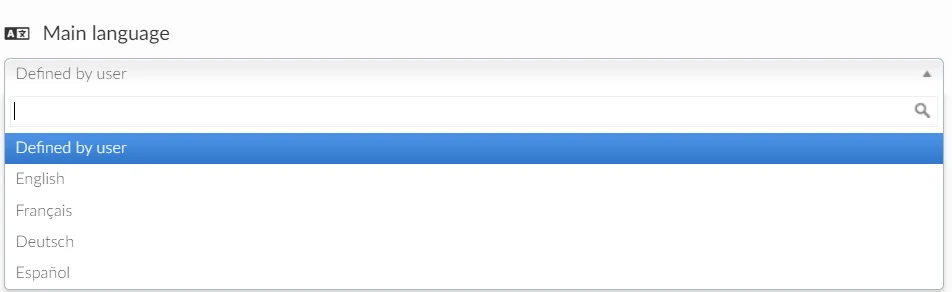
Website Drop-down Language Selector
You can improve the accessibility of your event by allowing your attendees to select the language in which the web page content is displayed.
To enable the language drop-down menu on your website, make sure to set the Main language to Defined by user, as shown below.

Depending on the template you choose, this is how the language drop-down menu looks like.
Content Language
The content language sets the language used for the content of the event, the language that will be displayed to the participants. They can be defined by device, or lots of other languages as well.

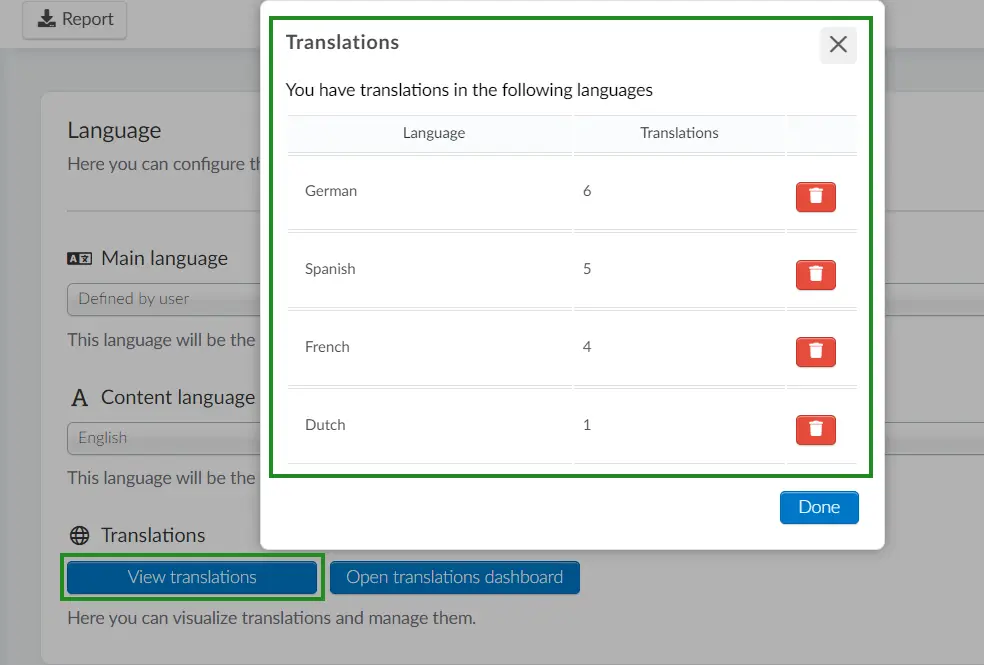
Translations
- By clicking on View translations, you'll be able to visualize and delete the translations you have added to the platform, as well as the number of translations generated in each language as shown below:
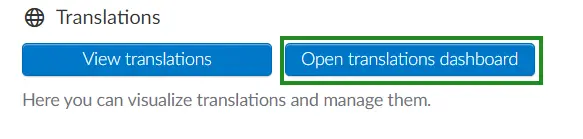
- By clicking on the Open Translation Dashboard button, you will be redirected to the translation dashboard page, where you can easily view pre-existing translations, identify fields that still need translation, and add new target languages. Refer to our Translation dashboard article for more information.
Links and Domain Configuration
In this section, you can manage the public-facing links and domains for your event, ensuring easy access and communication for attendees.

FAQ link
Frequently asked question (FAQ) pages help your business respond to the needs of your audience more quickly and appropriately. In case you have an FAQ page, you can add the link to this field. The FAQ page will be displayed in the My Account tab of the Virtual Lobby.

Website Link
Add your official website link here. The link will be displayed in the mobile app under the Contact fields in the Menu > Event tab, and also in the Virtual Lobby, when you click on the company's logo at the bottom left corner.

Terms of Service
Add the link to the terms of service for the event. They will be displayed on the registration form.

Refer to the Terms of use: privacy and data security article for further information on the terms of service.
Virtual Address
Add a location to your virtual/online event. This information will appear on your Website, depending on the template you use.

Custom domain
Enables access to an external site having a unique domain. For more information, refer to the Custom domain article.

Custom email
You can add a custom email address and name to your event.
- Custom email address: Emails sent for this event will come from this address once the DNS is registered.
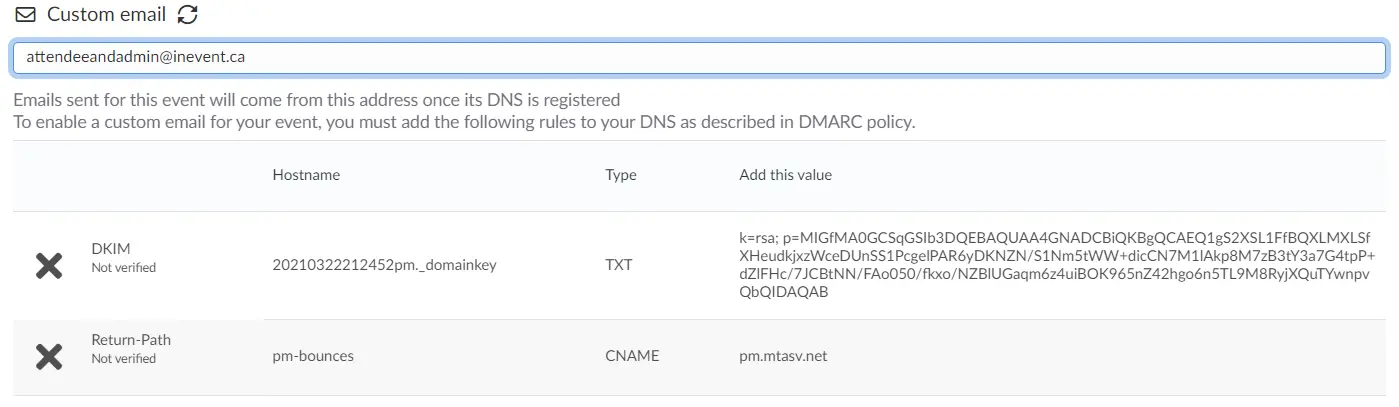
- Custom email name: Emails sent for this event will come with this name once the DNS is registered.

By setting up a DomainKeys Identified Mail (DKIM), you can protect your domain against spoofing and prevent your outgoing messages from being marked as spam. For a comprehensive tutorial on how to add custom emails to InEvent and set up your DKIM records, refer to the Custom Email article.
Reply-to email
Reply-to directs where replies go when the emails are sent using the InEvent platform. It can differ from the default From or sender address, allowing you route replies to the to desired recipient. You can list more than one address, separated with commas, to direct replies to several recipients.
no-reply@inevent.com will be set as the Reply-to address.
Tracking
The Tracking page allows you to configure analytics tools to monitor event performance and attendee engagement. By integrating these platforms, you can track key events such as registrations, conversions, and interactions.

Facebook Pixel ID
Add your Facebook Pixel ID. To see more information on Facebook Pixel ID, refer to the Facebook Pixel Integration article.

Google Analytics v4 ID
Enter your Google Analytics 4 Measurement ID here. Remember that the entire configuration of the GA must be done previously. For more information, refer to our Google Analytics article.

Adobe Analytics report suite ID
Enter your Adobe Analytics report suite ID here. For more information, refer to our Adobe Analytics article.

Twitter Events Manager
Enter here your Twitter Events Manager ID, which allows you to manage your Twitter Website Tag, as well as set up conversion events to tell their system what actions you want to track. Refer to X's Conversion Tracking for Websites article for further information.

LinkedIn Insight Tag
Enter here your partner ID to track conversions and unlock insights about your audience. For more info, please have a look at the LinkedIn Insight Tag article.

TikTok Analytics tag
Enter here your TikTok pixel ID to track specific conversions and unlock insights about your users. For more information, please refer to the Tiktok Pixel Integration article.

Intercom Tag ID
If you have intercom chat support for speaking to your clients, you can now add the chat support pop-up to your Virtual Lobby events. Refer to the Integrating Intercom with the Virtual Lobby article to learn how to do it.

Internal
This section allows you to configure the event host and custom fields for internal use.
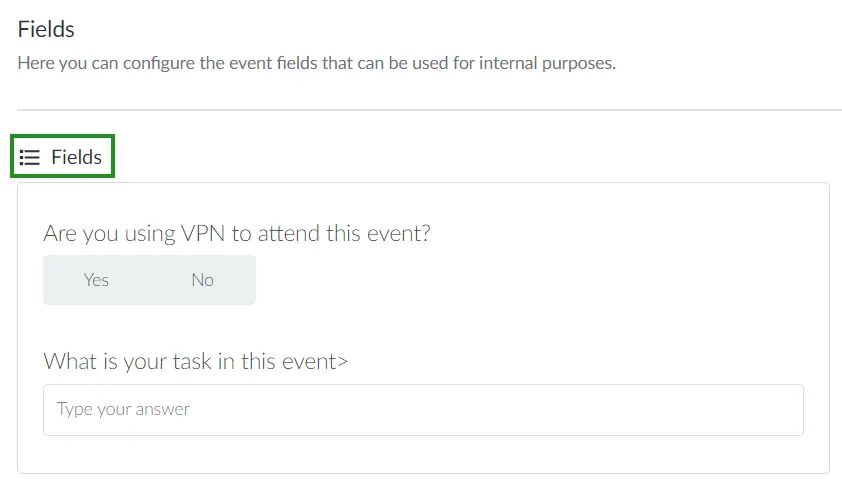
Fields
This section will only appear for the event admin to fill if custom fields have been added at the company level. Refer to the Event custom fields article to learn more.
Host
Select the organizer responsible for the event. The person must be an attendee of the event and must have admin permissions.

Send Message
In the upper left of the page, you will see a button to send push notifications to all attendees simultaneously. This function is only available if you are not on the Edit mode.
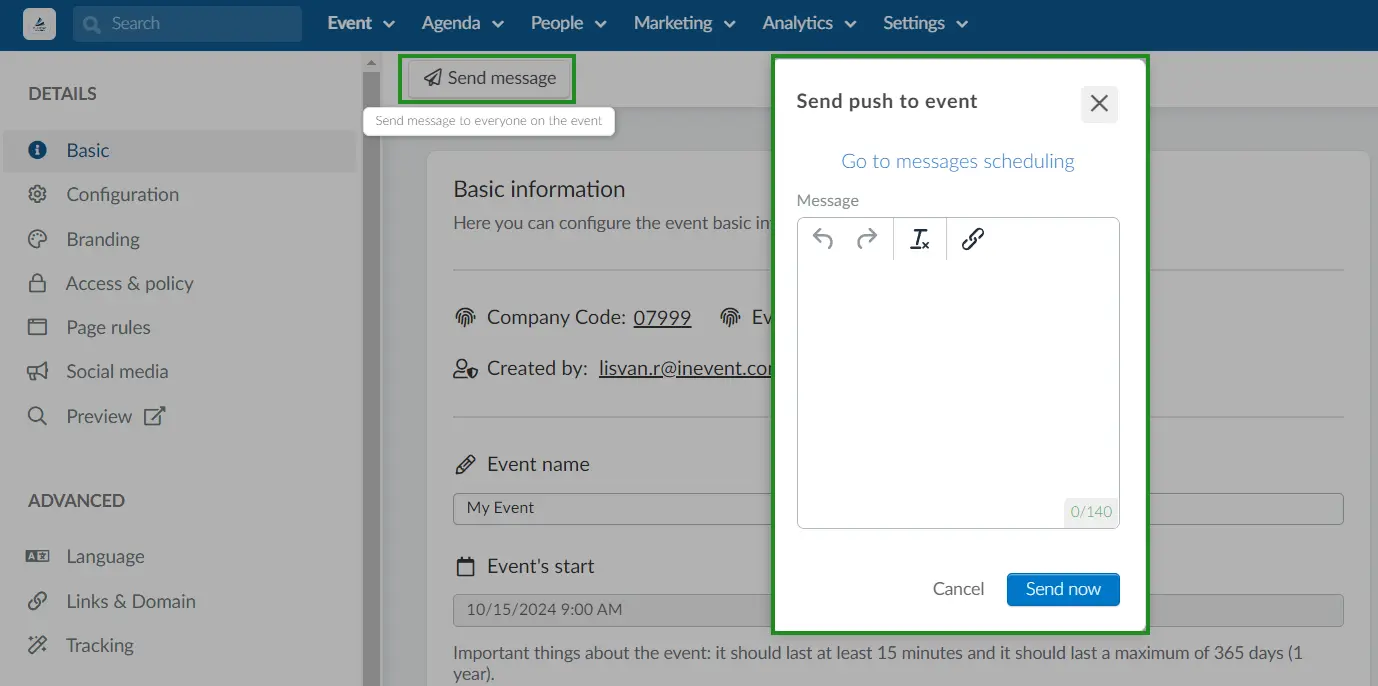
You can also schedule the message to be sent at a certain time and date. To learn more about message scheduling, refer to the Push Notifications article.
Downloading an event full report
InEvent offers a full report on your event that centralizes information from multiple event modules. This spreadsheet contains:
- The event ID
- The list of all attendees and their details: personID, firstName, lastName, name, username, email, role, company, telephone, tags, social media handles (facebook, linkedIn, twitter, instagram), answers to custom fields, locationCity, locationState, locationCountryCode, etc.
- All activities they attended: It shows Yes for activities attended and No for activities not attended, as well as time spent in the activities,
- All sponsor and exhibitor rooms they visited: It shows Yes for sponsor and exhibitor rooms visited and No for rooms not visited, as well as time spent in the rooms.
- All comments they made in each activity.
- All questions they asked each activity.
- All polls they answered in each activity.
- All files they downloaded.
- Information on app downloads, including the device type (iOS or Android) it was downloaded on.
- All Check-in information: LastChecklogType states whether an attendee was checked in or checked out through Session scanning. lastEventCheckLogUnixDate is a timestamp used in the mobile app to track when an attendee can log out after session scanning in the old access control system, displaying the Already Checked In status. Although designed for the mobile app, this field appears in reports for all events, including virtual ones, and can indicate the last recorded interaction or content consumption. IsCheckedIn shows whether an attendee is checked in or not.
- All custom Attendee lists: Multiple custom static lists used for categorizing attendees based on event-specific groupings, allowing organizers to segment participants according to predefined criteria.

- To generate this report, click on Edit and press Report in the upper left corner of the page.
- Then, two pop-ups will appear as shown below. You can find your spreadsheet in your email or you can press Download and you will be directed to the All reports > Event page, where you will find the report to be previewed or downloaded.