Virtual Lobby layouts
 Updated 11 months ago
by
Lorenzo
Updated 11 months ago
by
Lorenzo
- Selecting the layout
- Neo layout
When hosting your online event, the Virtual Lobby allows you to broadcast from a large networking event, a single session, or even several simultaneous sessions of individual conversations.
With this tool, it is possible to watch the sessions that you have registered for, or are interested in, switch rooms, participate in a chat group, or even have a one-to-one conversation just by clicking on the name of the attendee you choose.
Selecting the layout
To select the layout type you want to use in your Virtual Lobby, you should go to Event > Virtual Lobby > Design > Layout. Click on Edit, and select the layout type you want from the Interface section.

Neo layout
Using the Neo Layout, you'll get dedicated pages, a live feed, different options for room cover sizes, and much more.
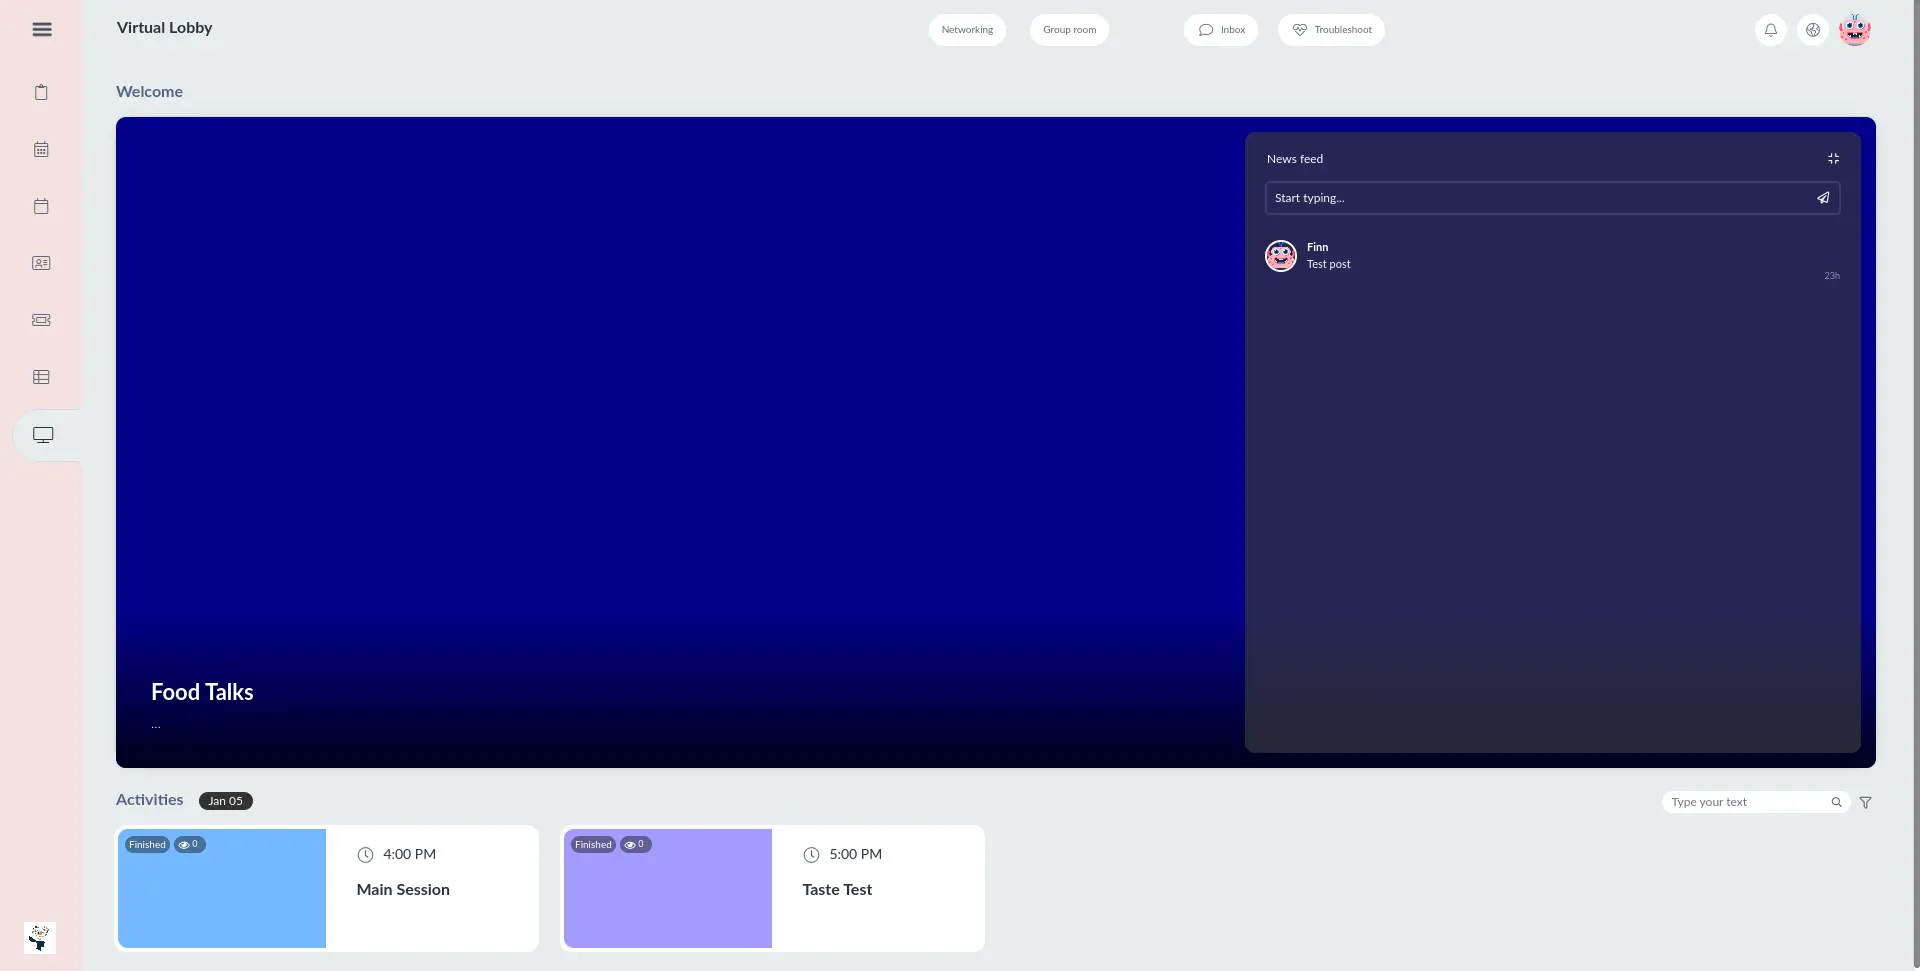
Switching your layout to Dark or Light mode
When selecting the Neo layout, you have two other options that are not available on Classic: Change template mode and Activity layout type. In the first one, you can choose Normal, Dark or Light.

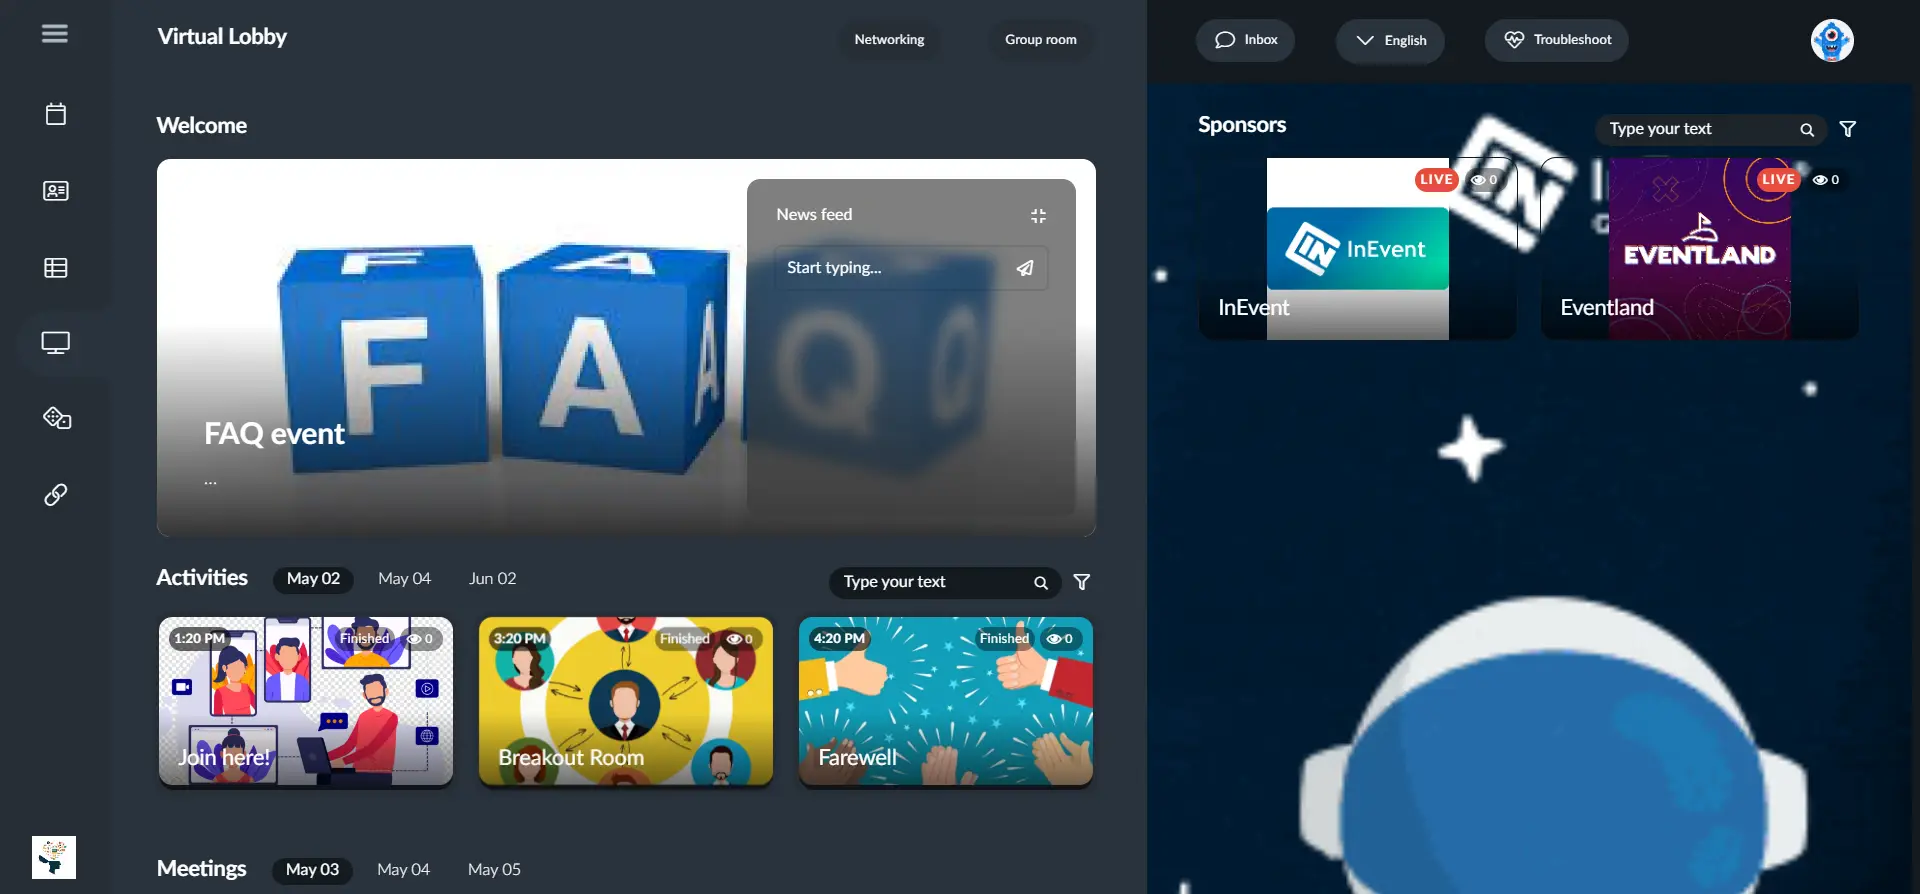
The Virtual Lobby will look like this when selecting the Dark mode:
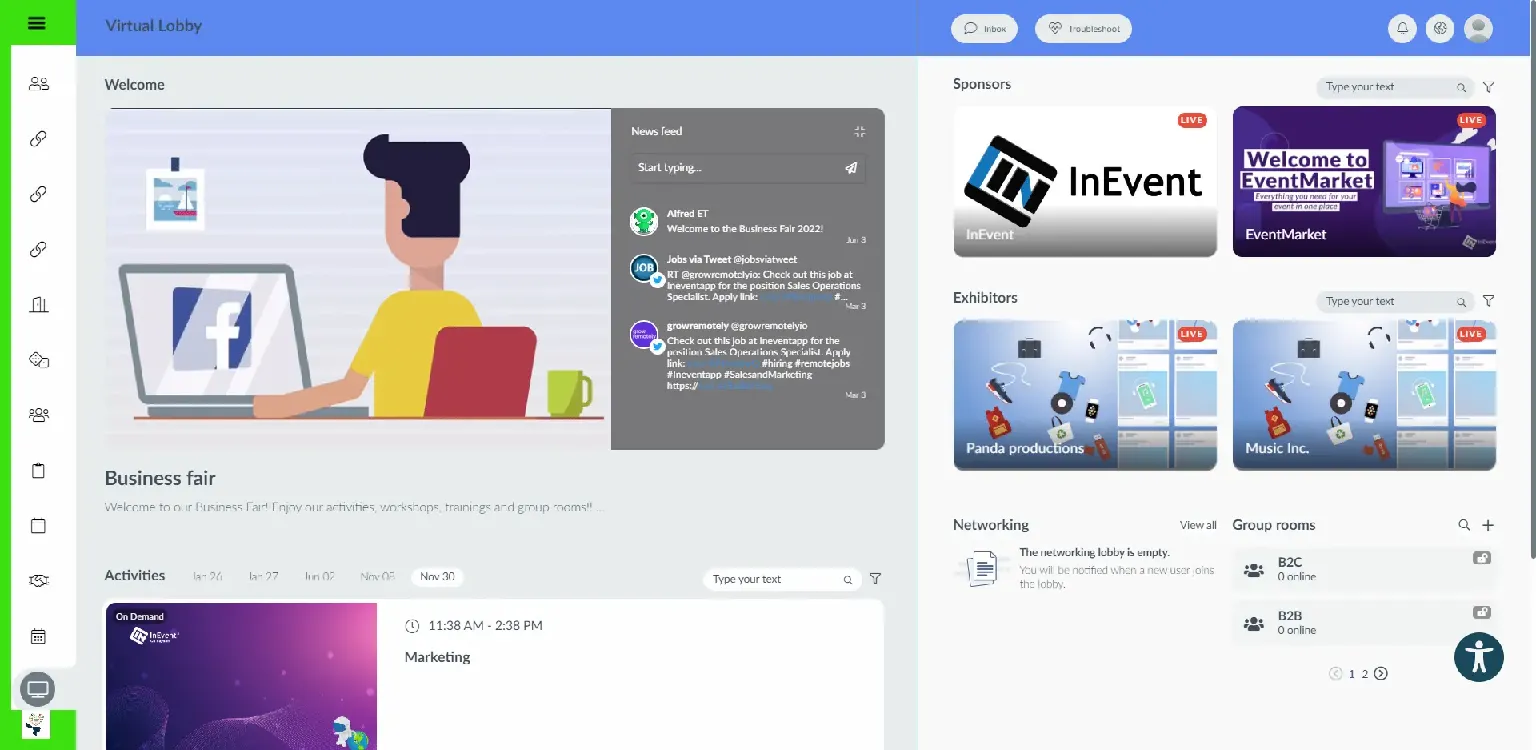
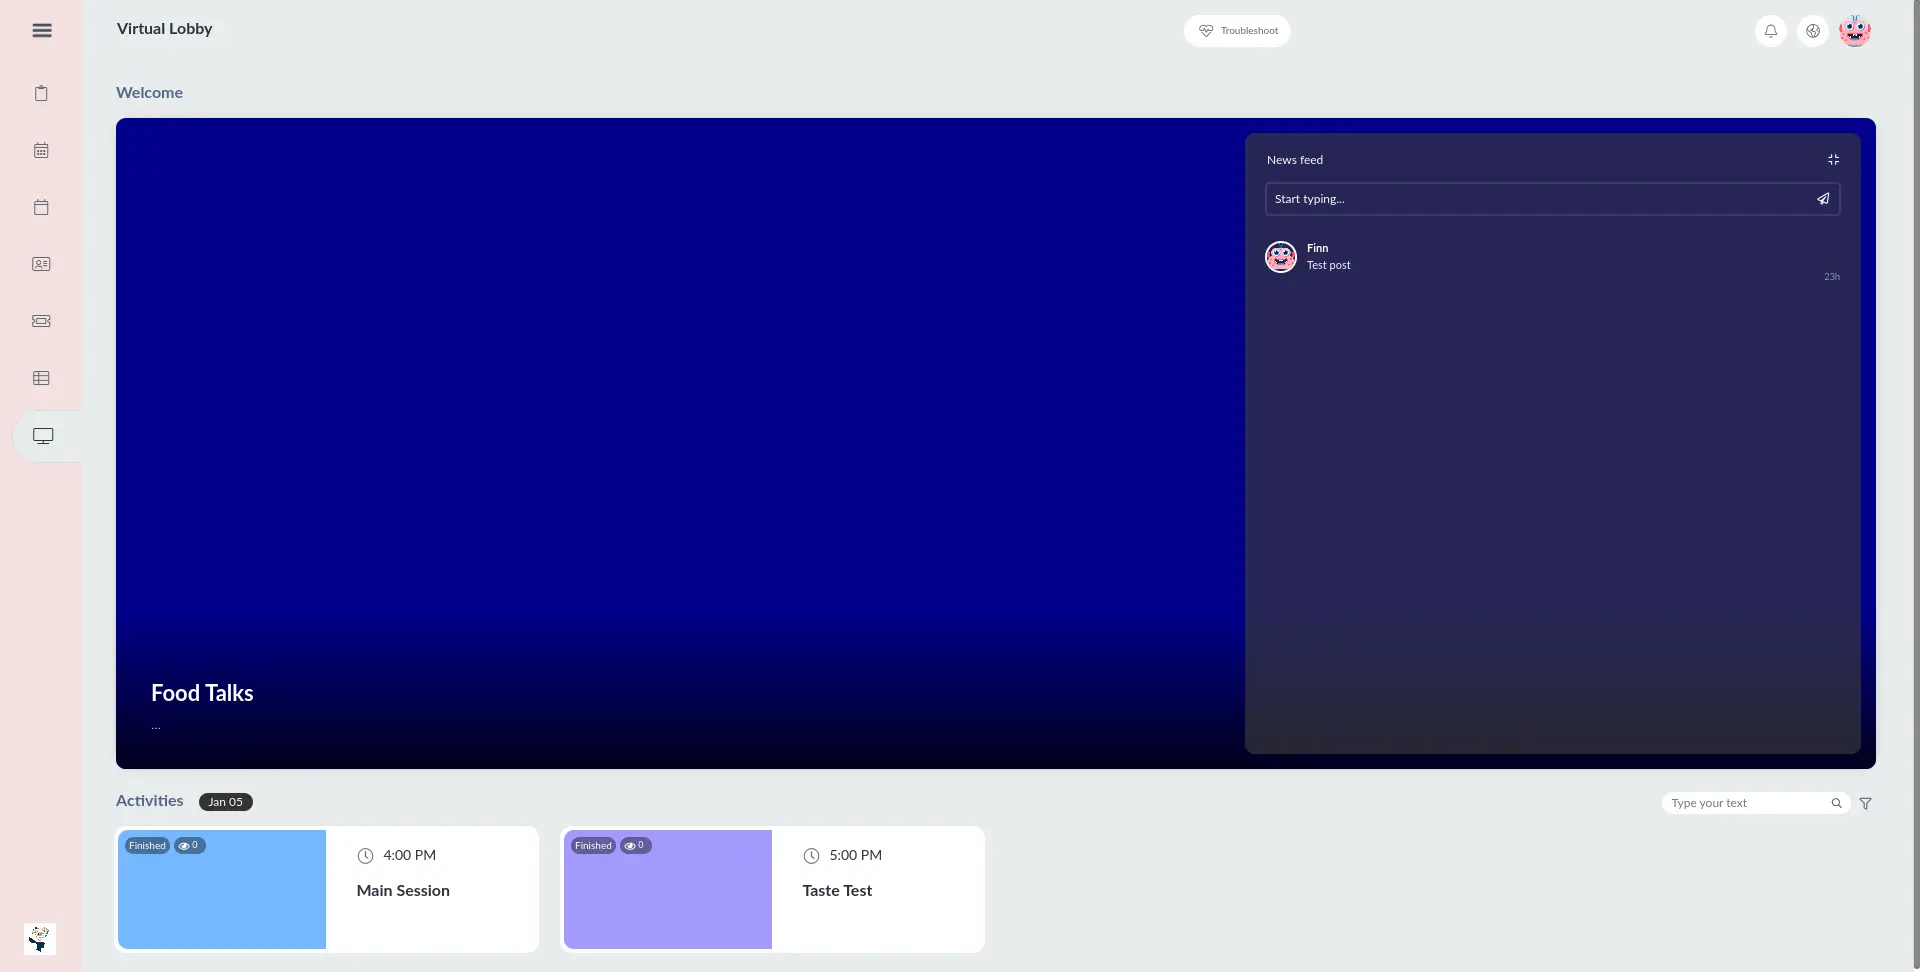
And it will look like this when selecting the Light mode:
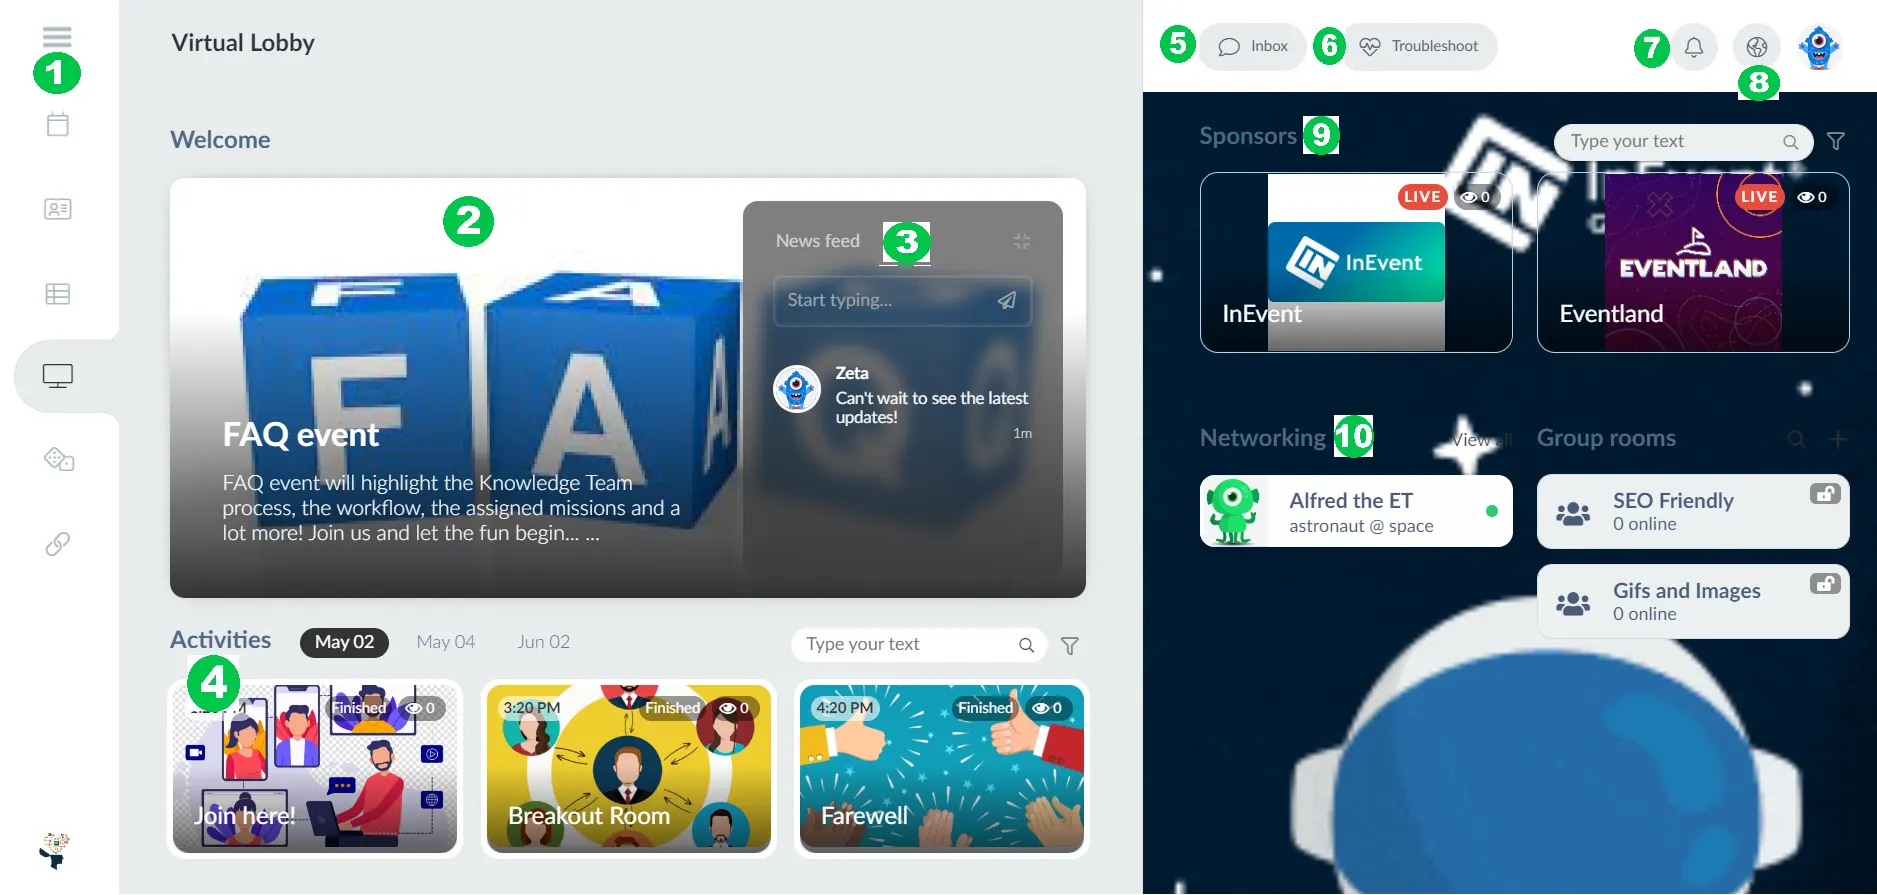
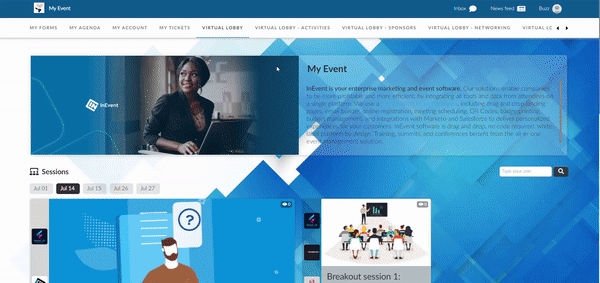
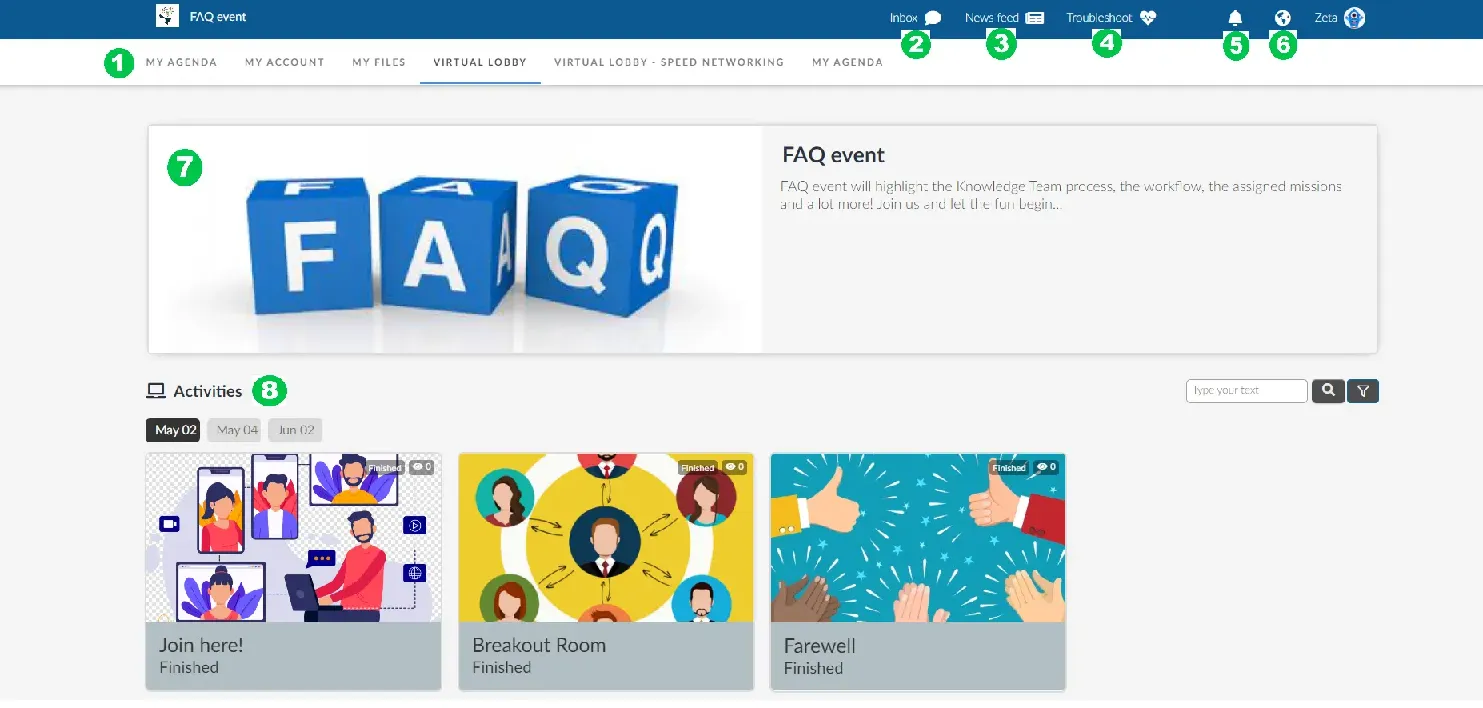
What attendees will see on the main page if you're using the Neo layout
- Top menu: The attendees will see tabs such as My Agenda, My Account, My Tickets, My App. You can customize the tabs that will appear in the Virtual Lobby. Refer to the Virtual Lobby tabs article to learn more about it.
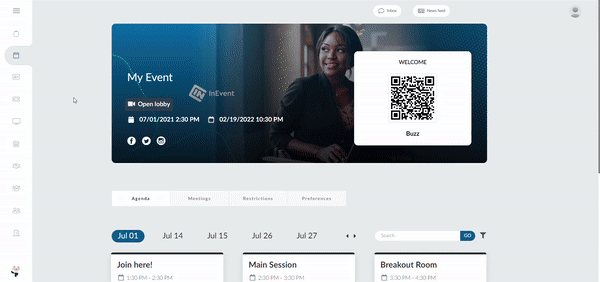
- Welcome card: You can enable or disable the welcome card and decide if you will have a video or an image as a welcome card. Refer to the Welcome card article to learn more.
- Live feed: The attendees will be able to interact with one another on the feed along with the event organizer by commenting. Refer to the News feed article to learn more about it.
- Activities: All activities created by the administrators in the backend will appear as rooms in the Virtual Lobby. Refer to the Setting up your online activities article to learn more.
- Inbox: By using the Inbox, the attendees can send written messages to each other. Refer to the Networking guide for event organizers article to learn more about it.
- Troubleshoot: The troubleshooting button is available to every participant connected to the Virtual Lobby. For more information, refer to the Virtual Lobby: Troubleshooting guide.
- Notifications Center: It includes event push messages to all attendees, to individuals, to a specific list or from the activity, and meeting invitations.
- Language selector: When clicking on this button, the attendees can choose which language they desire to see in the Virtual Lobby if you have provided multilingual translation support in your event.
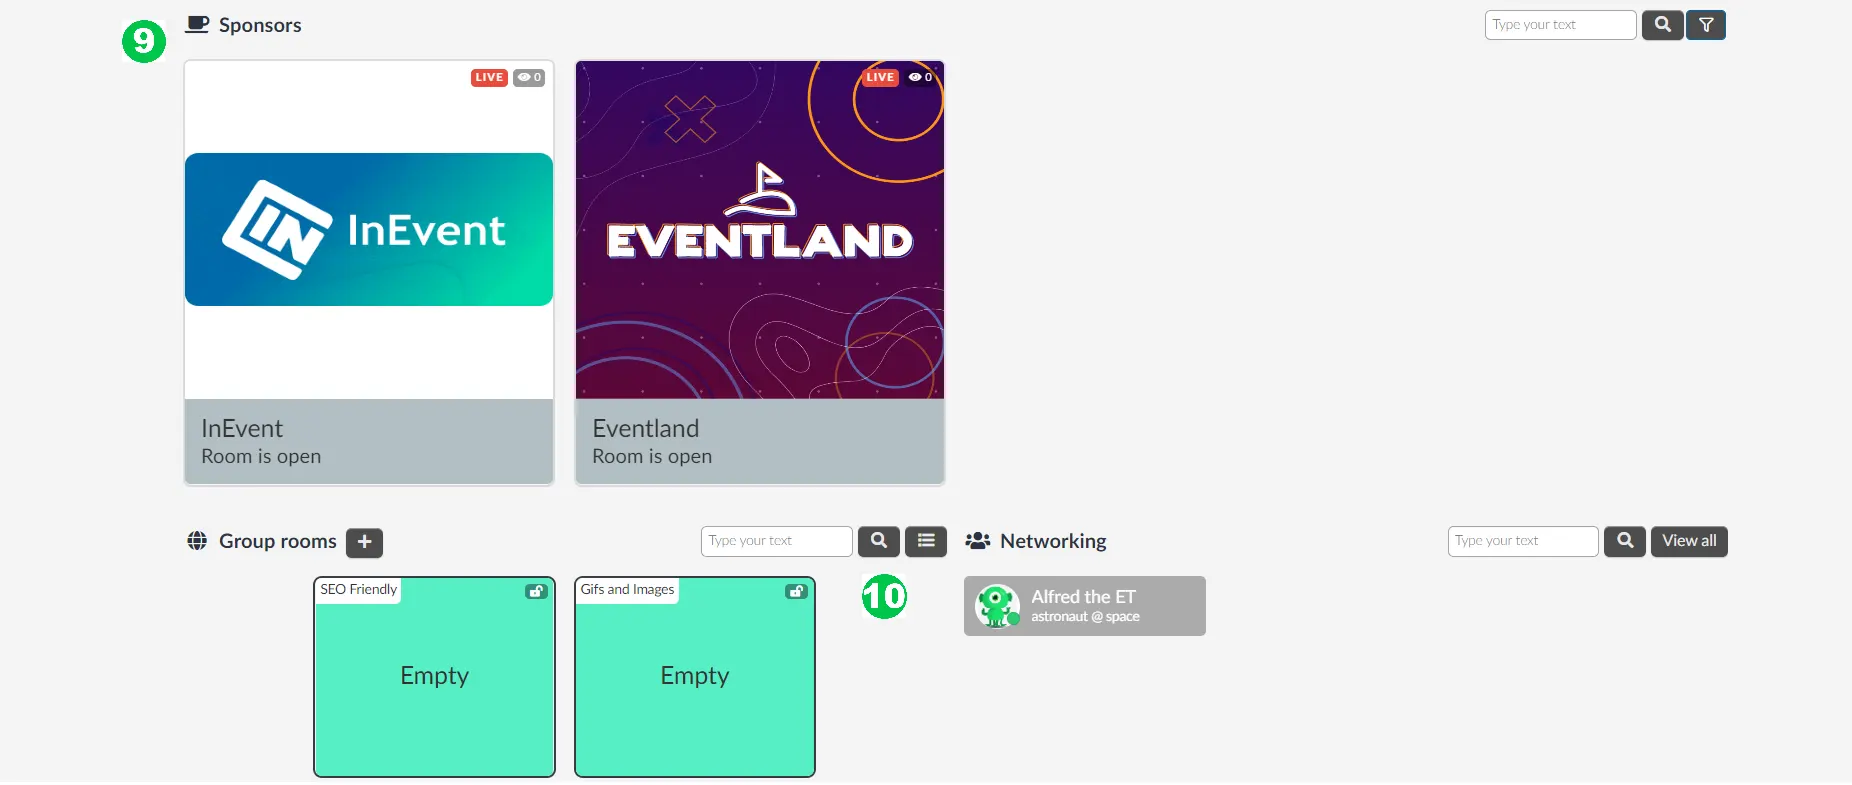
- Sponsor rooms: if you create rooms for your sponsors, they will appear on the right-hand side. Refer to the Sponsors article.
- Networking and Group rooms: attendees will be able to see a list of other attendees who are present at the event. Attendees can select another attendee among those at the event to connect with and open a group room to begin a private or public discussion. To learn more, refer to the Networking guide for event organizers article.
Hiding the right panel of the Virtual Lobby
Yes, you can completely hide the right panel of the Virtual Lobby by setting one of the following options from the Virtual Lobby Tools:
- Option 1: Enable Collapse networking area and disable Sponsors and Exhibitors.
Below is how the Virtual Lobby will look like with this configuration.
- Option 2: Disable Sponsors, Exhibitors, Networking, and Group Rooms
Below is how the Virtual Lobby will look like with this configuration.
- Option 3: Enable Sponsors on main page, and Collapse networking area. Disable Exhibitors.
Below is how the Virtual Lobby will look like with this configuration (The sponsor rooms will appear at the end of the main page of the Virtual Lobby).
Selecting the activity layout type when using the Neo layout
To select your activity cover size and style, you should click on the drop-down bar under the Activity layout type.
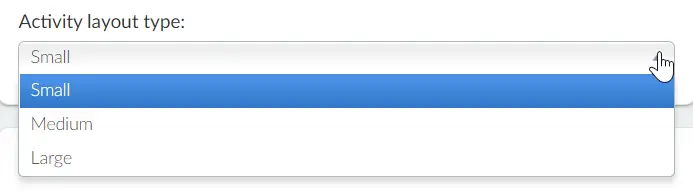
- Small
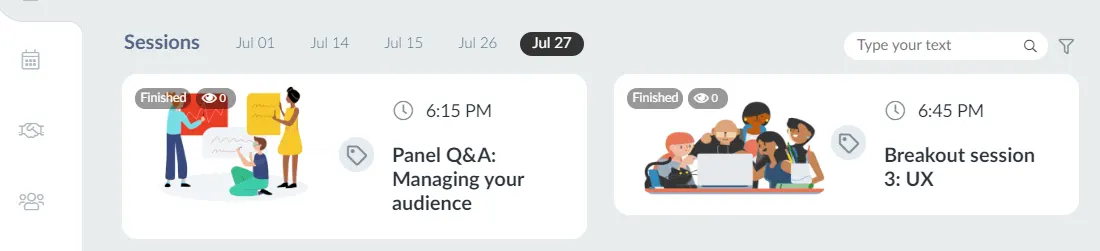
If you select the option Small, your room cover will contain an image with its title and start time overlaying it.

- Medium
If you select the option Medium, the room cover will appear on the left, while the activity's name and start time appear on the right-hand side.
- Large
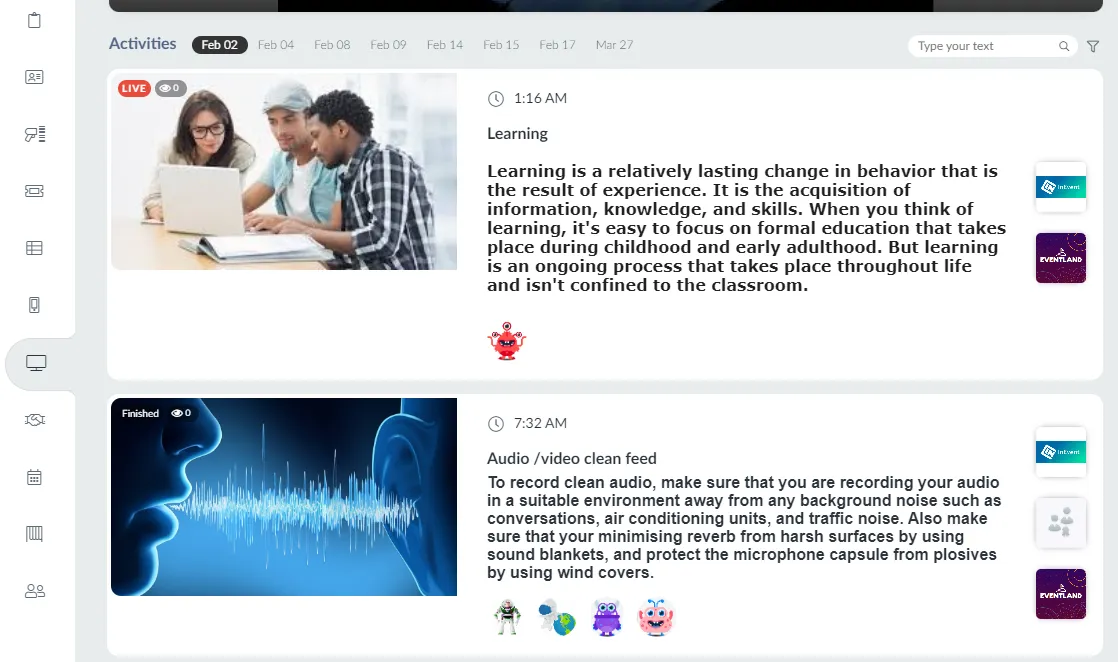
If you select the option Large, the room cover will appear on the left, while the activity's name and start time appear on the right-hand side. What differentiates the options Medium and Large is that if you select Large, the activity's card will occupy a whole line and display all sponsor's and speakers' thumbnails.
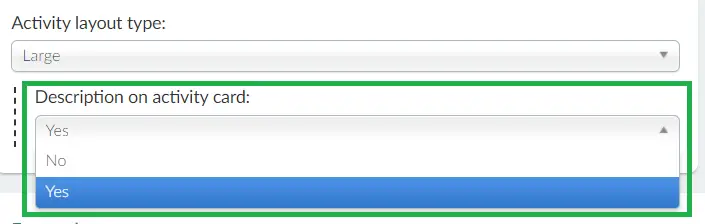
After selecting the Large activity layout type, the Description on activity card field will appear. Once you enable this feature by selecting Yes from the drop-down menu, the description of your activities will be displayed on their room covers in the Virtual Lobby.
In the Virtual Lobby the room covers will appear like this:
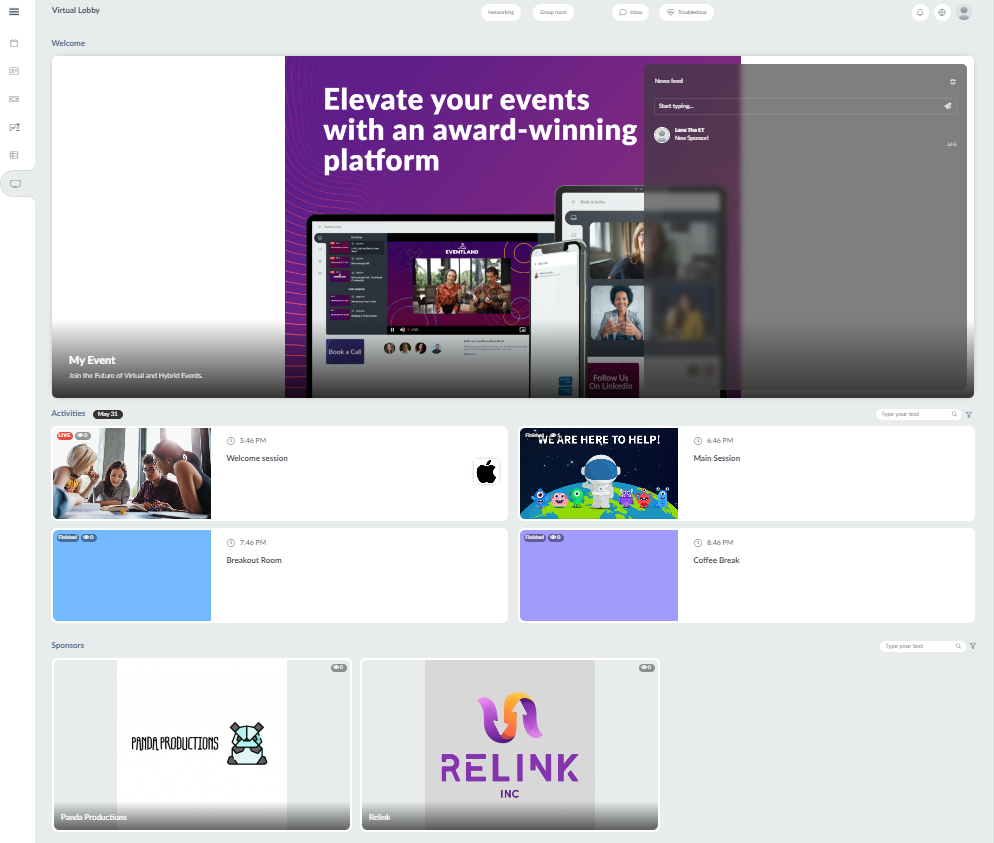
Below is a picture of what the Virtual Lobby will look like when you customize the layout type for your activities individually using the different sizes:
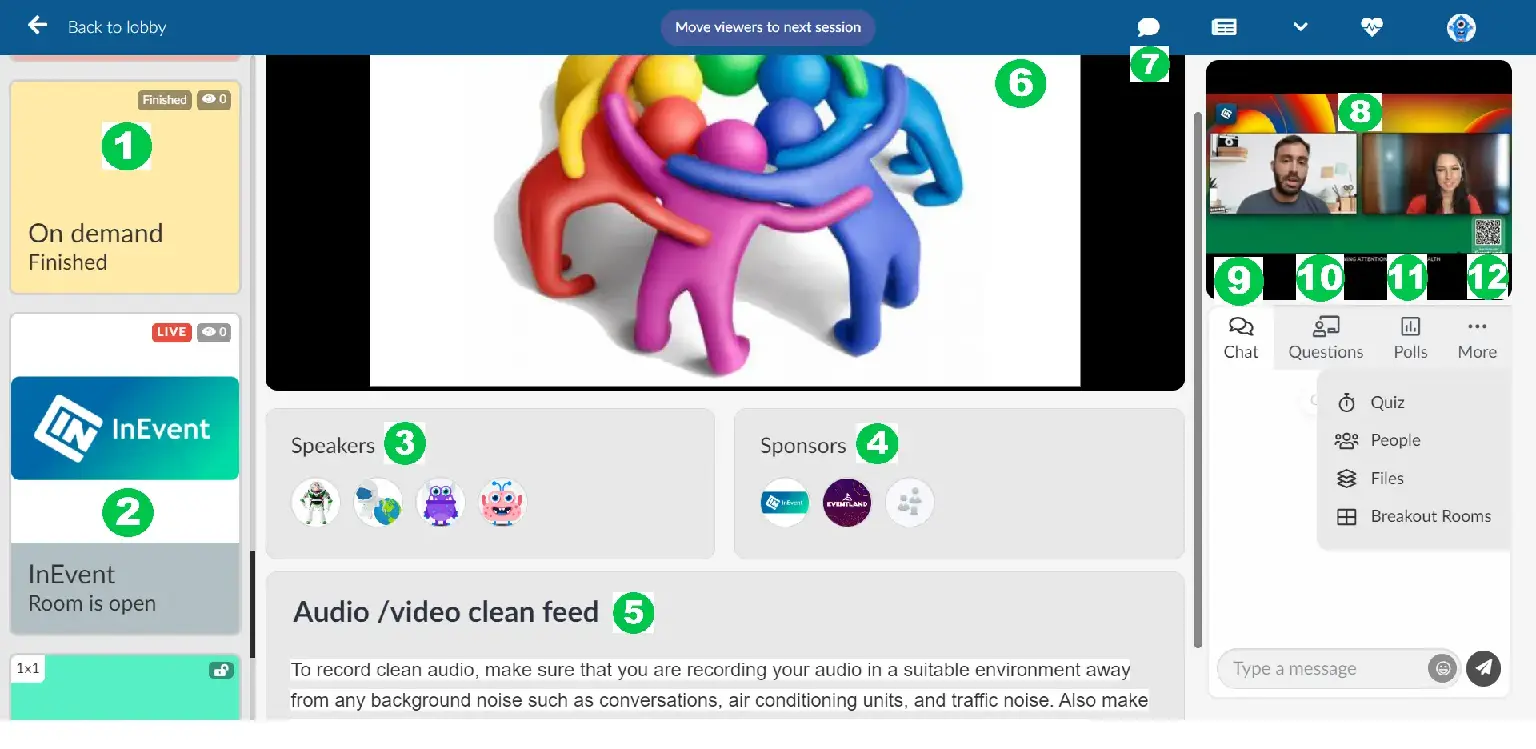
What attendees will see inside the room if using the Neo layout
This is what your attendees should see once they join a room, and you have selected the Neo layout:
- Activities
- Sponsor rooms
- Group rooms
- Who's here/Networking
- Sponsor's ads
- Speakers
- Activity's description
- Sponsors
- Live or pre-recorded content
- Inbox
- Chat
- Questions
- Polls
- People
- Files
Collapsing left and right columns when inside a session
Participants can collapse the left and right columns when watching an activity to have a larger screen without needing to go on full-screen mode on Virtual Lobby.
To collapse the left column, which shows the list of activities inside the session, you should press the arrow in the upper left corner of the live or pre-recorded content, and the left will expand the screen.
To collapse the right column, which shows the list of interactions inside the session, you should press the arrow in the upper right corner of the live or pre-recorded content, and the screen expands to the right.
Classic layout
You'll get a straightforward and clean look and feel using the Classic layout.
What attendees see on the main page of the Virtual Lobby if using the Classic layout
- Top menu: The attendees will see tabs such as My Agenda, My Account, My Tickets, My App. You can customize the tabs that will appear in the Virtual Lobby. Refer to the Tabs article to learn more.
- Inbox: By using the Inbox, the attendees can send written messages to each other. Refer to the Networking guide for event organizers article to learn more about it.
- Live feed: The attendees will be able to interact with one another on the feed along with the event organizer by commenting. Refer to the News feed article to learn more about it.
- Troubleshoot: The troubleshoot button is available to every participant connected to the Virtual Lobby. For more information, refer to the Virtual Lobby: Troubleshooting guide.
- Notifications Center: It includes event push messages to all attendees, to individuals, to a specific list or from the activity, and meeting invitations.
- Language selector: If you have provided multilingual translation support in your event, when clicking on this button, the attendees will be able to choose which language they desire to see in the Virtual Lobby.
- Welcome card: You can enable or disable the welcome card and decide if you will have a video or an image as a welcome card. Click here to learn more about it.
- Activities: All activities created by the administrators in the backend will appear as rooms in the Virtual Lobby. Refer to the Setting up your online activities article to learn more.
- Sponsor rooms: if you create rooms for your sponsors, they will appear on the right-hand side. Refer to the Sponsors article to learn more.
- Networking and Group rooms: attendees will be able to see a list of other attendees who are present at the event. Attendees can select another attendee among those at the event to connect with and open a group room to begin a private or public discussion. Refer to the Networking guide for event organizers article to learn more.
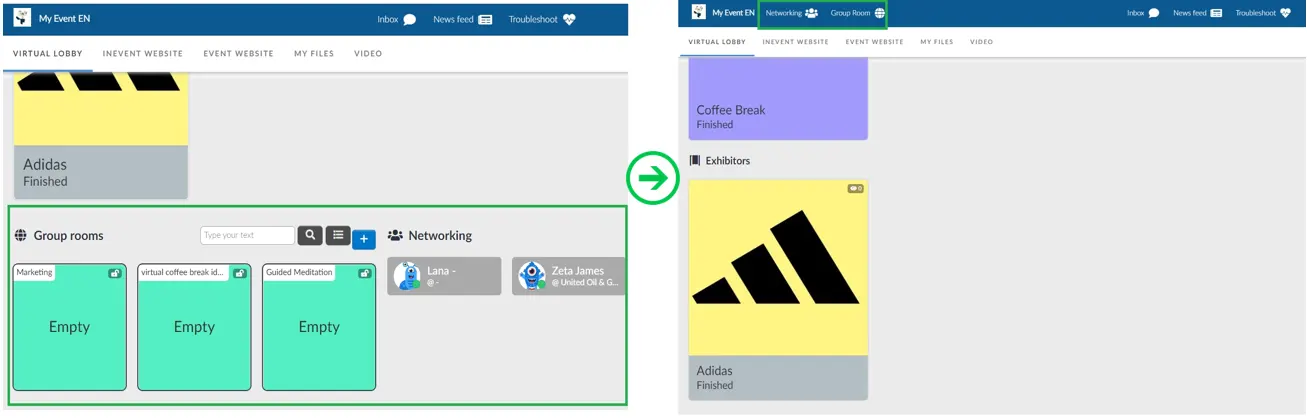
Collapse networking area
If this option is enabled, the Networking and Group Rooms section will collapse into the top bar instead of showing up at the bottom of the screen. The image on the left shows how the Virtual lobby appears with the option disabled. The image on the right shows the option enabled with the Networking and Group Rooms sections collapsed in the top bar.
What the attendees see inside the room if using the Classic layout
This is what your attendees should see once they join a room, and you have selected the Classic layout:
- Activities
- Sponsor rooms
- Speakers
- Sponsors
- Activity's description
- Live or pre-recorded content
- Inbox
- Sponsor's ads
- Chat
- Questions
- Polls
- More: Quiz, People, Files, Breakout rooms
Virtual Lobby activity tabs
The Virtual Lobby activity tab allows you to organize activities in two different ways, by Event dates or by activity Tracks. This flexibility enables you to customize how attendees navigate through your event schedule.

Setting up activity tabs
To switch between event dates and activity tracks in the Virtual Lobby:
- Navigate to Event > Virtual Lobby in the platform.
- Click on Edit and locate the activity tabs settings in the layout section.
- Choose between Event dates or Tracks as the preferred grouping method.
- Click on End to save your changes.
Your Virtual Lobby will update accordingly.