Audio interpretation channels
 Updated 1 year ago
by
Chioma Okenwa
Updated 1 year ago
by
Chioma Okenwa
- For event organizers
- How do I enable audio interpretation channels for the event?
- How do I enable audio interpretation channels for each session?
- How do I create audio interpretation channels?
- How do I create interpreter profiles?
- How do I give the interpreters access to the console?
- Recording the session
- How do I remove an audio interpretation channel?
- For interpreters
- For attendees
You can add audio interpretation channels to the sessions in your online events in the Virtual Lobby. This will enable simultaneous language interpretation by audio channels for different languages, including a video channel for sign language. The attendees can select their preferred language from the player and enjoy the experience in their native language, including our sign language picture in picture option.
For event organizers
How do I enable audio interpretation channels for the event?
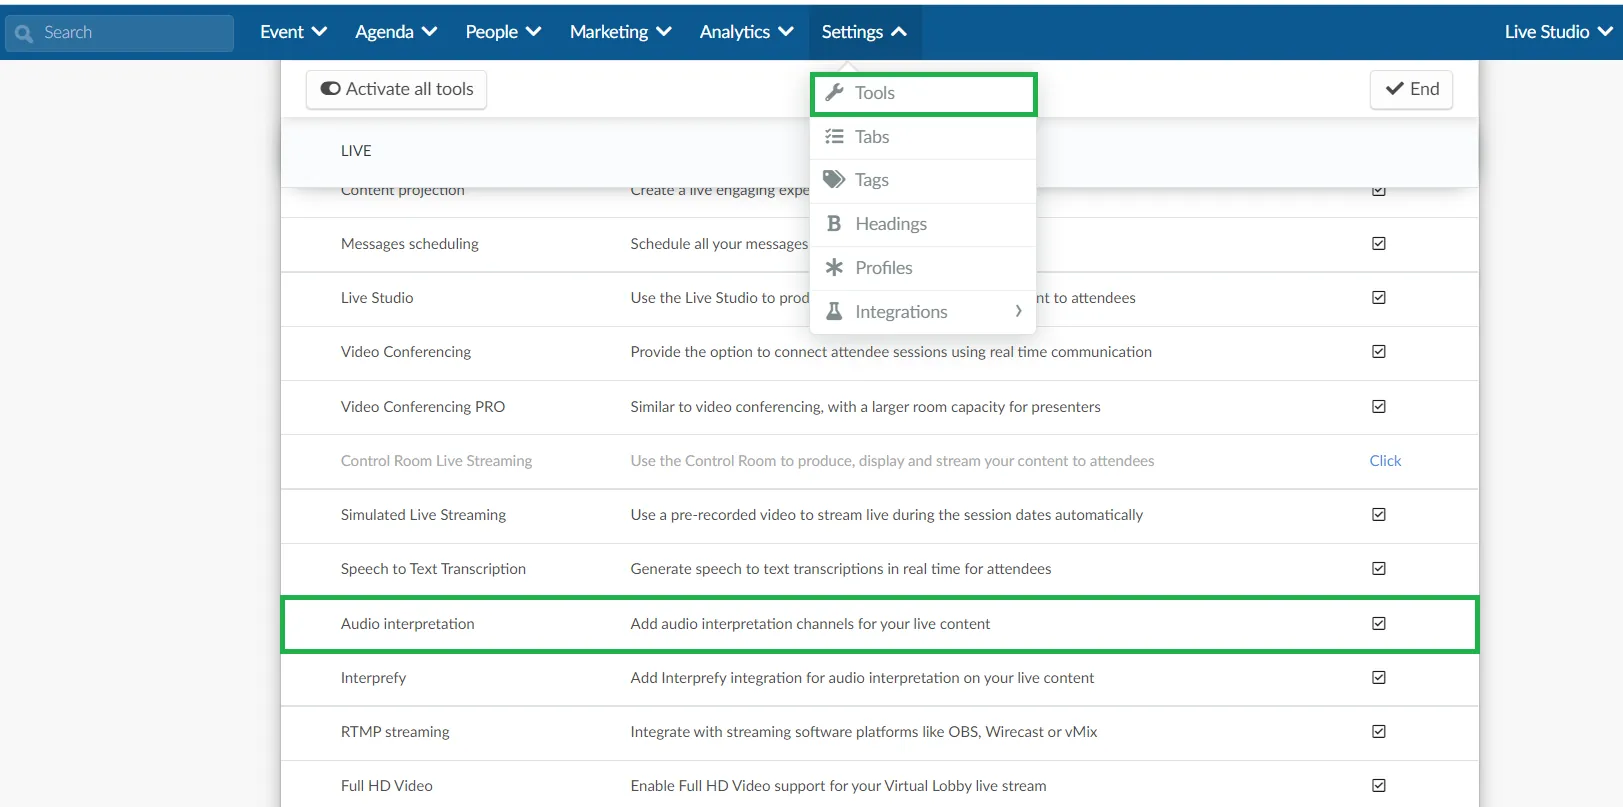
To enable this feature, go to Settings > Tools > press Edit > and scroll down until you see the Live section. Then, make sure the Audio interpretation checkbox is checked.
How do I enable audio interpretation channels for each session?
To set up the audio interpretation channels, go to Agenda > Activities > select the activity and click Edit (top right).
The Details tab contains the settings for your activity, including the possibility of making it a virtual room. Now, on this page, scroll down until you see Audio interpretation (multiple languages) and tick the checkbox.

How do I create audio interpretation channels?
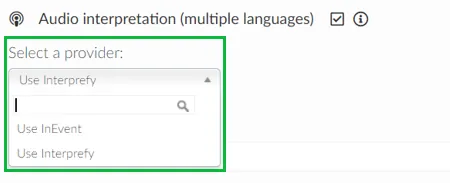
Once you have enabled the audio interpretation option, you will need to select a provider: InEvent or Interprefy. In this article, we teach how to select Use InEvent, for more information about Interprefy click here.
You will see the options to choose the language of your choice from the drop-down bar. After you have selected the desired language for the audio channel, press Create.

How do I create interpreter profiles?
To create an interpreter profile, go to People > Attendees > press + Add person > fill out the required fields > and press Create. Next, press Edit, and under Permission, select Interpreter. Then, press End to save the changes.
Click here for further information on how to add participants to your event.
How do I give the interpreters access to the console?
After creating all audio interpretation channels, you should see a list of all existing channels, as shown below:
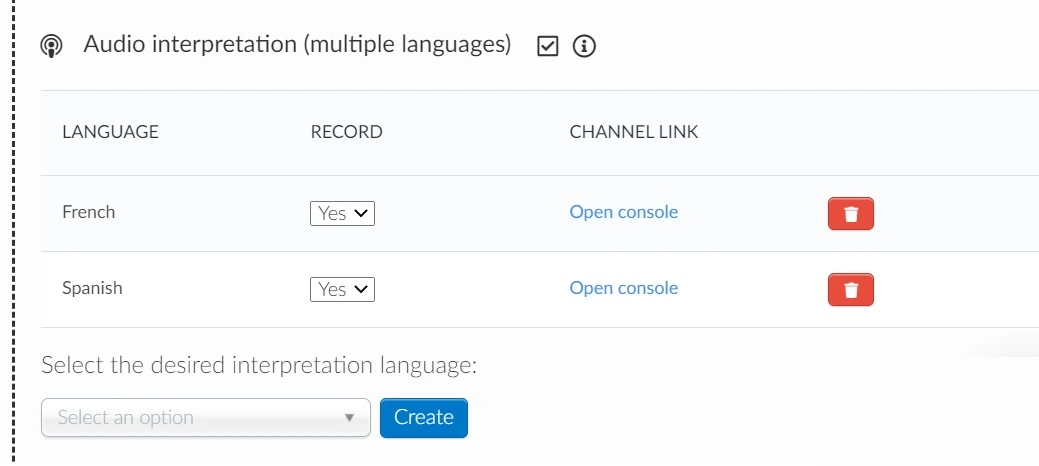
To give the interpreters access to the session they will be joining, simply copy the Open Console link and share it with them.
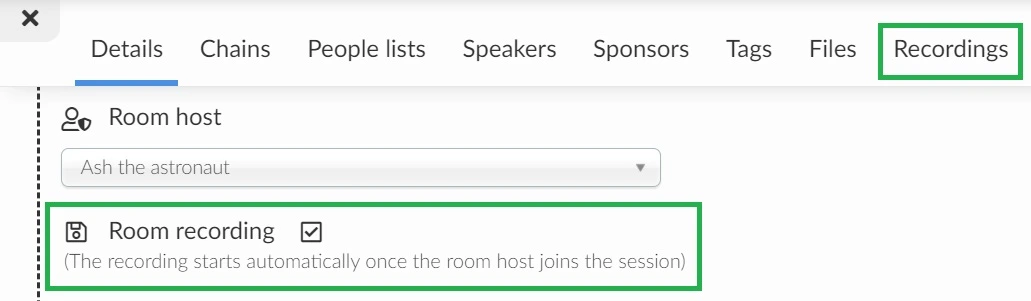
Recording the session
You can define if the session will be recorded by enabling or disabling the Room Recording option.
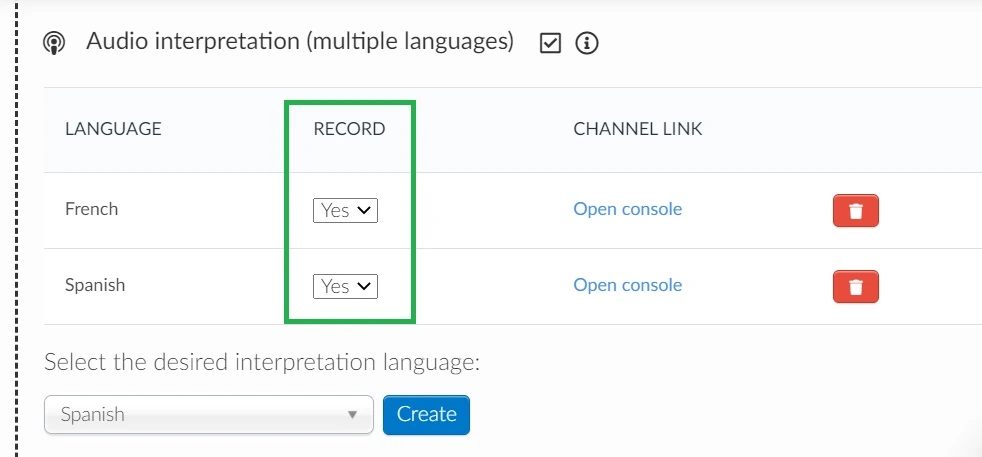
This button will determine if the session with the default audio will be recorded. If besides recording the session with the original audio, you also wish to record the sessions with the audio interpretations, you should set the Record column - under the Audio interpretation (multiple languages) section - to Yes.
Once the session ends, the recordings will be automatically available in the Recording tab. The files with different audios will show up in the Recordings tab as separate files.
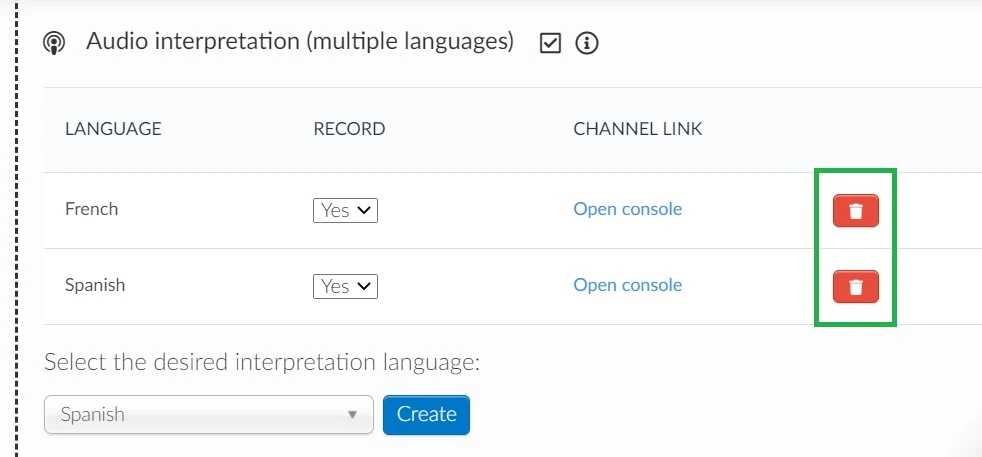
How do I remove an audio interpretation channel?
To remove an audio channel, you should click on the red button with the trash icon.
For interpreters
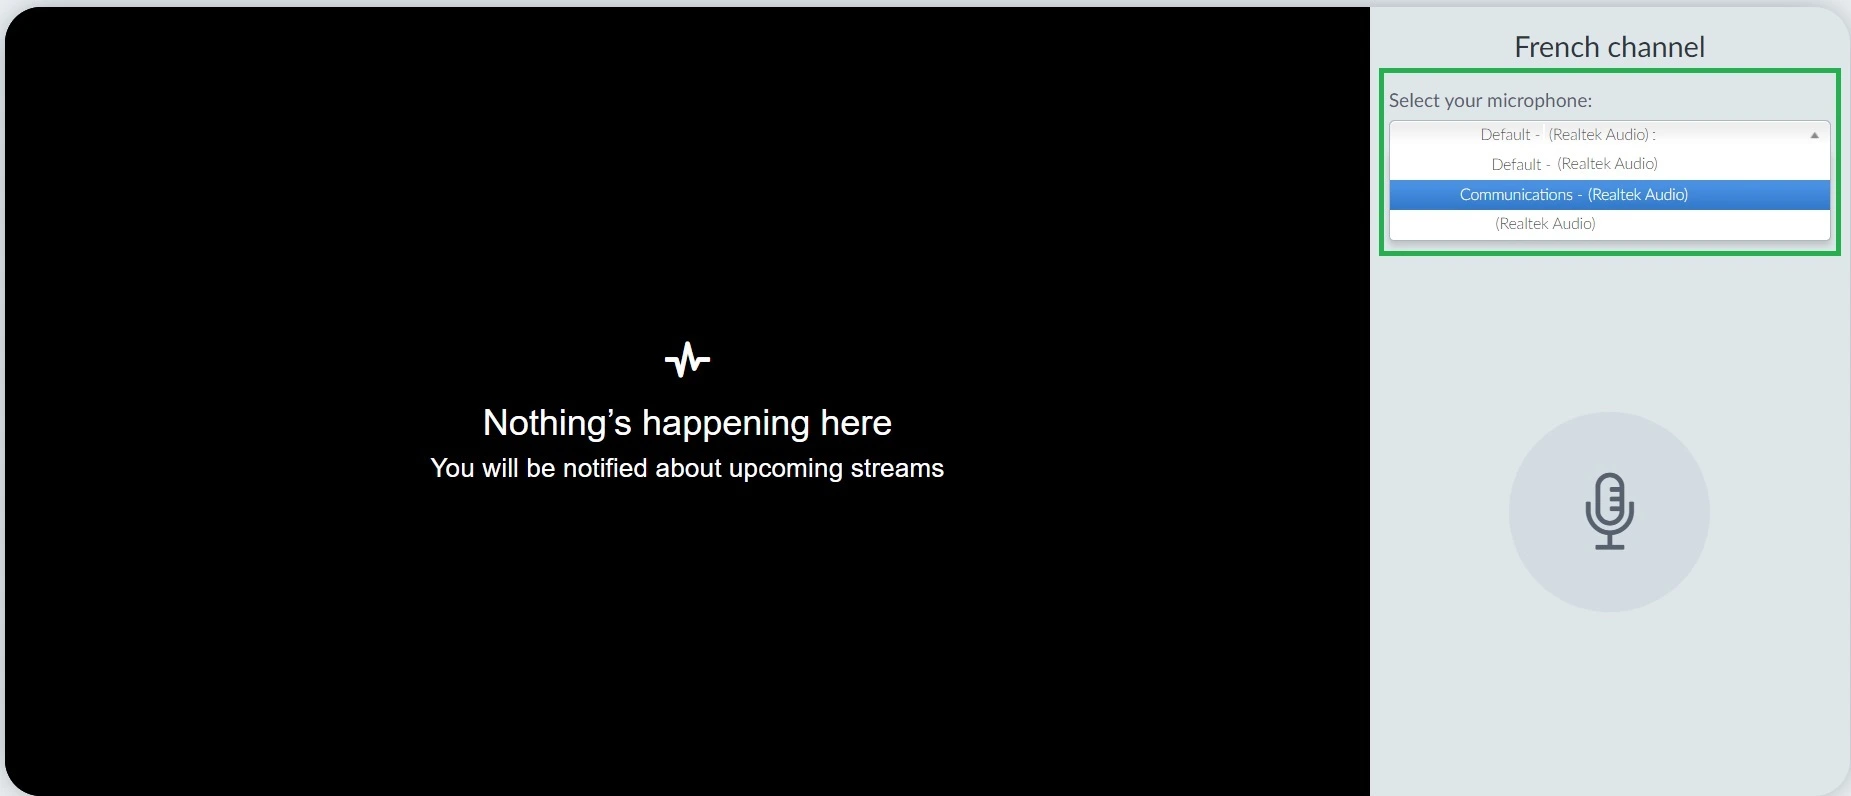
The event organizer will share the channel link with you so you can access the console.
On this page, you will see the live session on the left-hand side and on the right, the option to select the audio input source you will use under Select your microphone. After selecting your microphone, press Connect.
Once you press Connect, you will receive a confirmation informing you that You are connected, and the number of users that are listening to your channel.
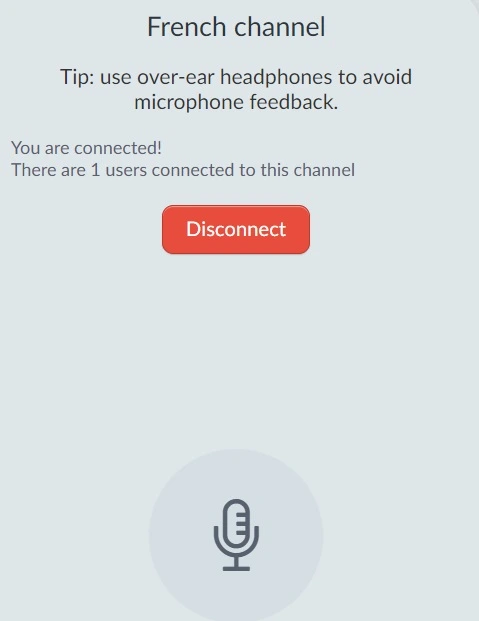
Once the session is over and you wish to disconnect, press the red Disconnect button (as displayed in the image above).
Multiple Interpreters
If you wish to have multiple interpreters accessing the same console, you just need to follow the steps mentioned above and make sure they have Interpreter permission on the Attendee's page.
The interpreters will be able to listen to the Live Stream and also hear one another, that's why is very important to dry run before the event!

For attendees
Selecting the language channel of your choice
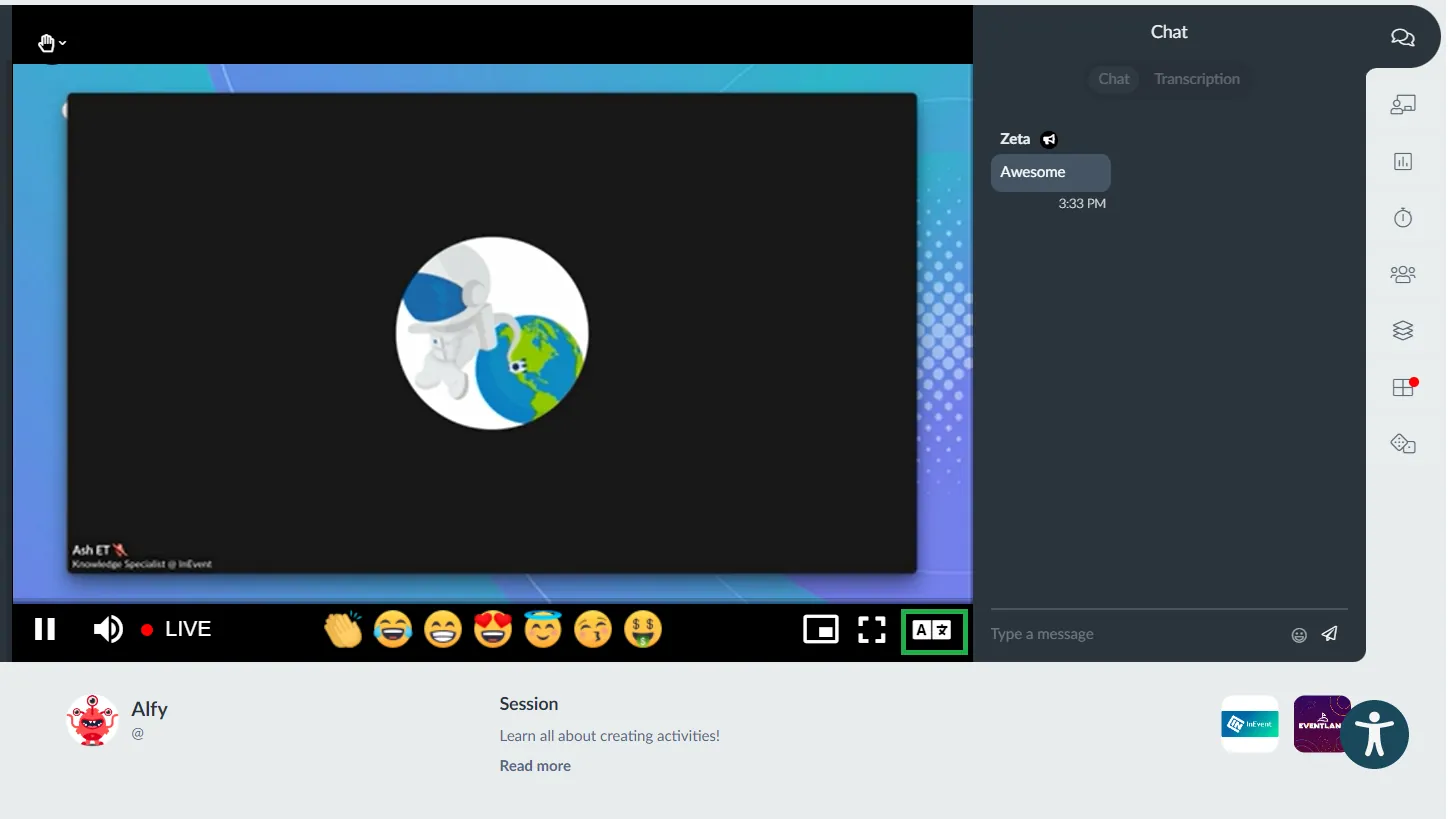
If the session you are attending offers different audio interpretation channels, you will see a language-related icon on the bottom right-hand side of the screen.
Then, a window will pop up asking you to select an audio channel. You should choose the language of your choice.
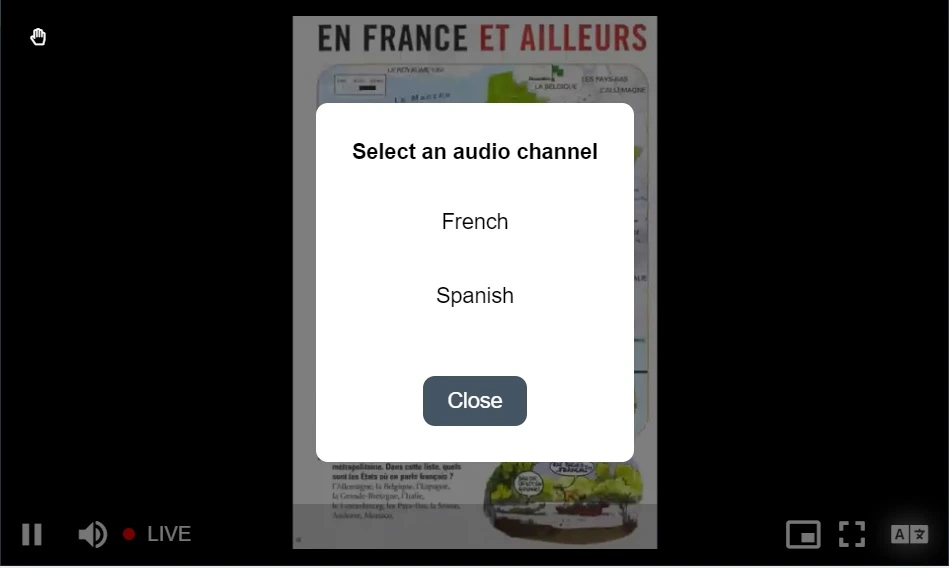
After selecting the desired language channel, you will see either a yellow or green badge notification. The green one indicates that the interpreter is already connected to the channel and the simultaneous interpretation is happening in real-time. The yellow one indicates that even though you are connected to this channel, the interpreter isn't connected yet.

Adjusting the volume
If you have connected to an audio interpretation channel, you can either mute or turn down the volume of the default audio. To do so, click on the speaker icon on the bottom left.

To adjust the volume of the audio interpretation channel, click on the language-related icon on the bottom right-hand side of the screen. A window with a volume controller will pop and you will be able to turn the volume up or down.
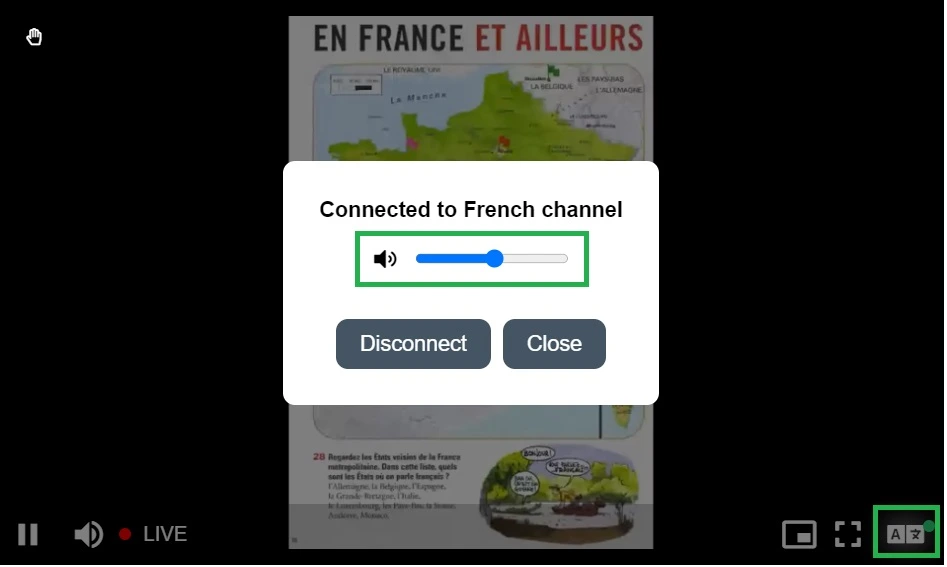
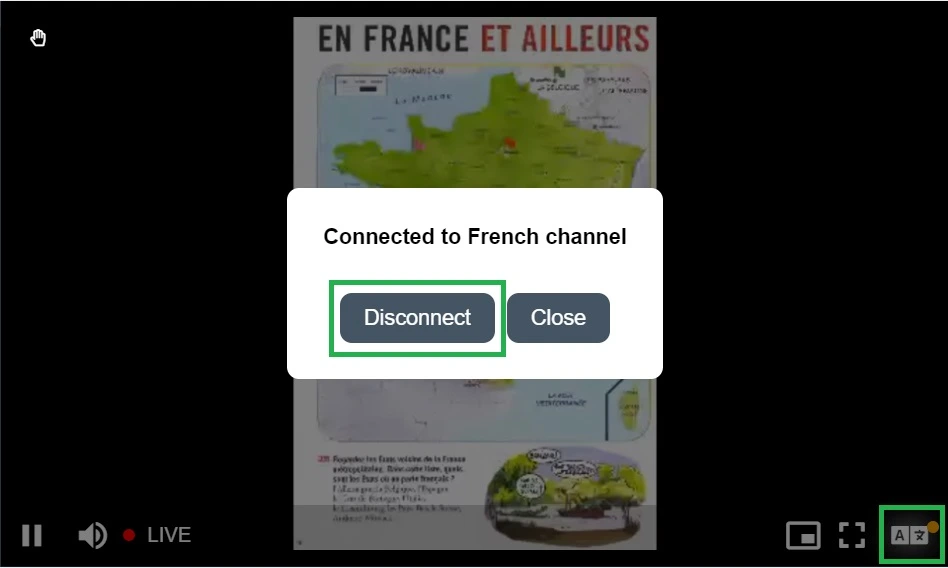
Disconnecting from a channel
To disconnect from an audio interpretation channel, click on the language-related icon on the bottom right-hand side of the screen. A window will pop and you should press Disconnect.