How to migrate all your Cvent Events to InEvent quickly
 Updated 2 years ago
by
Amalia
Updated 2 years ago
by
Amalia
Exporting data from your events created in Cvent to the InEvent platform is very easy.
Thanks to InEvent's integration with Cvent, you can pull invitees and attendees from your Cvent event to InEvent with standard fields and custom fields. To learn how to do it, check this article.
If integrations are not included in your plan, you can export data from Cvent and import it to InEvent.
Exporting data from Cvent
Where can I find reports on Cvent?
To download reports from Cvent, follow the steps below:
- Firstly, you need to log in to Cvent. Once you access your account, you will see the overview page with all the events you have created or that have been shared with you.
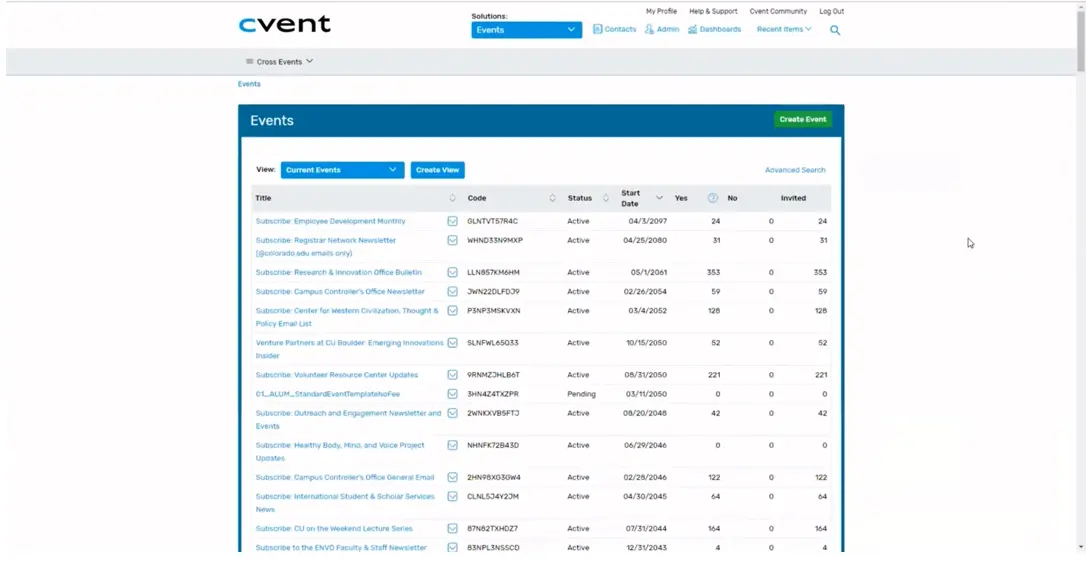
- Click on the event you want to extract data from and you will be taken to its overview page.
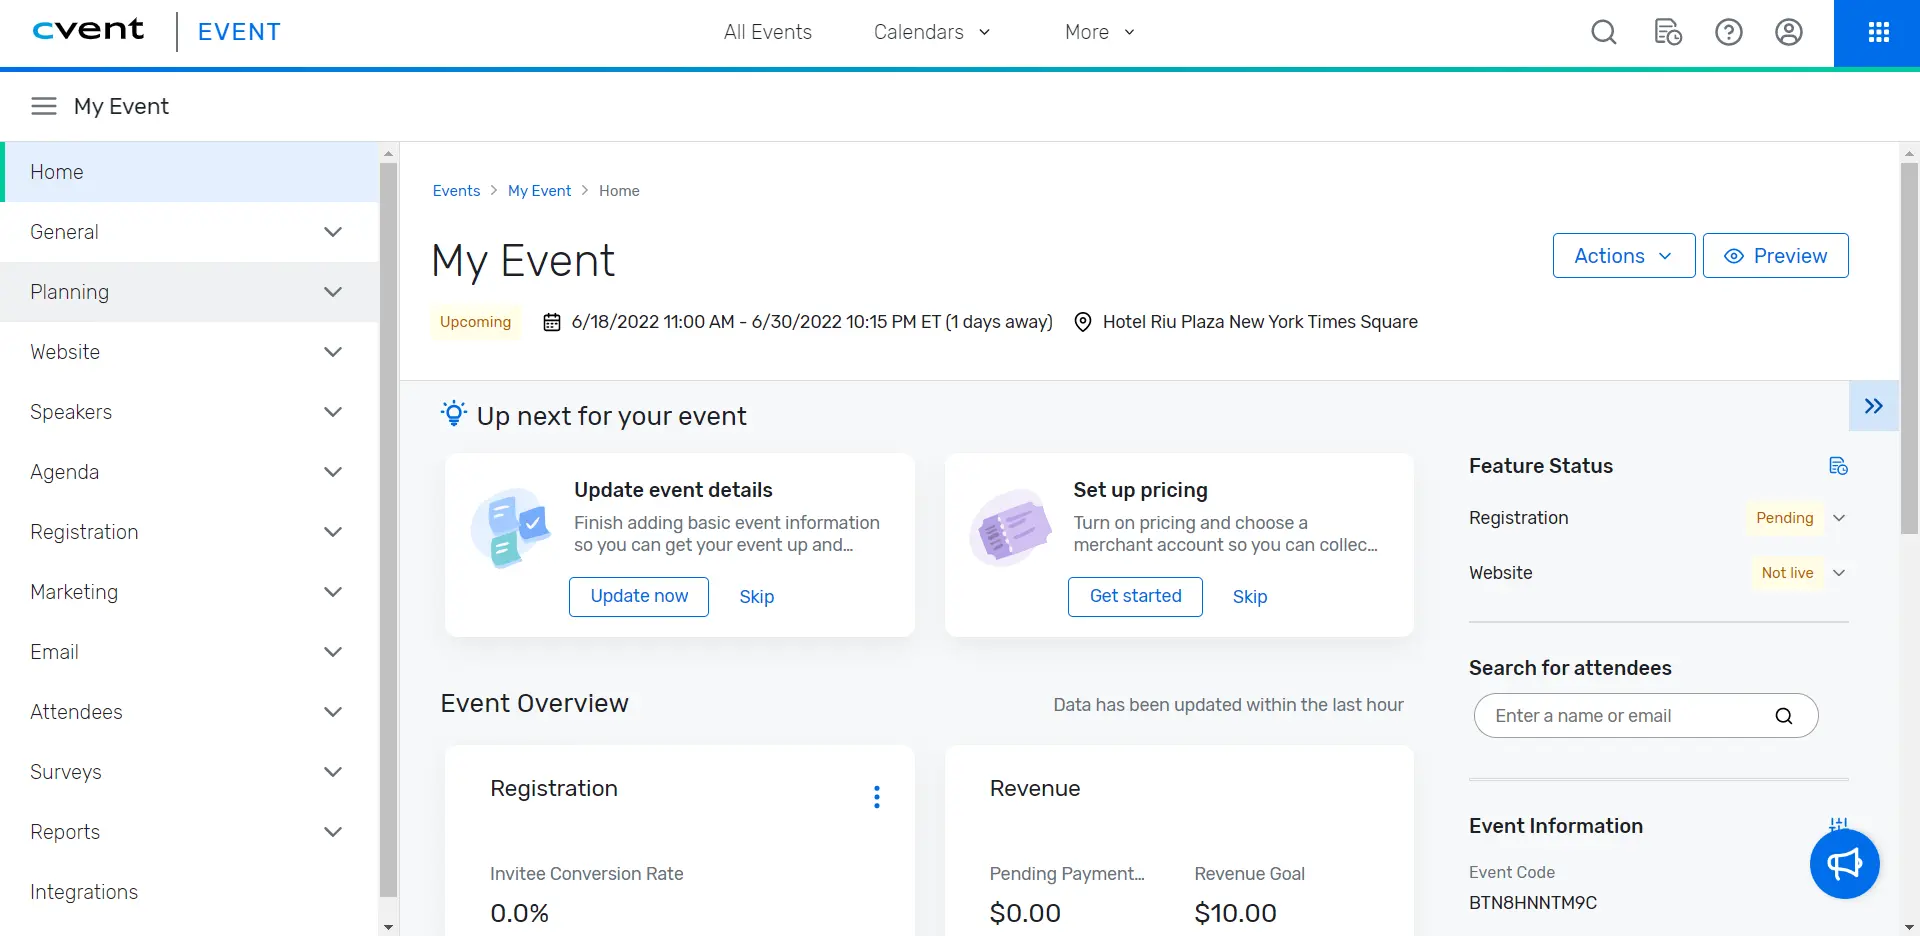
- From the left-hand navigation, click Reports > Reports. On this page, you will be able to export data regarding your attendees and invitees, activities, speakers and more.
Exporting data from activities, speakers, invitees and attendees.
Activities
To download the sessions list from your event, follow the steps below:
- Click on the dropdown bar next to Category > Select Session and Agenda Item Report
- Scroll down until Session List > click on the drop-down arrow to the right > Click Export Report
- You will see the Report Data Settings page. There, you will be able to add additional fields you wish to export and remove the default ones. These include:
- Session Name, Session End/Date Time, Waitlisted, Session Speakers, Waitlist Capacity, Session Code, Virtual Session, Checked in, Session Location, Session Registration Status, Session start/date Time, Session Identifier, Registered, % of Capacity and Attendance Count.
- Choose the file format and name under File Information > Click Export and your report will be downloaded.
Speakers
To download the speakers report from your event, follow the steps below:
- Click on Category > Select Speaker Reports
- Click on the drop-down arrow to the right of Speaker Details with Associated Sessions.
- Click Export Report and you will see the Report Data Settings.
- In the Report Data Settings, you will find two tabs:
- Selection Criteria: There, you can apply conditionals to the report and select the file format and name.
- Fields: There, you will be able to add additional fields you wish to export and remove the default ones.
- Click Export and your report will be downloaded.

Attendees and Invitees
- Click on the dropdown bar next to Category > Select Common Reports
- Click on the drop down arrow to the right of Invitees and Registrants > Click Export Report.
- You will see the Report Data Settings. There, you will find two tabs:
- Selection Criteria: There, you can apply filters to the report such as the Invitee Status (Accepted, Cancelled, Declined, Denied, No response, Pending Approval, Visited and Waitlisted), the date range and the file format and name.
- Fields: There, you will be able to add additional fields you wish to export and remove the default ones.
- Once you finish editing the content of your report, click Export and your report will be downloaded.

File format
When you export a report using the Comma Separated Value (.CSV) format, the data is pulled from Cvent's database with no changes applied. And all time-related data is stored in Greenwich Mean Time (GMT). To see the same date in your preferred time zone, export the report as an Excel (.XSLX) file.
Setting up your event
To help you set up the event let's take a look at this step-by-step. In this article you will learn how to:
- Create an event and add information on the Details page
- Add Sponsors, Speakers, and Content
- Create activities and choose the settings for the Virtual Lobby
- Learn more about Customization, Communication, and Registration
- Add Attendees, Invitees, and Leads
- Learn about the Interactions with attendees and finally Dry run
Importing data to InEvent
After checking the article mentioned above, you can take a look at this article in case you are planning on importing data in bulk.