Settings: Event Status List
 Updated 11 months ago
by
Amalia
Updated 11 months ago
by
Amalia
As an event organizer, you can easily create statuses that can be associated with the the events within your company. This article will guide you on how to create statuses to associate with your events.
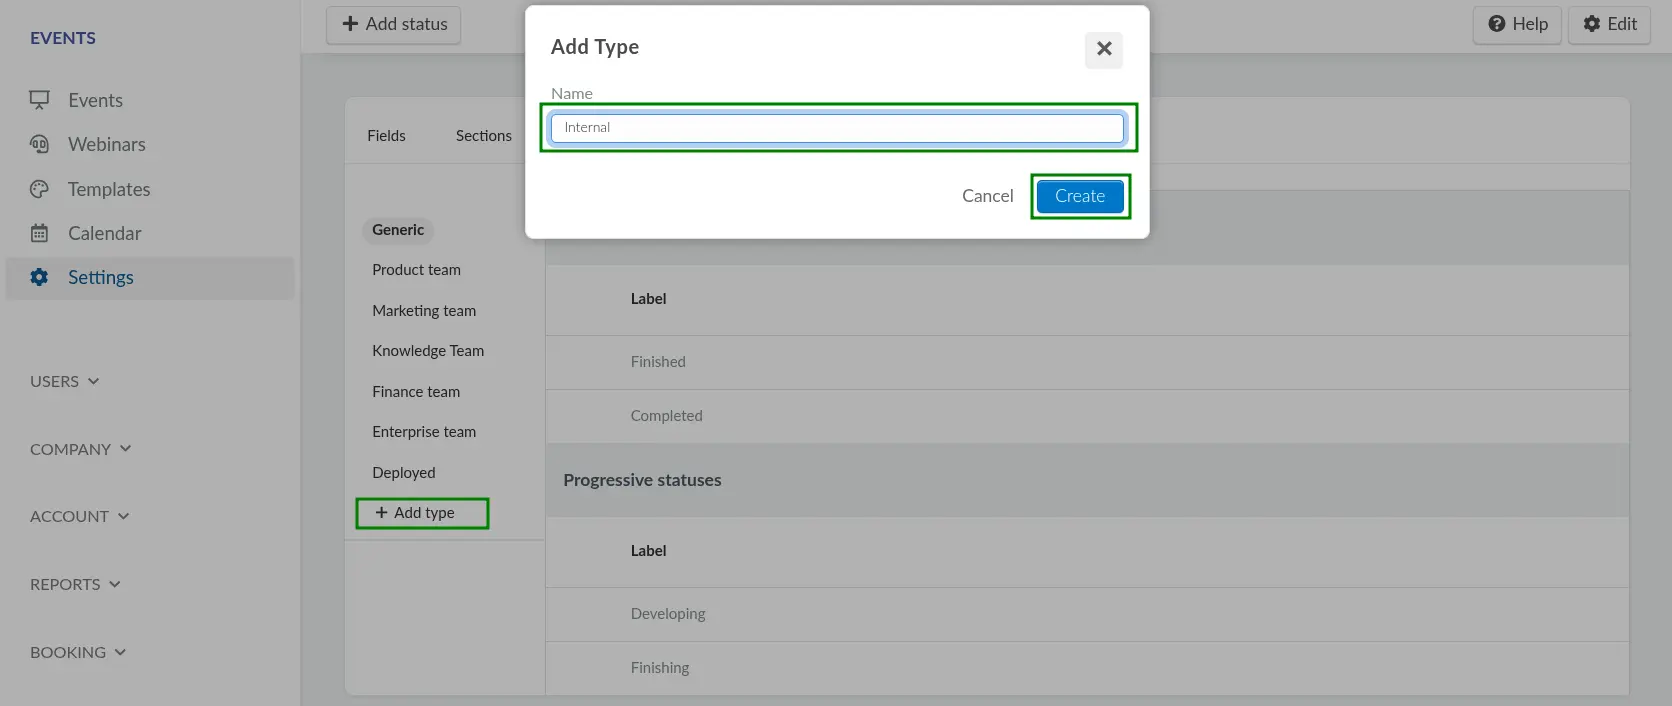
Creating status types
You can create status types in which you can use in grouping your created statuses. To do this:
- Navigate to Event > Settings > Status list at the company level.
- Click on the +Add type button and enter the type of Status you wish to create.
- Press Create.
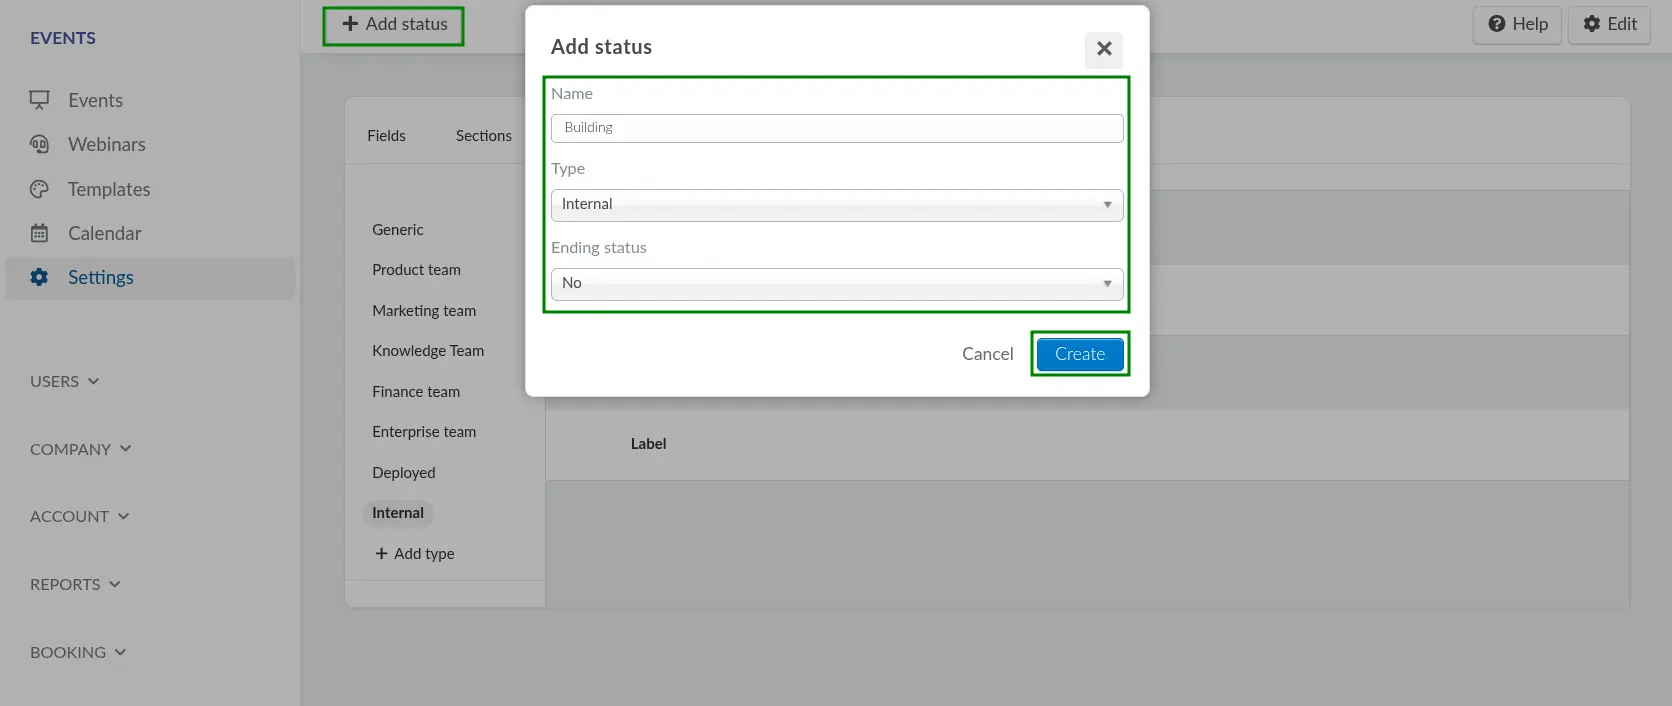
Creating a status
To create a status, follow these steps:
- Click on Add status.
- Enter the status name.
- Select the status type from the Type drop-down.
- Select whether or not it is an Ending status by choosing Yes or No.
- Ending statuses: This type indicates that all tasks and objectives have been successfully completed. Use ending status to mark events that have reached their conclusion.
- Progressive statuses: This type indicates that tasks are still ongoing and have not yet been completed. Use progressive status for events that are currently in progress and not yet finished.
- Click on Create.
Reordering a status
You can reorder a status under the Progressive statuses field. To do this, simply click on Edit, and then use the drag and drop icon beside the statuses to reposition them as you wish.
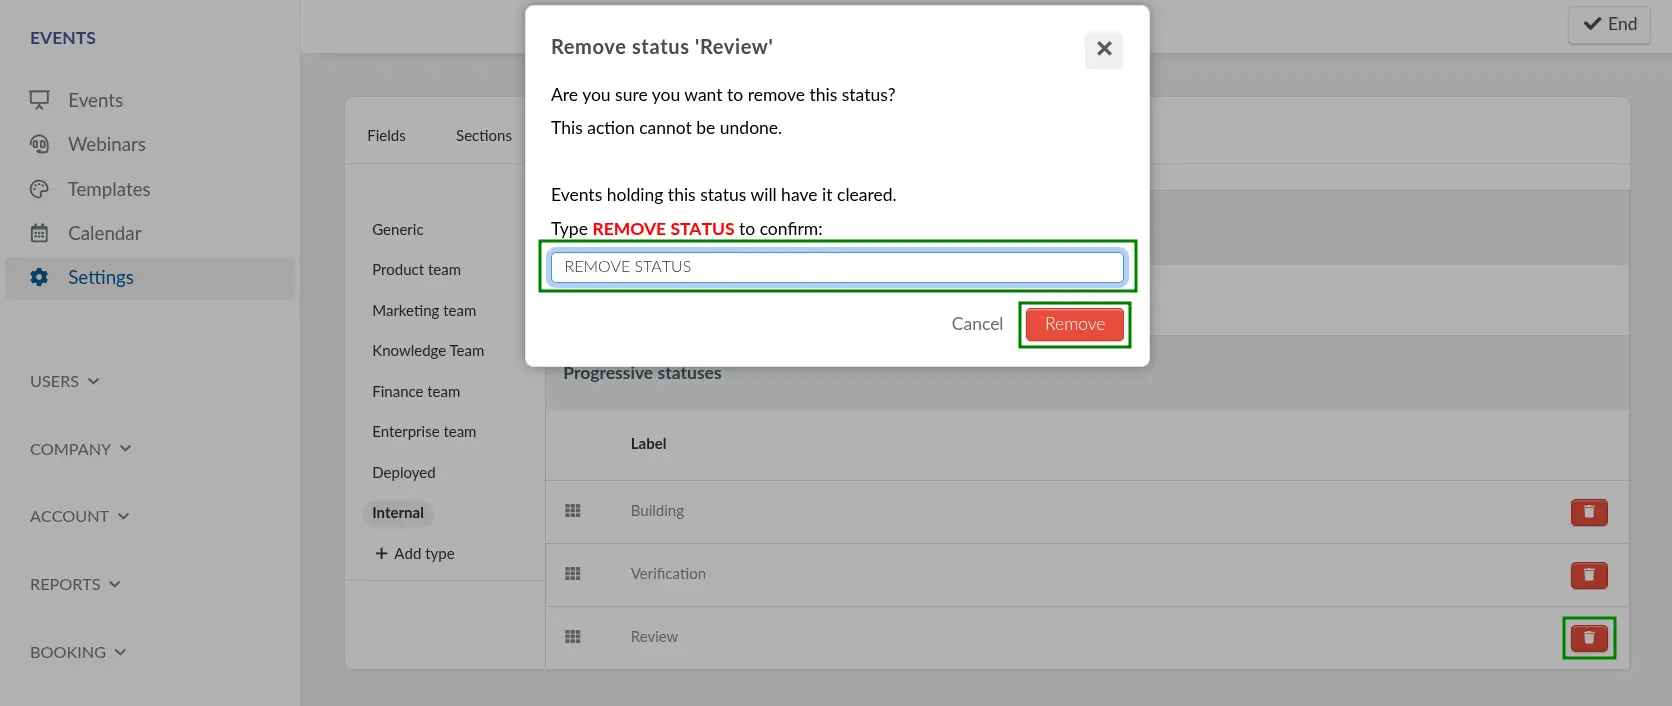
Removing a status
To remove a status, click on Edit in the top right corner and click on the red trash icon beside the status you wish to remove.
Associating an event with a status
To associate an event with a status, follow the steps provided below.
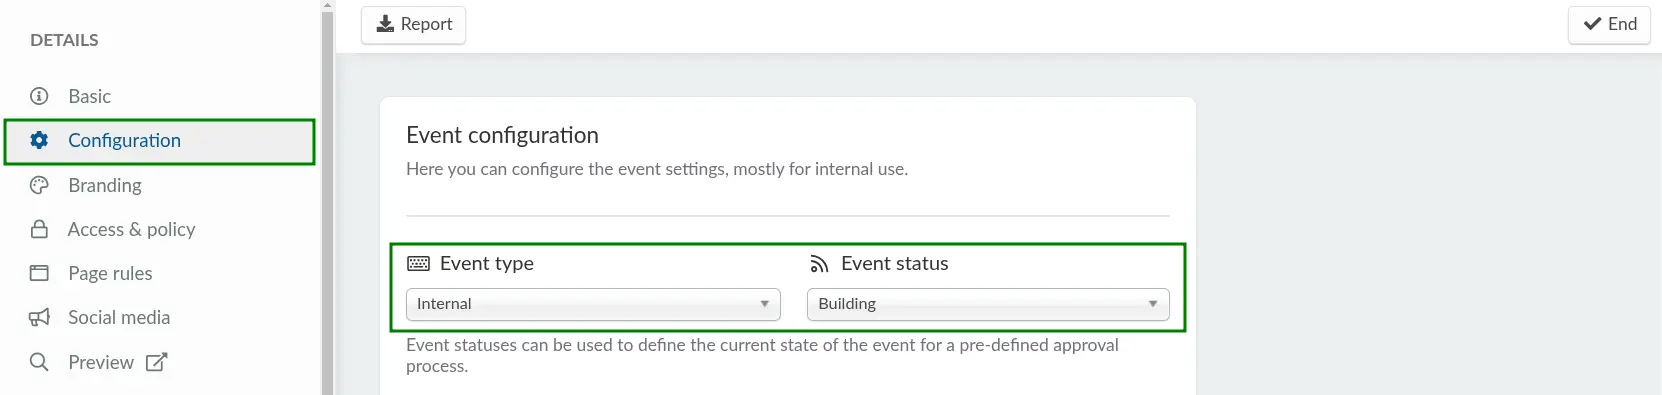
- Navigate to the Event > Details within the Event level.
- Navigate to the Configuration section.
- Select the target Event type from the drop-down menu.
- Select the target Event status from the drop-down menu.
- Press End to save your changes.
To use statuses created under the Generic status type, select the desired status from the Event status field, ensuring no status type is chosen in the Event type field. Once a generic status is associated with an event, it will appear in the first Status column on the Events page at the company level.
Associating field sections with an event status
After creating Fields and linking them to sections, you can ensure that the fields are only visible if an event is at certain status when viewed from the Event > Details page.
To do this, link statuses to sections. Click on Edit, select the section you want to add a status to, and choose the desired status from the Minimum status progression drop-down menu. This way, only users with the linked status can view the fields associated with that section.
To view the sections withholding a certain status, ensure that the event is set to the respective status by following the steps in the previous section. After doing so, refresh the Event details page.
Filtering events based on status
Events can be filtered based on the associated status within the Company level. To do so, follow the steps provided below.
- Click on the Filter button.
- Select Status from the drop-down menu.
- Click on Add filter.
- Select the desired status using the Filter: Status drop-down menu.
- Click on Add.

After completing the steps above, only events that are associated with the selected status will be displayed.