How to migrate from Google Meet to InEvent quickly
In this article, you will learn how to export data from Google Meet to the InEvent platform.
Exporting data from Google Meet using your Google Workplace Admin account to the InEvent platform is very easy.
Exporting data from Google Meet
There are two alternatives to extract data from Google Meet, either using the HubSpot Integration or using the Google Workspace Admin account. Below you will find details from both solutions.
Integration with HubSpot
Google Meet offers a CRM integration with HubSpot that facilitates the import/export of data.
Click here to learn how to integrate your HubSpot account into InEvent. By doing this, you will be able to easily import your leads to InEvent's platform.
If your InEvent plan doesn't include integrations, you can still export a list of leads from your HubSpot account. To learn how to do it, click here.
Google Workspace Admin
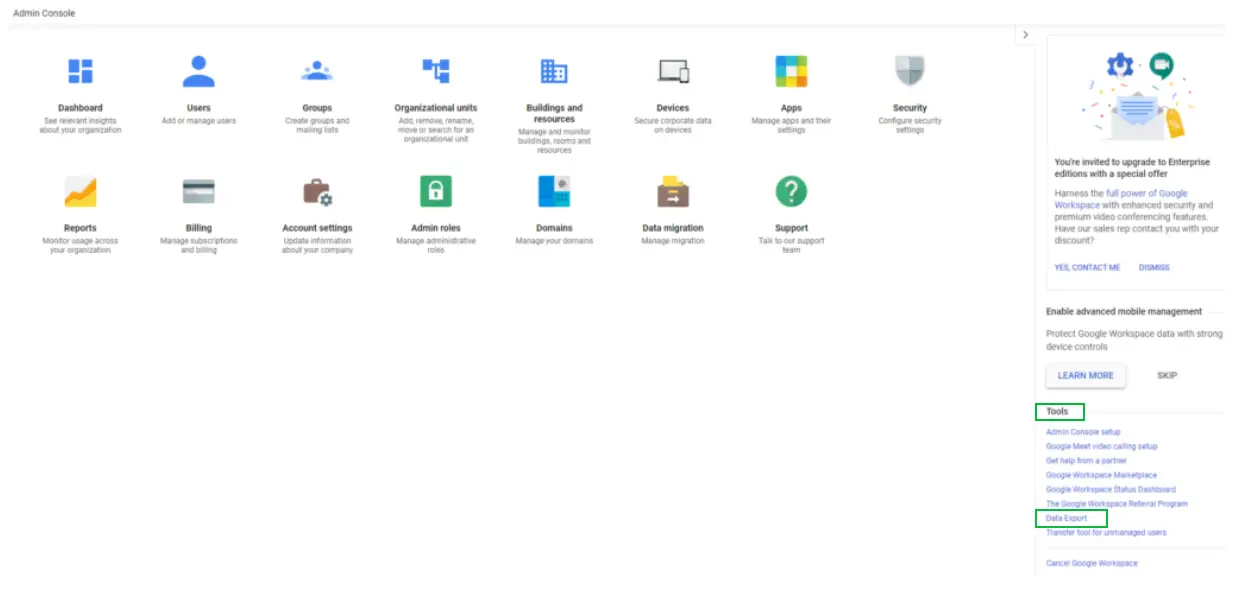
If you don't have Google Meet integrated with HubSpot, you can export data from Google Meet using your Google Workspace Admin account. To learn how to do it, follow these steps:
- From the Admin console Home page, click Open > Tools > Data Export > Start export.

- When your export finishes, you will receive an email notification.
- In your confirmation email or in the Data Export tool, click Access archive.
- Review the status of the export in the Admin console or in Google Cloud Storage.
- The Data Export page in your Admin console shows one of the following status indicators for the export archive:
- Failed—No data was exported
- Complete with errors—Some data is missing from the archive
- Complete—All data was exported
- When you're ready to view and download exported data, in the archive in Cloud Storage, click the root folder. The root folder contains a list of user folders. Each user folder contains a zip file of that user's data.
- Click the zip file to download the user's data.
- Unzip the file to review the user's data by product:
- Calendar data:
The calendar date includes Event start and end time, Frequency related data for recurring events, Invitees and their response statuses, Event title, description, and location, if available and Event creation and last modification time.
- Contacts data:
The data for each contact includes name, photo, group Membership, email, IM, phone, address, organization, relation, external Id, website, event, custom Field, notes, location, birthday, hobby, gender, occupation, priority, sensitivity, billing Information, directory Server, mileage and subject.
Setting up your event
To help you set up the event let's take a look at this step-by-step. In this article you will learn how to:
- Create an event and add information on the Details page
- Add Sponsors, Speakers, and Content
- Create activities and choose the settings for the Virtual Lobby
- Learn more about Customization, Communication, and Registration
- Add Attendees, Invitees, and Leads
- Learn about the Interactions with attendees and finally Dry run
Importing data to InEvent
After checking the article mentioned above, you can take a look at this article in case you are planning on importing data in bulk.

