Purchasing tickets: Guide for attendees
 Updated 2 weeks ago
by
Lorenzo
Updated 2 weeks ago
by
Lorenzo
This guide helps attendees understand the steps involved in purchasing a ticket during the registration process. It covers the steps required to purchase a ticket when you first access the platform
Filling a Purchase form
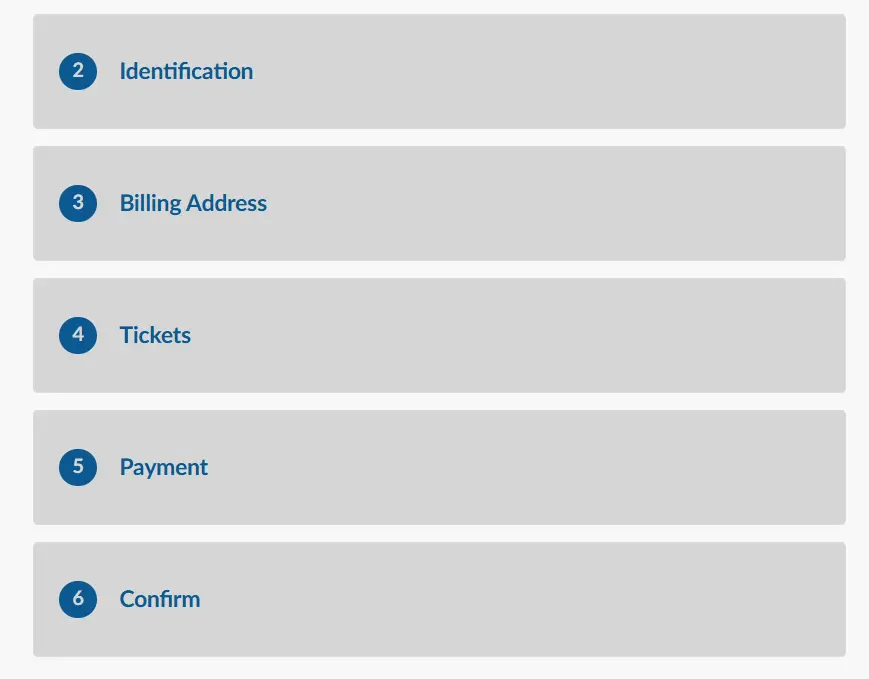
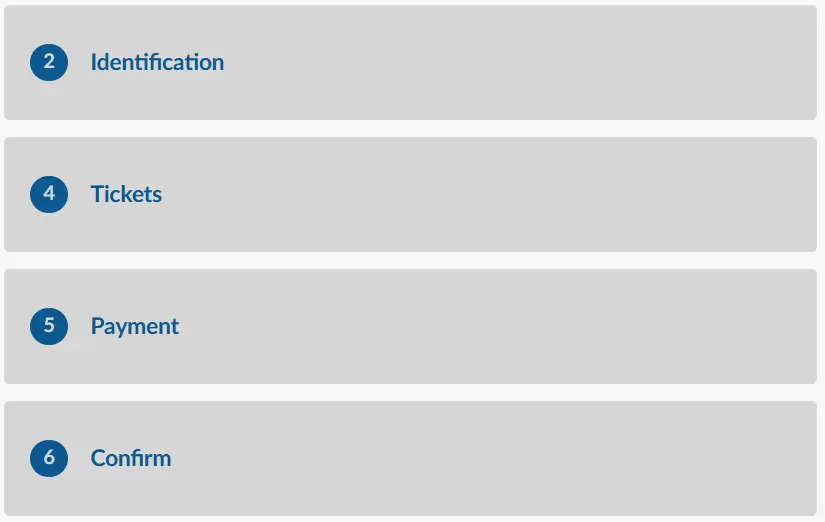
After completing the Registration section of the form, you will proceed to the Purchase Form, which consists of five sections:
- Identification
- Billing Address
- Tickets
- Payment
- Confirm
Identification
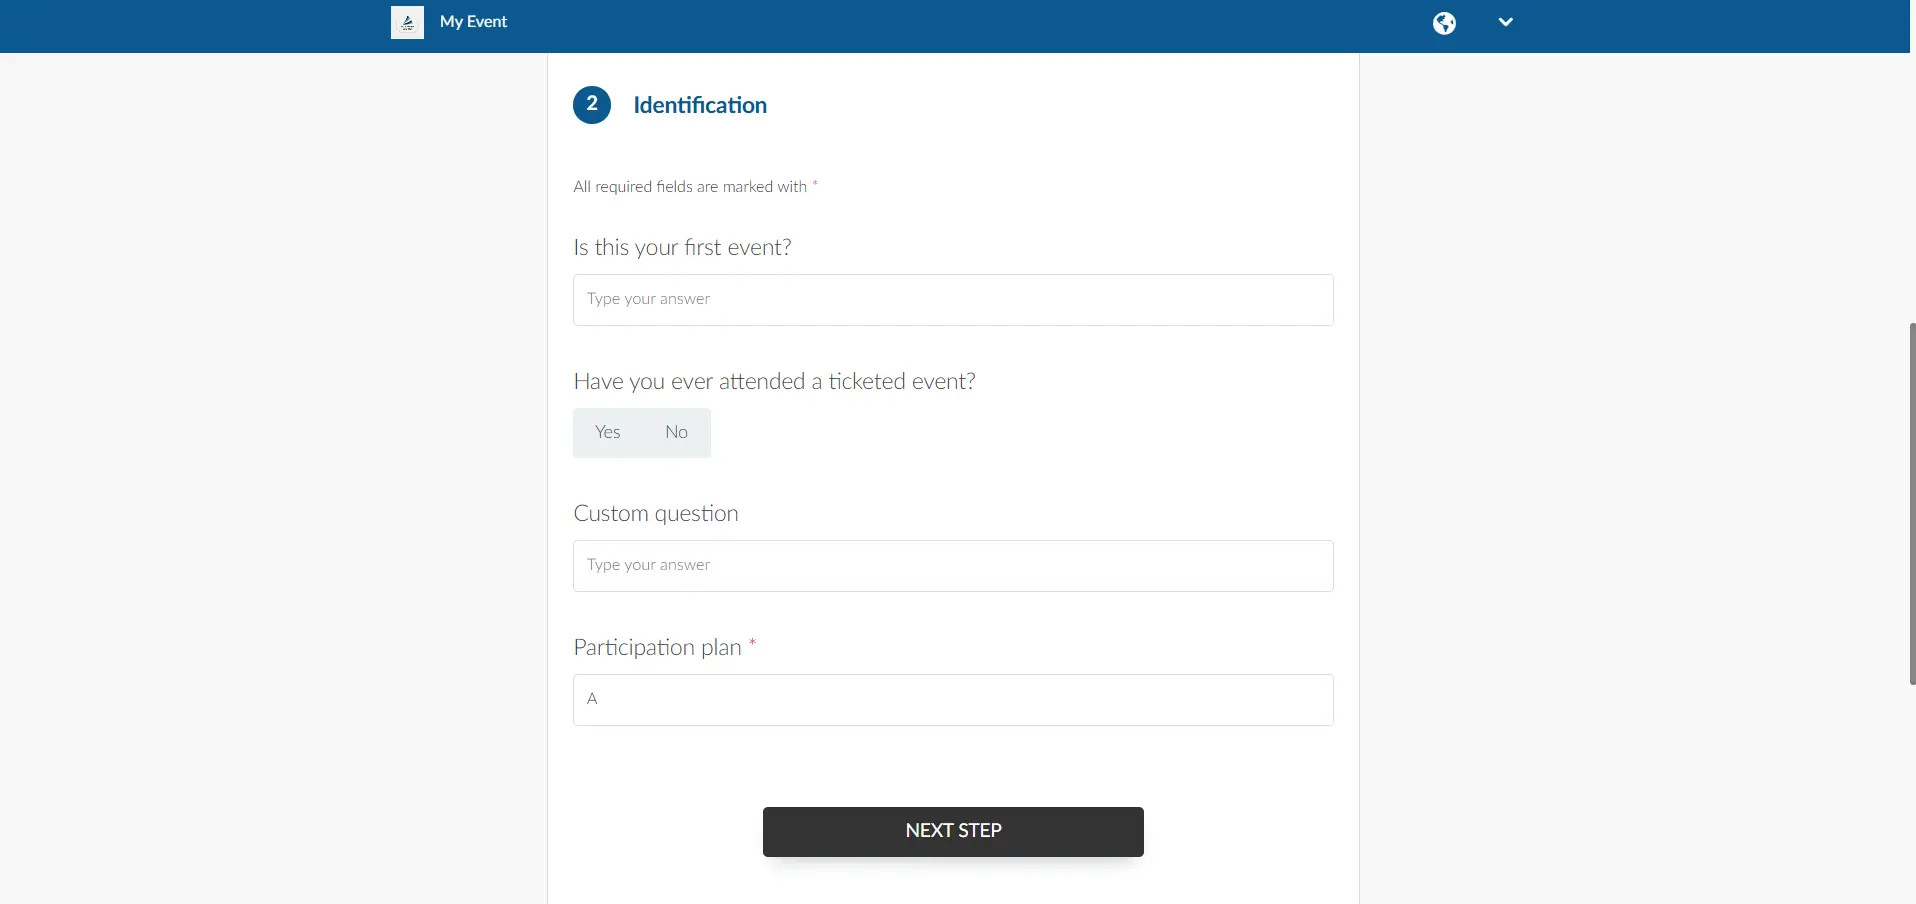
The Identification section of the Purchase form is primarily composed of custom fields set by the event admin. These fields can vary widely, from basic information requests like name or ID numbers to any specific questions the event admin deems necessary. This section is flexible, allowing event organizers to gather information unique to their needs, which can help with attendee verification or personalizing the event experience.
Billing Address
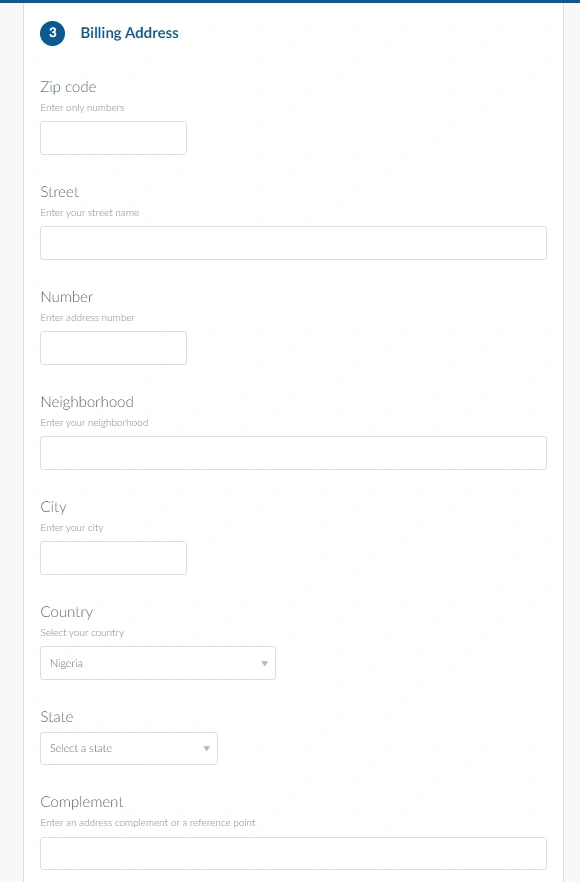
In the Billing section of the Purchase form you are expected to fill in your full address including your:
- Zip code
- Street
- Number
- Neighborhood
- City
- Country
- State
- Complement
Click on Next Step when you are done.
Tickets
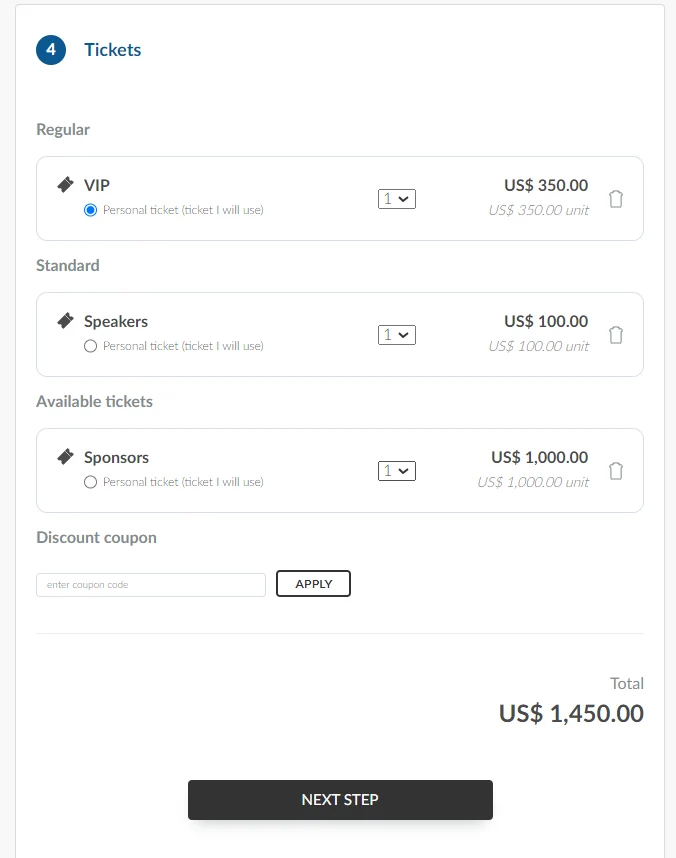
In the Tickets section of the Purchase form, you will be expected to select the type and number of tickets you want. If provided with a discount coupon, which will reduce your ticket price, enter and apply it, otherwise directly proceed by clicking on Next Step.
Payment
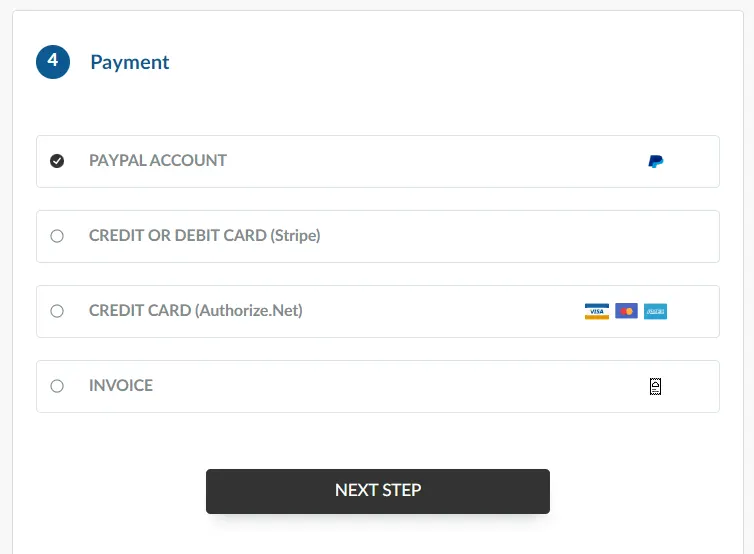
The Payment section of the Purchase form provides a list of payment options for you to select from depending on which is enabled:
- Paypal account
- Credit or Debit card (Stripe)
- Automated Invoice: This payment option appears if you have enabled Stripe invoice.
- Credit Card (Authorize.net)
- Invoice:
Scroll down and click on Next Step to proceed after you have selected the suitable option.
Confirm
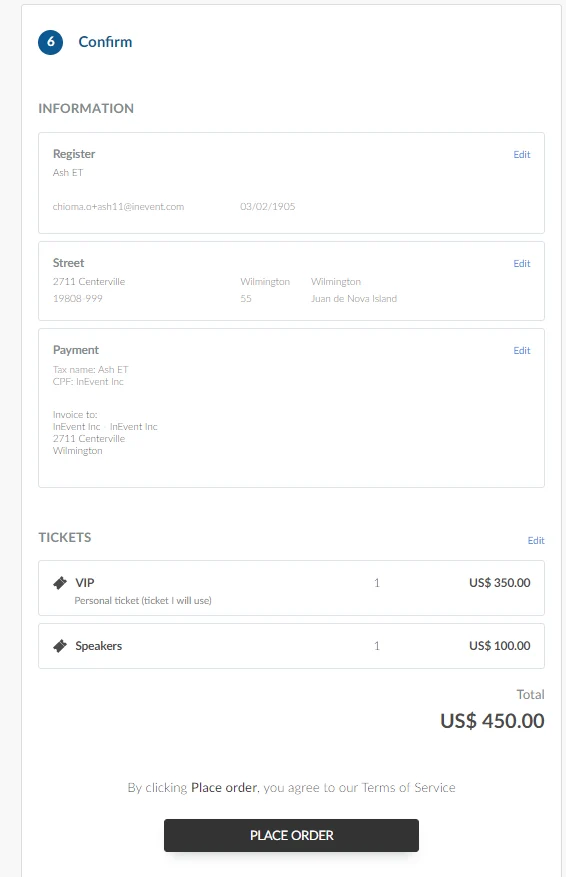
The confirm section of the Purchase form organizes all the details you have filled in and allows you to make edits to them by clicking on the blue Edit button on the right.
Once you have double checked your details and made any necessary edits, scroll down to click Place order to confirm your payment.
My Tickets
After registering, you can go the My Tickets page to view your tickets. For more information, refer to the My Tickets article.
Sending Tickets to Another Person
You can transfer your tickets to another person from the My Tickets page. For detailed instructions, refer to the Sending extra tickets to another person article.
