Blocked list: blocking email domains
 Updated 11 months ago
by
Bissen Ouesleti
Updated 11 months ago
by
Bissen Ouesleti
By using InEvent's Blocked list feature, you will be able to block unwanted email domains from registering for your event. In other words, people who try to register using emails containing certain domains that have been blocked on the platform will not be able to proceed on the registration form.
How do I add a domain to the blocked list?
To add an email domain to the blocked list, follow the instructions below:
- Navigate to Marketing > Registration > Registration Form.
- Click on Blocked list on the left menu panel.
- Click on Edit.
- Enter the email domain you wish to add to the blocked list.
- Click on Add to blacklist.
- Press End to finish.
How do I add email domains in bulk to the blocked list?
To add email domains you wish to block in bulk, follow the steps below:
- Click on Edit.
- Click on Import and press the Download demo file button to download InEvent's demo file.

- Fill the demo file by adding the list of email domains you want to block.
- Click on the Import button again and press the green folder icon.
- Upload the file and press Import.
- Refresh your page to see the list of blocked domains.
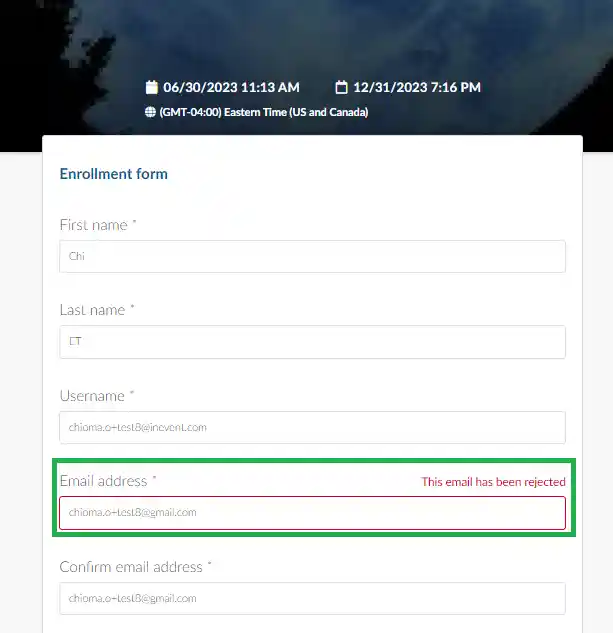
How does the blocked list function on the registration form?
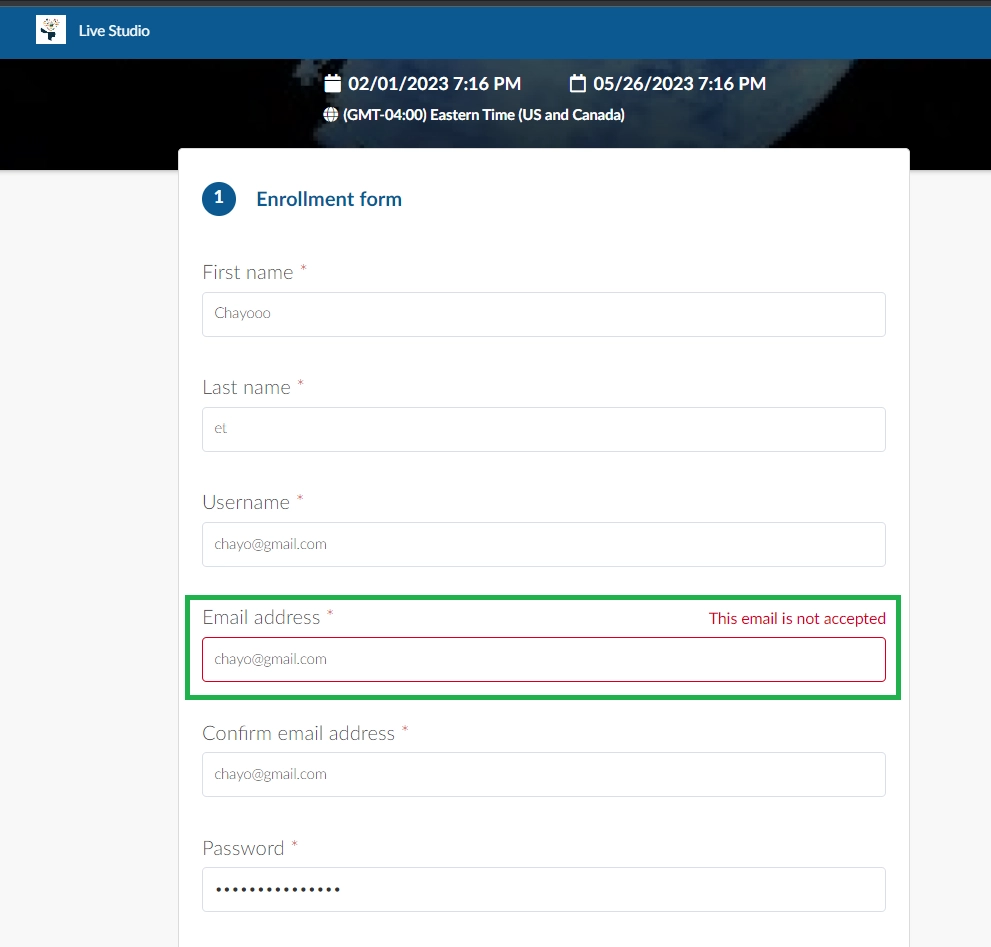
Once an email domain has been added to the blocked list, users will be notified with a 'This email is not accepted' message in the email address field when they try adding a blocked email domain.
Can I customize the error message for blocked domains?
You can customize the error message This email is not accepted using the Headings feature. To do this, go to Account > Headings at the company level or Settings > Headings at the event level, then follow the steps below:
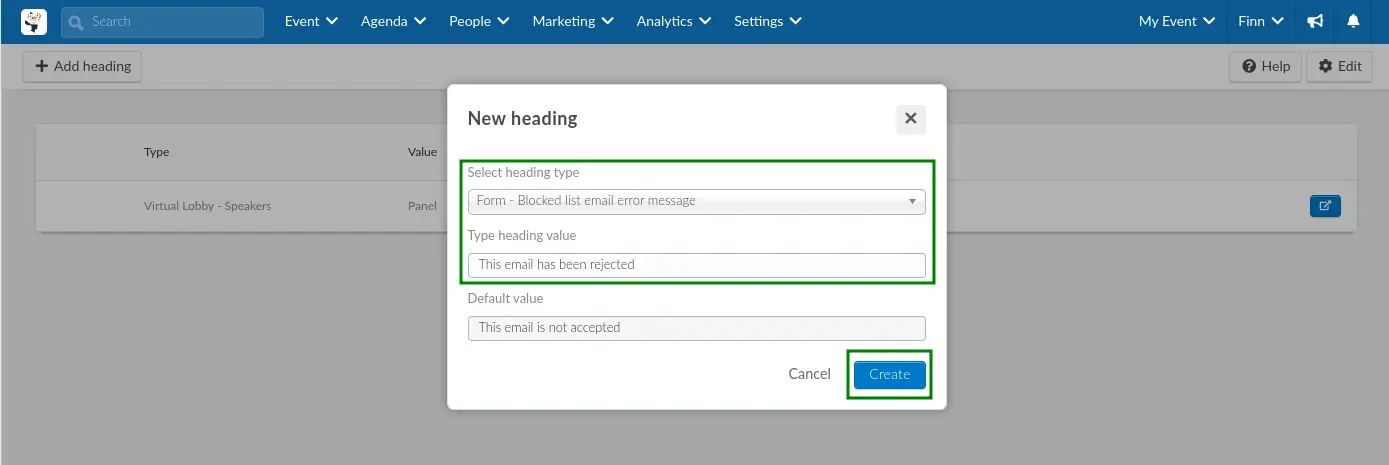
- Click on Add heading.
- Choose Form - Blocked list email error message from the Select heading type drop- down.
- Type in the new heading value in the Type heading value box.
- Click on Create.
Below is an example of how the customized heading looks on the Registration form.
How do I remove an email domain from the blocked list?
To remove an email domain from the Blocked list, simply click on the red trash icon. A confirmation box will appear for you to confirm your action, click on Remove.
Can I download a report of the blocked email domains?
To download a report of the blocked email domains in your event, simply click on Edit and press the Report button at the top left corner of the Blocked list page. A spreadsheet report will be processed and sent to your email.
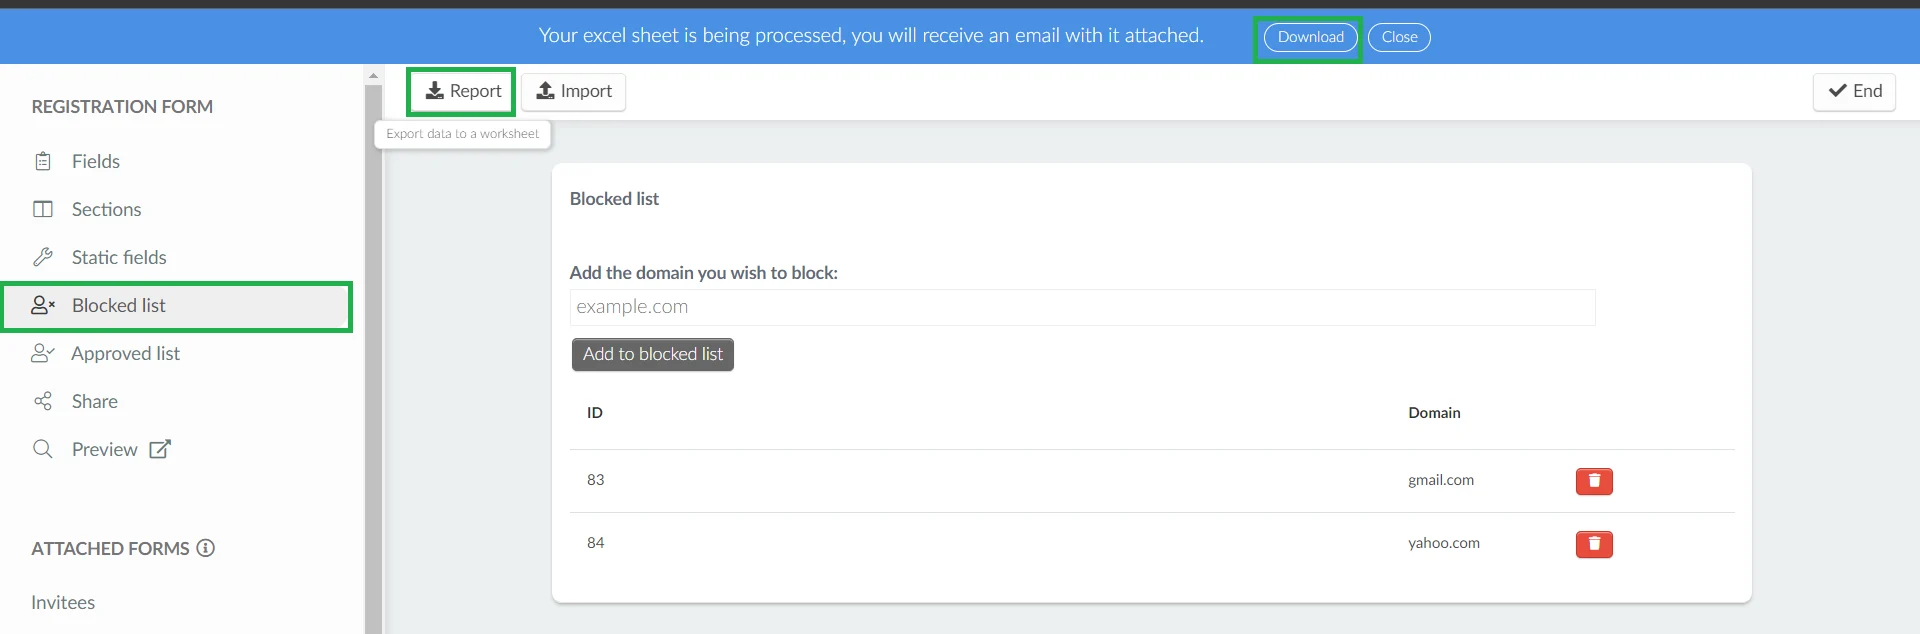
The report will contain information on the following: ID of the blocked email domain, eventID, and the blocked email domain.
