Attendance tracking
 Updated 8 months ago
by
Chioma Okenwa
Updated 8 months ago
by
Chioma Okenwa
- How do I enable the attendance tracking tool?
- How do I add units?
- How do I define which activities will award units?
- Unit display during your event
- Attendance tracking reports
With the attendance tracking tool, you will be able to track attendees' participation in different education programs, trainings and courses. You also have the possibility to award attendance certificates, using CEU and CPE units.
You can use Continuing Education Units (CEU) to certify that your attendees have actively watched them through to the end. You can also use the Continuing Professional Education (CPE) to track attendance in ongoing programs, trainings, and courses where consistent participation is a requirement to obtain certification.
How do I enable the attendance tracking tool?
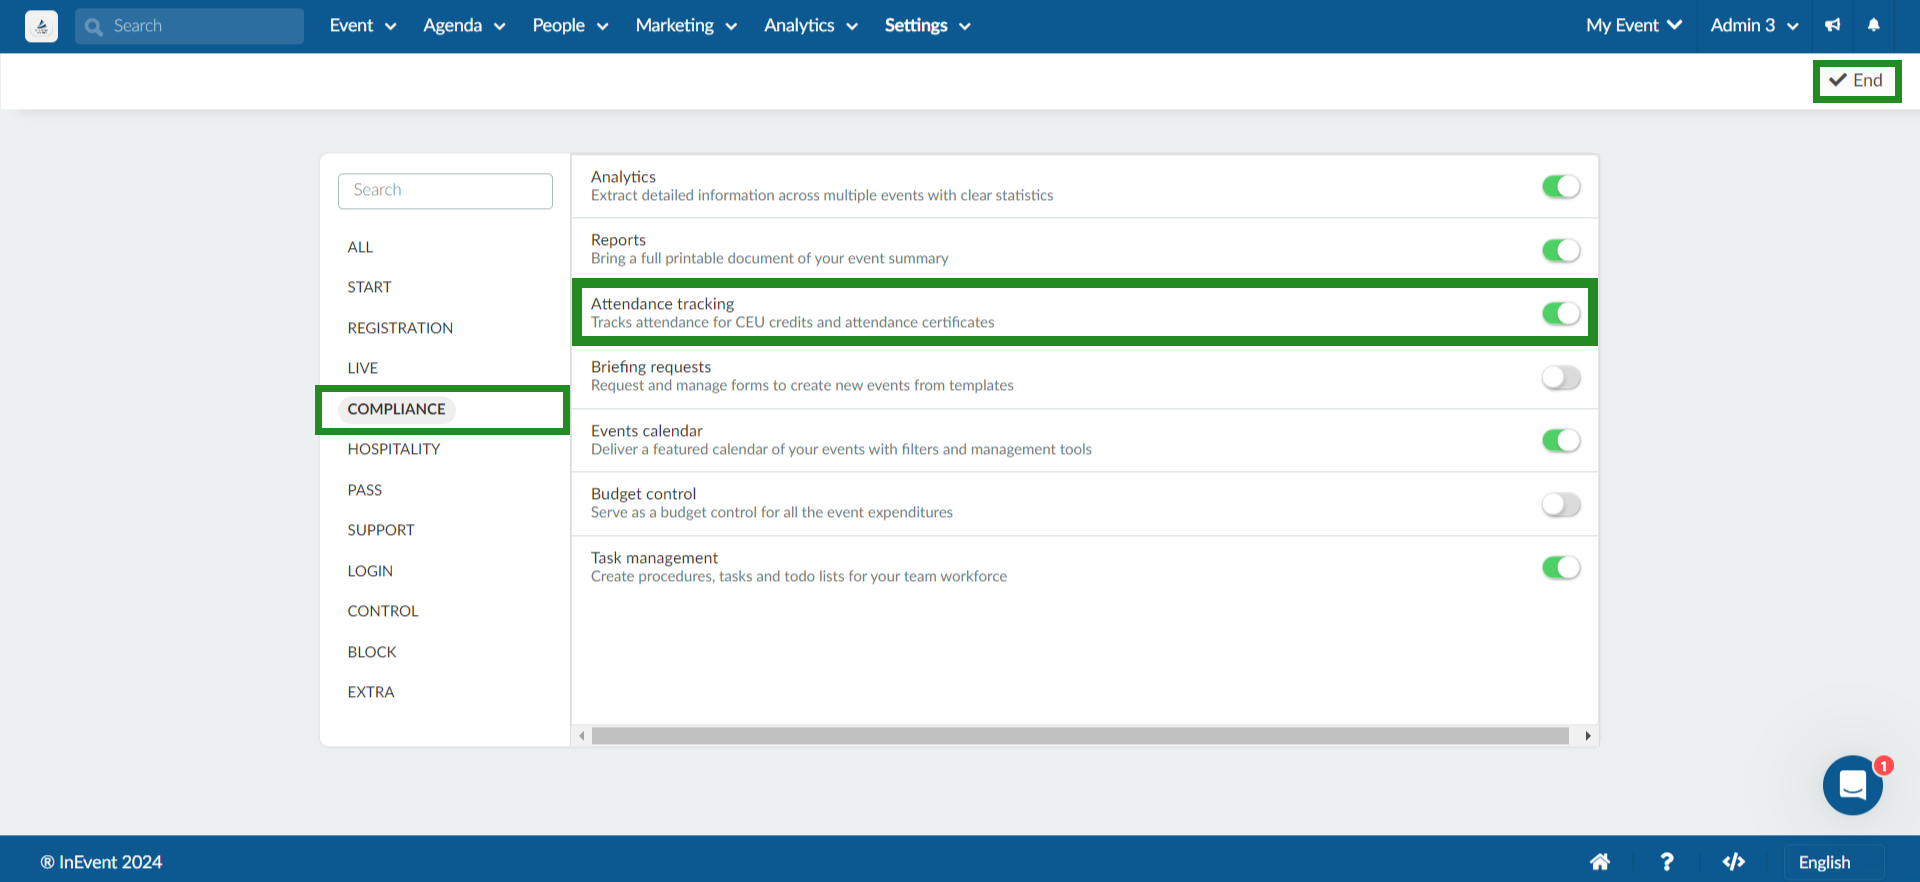
To enable this feature, go to Settings > Tools > scroll down until you see the Compliance section. Then press Edit, and make sure the Attendance tracking checkbox is ticked. Press End to save the changes.
If instead of seeing a checkbox, you see Click, there might be two reasons why that is happening:
- You need to enable this feature at the company tools. To do so, go to the company level, and click Account > Tools in the menu on the left-hand side. Then, scroll down until you see the Compliance section, press Edit, and make sure the Attendance tracking checkbox is ticked. Press End to save the changes.

- If instead of seeing the checkbox, you see Purchase, this means that this feature is not included in the plan you have purchased. Click here to check which features are included in each plan.
How do I add units?
To add units, go to People > Programs > Attendance.
Then, press + Add unit. A window will open up and you will need to fill out the following fields:
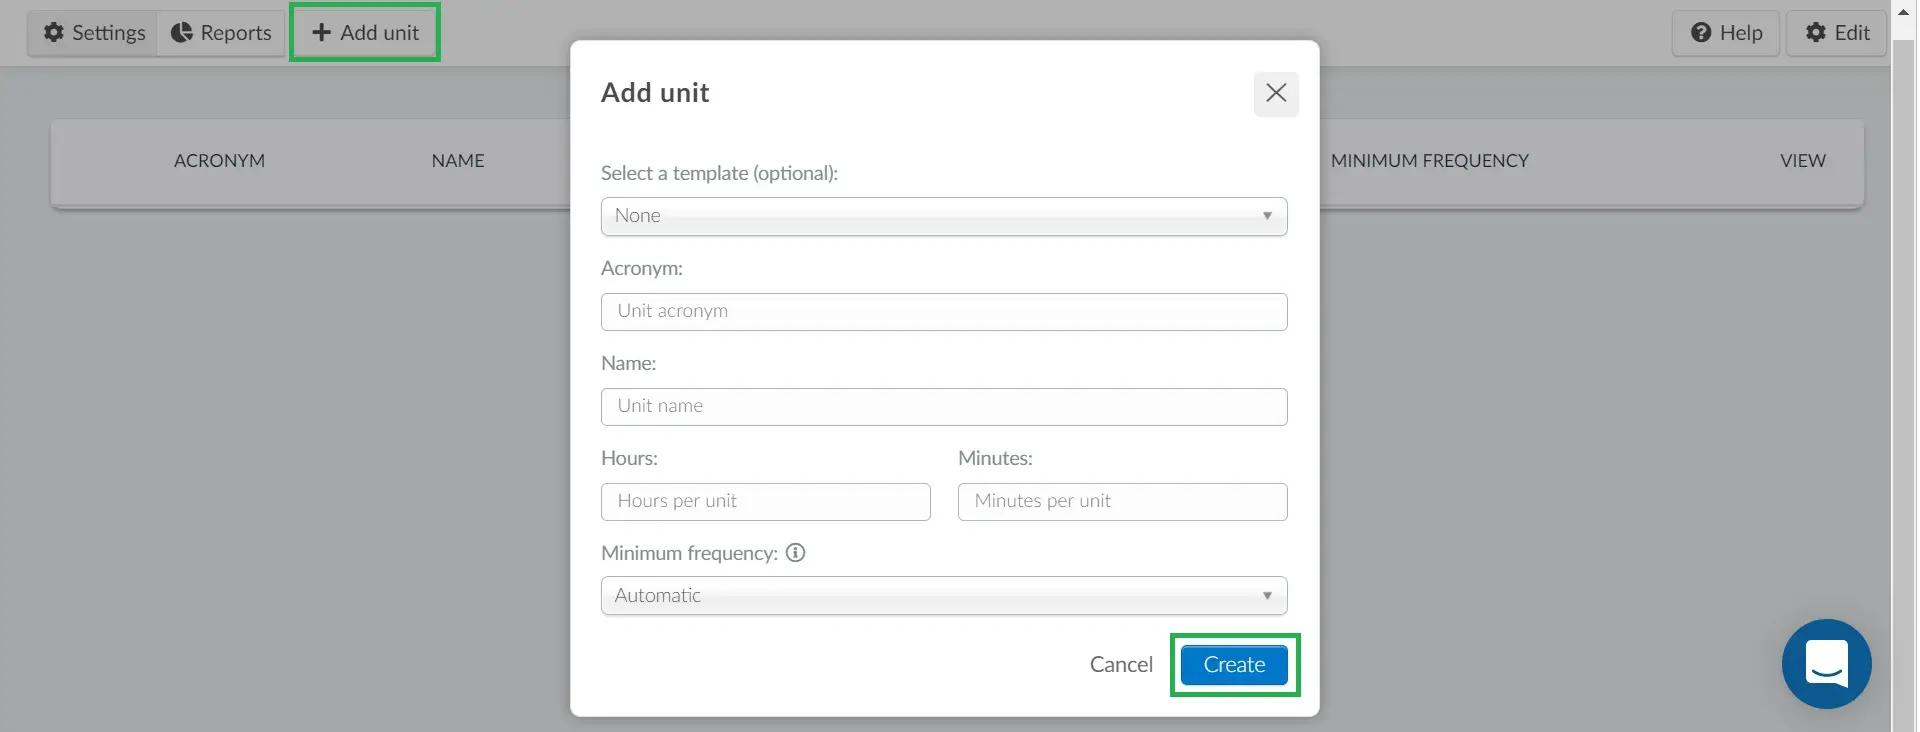
- Select a template: this field is optional. You can choose from (CEU) Continuing Education Units - 10 hours or (CPE) Continuing Professional Education - 50 minutes. If you select an option from the template, the following fields Acronym, Name, Hours and minutes will be prepopulated. If you prefer, you can create custom credit units by defining its acronym, name, how many hours and/or minutes a unit will represent, and its minimum frequency.
- Acronym: Type the unit's acronym.
- Name: Type the unit's name.
- Hours and minutes: Define the duration an attendee needs to complete to achieve one unit.
- Minimum frequency: Attendance will be checked via pop-ups inside the sessions. With this field, you can define the minimum amount of pop-ups that show for completing unit credits. You can choose automatic, or from 1 to 12 times.
Once you have filled out all fields, press Create.
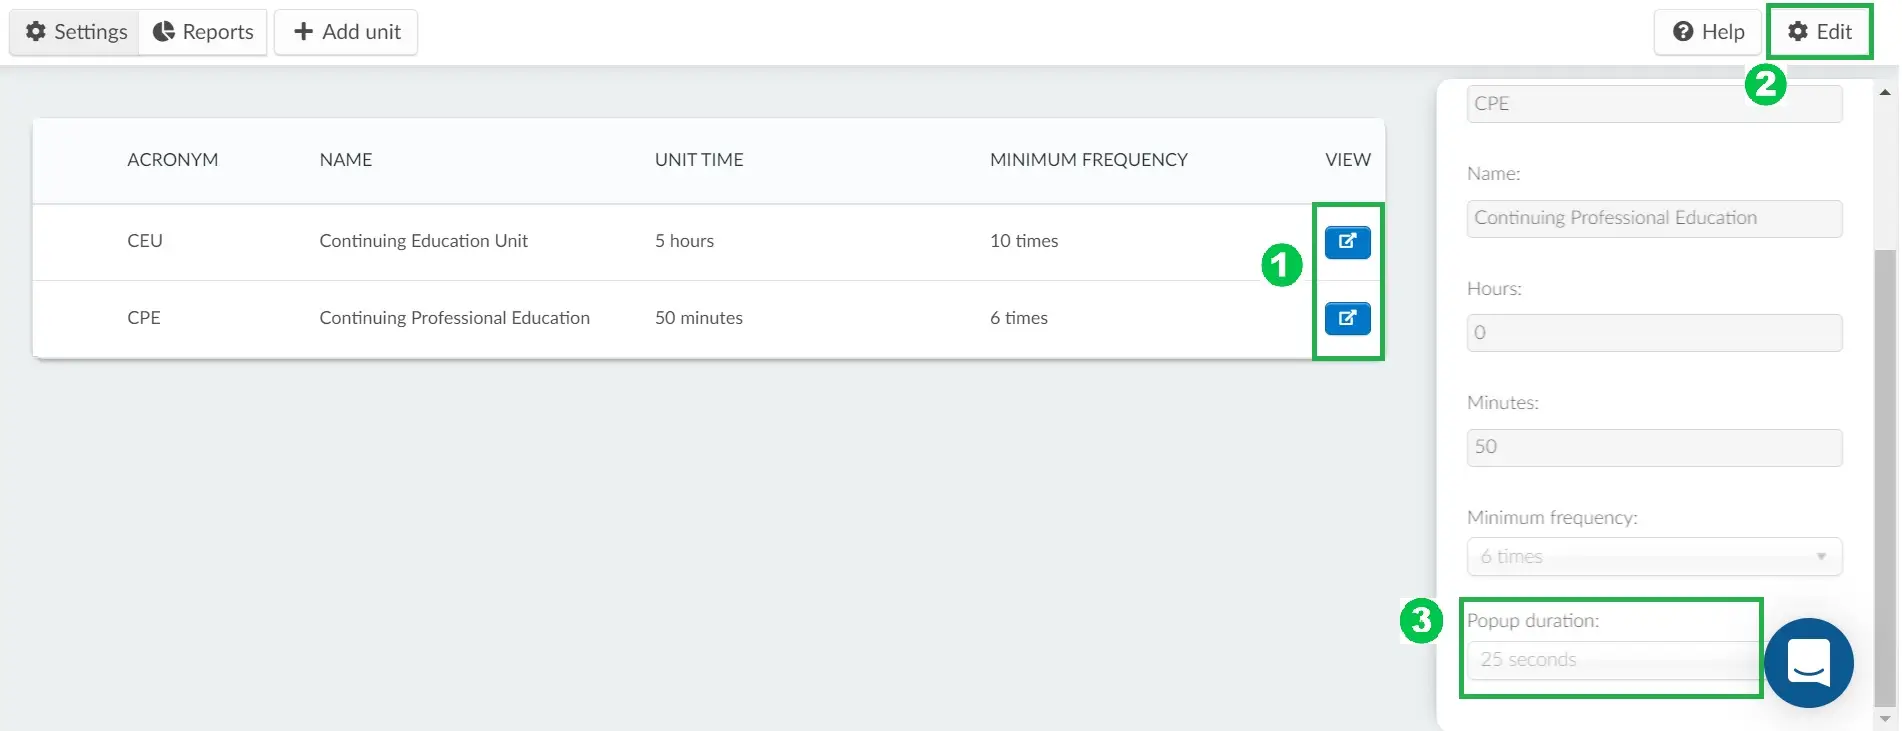
Pop-up duration
By default, the attendees will have 10 seconds to answer each pop-up. If the pop-up isn't answered within 10 seconds, it will disappear automatically.
If you would like to edit the pop-up duration, click on the blue button corresponding with the credit > press Edit > scroll down until you see Pop-up duration and select the desired length using the dropdown bar.
How do I define which activities will award units?
To define which activities will award units, follow the instructions below;
- Go to Agenda > Activities and select an activity.
- Press Edit and Scroll down until you see Attendance tracking.
- Select a unit under the Select the attendance tracking unit field.
- Select a quiz under the Quiz completion field.
- Choose the Min Grade and Press the blue Add button.
Unit display during your event
Once your sessions (that have been created with your desired units) are taking place, these will begin to pop up for your attendees.
The pop up will show up on each attendee's screen, urging them to confirm their presence.

The pop-up messages will only be displayed in the activities you have associated units with.
How do I remove attendance tracking units from activities?
To remove attendance units from activities, scroll down to attendance tracking and press the red trash can icon.

Attendance tracking reports
To check the attendance tracking reports, go to People > Attendance Tracking > and then click on Reports on the upper left corner. This way you can check the calculated credits for each user or session.
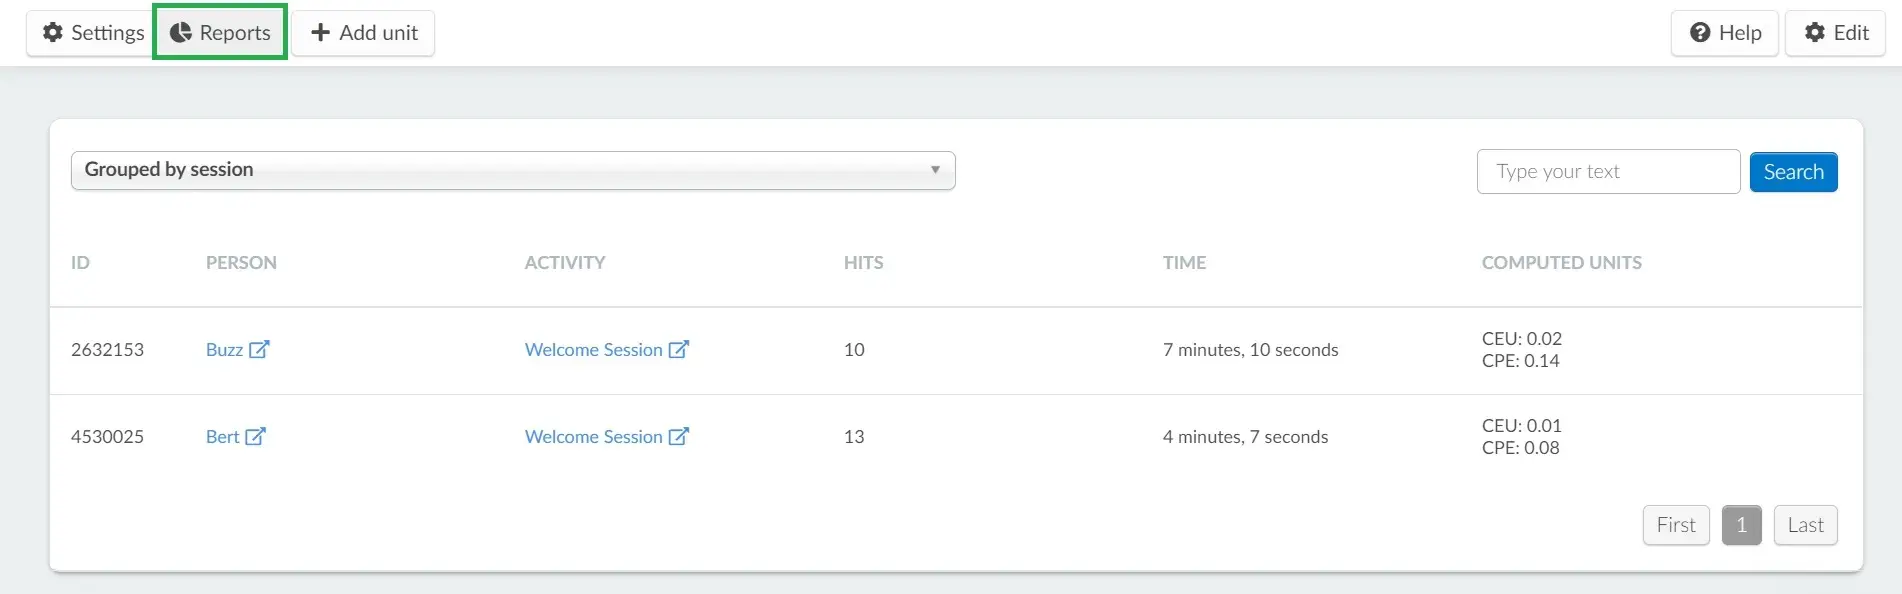
Grouping and ungrouping reports
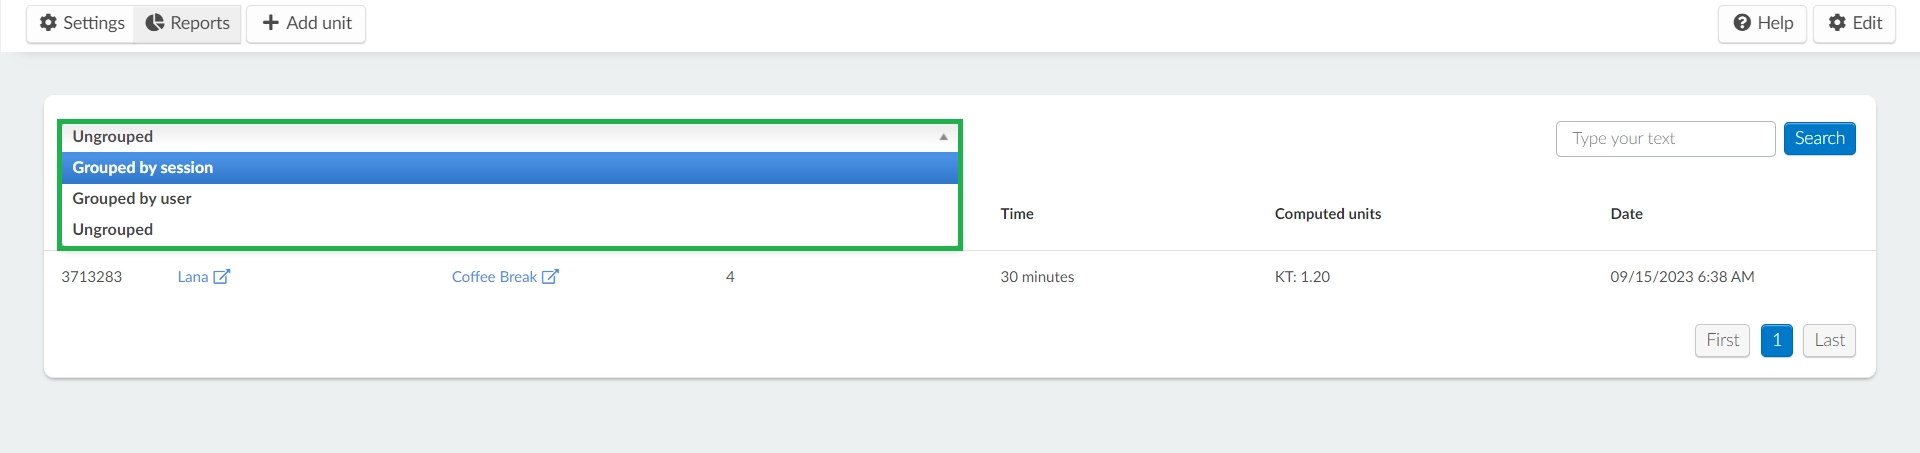
You can specify whether you want to view a list of all your reports or if you prefer them grouped by specific fields:
- Grouped by session: You can filter the units calculated for each session.
- Grouped by users: You can filter the units calculated for each user.
- Ungrouped: You get all reports listed without being grouped by specific fields.
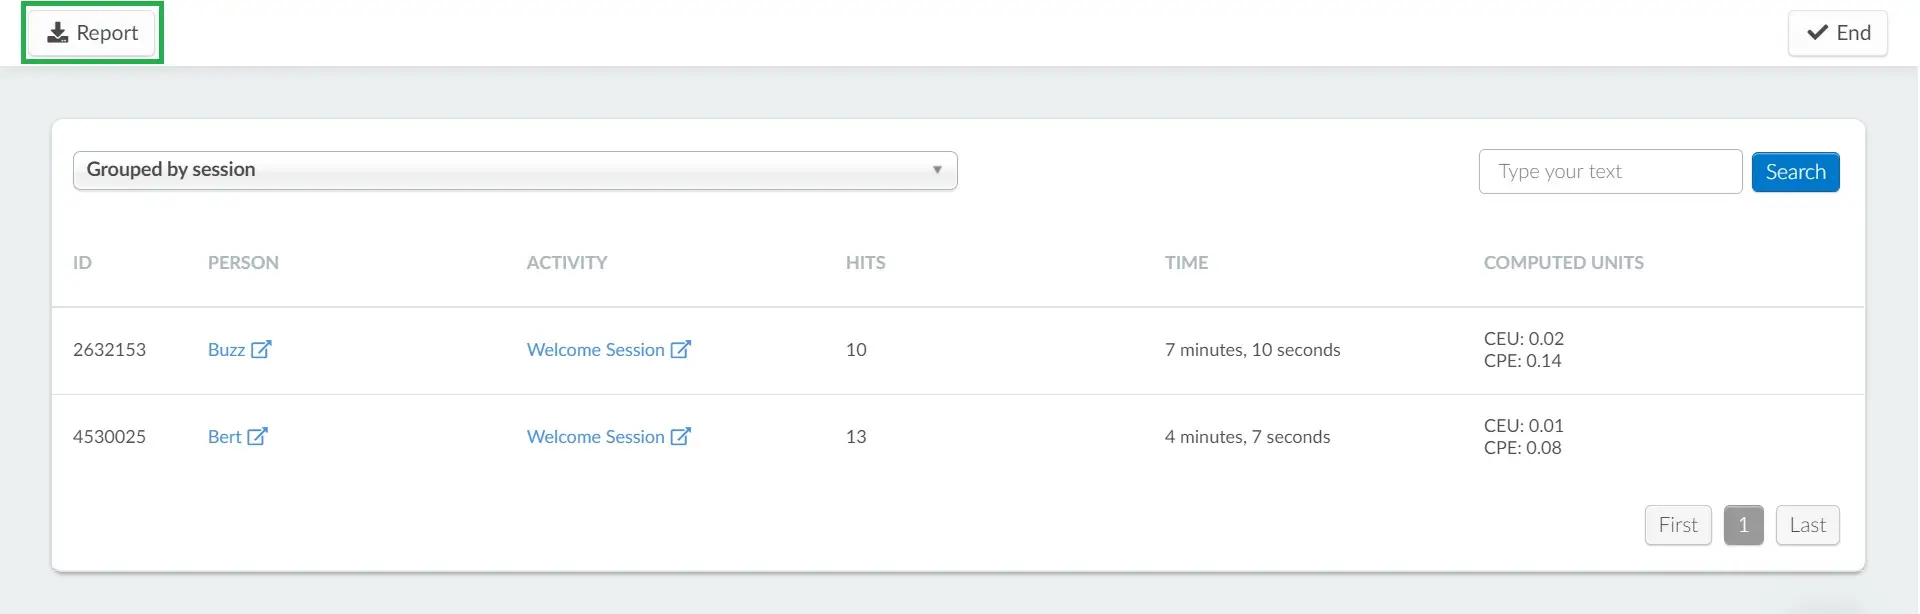
Grouped by session
The Grouped by session option will show tracking records grouped by session. You will find the following information:
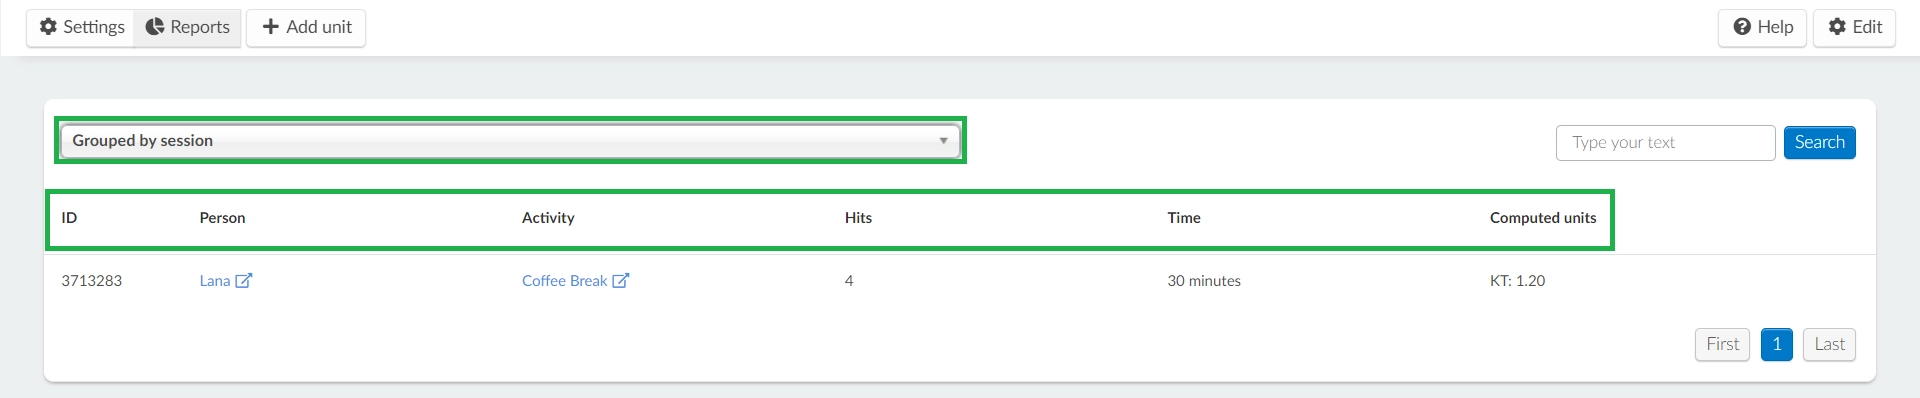
- ID: The ID of the attendee.
- Person: The name of the attendee.
- Activity: The name of the activity linked to the unit.
- Hits: Number of times the pop-up confirmation has been clicked by an attendee.
- Time: The duration of time an attendee has watched an activity.
- Computed units: The number of unit(s) achieved by the attendee, calculated based on the time watched and defined unit.
Computed Units Calculation
Computed are calculated by dividing the total time the attendee watched a session by the defined unit time (usually the length of the session). For instance, if a session is set to 60 minutes and the attendee watches the entire session, they achieve one computed unit. - Date: Shows the date and time of attendee accessing the tracked session.
Grouped by user
The Grouped by user option will show tracking records grouped by user. You will find the following information:
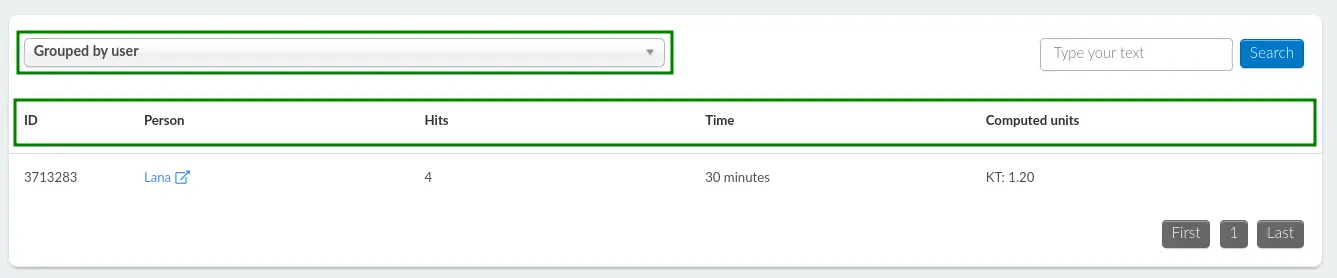
- ID: The ID of the attendee.
- Person: The name of the attendee.
- Hits: Number of times the pop-up confirmation has been clicked by an attendee in tracked activities.
- Time: The duration of time an attendee has watched tracked activities.
- Computed units: The number of unit(s) achieved by the attendee, calculated based on the time watched and defined unit.
Ungrouped
This option will show all tracking records individually, without being grouped. You will find the following information:
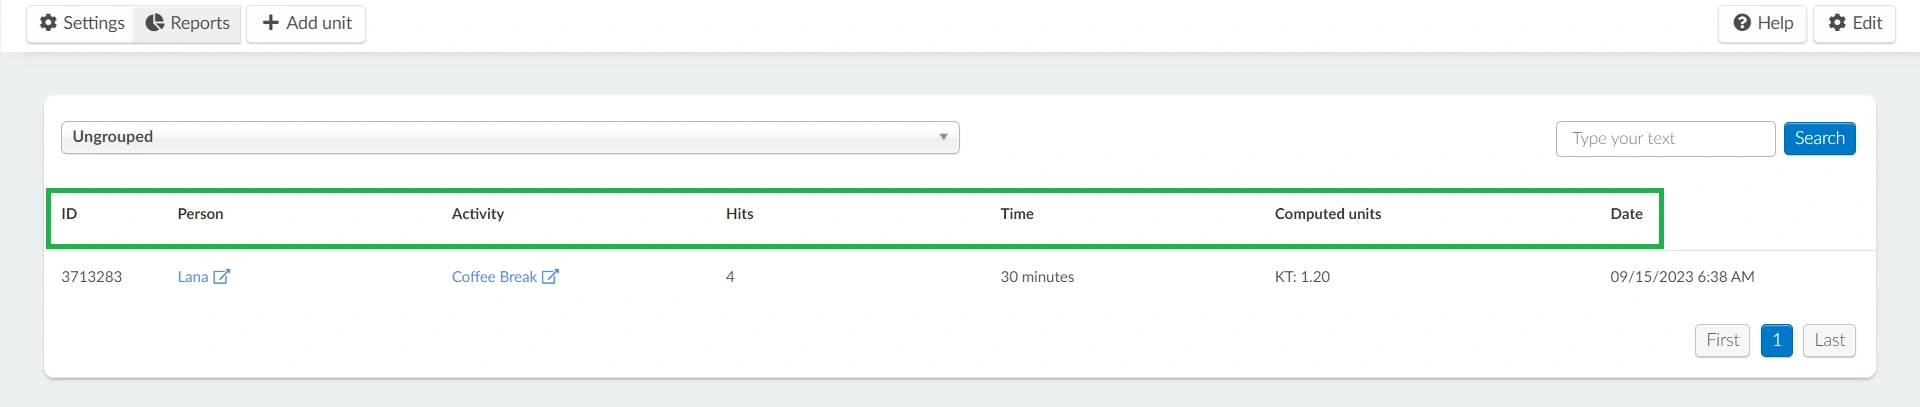
- ID: The ID of the attendee.
- Person: The name of the attendee.
- Activity: The name of the activity linked to the unit.
- Hits: Number of times the pop-up confirmation has been clicked by an attendee within the tracked activity.
- Time: The duration of time the attendee has watched the tracked activity.
- Computed units: The number of unit(s) achieved by the attendee, calculated based on the time watched and defined unit.
- Date: Shows the date and time of the attendee accessing the tracked session.
How do I extract this data from the platform?
To have this information available in an excel sheet, press Edit and the Report button will appear in the upper left corner. Once you click the button, a message will appear at the top of the screen, advising you that you will receive the file with the data in your email when the process is complete.
How do I create certificates of attendance?
Event attendees are often looking forward to receiving a certificate once the event is over so they are able to add it to their CV, and set themselves apart in a competitive industry. Click here to check a step-by-step on how to generate automated and personalized certificates of attendance for your event.