Certificates of attendance
 Updated 9 months ago
by
Chioma Okenwa
Updated 9 months ago
by
Chioma Okenwa
Event attendees are often looking forward to receiving a certificate once the event is over so they are able to add it to their CV, and set themselves apart in a competitive industry.
This article intends to give you a step-by-step on how to generate automated and personalized certificates of attendance for your event.
Enabling Attendance tracking
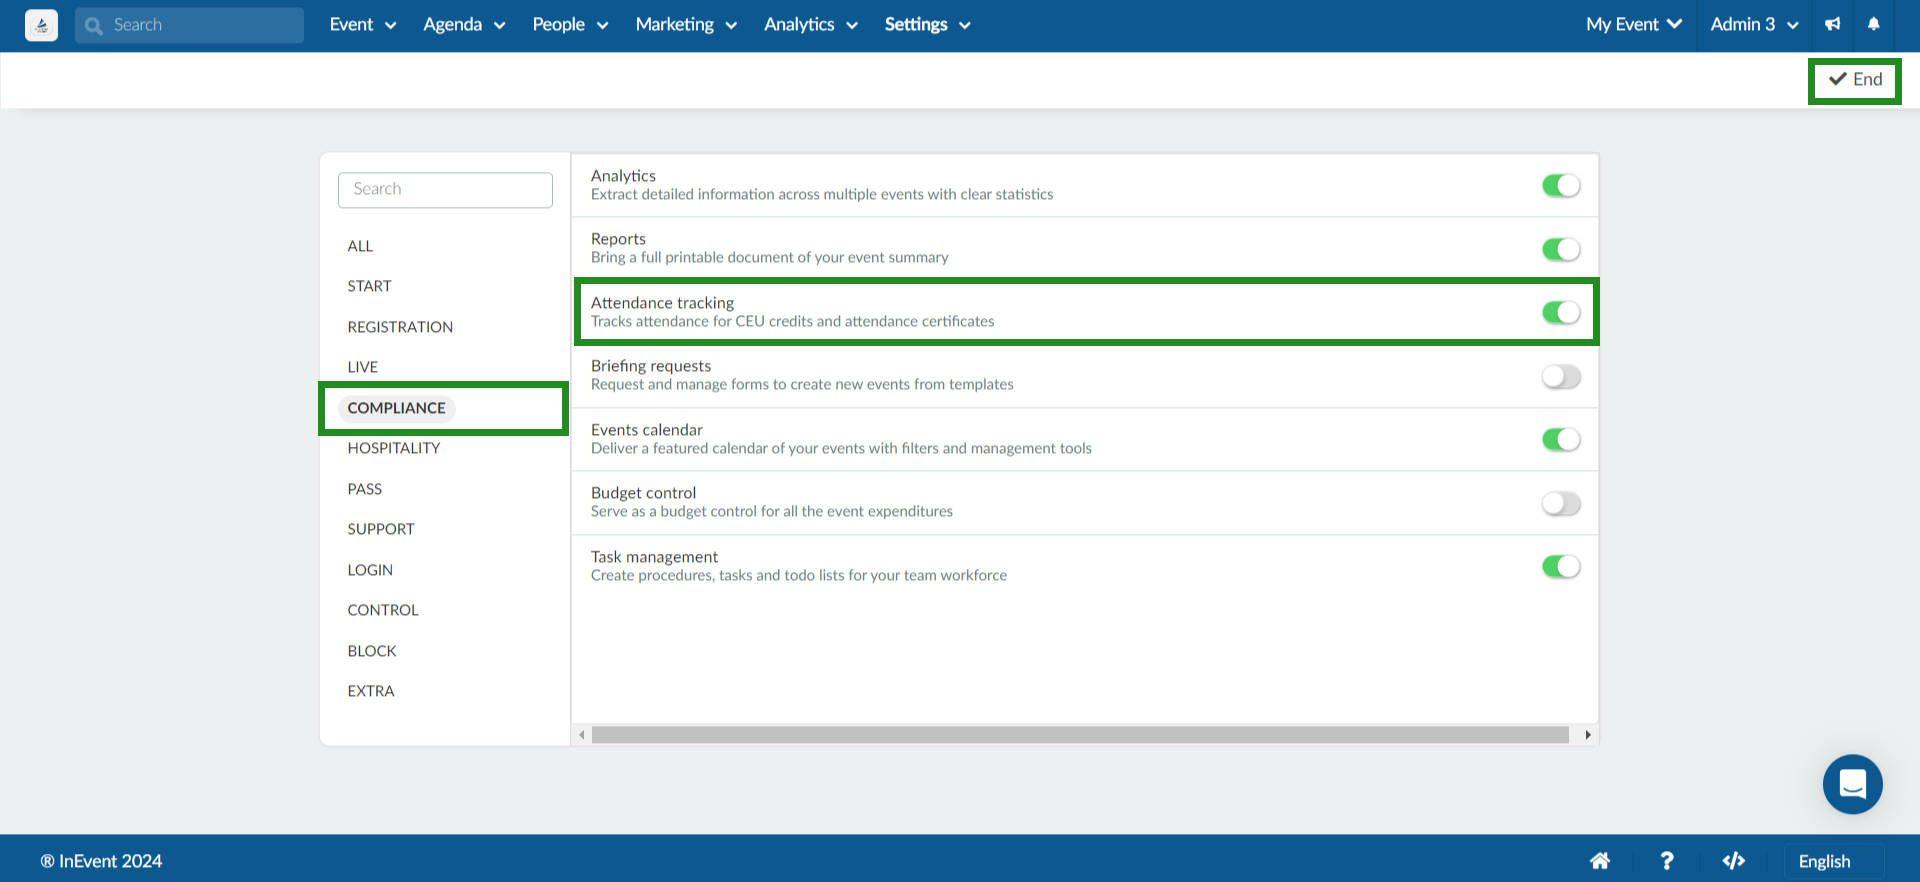
Before proceeding to create your own certificate template, ensure that you have enabled the Attendance tracking feature at your event. To do so, follow the steps below.
- Navigate to Settings > Tools under the Event level.
- Click on Edit on the top right corner.
- Locate Attendance tracking under the Compliance section.
- Enable the tool using the toggle on the right.
- Click on End to save your changes.
Once you have completed the steps above, you can start creating your own certificate template.
If you receive the following message:
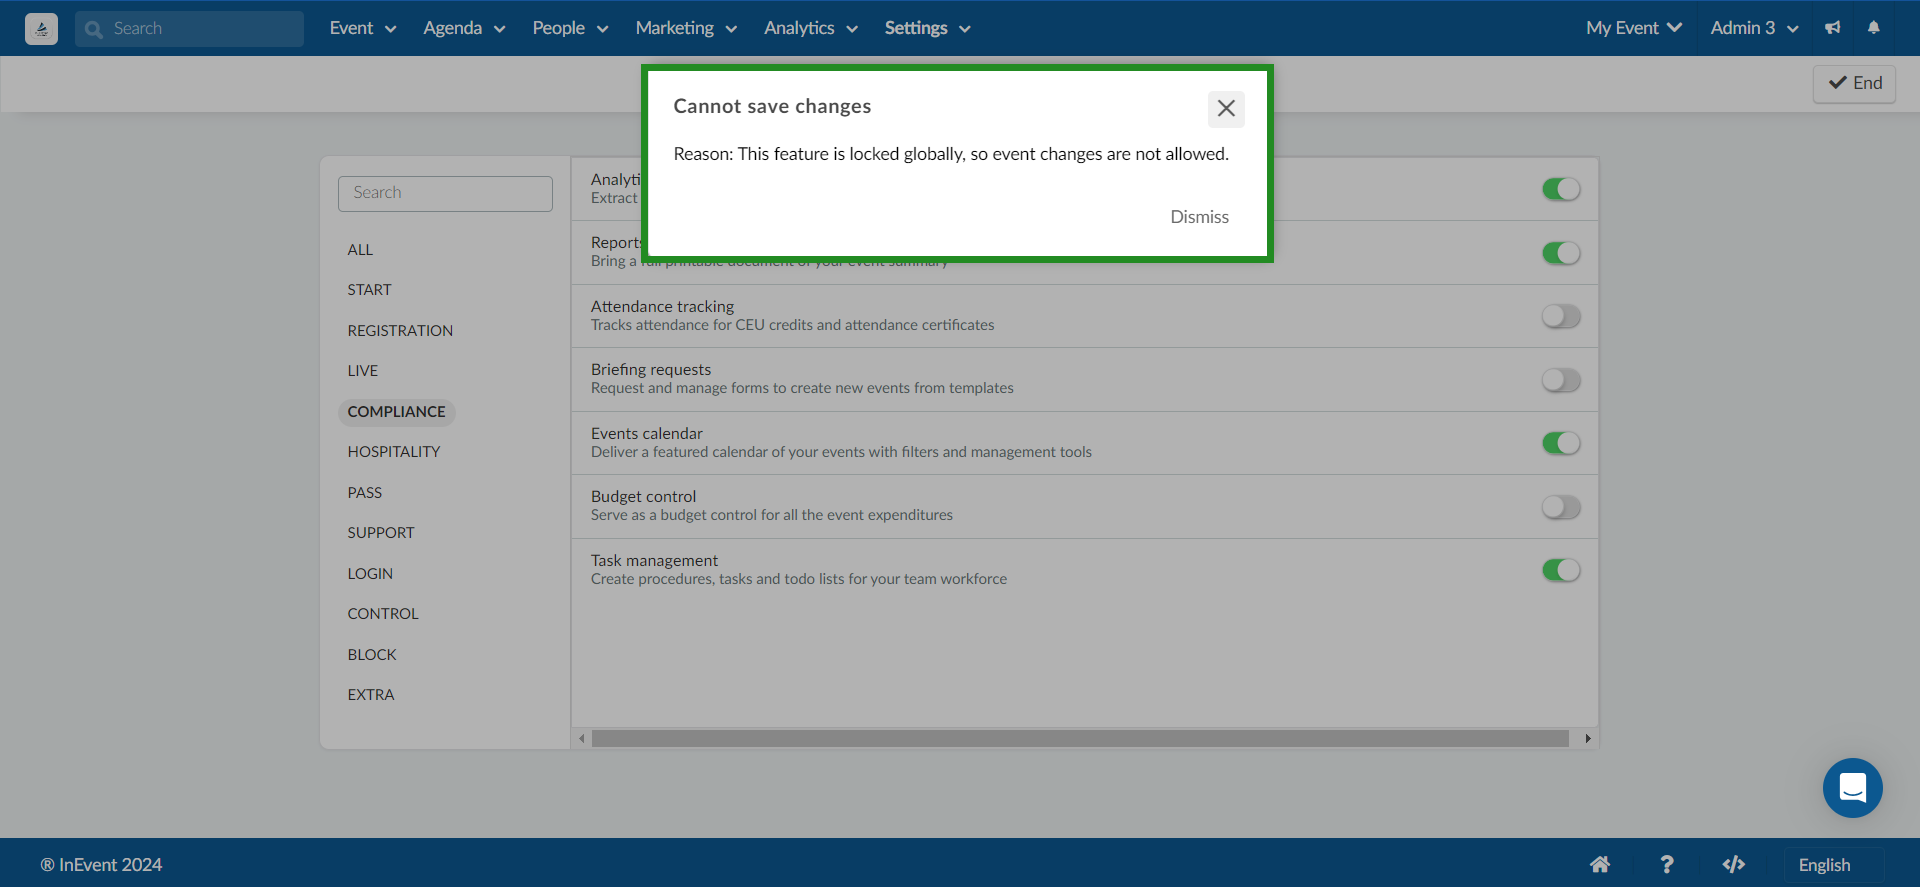
you need to first enable Attendance tracking within Company tools.
Creating Attendance Certificates
To start creating and configuring your certificates, follow the steps provided below.
- Navigate to People > Programs > Certificates.
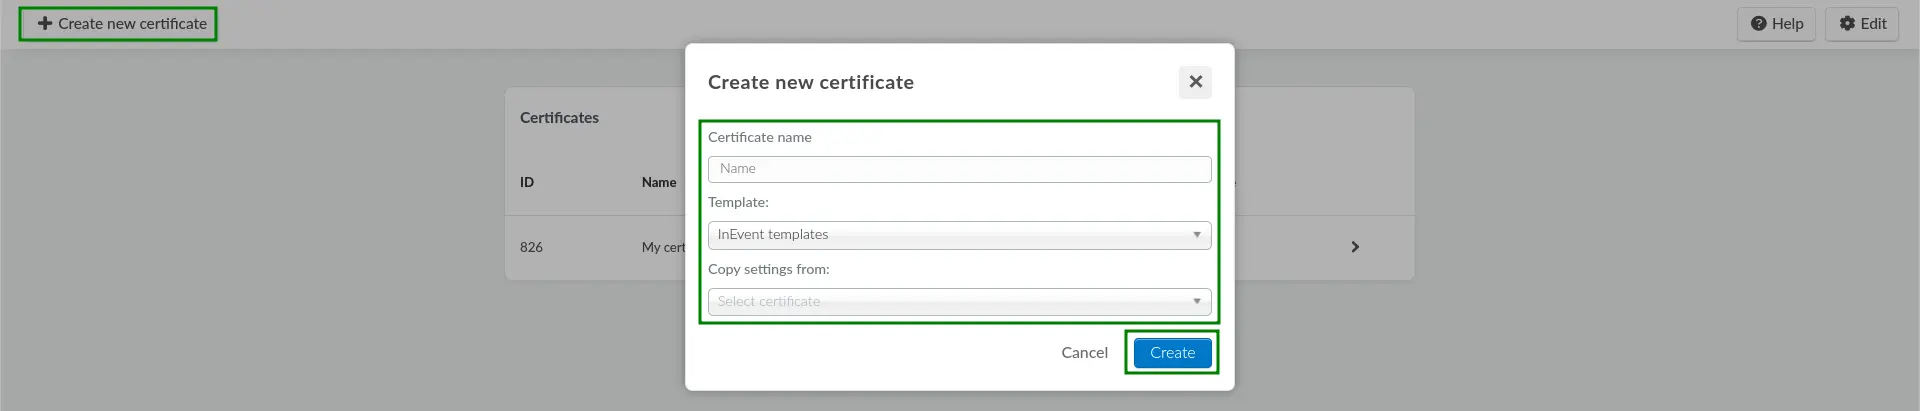
- Click on + Create new certificate. The Create new certificate pop-up box will be displayed.
- Enter the desired Certificate name on the field.
- Select InEvent template using the Template drop-down menu.
- Click on Create.
Your certificate has been created and now it's time for you to customize it!
Customize Attendance Certificates
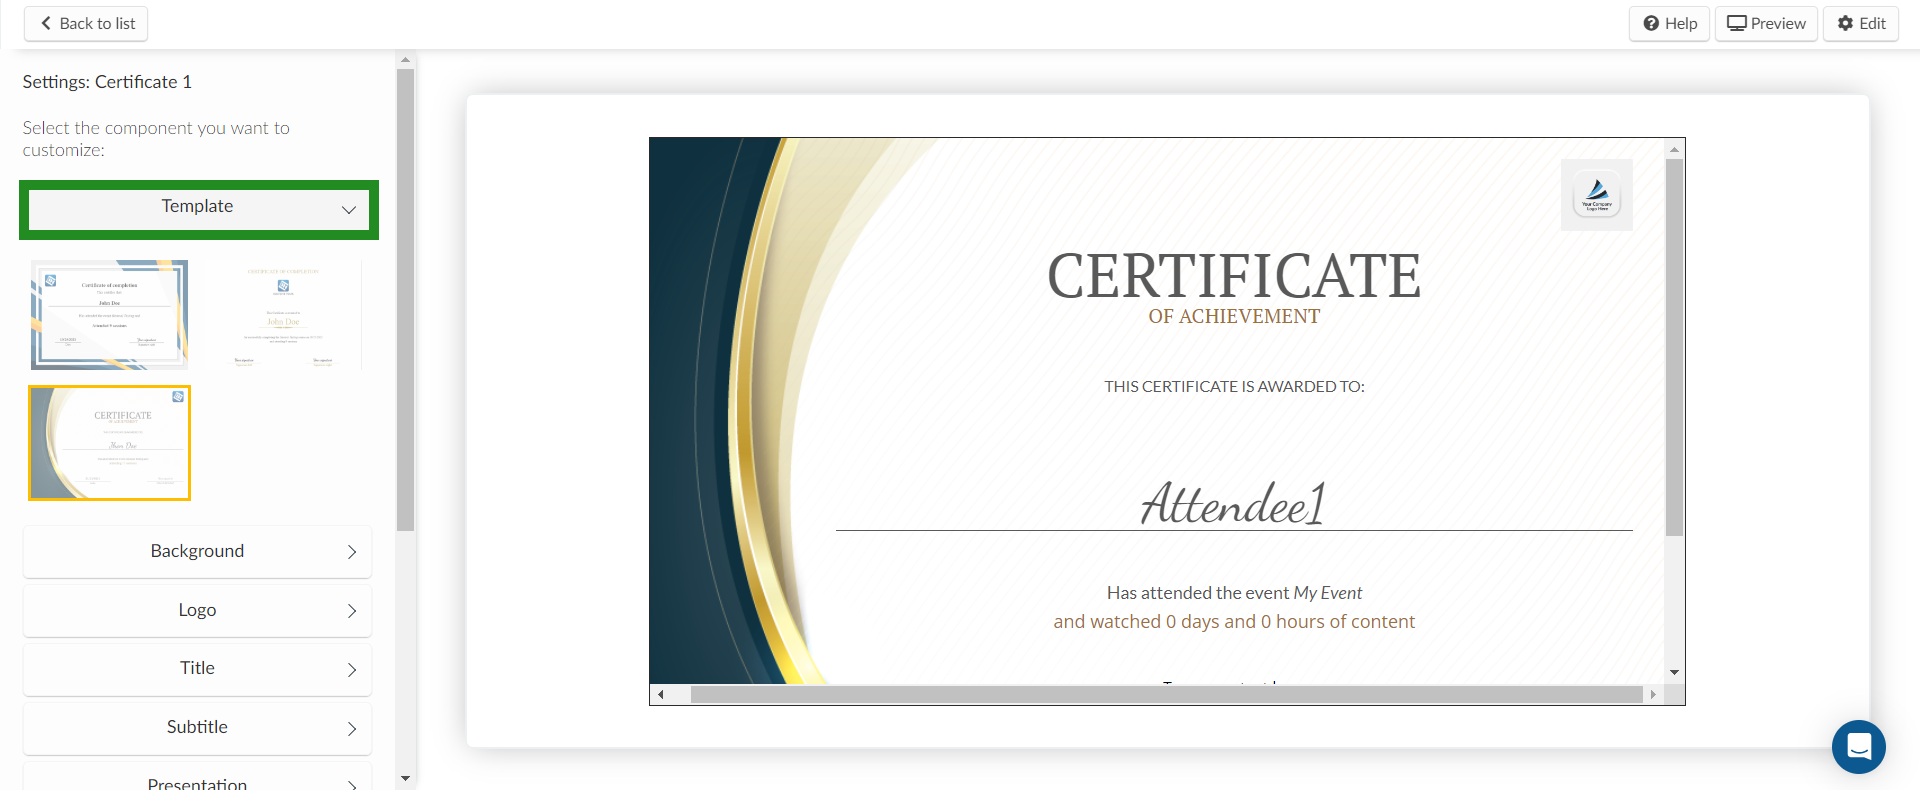
After creating a certificate, you will be taken to a page where you can customize all certificate details, as shown below:
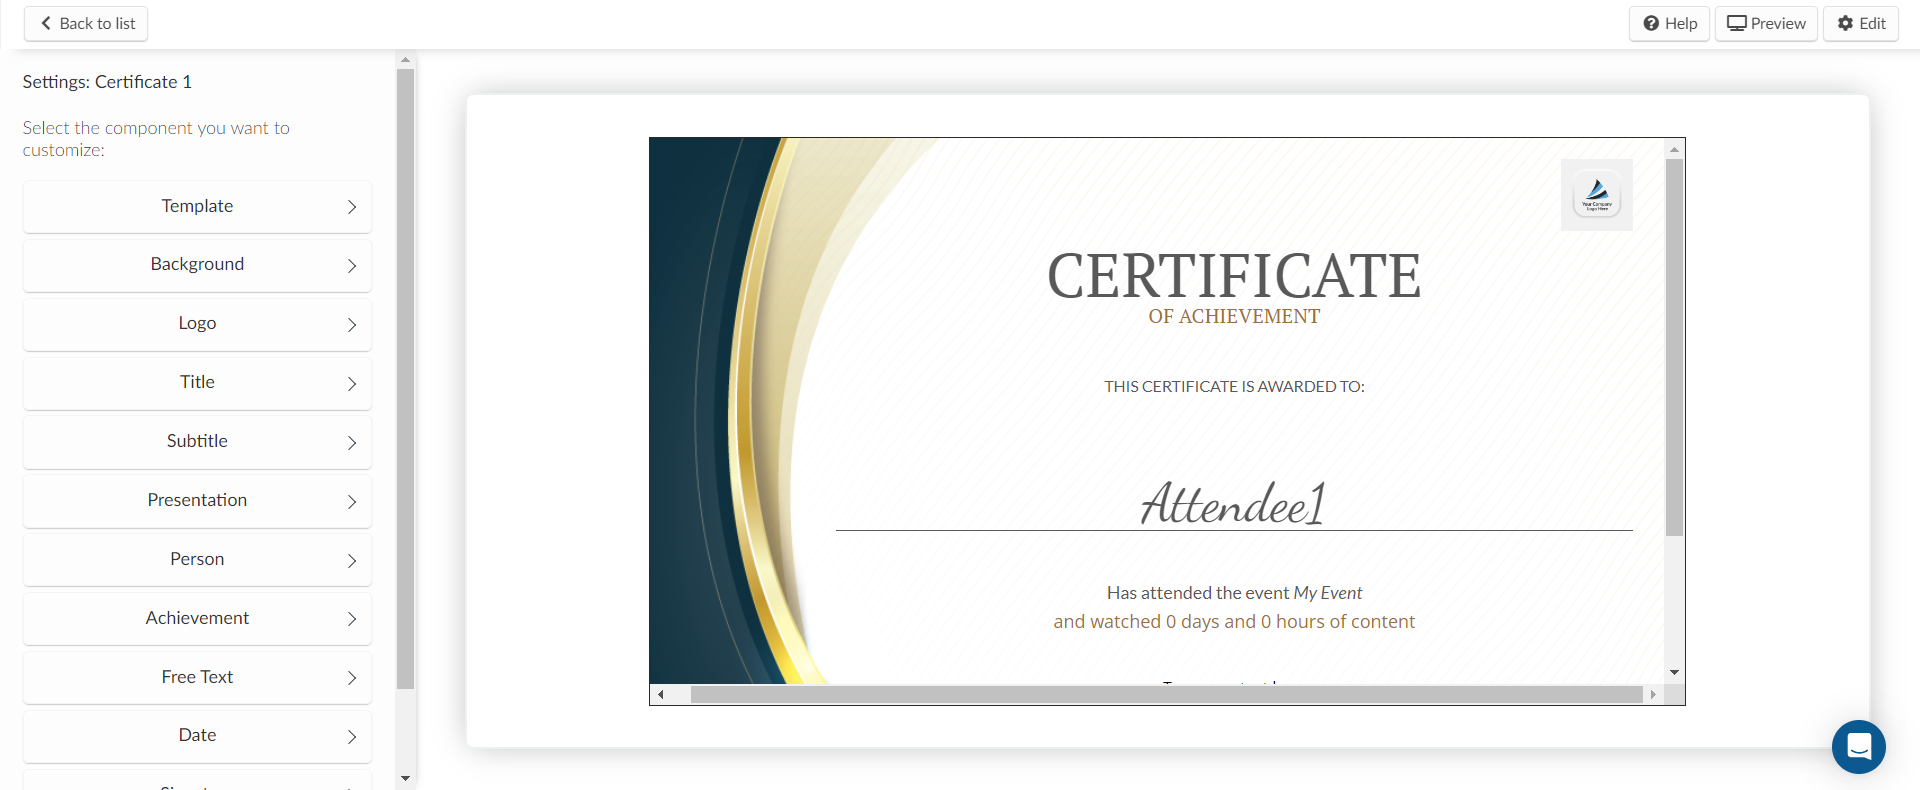
Use the menu on the left-hand side to select the component you want to customize.
Template
Press Template to choose from one of the template options. A preview of the certificate will be displayed on the right-hand side.
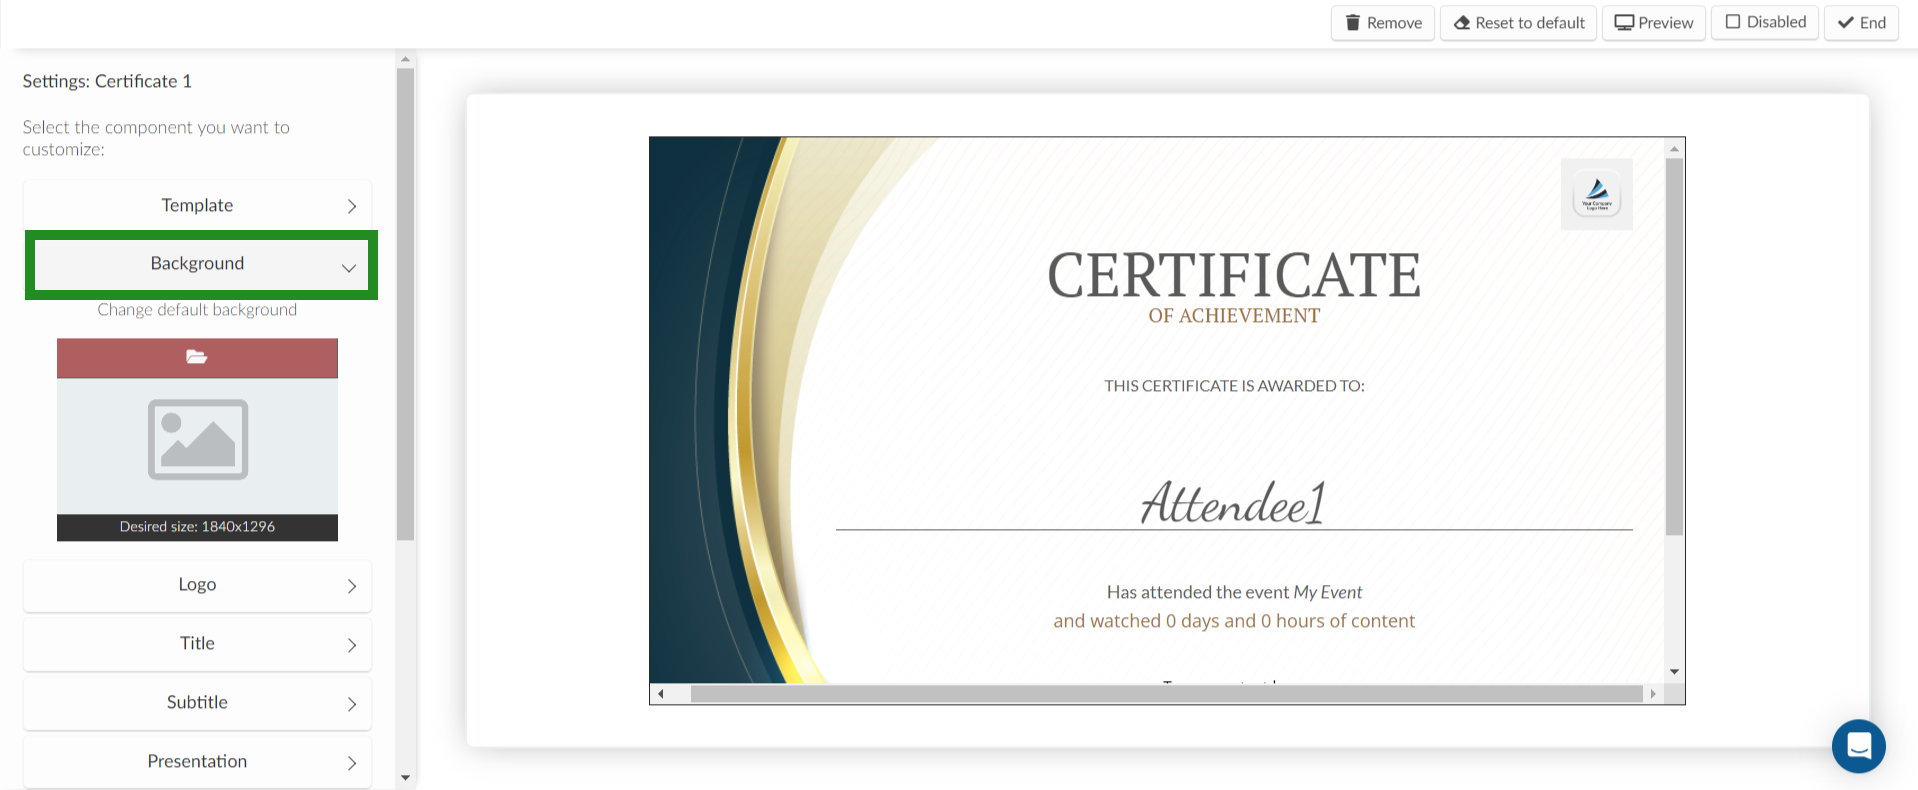
Background
Press Background to change the default background of the template. To do so, click on the red bar with a folder icon to upload an image. The desired size is 920x648 px.
Logo
Press Logo to customize the company logo displayed in the upper left corner, as well as the bottom left and right corners of the certificate.
To change it:
- Click Edit.
- Then click the red bar with the folder icon to upload a new image.
- Recommended image size: 1024 x 1024 px.
To remove the company logo from the certificate: Click Edit, then from the Display dropdown menu, select Disable.
Text content
When customizing the text content, an editing box will open up for you to change the default text as well as the text color, the font, the font size and weight, and the padding of these fields.
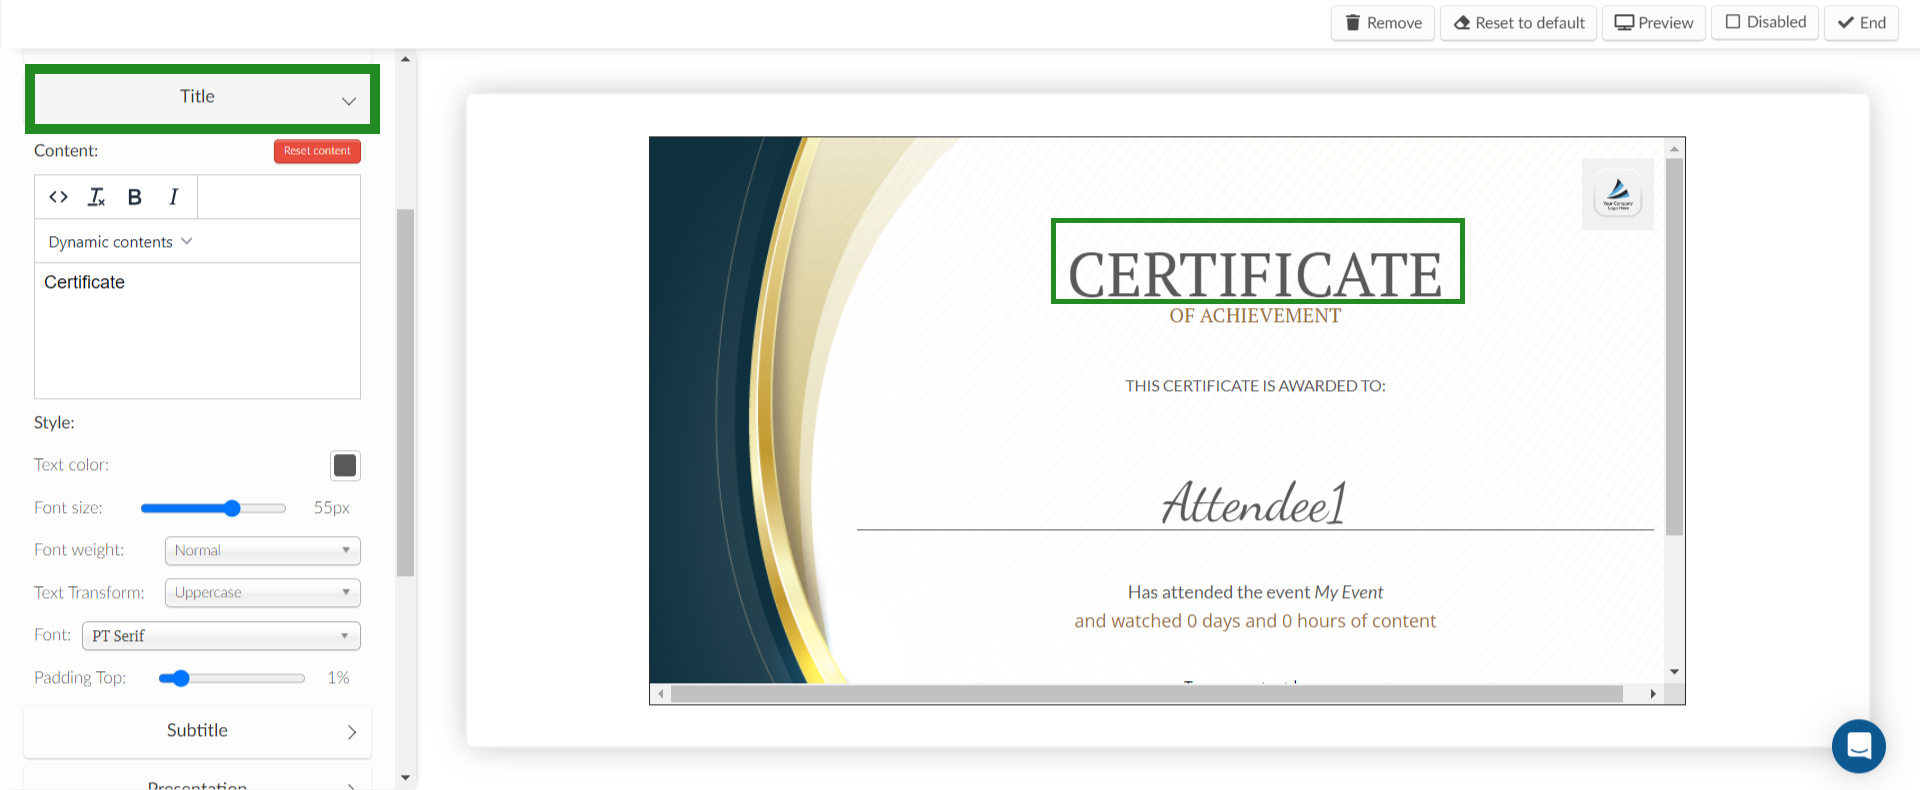
Title, subtitle, and presentation
- Click Title to edit and customize the certificate title.
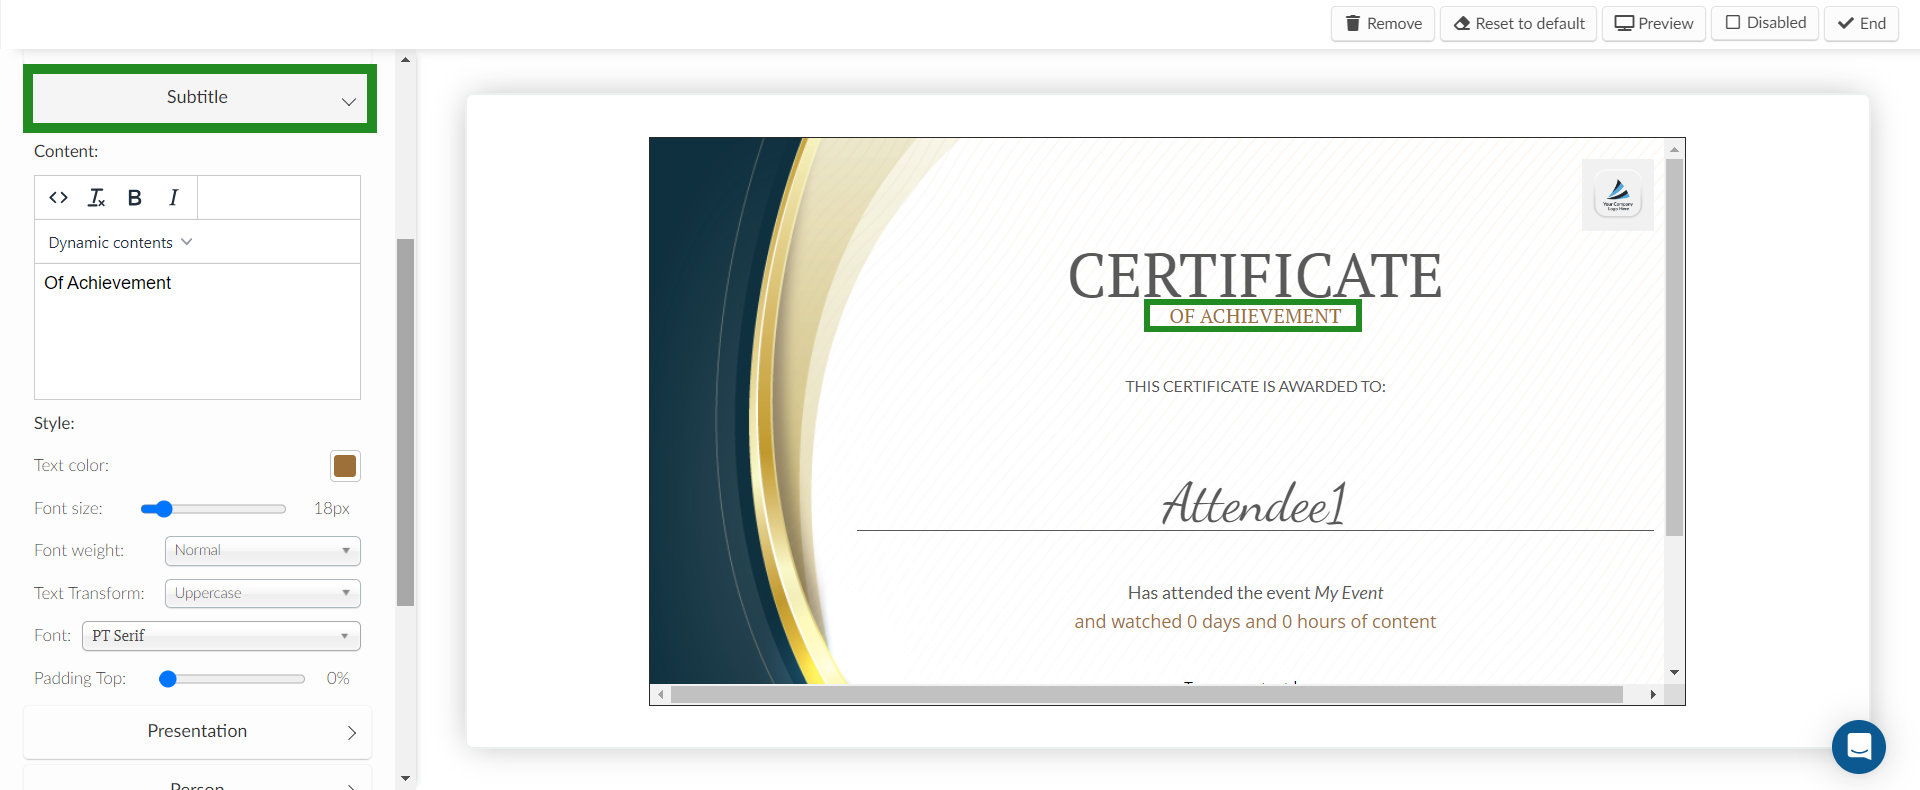
- Click Subtitle to edit and customize the certificate subtitle.
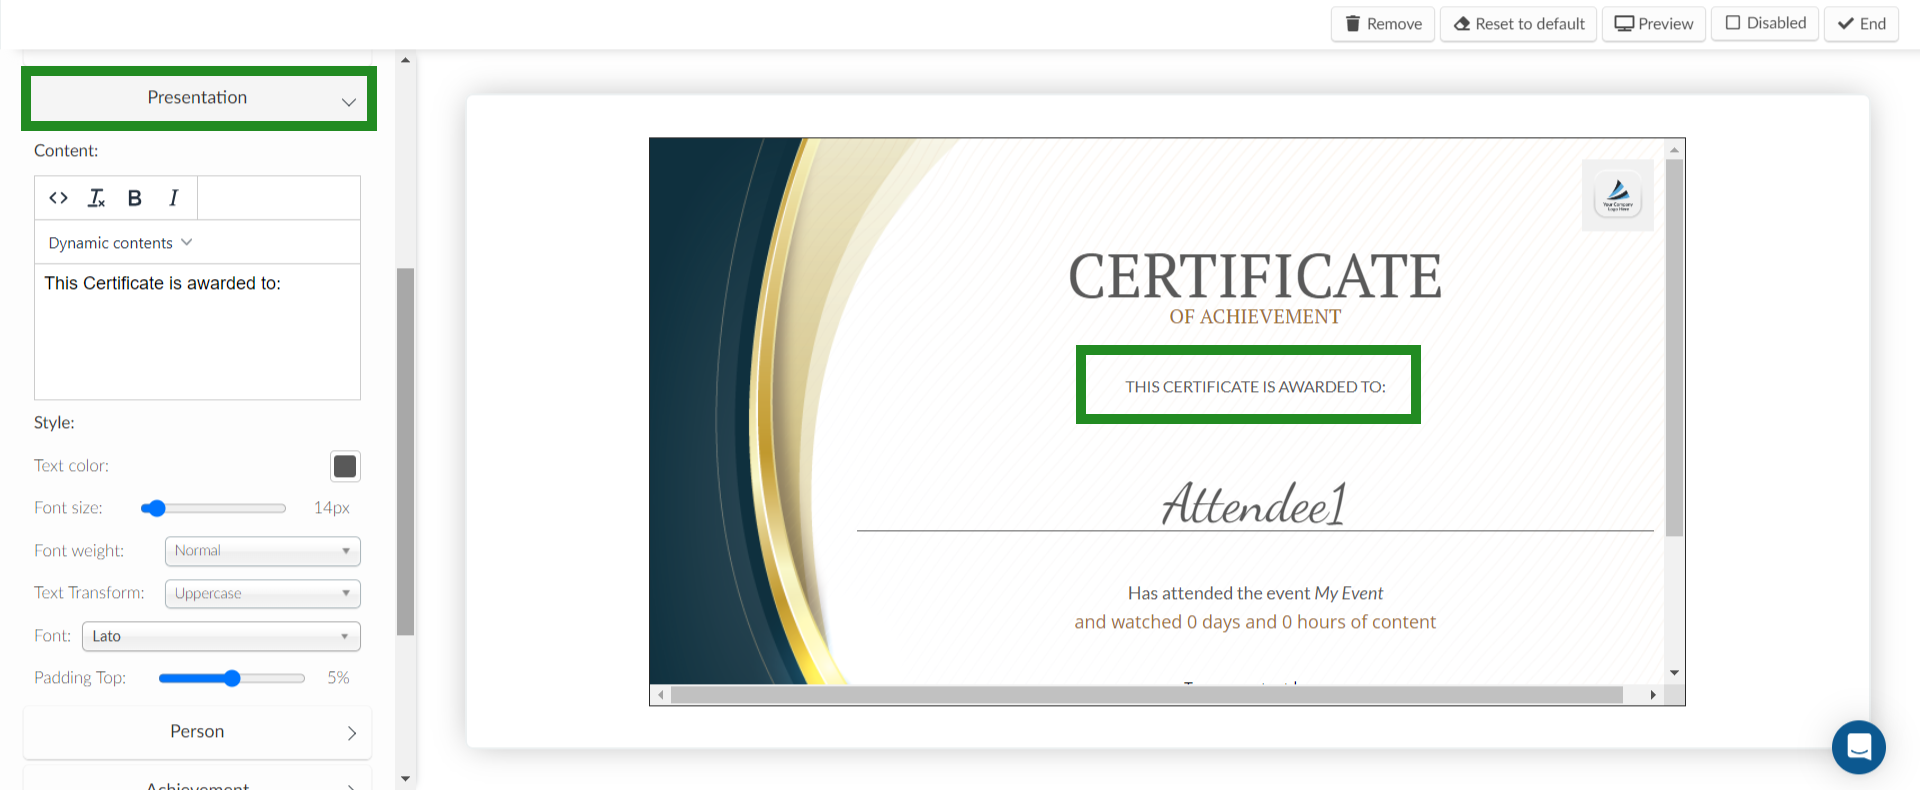
- Click Presentation to edit and customize the presentation text of the certificate.
Person and achievement
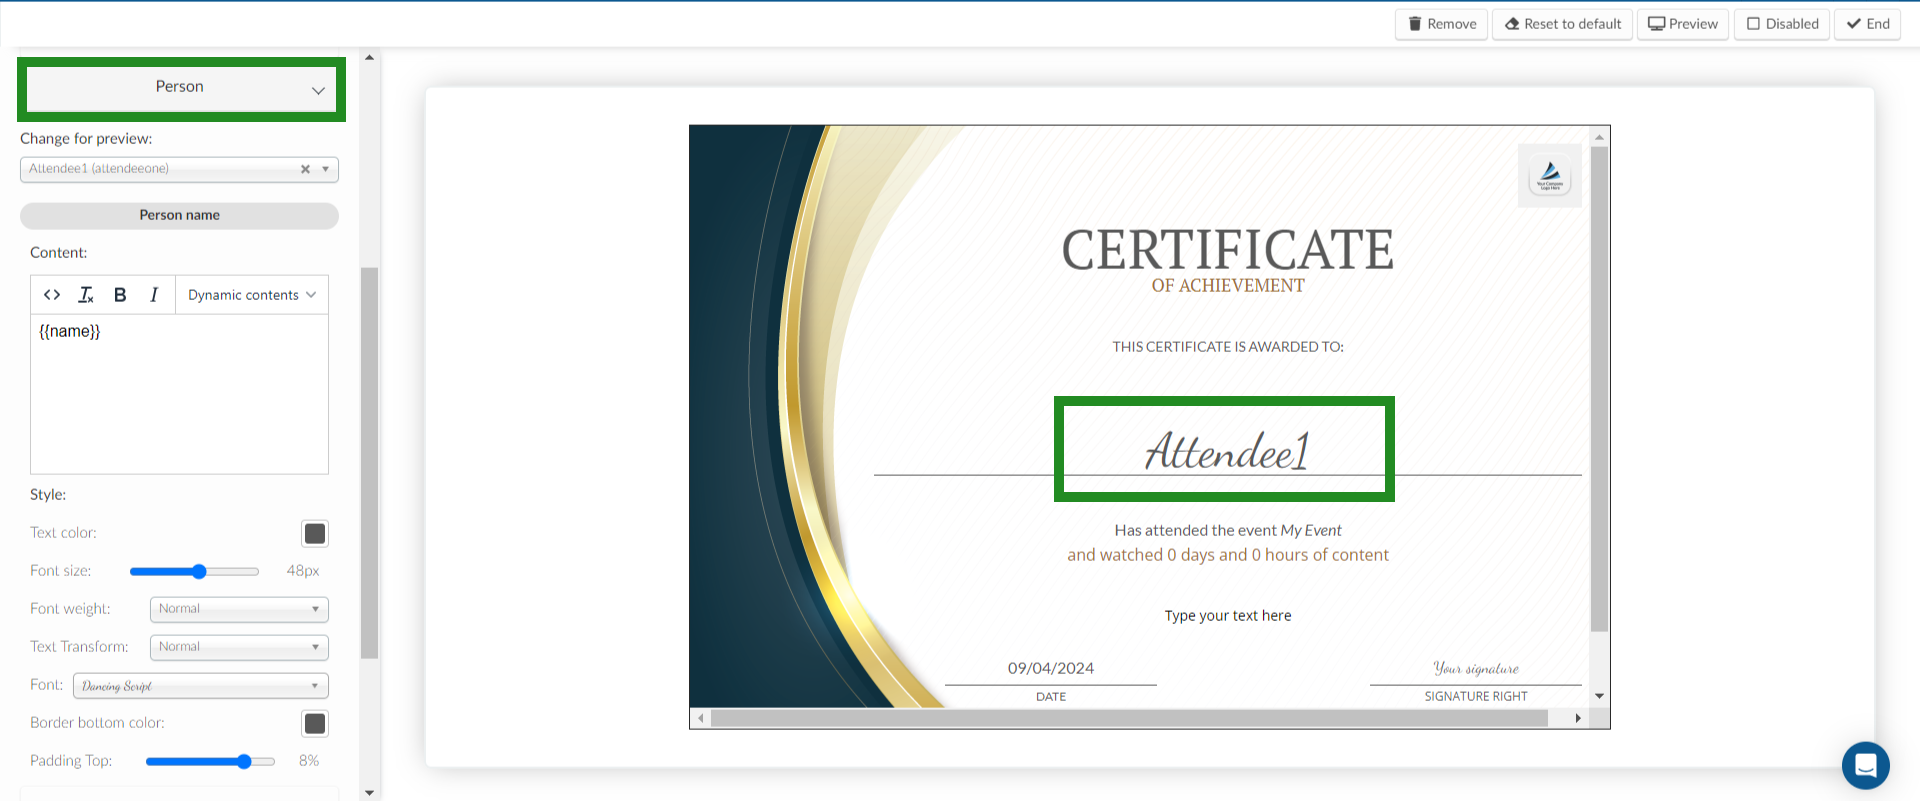
- Click Person to customize the attendee name field on the certificate.
By default, the name shown while editing the certificate will be your own (the editor’s name). If you'd like to preview the certificate with a different attendee’s name, click the Change for preview dropdown, then search for and select the attendee you want.
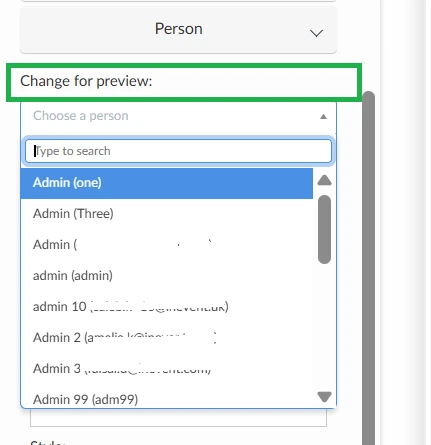
The certificate will display the name of the selected attendee.
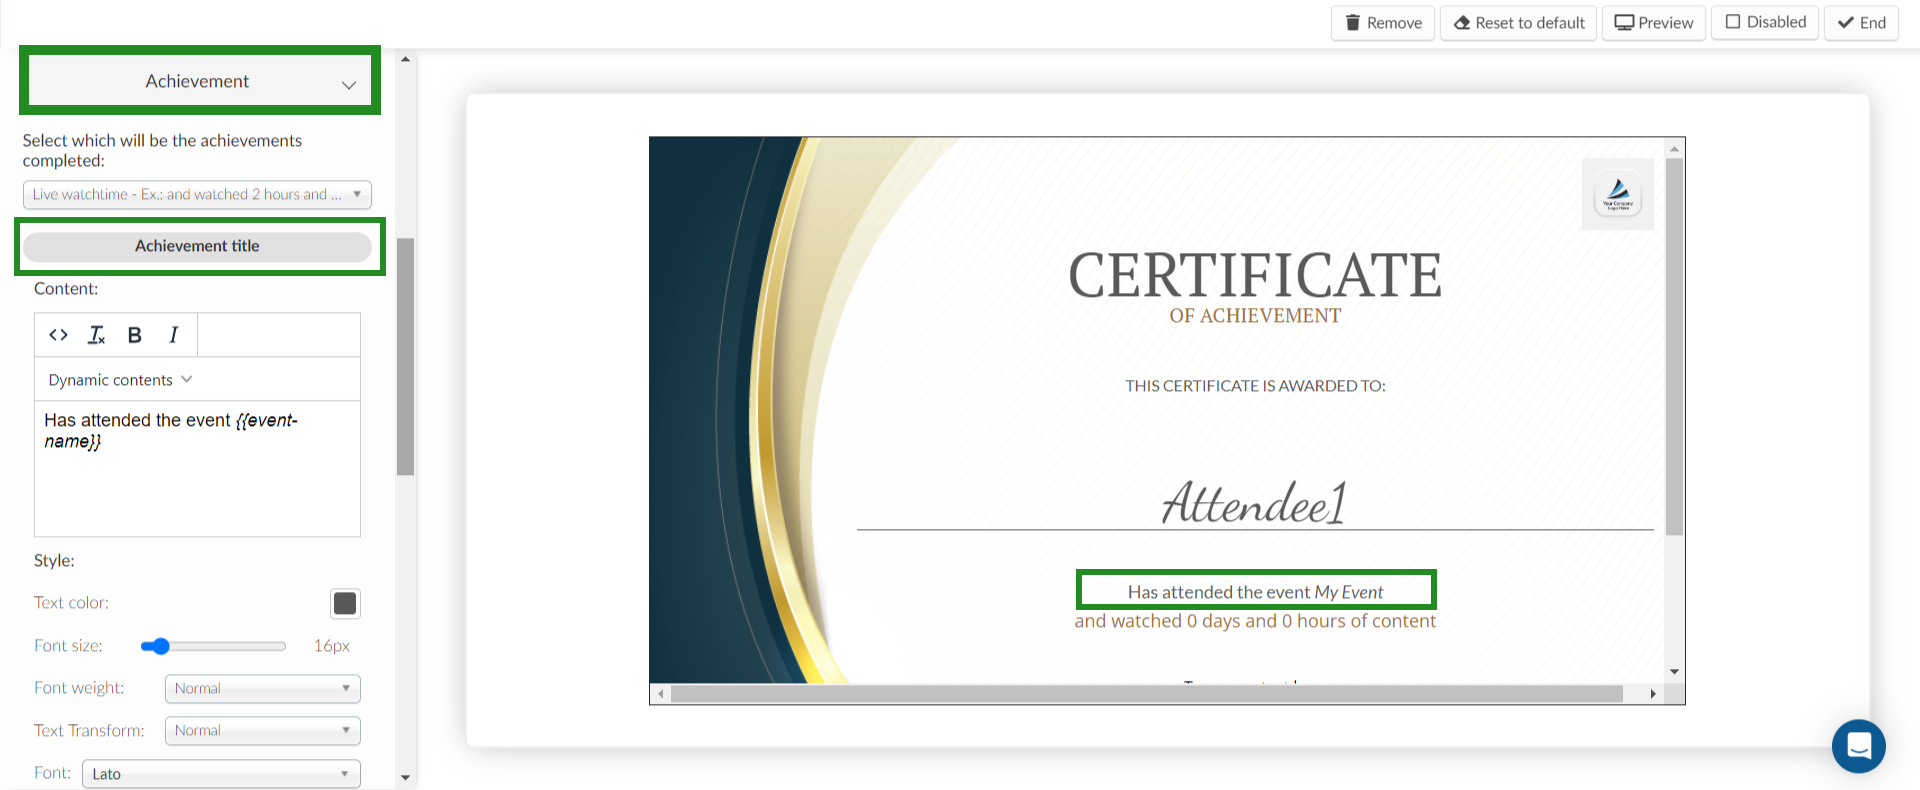
- Press Achievement to customize both the achievement title and achievement value.
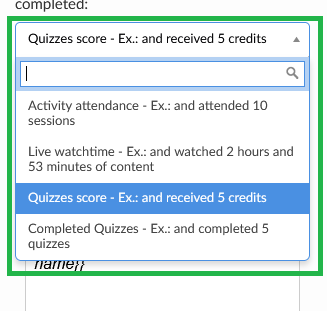
- Select which will be the achievements completed: Using this dropdown menu, you can define if the achievement displayed on the certificate will be how many sessions the participant attended (activity attendance), the live watch time in days, hours, and minutes, the number of quizzes completed or the number of correct quiz answers. This will be used to display the result of the achievement's value.
- Achievement title: Enter the title of the achievement under the achievement title's textbox.
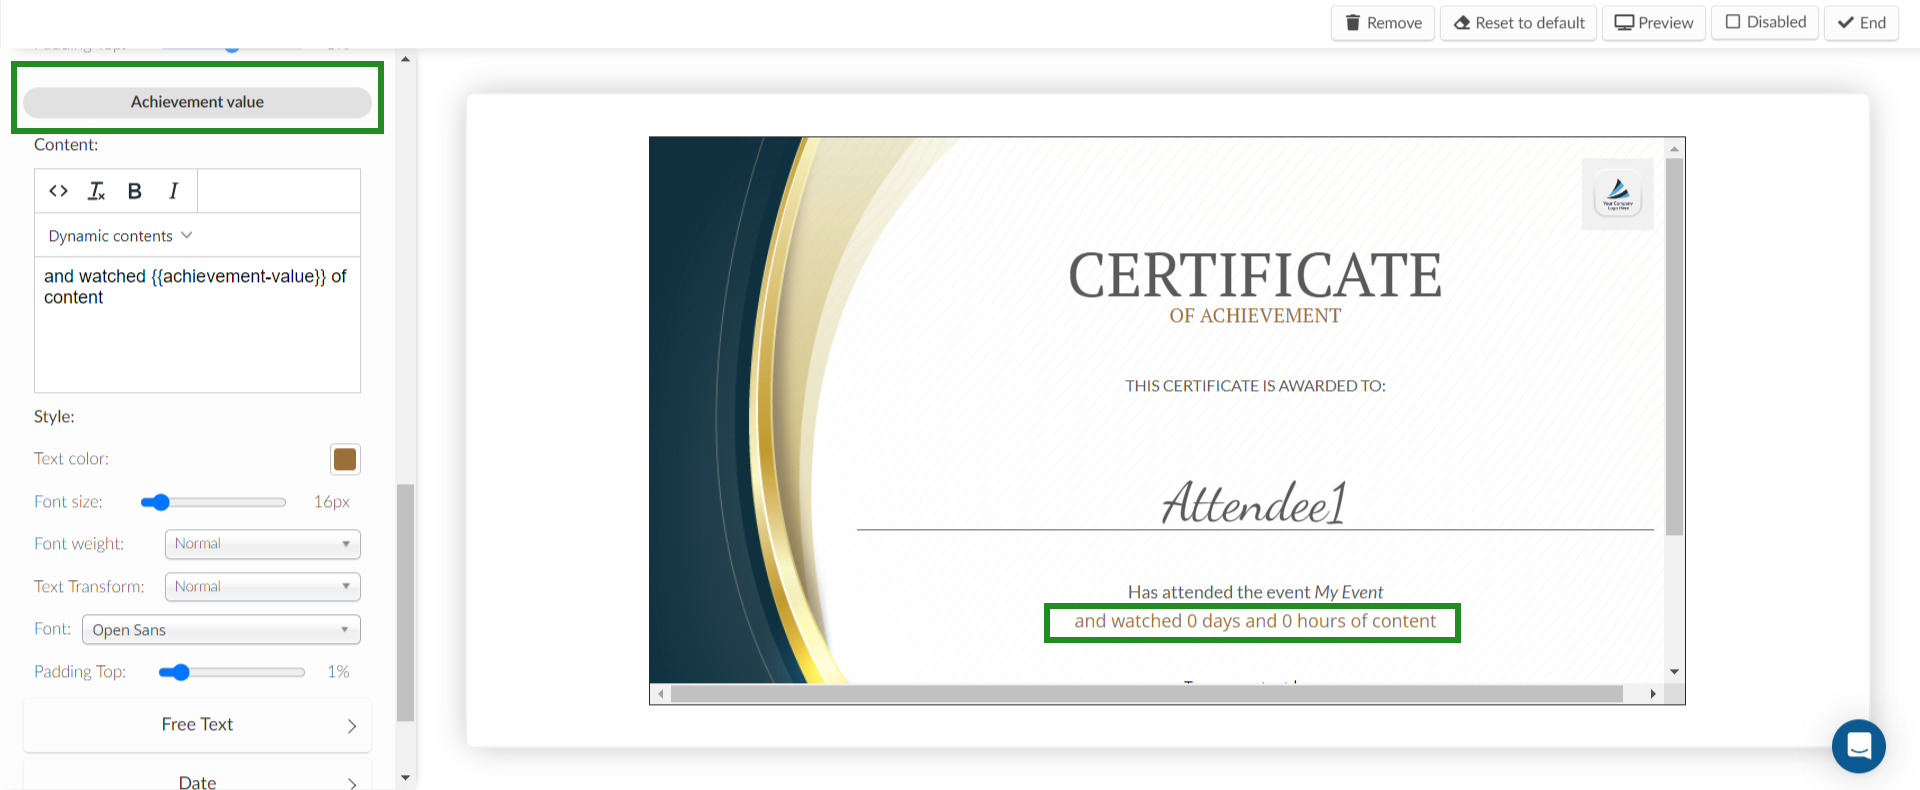
- Achievement value: You can customize both the text and style shown in the editing box. To insert the {{achievement value}}, click on Dynamic Content > Certificate > Achievement Value. The result displayed will depend on the achievement metric you selected earlier. You also need to ensure your text value rhymes with the metric you selected.
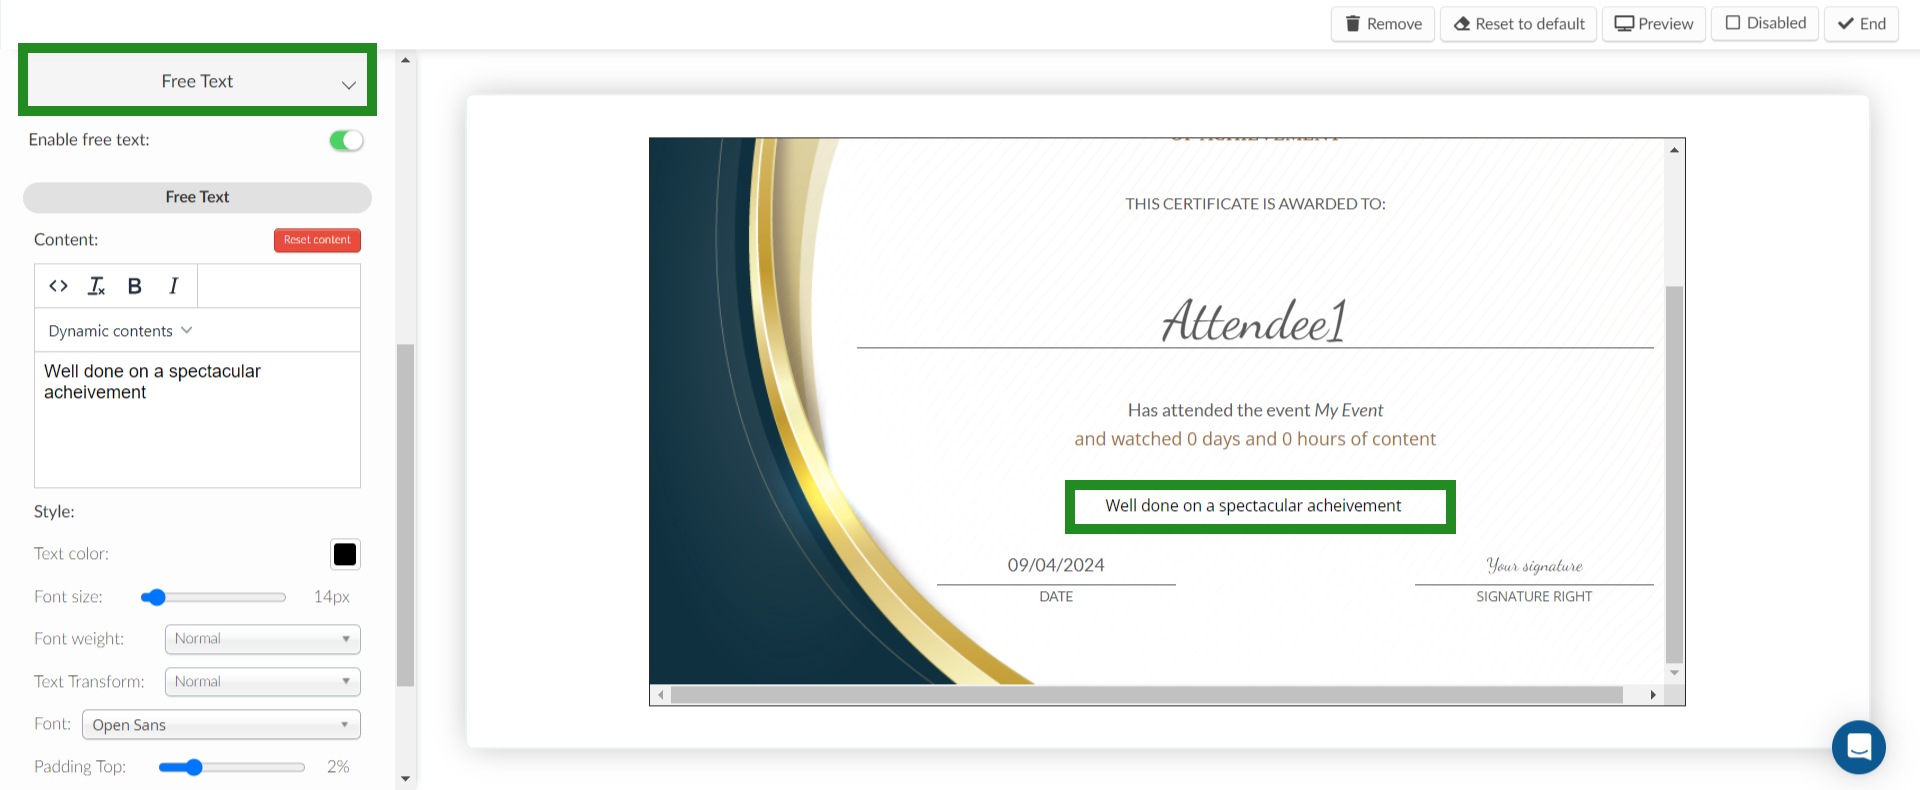
Free Text
Press Free Text to add customized text content to the certificate.
- Click on Edit,
- Toggle the button next to Enable free text to green and add text in the content space provided.
- Click on End to finish.
You have the option to customize your free text content using the tools provided in that field for e.g. change font size, font type, font weight, text color, text transform, padding top and padding bottom. You can also make use of the Dynamic contents drop down menu to select a dynamic content that will automatically appear for that user, related to the person, event or certificate.
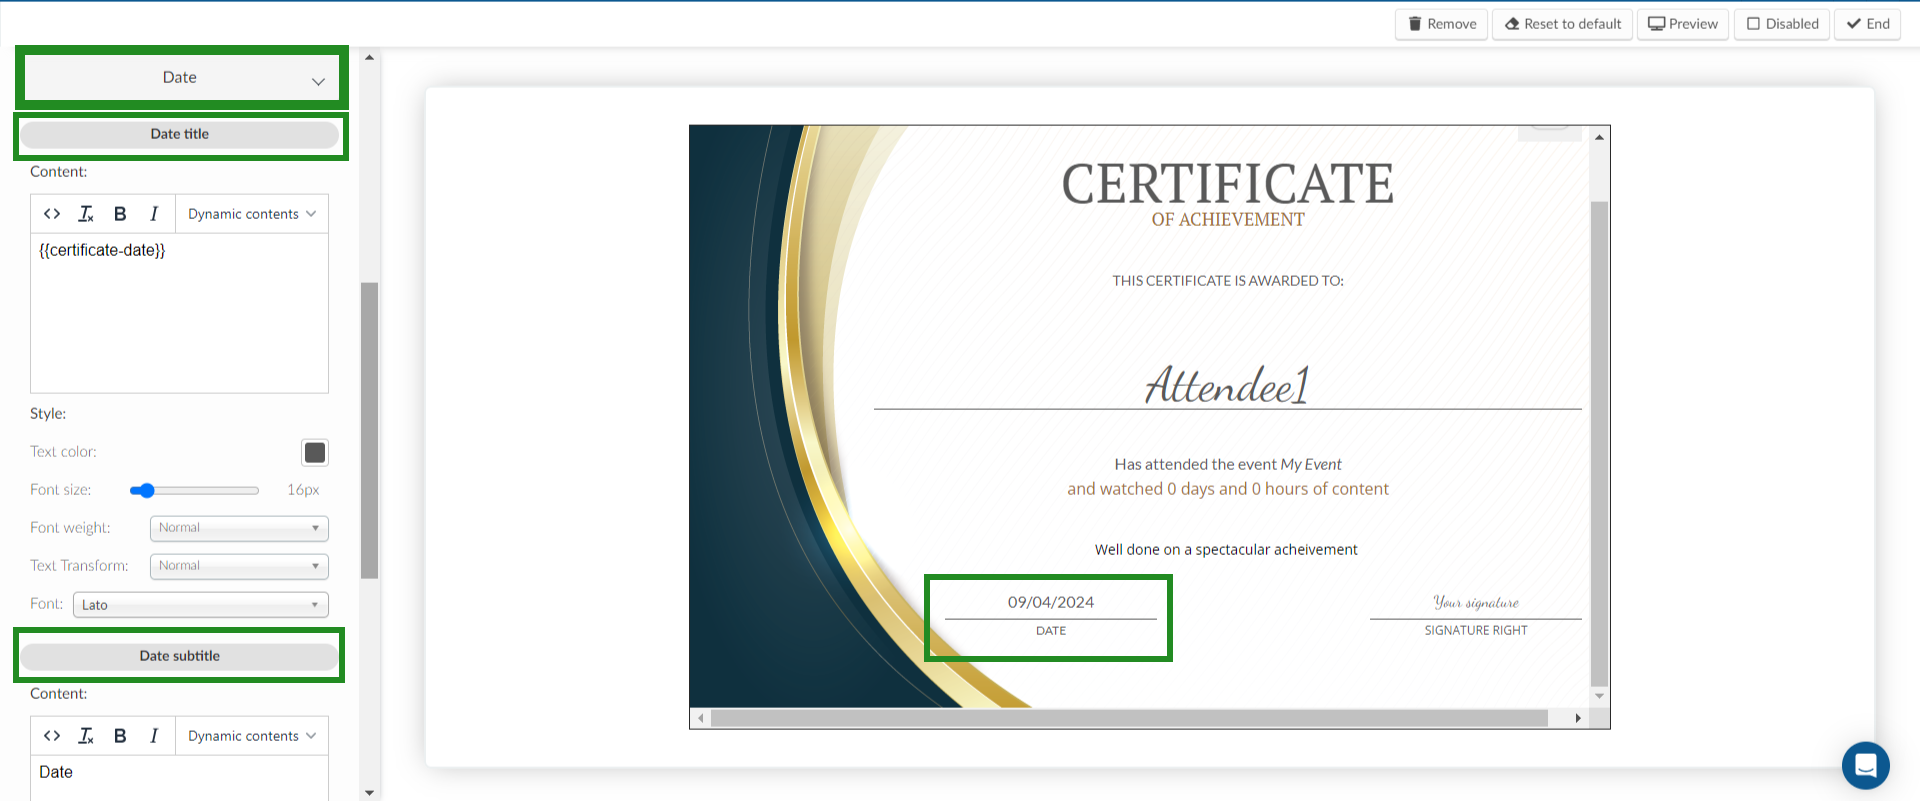
Date and signature
- Press Date to customize both the date title and subtitle.
- Date title: Using the editing box on the left-hand side to replace the date that will be displayed on the certificates. The placeholder {{certificate-date}} will pull the current date and add it to the certificates.
- Date subtitle: Use the editing box on the left-hand side to replace the default text Date.
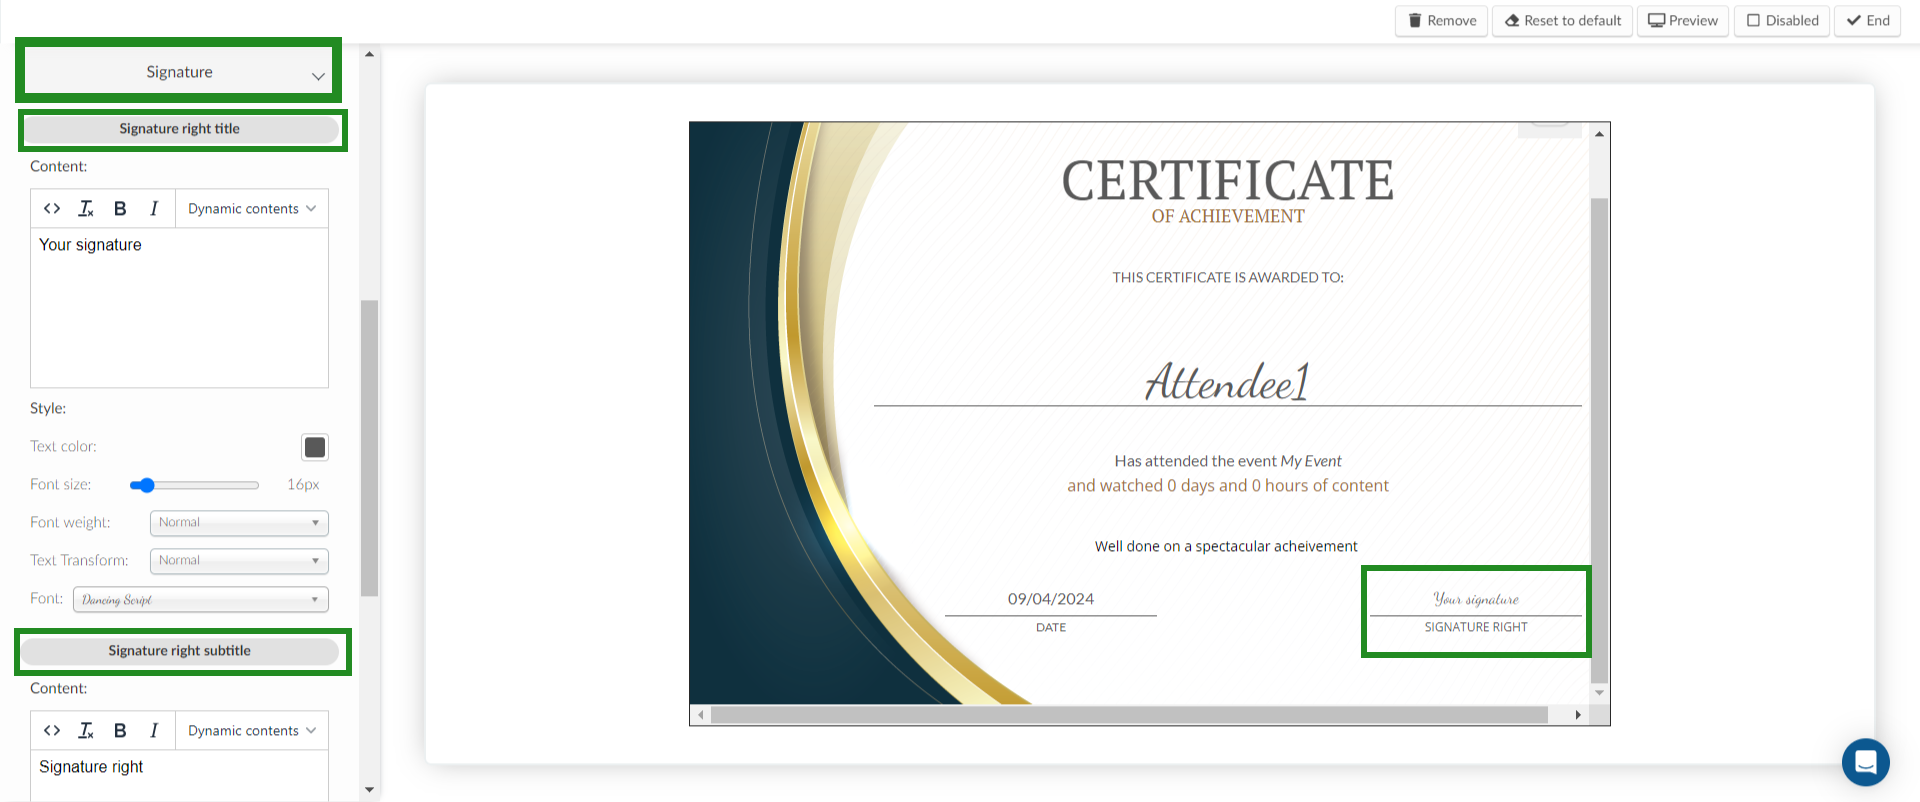
- Click Signature to customize the signature right title and subtitle.
- Signature right title: Use the editing box on the left-hand side to replace the default text Your signature with the name of either the institution or person who is responsible for the event.
- Signature right subtitle: Use the editing box on the left-hand side to replace the default text Signature right.
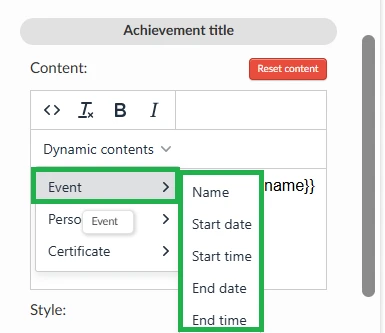
Dynamic contents
When editing fields such as Person, Achievement, Free Text, or Date, you can use the Dynamic Content option to insert placeholders related to the Event, Person, or Certificate. These placeholders automatically pull the relevant information for each recipient and event details.
- When editing the Achievement title to show the event's details or using the Free text section, click on Dynamic contents > Event to insert placeholders like Name, Start Date, Start Time, End Date, or End Time.
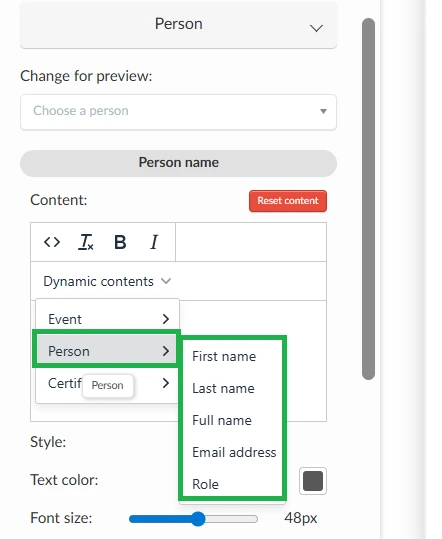
- When editing the Person section, click on Dynamic contents > Person to insert placeholders like First name, Last name, Full name, Email address, Role.
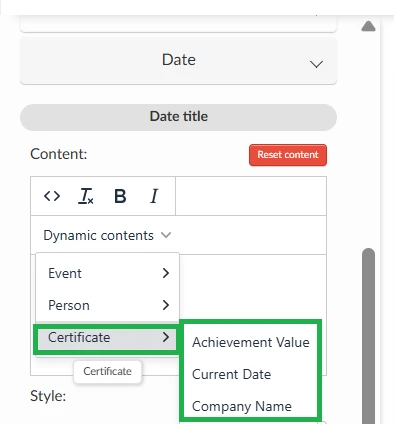
- When editing the Achievement value, Achievement title, Date, or Free text sections, click on Dynamic contents > Certificate to insert placeholders like Achievement Value, Current Date, or Company Name.
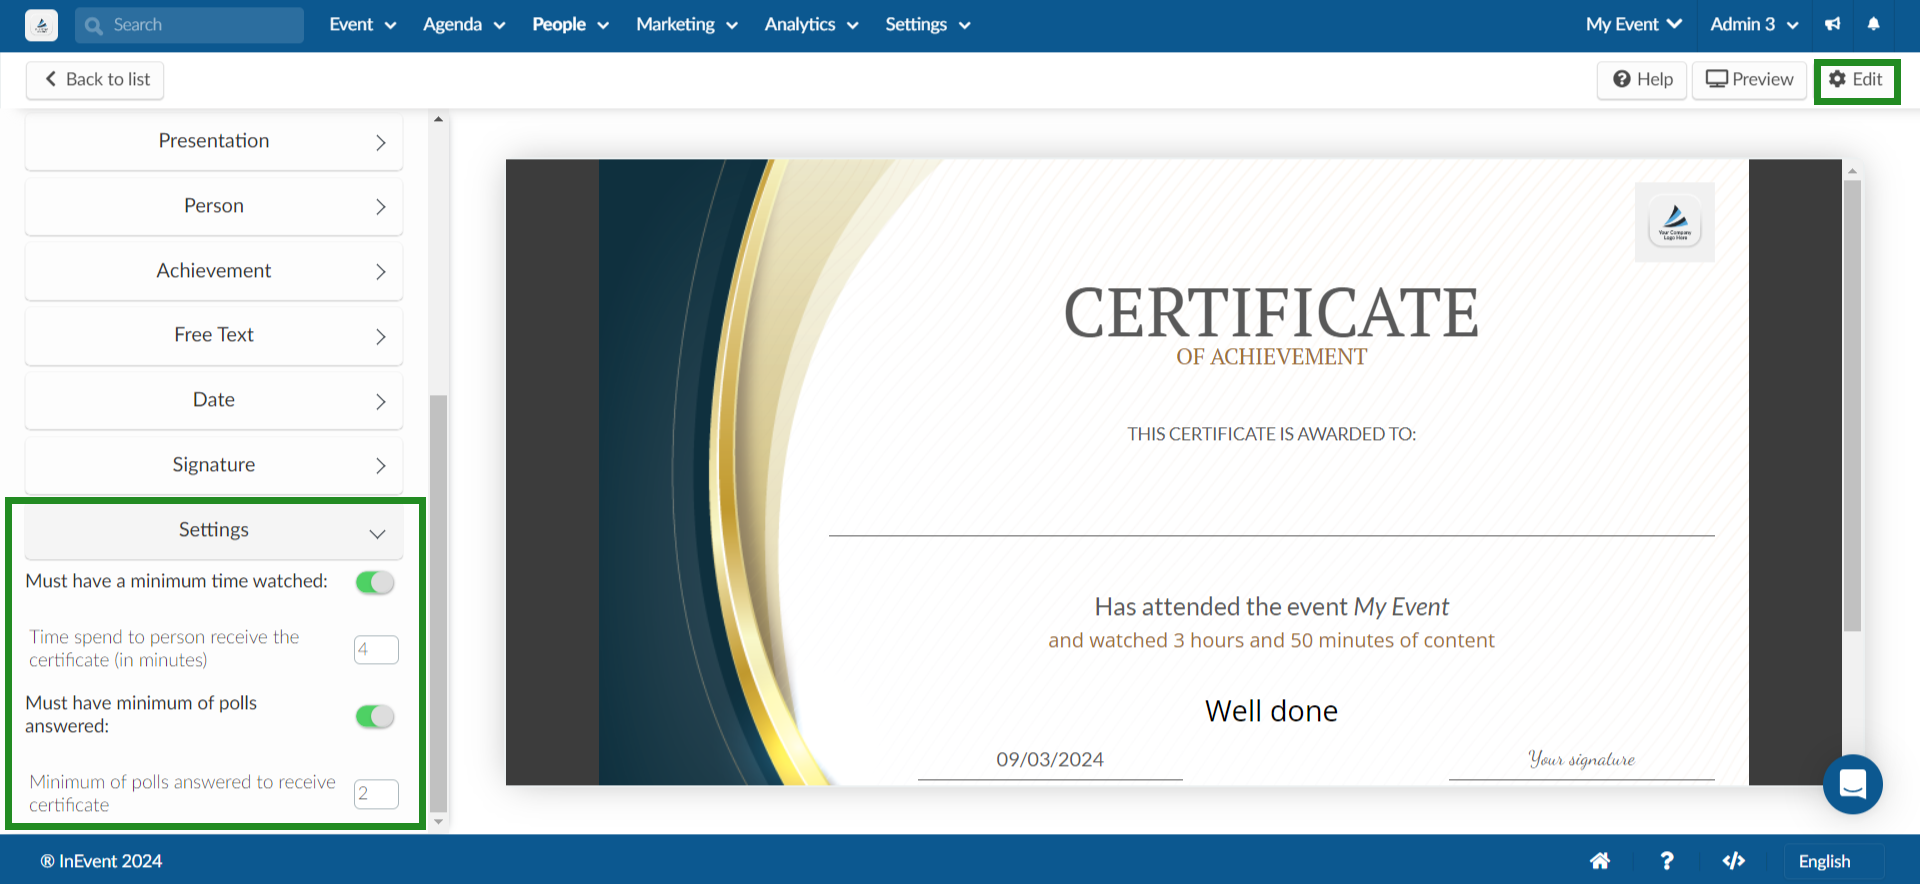
Settings
You can set the value for each of these 2 settings, if you want to customize the settings of when the person should receive the certificate:
- Must have a minimum time watched: You can enable or disable this setting and set the minimum watch time a person must spend in a particular session.
- Must have minimum of polls answered: You can enable or disable this setting and set the minimum number of polls to be answered by a participant.
To customize the settings:
- Press Edit
- Click on the toggle of the corresponding setting you wish to enable and type in the values in the box provided.
- Click on End to finish.
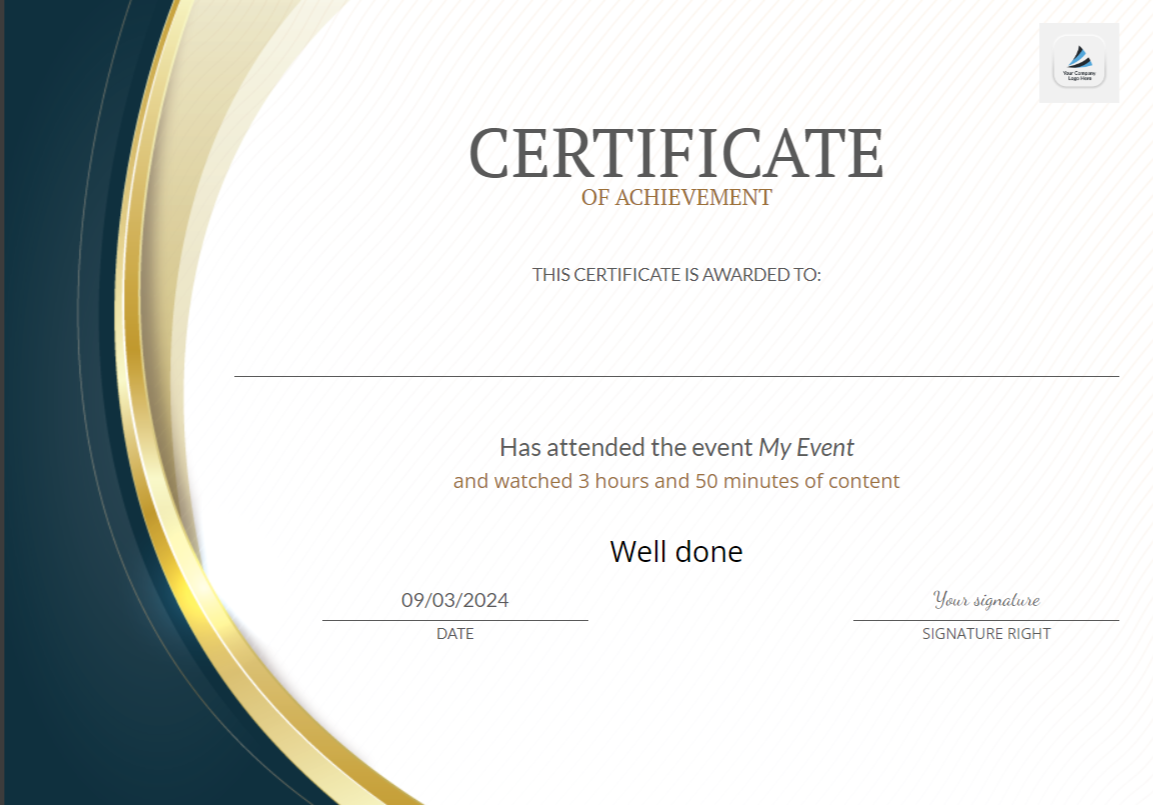
Once the set time has passed, you can click on the Preview button to view the certificate received by the participant. A new window will open where you can view, download and print the certificate.
Your certificates are now ready to be shared with the participants.
Reset Certificates customization
Yes, you can reset the customization made to the content and style of the components on your certificates individually. Click on the red reset button under each components content or style section of the certificate. A pop-up will appear for your confirmation, click reset to confirm.
You can also reset all certificate component customization to the default settings at once by clicking on reset to default button. A pop-up will appear for your confirmation, click reset to confirm.
Sharing Certificates of Attendance with participants
You can share the certificates of attendance to your attendees by: