Registering for an event: the attendee experience
 Updated 57 minutes ago
by
Caleb Kotey
Updated 57 minutes ago
by
Caleb Kotey
This article walks you through the full registration journey: from receiving your registration link to completing the form and purchasing a ticket, if required, to accessing the event once you're in. Learn how to register for an event, complete the registration or purchase form, manage your registration, and access the event.
Receiving the registration link
To register for an event, an event organizer will have to provide you with a registration link. You can receive the link through
- email,
- an event website,
- or another communication channel. Select the link to open the event's registration page.
In some cases, the registration form can also be embedded directly into an event website by the event admin, allowing you to register without leaving the website.
Completing the Registration Form
A Registration form collects the information required by the event organizer to register you for the event.
The form will include standard fields such as your name, email address, username, and other personal information. The event organizer can also add custom questions to collect additional information.
Complete the required fields and follow the instructions on the form, and click Confirm to submit your registration.
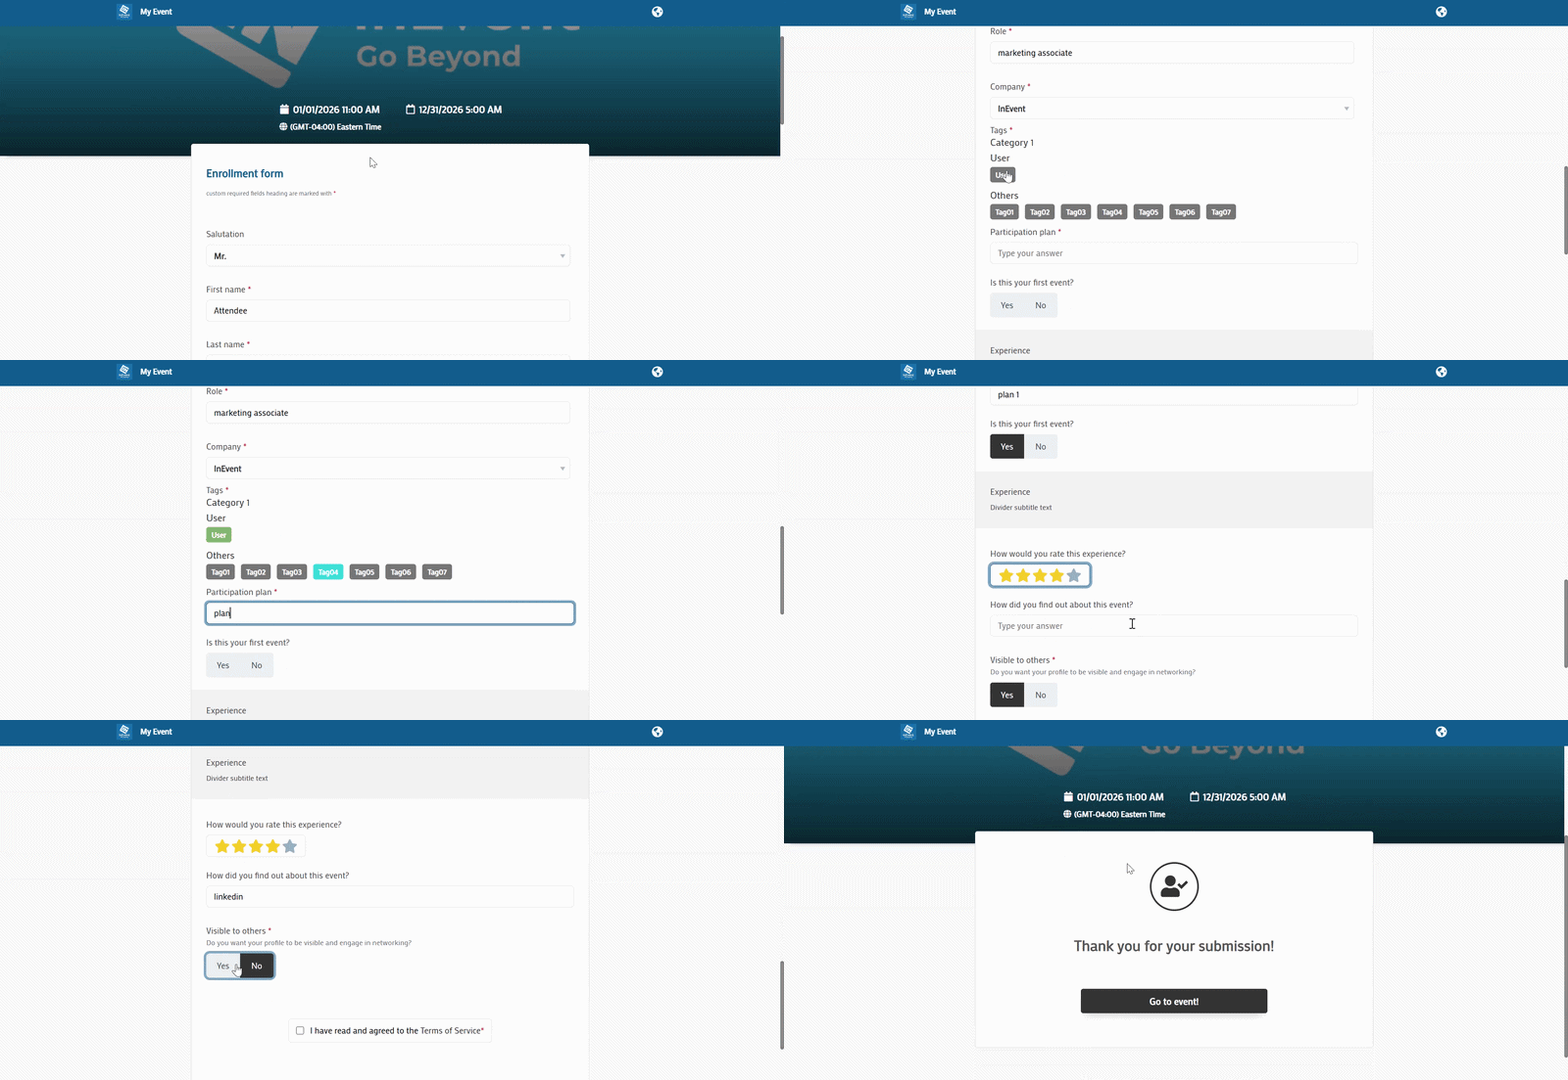
For more information about the fields available on a Registration form, refer to the Registration Form article.
Completing the Purchase Form
If the event has tickets enabled for purchase, you will be directed to a Purchase form instead.
A Purchase form is used when registration requires you to select and purchase a ticket. It contains additional sections for ticket selection and payment. Depending on the event configuration, the Purchase form can include: Identification, Billing Address, Tickets, Payment, and Confirm.
Each section must be completed to move to the next section.
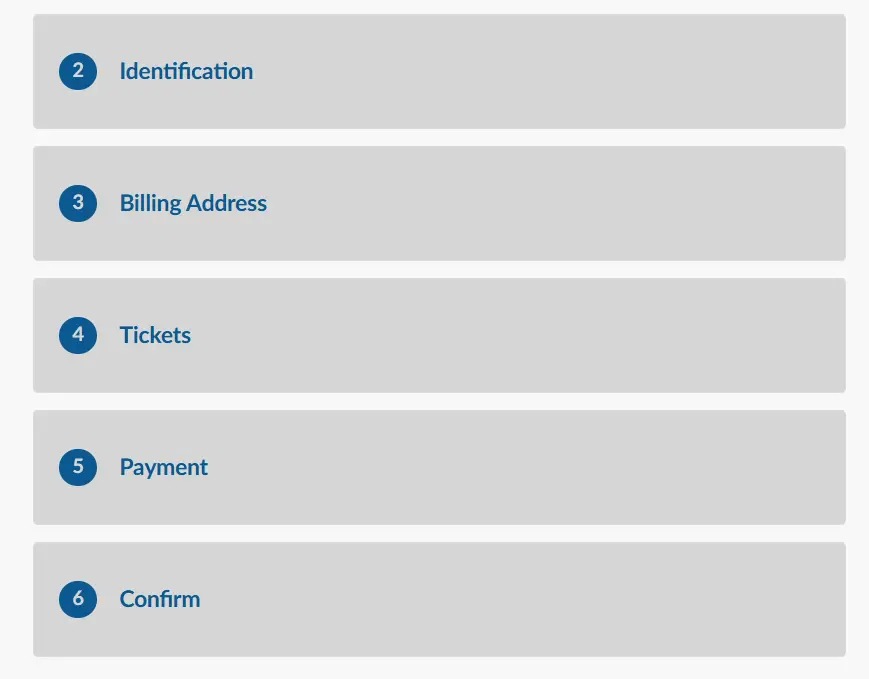
- Identification: Information requested by the event organizer through custom fields.
- Billing Address: Your billing information, when this section is enabled.
- Tickets: The ticket type and quantity you want to purchase. You can also apply a discount coupon if one is available.
- Payment: The payment method enabled by the event organizer, such as credit or debit card, PayPal, or invoice.
- Confirm: A summary of the information you entered, allowing you to review and edit your details before placing the
For detailed instructions on completing each section, refer to the Filling a Purchase form (for participants) article.
Purchasing a ticket
If your event requires attendees to purchase a ticket as part of the registration process, you will be directed to the Purchase form after completing the required registration information.
The tickets available to you will depend on how the event organizer has configured the event. For example, some ticket options will only be displayed based on answers you provided in the registration form, other tickets may not.
To purchase a ticket, follow the steps below. In the Tickets section of the Purchase form:
- Select the type of ticket you want.
- Select the number of tickets you want to purchase.
- If you have a discount coupon, enter the coupon code and apply it.
- Select Next Step to continue.
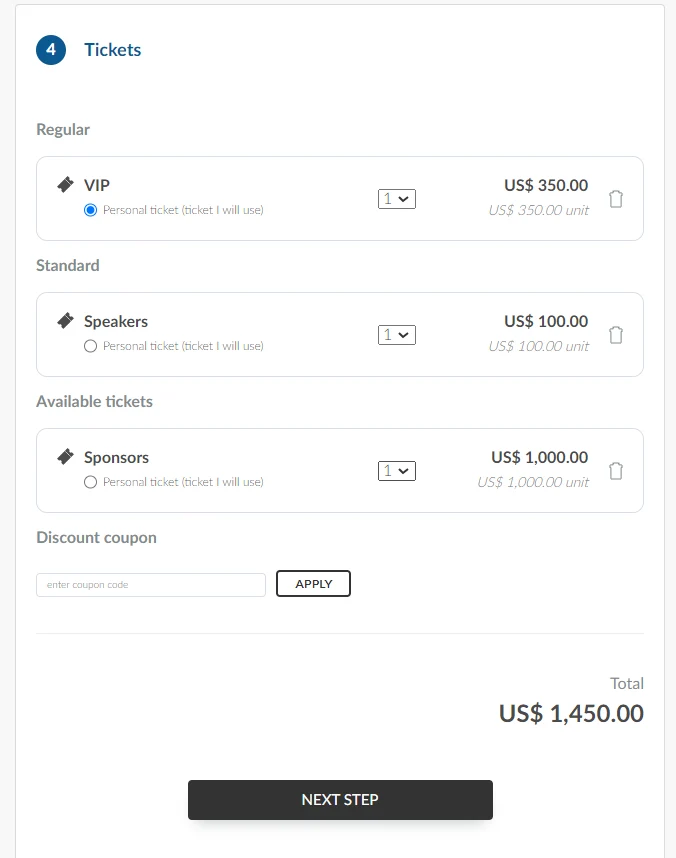
The available ticket types, prices, quantities, and discounts depend on the event configuration.
Complete your payment
Once you are done selecting a ticket, you can proceed to make payment in the Payment section. To do this, select one of the payment methods available for the event.
Depending on the event configuration, available options can include:
- PayPal
- Credit or debit card through Stripe
- Automated invoice
- Credit card through Authorize.net
- Invoice
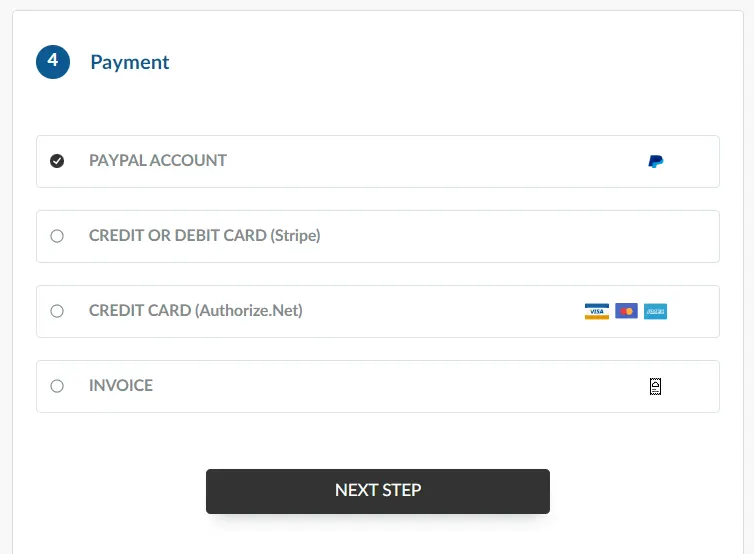
Select the appropriate payment method and click Next Step to continue.
Submitting your registration
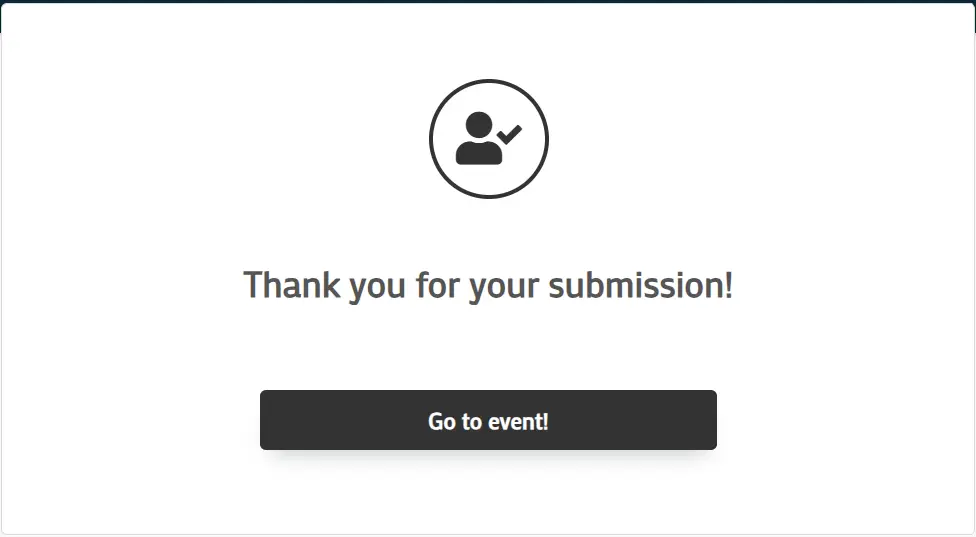
Once you submit the form, your registration will be processed according to the event's configuration. You will either be immediately registered for the event and have the option to immediately Go to event,
or your registration will require approval depending on the event's configuration.
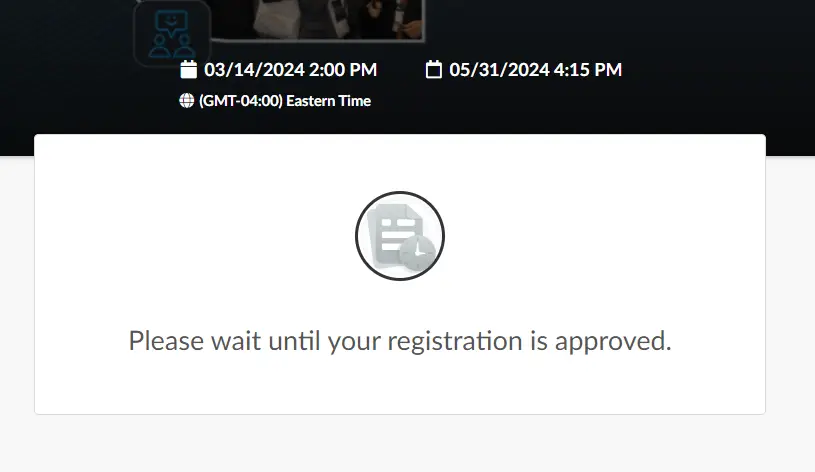
For events with limited capacity, you may also be placed on a waitlist.
If you are placed on a waitlist
If an event is configured to have a maximum capacity, and that capacity has been reached, and the event's waitlist settings are enabled, you can still submit your registration and be added to the waitlist.

Being placed on the waitlist means that your registration has been received but you have not yet been admitted to the event. The event organizer will review the waitlist and manually approve or reject registrations.
You will receive an Admission email confirming that your application has been received. If your registration is approved, your status will change to approved, and you can proceed with accessing the event. If your registration is rejected, you will receive a Rejection email.
If you are on the waitlist
When placed on a waitlist:
- Check your email for updates from the event organizer.
- Wait for your registration to be approved or rejected.
- If you are approved, follow the instructions provided to access the event.
- If you have questions about your registration or the waitlist, contact the event organizer.
For more information, refer to the Waitlists and waitlist requirement article.
Accessing the event
After you're registered, there are several ways to access the event, and what you'll see once you're in depends on the event type and the features your organizer has enabled.
From the registration form
Depending on the event configuration, you may see a Go to event! button after completing the registration form. Select this button to access the Virtual Lobby.
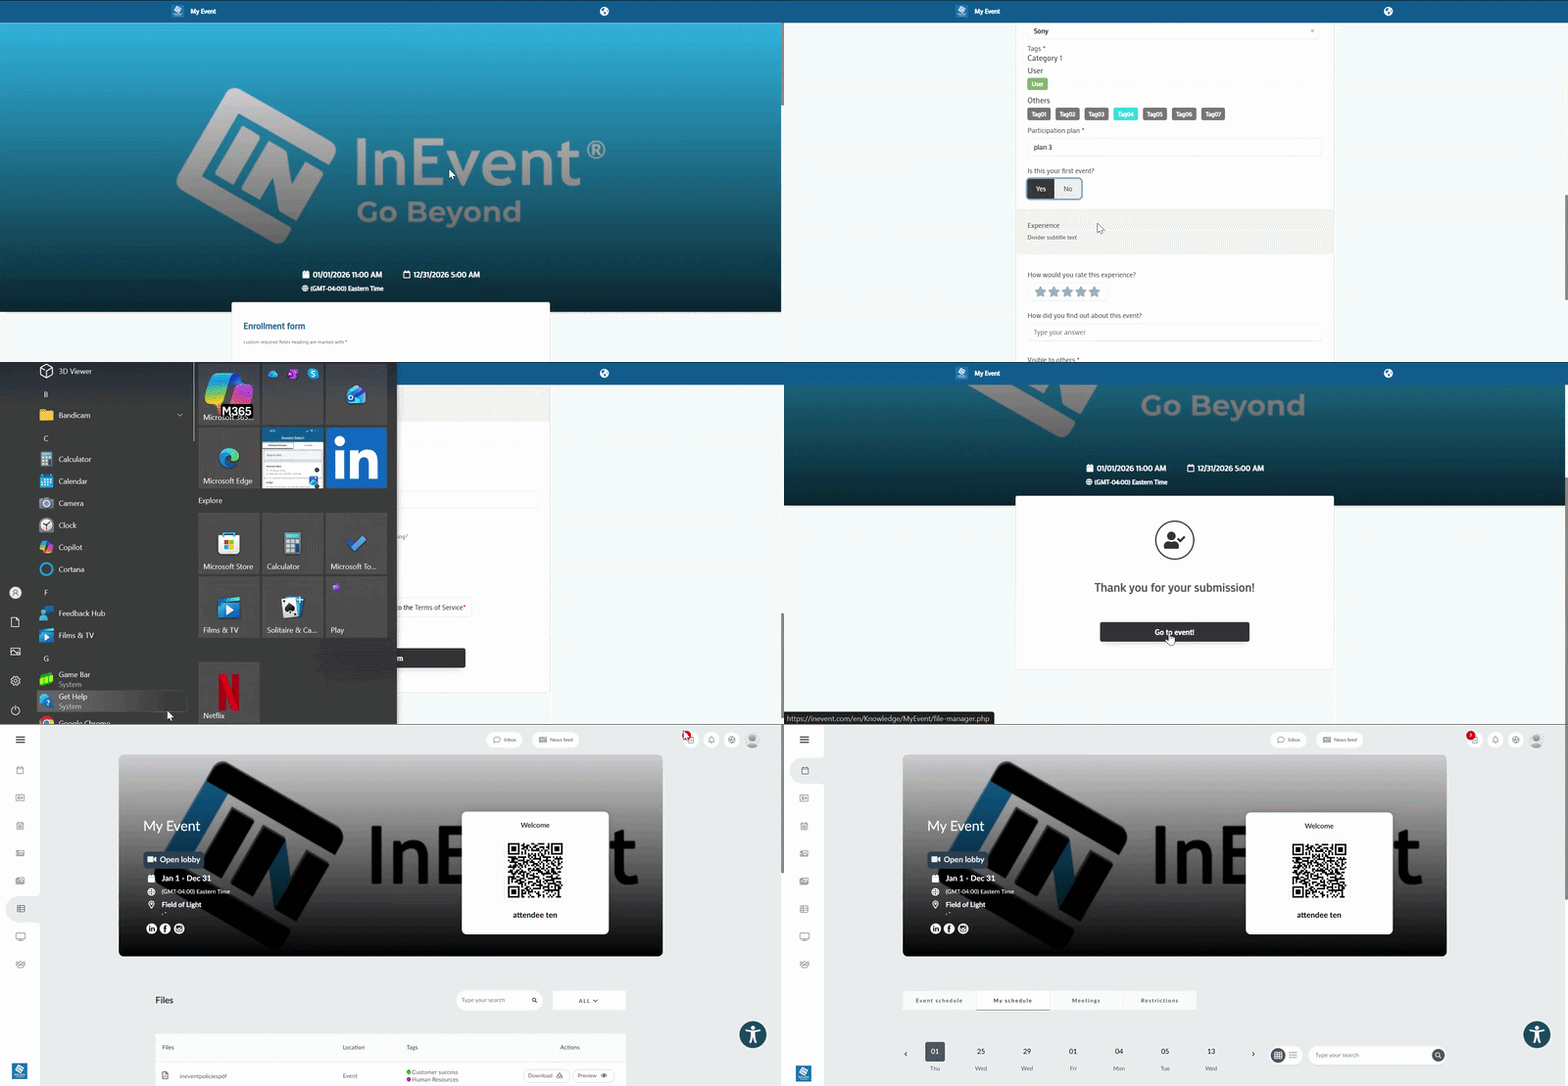
The event organizer can also configure the registration experience so that this button is not displayed. In this case, you will need to use another method of accessing the event.
From a confirmation email
After you become an attendee, you will receive a confirmation email containing a unique magic link to access the Virtual Lobby.
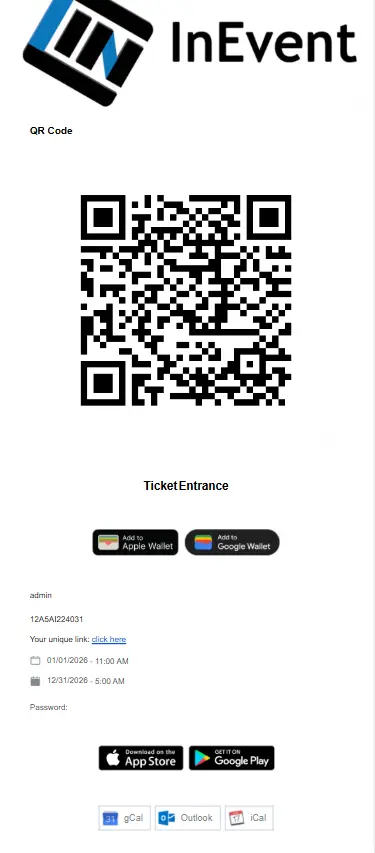
A magic link provides passwordless access to the event. Magic links are unique and can only be used once and should not be shared with other people.
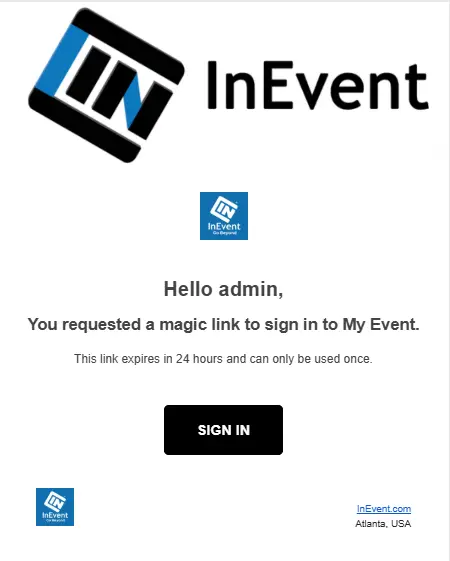
For more information on magic links, refer to the Magic link article
Using your login details
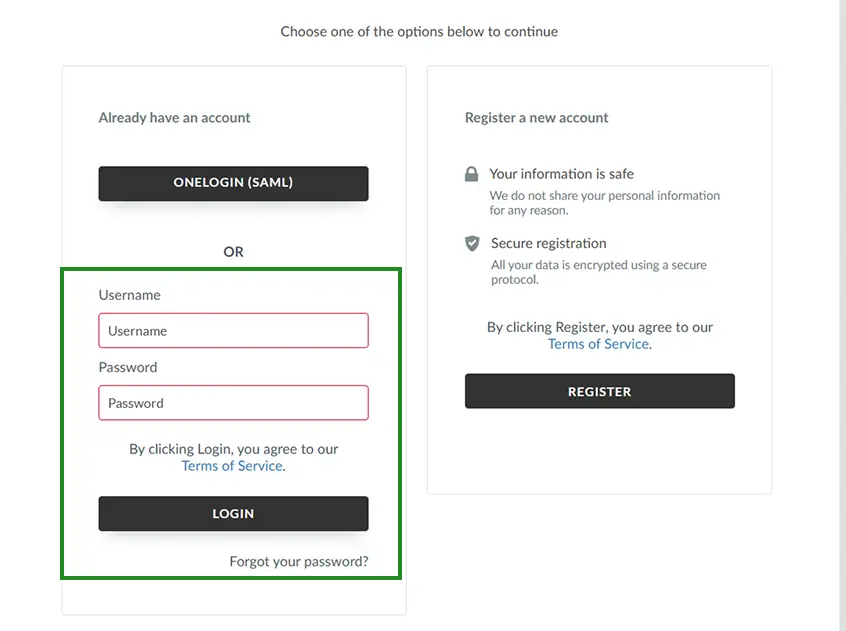
You can also access the event using your username and password. Open the Virtual Lobby link provided by the event organizer and enter your login information when prompted.
Using Single Sign-On (SSO)
If your organizer has enabled SSO, you'll see a Login using SSO option alongside the standard login and registration choices.
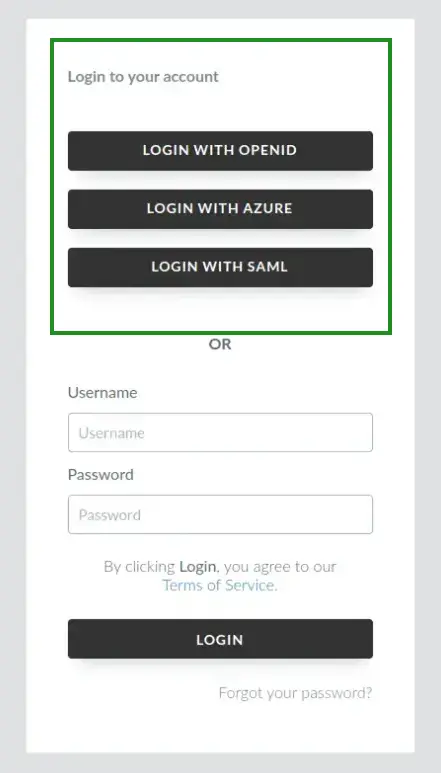
For more information about the available access methods, refer to the Access to the Virtual Lobby article
Virtual Lobby and web app
The event experience you see after logging in depends on the type of event and the features enabled by the organizer. For virtual or hybrid events, you may access the Virtual Lobby, where you can view and participate in online event activities. For in-person events, you may access the event through the web app, which provides access to event information, activities, and other attendee features.
Depending on the event configuration, you may be able to:
- View the event agenda and sessions
- Join live activities
- View speakers
- Connect with other attendees
- Participate in networking
- Interact through chat, questions, polls, or quizzes
- View sponsors and exhibitors
- Access event materials and files
- Manage your attendee profile and registration
Accessing your Attendee Center
After registering, you can also access your Attendee Center, which provides access to areas such as My Account, My Agenda, My Tickets, My Forms, My Files, and My Events, depending on the event configuration.
My Account contains your personal information and answers to registration form questions. If editing is enabled for the event, you can update your personal information there. You can access the Attendee Center through the event website or through links provided by the event organizer.
For more information, refer to the Attendee Center article.
Managing your registration
Depending on the event configuration, you will be able to manage parts of your registration from My Account.
Cancelling your registration
If cancellation is enabled for the event, you can select Cancel registration from My Account and complete the Cancellation form. Once you submit the form, you will be removed from the event.
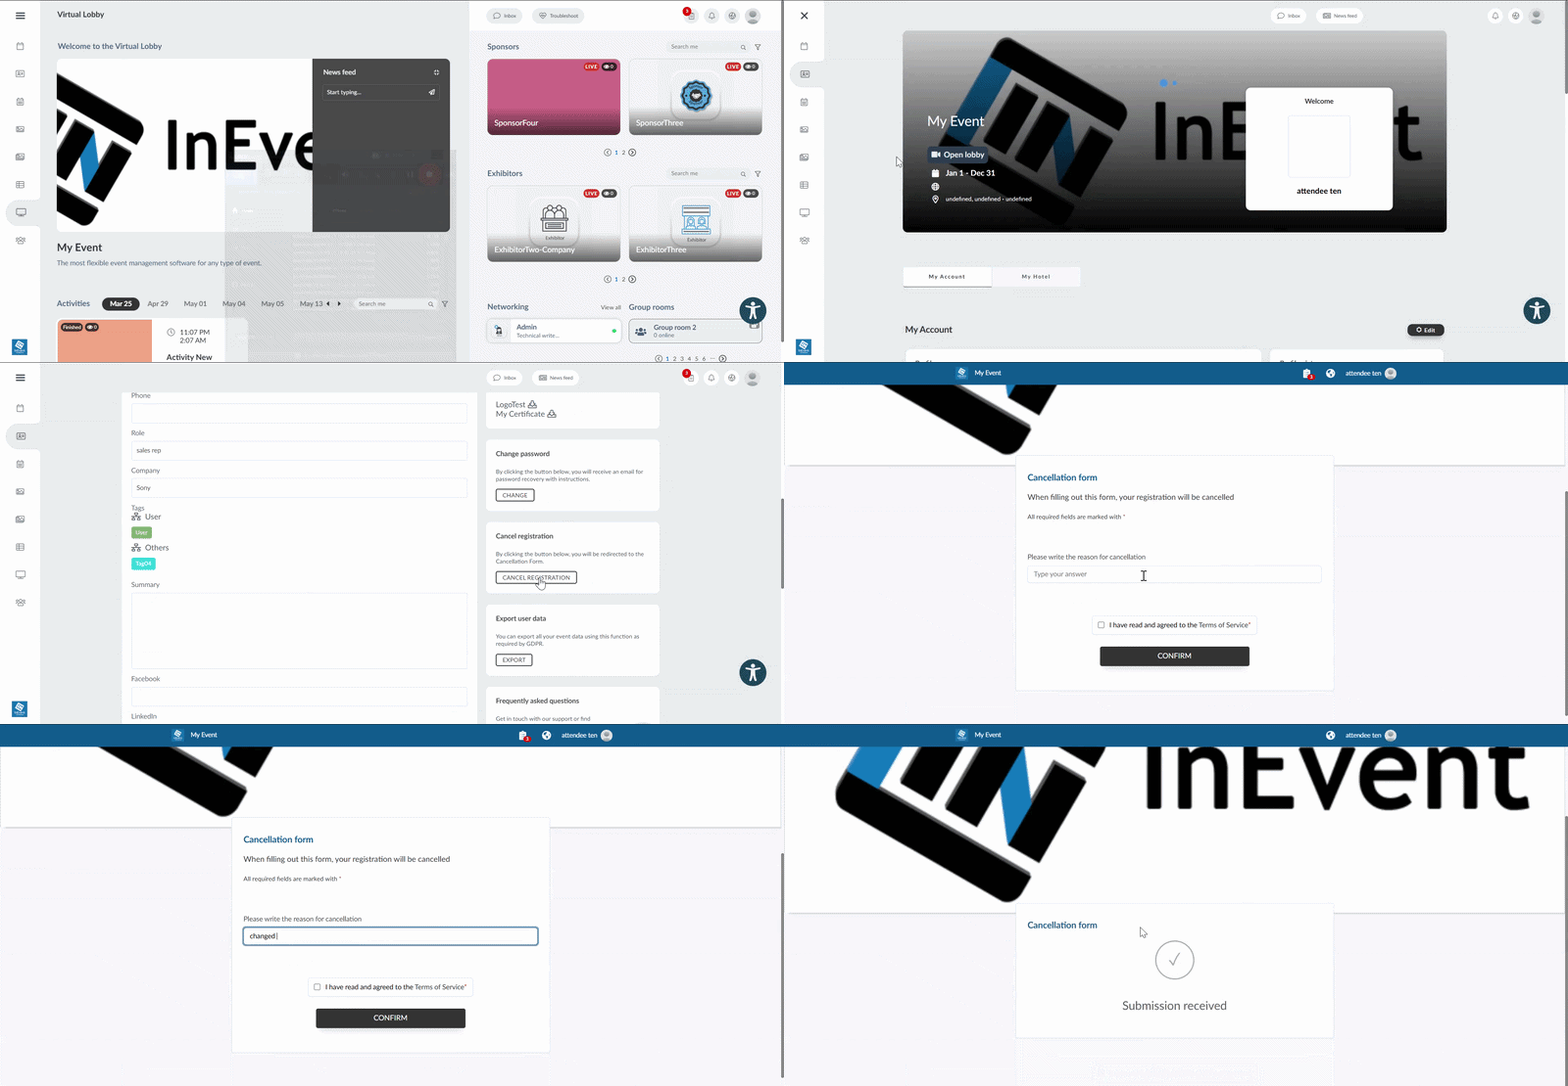
If the event is ticketed and you purchased a ticket, request a refund before cancelling your participation. Cancelling your registration does not automatically refund your ticket. For more information, refer to the How can I request a refund for my ticket purchase article.
If you have already registered but cannot access the Virtual Lobby, check the event information or confirmation email for instructions on when and how the event will become available.
