Attendee Center
The Attendee Center is a web area for the participant to access their calendar, forms, QRCode, and entry into their personal area.
Attendee Center pages
This section contains information on the pages that can be accessed in the Attendee Center.
My Events
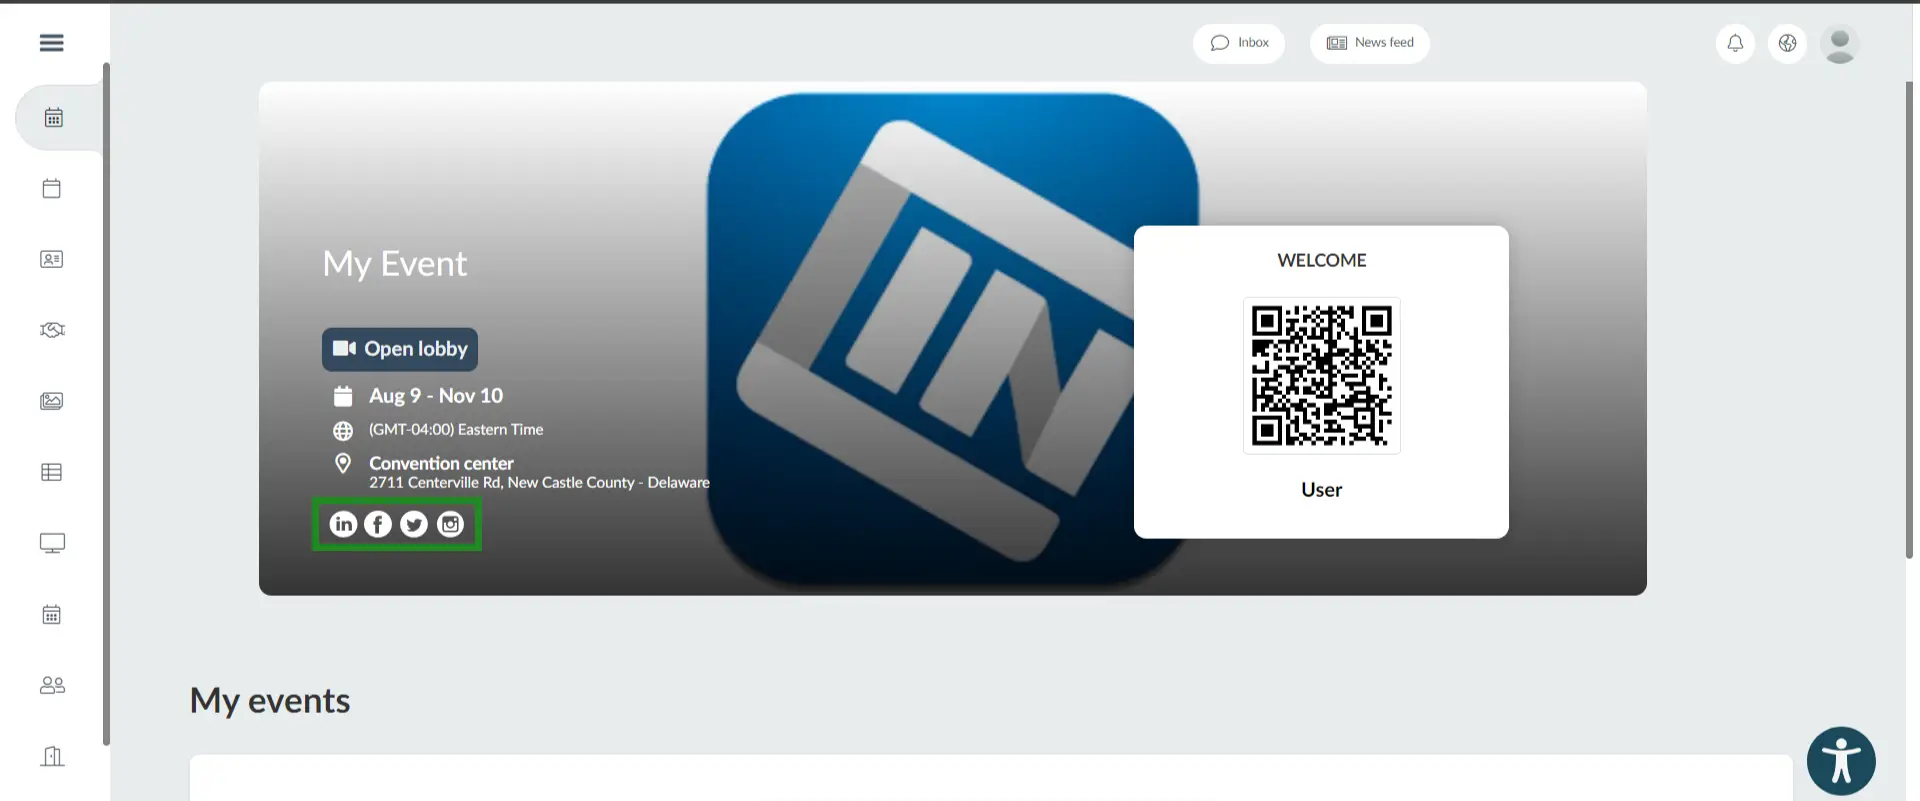
The My Events tab lets you view all the events that you are registered in using the same login credentials. You can access any of these events by simply clicking on them.

My Account
The My Account area will display attendee's personal information, social media links, website, tags, and answers to the registration form questions.
Attendee's can modify their personal information by clicking on Edit. Only the Username field cannot be changed.
If the tool Lock Tags Attendee Profile is enabled, you will not be able to select/choose tags in the attendee profile. For more information, refer to our Set Event Tools article.
On the right hand side the attendee will have the the option to:
- Upload a profile picture by clicking on Edit, and pressing the Change button, then selecting a picture.

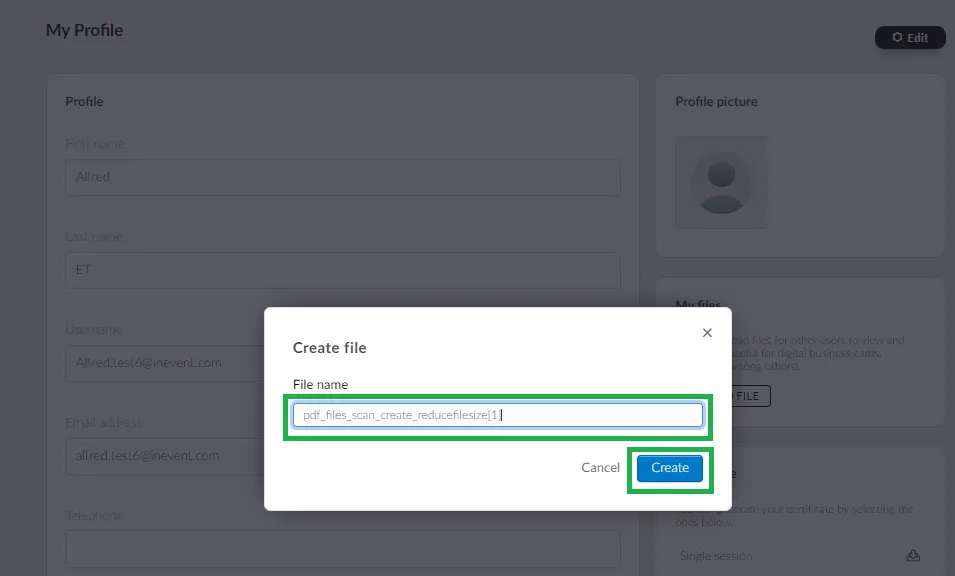
- Upload a file such as digital business cards, brochures, etc. for other users to view when networking. To upload a file, click on the UPLOAD FILE button. When uploading the file, you will be able to change the file name, then click on Create, to upload it. A download icon will appear for you to download the file once it is uploaded.
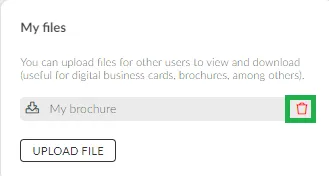
To delete a file after uploading, simply click on the trash icon beside the file.
- Download their certificate of attendance (if enabled), refer to the Downloading the certificates from My Account article for more information

- Change password link,
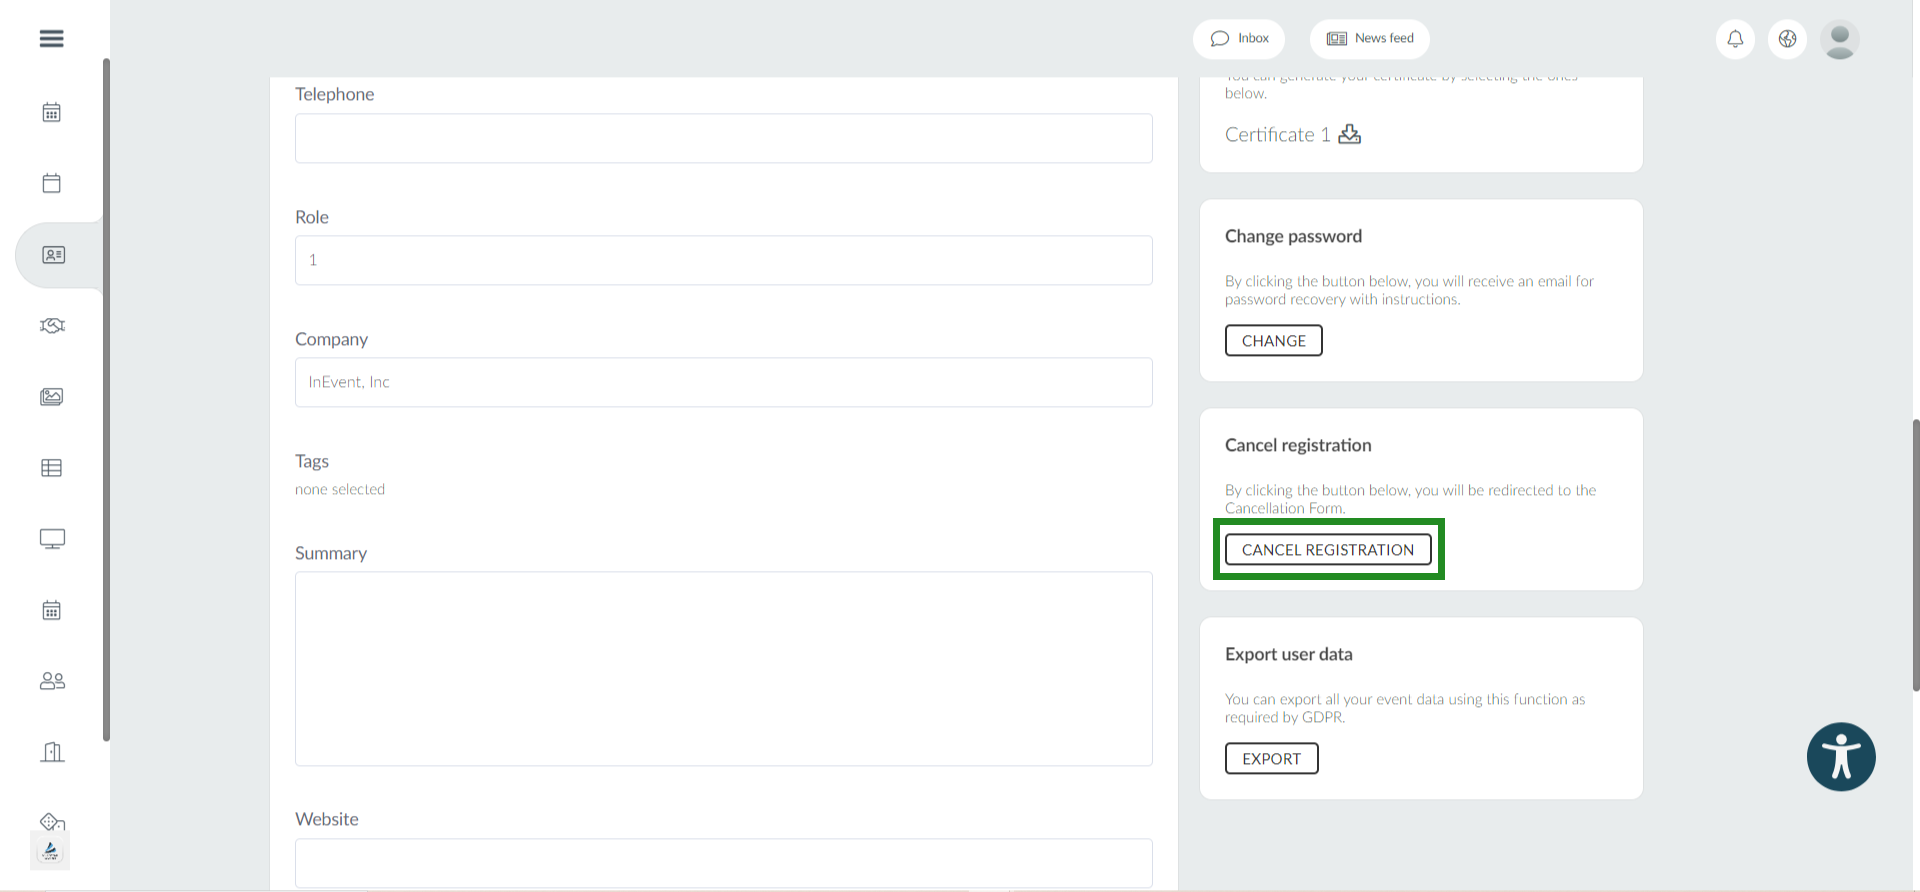
- Cancel your registration to the event by clicking on the Cancel Registration button.
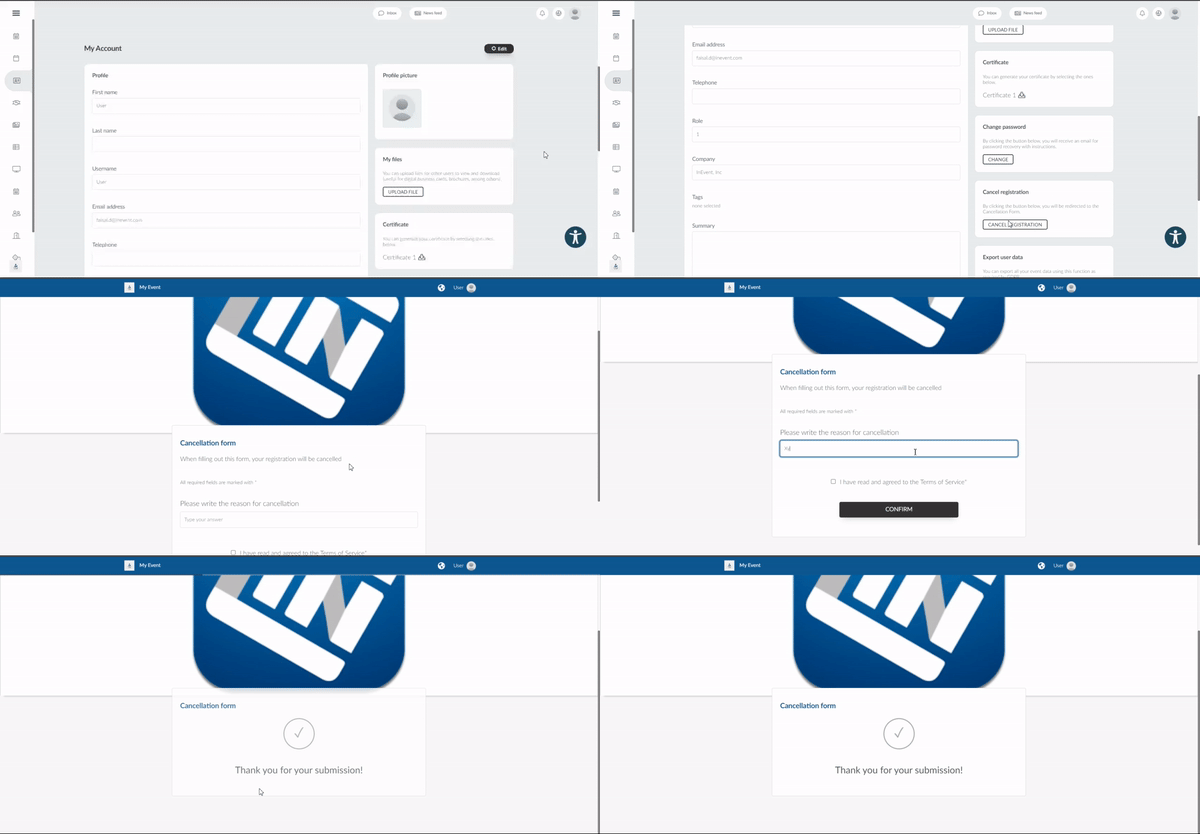
Once you click on the Cancel registration button, you will be redirected to the cancellation form where you can give the reason for cancellation and finally submit the form. You will be removed from th event immediately you submit the form.
- Export user data pertaining to the event,
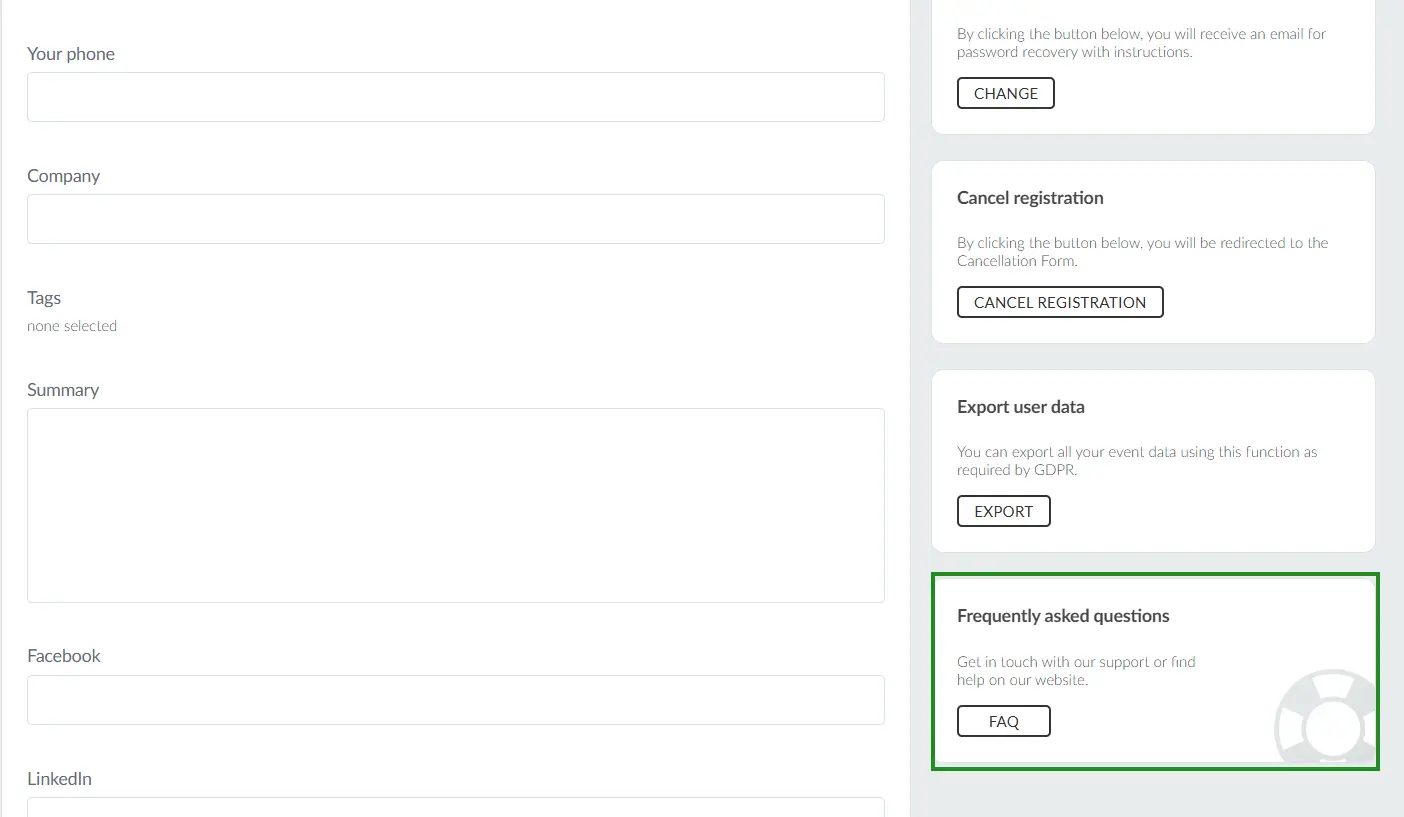
- Frequently asked questions: access the company's FAQ (if enabled).
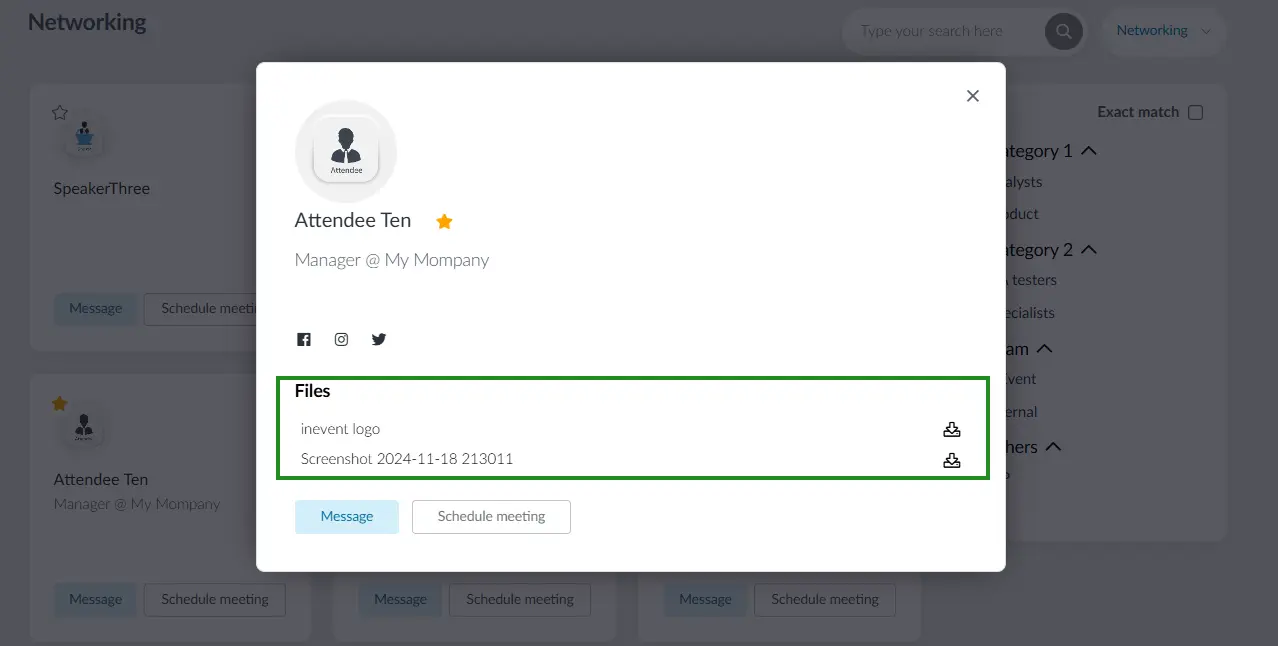
The uploaded file(s) will be shown in the attendee's networking profile in the Networking tab for participants to download.
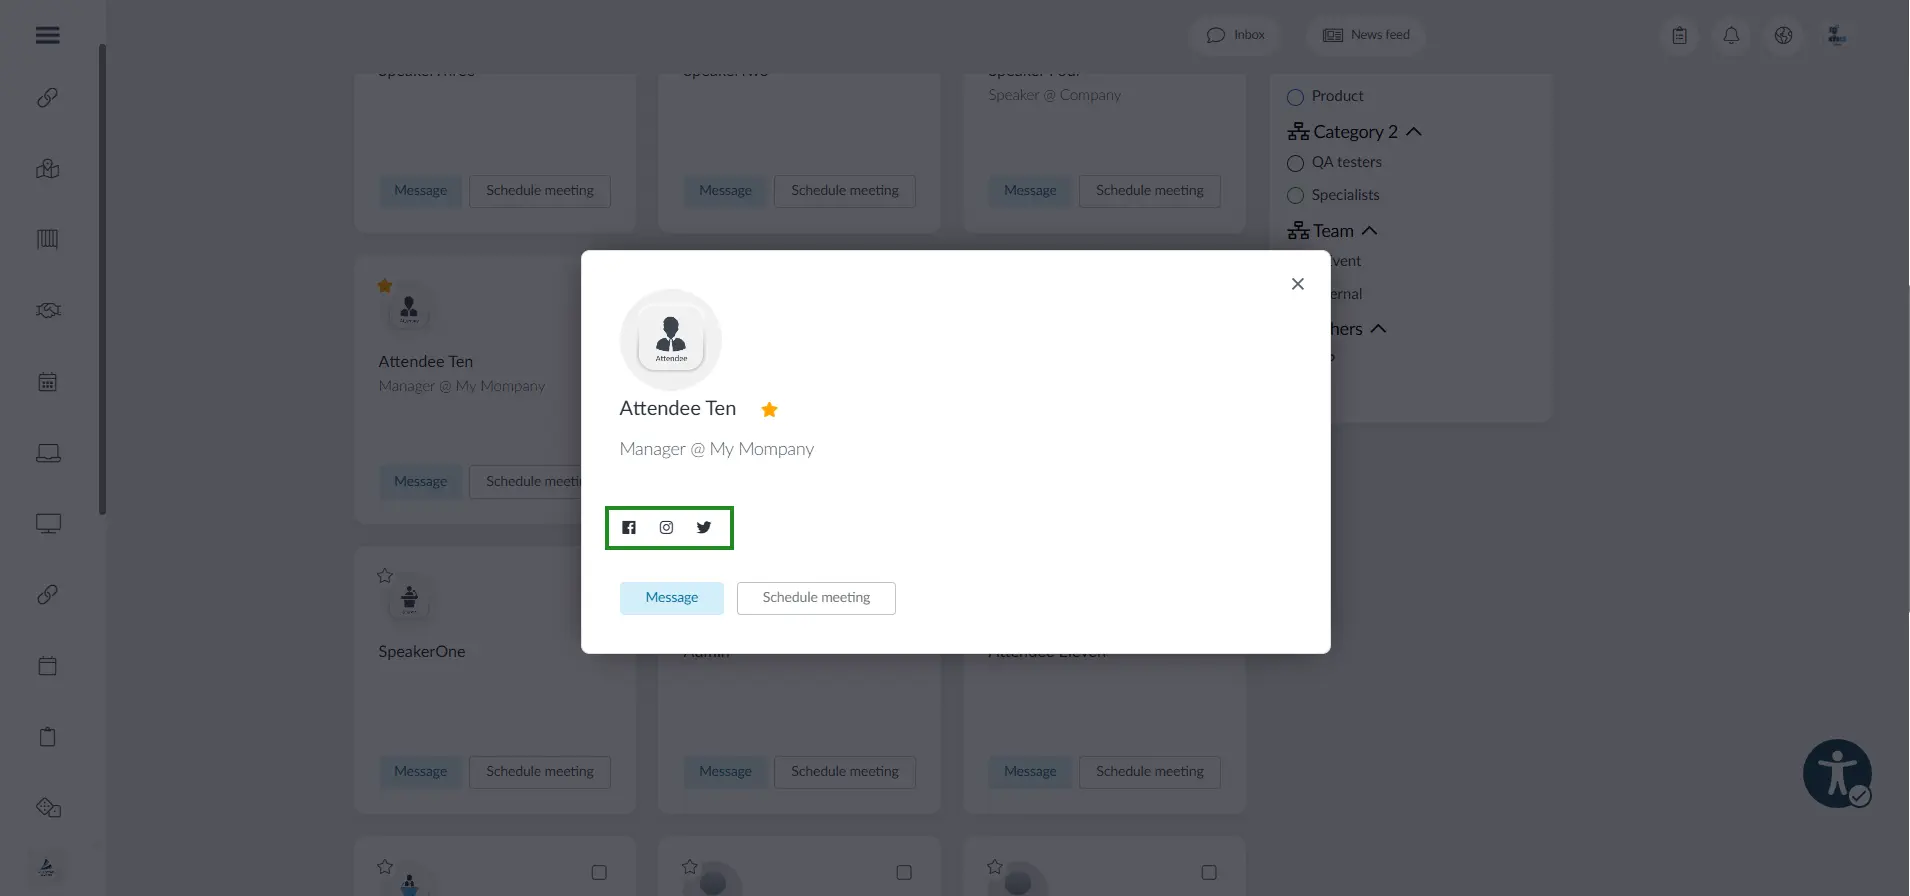
Social networks or website links added in the My Account area will be shown in the attendee's Networking profile.
Customizing My Account headings and adding translations
Event organizers can customize the headings on the My Account page and add translations, allowing users to view the content in their preferred language.
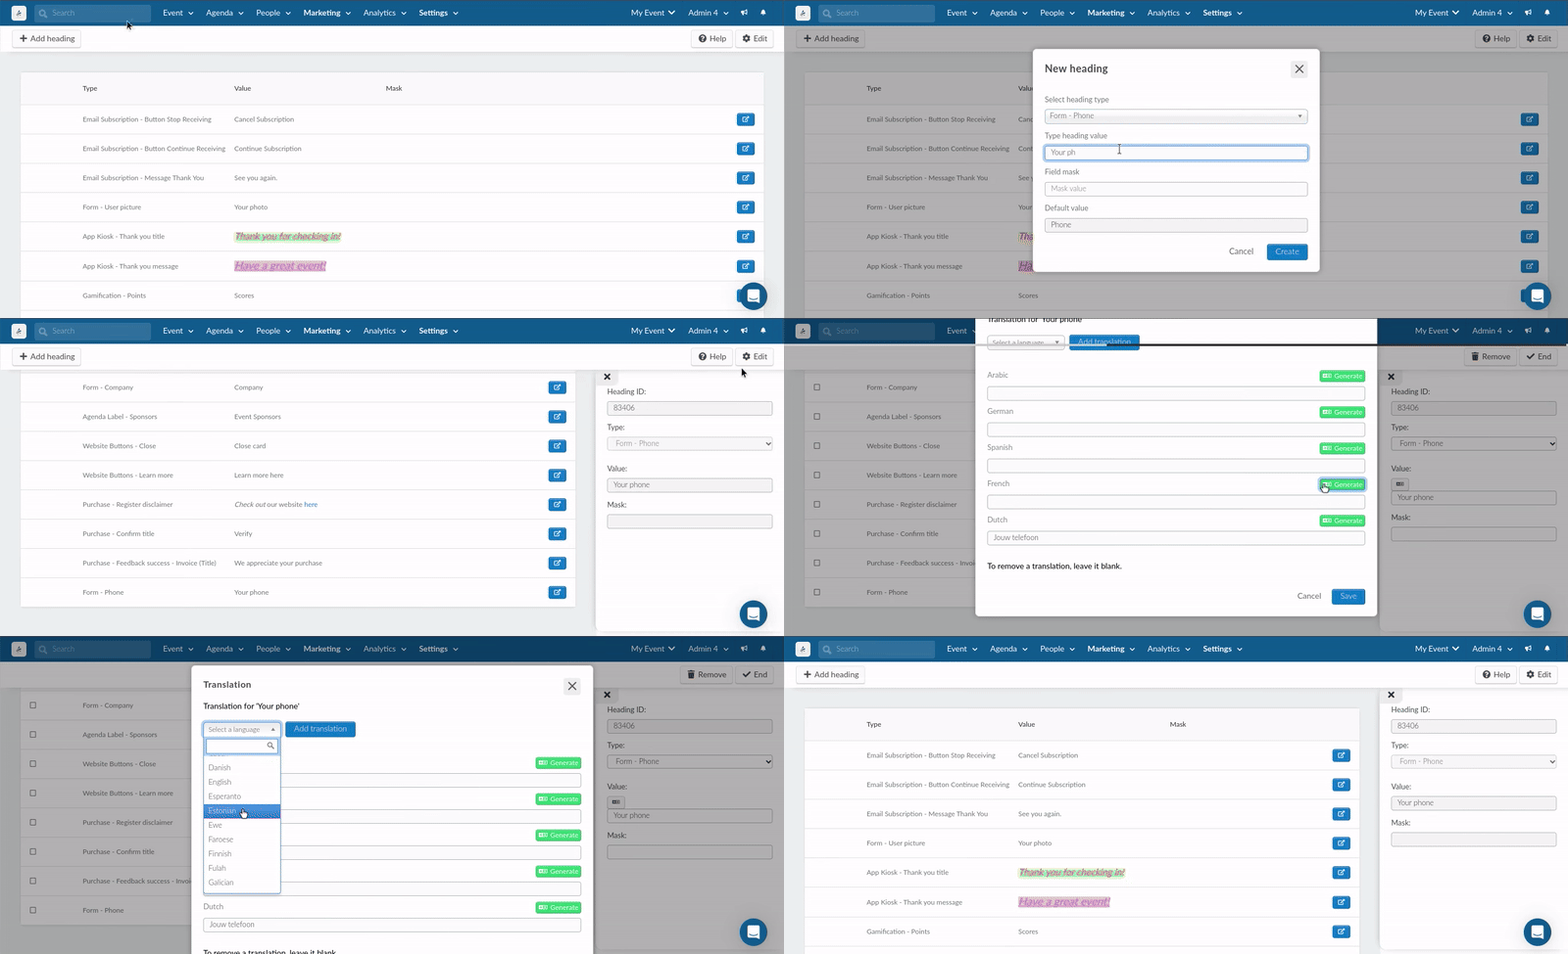
To customize and add translations to headings on the My Account page, follow the steps below;
- Go to Settings > Headings.
- Click +Add Heading.
- Select the heading to change from the Select Heading Type dropdown.
- Enter the new value in the Type Heading Value field.
- Click Create.
You can now proceed to add translations to your heading value. Refer to our guide on Adding heading translations for instructions on how to add headings.
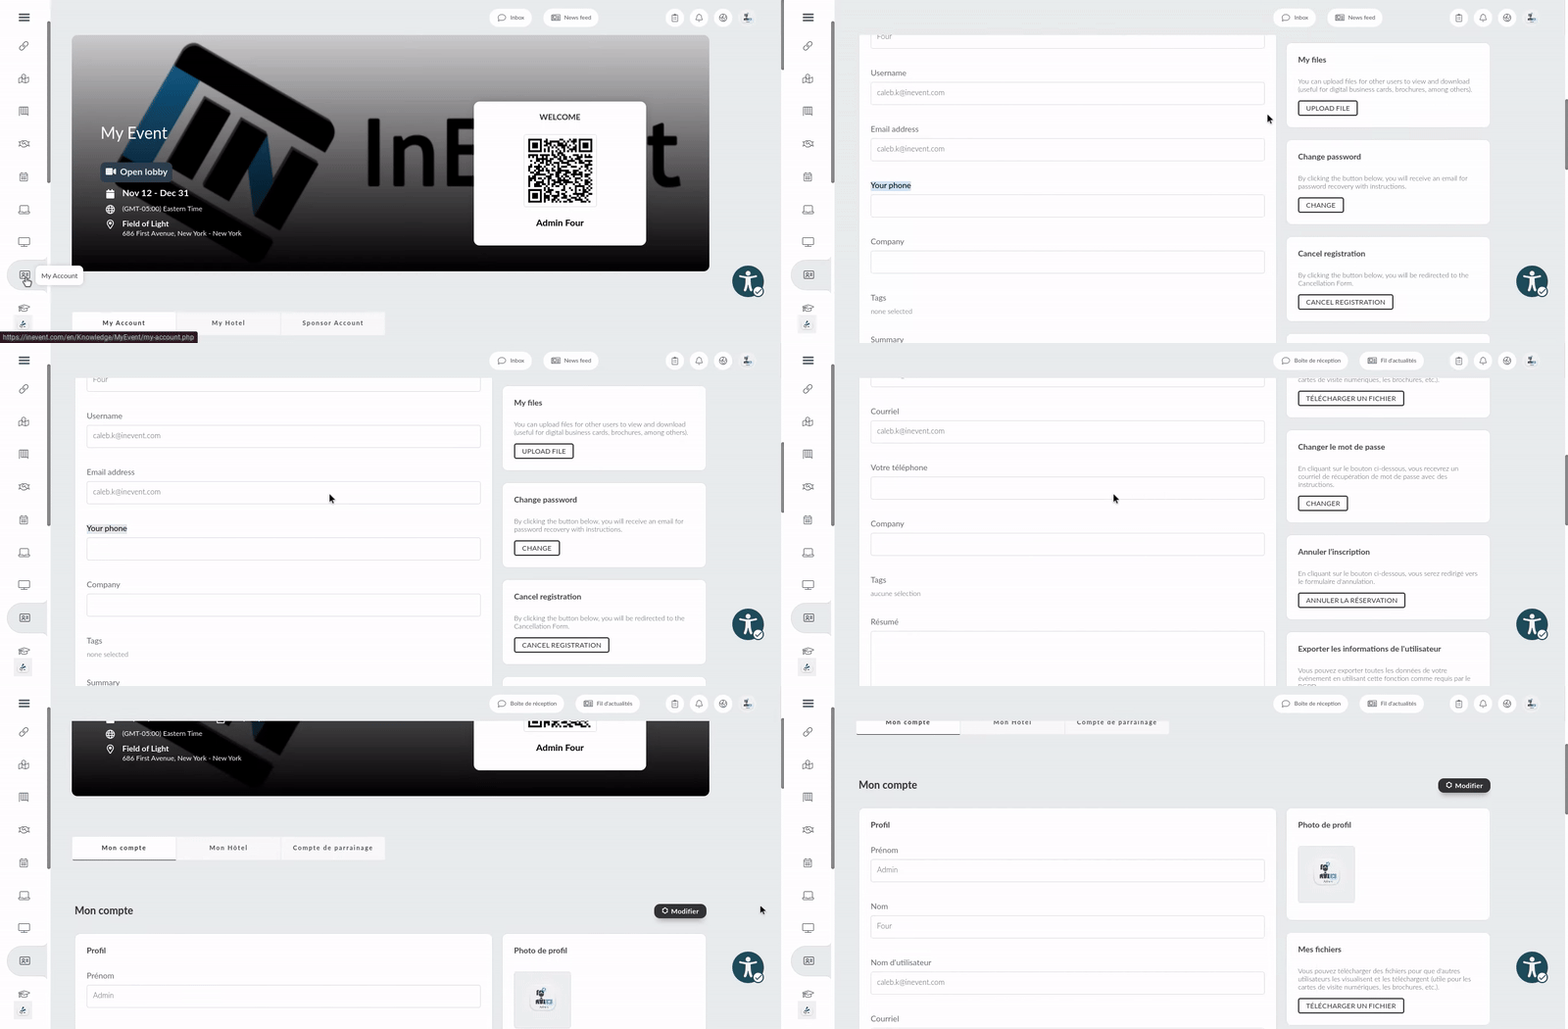
Once this is set up, users will be able to select and view any of the translations you've configured for these custom headings on the My Account page.
My Photos
My Photos can be viewed in events that have the Photo match AI tool enabled. InEvent's Photo match AI will match your profile photo with photos in the event's Photo Gallery, and the photos you are featured in will be displayed here.
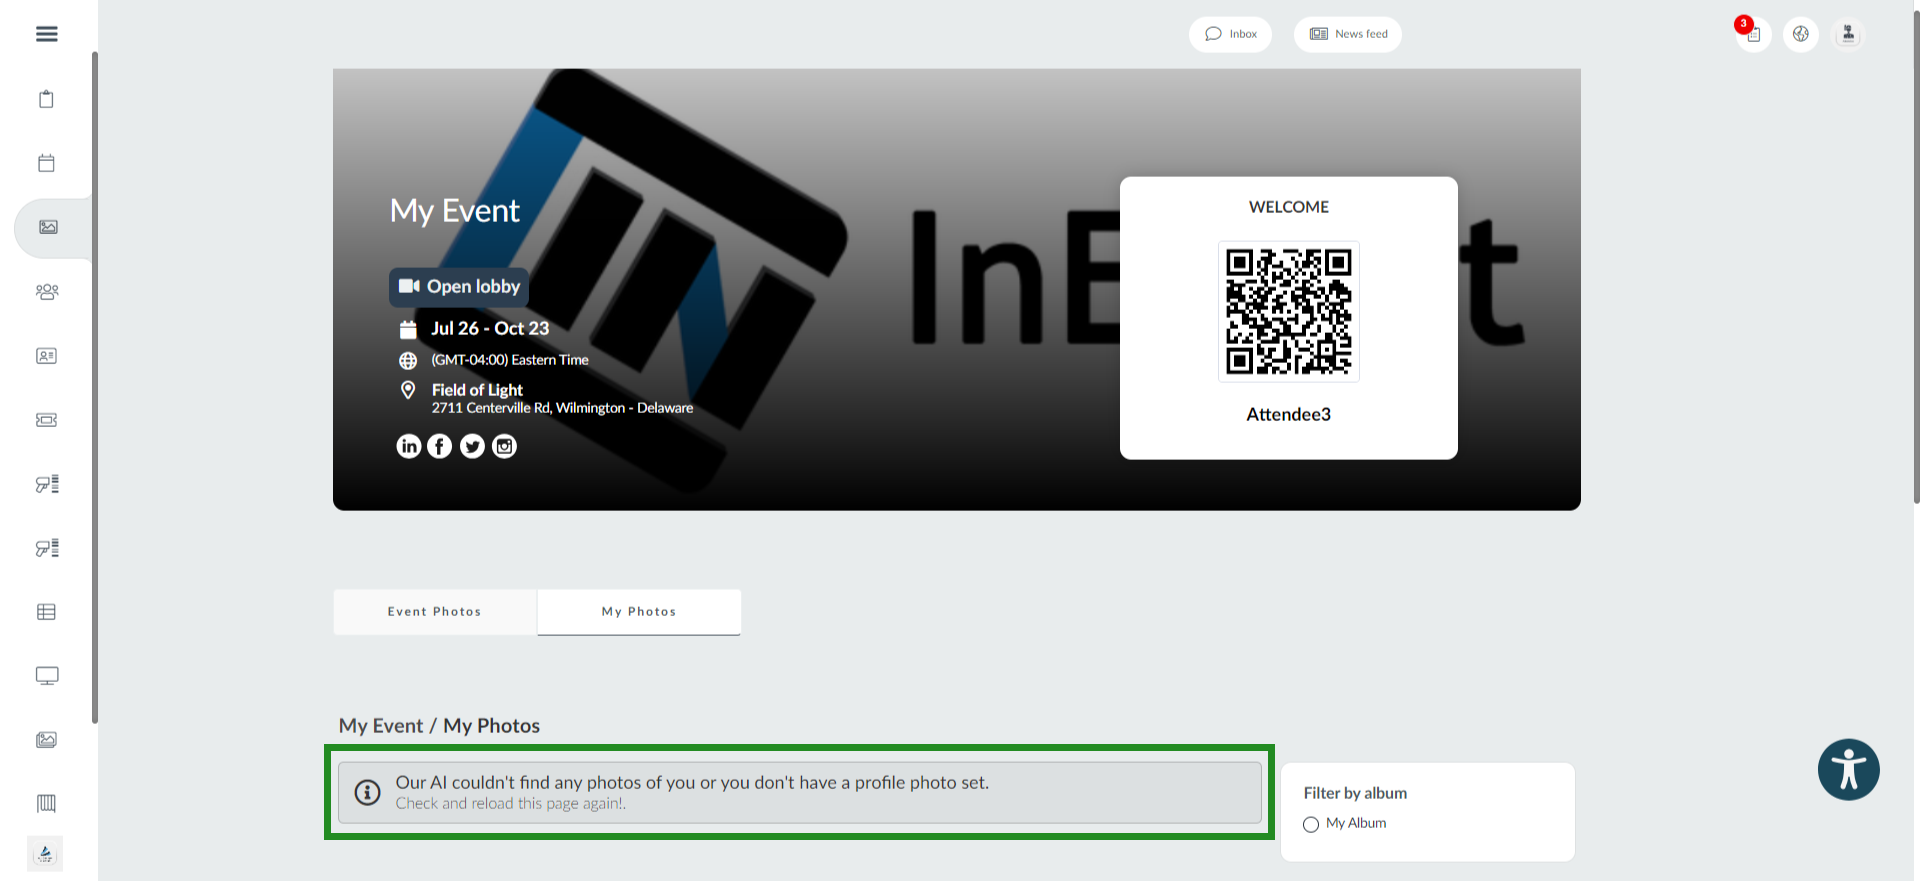
If there is no profile picture uploaded in the My Account tab, or if your profile picture doesn't match any of the available event photos, you will see the message below:
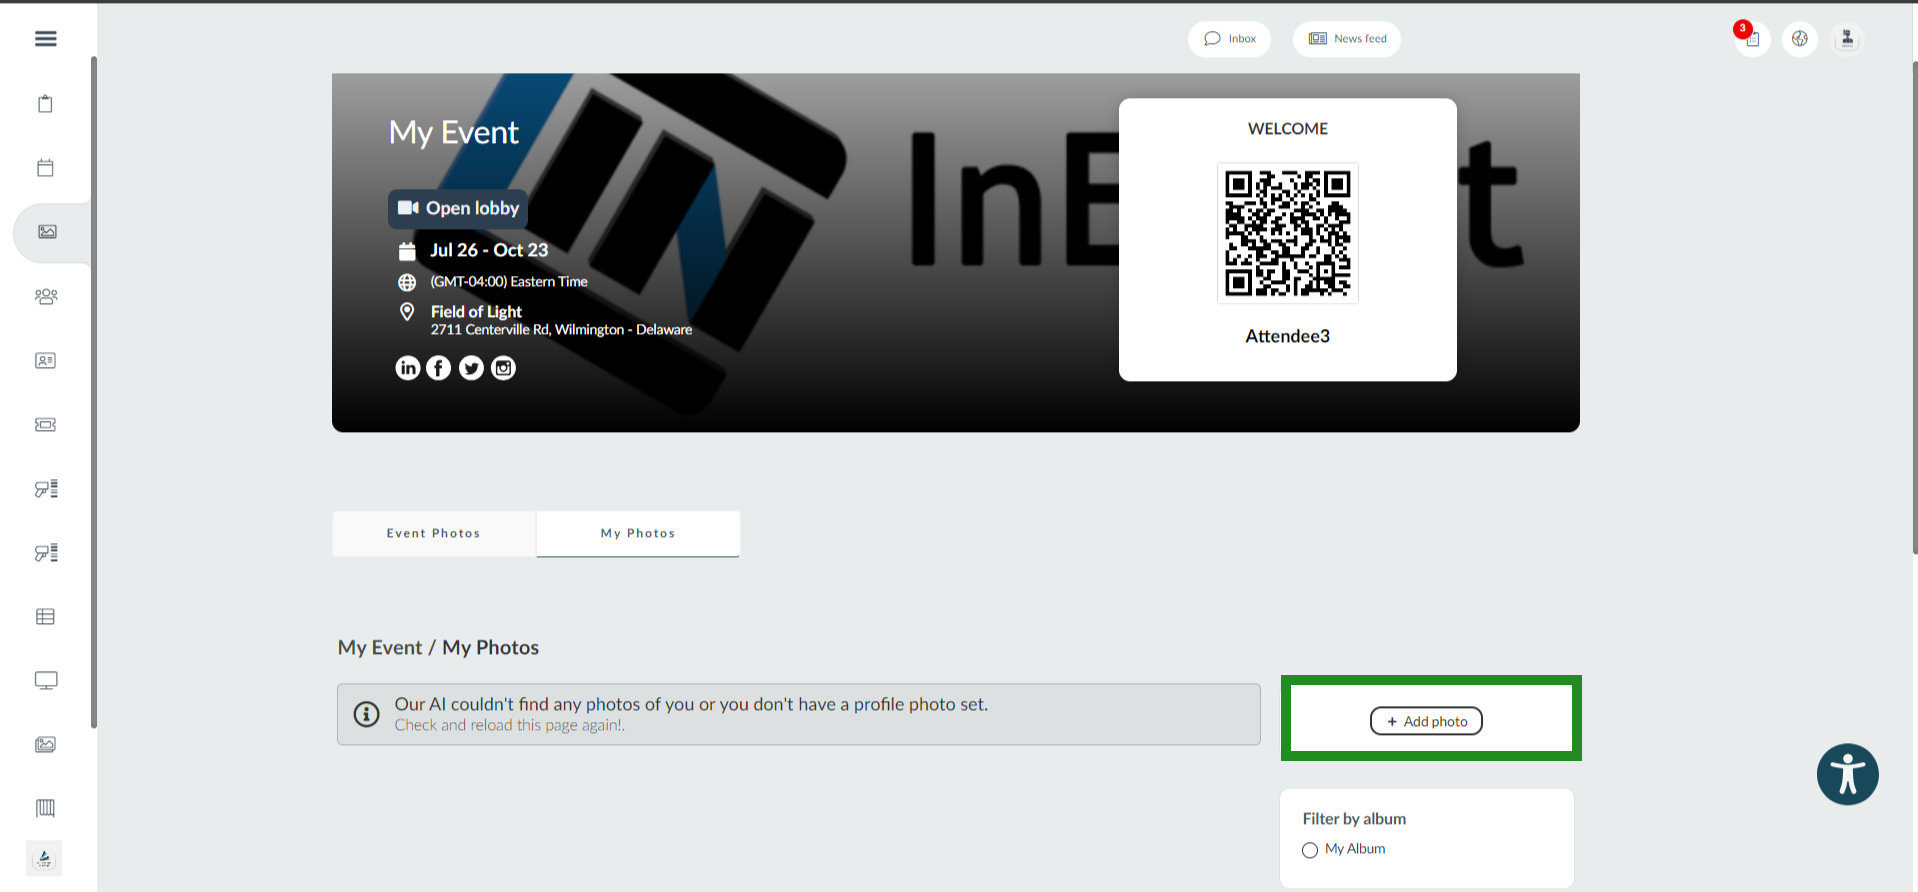
In order to upload photos to the event gallery, follow these steps:
- Click on the Add Photo button.
- Select an album from the drop-down menu where your photo will be uploaded.
- Click on the red file button to upload a photo.
- Press Save to finish.
My Tickets
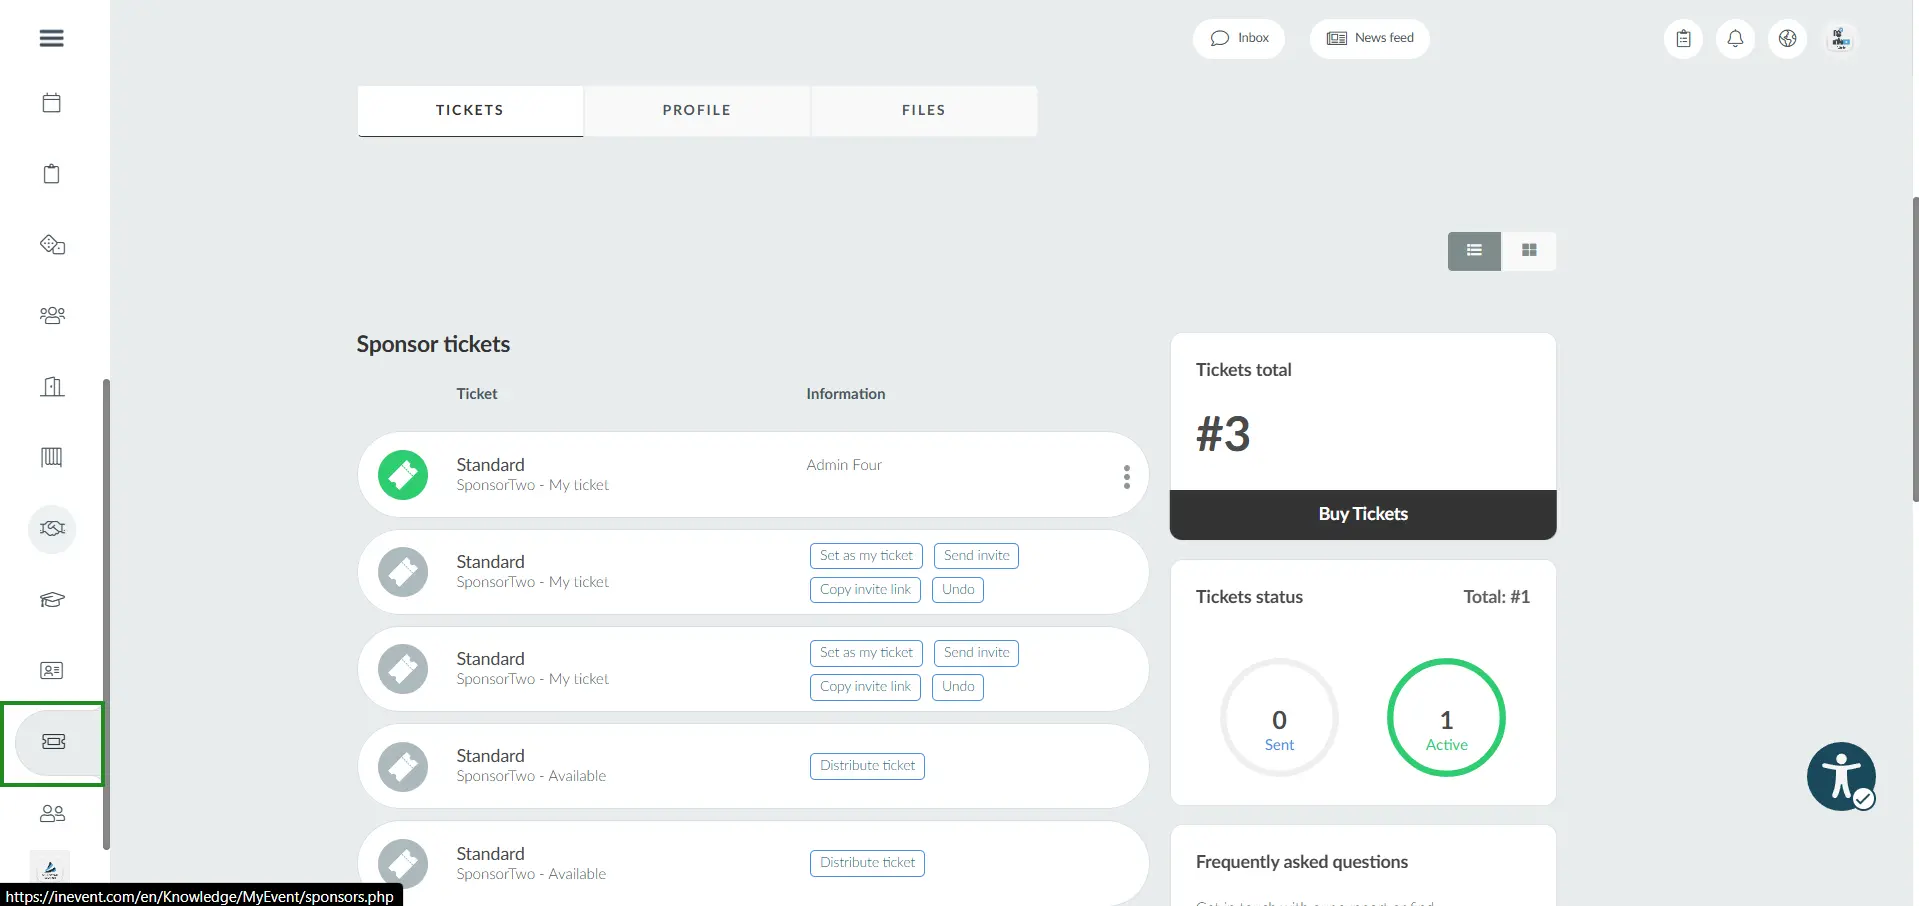
The My Tickets area will display information about ticket purchases.
In this area, you can buy more tickets, check your ticket status, request a refund or send a ticket to another person.
My Agenda
The My Agenda area will display Information about the event's agenda and personal activities.
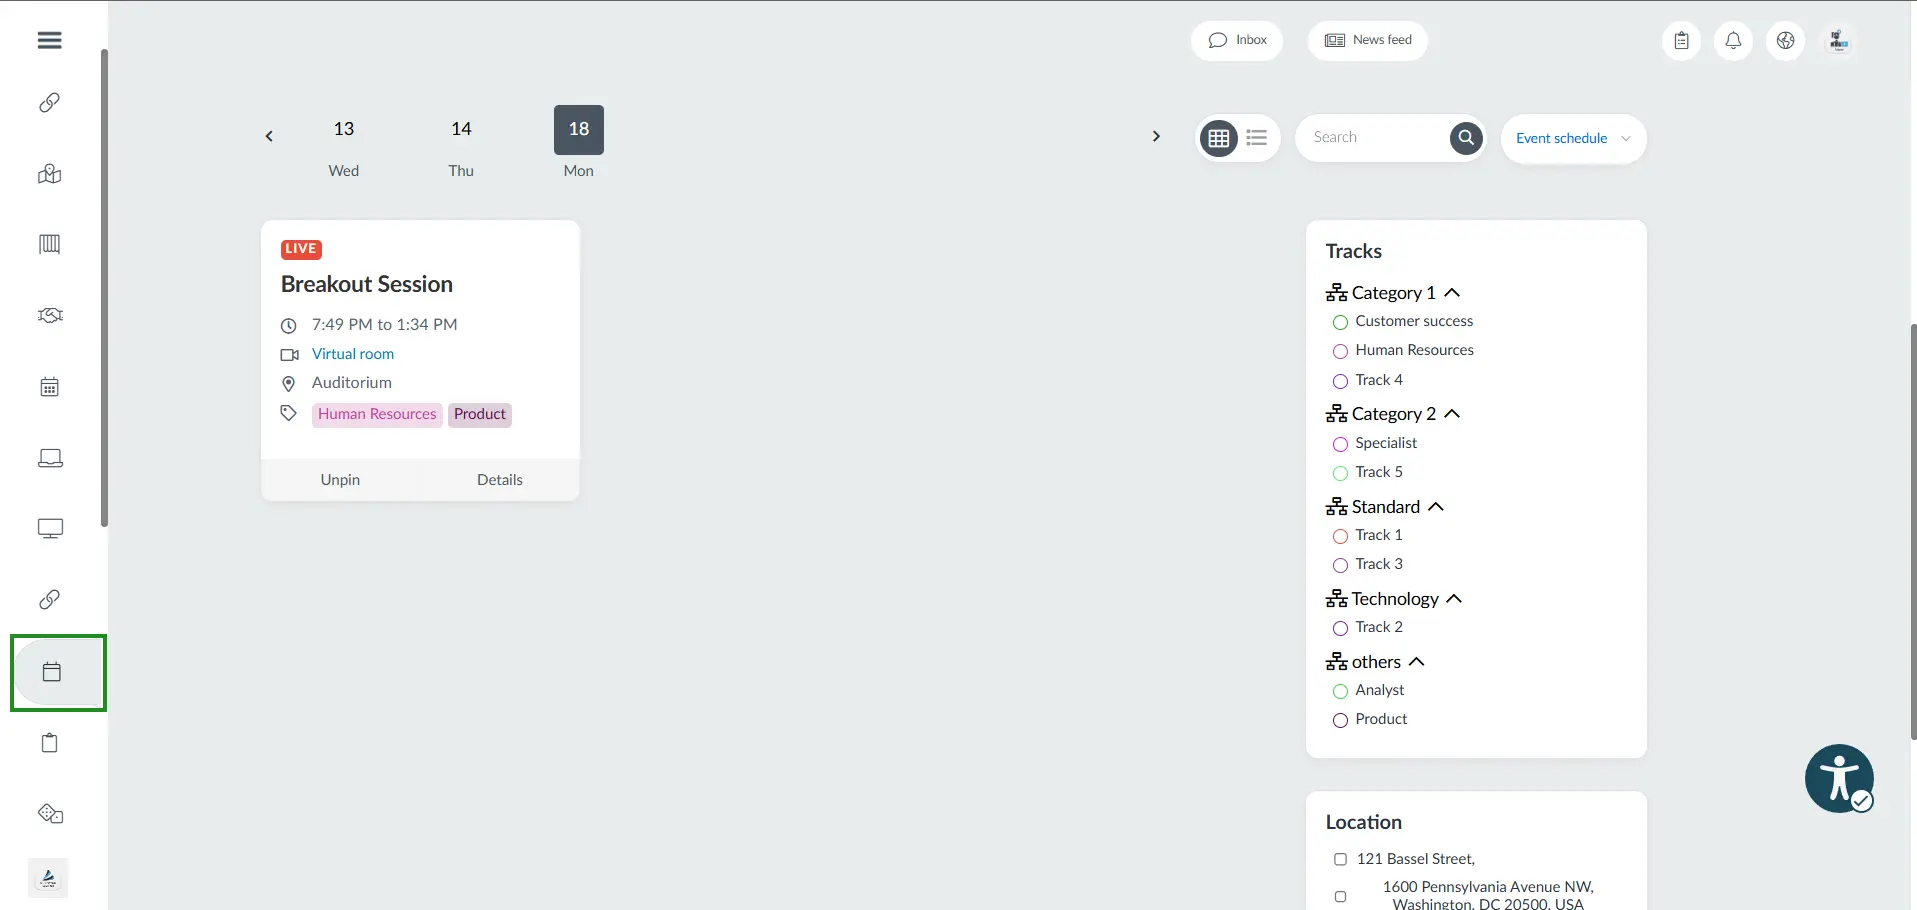
Refer to the My Agenda article for further information.
My App
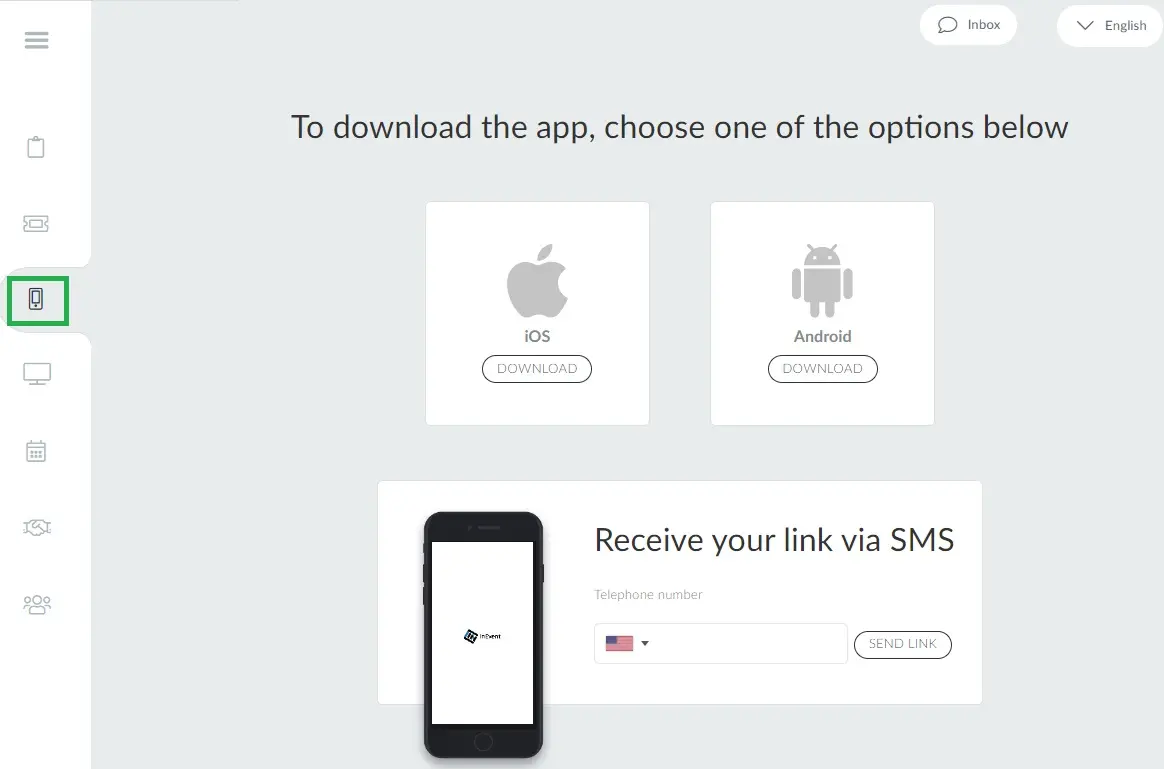
On this page, you should find the download link to event's mobile app.
My Forms
On this page, you will see forms created by the event organizer.
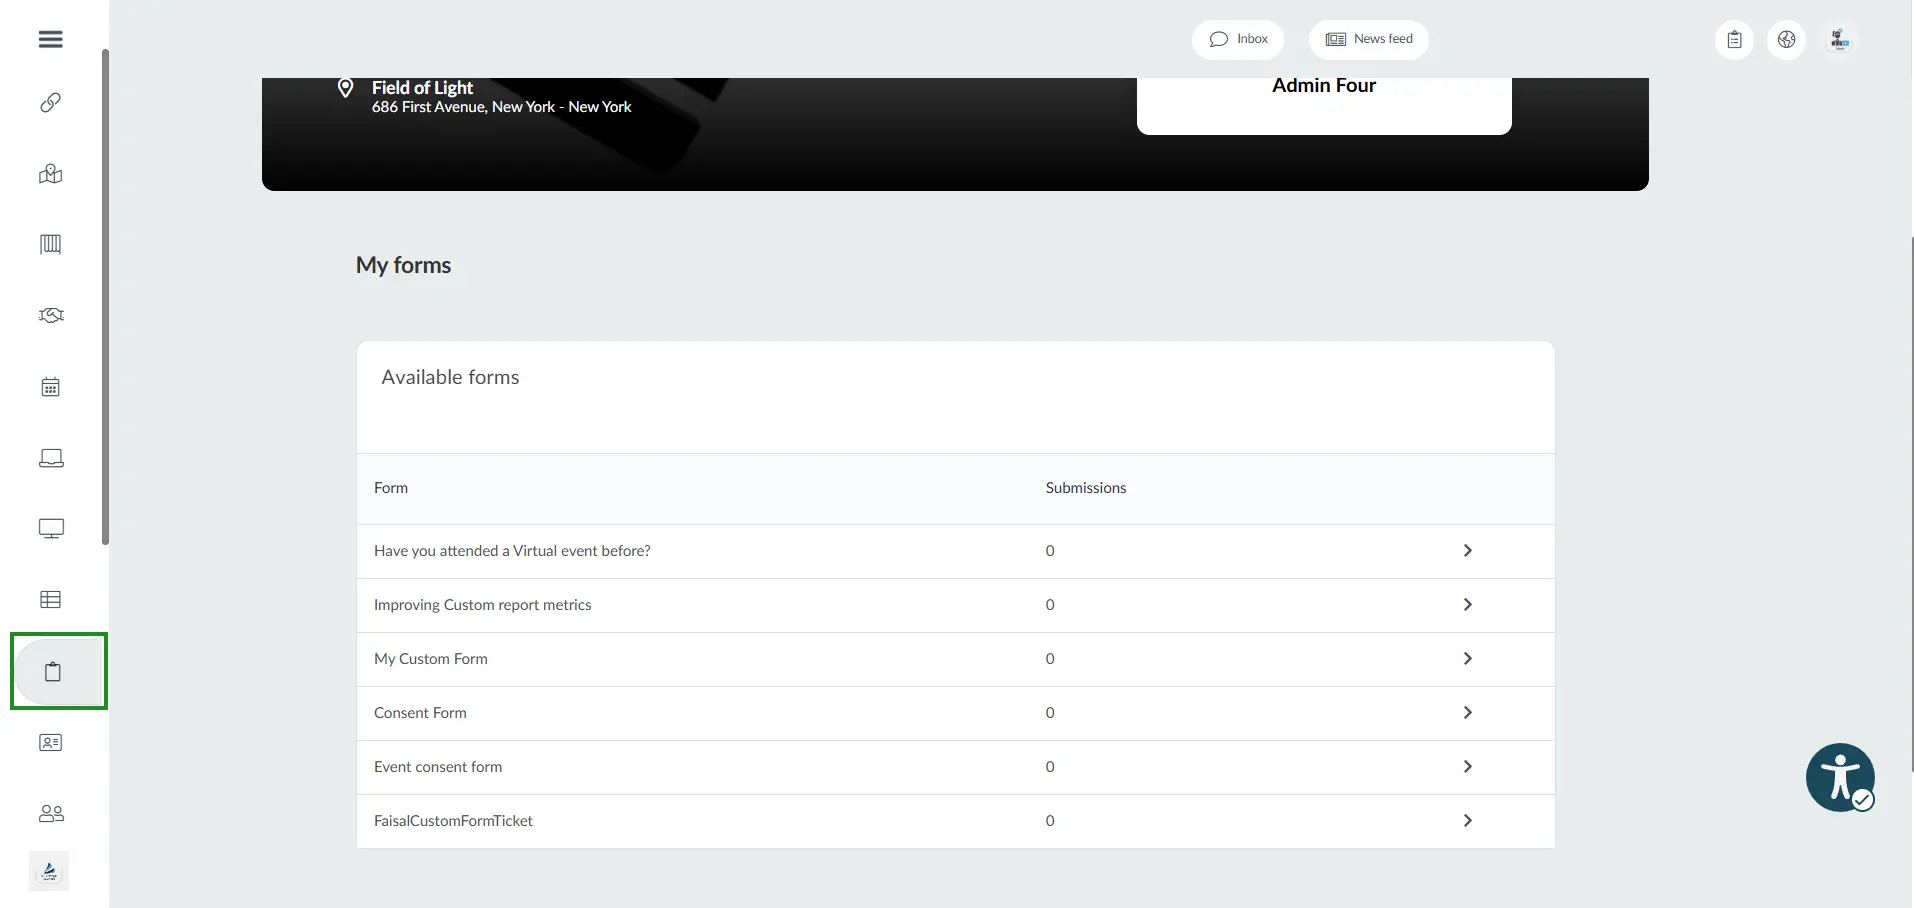
Refer to the Custom Forms article for further information.
My Files
On this page, you will see all event files.
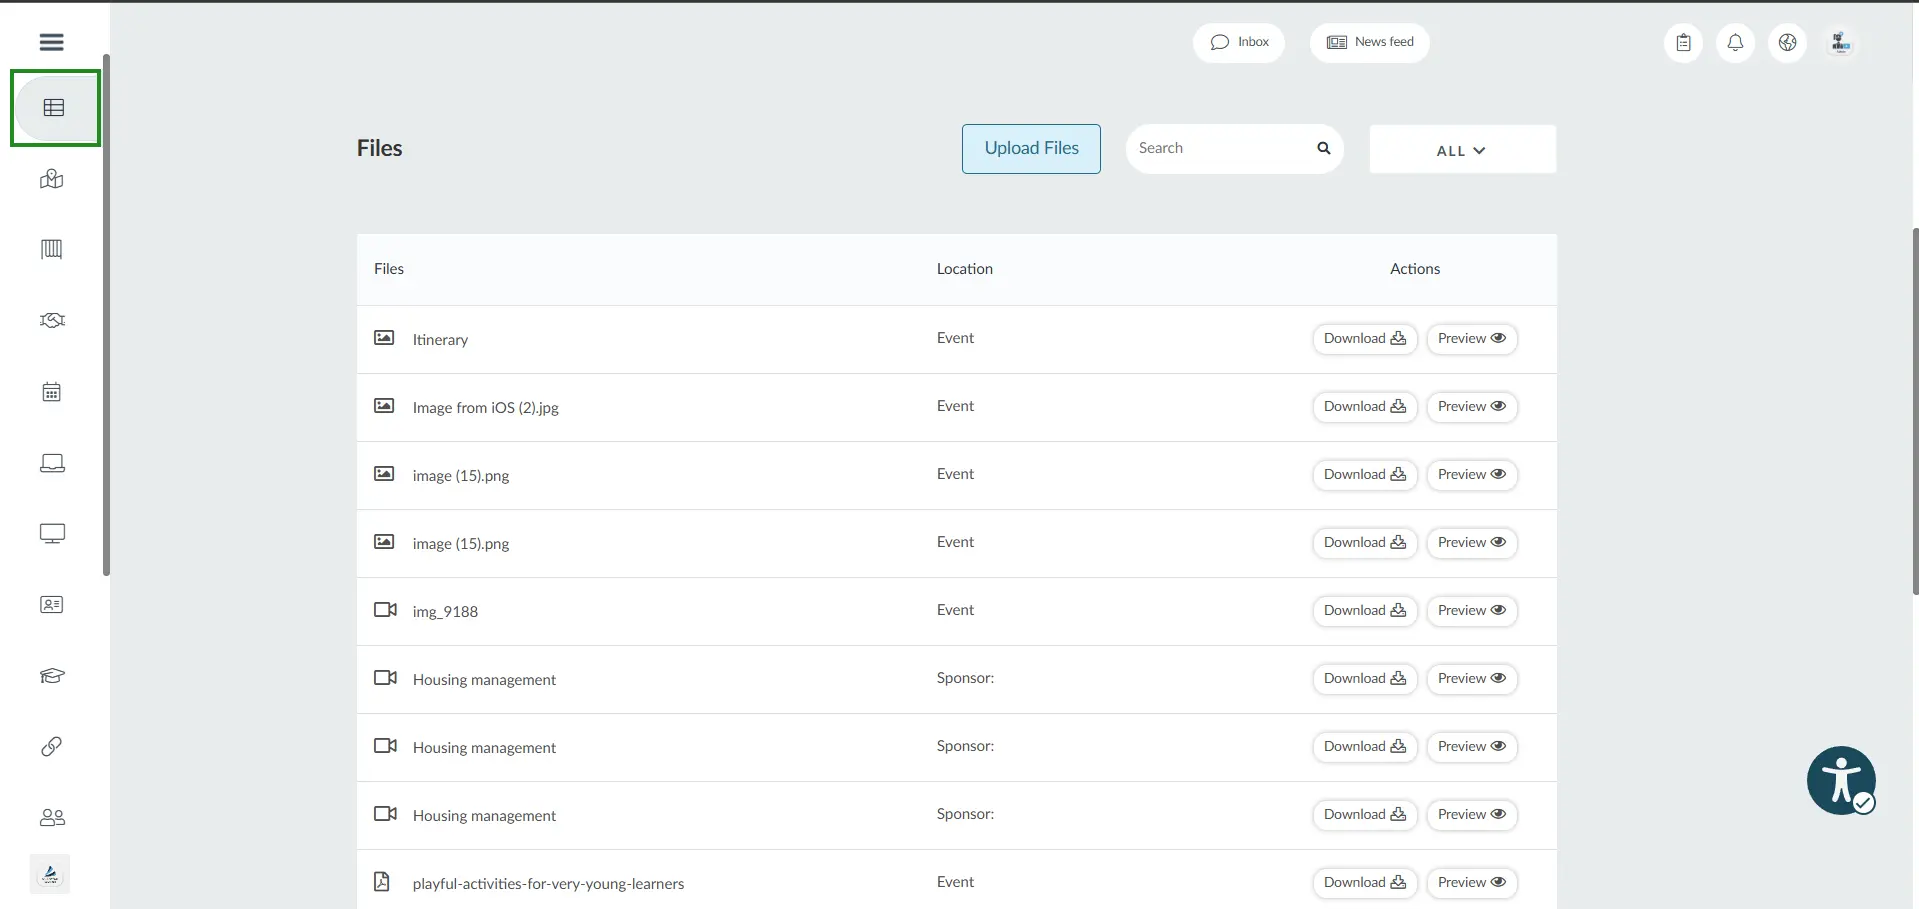
Refer to the Files and documents article for further information.
Accessing the Attendee Center
Attendees can access the Attendee Center, including their My Account page, in multiple ways. Attendees can immediately access it from the Virtual Lobby, and in addition, event organizers can provide more ways to access the page.
Through the website
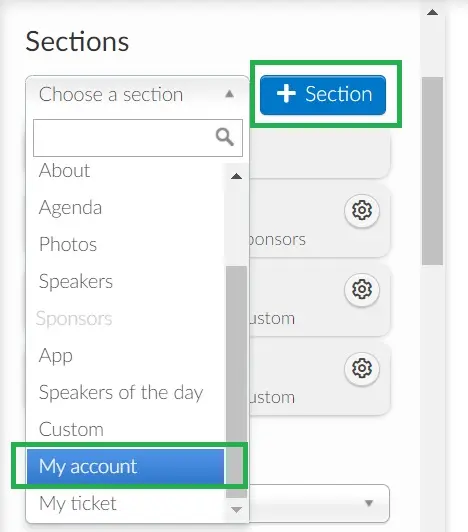
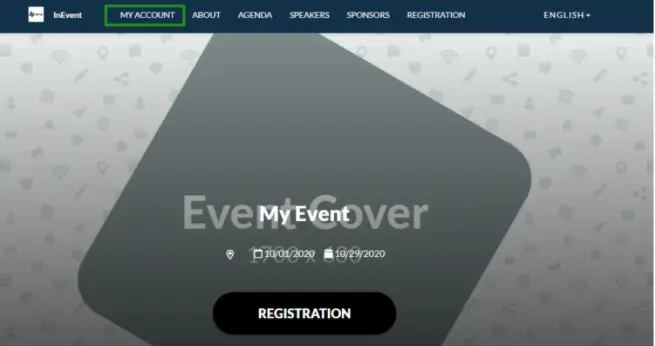
When creating the event's website, it's possible to insert an extra tab for My Account functionality. By clicking on it, your participant can enter his login and password to access all the personal information.
To do this, go to Marketing > Landing Pages > Website > Edit, choose the My Account section > press the blue button + Section > press End to save the changes.
Through email
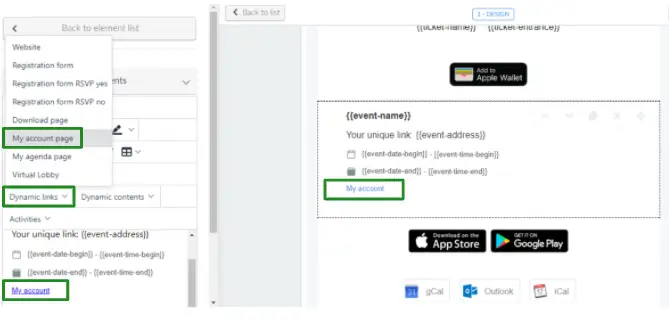
In your communication emails, enter a dynamic My Account link. They do not need login and password to access, in this case.
To do this, go to Marketing > Communication > Automatic emails, select the email you want and in Dynamic links > select My account page.
