Appointments
 Updated 1 month ago
by
Chioma Okenwa
Updated 1 month ago
by
Chioma Okenwa
The Appointments feature, similar to the Scheduled Meetings feature, allows event organizers to create appointment schedules for attendees as hosts, enabling other users to book meetings with them.
However, unlike the Scheduled Meetings feature, users don't need to navigate through the Networking feature to schedule meetings with others. Instead, they simply need to use the appointment link of the hosts provided to them by the event organizer.
Creating appointment schedules
To begin creating appointment schedules for your attendees, you need to first ensure that the Meetings tool has been enabled from the Setting > Tools > Registration page. Once enabled follow these steps to create appointment schedules for your attendees.
- Go to Agenda > Appointments.
- Click on +Add appointment schedule in the Appointment schedule field.
- Complete the mandatory fields:
- Appointment name: Enter an appointment name. It must have at least 2 characters.
- Appointment host: Click on this field to select one or more attendees as hosts.
- Location: Choose between In-person or Virtual room. If In-person is selected, a sub field - Location description will appear for you to provide your address.
- Description: Enter a description of the appointment.
- Appointment link: Create an appointment link.
- Click on Next.
- Use the date and time selector to specify the date range.
- Choose a duration for the appointment slots using the drop-down. Alternatively you can select Custom to enter a specific time duration for the slots.
- Customize the host's availability by unchecking days when they are unavailable.
- Set the time range for each day. You can also click on the + button beside a day to add more time slots for the particular day.
- Finalize the process by clicking Create.
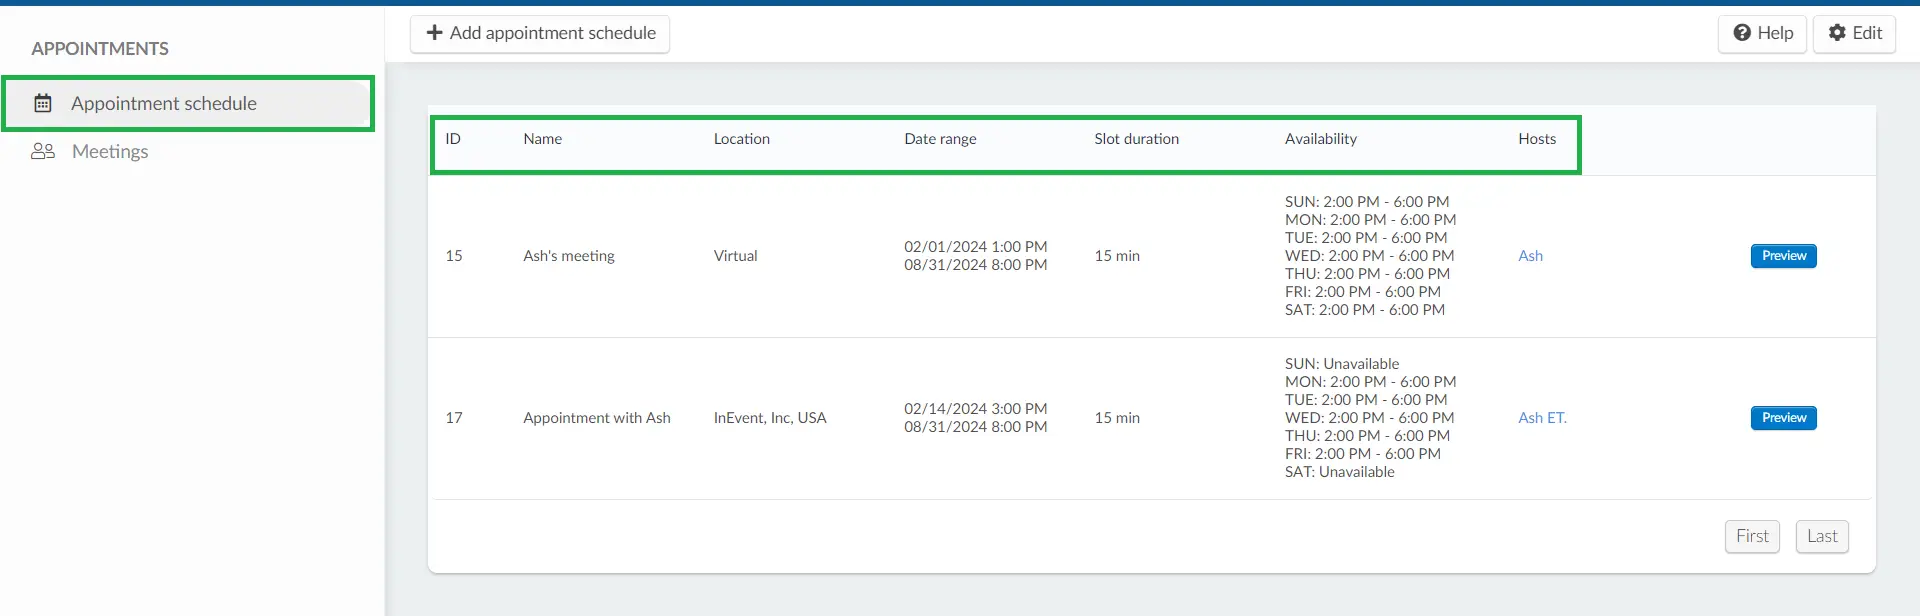
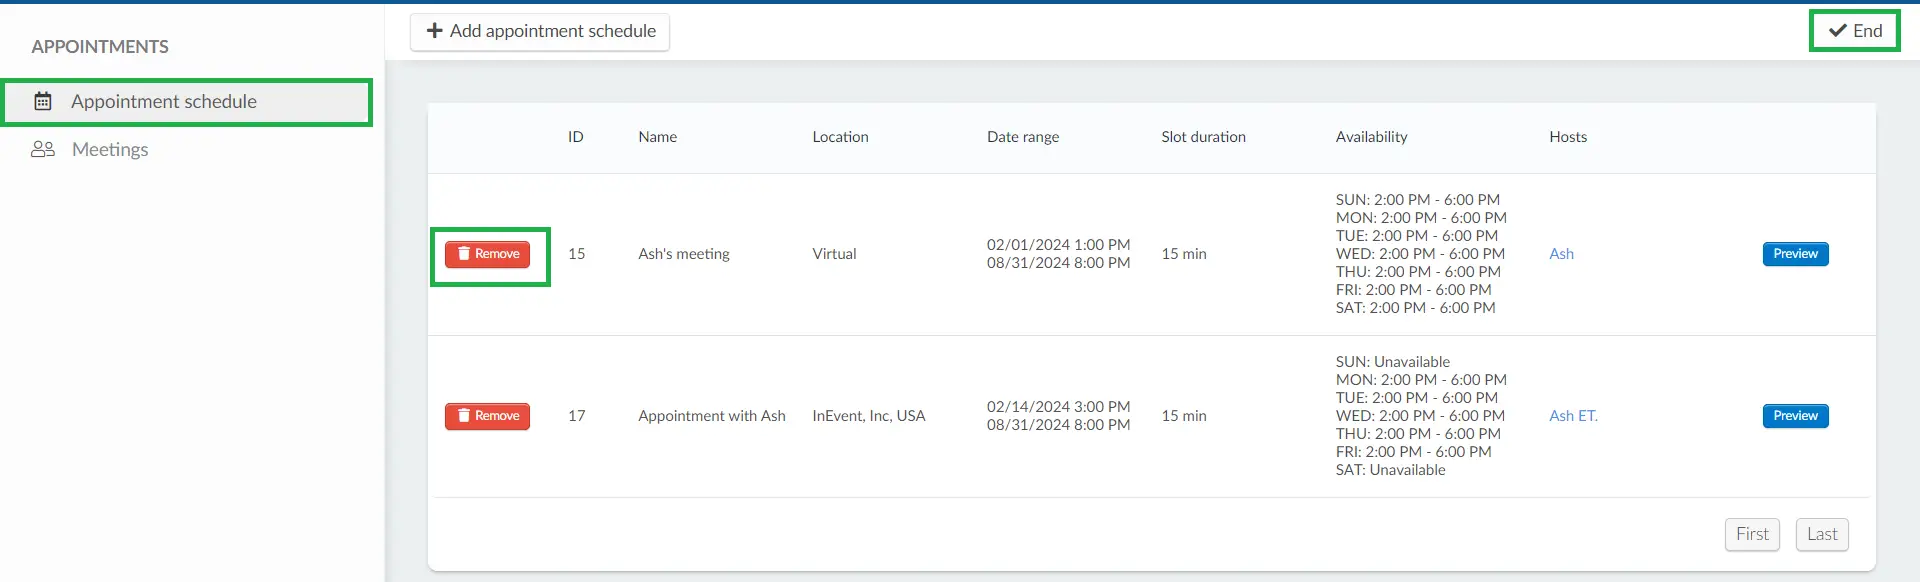
Once the appointment schedule is created, it will be displayed on the dashboard. The dashboard information will show the ID, Name, Location, Date range, Slot duration, Availability and Hosts.
Meting slots already created for a participant from the Scheduled meetings page will not affect the appointment slots. In the My Agenda tab, attendees will be able to see their booked appointment slots, even if it shares same time with a scheduled meeting slot:
Previewing the appointment schedule
You can preview the appointment schedule you have created for your attendees by clicking the Preview button. This will open a new tab showing the details of the appointment as well as the host's appointment calendar based on the configured dates.
How can I share the appointment link with attendees?
To enable attendees to schedule meetings with other attendees who have appointment schedules, they need to have the appointment link shared with them.
Here are some ways to share attendees' appointment links:
- You can share the attendee's appointment links using the Email creator tool. Refer to our Email creator article for detailed instruction on how to send emails to your attendees.
- You can send the appointment link of hosts to users via Push notifications. Refer to our Push notifications article for instructions on how to send Push notifications.
- You can also share them directly within an activity in the Chat tab.
Can I delete an appointment schedule?
Yes. You can delete an appointment schedule which you have created for your attendees. To do this, click on Edit, then click on the Remove button beside the appointment schedule you wish to remove.
Meetings
The Meetings field will display appointments that have been scheduled by users with appointment hosts.
The dashboard will display the ID, AppointmentID, Host name, User name, Virtual, Location, Date, and Hour.

Can I delete a meeting?
As an admin, you can delete meetings from the Meetings page. This will automatically remove the meeting from the users' schedules also. To delete a meeting, simply click on the Edit button and then click on Remove button beside the meeting.

For participants
How can I book an appointment with a host?
Once the appointment link of a user has been shared with you, the process of booking an appointment is easy and straightforward. Simply follow this process:
- Select a day on the user's appointment calendar.
- Select a time slot.
- Click on Next and your appointment will be instantly booked.
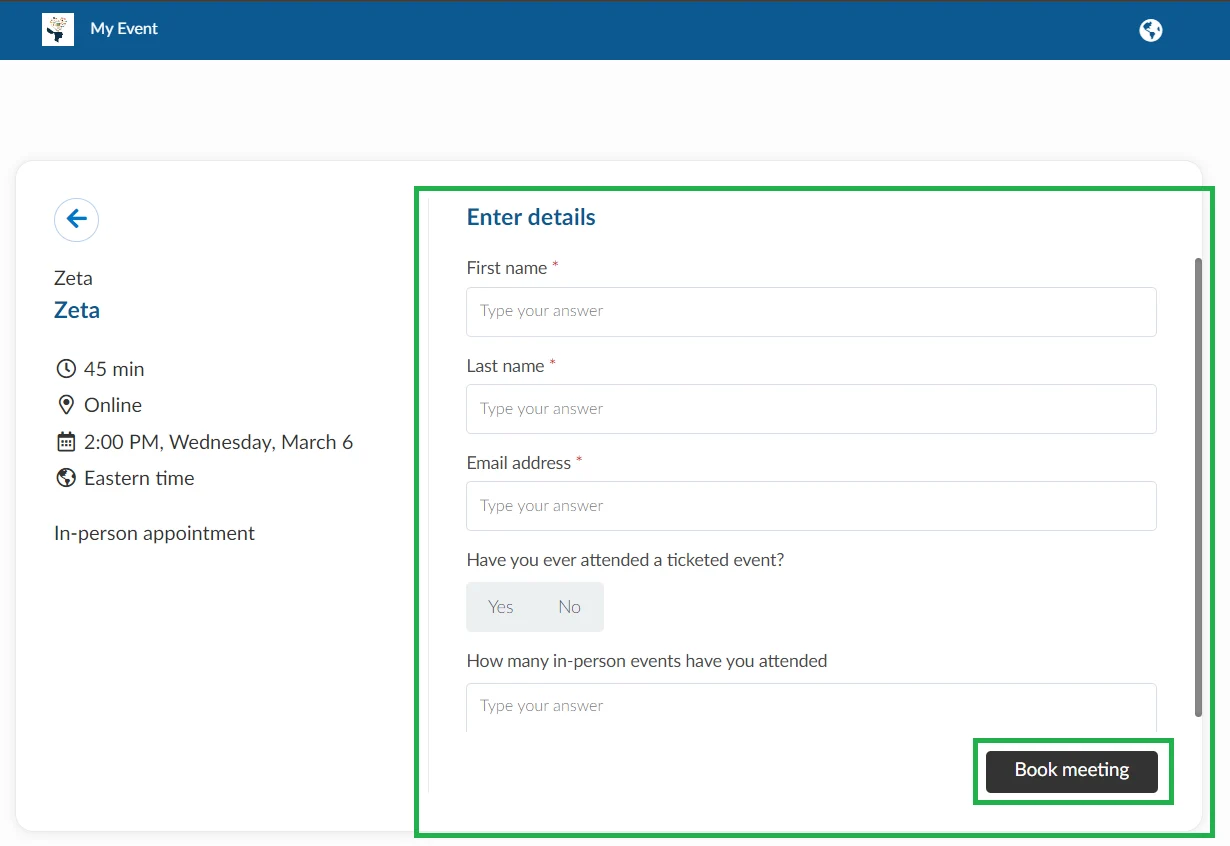
If you are a non registered participant, you will be required to fill the event's registration form and become an attendee after selecting a time slot. Click on Book meeting once you have filled the required information.
If the meeting invitation email for both the host and guest are enabled, they will receive email notifications with details of the meeting. Refer to our Meeting automatic emails for more information.

Where will the appointment be displayed?
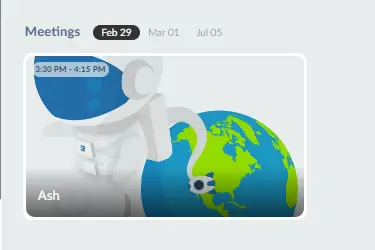
Both the host and the guest will see the booked appointment in the Virtual Lobby, the My Agenda tab and also in the Virtual Lobby Meetings tab if enabled.
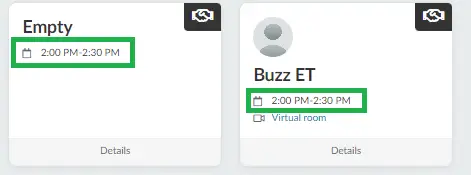
- In the Virtual Lobby: The appointment will be displayed under the Meetings section of the Virtual Lobby.
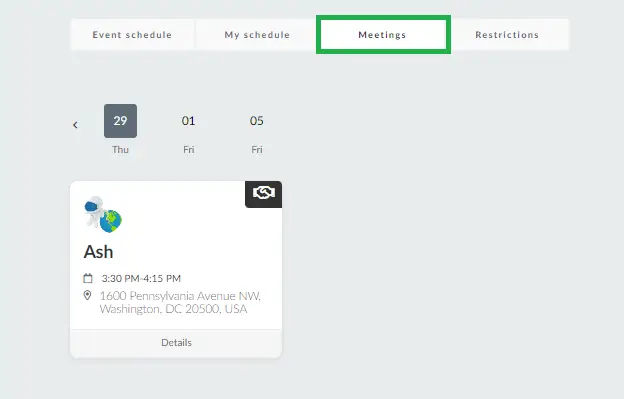
- In the My Agenda tab: Both the host and guest can view their appointment from the My Agenda > Meetings page. They can click on the Details button of the appointment to view more details.
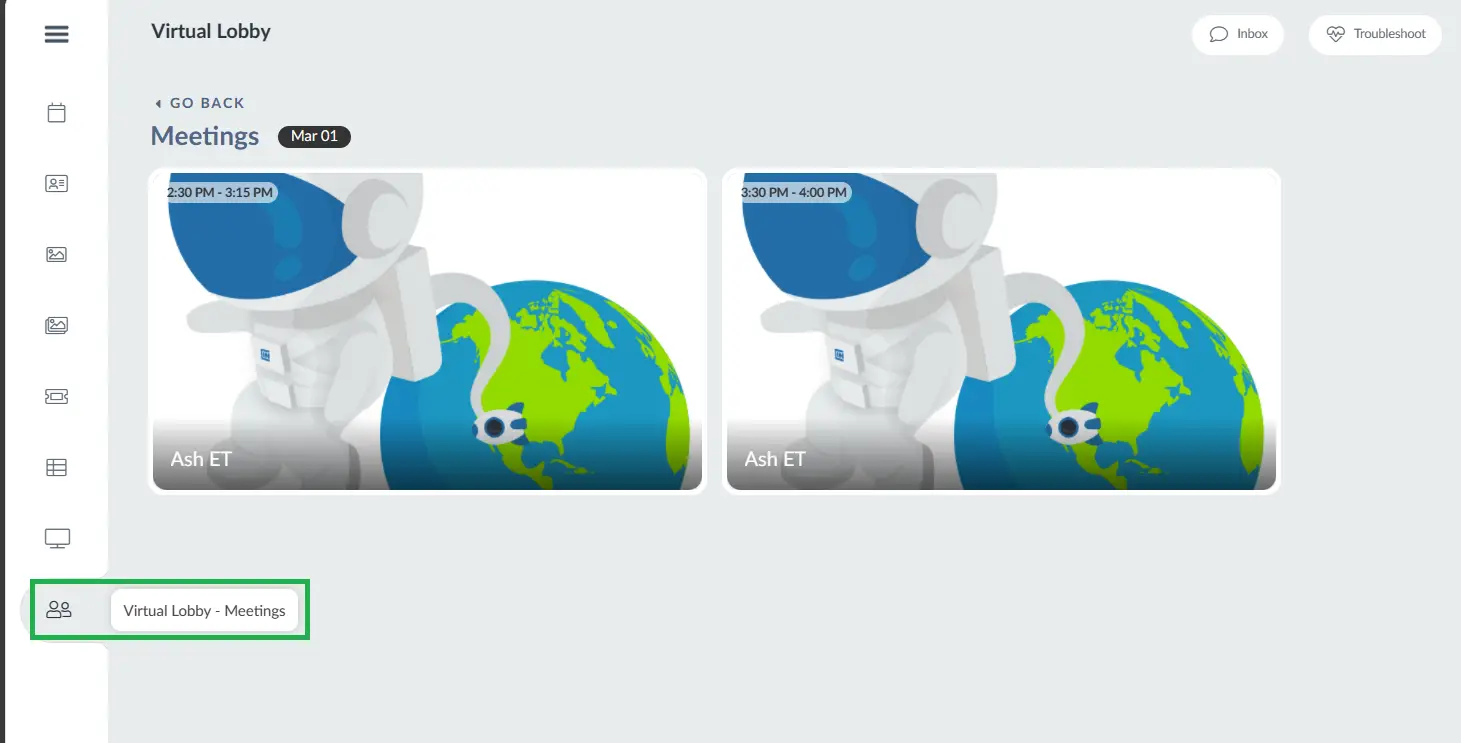
- In the Virtual Lobby meetings tab: Both the host and guest can view their appointment from the Virtual Lobby - Meetings tab.
How do I cancel an appointment?
Appointments are cancelled just like meetings. Refer to our Meetings: Instructions for participants article to learn how to cancel your appointments.