Meetings: guide for participants
 Updated 5 months ago
by
Faisal Durrani
Updated 5 months ago
by
Faisal Durrani
You will be able to see a list of other attendees and their information about who is present at the event. You can select another attendee among those at the event to connect with and open a group room to begin a private or public discussion.
Using the Meetings feature
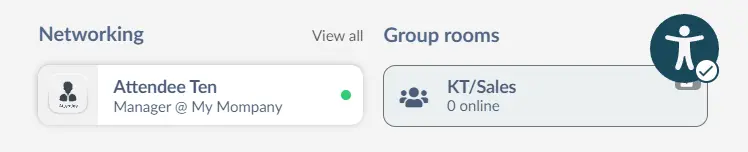
To network with other attendees, scroll to the bottom of the Virtual Lobby homepage. On the right-hand side, active attendees will be listed under Networking. To see all online attendees or search for an attendee, press View all .
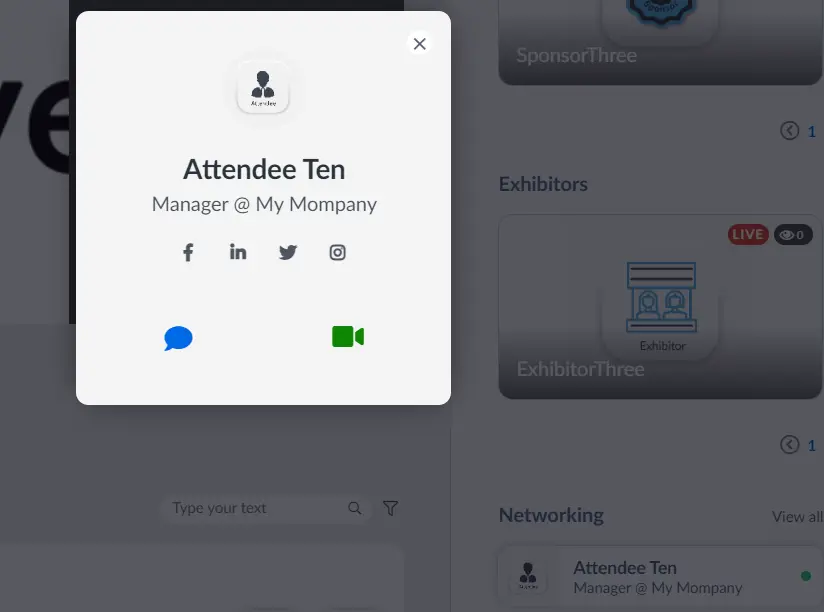
When you have found the person you wish to connect with, click on their name. A pop-up will display the attendee's details, and allow you to connect with them via message or a video call.
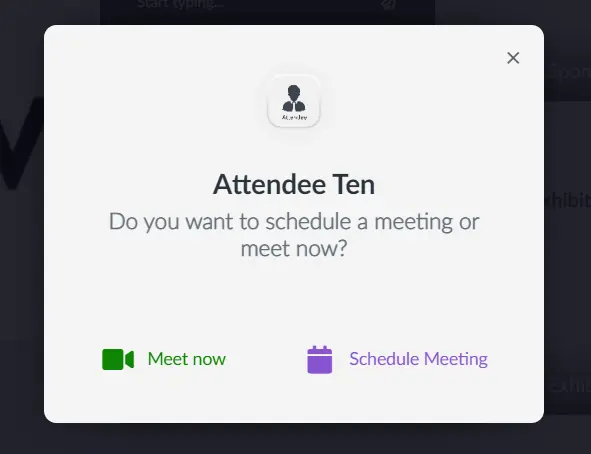
When you select Ask to meet (camera icon), you will be taken to a screen that will ask you if you would like to Meet now or Schedule Meeting.
Meet now
Refer to the Networking: instructions for participants article for further information on this kind of video request.
Schedule meeting
- If you select Schedule meeting, you will be taken to a new screen for you to select the date and time for your meeting. The times will be shown in your local time zone.
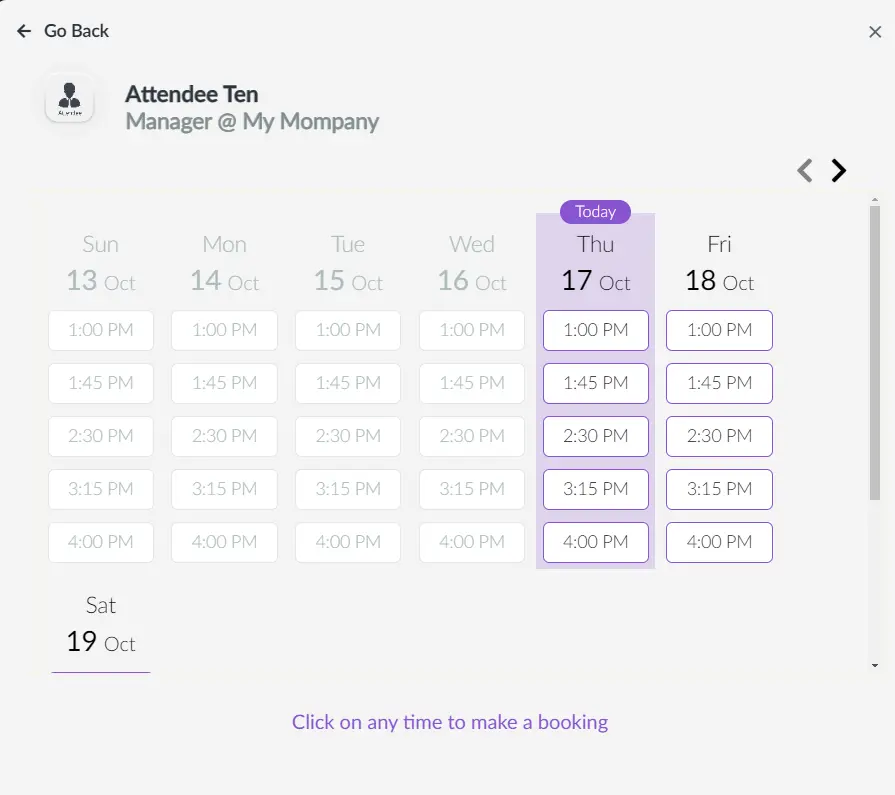
- Once you select the date and time, you will be taken to a new screen:
- If the event is a virtual/online event, you can enter a meeting topic or adjust the meeting time (optional).
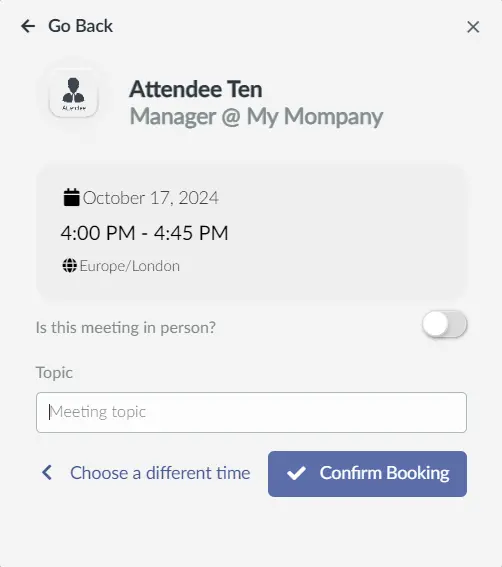
- If the event is a hybrid event, you will have the option to select if the meeting is in person or not. By enabling the This meeting is in-person button, the Topic field will be replaced by Place field. Click the drop-down to select a place where this meeting will be held.
- Press Confirm Booking once done.
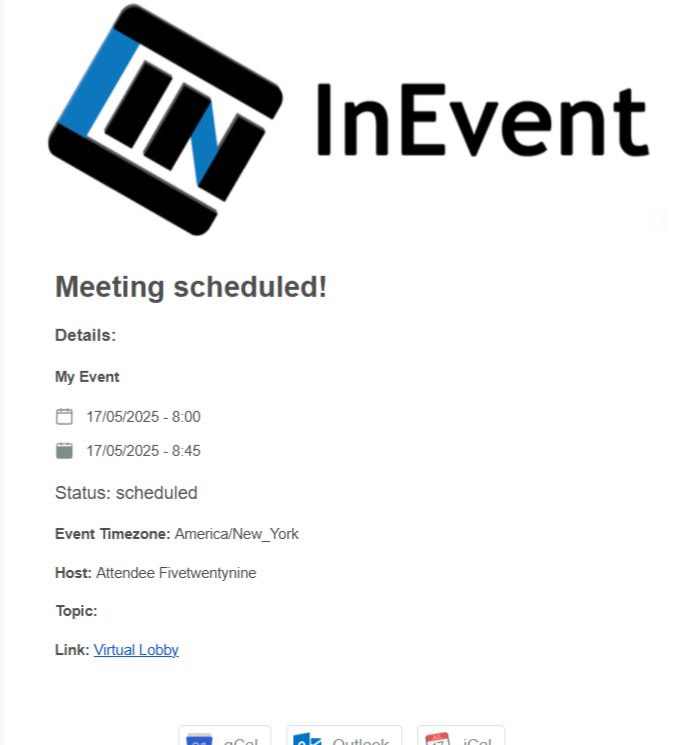
Once you confirm your booking, you will see the screen shown below.
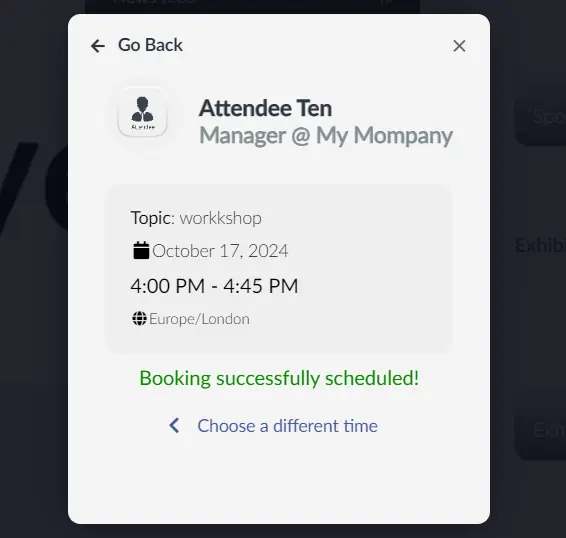
Attendees will receive notifications via email and in the Virtual Lobby.
Scheduling meetings for In-person events
For in-person events, users need to make use of the dedicated Networking tab that will be made visible by the event admin. This tab will allow users see all other participants in the event. To schedule a meeting with a participant via the web app follow these steps:
- Go to the Networking tab.
- Locate the attendee you want to meet with.
- Click on the Schedule meeting button.
- Select the date and time using the available slots in the calendar. A new window will appear.
- Select the place you want to hold this meeting using the drop-down menu of the Place field (mandatory).
- Click on Confirm booking.
Attendees will receive notifications via email and in the web app.
Meeting invitees receiving a notification
Both you and your invitee should receive emails with the meeting details.
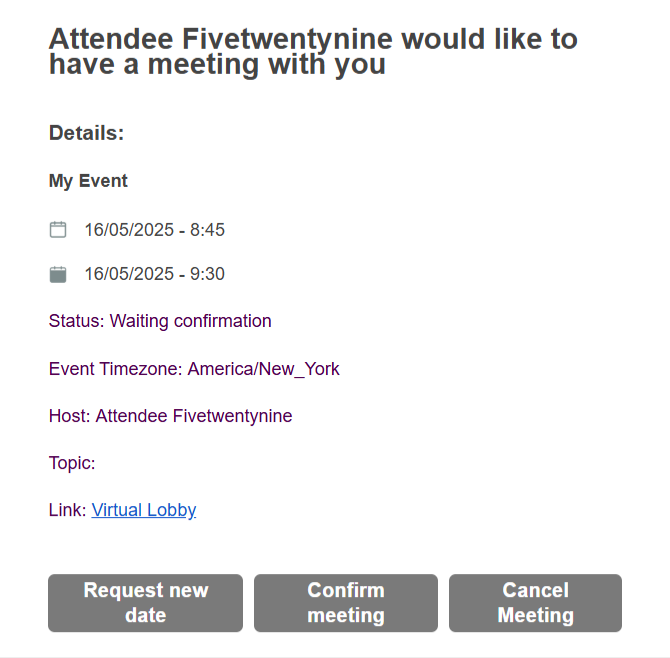
- Below is an example of an email notification for a virtual meeting:
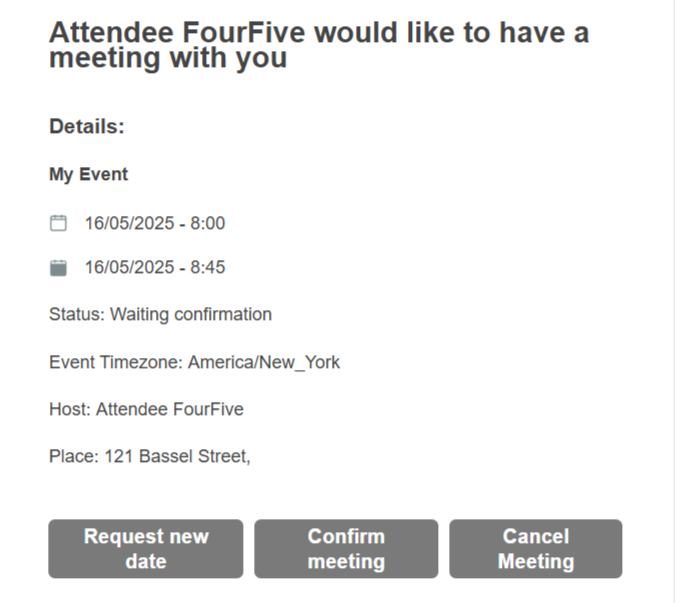
- Below is an example of an email notification for an in-person meeting:
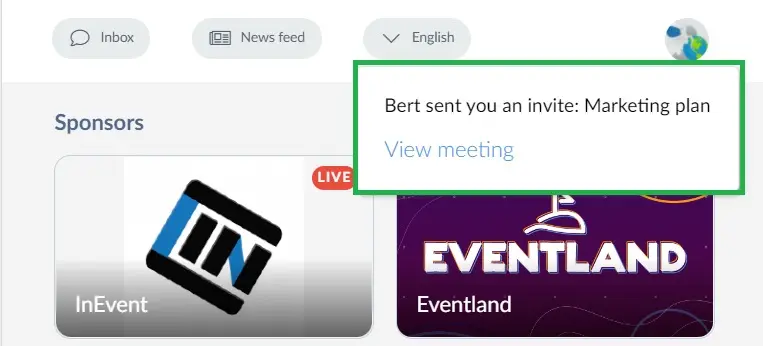
Your invitee should also receive a notification in the Virtual Lobby (for virtual/hybrid events).
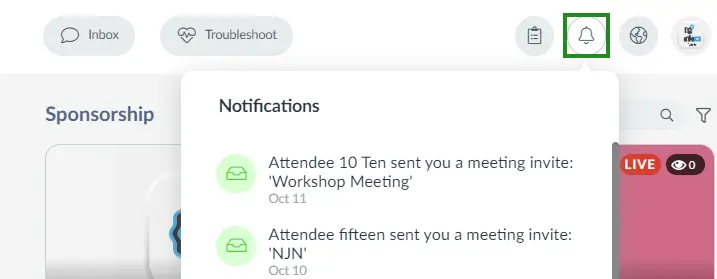
For In-person events, the invitee will see the meeting notification when they click on the notification icon in the web app:
Inviting multiple people to a meeting
If you invite multiple people to a meeting, you and all guests invited will receive an email with the meeting details such as time, list of guests, topic and the link to join the meeting.
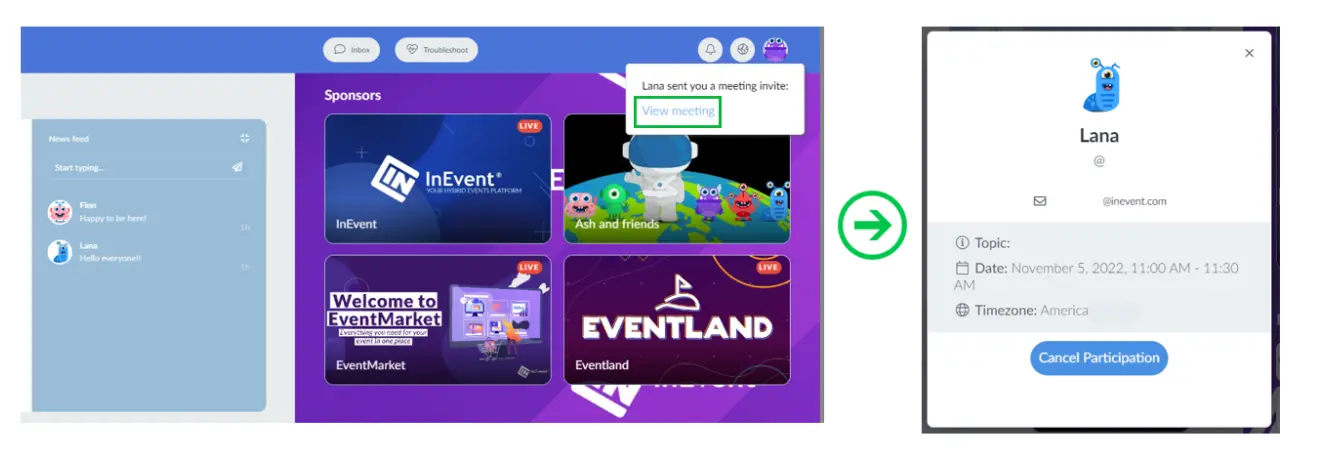
All invited participants will also receive a notification in the Virtual Lobby or web app under the bell icon and by clicking View meeting they will see the meeting details and cancel their participation if they wish to.
Viewing all your meetings
All your meeting will be displayed in the My meetings tab of the webapp (if enabled).
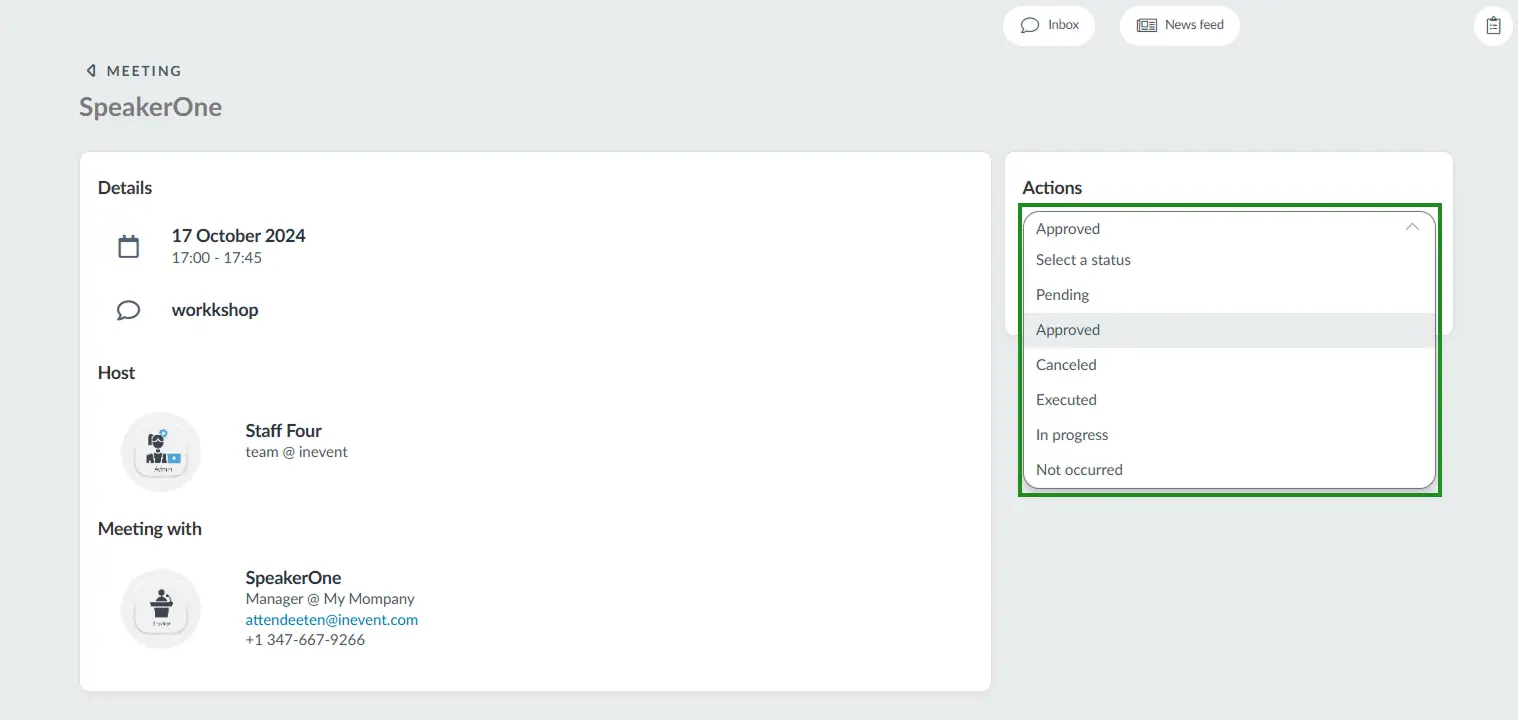
If you are the meeting host, you can set a status for your meeting by clicking on the meeting's details and using the Select a status drop-down to choose a meeting status for your meeting:
Virtual meetings can also be viewed on the main page of the Virtual lobby if hosting an Virtual/Hybrid event.
Accepting a meeting
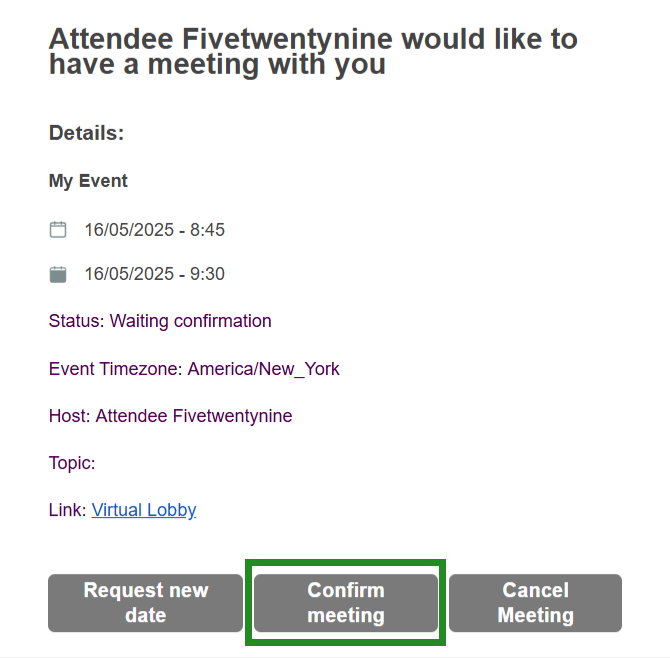
Once a user schedules a meeting with you, you'll receive an email notification with the details of the proposed meeting, such as the time, date, and topic of discussion. From this email, you have the option to either confirm or decline the invitation based on your availability.
In the email, you will see three buttons Confirm meeting , Cancel meeting and Request new date.
To accept the meeting, follow the steps below:
- Click the Confirm meeting button in your email.
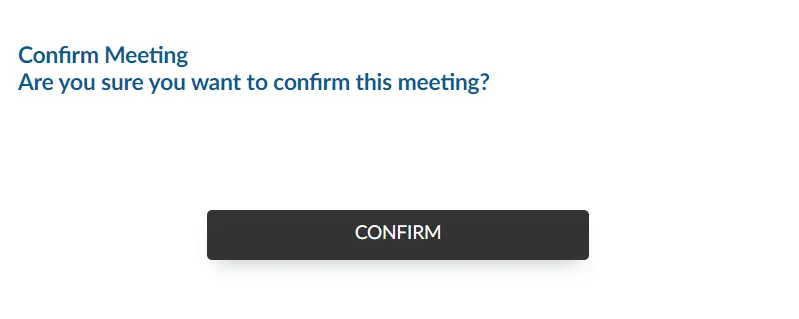
You will be redirected to a confirmation page where you will be asked to reconfirm your decision.
- Click on Confirm to successfully accept the meeting.
Joining a meeting
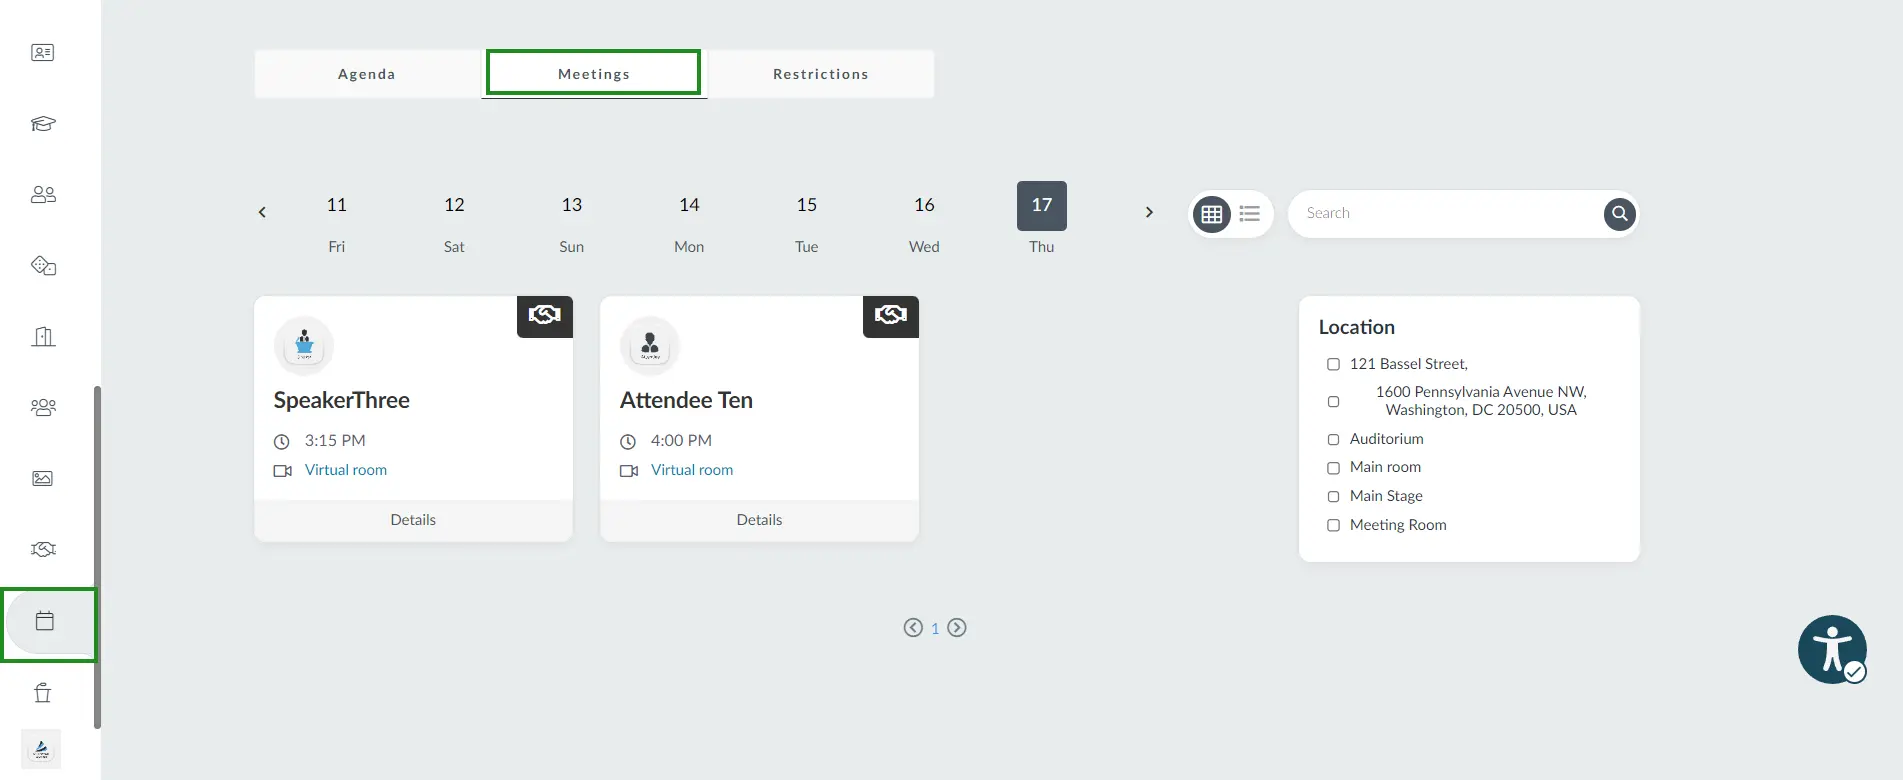
Once you have accepted a meeting, you can join it from the Meetings page inside the Virtual Lobby.
- Go to My Agenda > Meetings.
- You will see a list of all your scheduled meetings with their dates and times.
- Click on Virtual room on the meeting you want to join.
- A dialog box will open where you can set up your microphone, camera, and virtual background before entering the meeting room. Refer to the Device configuration and system check article for more information.
- Click on Join now to enter the meeting room.
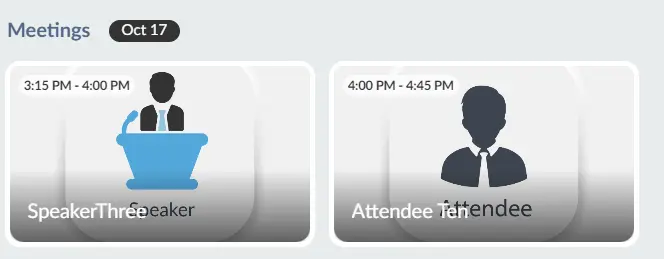
Alternatively, once a meeting has been accepted, you will see it listed in the Virtual Lobby below your activities. Click on the meeting tile at the scheduled time to set up your microphone, camera, and virtual background before joining.
Cancelling a meeting
You can choose to cancel your participation in a meeting or you can choose to cancel an entire meeting.
- To cancel your participation in a meeting (for meetings with multiple participants) without cancelling the meeting for the other participants, press on Cancel participation either on the email you received or at the My Agenda > Meetings page.
Alternatively, you can choose to cancel the entire meeting by doing either of the following:
- By pressing the Cancel Meeting button in the email you received with the meeting details.
- By pressing the Cancel meeting button at the My Agenda dedicated space for Meetings. To see the Cancel meeting button, click on the meeting Details and then click the option from the Actions field. A confirmation box will appear, you can type in a reason for your cancellation (optional) and then click Cancel to confirm your action.
Rescheduling a meeting
Once an attendee schedules a meeting with you, you'll receive an email notification. You then have the option to reschedule the date of the meeting. You can do this by pressing the Request new date button in the email you received.
Once you press the request new date button, you will be redirected to the schedule of the attendee who booked the meeting with you. You can view the slots available for you to select the date and time for your meeting. Simply select the new slot and confirm by pressing the Request new date button to complete the process as shown below.
The attendee who scheduled the meeting i.e. host, will receive an email notification regarding the new meeting time requested by the guest. The host can either confirm or reject the new time.

To accept and confirm the new time, the host must now press the Confirm new time button. This will re-direct the host participant to a confirmation pop-up, asking to confirm new time requested. Press the Confirm button to accept.

The attendee who requested for new time will receive an email notification that the new time meeting was accepted and meeting is scheduled.
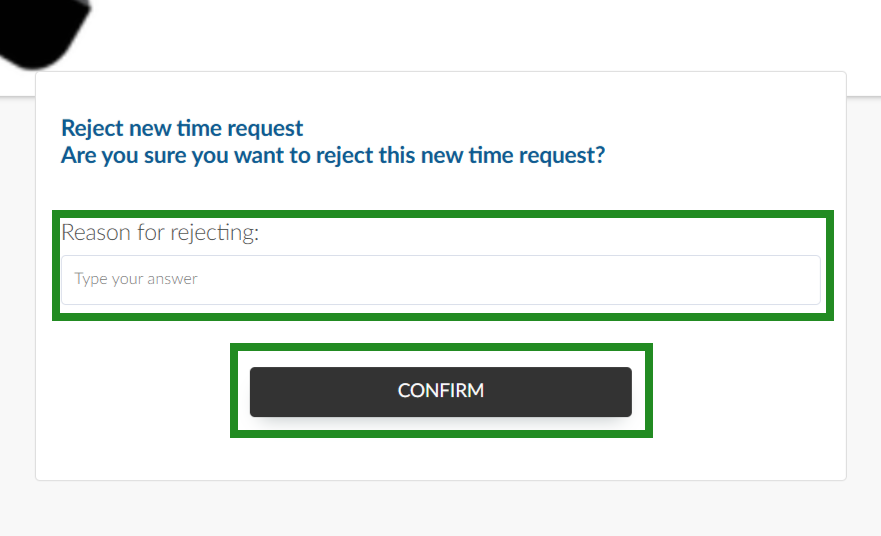
To decline the new time, the host must press the Reject new time button. This will re-direct the host participant to a new screen, with the field Reason for rejecting, where they are expected to type in the reason for rejection in the field and press Confirm to end.
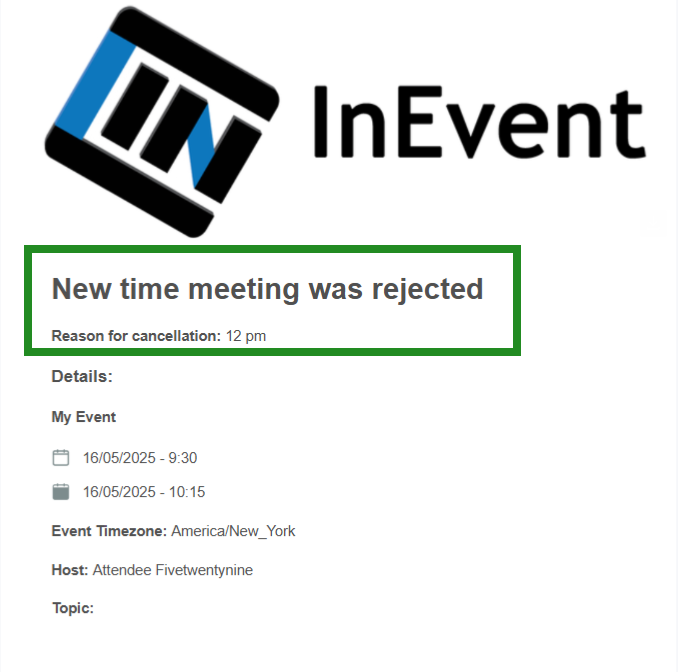
If the new meeting timing is rejected, the guest who requested for a new time will receive an email with the information that the new time meeting was rejected with the reason for rejection.
Setting meeting restrictions
You can set restrictions for when you won't be available for meetings. To do so go to My Agenda > Restrictions > New restriction. A new window will appear for you to fill in the Restriction details. Choose the type of restriction: Date and time range, Recurring times or Entire date, and fill in the necessary details. Press Create.
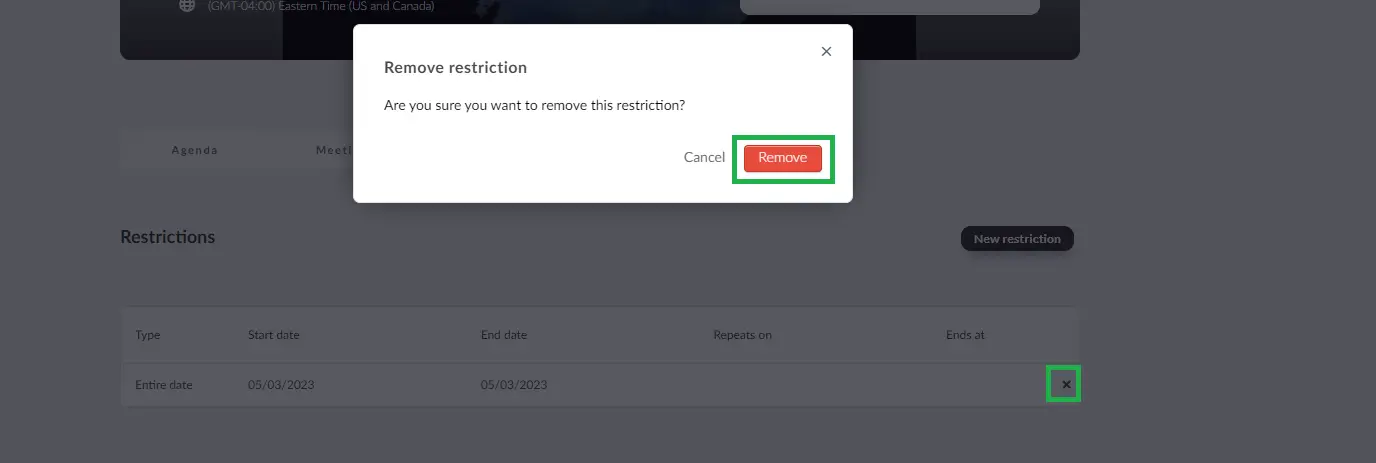
To remove a restriction, simply click on the cancel (x) button beside the restriction. A confirmation box will appear, click on Remove to confirm the action.
Instructions for event organizers
If you are an event organizer and you wish to learn how to create a meeting, places, feedback forms, and more, refer to the Scheduled Meetings: guide for event organizers article.