Live Studio - Settings
 Updated 2 weeks ago
by
Caleb Kotey
Updated 2 weeks ago
by
Caleb Kotey
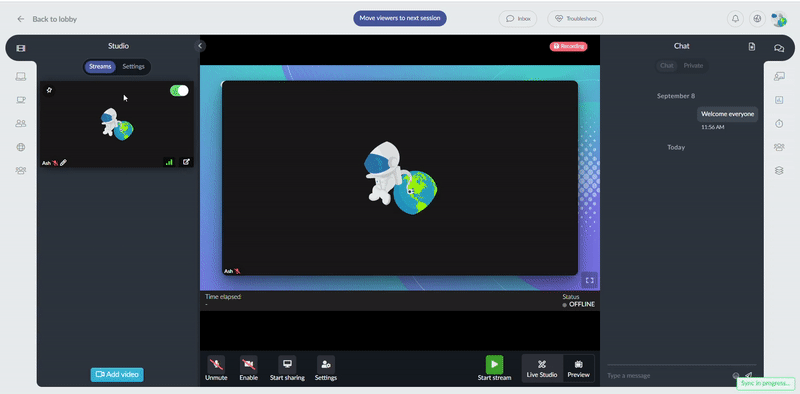
When selecting Live Studio as the room video mode, the room host and room co-host will be able to switch between two tabs: Streams and Settings. In this article you will learn about all the possibilities at the Settings tab.
Settings
In the Settings tab, the room host and room co-host can control the layout, the overlays, and the background.
Moving the Settings tab
By default, the Settings tab will be on the left side of the room where it can be swapped with the Streams tab using a toggle button.
If you want to see both tabs without having to use the toggle button, you can move the Settings tab to the right side of the room by pressing Move to right menu.
If you want to go back to the original layout, press Move to left menu.
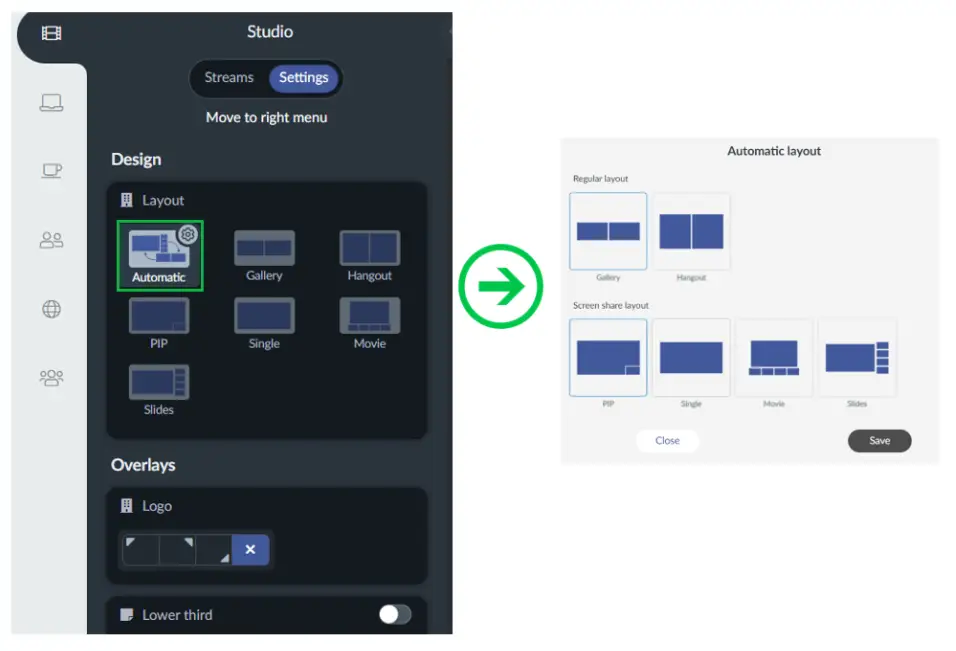
Layout
There are 7 layout options:
Automatic
This layout will allow you to set up two layouts that will switch automatically based on whether you are screen sharing or not. To set up the two layouts, press the cog icon on the top right of the Automatic layout option, select both the Regular layout and the Screen share layout and press Save.
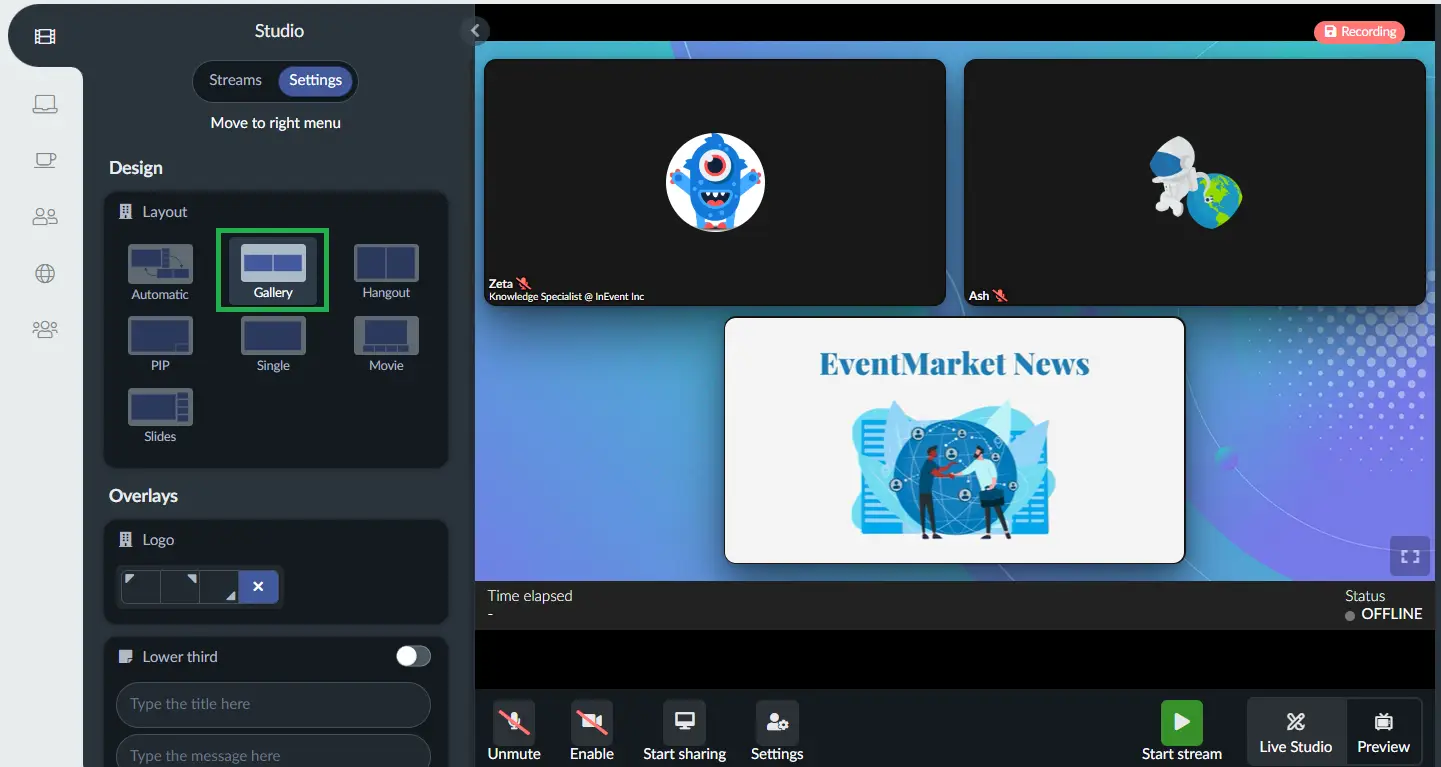
Gallery
It allows the audience to see a thumbnail of all presenters and screens in a grid pattern.
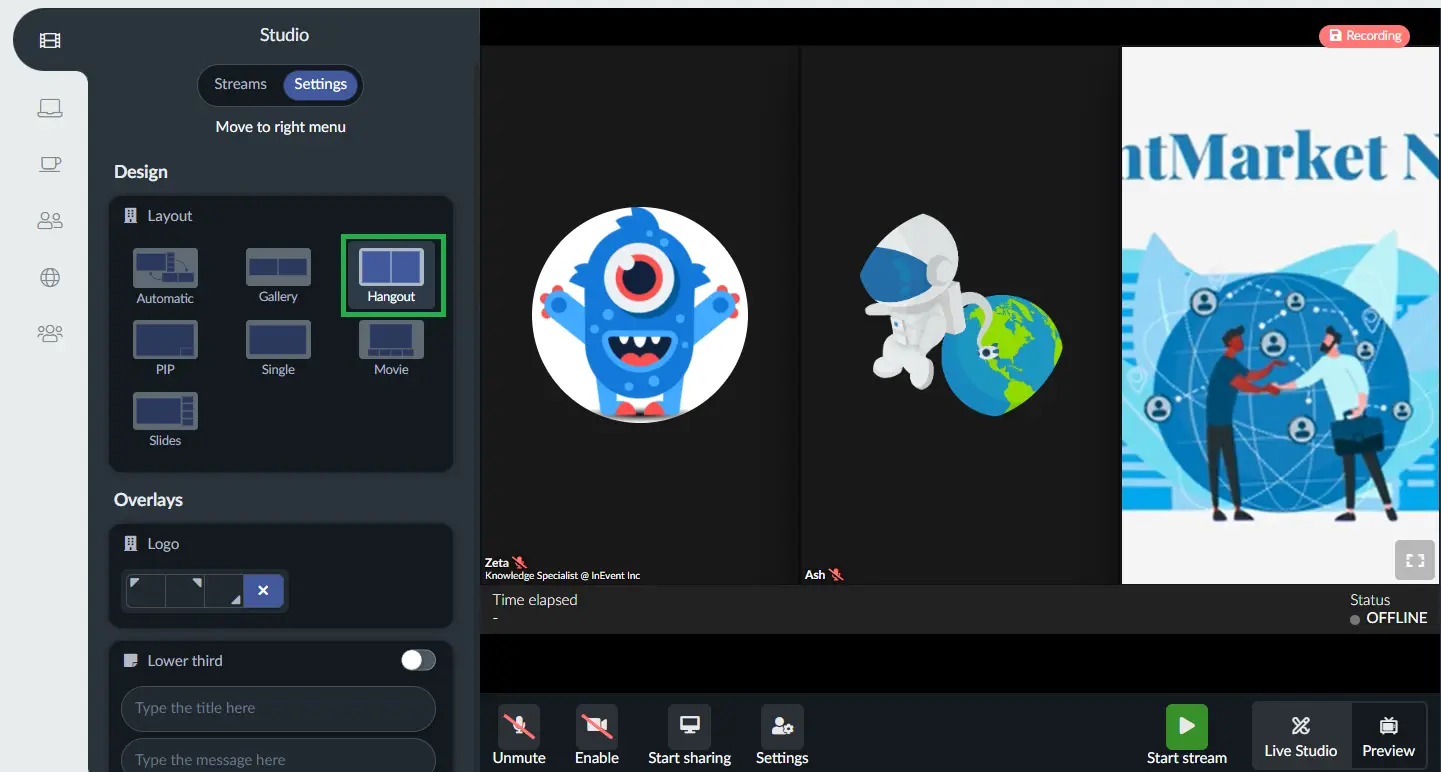
Hangout
It allows the audience to see a thumbnail of all presenters in a grid pattern in full screen, with no background being displayed.
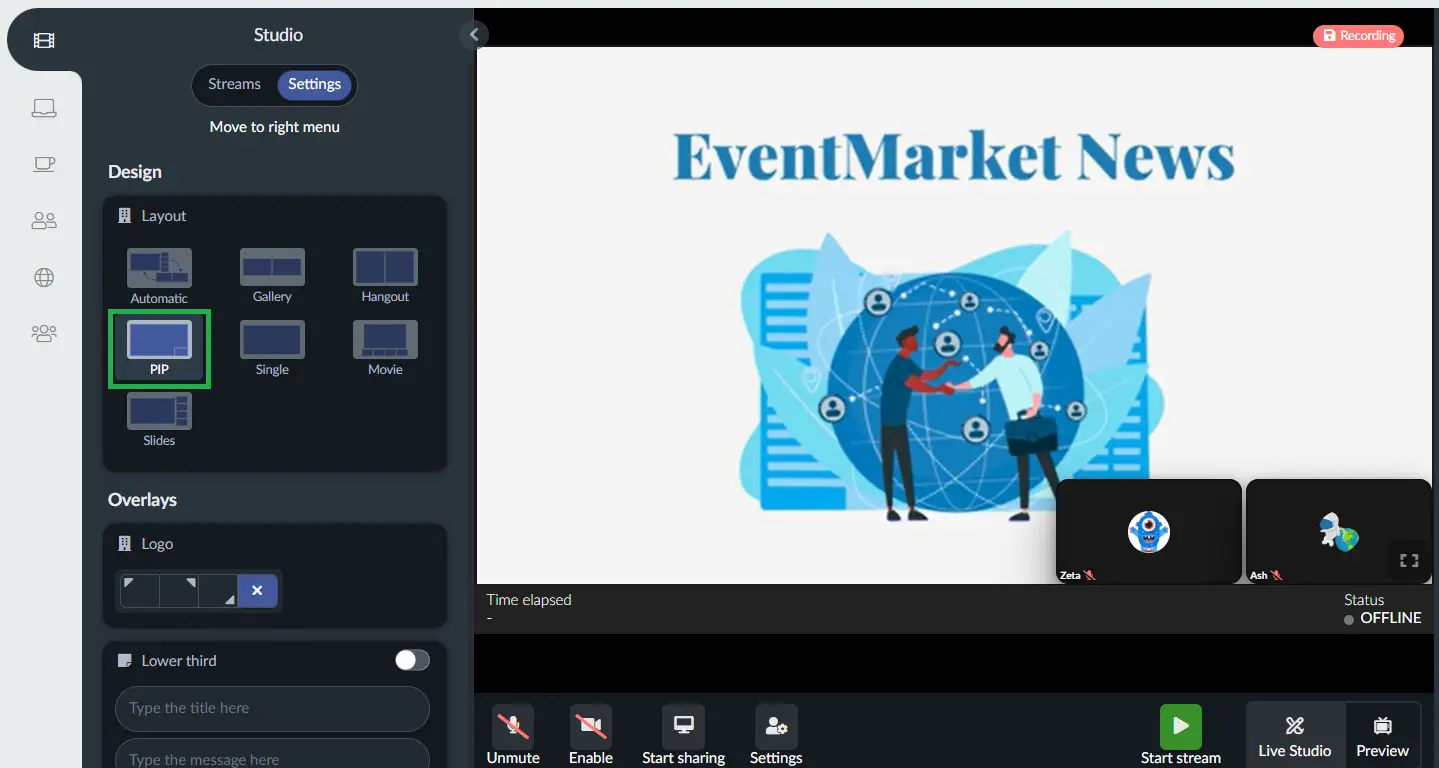
PIP (Picture in picture)
It allows the audience to see one presenter or screen in full screen at the same time as other presenters' thumbnails are displayed at the bottom of the room.
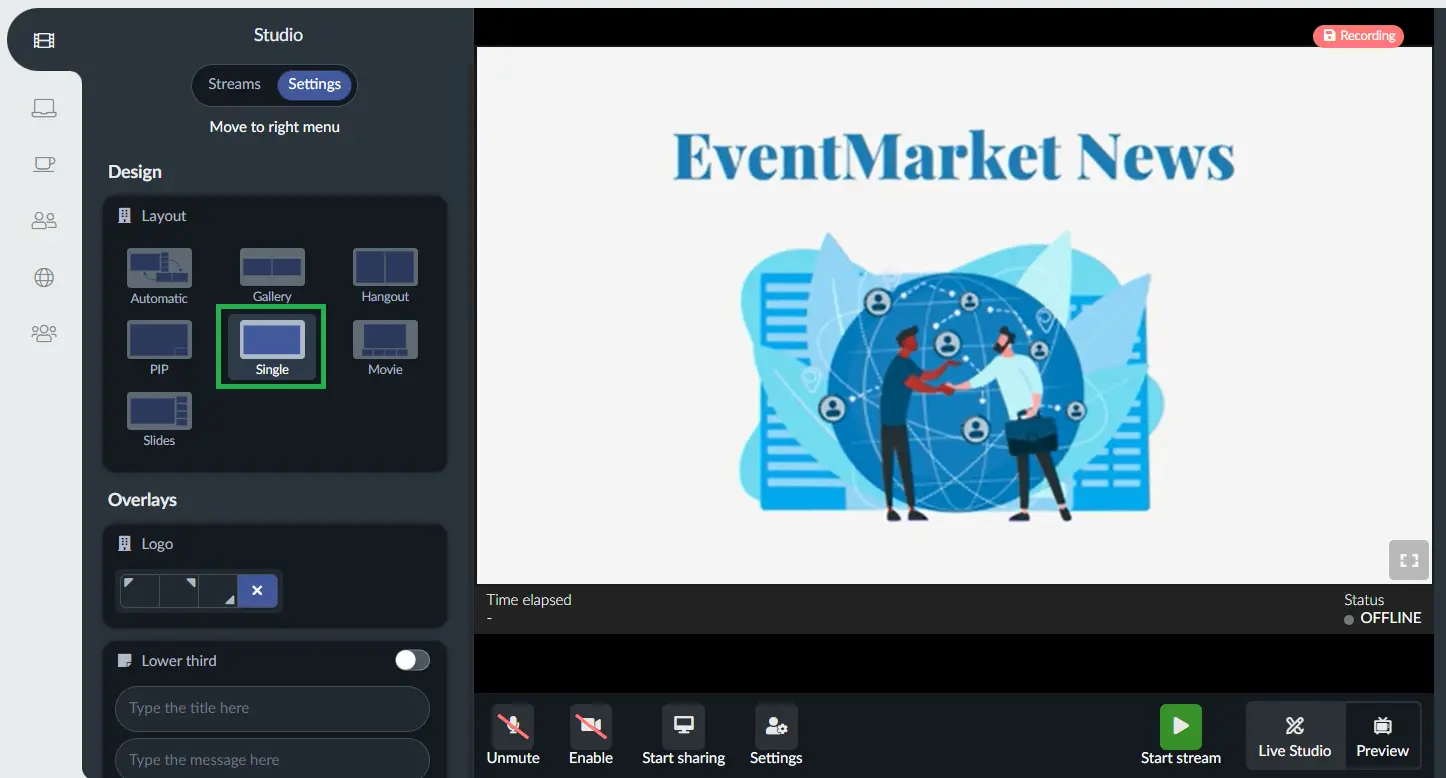
Single
Set the screen as Focus only, that means if there are multiple presenters only the person that is speaking will be showcased on the screen. If a screen or presentation is shared, it will be exhibited alone.
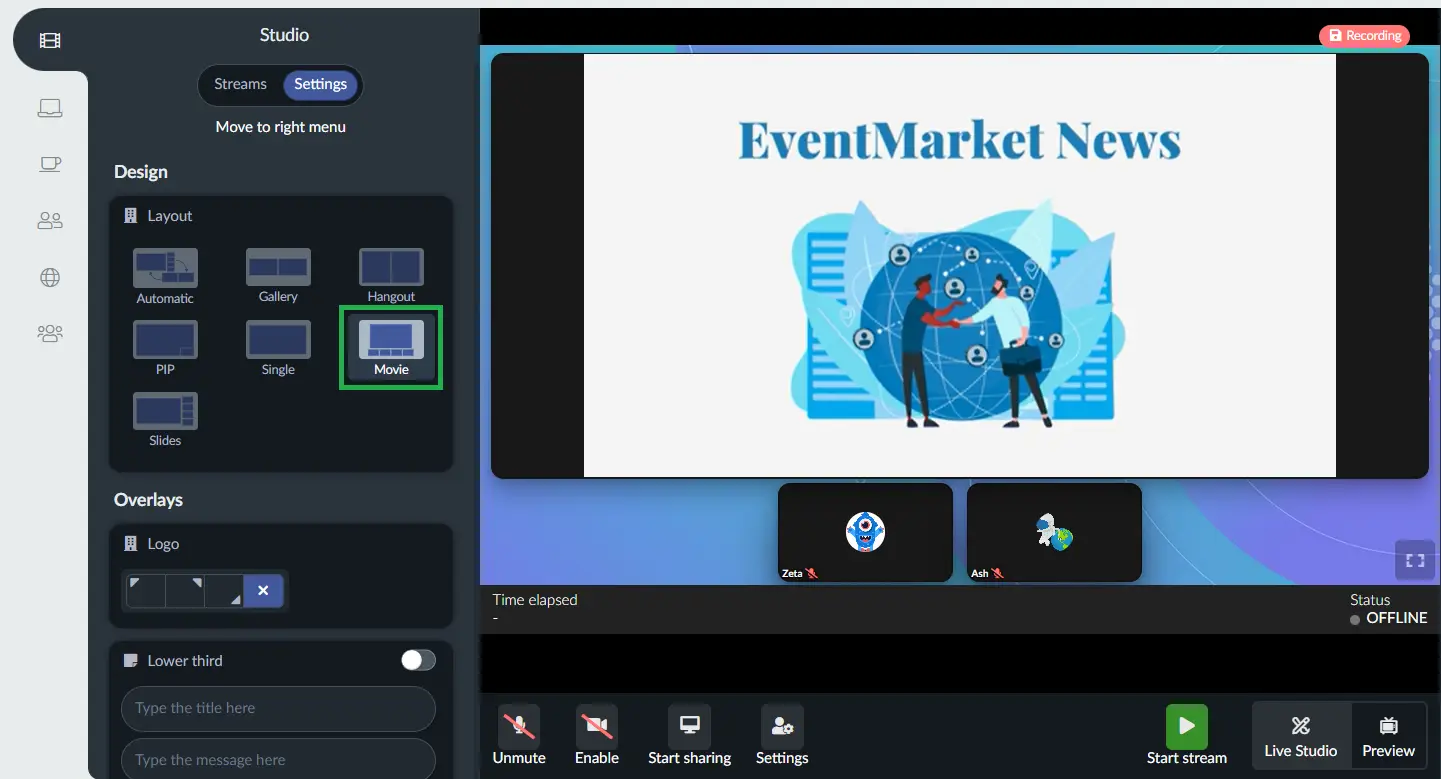
Movie
Sets one presenter/screen share as the focal point of the screen, with other presenters' thumbnails displayed on the bottom of the room.
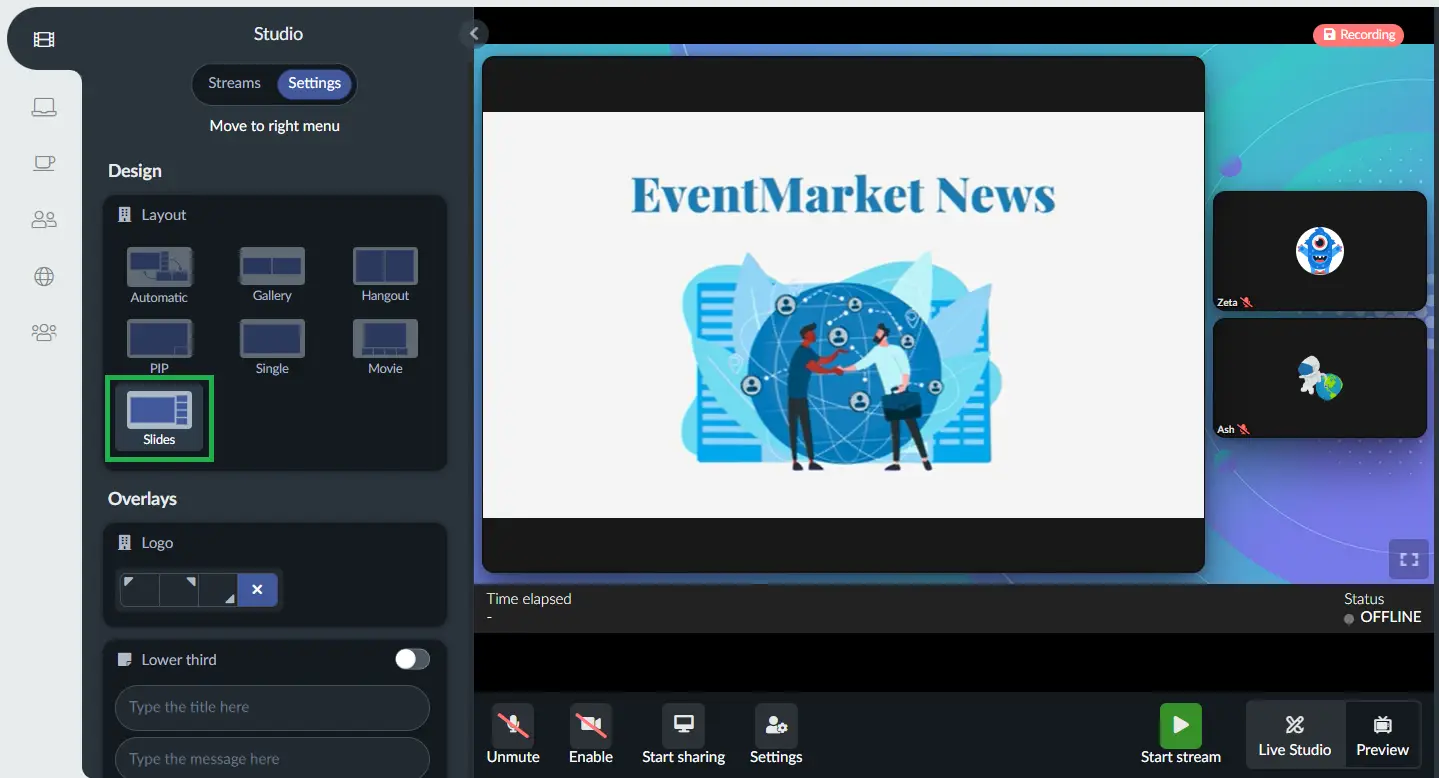
Slides
Sets one presenter/screen share as the focal point of the screen, with other presenters' thumbnails displayed on the right-hand side of the room.
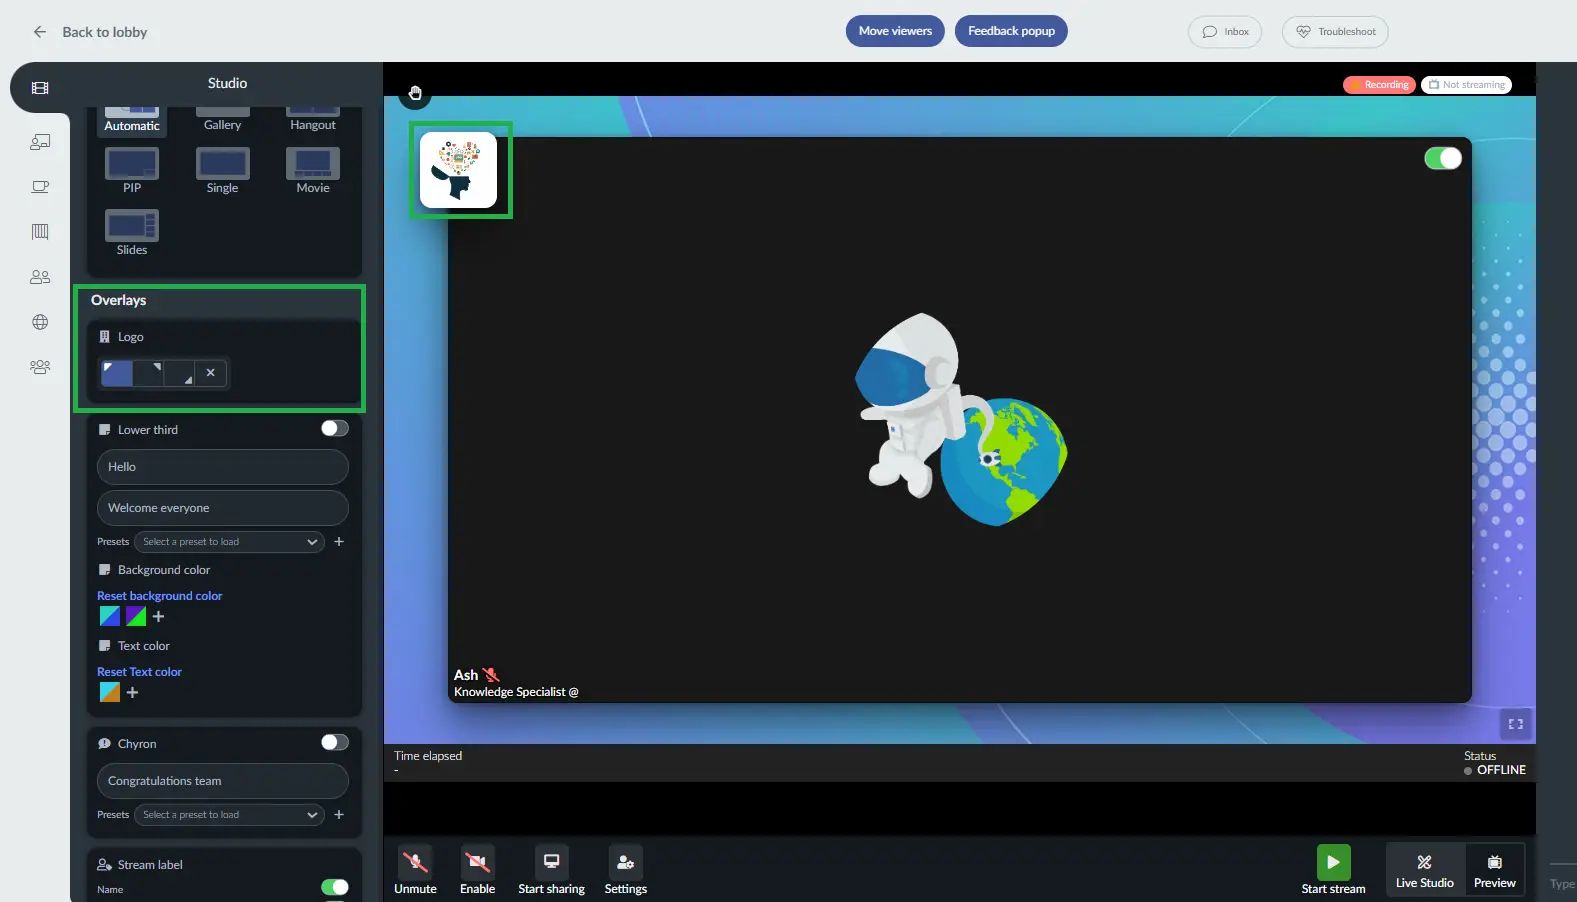
Overlays
A stream overlay is graphic content that is overlaid on top of the live stream content. These graphics are usually positioned around the edges of the screen so that the center remains unobstructed.
The Live Studio offers you the option to overlay your logo, lower thirds, and chyrons on top of the live stream.
Logo
The company logo can be displayed on the upper left, upper right, bottom right, or not displayed at all.
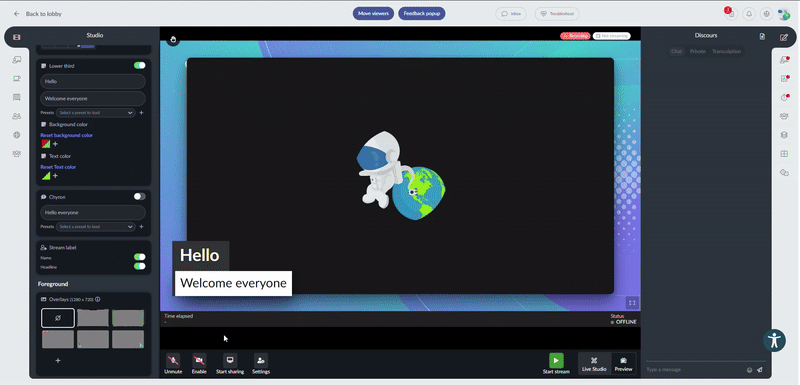
Lower third
The lower third is a graphic overlay that will be displayed in the lower area of the screen. To have lower thirds in your session, type the title and message > toggle the correspondent button on as shown in the gif below.
In case you need to make changes, edit the text and click Apply to update the lower third.
As a room host or room co-host, you will be able to customize the background and text color of the lower third, type both a title and a message and save the lower thirds as presets to be reused.
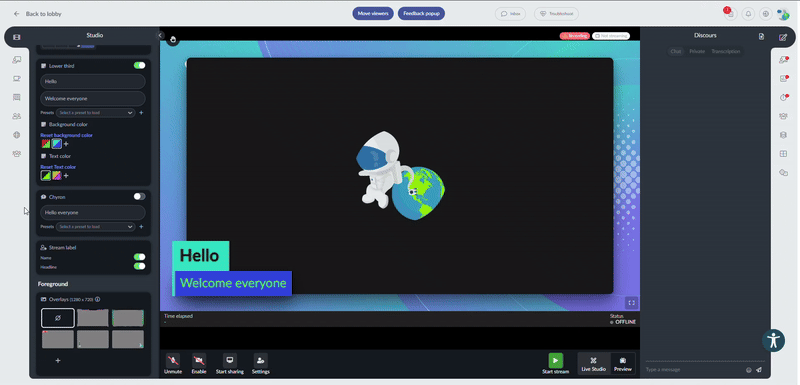
To personalize the color scheme of your lower third, follow these steps:
- Click the + button in either the background color or text color field, depending on the element you want to customize.
- Pick your desired background or text color from the color picker provided for the title and subtitle.
- Click Done and the chosen color scheme will be displayed under the background or text field.
- Now, click on the created color scheme, select Apply, and activate the toggle button.
- Your lower third will now appear in the configured color scheme.
To reset the lower third to the default color, simply click on Reset background color or Reset Text color depending on which element you want to reset, click on Apply, then enable the toggle button to display the lower third in the default black and white color.
Chyron
The chyron is an electronically generated caption that occupies the lower area of the screen and will overlay the streaming. To have a chyron in your session, remember to toggle the correspondent button on, as shown in the gif below. The chyron's text can be saved as presets to be reused.
Presets
If you wish to reuse texts or simply have them prepared before the event goes live, you can add presets for Lower Thirds and Chyrons. You only need to select them from the drop down menu as shown in the image below:
Stream label
The stream label gives you the option to hide name label and headlines. On top you can see both options enabled and below when they are disabled.
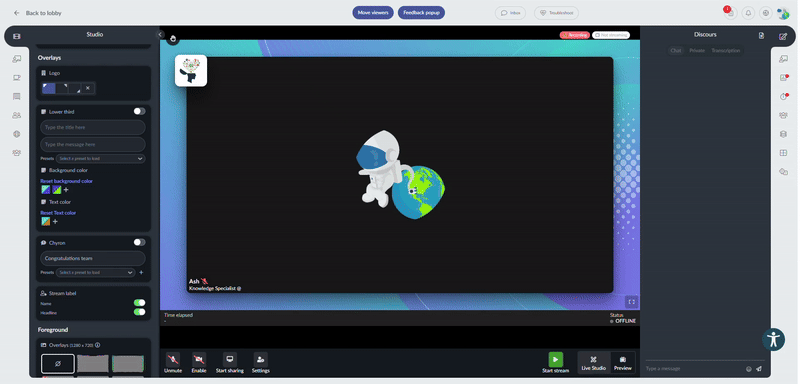
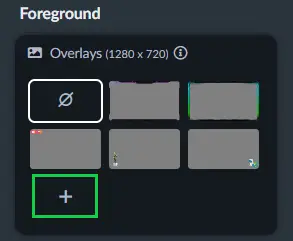
Foreground
You can choose your overlays from 5 different options that will appear as default or upload your own.
If you want to upload and use your own overlay, it is important to take the following information into consideration:
- If you want to position your overlay anywhere horizontally at the top, the recommended dimension for the image is
1920xY. WhereYrepresents the exact horizontal position in Pixels. - If you want to position your overlay anywhere vertically in the left area, the recommended dimension for the image is
Yx1080. WhereYrepresents the exact vertical position in Pixels. - You can create
1920x1080images to position your overlay anywhere.
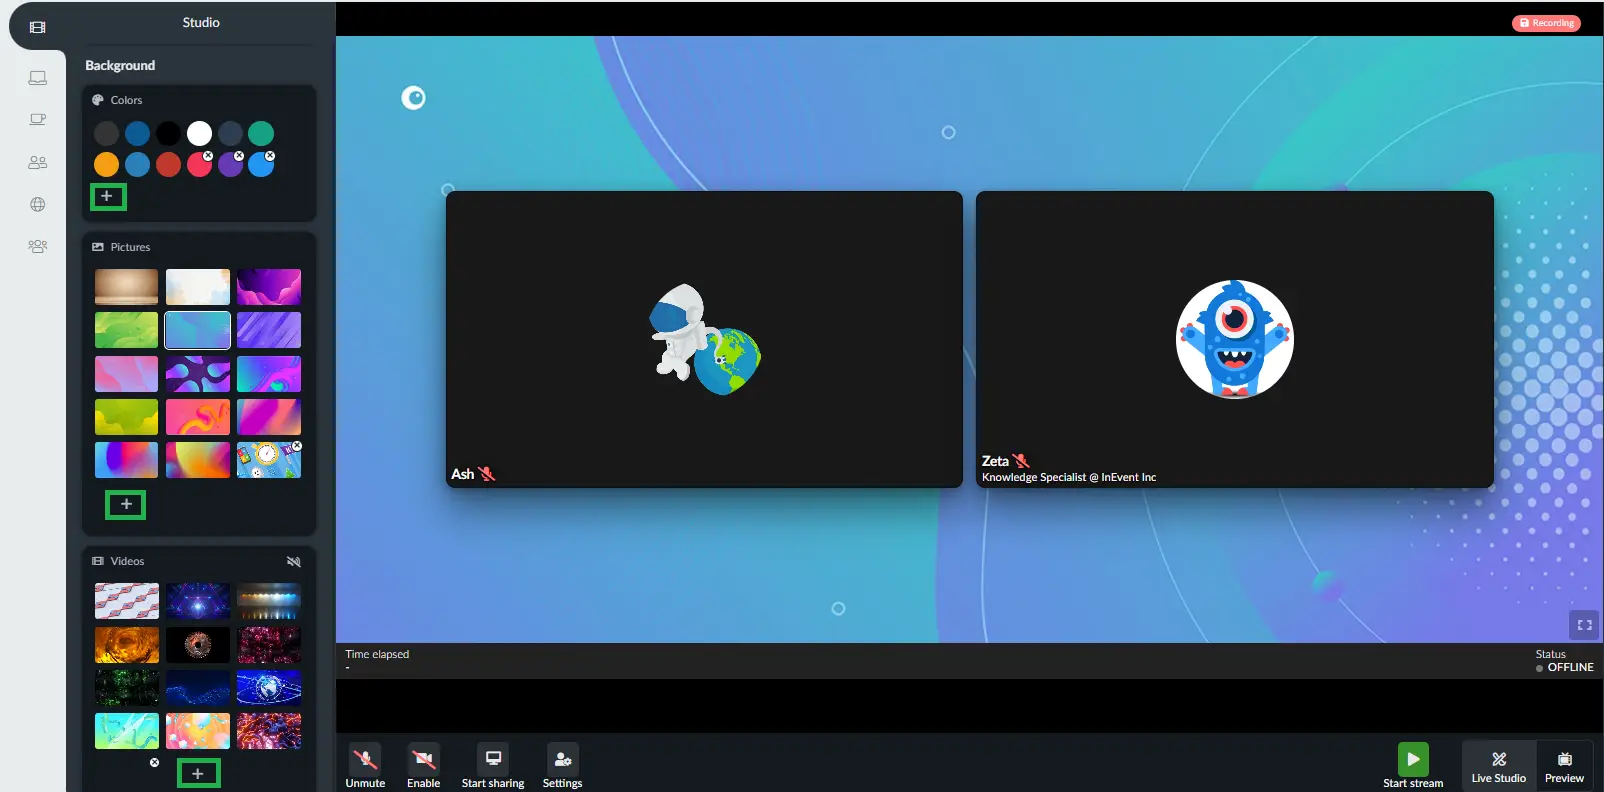
Background
You will be able to customize your live stream background with different colors, pictures, or videos, as shown below:
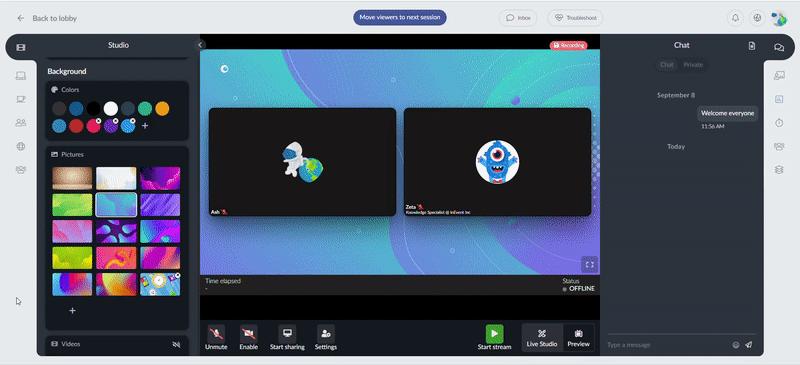
When the host starts the streaming, the session window updates and the Live Studio transmission starts alongside the selected background.
Besides the option to choose from the alternatives InEvent offers you, you will also be able to upload your own pictures and videos. To do so, click on the + button and select a file from your device.
1920x1080px ).