Adding Attached Forms to the Registration Form
 Updated 11 months ago
by
Amalia
Updated 11 months ago
by
Amalia
On the InEvent platform, it's possible to set attached forms that collect additional information from specific participants during event registration. When configured, attached forms will always accompany the event Registration Form as additional fields.
This article describes how to create and manage attached forms to complement your event registration form.
Creating attached forms
To create attached forms, follow these steps:
- Go to Marketing > Registration > Registration Form in the top menu.
- Click on + Create form under the Attached Forms section.
- Add the Form title and press Create.
The new form will appear under the Attached Forms section with two customizable subsections (Fields and Sections).
Adding fields to the attached form
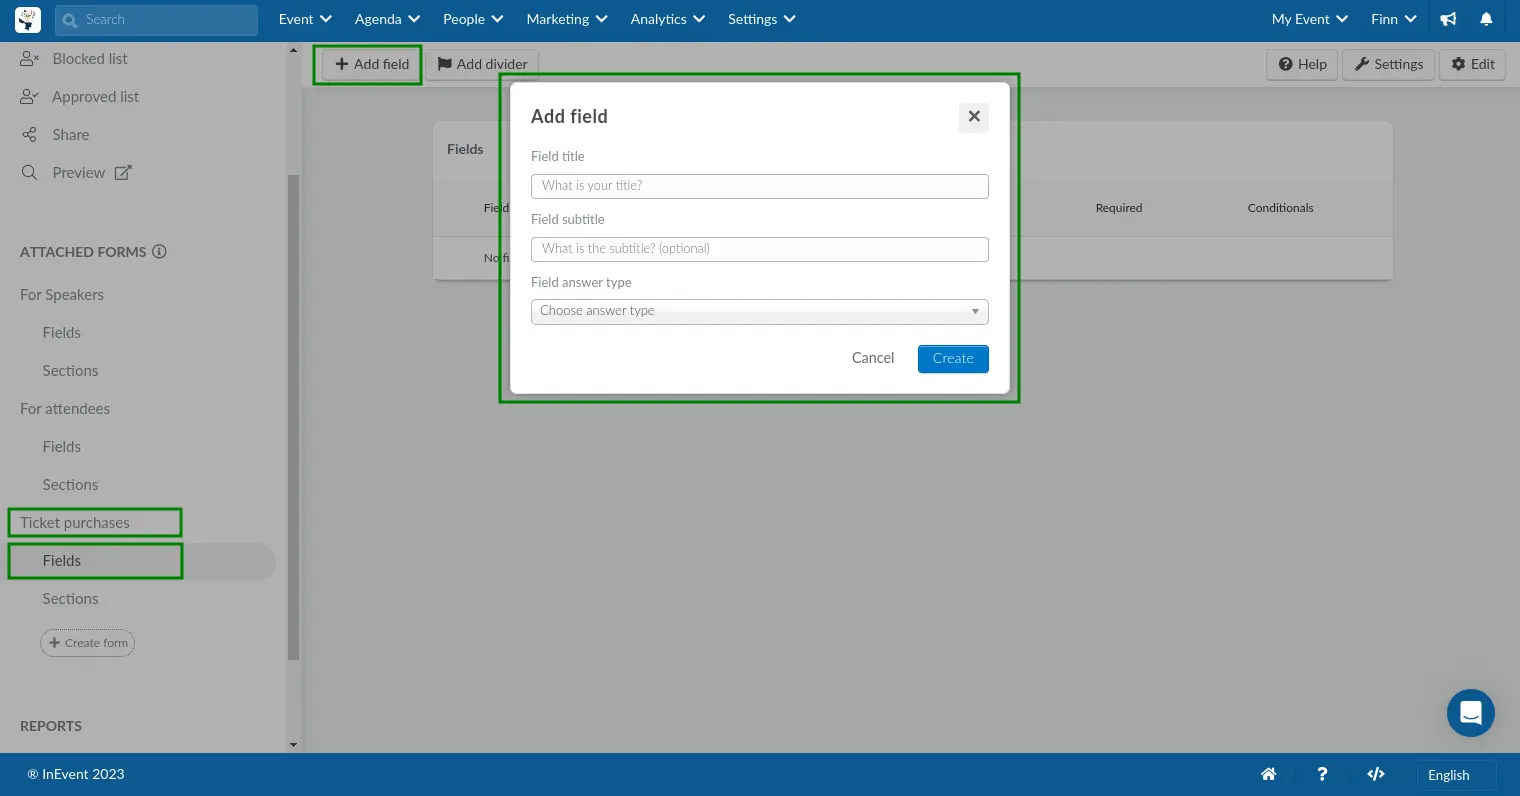
To add fields to the attached form, follow these steps:
- Click on Fields under the attached form.
- Click on the Add field button.
- Fill in the information requested in the pop-up and press Create.
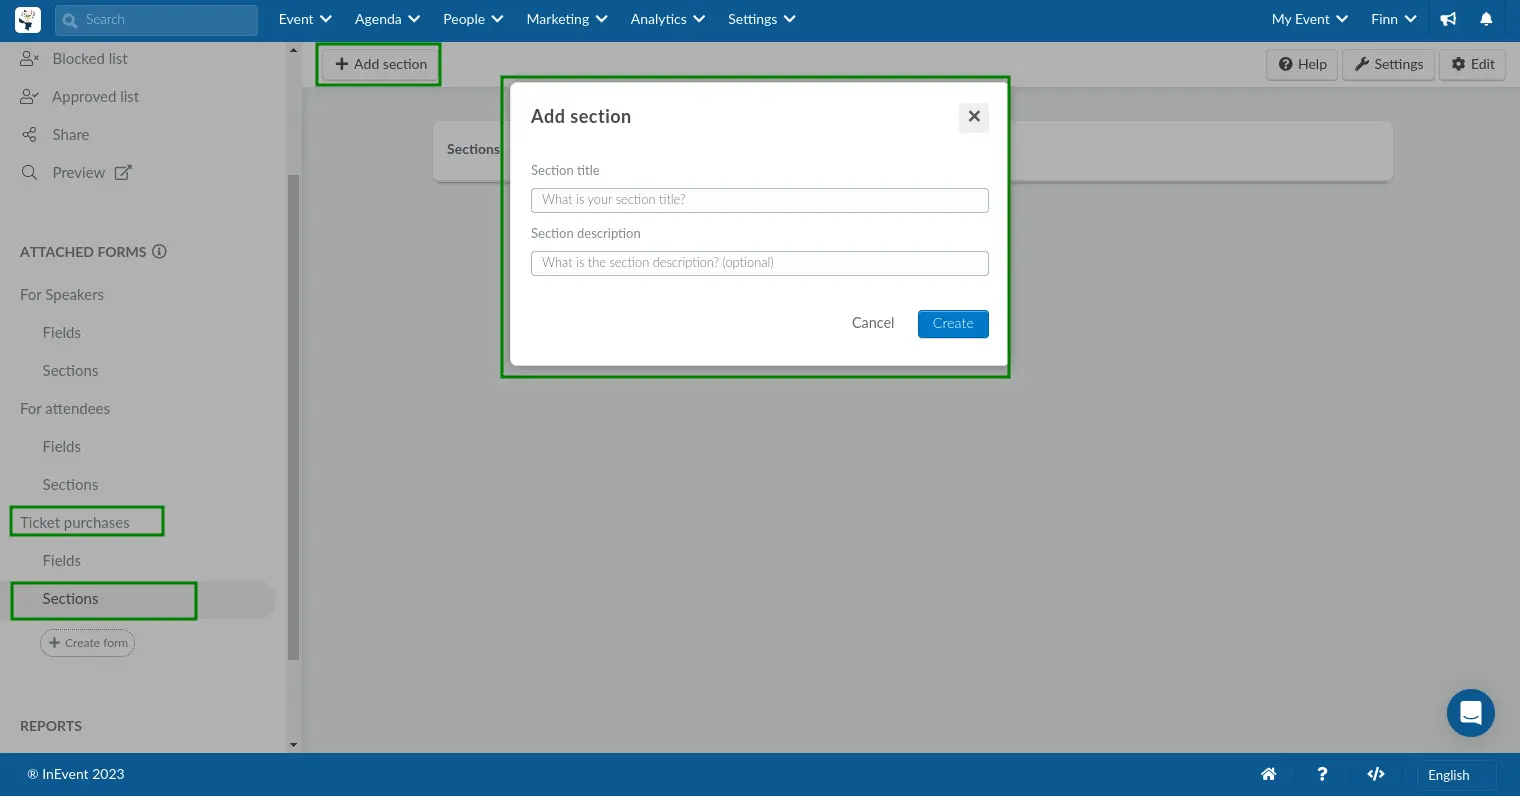
Adding sections to the attached form
Sections allow you to organize and group similar questions on a form. To add sections to an attached form, follow these steps:
- Click on Sections under the attached form.
- Click on the Add section button.
- Fill in the information requested in the pop-up and press Create.
To learn more about Section's settings and how to add the questions created under Fields to sections, read the How do I configure Sections and Dividers on forms article.
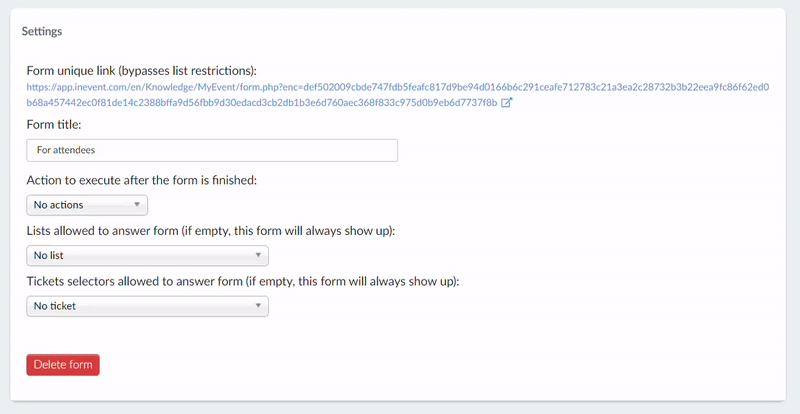
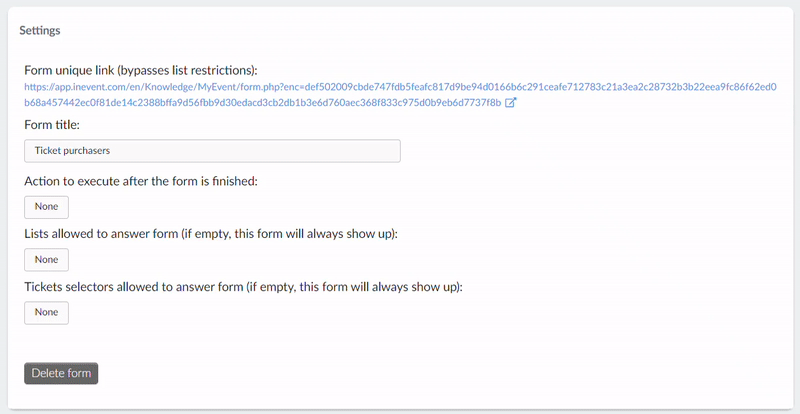
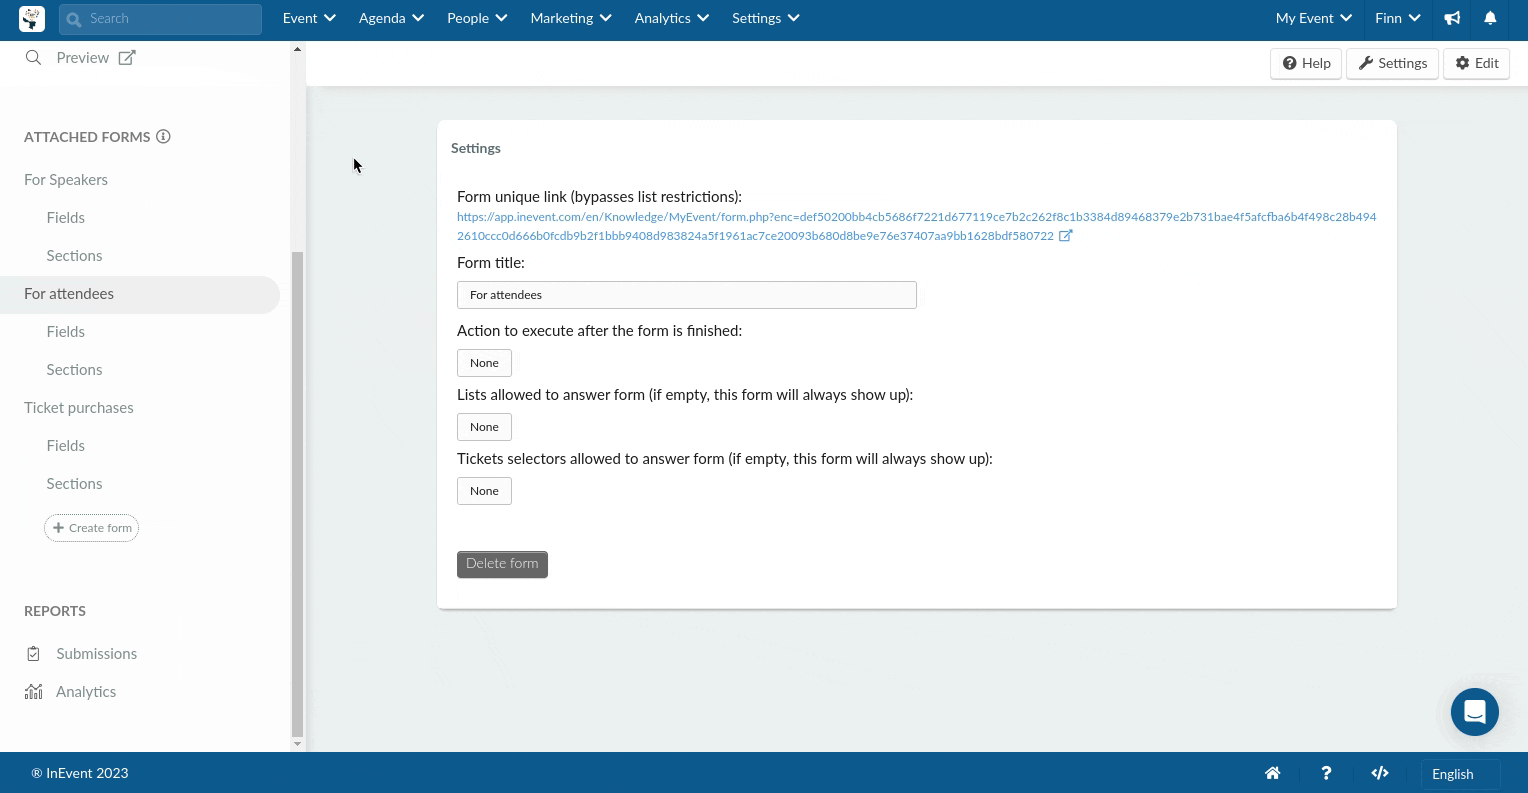
Attached form settings
You can preview and edit the details of the attached forms you have created. Just click on the attached form to open its settings page and click on Edit.
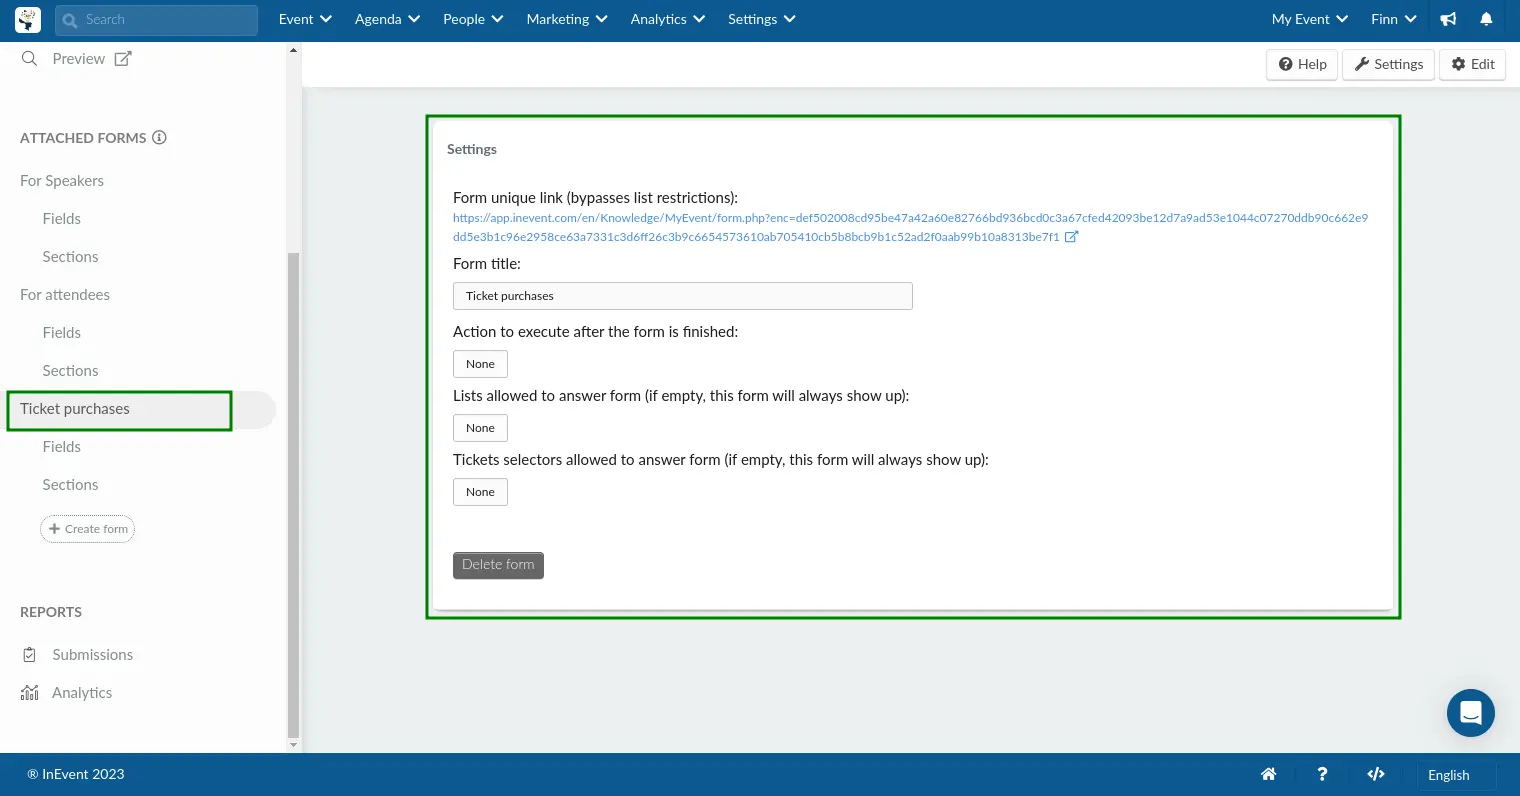
On the settings page, you will be able to perform the following actions:
Preview the attached form
You can preview the attached form and the fields you have created within it by clicking on the link in the Form unique link (bypasses list restrictions) field.
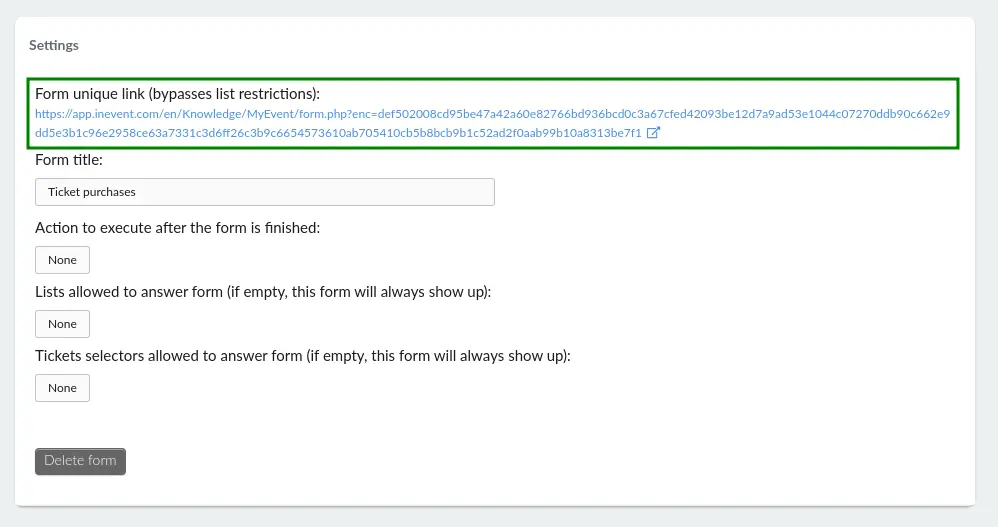
Edit the form title
You can edit the Form title:
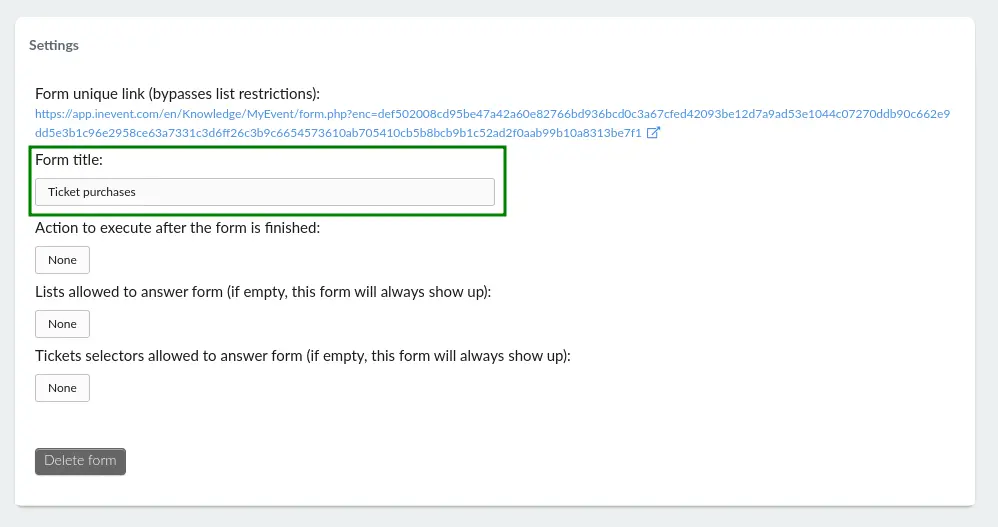
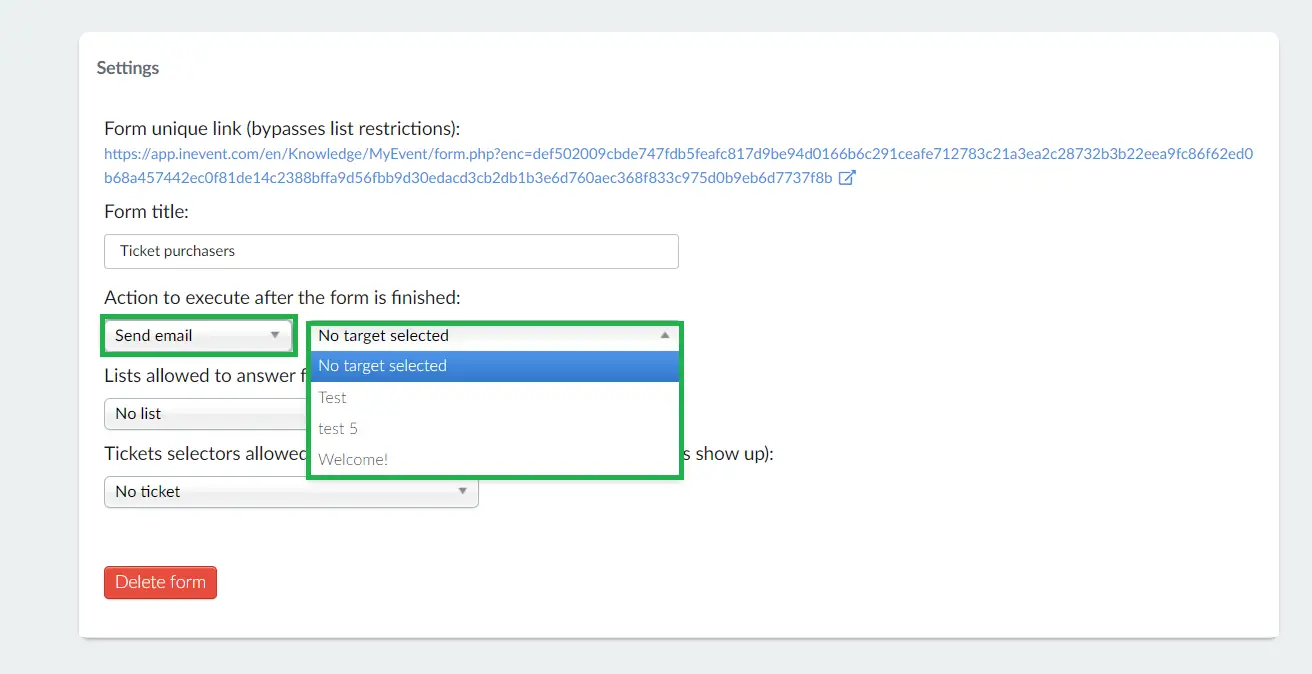
Select an action to execute after the form is finished
In this section, you can choose from two options on the dropdown bar: No actions or Send email.
- If you select No actions, there will be no action taken after users submit the form.
- If you select Send email, you will be able to send a custom email to users after they finish answering the attached form. Once you select send email, a new dropdown bar will appear where you can select the custom email you want to send to users.

Select lists allowed to answer the attached form
In this section, you can select as many lists as you wish. People on these selected lists will be allowed to answer the attached form.
Select a list from the dropdown bar under Lists allowed to answer form. Then, press the Add list button. Follow the same process to add more lists.
When restricting an attached form to a specific list, ensure that the following conditions are met:
- Invite requirement is enabled under Settings > Tools.
- Invitees have been added to your event following the steps outlined refer to the Invitees article.
- Specific invitees have been linked to the lists that should answer the attached form. To learn how to assign invitees to specific lists, refer to the Invitees article.
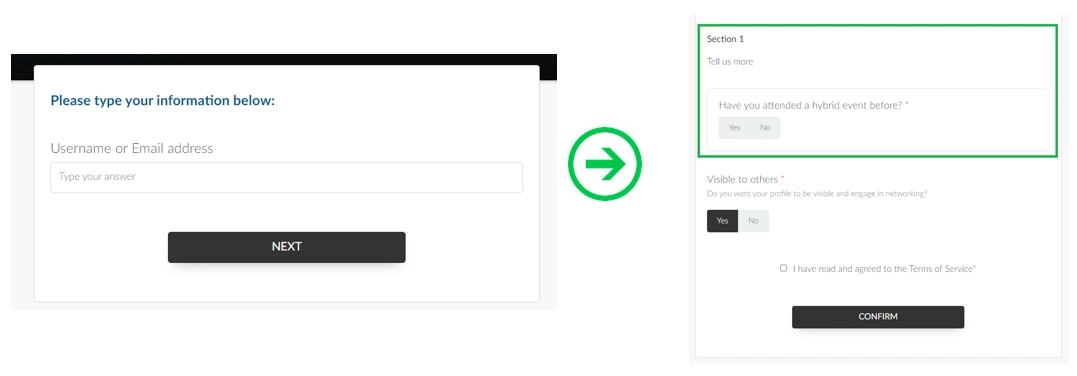
If you have the Invite requirement tool enabled, and have not linked the attached form to any list, anyone with access to the Registration form will be able to see the attached form.
After registrants that have been linked to the attached form put their usernames or email addresses to access the Registration form, this is how the attached form will appear:
Select tickets allowed to answer the attached form
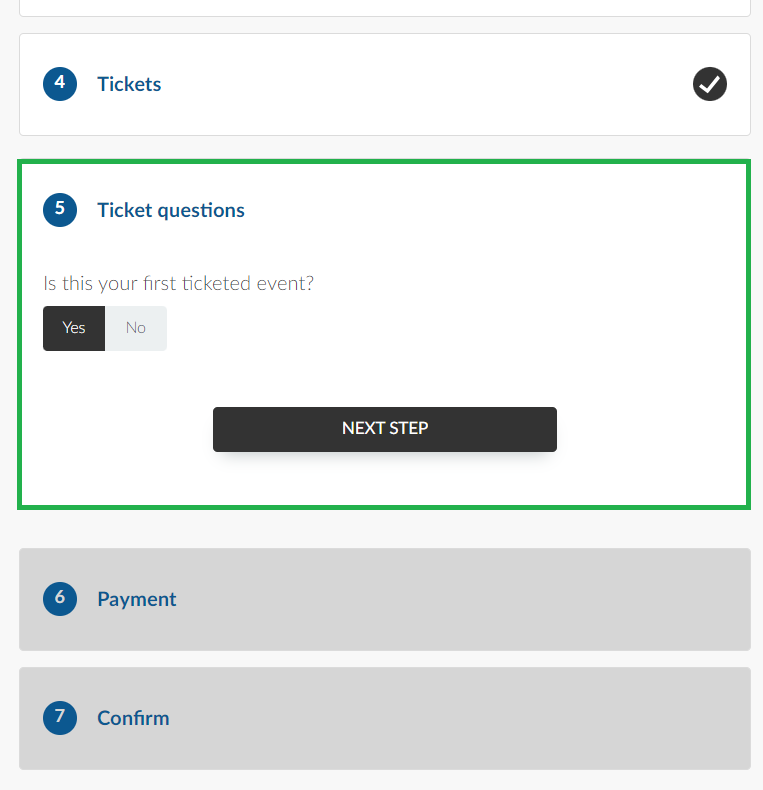
If you are selling tickets for your event, you can attach a form to the ticket. By doing so, the attached form will only appear when the user has selected the ticket on the Purchase form.
On the purchase form, participants will see the attached form in the Ticket questions section after selecting the linked ticket(s). If it is a required question, they will have to answer the question before being able to proceed to the Payment section. If they do not select the ticket linked to the attached form, the section will be skipped for them and they will be directed to the Payment section after clicking on Next step.
- If participants select a ticket that is not linked to the attached form, the Ticket questions section will not open on the Purchase form. Instead, they will be directed straight to the Payment section.
- If the attached form isn't linked to any ticket, the Ticket questions section will not appear on the Purchase form.
- If the attached form has been linked to specific list(s) and ticket(s), participants belonging to the linked list(s) will see the form in both the Identification section and the Ticket fields section when they select the corresponding ticket(s).
Viewing the answers to the Attached form
To view the answers of the Attached form follow these steps:
- Click on the Fields section of the attached form.
- Click on the field.
- Click on Answers to view the answer submissions of users as a list, or Analytics, to view the answer submissions as a pie chart and bar chart.
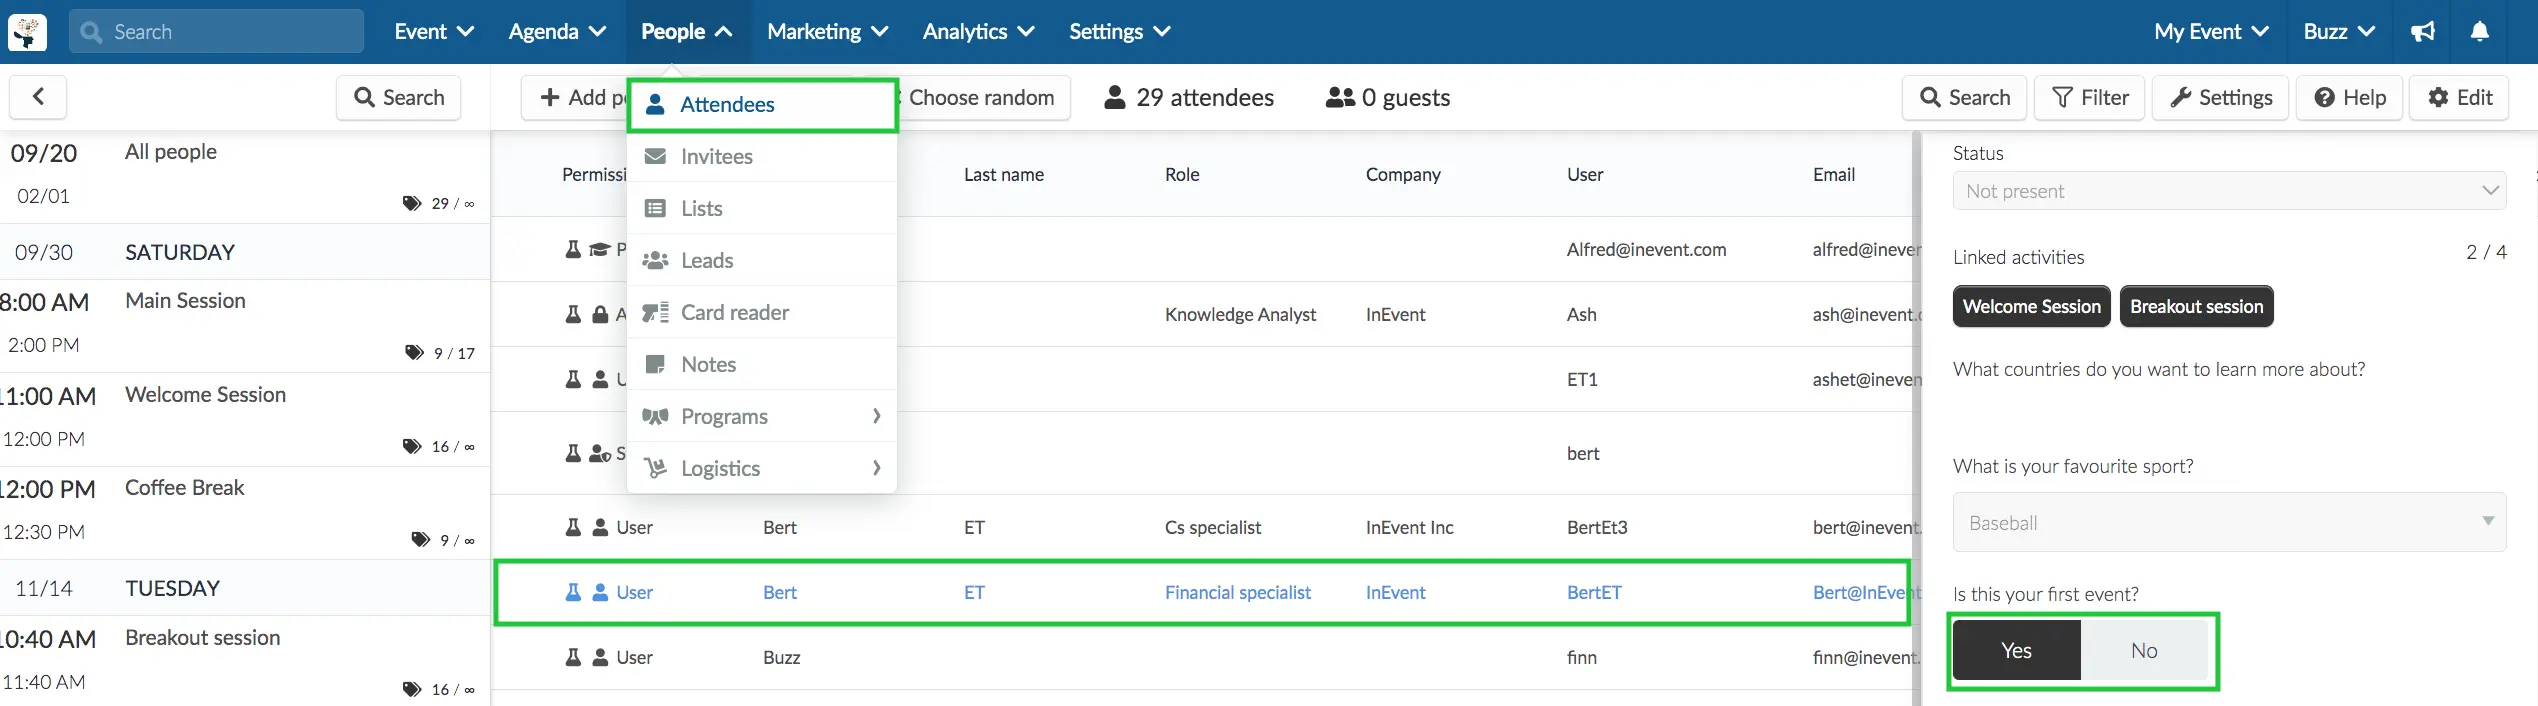
Alternatively, the event admin can click on the attendee's profile in the People > Attendees' page, the attached form answers will be visible on the left-hand side of the page. The admin can scroll down to view the answer(s) to the attached form(s).
The attached form answers will also appear on the attendee's profile in the People > Attendees' page when the event admin clicks on the the attendee. The profile will open by the left hand of the page and they can scroll down to view the answer(s) to the attached form(s).
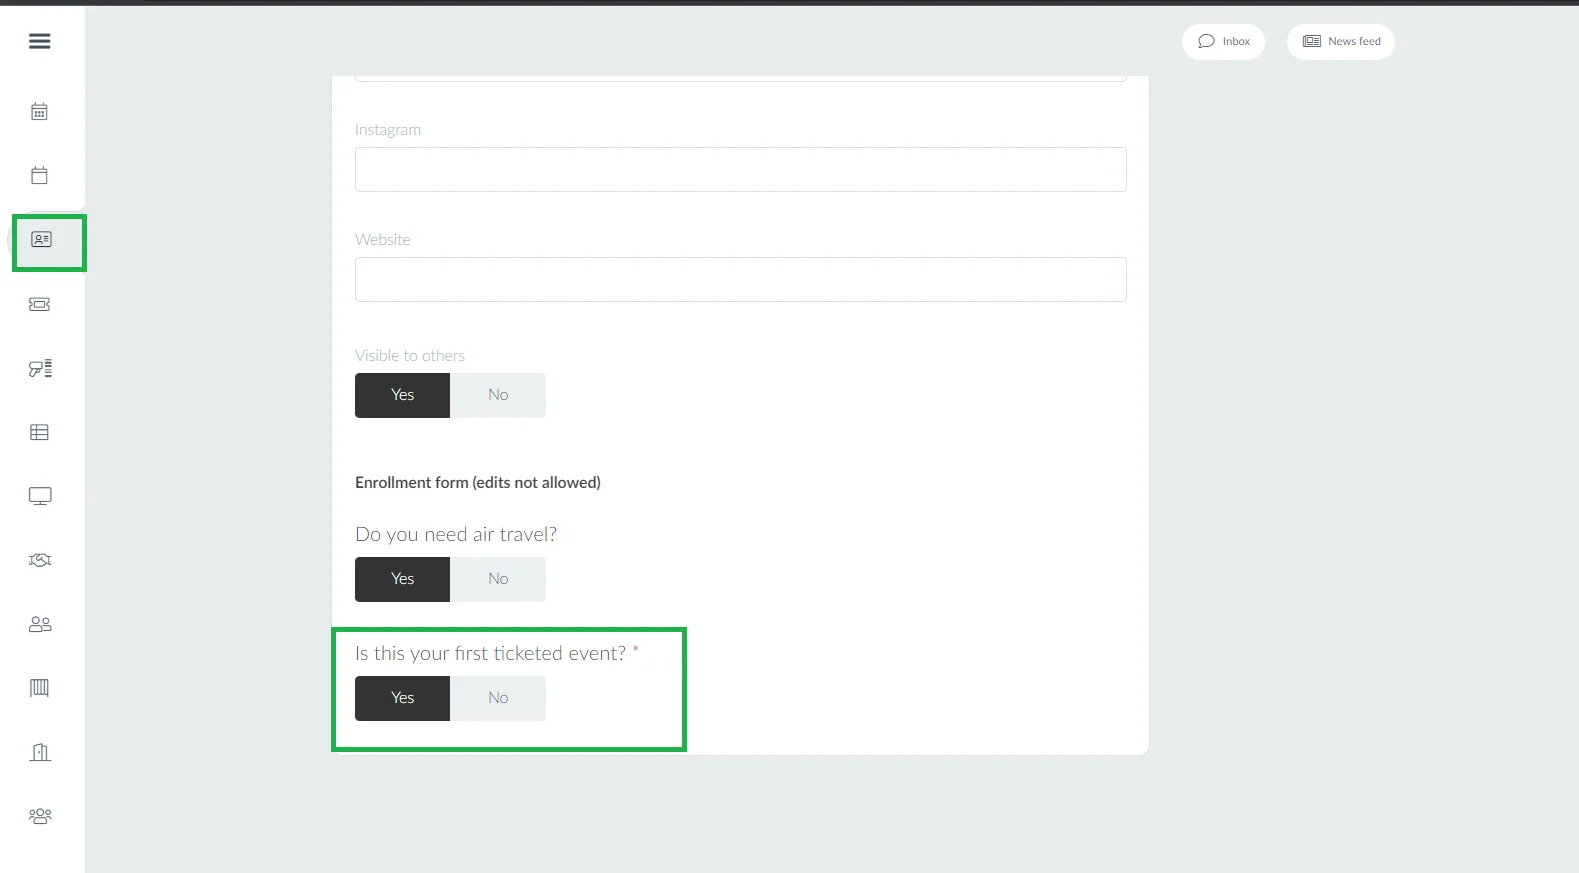
Attendees will see the answer to their attached forms as well as their answers to other fields within the registration/purchase form when they access the My Account tab in the Virtual Lobby:
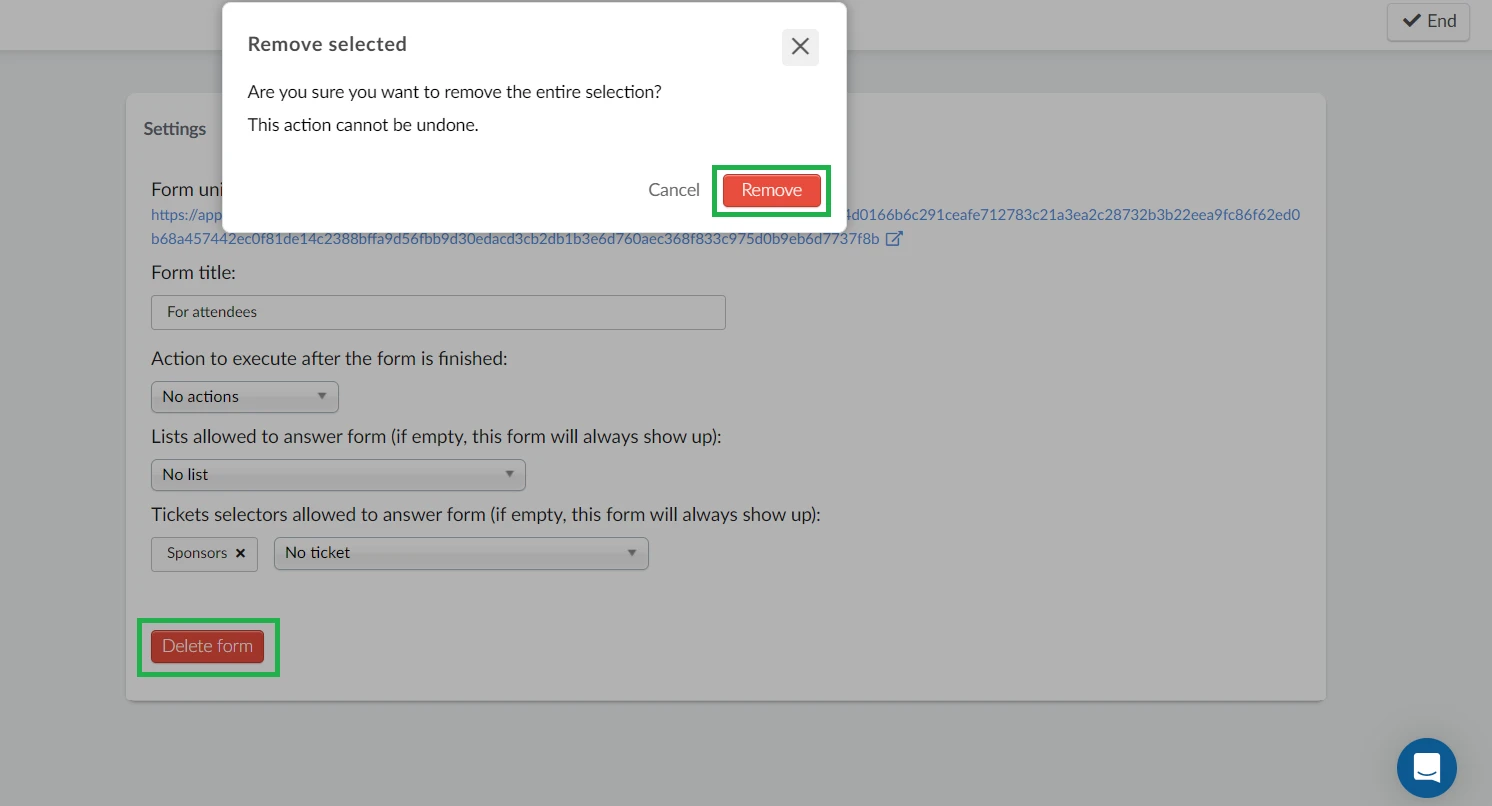
Delete attached forms
To delete an attached form, simply click on Edit, then click on the red Delete form button, and a pop-up will appear to confirm this action. Click Remove.