White label - Increasing your brand awareness
At InEvent you can use white label to promote your business's unique branding: you can personalize the application, use CSS for multiple pages, and give a custom layout to the entire event and more.
How do I enable this feature?
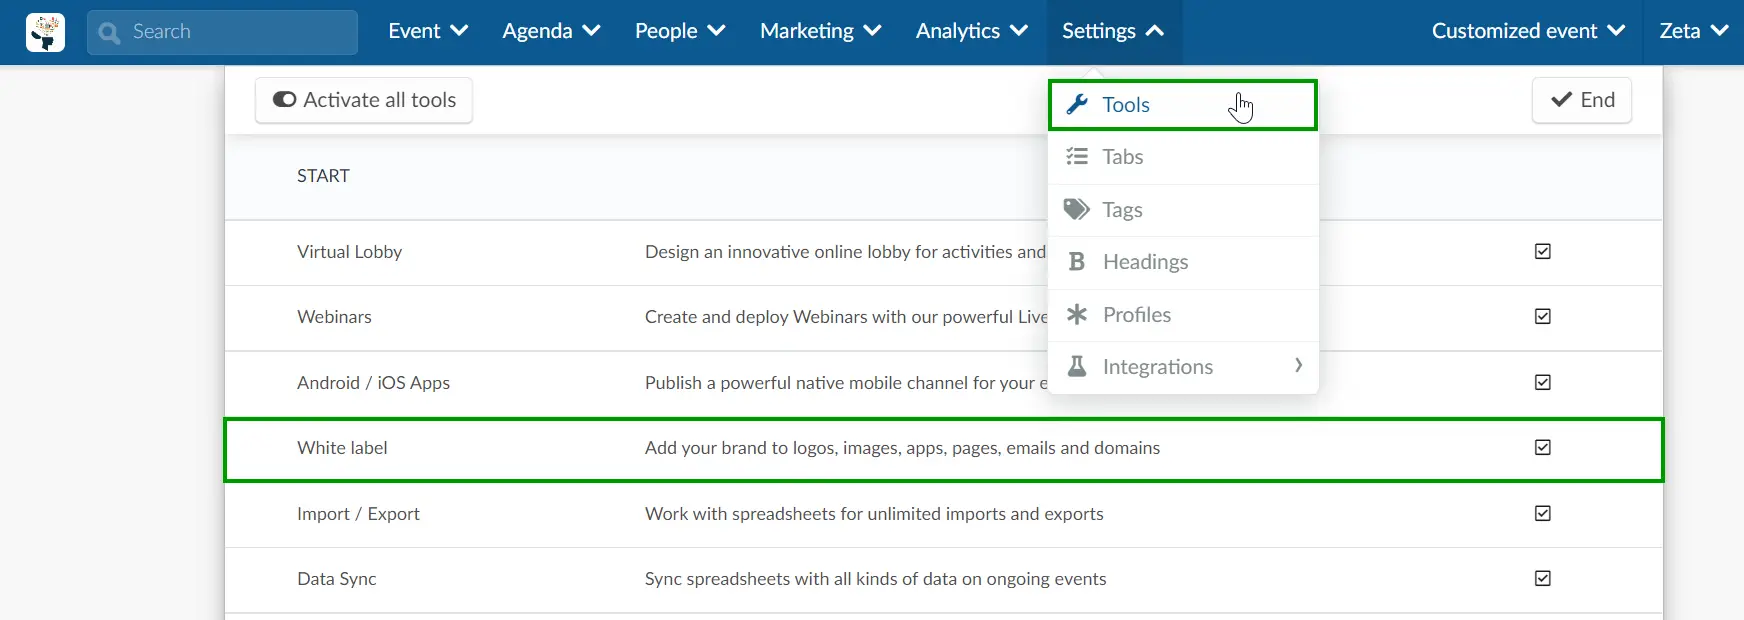
To enable this feature, go to Settings > Tools > scroll down until you see the Start section. Then, press Edit, and make sure the White label checkbox is checked. Press End to save the changes.
If instead of seeing a checkbox you see Click, you will need to enable this feature in the company tools.
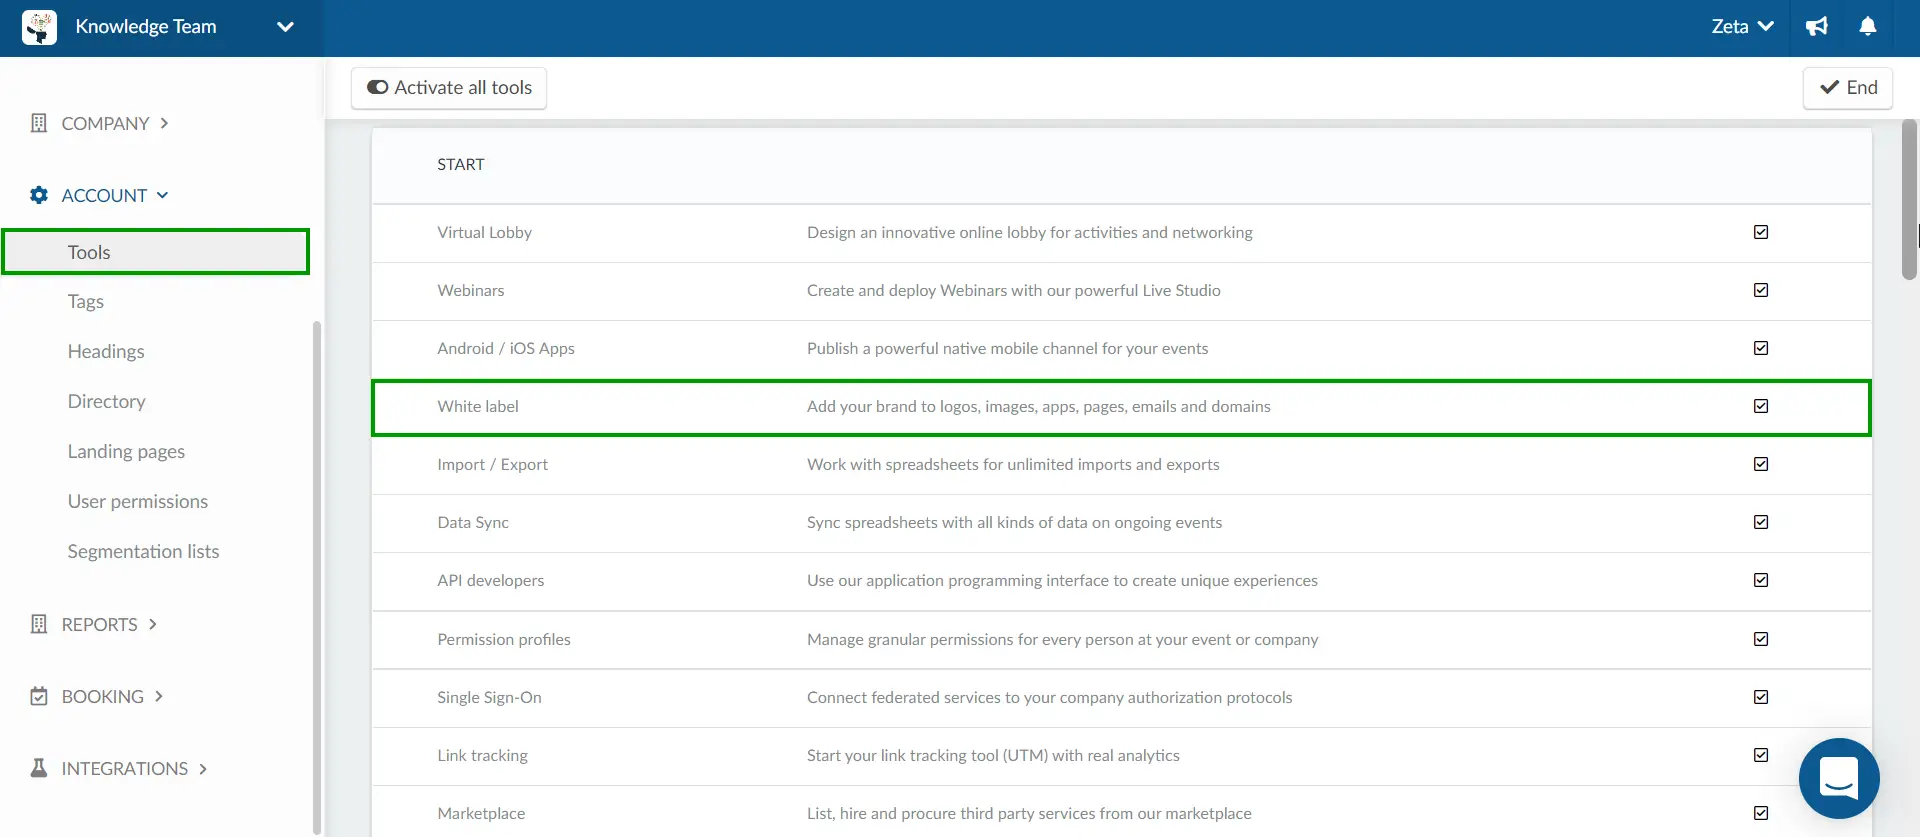
To do so, simply press Click and a new tab will automatically open on the company tools page. Then, scroll down until you see the Start section, press Edit, and make sure the White label checkbox is checked. Press End to save the changes.
How do I start white labeling?
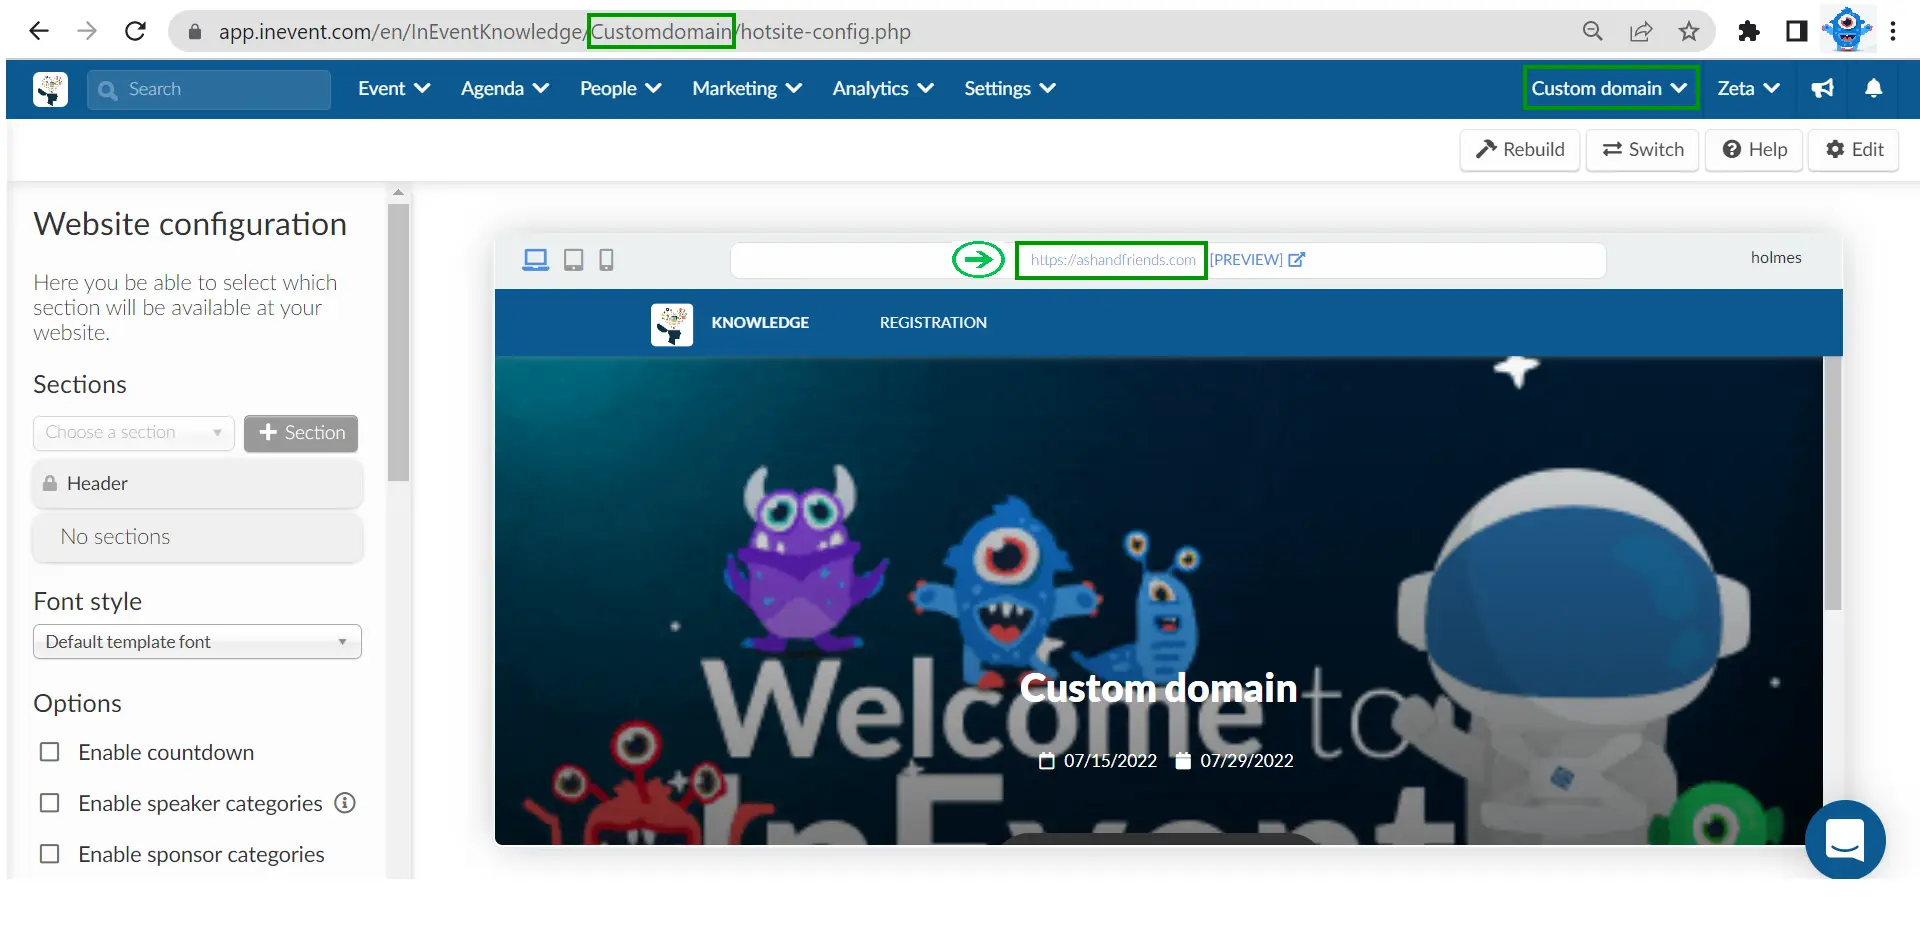
Custom domain - Website and Landing pages
By following the instructions to add the custom domain name that you have purchased, you can create a website or landing page through the InEvent's platform. Your event's website will have a customized address:
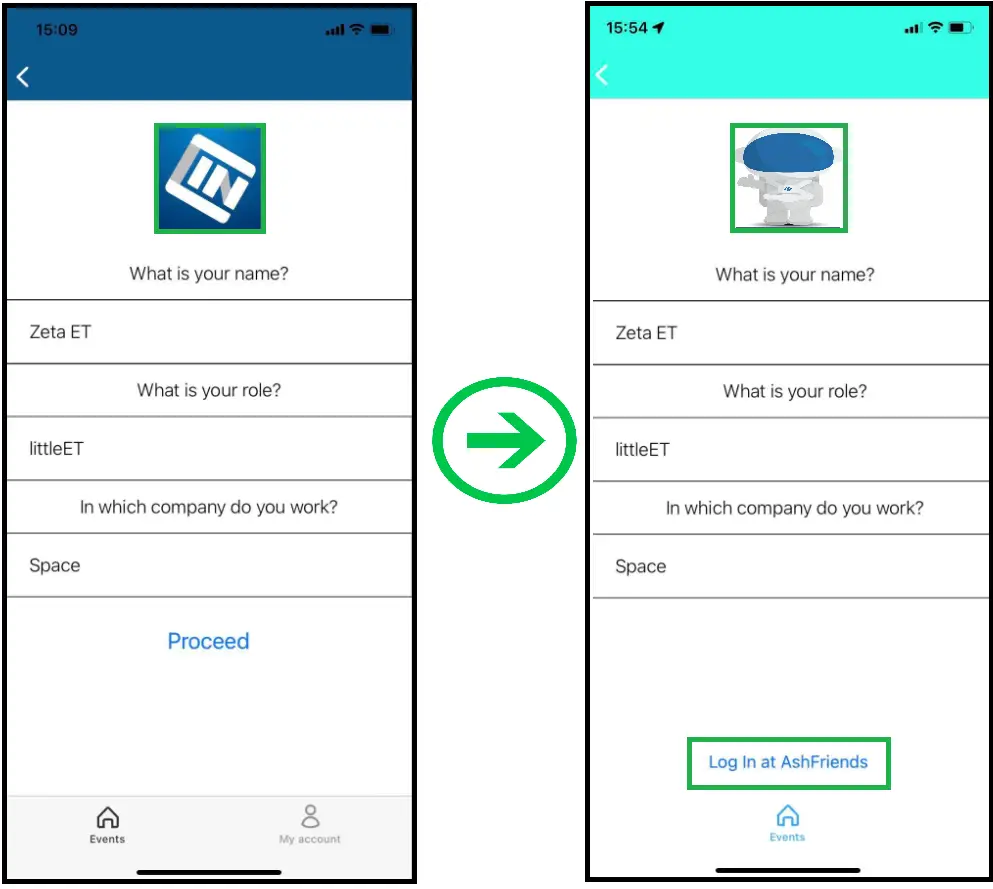
White-labeled App
When white labeling the mobile App you should follow the white label process instructions for the Apple store and Google Play store. Once you have followed all the steps your mobile app will look like this:
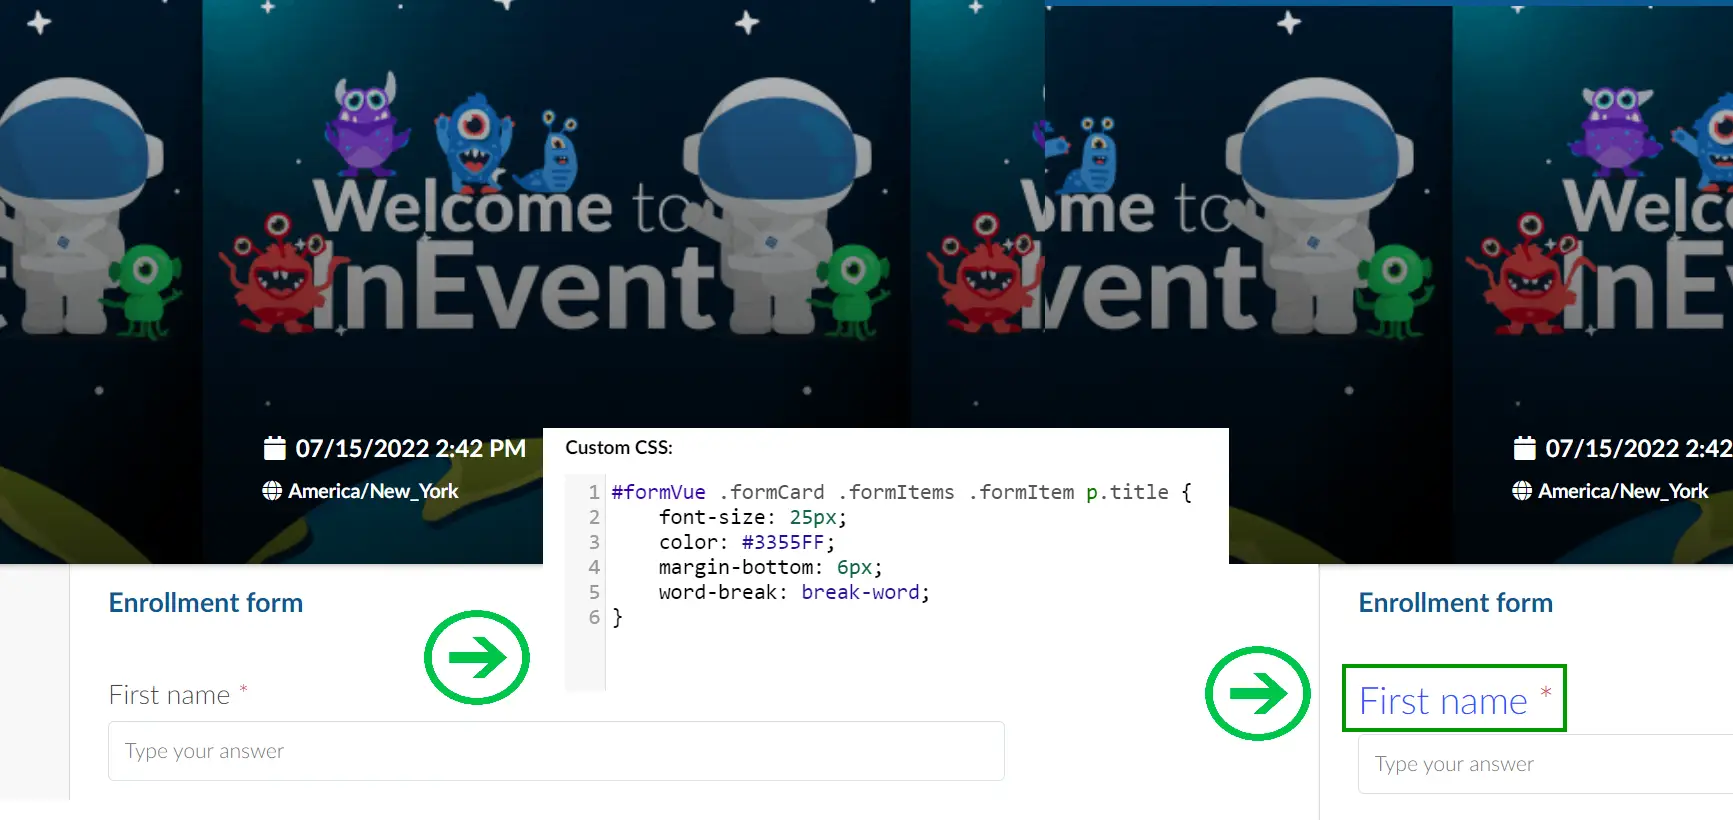
Custom branding - CSS
If the White label tool is enabled, you can also add some CSS codes to certain pages of the platform, such as Website, My Account, My Agenda, Networking, My Tickets, My Forms, My App, Virtual Lobby, Registration Form, Custom Form, Purchase Form.
In the CSS article, you'll find the ROOT classes for each page and learn how to add custom branding. You can also take a look at the Most frequently requested CSS codes.
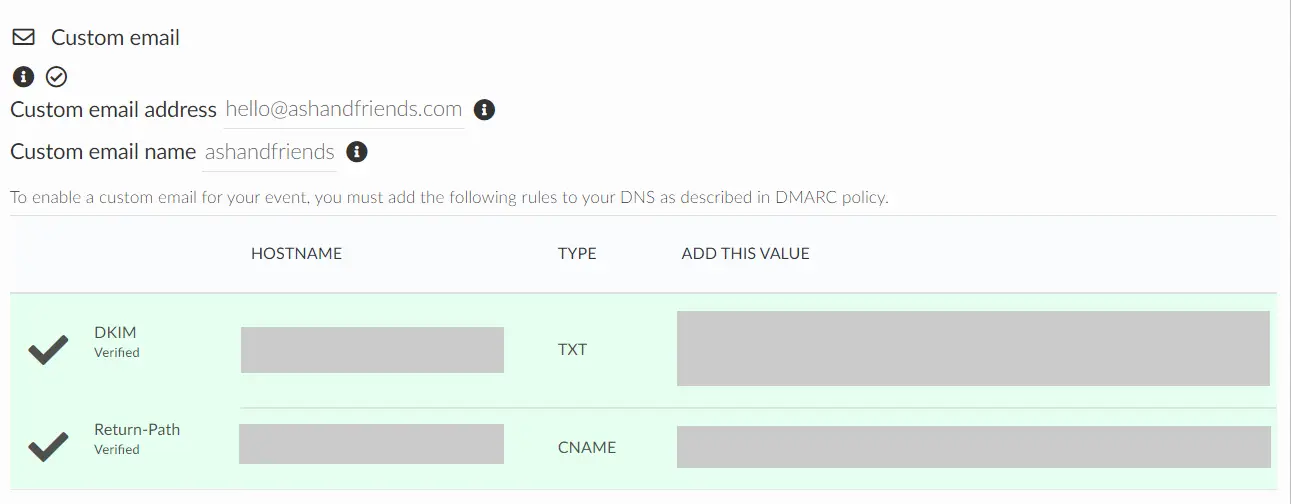
Custom email
When setting a custom email all the online mail sent through the InEvent system will have the sender of your choice. Take a look at this article to learn how to set up your custom email:
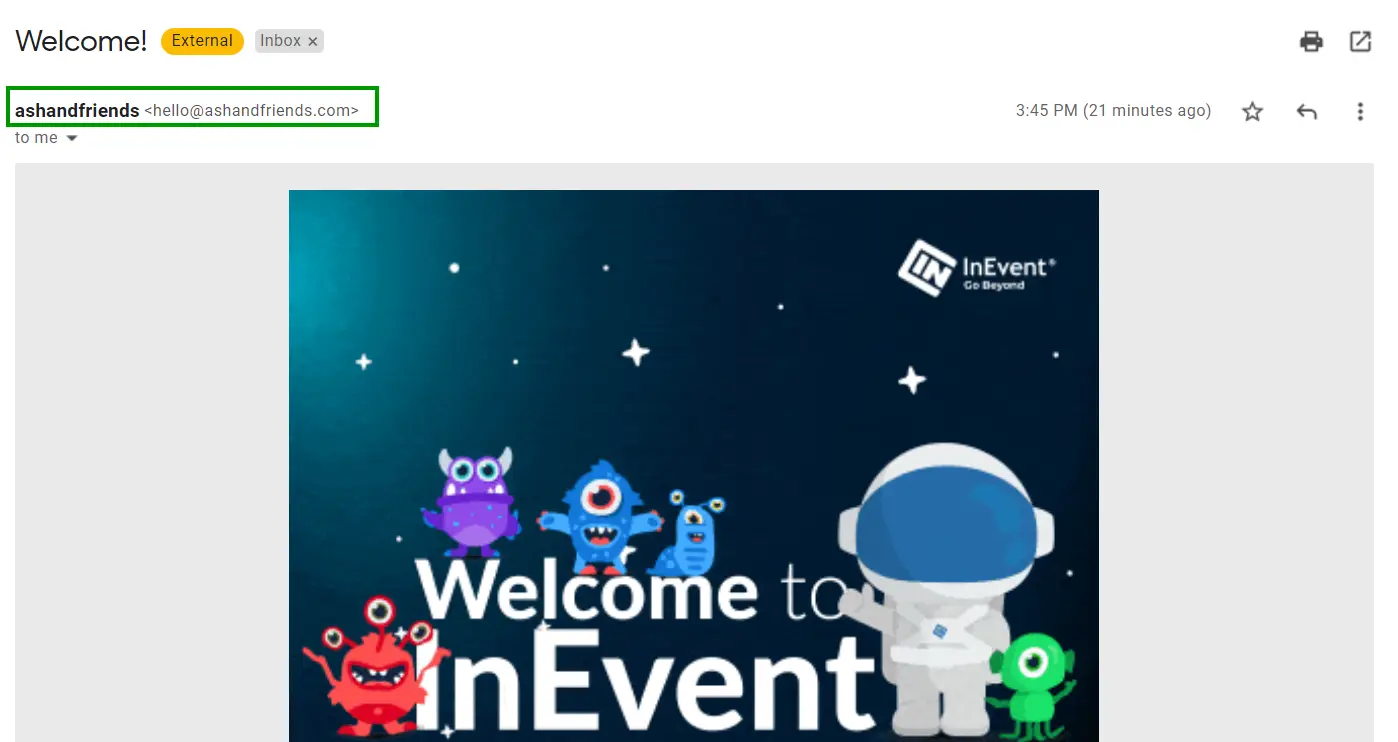
In the image below you can see what will look the inbox:
How do I fully customize my Virtual Lobby?
There are several ways to customize the Virtual Lobby and adjust it perfectly according to your needs.
Logos and Images
Let's get started by adding your brand logo to the platform, to do so take a look at the company images to learn where to upload the images. The company logo will reflect in the Virtual Lobby, the Registration Form, the Attendance certificate, etc.
Colors
Change the colors of the background, bar and main color
Virtual Background
Add virtual background to whoever participates in the sessions with camera on:
Headings
Personalize your standard message and fields with values made default for all events when adding Headings at the Company level or customize those values for specific events at the Event Level. Check this article to learn more about Headings.
Tabs
You can also customize the name of the Tabs, their order of display and even their icons.
3D environment
Why not create a 3D environment using embedded links and also iframes from 3D platforms? You can add them inside sessions or on the main Virtual Lobby. Take a look at this Virtual Tradeshow Exbihition: