Common mistakes to avoid when setting up your event
 Updated 11 months ago
by
Bissen Ouesleti
Updated 11 months ago
by
Bissen Ouesleti
- Mistakes to avoid on the platform (backend)
- Incorrect event start and end times
- Not clicking on the End button after making edits.
- Leaving your event on draft mode
- Not enabling or disabling the correct tools
- Uploading Demo Files to the wrong location on the platform
- Not Matching Username and Email
- Removing Attendees from the event instead of the activity
- Mistakes to avoid in the Virtual Lobby
- Addressing potential issues before they occur
It is important to be aware of the common mistakes that you might be making on the platform when setting up your events. Being informed about these issues can help you avoid problems and provide a smooth experience for your attendees and speakers.
In this article, we will discuss some of the most common mistakes that could occur when using the platform. We will also provide solutions that can help you avoid these mistakes, and in turn host successful events!
Mistakes to avoid on the platform (backend)
Incorrect event start and end times
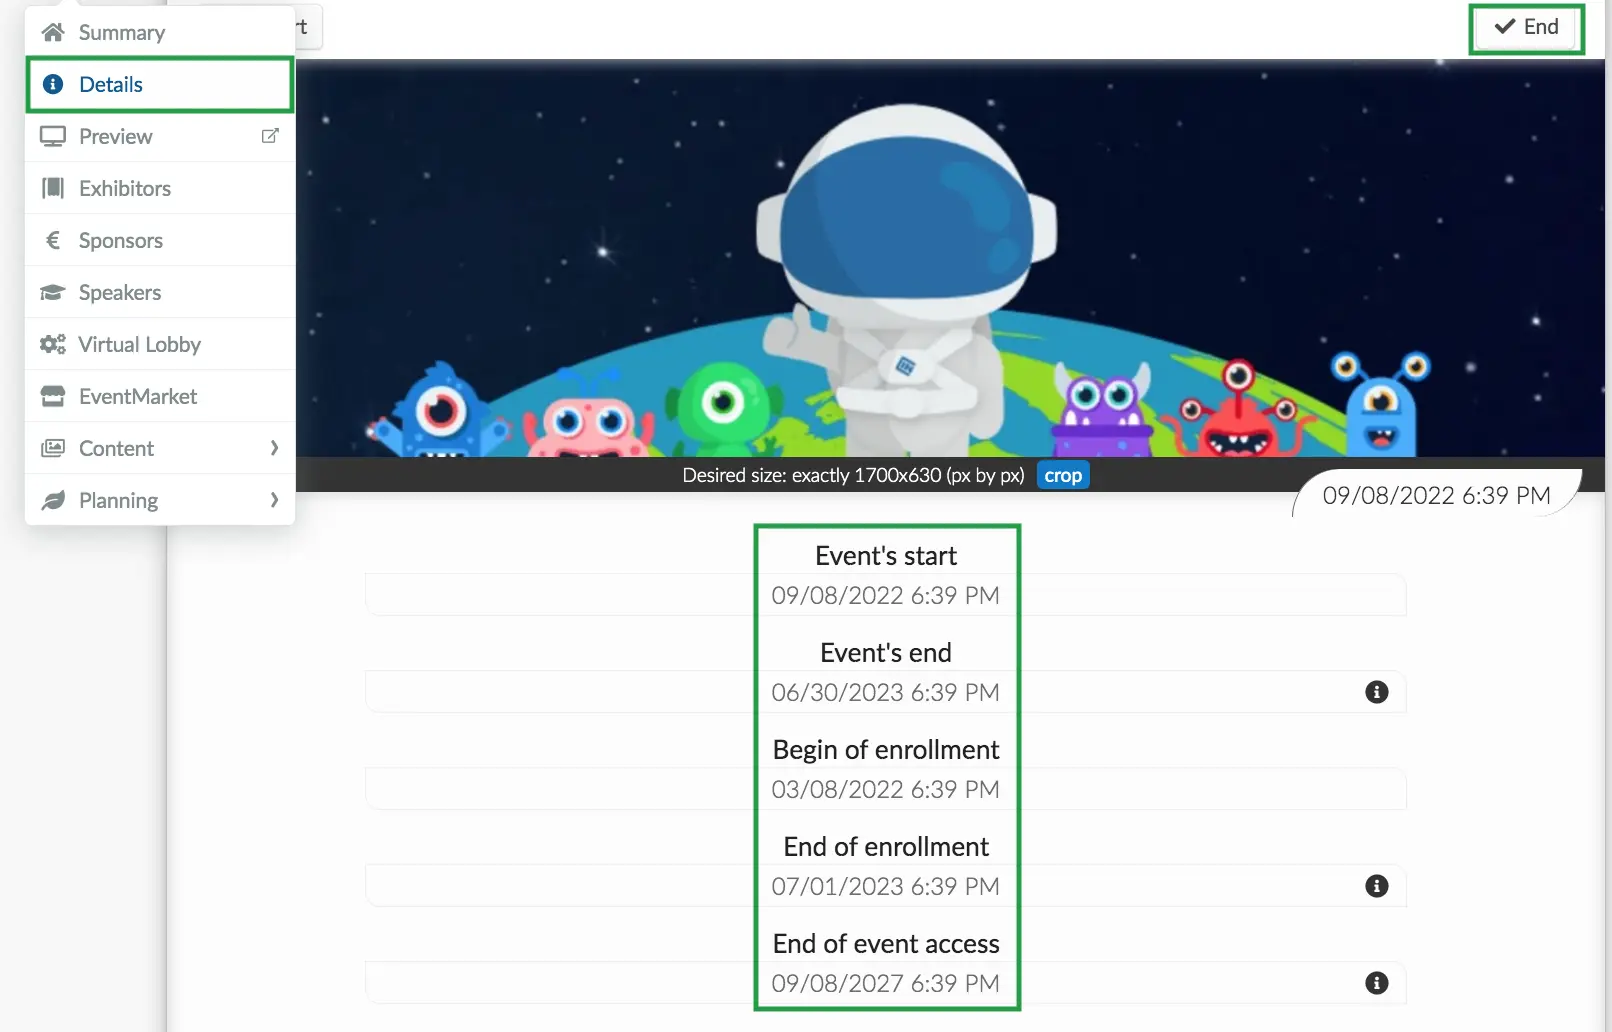
On the Event > Details page, make sure that your Event's start and Event's end dates and times are precise and reflect on the attendees' calendars. You will not be able to set your activity timings later than the event's end date or prior to its start date. Participants will also not be able to register after the End of enrollment date or before the Begin of enrollment date that you have set.
Not clicking on the End button after making edits.
Once you click on the Edit button to make changes on the platform, always ensure to click on the End button to save the changes made.

Leaving your event on draft mode
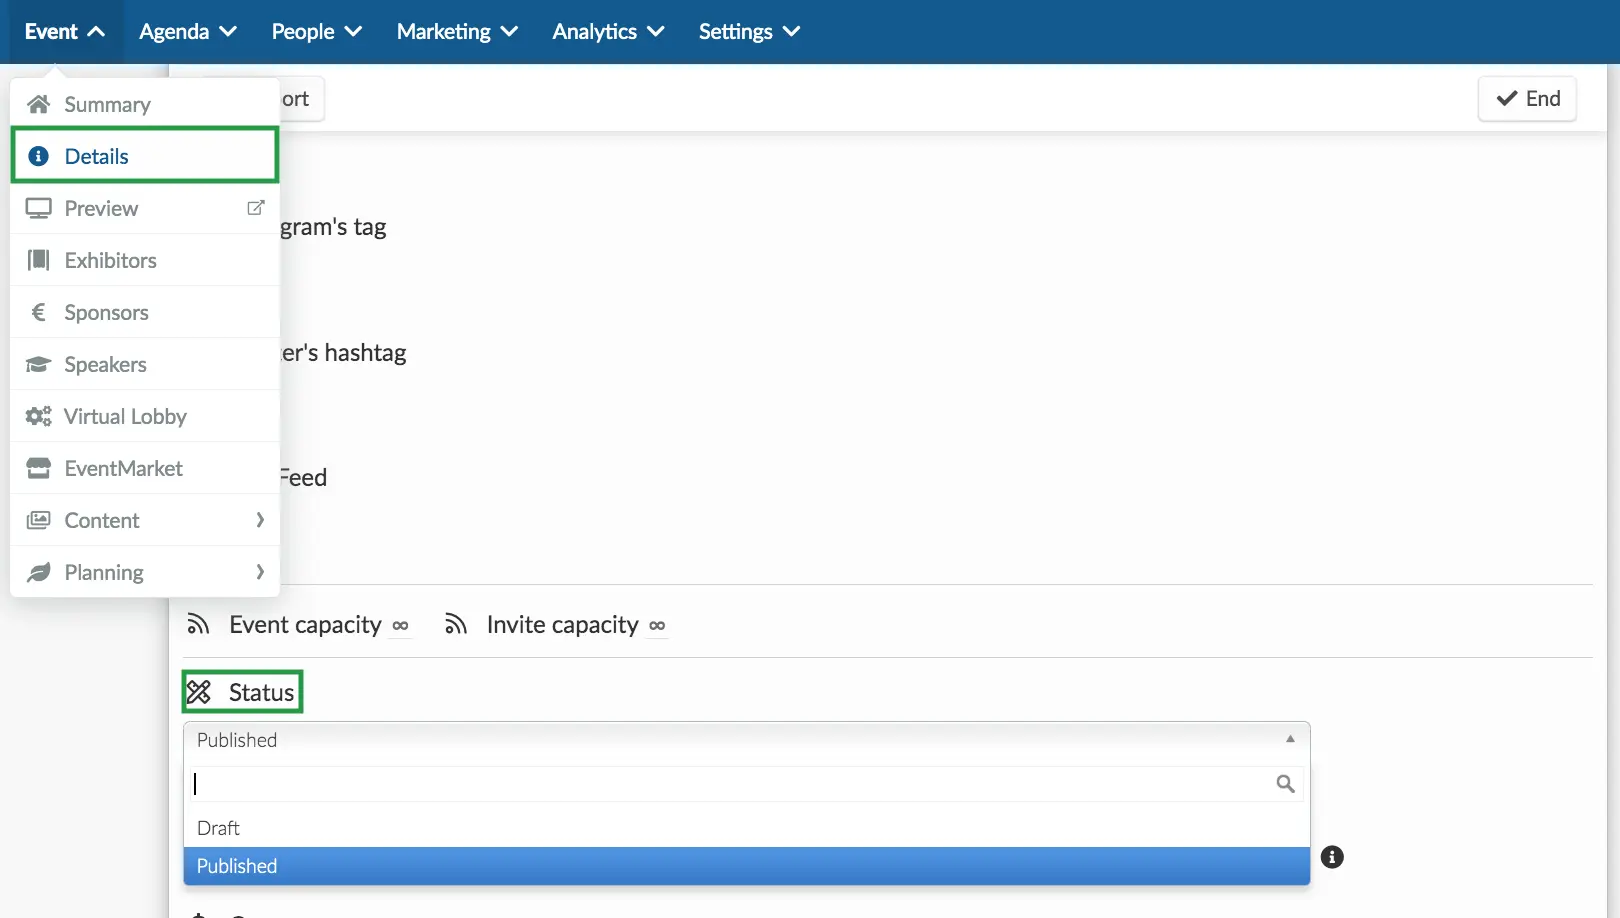
If you have set up your event on draft mode, it is possible that you may forget to change its status from Draft to Published. When your event is left on draft mode, you will be unable to add attendees, invite people or send emails, while attendees will be unable to access the event's public pages and websites. To have your event active, ensure to set its status to Published under Event > Details > Status.
Not enabling or disabling the correct tools
When using a particular feature in your event, always ensure that the necessary tools affiliated with this feature have been enabled from the Settings > Tools page.
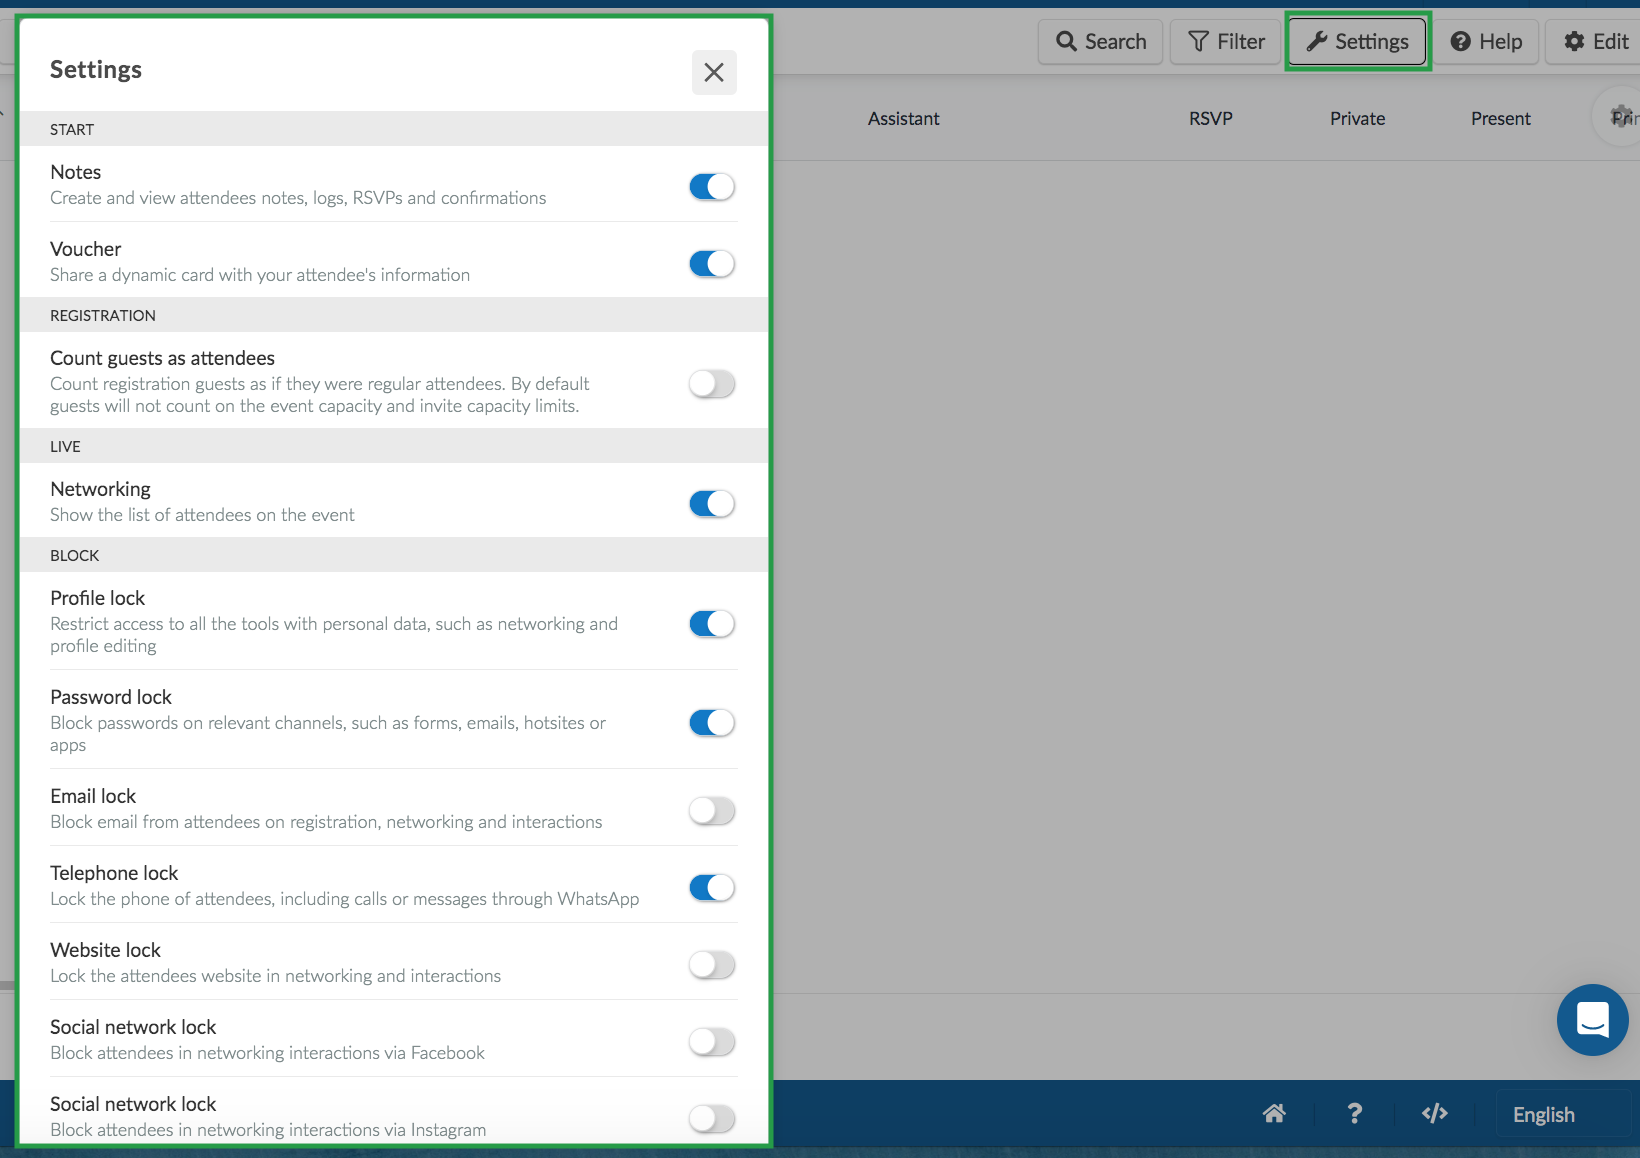
If the feature has certain tools that it is incompatible with, make sure to first disable them from the Settings > Tools page.
Uploading Demo Files to the wrong location on the platform
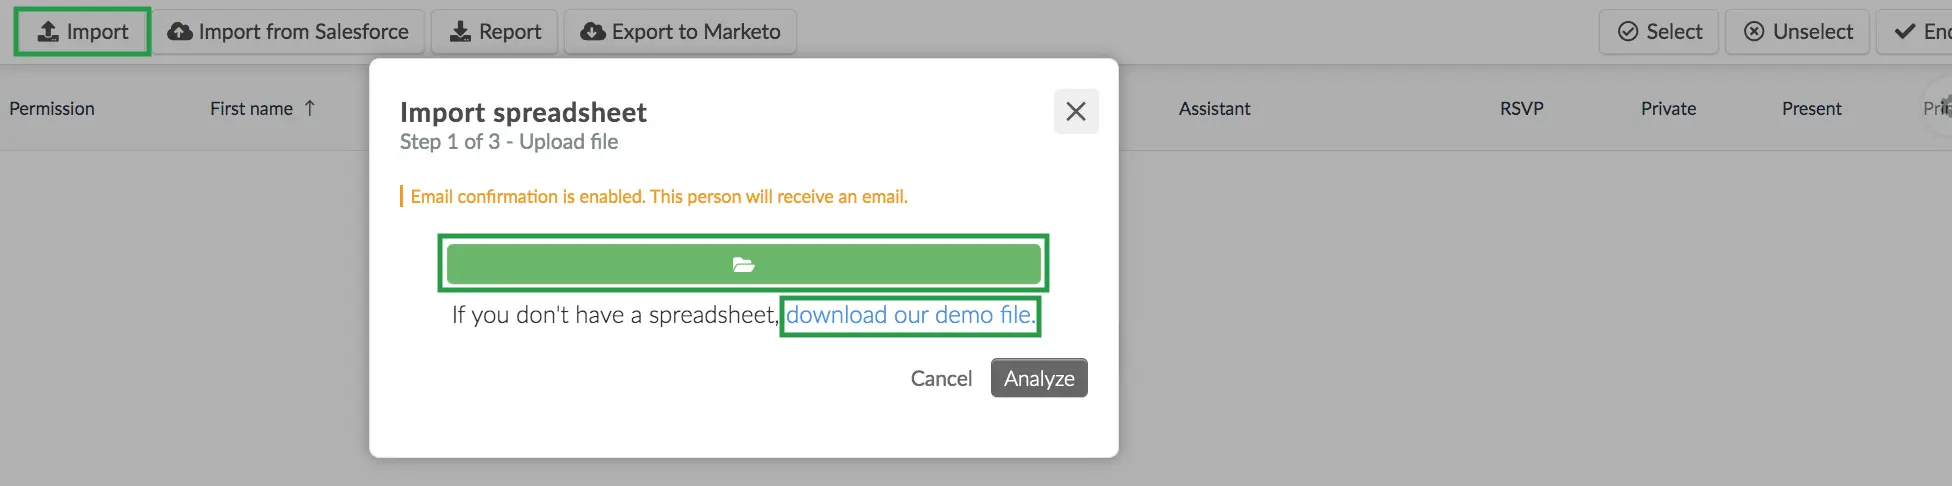
One common mistake that you may make is uploading demo files to the wrong location on the platform. When dealing with demo files, ensure that you download them from the right page of the platform. Also, make sure that demo files are uploaded to the same page they were downloaded from.
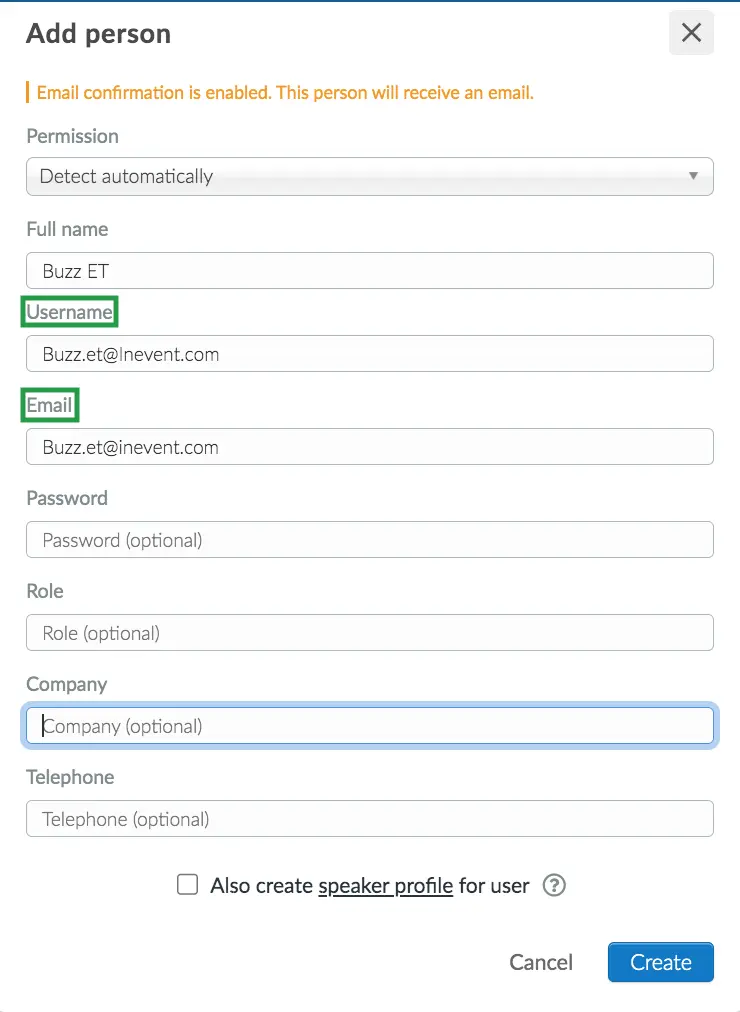
Not Matching Username and Email
It is the best practice that when adding attendees, the username and email are the same. This ensures that in the case where an attendee is removed from the platform, event organizers can easily read them to the event using the same email information without losing credit.
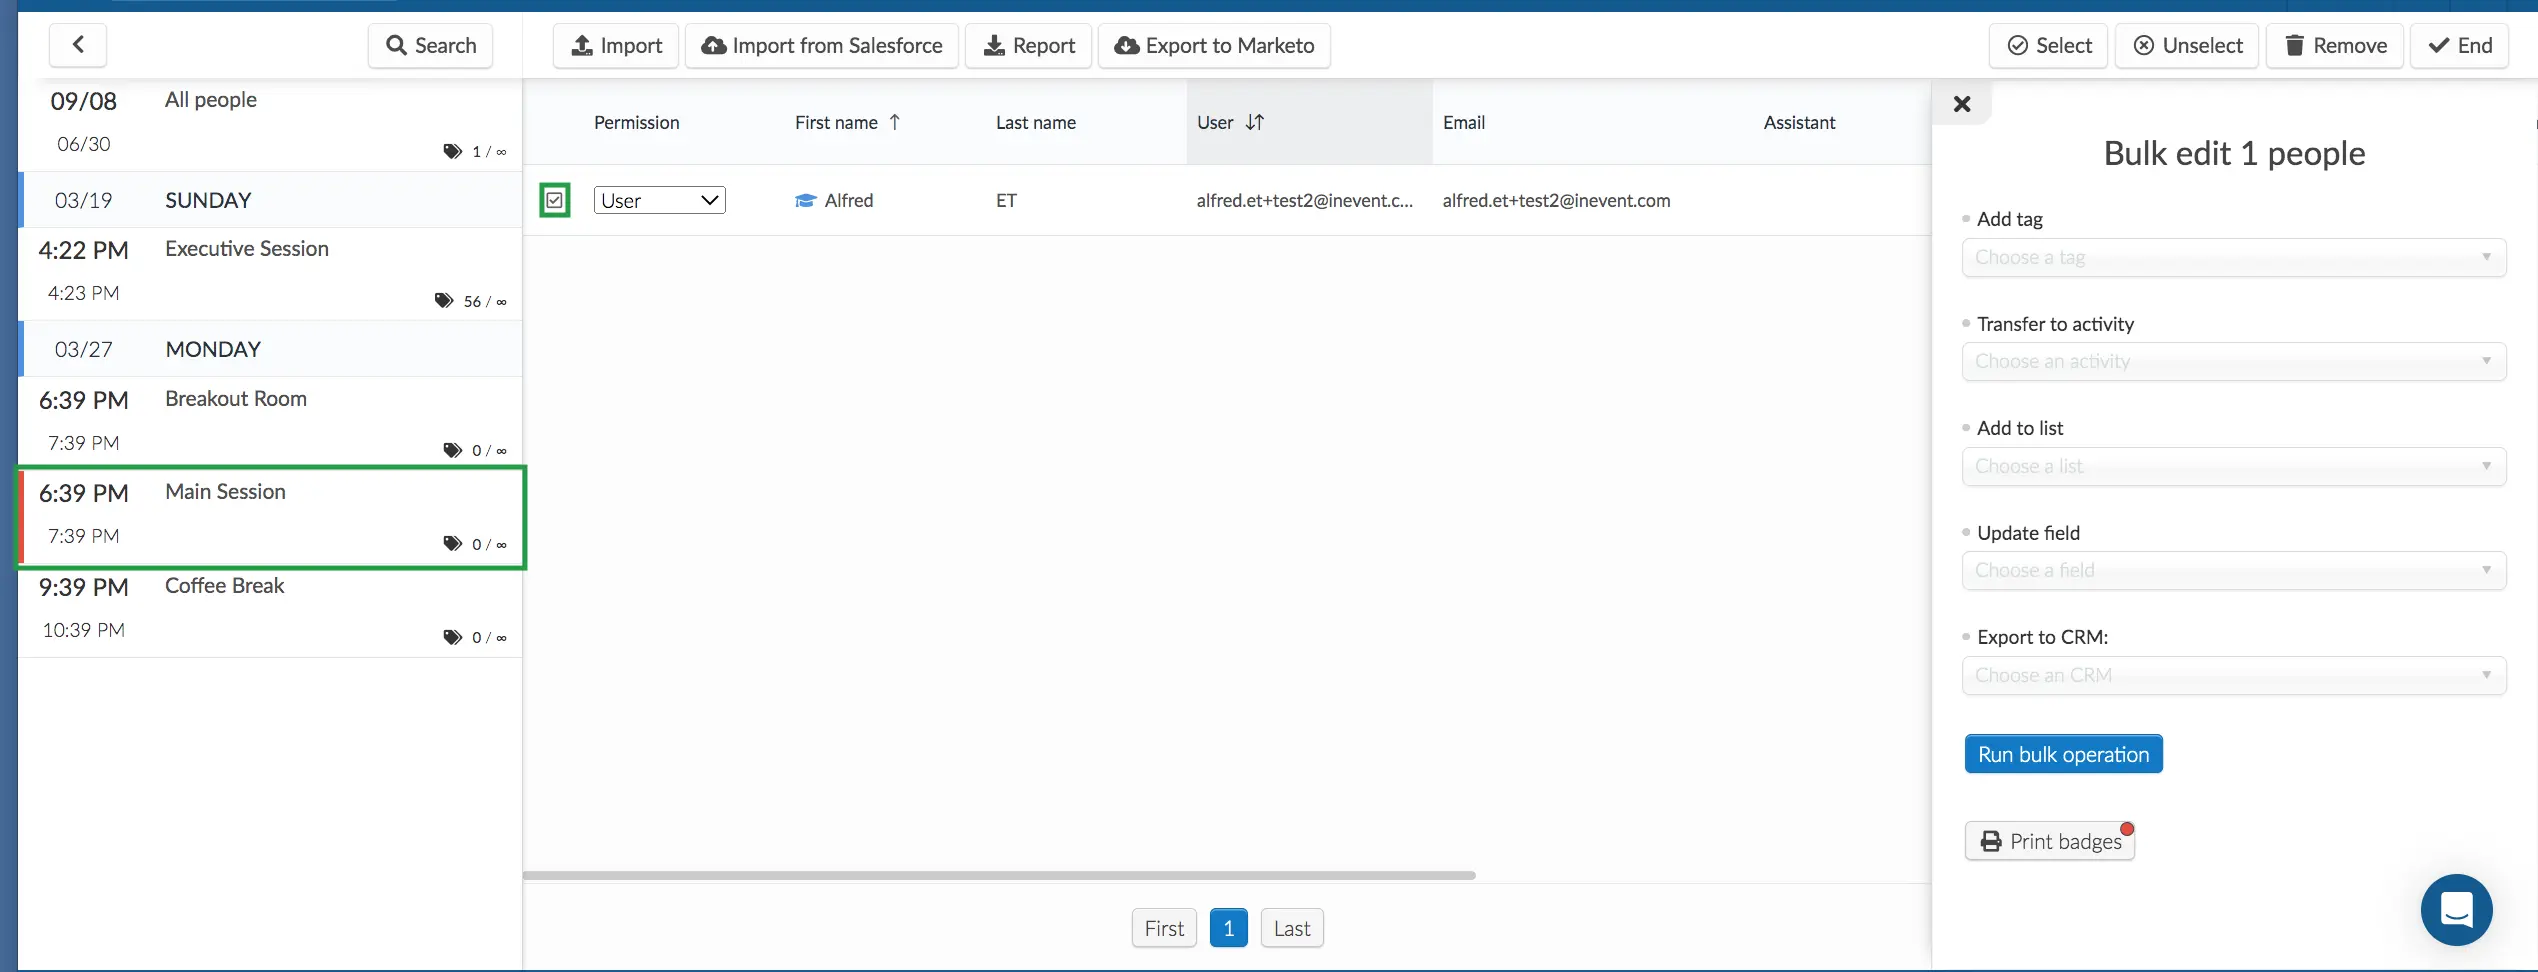
Removing Attendees from the event instead of the activity
When you want to remove an attendee from an activity on the Attendee's page, ensure that you first select the particular activity from the left hand menu. If you go to the Attendee's page and remove the attendee without first selecting the activity, they will be removed from the event.
Mistakes to avoid in the Virtual Lobby
Not Giving Access to your camera and microphone
Ensure that you give InEvent access to your camera and microphone through your browser settings and making sure the necessary tools are enabled.

Not setting a room host
Make sure you have set a host before starting the live stream, so that the activity can be recorded.
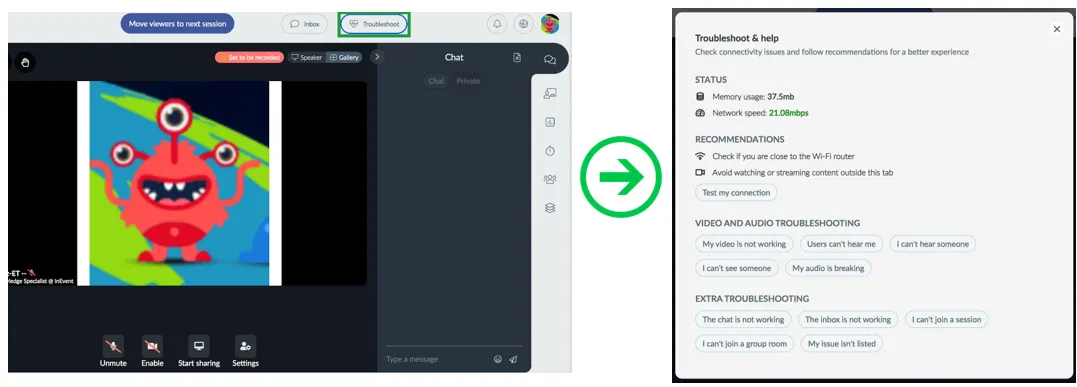
Not Using the Troubleshoot button
If you encounter challenges when using the Virtual Lobby, try using the Troubleshoot button as your first line of action to identify the potential causes of these challenges.
Being aware of these common mistakes can help you prevent issues and provide a smooth experience for your attendees and speakers. By following these solutions, you can ensure that your events run smoothly and efficiently.
Alternatively, you can always test for potential issues before your event start date. To learn more about this, refer to the section below.
Addressing potential issues before they occur
Setting up a dry run
By running a test for your event before it occurs, you are able to cross check all equipment, options and features, and you avoid struggling with unfamiliar issues on the day of your event, so everything runs smoothly.
You don’t want to start your event only to discover that your microphone isn’t working or that your video feed is choppy. You also do not want to start the live stream and then not be able to run the program because some of the options you require are disabled. By doing a dry run in advance, you can avoid these potential issues and give your participants the best possible experience.