Control Room
 Updated 1 year ago
by
yasmine haj sassi
Updated 1 year ago
by
yasmine haj sassi
The Control Room clearly separates your virtual events' on-stage and off-stage tasks, enabling you to manage speakers and viewers' settings in one control bar and choose different screen layouts. It also offers an optimized experience for all users; in particular mobile users.
Choosing the Control Room as the room video mode
Once you have created activities for your event's agenda, you will need to set up its details and configurations, such as the room video mode.
To set the Control Room as the room video mode, go to Agenda > Activities > Select an activity on the left-hand side and press Edit in the upper right corner of the screen. Then, scroll down until you see Room video mode and choose Control Room from the dropdown bar.
Video provider and video latency
Video providers and stream latency
Even though the Control Room will allow speakers to interact with users, they will experience latency in the Live preview, as is standard with live streaming technology.
The first step for determining your room's latency is to choose your video providers. Currently, we offer Mux, which has standard (20-30 seconds) and low latency (10-15 seconds), and AWS IVS, which has super-low latency (1-5 seconds).
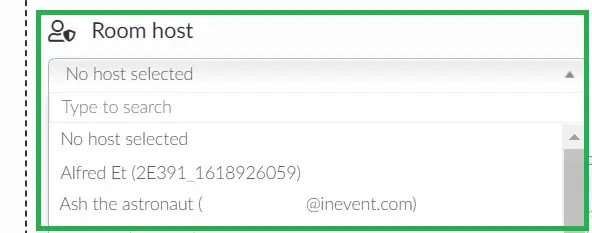
Room host
Only one host is allowed per room. This person will be responsible for starting and stopping the streaming, for the recording of the session, and will also be able to choose the layout of the session.
To define the room host, select a name from the attendee's list or type to search.
Click here to access the user guide for speakers and room hosts.
Live Preview
To view the activity like an attendee, you can select Live Preview.
When an attendee joins the activity and the host has not joined, they will see a message Nothing’s happening here, with the subtitle You will be notified about upcoming streams. Both of these messages can be changed in the Headings section, under Virtual Lobby Player- Idle title and/or Virtual Lobby Player- Idle subtitle.
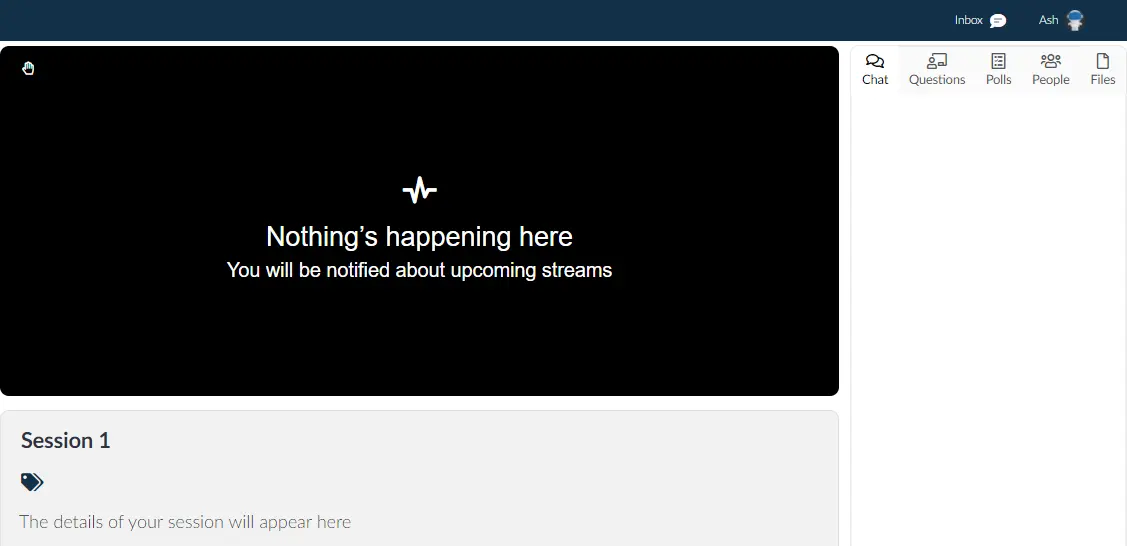
Here, attendees will be able to interact prior to the stream starting, such as using the chat function and accessing polls and files.
The session name, along with any speakers and sponsors will be visible here for all attendees.
Once the hosts initiate the session, the video will be visible to all attendees.
Speaker Control bar
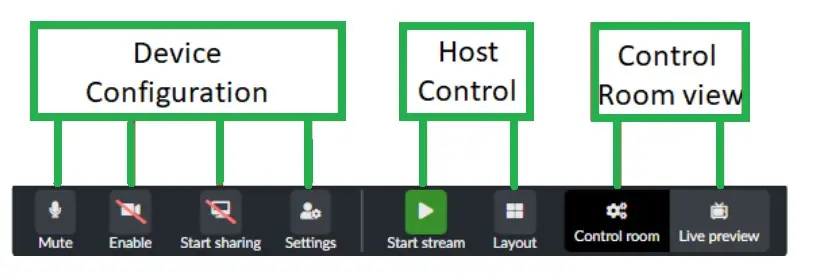
When entering an activity, all those speaking in the session will see the speaker control bar.
All speakers will see the device configuration settings and the Control Room view; the host will see two additional settings, the host control settings.
In the Control Room, your own video is not highlighted for you; all videos will be mixed together. The controls for your video are also visible below your video, creating much more space and easier to use controls.
Device Configuration
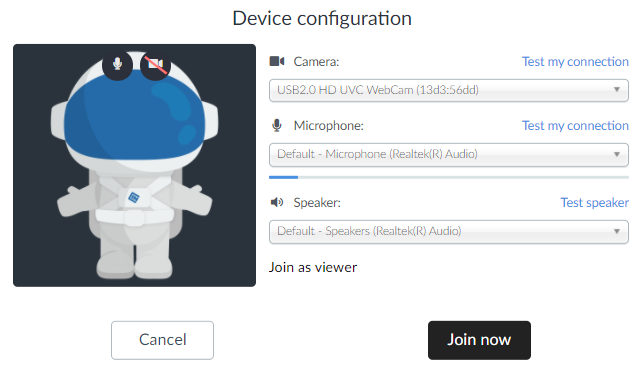
In this section, speakers can enable or disable their microphone and camera, begin screen sharing, and open their device configuration settings.
Host Control
The Room Host will see two additional settings in their Speaker Settings; the Start/Stop Stream button and the Layout Button
Start/Stop Stream
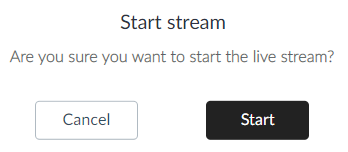
When the host determines that the stream is ready to start, they can select the green Start Stream button. When selected, a confirmation box will appear for the stream to start.
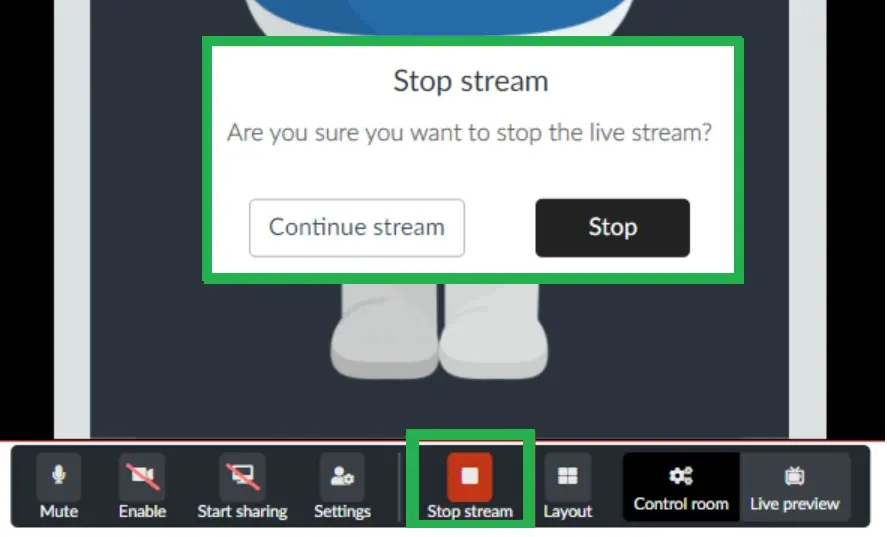
When it is time for the stream to end, the host will select the red Stop Stream button.
Similarly, a confirmation message will appear to end the stream, and then a notice will appear, counting from 5 to 1, stopping the stream.
Changing Endpoints
If there is an issue with playback during the session, there will be a need for a change of endpoints to continue on an alternate stream.
Using the default Tokbox WebRTC, the endpoint change will happen automatically when the stream is occurring.
Layout
The layout can be chosen in two different ways:
- By the Admin at the platform (backend)
- By the Room Host from inside the Control Room (Virtual Lobby)
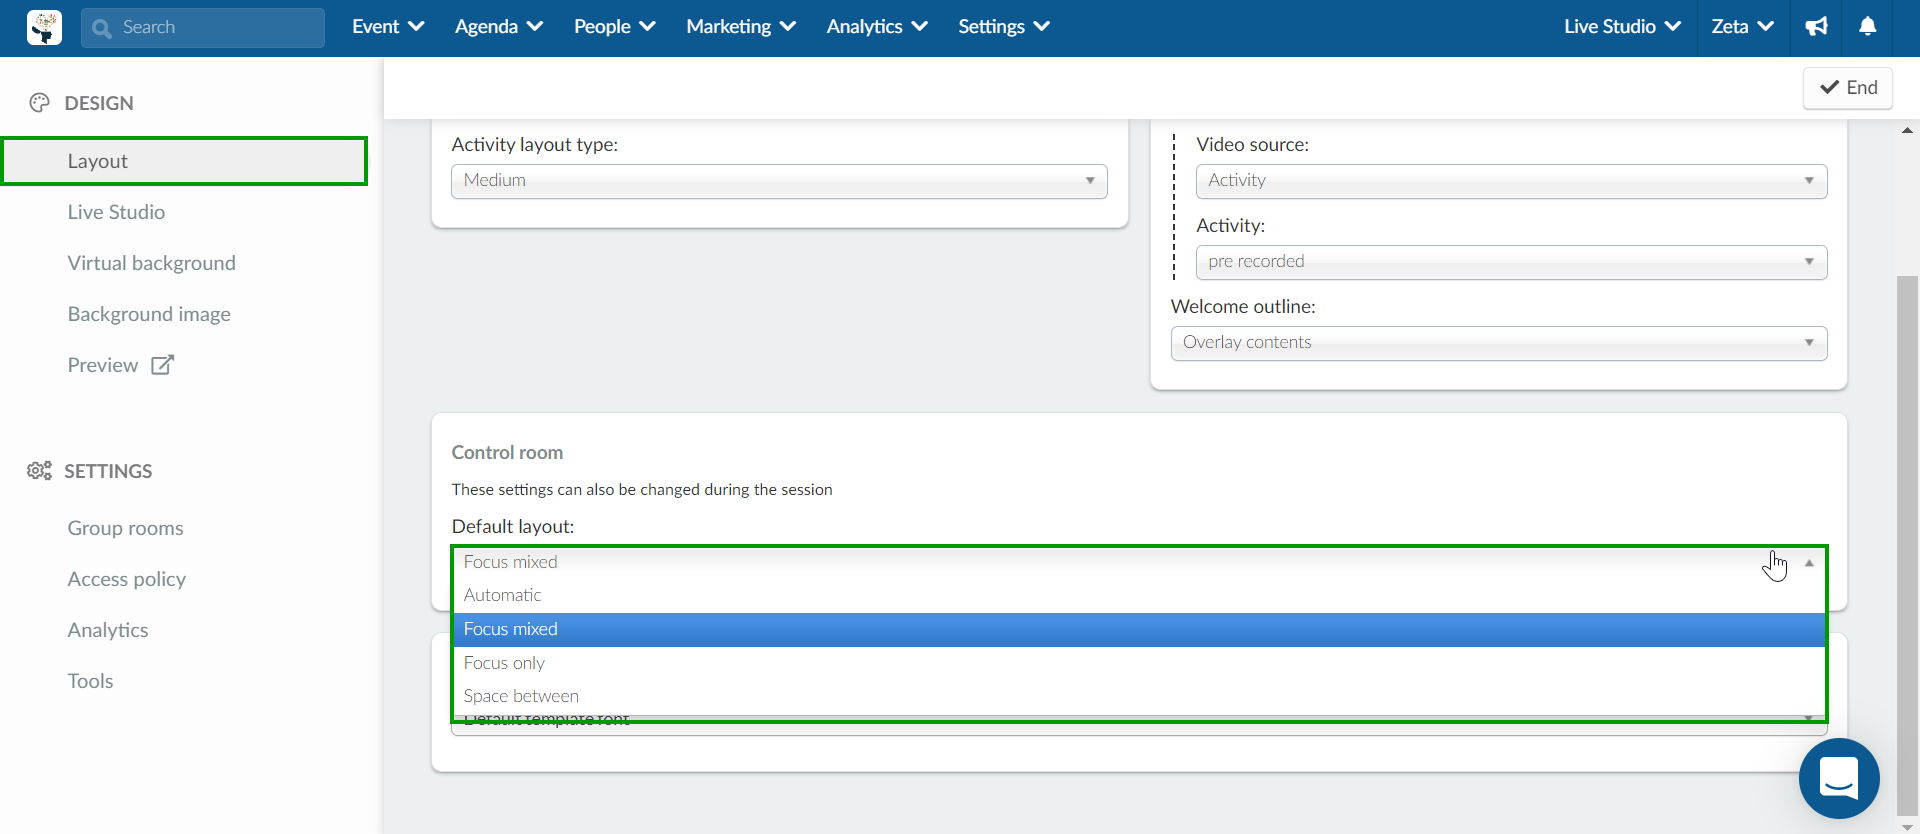
To select the Control Room layout in the backend, go to Event > Virtual Lobby > Design > Layout, press Edit and choose the layout of your choice. Press End to save the changes.
To change the layout directly from the Virtual Lobby (inside the Control Room), select the Layout button to open the menu. There are four options:
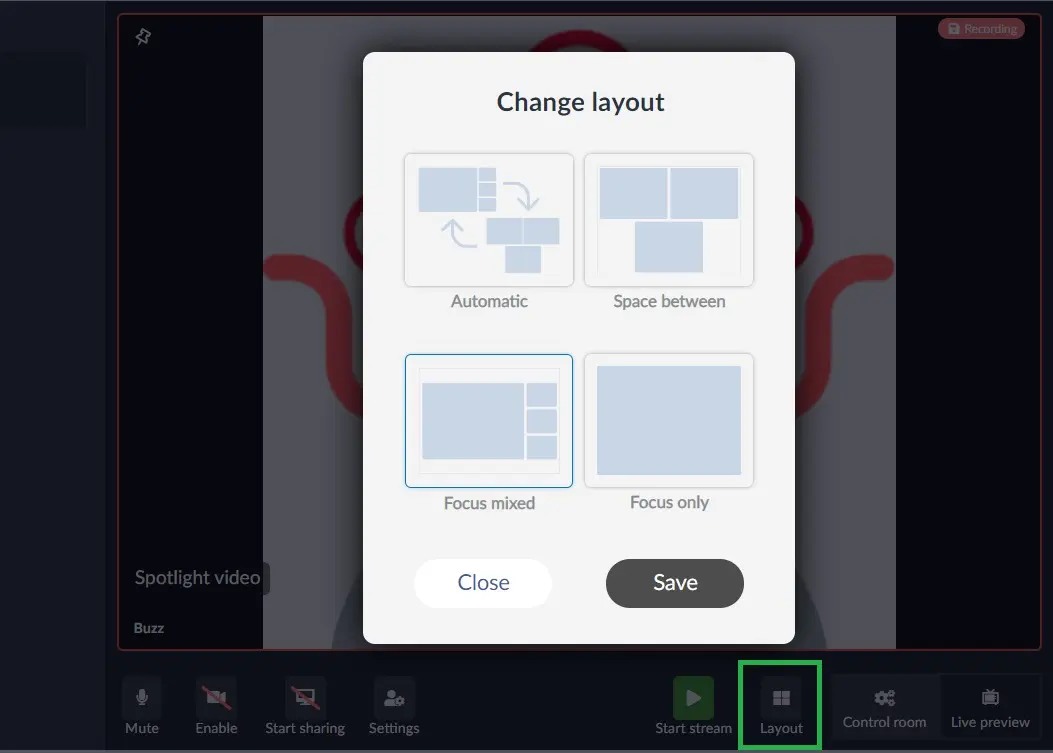
Automatic
This layout will switch between Space Between and Focus Mixed. If the speakers are not screen sharing, the layout displayed will be Space Between. If the speakers are screen sharing, the layout displayed will be Focus Mixed.
Space Between
This layout stacks presenters evenly and equally in the frame. Up to 9 speakers will be shown here at any one time

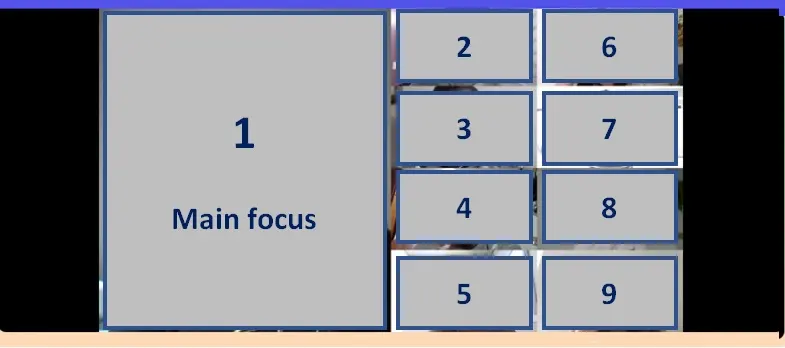
Focus Mixed
This layout is the default layout. It showcases the person who is speaking on the left side of the screen, with up to 8 other presenters tiled along the side in a smaller view.
This option is good for those who want to show all speakers together, but highlight one, or highlight slides while still showing other speakers.
You can pin any one speaker in the Control Room view, maintaining their position as the main focus.
Focus Only
In this layout, only the person that is speaking will be showcased on the screen. The host can also choose who to focus on by clicking on the presenter, and pinning their video.
Clean video feed
Clean video feed
When using the Control Room, administrators will see an option to open a clean video feed. Click here for further information on that.
Control Room View
This section is visible to all speakers inside the room. The Control Room option will allow speakers to interact in real-time. This is the recommended view for speakers, as they will experience latency in the live preview, as is standard with live streaming technology.
The Live Preview option will allow speakers to see what attendees are seeing. Here, they will also be able to see changes to the layout that the Room Host has selected.
Speakers are free to toggle between both Control Room views without any impact to the stream or attendee experience.
User and mobile user experience
Using the Control Room, streaming is supported for attendees via desktop, laptops, tablets and even their mobile browser.
Attendees will be able to connect directly from the browser, or you can configure your app to hold the Virtual Lobby as a tab. From here, the attendee can simply select the activity and join the broadcast as a viewer.
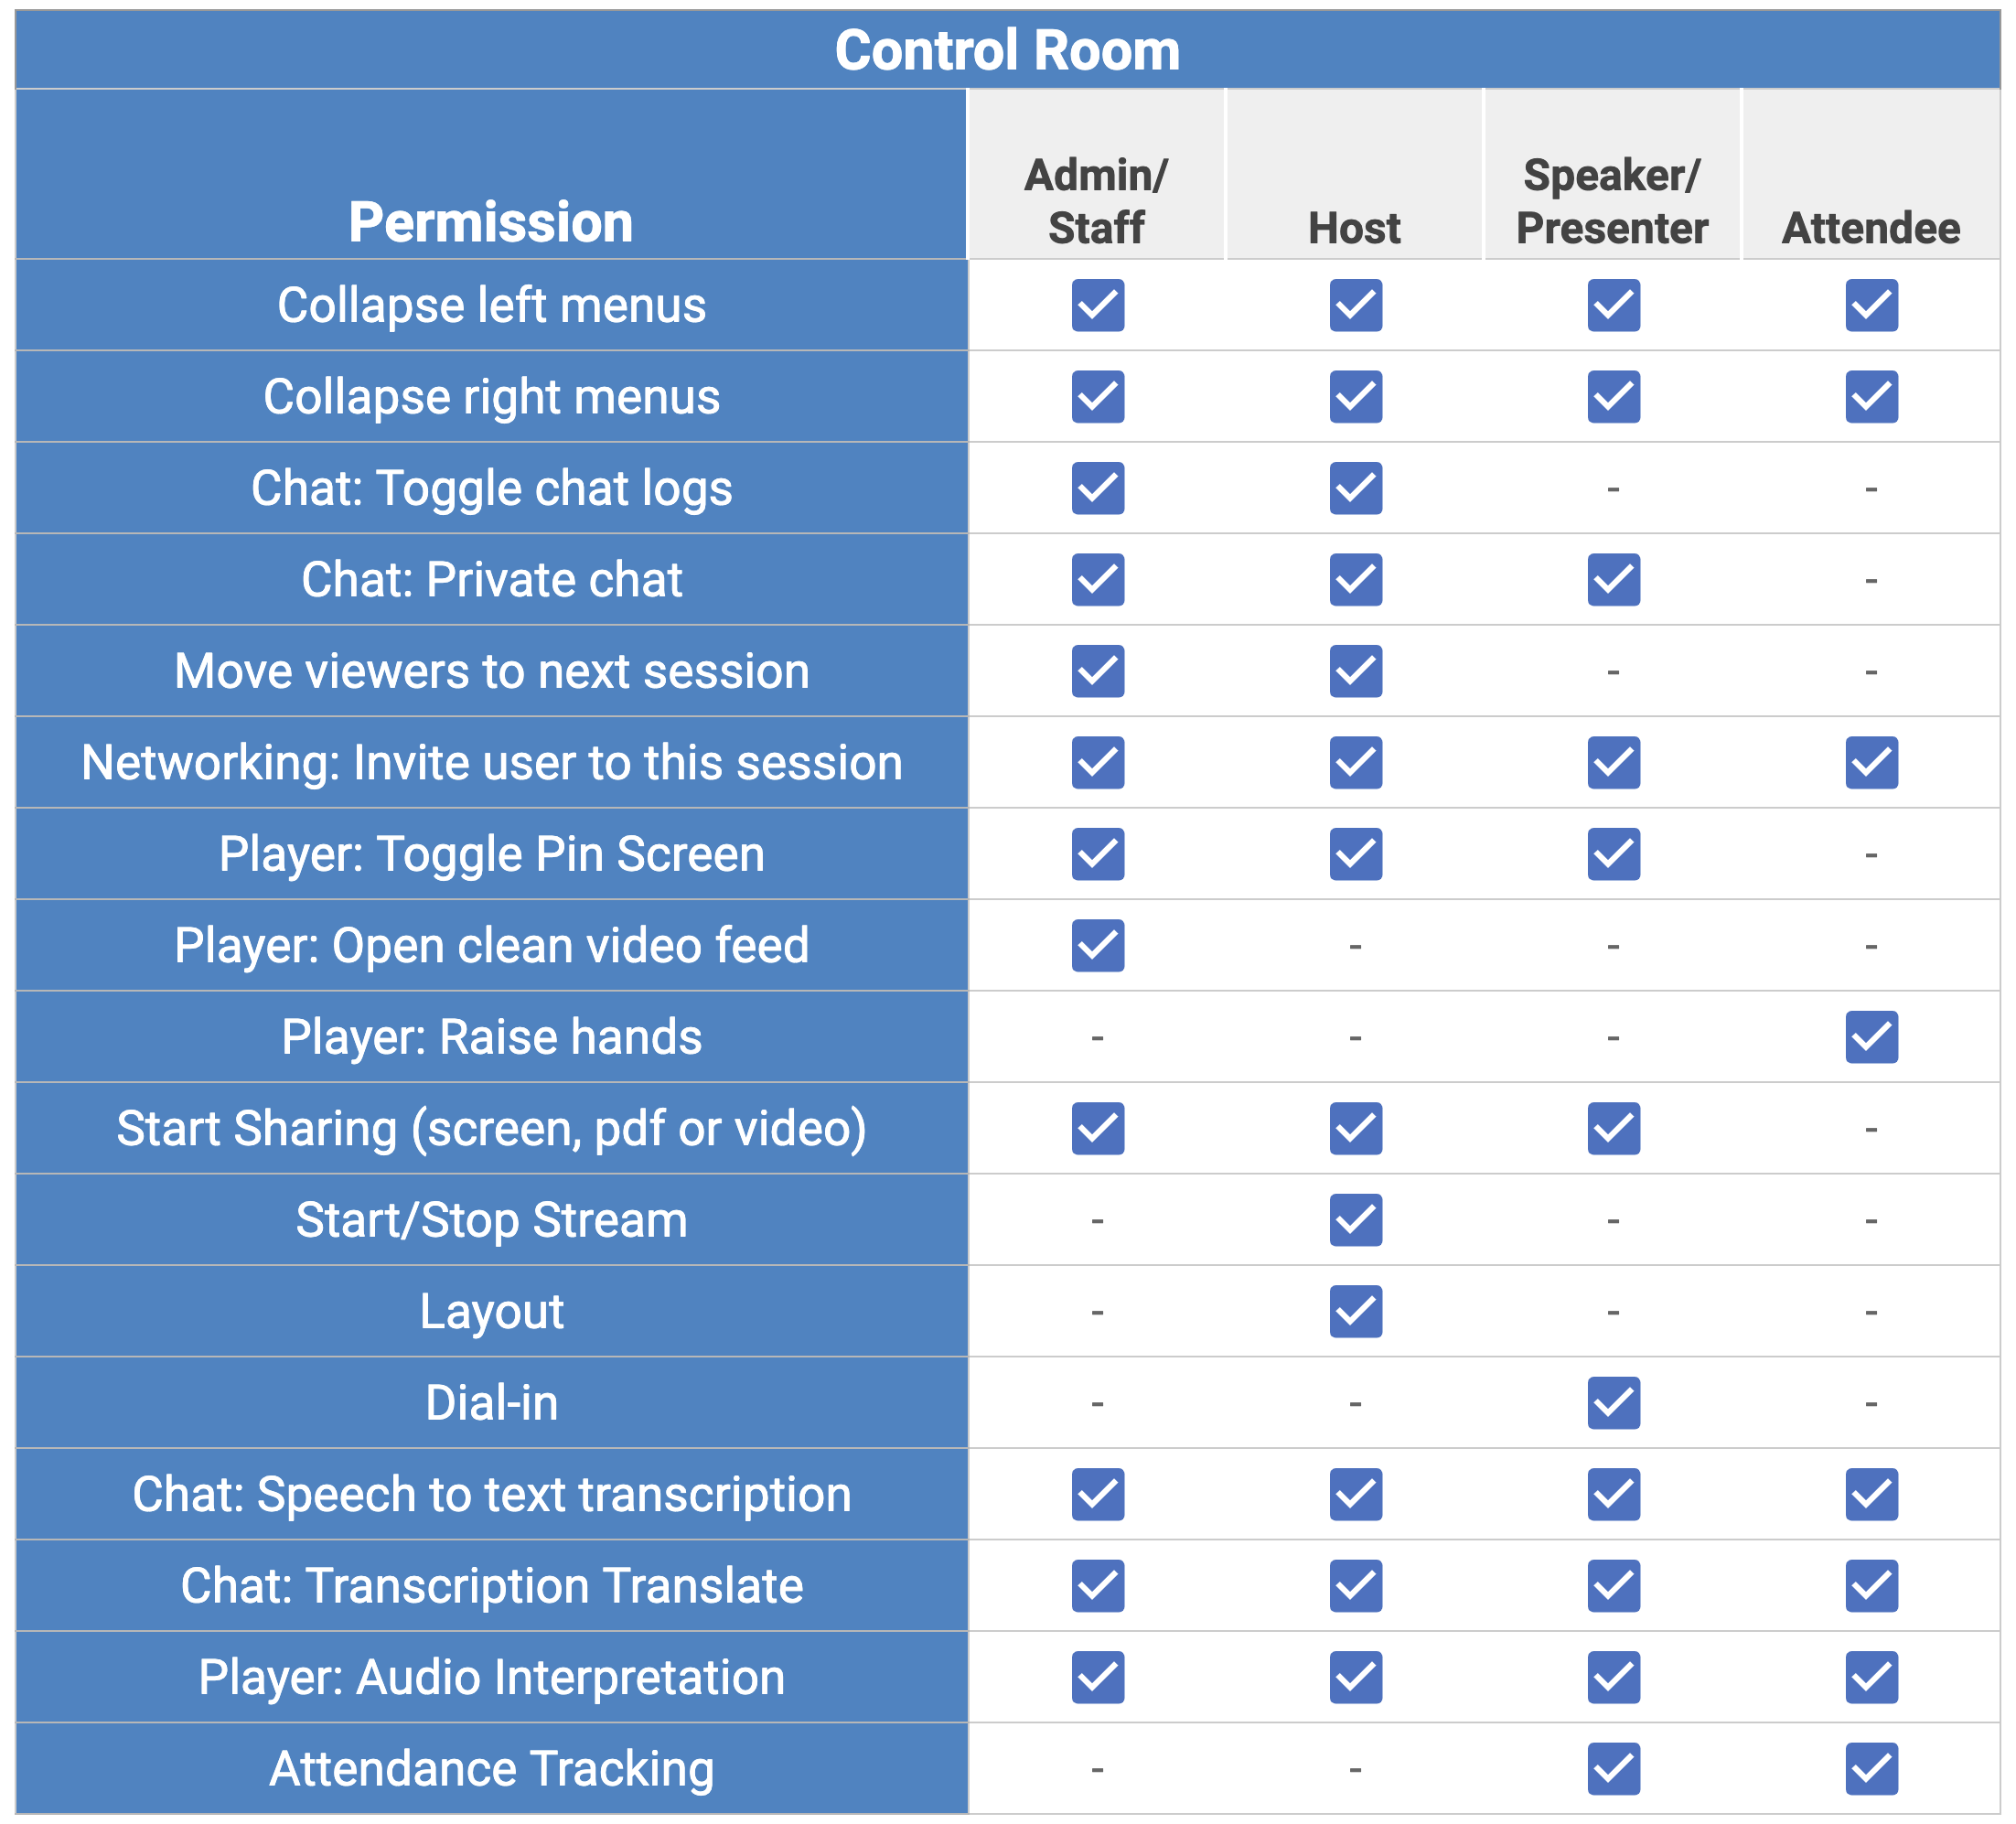
What can each permission level do in the Control Room?
Choosing the level of access your attendees will have on the platform means that they will have different permission levels throughout your event.
Here is what each permission level can do in the Control Room video mode: